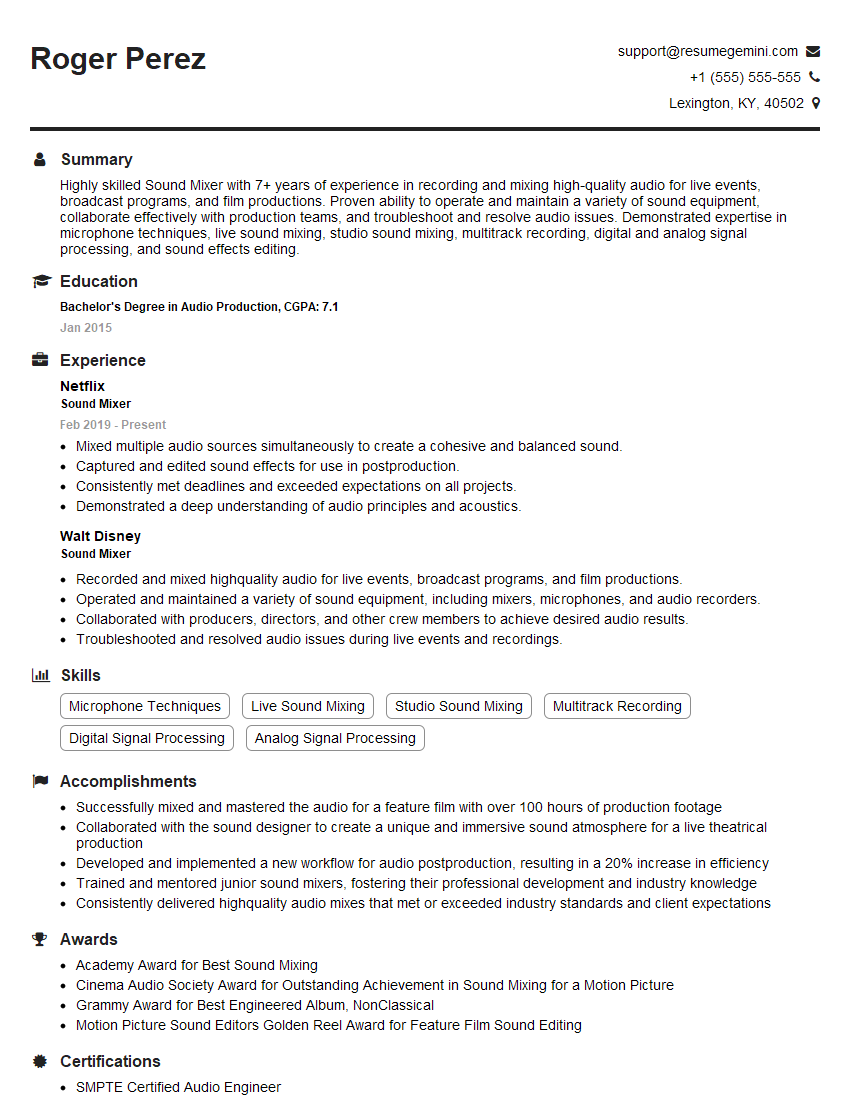
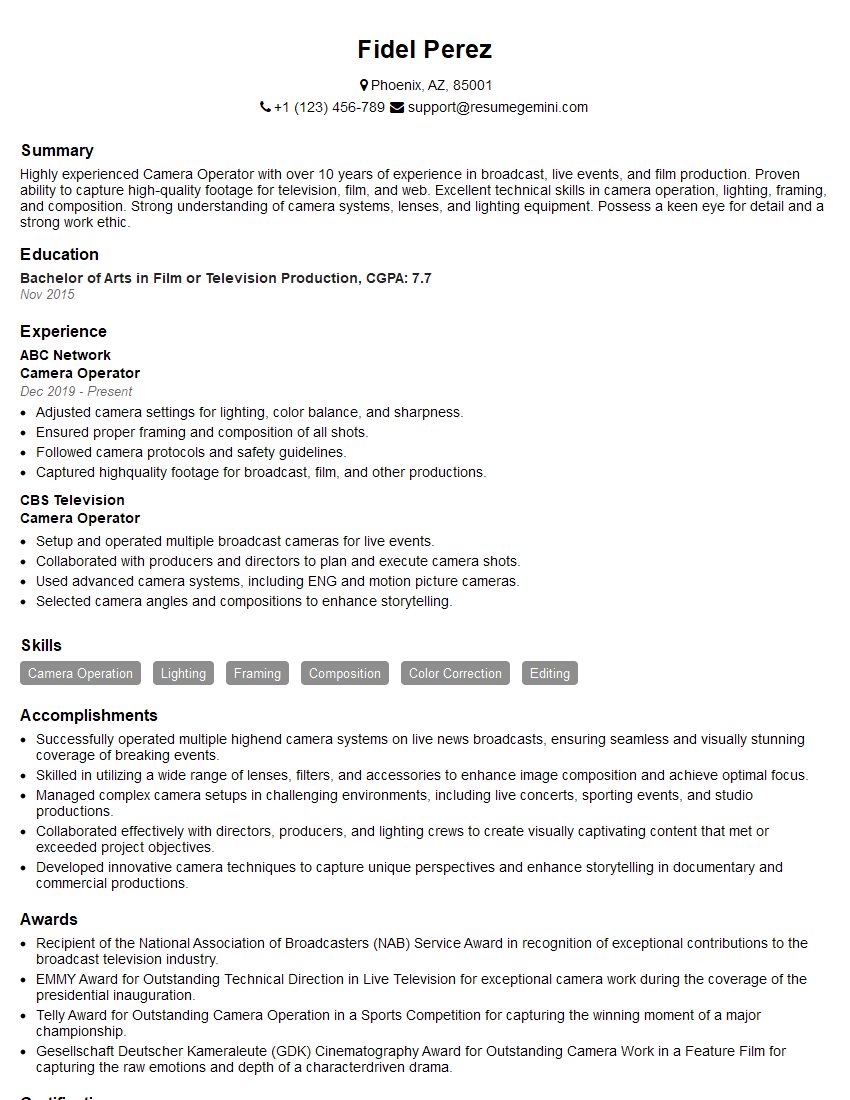
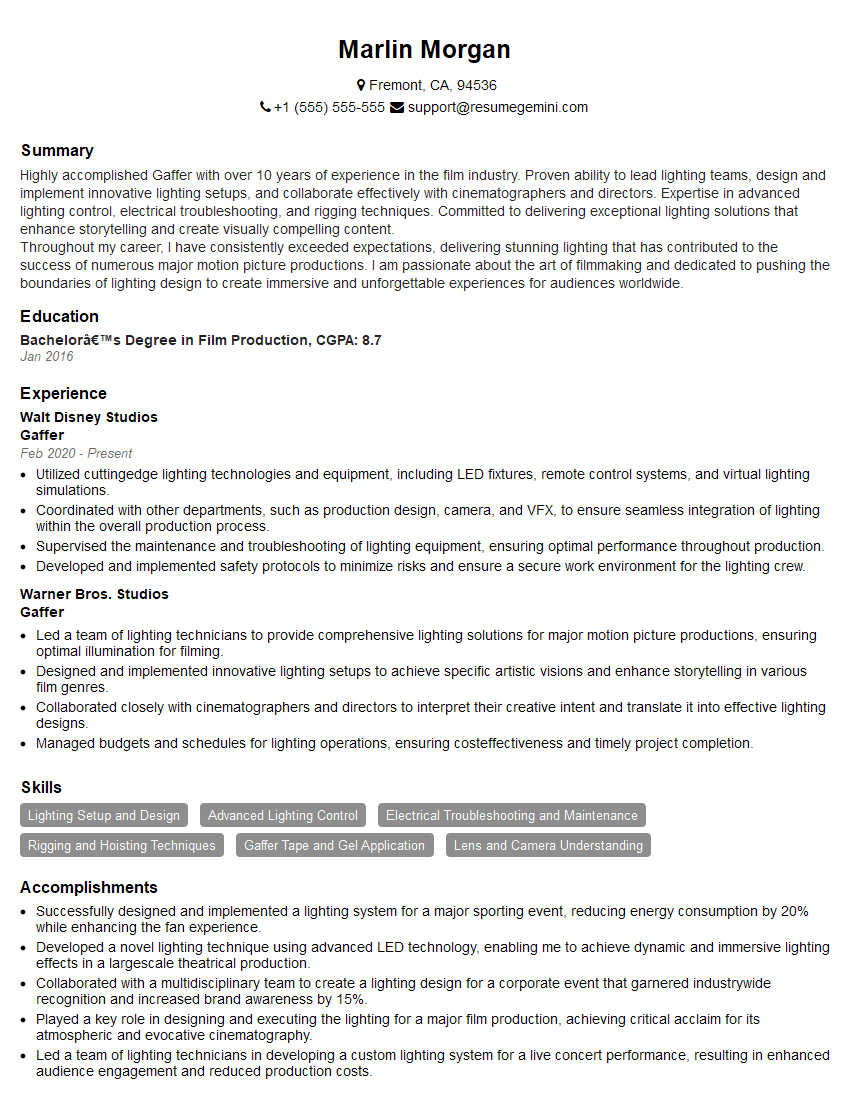
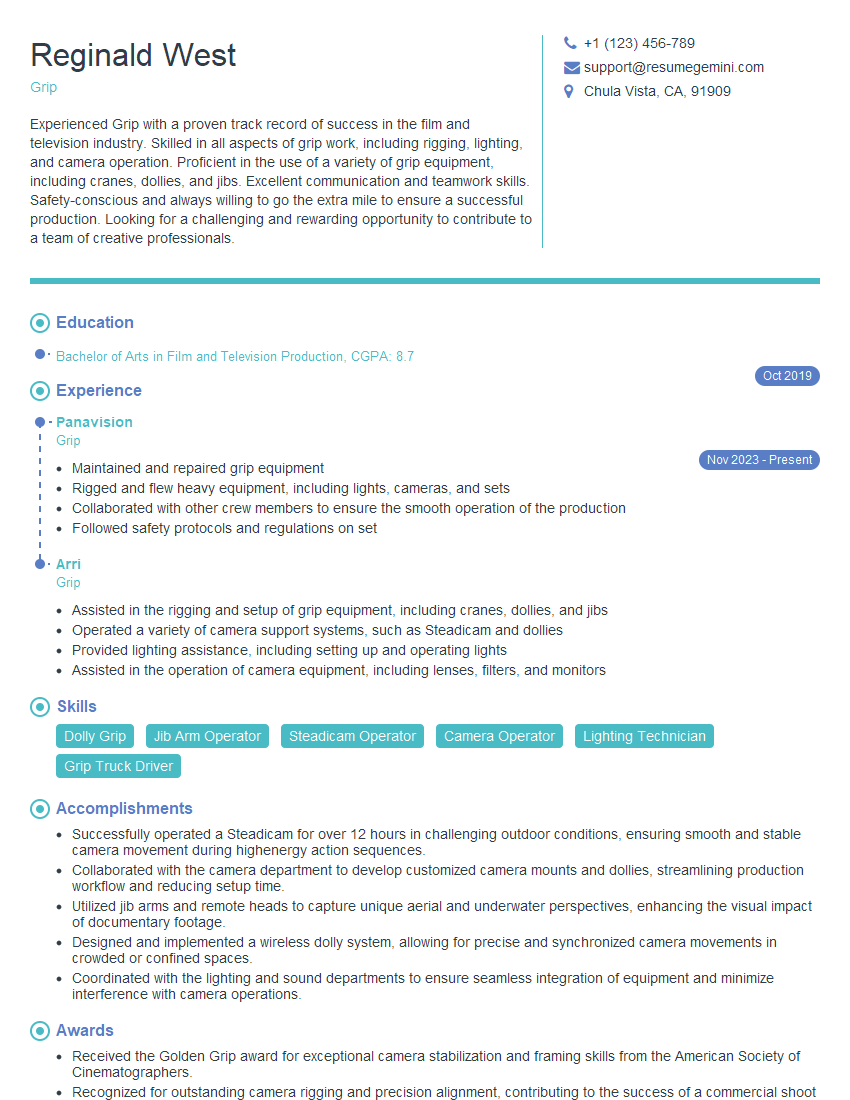
Every successful interview starts with knowing what to expect. In this blog, we’ll take you through the top Audio/Visual Production interview questions, breaking them down with expert tips to help you deliver impactful answers. Step into your next interview fully prepared and ready to succeed.
Questions Asked in Audio/Visual Production Interview
Q 1. Explain your experience with different video formats (e.g., HD, 4K, 8K).
My experience spans across various video formats, from standard definition (SD) all the way to the cutting-edge 8K. Understanding the nuances of each format is crucial for delivering the highest quality visuals, while also managing storage and processing demands. HD (720p and 1080p) remains a workhorse for many productions due to its balance of quality and accessibility. 4K (3840 x 2160 pixels) provides significantly increased detail and sharpness, ideal for large screens and cinematic projects. I’ve extensively worked with 4K workflows, managing footage from various cameras and ensuring optimal color grading and post-production processes. Finally, 8K (7680 x 4320 pixels) offers an unparalleled level of detail, though its higher storage and processing needs necessitate careful planning. For example, in a recent documentary project, we utilized 4K footage for its excellent detail and clarity, allowing for flexible cropping and reframing in post-production without sacrificing image quality. In another instance, we opted for HD for a live streaming event where bandwidth was a primary concern. Choosing the right format always involves considering budget, target audience, distribution platform, and the overall creative vision.
Q 2. Describe your experience with audio mixing consoles and digital audio workstations (DAWs).
My experience with audio mixing consoles and DAWs is extensive. I’m proficient with both analog and digital consoles, from smaller mixers suitable for field recording to large-format consoles for studio work. I understand the importance of signal flow, gain staging, equalization, and compression in achieving a balanced and polished sound. My DAW experience primarily involves Pro Tools and Logic Pro X, but I’m also comfortable with other industry-standard software like Ableton Live. I’m adept at multitrack recording, editing, mixing, and mastering. For example, in a recent commercial project, I used a Yamaha 01V96i digital mixing console for live sound recording on set, later importing the multitracks into Pro Tools for detailed mixing and mastering. My understanding extends to various audio plugins, allowing for creative manipulation and sound design. The process often involves careful listening, experimentation, and fine-tuning to achieve the desired sonic landscape, making use of EQ, compression, reverb, and delay plugins to shape the sound for different purposes. Knowing how to properly utilize these tools ensures a professional and high-quality audio output.
Q 3. What are your troubleshooting skills regarding AV equipment malfunctions?
Troubleshooting AV equipment is a critical skill, and one I’ve honed over years of experience. My approach is systematic and methodical. I start by identifying the symptoms of the malfunction: is there no power, no signal, distorted audio or video, etc.? Then, I systematically check each component in the signal chain, using my knowledge of the equipment to isolate the problem. For instance, if the problem is a no-signal issue on a monitor, I’ll first check the connections, then the video source, then the monitor itself. If it’s a sound problem, I’ll verify cables, inputs, outputs, and mixer settings. I often use test signals and meters to diagnose problems. In a recent live event, a sudden audio dropout occurred. By quickly checking the audio mixer, I isolated the problem to a faulty XLR cable. Replacing the cable instantly resolved the issue, preventing a significant delay to the event. My troubleshooting skills are not limited to hardware; I’m equally comfortable resolving software-related issues, such as codec conflicts or driver problems.
Q 4. What is your experience with lighting techniques and equipment?
Lighting design and execution is a core competency of mine. My knowledge encompasses various lighting techniques, including three-point lighting (key, fill, back), high-key and low-key lighting, and specialized lighting for different moods and atmospheres. I’m proficient in using various lighting equipment, including LED panels, Fresnels, PAR cans, and moving lights. I understand color temperature, color mixing, and the impact of lighting on mood and storytelling. In a recent music video shoot, we employed a combination of practical lighting and carefully positioned LED panels to create a visually stunning and dramatic effect. My understanding extends to lighting plots, safety protocols, and power distribution, ensuring safe and efficient lighting setups on location. Working with lighting involves careful consideration of the scene, subject, and desired aesthetic, creating a mood and ambience that complement the story.
Q 5. How familiar are you with various camera types and their settings?
I’m highly familiar with various camera types and their settings, ranging from DSLR and mirrorless cameras to professional cinema cameras. I understand the differences between sensor sizes, image formats, dynamic range, and various lens types. I’m comfortable with manual settings (aperture, shutter speed, ISO) as well as various automatic modes. My knowledge also extends to camera accessories like tripods, stabilizers, and follow focus systems. For example, in a recent corporate video shoot, the use of a shallow depth of field (achieved by a wide aperture) was crucial in isolating our subject from the background, resulting in a visually appealing and professional outcome. Each project requires a careful selection of camera and lens to match the desired look and story. Knowing the technical aspects of cameras enables me to choose the right equipment and settings to achieve the best possible results.
Q 6. Describe your experience with video editing software (e.g., Adobe Premiere Pro, Final Cut Pro).
I’m a proficient user of Adobe Premiere Pro and Final Cut Pro, two industry-standard video editing software packages. I’m adept at various editing techniques, including assembling sequences, color correction and grading, adding visual effects, and creating titles and graphics. My skills extend to audio mixing, video mastering, and exporting video in various formats optimized for different platforms. For instance, in a recent short film, I utilized Adobe Premiere Pro’s advanced color grading tools to achieve a specific cinematic look, matching the stylistic choices of the director. My experience in video editing involves a meticulous attention to detail, ensuring seamless transitions, proper synchronization of audio and video, and a polished final product that adheres to the project’s artistic vision. The workflow often involves careful planning, organization of footage, and iterative refinement to achieve the desired result.
Q 7. Explain your experience with audio editing software (e.g., Audacity, Pro Tools).
My experience with audio editing software encompasses both Audacity (for simpler projects) and Pro Tools (for professional-grade work). I’m capable of handling tasks like noise reduction, audio restoration, sound design, and audio sweetening. I can manipulate audio waveforms, edit audio clips, add effects, and mix multiple audio tracks. In a recent podcast project, I used Audacity for initial cleaning and editing of audio recordings, removing background noise and improving clarity before importing the files into Pro Tools for more advanced mixing and mastering. My approach emphasizes a clean, efficient workflow and the use of appropriate tools for each stage of the process. Understanding the capabilities of different software allows for optimal efficiency and high-quality output, balancing the need for professional tools with the requirements of the specific project.
Q 8. How do you ensure proper synchronization of audio and video in post-production?
Ensuring perfect audio-video synchronization in post-production is crucial for a polished final product. It’s like perfectly choreographing a dance – every move (video frame) must precisely match the music (audio). This is achieved primarily through the use of timecode, a standardized system that embeds a unique timestamp onto both audio and video files.
Methods for Synchronization:
- Timecode: Professional cameras and audio recorders often record timecode, allowing for precise alignment in editing software. If timecode isn’t present, I rely on other methods.
- Visual Markers: In the absence of timecode, I may use visual cues (like clapper slates or distinct actions) visible in both the audio and video to create reference points for synchronization. This is less precise but works for simpler projects.
- Audio Waveform Analysis: Editing software allows visual comparison of audio and video waveforms to identify corresponding events, even without timecode, for fine-tuning.
Software and Workflow: Popular editing software like Adobe Premiere Pro, Final Cut Pro, and Avid Media Composer provide robust tools to manage timecode and align audio and video. The process typically involves importing files, identifying reference points, and using the software’s synchronization tools to align the tracks. Any minor discrepancies can be corrected manually using frame-by-frame adjustments.
Example: On a recent documentary, the audio from a separate boom mic got slightly out of sync with the camera’s audio. Using the timecode embedded in both recordings, I quickly corrected the offset within the editing software. Without timecode, this would have been a far more tedious process.
Q 9. What are your strategies for managing large-scale AV projects?
Managing large-scale AV projects requires meticulous planning, efficient communication, and the right tools. It’s like orchestrating a large symphony – every instrument (team member) needs clear direction to create a harmonious whole.
Strategies:
- Detailed Pre-Production Planning: This involves creating a comprehensive schedule, defining roles and responsibilities, sourcing equipment, and securing necessary permits. A Gantt chart is invaluable for visualizing the timeline and dependencies between tasks.
- Project Management Software: I use software like Asana or Monday.com to track progress, assign tasks, and facilitate communication among the team. This ensures everyone remains informed and on track.
- Version Control: Employing a robust version control system for all project assets (video, audio, graphics) is crucial to avoid confusion and data loss. This is like having different versions of a manuscript to ensure you can always revert to a previous state.
- Clear Communication Channels: Daily check-ins, project meetings, and dedicated communication platforms prevent miscommunication and allow for quick resolution of challenges.
- Risk Assessment and Mitigation: Proactive identification of potential problems (e.g., equipment failure, unexpected delays) and development of contingency plans are crucial for ensuring project success.
Example: During a recent large-scale corporate event, using Asana enabled me to effectively monitor the progress of various teams (lighting, sound, camera), ensuring seamless execution.
Q 10. Describe your experience with live event production and technical direction.
I have extensive experience in live event production, acting as both a technical director and a key member of the production team. It’s like being the conductor of a live orchestra— quick thinking and precise execution are vital.
Technical Direction: This involves overseeing all technical aspects of the event, including cameras, audio, lighting, and video playback. I ensure that the technical elements align with the creative vision of the event. My responsibilities include creating camera shot lists, cueing video and audio playback, and coordinating with various technical crew members.
Live Event Examples: I have managed the technical aspects of numerous events, including conferences, concerts, and corporate presentations. These experiences involved utilizing various technologies (such as video switchers, audio mixers, and lighting consoles) to deliver flawless productions.
Problem-Solving in Live Environments: In live events, unforeseen technical glitches can arise. My ability to quickly diagnose and resolve issues, maintaining a calm demeanor under pressure, is vital. For example, during a live concert, we experienced a sudden audio drop. I quickly identified the problem – a faulty cable connection – and directed the crew to replace it, minimizing disruption.
Q 11. Explain your understanding of different microphone types and their applications.
Understanding microphone types and their applications is fundamental to capturing high-quality audio. It’s like choosing the right brush for a painting – each has its own unique characteristics.
Microphone Types and Applications:
- Dynamic Microphones: These are robust and handle high sound pressure levels well, making them ideal for loud instruments (drums, guitar amps) or live performances. They are less sensitive to handling noise.
- Condenser Microphones: These are more sensitive and capture a wider range of frequencies, making them suitable for vocals, acoustic instruments, and recording in quieter environments. They often require phantom power.
- Ribbon Microphones: Known for their warm and smooth sound, ribbon mics are used for capturing delicate instruments or vocals that need a vintage-sounding quality.
- Boundary Microphones (PZM): These are designed for mounting on surfaces, offering a flat and unobtrusive way to capture sound in conference rooms or presentations.
- Lapel Microphones (Lavaliers): Small and inconspicuous, these are perfect for interviews or situations where the mic needs to be hidden from view.
Example: When recording a vocal performance, I would likely use a large-diaphragm condenser microphone due to its sensitivity to capture nuances in the voice. For a live drum kit recording, several dynamic microphones would be suitable because of their ability to handle the high sound pressure levels.
Q 12. How familiar are you with various video conferencing platforms and their technical requirements?
I’m proficient with several video conferencing platforms, understanding their technical requirements. It’s like knowing the different components of a car – each platform has its strengths and weaknesses.
Platforms and Technical Requirements:
- Zoom: Popular for its ease of use and scalability, Zoom’s requirements include a reliable internet connection, a suitable webcam, and a microphone. Bandwidth limitations can impact video and audio quality.
- Microsoft Teams: Integrated into the Microsoft ecosystem, Teams offers robust features for collaboration, but its technical demands are similar to Zoom.
- Google Meet: Known for its simplicity, Google Meet has similar requirements to Zoom and Teams.
- GoToMeeting: This platform is geared towards business meetings and often requires a paid subscription. Technical considerations similar to Zoom and Teams apply.
Troubleshooting: I am adept at troubleshooting common issues, such as poor audio or video quality, connection problems, and software glitches. These issues are often related to network bandwidth, hardware compatibility, or software configuration.
Example: During a recent remote production, we utilized Zoom to connect with a client in another country. By ensuring sufficient bandwidth for both parties and testing the audio-video setup before the meeting began, we avoided any technical disruptions.
Q 13. What is your experience with color correction and grading techniques?
Color correction and grading are essential for achieving a consistent and aesthetically pleasing look in video. It’s like enhancing a photograph – bringing out the best of the image.
Color Correction: This focuses on restoring the image to its natural colors by correcting for lighting inconsistencies, white balance issues, and color casts.
Color Grading: This is a more creative process of manipulating colors to achieve a specific mood, style, or look. It involves adjusting saturation, contrast, and other color parameters to create a cohesive aesthetic.
Software and Techniques: I am proficient in using professional-grade color grading software such as DaVinci Resolve and Adobe Premiere Pro’s color tools. Techniques include using color wheels, scopes (vectorscope, waveform monitor, histogram), and color curves to make precise adjustments.
Example: In a recent film project, we used DaVinci Resolve to correct the color imbalance in several outdoor shots caused by varying daylight conditions. This involved adjusting white balance and color temperature to achieve a consistent look. Subsequently, color grading was used to create a specific cinematic mood – a slightly desaturated and cooler tone – for the entire film.
Q 14. Describe your knowledge of different audio codecs and their compression algorithms.
Audio codecs and their compression algorithms are integral to managing audio file sizes and quality. It’s like packing a suitcase – you want to fit as much as possible without compromising the contents (audio quality).
Common Audio Codecs:
- MP3: A lossy codec known for its small file size and widespread compatibility. It achieves compression by discarding some audio data.
- AAC (Advanced Audio Coding): A lossy codec that offers better audio quality than MP3 at similar bitrates.
- WAV: An uncompressed, lossless format that preserves the original audio data. It results in large file sizes.
- AIFF (Audio Interchange File Format): Similar to WAV, AIFF is a lossless format commonly used on Mac systems.
- FLAC (Free Lossless Audio Codec): A popular lossless codec offering high-quality audio with efficient compression.
Compression Algorithms: Lossy codecs use algorithms to discard data deemed less important to human hearing, thereby reducing file size. Lossless codecs use different algorithms to compress data without discarding any information.
Example: For a podcast, using an MP3 codec is suitable as it balances reasonable audio quality with manageable file sizes. Conversely, for archiving high-fidelity master recordings, a lossless codec like FLAC is preferred despite larger file sizes.
Q 15. Explain your understanding of video compression techniques.
Video compression is the process of reducing the size of a video file without significantly impacting its quality. It’s crucial for efficient storage, transmission, and playback. Think of it like packing a suitcase – you want to fit as much as possible, but you need to choose what’s essential and find ways to make things smaller. We achieve this through several techniques that focus on reducing redundancy and irrelevant information.
Lossy Compression: This method permanently discards some data deemed less important to the human eye or ear. Examples include MPEG-4 (used in MP4 files), H.264 (AVC), and H.265 (HEVC). They are very effective at reducing file size but introduce some quality loss. The higher the compression ratio, the more noticeable the loss. Imagine removing a few less-important details from a painting to make it easier to transport.
Lossless Compression: This technique uses algorithms to reduce file size without losing any original data. This is often used for archiving or situations where preserving perfect quality is paramount. While they are great for preserving quality, their file size reduction capabilities are far less than lossy compression. Consider it like carefully folding clothes to save space without creasing them.
Spatial Compression: This targets redundancy within a single frame of video. It identifies similar pixels or blocks of pixels and stores only the information needed to recreate them, similar to how image file formats like JPEG work. It reduces redundancy in the image itself.
Temporal Compression: This exploits redundancy between consecutive frames. Only the differences between frames are stored, rather than each frame completely, reducing file size dramatically. Imagine only recording the parts of a scene that change from one moment to the next, rather than recording everything every time.
Choosing the right compression technique depends on the intended use. For online streaming, lossy compression is preferred for smaller file sizes and faster delivery. For archiving valuable footage, lossless compression would be the better choice.
Career Expert Tips:
- Ace those interviews! Prepare effectively by reviewing the Top 50 Most Common Interview Questions on ResumeGemini.
- Navigate your job search with confidence! Explore a wide range of Career Tips on ResumeGemini. Learn about common challenges and recommendations to overcome them.
- Craft the perfect resume! Master the Art of Resume Writing with ResumeGemini’s guide. Showcase your unique qualifications and achievements effectively.
- Don’t miss out on holiday savings! Build your dream resume with ResumeGemini’s ATS optimized templates.
Q 16. How do you manage and organize large media files?
Managing large media files requires a robust system involving both hardware and software solutions. My approach is always to prioritize a clear, consistent, and easily searchable file structure. I utilize a combination of techniques to streamline this process.
Hierarchical Folder Structure: I organize projects into folders based on the year, client, and project name, creating subfolders for different file types (video, audio, stills, etc.). This allows for quick and efficient retrieval.
Naming Conventions: Consistent, descriptive file names are essential. I use a system including project name, date, shot number, and file type (e.g., ProjectX_20240308_Shot001_Final.mov). This enables easy searching and sorting.
Media Asset Management (MAM) Software: For large-scale projects, dedicated MAM software is invaluable. These systems offer robust metadata tagging, searching, and collaboration tools. They also allow me to create backups and monitor file health. Examples include Adobe Premiere Pro’s media management features or dedicated systems like CatDV.
Network Attached Storage (NAS) or Cloud Storage: I rely on NAS devices or cloud services like AWS S3, Google Cloud Storage, or Backblaze B2 for storage. NAS provides high speed and local access, while cloud services offer scalability, redundancy and remote access.
Regular Backups: Data loss is a nightmare in our business! I employ a multi-layered backup strategy, including local backups, cloud backups, and offsite storage, ensuring redundancy and data protection.
The key is to find a balance between efficient organization and accessible storage; the right system will depend on the specifics of a given production and budget.
Q 17. What are your experiences with different types of video displays and projectors?
My experience encompasses a wide range of video displays and projectors, each with its own strengths and limitations.
LCD Displays: Common for everyday use and many professional settings, LCDs are known for their relatively lower cost and good color reproduction. However, they often suffer from lower contrast ratios and slower response times compared to other technologies.
OLED Displays: These provide superior contrast, deeper blacks, and wider viewing angles. Their higher cost limits their application in some environments. For high-end productions, color accuracy and black levels are essential, making OLEDs very attractive.
LED Displays: These are becoming increasingly popular for large-scale displays and installations due to their brightness, energy efficiency, and durability. They are also highly versatile in terms of size and configuration, perfect for stage displays, sports arenas, and other outdoor settings.
Projectors: I’ve worked with various types, including DLP, LCD, and Laser projectors. DLP projectors offer high contrast and sharp images but can be noisy. LCD projectors provide smoother images but might have lower contrast. Laser projectors are becoming increasingly common due to their superior brightness, longevity, and color accuracy, often used in large venues for high-impact presentations.
Understanding the capabilities and limitations of each display technology is crucial for selecting the best equipment for any given project, ensuring the highest image quality and optimal viewing experience.
Q 18. Describe your understanding of signal flow in an AV system.
Signal flow in an AV system represents the path an audio or video signal takes from its source to its destination. Understanding this flow is vital for troubleshooting and designing efficient systems. Think of it like a highway system – each signal is a car, and its journey needs to be carefully planned to reach its destination on time.
A typical signal flow might start with a camera (video source), which outputs the signal to a switcher (video processor), where it can be combined with other sources. From there, the signal goes to a video processor (for scaling, color correction, etc.), then to a display (monitor or projector). Audio would follow a similar path: microphone(s) to a mixer (audio processor), then to amplifiers and finally to speakers. The signal flow might include signal converters, distribution amplifiers, and various other components, depending on the complexity of the system.
Here’s a simplified example:
Camera -> Switcher -> Video Processor -> DisplayMicrophone -> Mixer -> Amplifier -> SpeakersUnderstanding signal flow allows for effective troubleshooting. If there’s a problem with the video, you can systematically trace the signal path to identify where the issue is occurring. It also allows for the integration of various technologies without signal degradation.
Q 19. What are your experiences with various audio signal processing techniques (e.g., EQ, Compression, Reverb)?
I’m proficient in various audio signal processing techniques, employing them to shape and enhance the audio for various productions. These tools are fundamental in achieving a polished and professional sound.
EQ (Equalization): This allows adjusting the balance of frequencies within an audio signal, boosting or cutting specific frequencies to enhance clarity, remove muddiness, or shape the overall tone. For example, boosting high frequencies makes vocals crisper, while cutting low frequencies reduces rumble. I use it extensively to enhance clarity and ensure that different instruments don’t clash within the mix.
Compression: This reduces the dynamic range of an audio signal, lowering the difference between loud and quiet parts. It’s commonly used to make quieter sounds more audible, and make louder sounds less harsh, ensuring a consistent audio level and preventing clipping (distortion). I often use compression on vocals and drums to achieve a stronger and more controlled sound.
Reverb: This simulates the natural reverberation of sound within a space. It adds depth, ambience and a sense of realism. Choosing the appropriate reverb type and parameters is important. A small room reverb might be appropriate for close-up vocals while a large hall reverb might be better for creating a more spacious sound.
My experience includes using both hardware and software solutions for audio signal processing, such as DAWs (Digital Audio Workstations) like Pro Tools, Logic Pro, or Ableton Live, and hardware signal processors like compressors, EQs, and reverb units. I adjust these effects carefully according to the needs of the specific project and client requirements.
Q 20. How familiar are you with various video signal processing techniques?
Video signal processing techniques are crucial for enhancing and manipulating video signals before display or recording. I have significant experience with various methods:
Color Correction: Adjusting the color balance, brightness, contrast, and saturation to achieve accurate and consistent colors across the video. This is crucial for creating a polished look and ensuring color accuracy is maintained across different screens and environments.
Color Grading: A more stylistic approach than color correction, color grading involves making artistic choices to set the overall mood and look of a video. For example, I might desaturate a scene to create a more melancholic feel.
Image Stabilization: This is essential for smoothing out shaky footage, making it more watchable. It involves analyzing the motion and automatically compensating for camera shake.
Noise Reduction: This process minimizes the visual noise (graininess) in a video, particularly prevalent in low-light conditions. While effective, too much noise reduction can lead to a loss of image detail.
Upscaling and Downscaling: Changing the resolution of a video. Upscaling increases resolution, while downscaling decreases it. This might be required for adapting video to various screen sizes or platforms.
My expertise includes using professional software like DaVinci Resolve, Adobe Premiere Pro, and Final Cut Pro for applying these techniques effectively. The choice of technique depends heavily on the aesthetic needs of the production and the technical limitations of the equipment and delivery platform.
Q 21. Explain your experience with remote production workflows.
Remote production workflows have become increasingly important, and I’ve adapted my skills to handle them efficiently. This involves coordinating teams and equipment across geographical distances.
Cloud-Based Collaboration: I utilize cloud-based platforms for storage, collaboration, and real-time editing. This enables seamless teamwork despite physical separation, employing tools like Frame.io, Dropbox, or Google Drive for sharing assets and providing feedback.
IP-Based Video Transmission: I’ve worked with various IP-based video transmission solutions, such as bonded cellular, fiber, or satellite connections for transferring high-quality video remotely. This relies heavily on reliable internet connectivity and the ability to troubleshoot potential network issues.
Remote Control and Monitoring: I’m familiar with controlling and monitoring cameras, switchers, and other equipment remotely via IP, using specialized software or interfaces provided by manufacturers. This significantly reduces the need for on-site personnel for some tasks.
Virtual Production: I have experience integrating virtual sets and virtual graphics into remote workflows, creating immersive and engaging content remotely, significantly reducing costs and production time.
Successfully managing remote productions requires meticulous planning, reliable technology, and strong communication. The ability to troubleshoot technical issues remotely is paramount. I have developed efficient communication protocols to keep the production team aligned and informed throughout the process.
Q 22. Describe your experience with creating and implementing AV system designs.
My experience in AV system design encompasses the entire lifecycle, from initial consultation and needs assessment to final implementation and ongoing support. I begin by thoroughly understanding the client’s objectives – be it a boardroom presentation system, a large-scale concert setup, or a complex broadcast environment. This involves analyzing the space’s acoustics, lighting conditions, and existing infrastructure. I then create detailed designs, specifying equipment choices – cameras, microphones, switchers, projectors, displays, and audio systems – while considering factors like budget, scalability, and future-proofing. Implementation includes overseeing the installation, configuration, testing, and training of end-users. For example, I recently designed a video conferencing system for a multinational corporation, integrating high-definition cameras, a sophisticated control system, and advanced audio processing to ensure seamless communication across continents. This included careful consideration of network bandwidth requirements and security protocols.
I use CAD software to create detailed diagrams and layouts, ensuring optimal placement of equipment for both functionality and aesthetics. My approach emphasizes a user-friendly design, making the system intuitive and easy to operate. After deployment, I provide comprehensive documentation and ongoing technical support.
Q 23. How do you stay current with the latest technologies and trends in AV production?
Staying current in the rapidly evolving AV landscape requires a multifaceted approach. I regularly attend industry conferences and trade shows like InfoComm and NAB Show, where I network with colleagues and learn about the latest technological advancements. I subscribe to leading industry publications and online resources, keeping abreast of new products and best practices. Additionally, I actively participate in online forums and communities, engaging in discussions with other professionals and sharing insights. Formal training and certifications, such as those offered by industry-leading organizations, also form a crucial part of my ongoing professional development. This continuous learning ensures I can provide my clients with the most cutting-edge and effective solutions.
Q 24. Explain your experience with troubleshooting network connectivity issues in AV systems.
Troubleshooting network connectivity issues in AV systems is a frequent occurrence, often requiring a systematic approach. I begin with the basics: checking cables for physical damage, confirming proper connections, and verifying network settings like IP addresses, subnet masks, and gateways. I utilize network diagnostic tools like ping, tracert, and packet sniffers to identify bottlenecks or points of failure. Understanding network protocols like TCP/IP is critical. For example, I once resolved an issue where a video stream was intermittently dropping due to insufficient bandwidth. Using network monitoring tools, I identified the congested portion of the network and implemented QoS (Quality of Service) settings to prioritize the AV traffic.
When dealing with complex networks, I use network maps to visually represent the system’s infrastructure, aiding in isolating problems. Documenting every step is vital, both for resolving the immediate issue and for future reference. I also rely on the vendor’s support documentation and contact their technical support if necessary. A methodical and organized approach, combined with a deep understanding of networking principles, is key to efficient troubleshooting.
Q 25. What is your experience with IP-based AV systems?
My experience with IP-based AV systems is extensive. IP-based systems offer significant advantages, including cost savings, scalability, and ease of management compared to traditional analog systems. I’m proficient in designing, implementing, and troubleshooting systems using various IP protocols like Dante, AES67, and AVB. For example, I designed a large-scale distributed audio system for a university campus using Dante, allowing for seamless audio routing and control across multiple buildings. This involved meticulous planning of network infrastructure, including the selection of appropriate switches and network hardware to ensure low latency and high reliability. The use of IP simplifies control and monitoring; I can remotely manage and adjust system settings from a central location, reducing downtime and maintenance costs. Security considerations, such as network segmentation and firewall configuration, are crucial aspects I integrate into every IP-based design.
Q 26. Describe your experience with integrating different AV technologies (e.g., cameras, switchers, projectors).
Integrating different AV technologies requires careful consideration of compatibility and interoperability. I have extensive experience integrating various components, such as cameras, switchers, projectors, and audio systems from different manufacturers. I ensure seamless signal flow by carefully choosing the right cables, converters, and control systems. For example, I recently integrated a robotic camera system, a video matrix switcher, and multiple displays in a large conference hall. This involved configuring the control system to allow for smooth transitions between different camera angles and display outputs. Understanding the capabilities and limitations of each component is crucial, and thorough testing throughout the integration process is vital to ensure the system functions flawlessly.
The key to successful integration is detailed planning, using diagrams and specifications to ensure compatibility. I often utilize control systems to manage the various components, allowing for automated operation and remote control. Understanding the control protocols (e.g., Crestron, AMX) is crucial for efficient integration.
Q 27. What safety measures do you take when working with AV equipment?
Safety is paramount in AV production. I adhere to all relevant safety regulations and guidelines, prioritizing the well-being of myself and others. This includes proper handling of electrical equipment, ensuring grounding and avoiding overloading circuits. I use proper lifting techniques when moving heavy equipment, and never work on energized equipment without appropriate safety precautions. I am familiar with lockout/tagout procedures to prevent accidental energization during maintenance or repairs. Regular equipment inspections are crucial, checking for worn cables, damaged connectors, and any other potential hazards. When working at heights, I utilize proper fall protection equipment. For example, I always use surge protectors to shield sensitive equipment from power surges and employ appropriate grounding techniques to mitigate the risk of electrical shocks.
Q 28. Explain your understanding of different video resolutions and aspect ratios.
Understanding video resolutions and aspect ratios is fundamental to AV production. Resolution refers to the number of pixels making up an image (e.g., 1920×1080, 4K, 8K). Higher resolutions generally mean sharper, clearer images. Aspect ratio describes the proportional relationship between the width and height of an image (e.g., 16:9, 4:3). Common aspect ratios include 16:9 (widescreen), 4:3 (standard definition), and 2.39:1 (cinemascope). Choosing the correct resolution and aspect ratio depends on the intended display and the content being presented. Using the wrong aspect ratio can result in letterboxing (black bars at the top and bottom) or pillarboxing (black bars on the sides), reducing the effective viewing area. Converting between resolutions and aspect ratios often involves scaling and cropping the image, which can impact image quality.
For example, presenting a 4:3 video on a 16:9 display will result in pillarboxing, while displaying a 16:9 video on a 4:3 display will cause letterboxing. Understanding these concepts is essential for ensuring the optimal viewing experience. Correct scaling and cropping are often necessary to adapt content to different display devices and aspect ratios without compromising the visual quality.
Key Topics to Learn for Your Audio/Visual Production Interview
Ace your next interview by mastering these core areas of Audio/Visual Production. Remember, demonstrating practical application and problem-solving skills is key!
- Camera Operation & Techniques: Understanding various camera types, shot composition (rule of thirds, leading lines), and camera movement (panning, tilting, zooming) is fundamental. Be prepared to discuss your experience with different camera systems and your approach to achieving specific visual effects.
- Lighting & Set Design: Discuss your knowledge of lighting techniques (three-point lighting, high-key/low-key), color temperature, and how lighting contributes to mood and storytelling. Prepare examples of how you’ve designed or contributed to set design to enhance the visual narrative.
- Audio Recording & Mixing: Explain your understanding of microphone types, audio recording techniques, and mixing principles. Be ready to discuss troubleshooting audio issues and your experience with audio editing software.
- Video Editing & Post-Production: Showcase your proficiency in video editing software (e.g., Adobe Premiere Pro, Final Cut Pro). Discuss your workflow, editing styles, and ability to create compelling narratives through video editing.
- Storytelling & Visual Communication: Explain how you use visual elements to tell a story effectively. Discuss your understanding of narrative structure, pacing, and the impact of visual choices on the audience.
- Software & Hardware Proficiency: Be prepared to discuss your experience with specific software and hardware used in Audio/Visual Production. Highlight your ability to adapt to new technologies and learn quickly.
- Collaboration & Teamwork: Audio/Visual Production is a collaborative effort. Be ready to share examples of your teamwork skills and ability to work effectively with different team members in a fast-paced environment.
- Problem-Solving & Troubleshooting: Describe your approach to problem-solving, particularly in high-pressure situations. Give specific examples of how you’ve overcome technical challenges during a production.
Next Steps
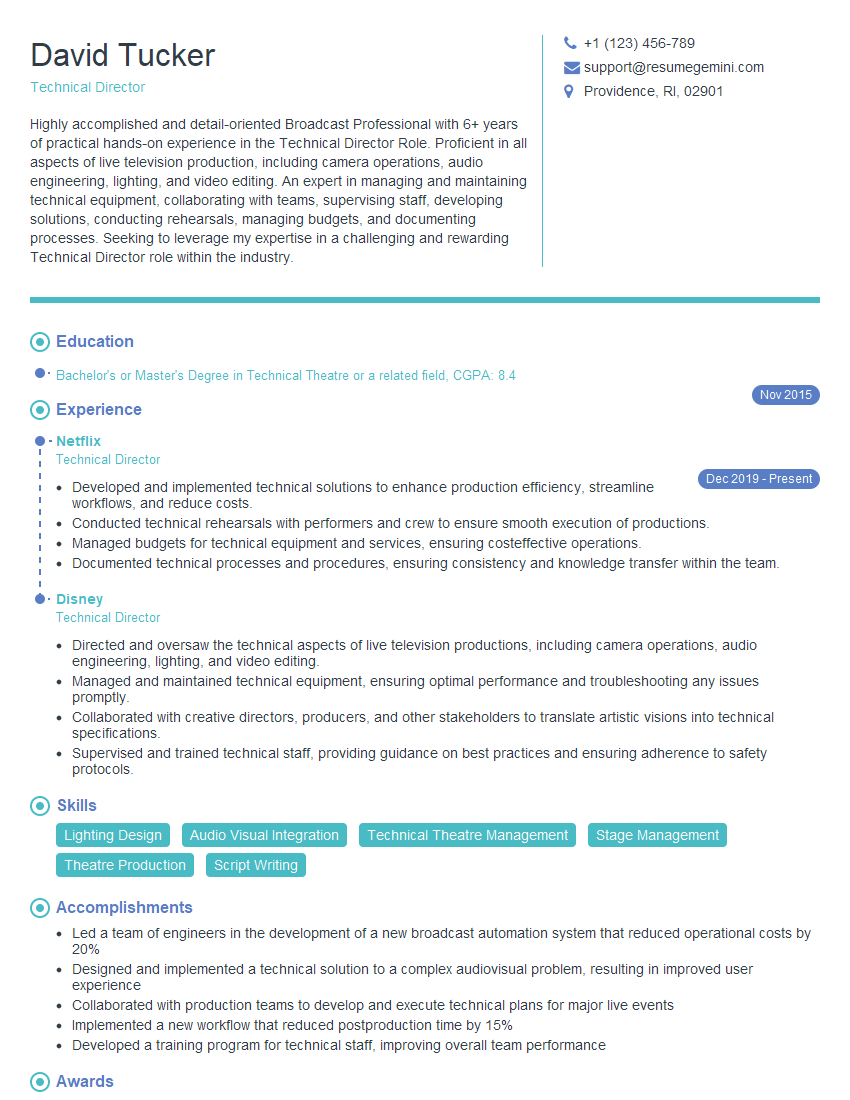
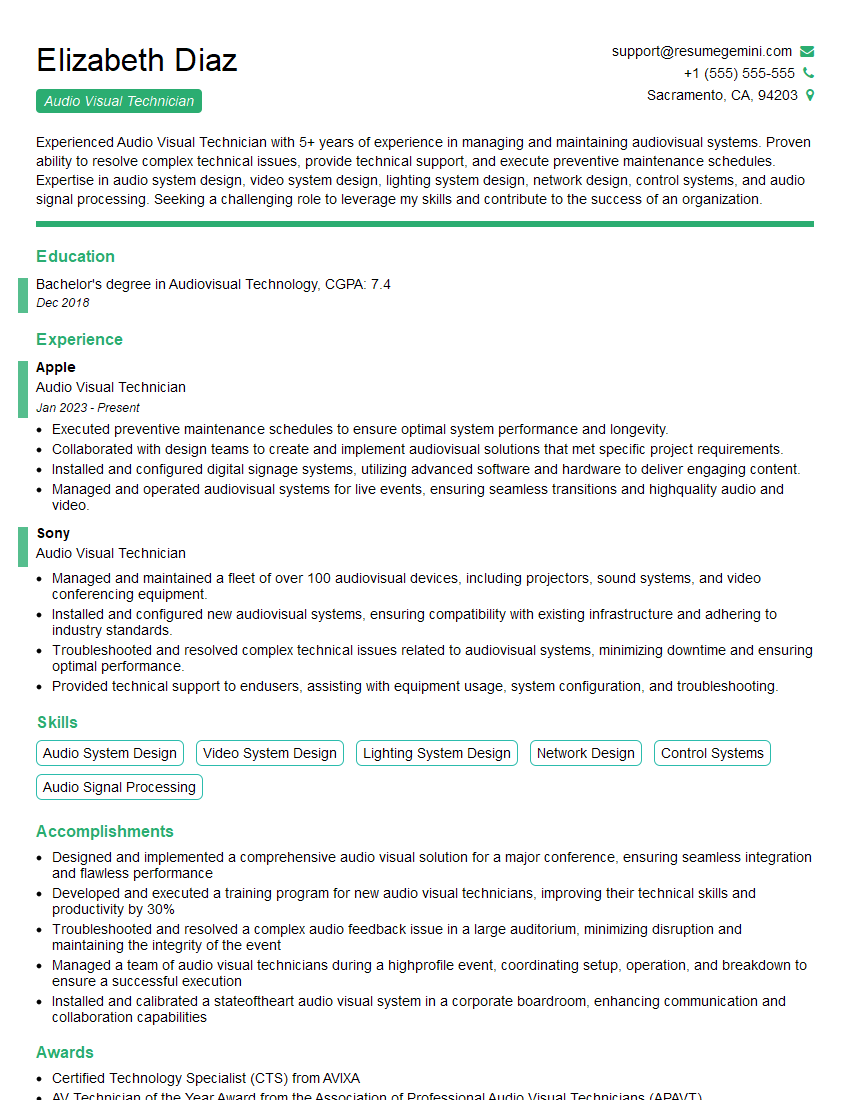
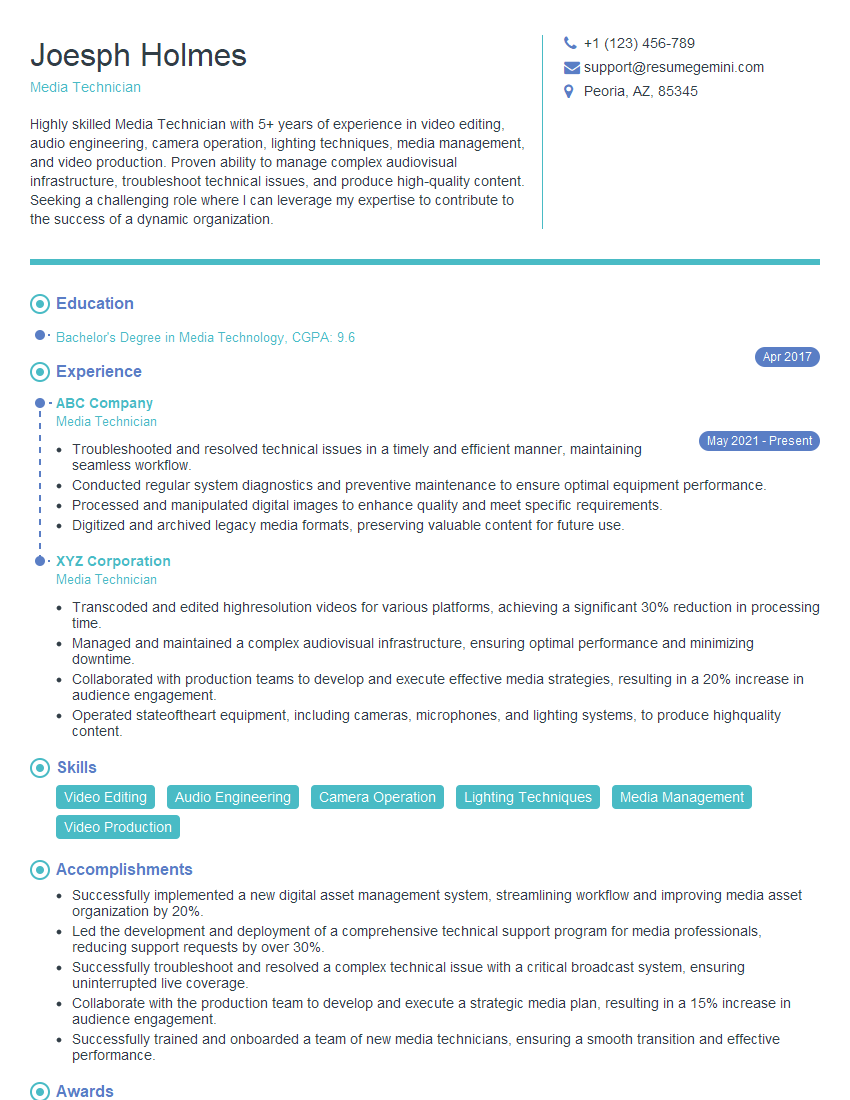
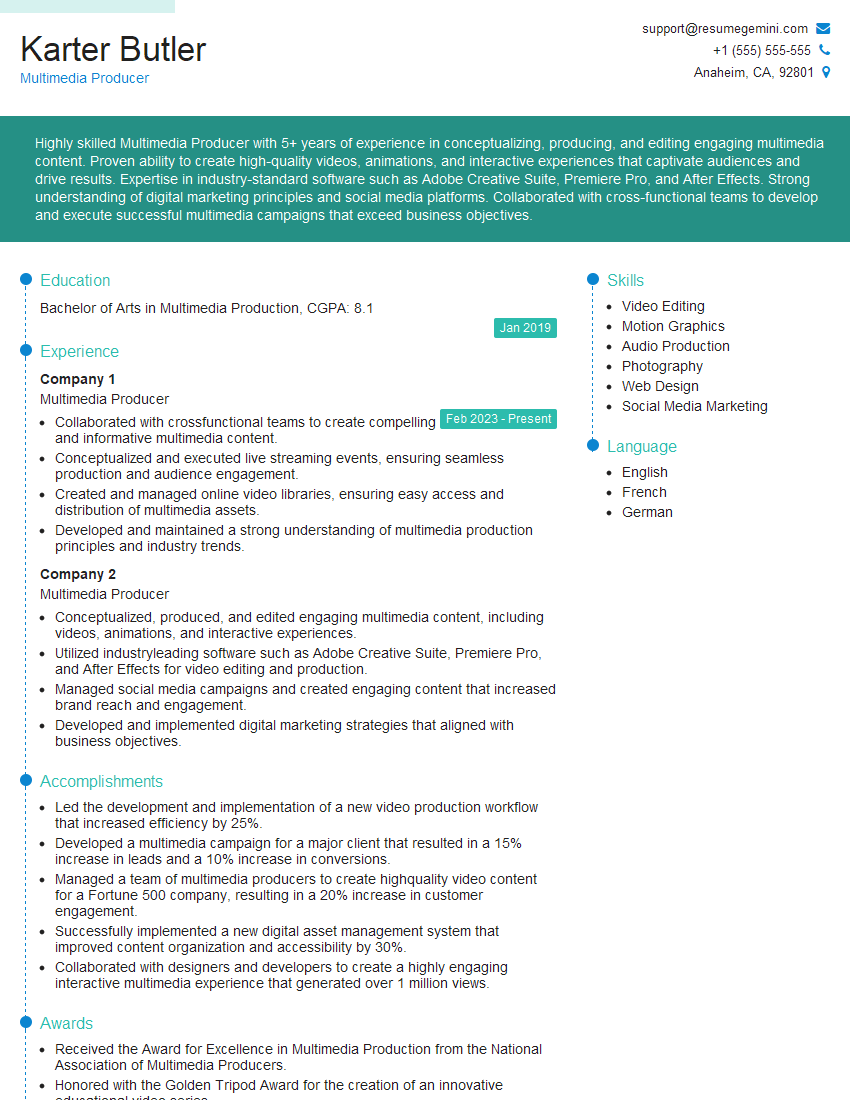
Mastering Audio/Visual Production opens doors to exciting and rewarding careers. To maximize your job prospects, a strong, ATS-friendly resume is crucial. ResumeGemini is a trusted resource to help you craft a professional resume that showcases your skills and experience effectively. They provide examples of resumes tailored to the Audio/Visual Production industry, helping you stand out from the competition. Take the next step towards your dream career – build your best resume with ResumeGemini.
Explore more articles
Users Rating of Our Blogs
Share Your Experience
We value your feedback! Please rate our content and share your thoughts (optional).
What Readers Say About Our Blog
Hi, I represent an SEO company that specialises in getting you AI citations and higher rankings on Google. I’d like to offer you a 100% free SEO audit for your website. Would you be interested?
good
