Feeling uncertain about what to expect in your upcoming interview? We’ve got you covered! This blog highlights the most important Nonlinear Editing interview questions and provides actionable advice to help you stand out as the ideal candidate. Let’s pave the way for your success.
Questions Asked in Nonlinear Editing Interview
Q 1. What are the key differences between linear and nonlinear editing?
Linear editing is like working with a single reel of film; you physically cut and splice the footage in a sequential order. Once a piece of footage is placed, it’s fixed in its position. Nonlinear editing (NLE), on the other hand, is like working with digital building blocks. You can freely rearrange, add, delete, and modify clips without affecting other parts of your project. This flexibility is a game changer for creativity and efficiency.
- Linear Editing: Destructive, sequential, limited flexibility, requires physical media manipulation.
- Nonlinear Editing: Non-destructive, random access, high flexibility, allows for iterative changes and experimentation.
Imagine making a documentary. With linear editing, you’d need to meticulously plan every shot’s position before starting. With NLE, you can shoot various interviews and B-roll, assemble them in any order you want, and make changes as needed throughout the editing process.
Q 2. Explain the concept of a timeline in nonlinear editing.
The timeline in NLE software is the heart of the editing process. Think of it as a digital representation of your final video. It’s a horizontal track where you arrange your video and audio clips in a specific sequence, determining their order and duration in the final product. Each track can represent a different layer: video, audio, graphics, titles, etc. This allows for complex layering and visual effects.
For example, you might have a video track for your main footage, an audio track for dialogue, and another audio track for music. You can adjust the duration of clips, add transitions, apply effects, and synchronize audio and video with precision on the timeline. The non-destructive nature of NLE means edits are recorded as instructions, not direct manipulations of your source files, so you can always revert to earlier versions.
Q 3. Describe your experience with various NLE software (e.g., Premiere Pro, Final Cut Pro, Avid Media Composer).
I have extensive experience with all three major NLE platforms: Adobe Premiere Pro, Final Cut Pro, and Avid Media Composer. Each has its strengths and weaknesses, and my choice depends on the project requirements and personal preference.
- Premiere Pro: I appreciate its robust ecosystem within the Adobe Creative Suite, its flexibility with various codecs and formats, and its extensive plugin support. I’ve used it extensively for corporate videos, short films, and even some large-scale documentary work.
- Final Cut Pro: A powerful and intuitive system, excellent for fast-paced editing. Its magnetic timeline and efficient organization tools are particularly helpful for larger projects. I’ve found it especially effective for projects requiring quick turnaround times.
- Avid Media Composer: This is the industry standard for many high-end film and television productions. I’ve used it on collaborative projects requiring shared workspaces and meticulous organization of extensive footage. Its advanced features and integration with professional workflows are invaluable for complex productions.
My experience encompasses everything from basic cuts and edits to advanced color grading, audio mixing, and motion graphics. I’m proficient in working with various formats and codecs and have a deep understanding of post-production workflows.
Q 4. How do you manage large video projects and their associated files?
Managing large video projects requires a methodical approach to organization and file management. I utilize a combination of strategies:
- Project Folders: A clear and structured folder system is vital. I create separate folders for different projects, with subfolders for source footage, audio files, rendered sequences, graphics, and final outputs. Consistent naming conventions are crucial.
- External Drives: Using external hard drives (SSD preferred for speed) is essential. This prevents overwhelming my system and provides backups. RAID systems are ideal for even greater redundancy and speed on larger projects.
- Media Management Software: Software like Adobe Bridge or similar tools helps to catalog and preview large volumes of footage efficiently. This is especially helpful for identifying and selecting specific shots quickly.
- Proxy Workflow: For large 4K or higher-resolution projects, creating proxy files (smaller, lower-resolution versions of the source footage) is critical. This allows for a smoother editing experience, without sacrificing quality in the final output.
Regular backups are essential to prevent data loss. I use a combination of local and cloud backups to ensure the safety of my projects.
Q 5. What are your preferred methods for organizing media assets?
Organizing media assets is crucial for efficient workflow. My preferred method combines keywords, folder structure, and metadata:
- Keywording: I assign relevant keywords to each clip – shot type, location, subject, date – for easy searching and retrieval. This metadata tagging system is invaluable when working on massive libraries.
- Folder Structure: As previously mentioned, I use a consistent folder structure for each project, separating source media, assets, and deliverables. Logical names (e.g., “Interview_John_01,” “B-roll_Market_03”) make it simple to find what I need.
- Metadata Embedding: Embedding metadata directly into the media files via software allows for searching and organization outside of my project folder structure. This is useful for quick retrieval within other editing or management software.
This systematic approach ensures that I can quickly locate any clip, regardless of how large the project becomes. It’s about building a robust, searchable archive that’s easy to navigate.
Q 6. Explain your workflow for color correction and grading.
My color correction and grading workflow is iterative and depends on the project’s aesthetic requirements. It typically involves these steps:
- Basic Correction: First, I address any technical issues, such as white balance and exposure, aiming for a neutral baseline.
- Color Grading: Next, I shape the overall look and mood of the video, using color wheels, curves, and other tools to manipulate contrast, saturation, and hue. I’ll often use LUTs (Look-Up Tables) to establish a starting point and experiment with presets to find what suits the project.
- Selective Adjustments: Using masks and selections, I make specific adjustments to particular parts of the frame, such as highlighting a subject or darkening the background. This adds detail and visual interest.
- Final Refinement: I refine the color balance, ensuring consistency throughout the entire project. I also take into account the final output format – different platforms may have different color profiles.
I often use reference images or videos to guide my color grading decisions, ensuring a cohesive visual style. Software-specific tools, such as Premiere Pro’s Lumetri Color panel or Resolve’s powerful grading tools, are essential in this process.
Q 7. How do you handle audio mixing and mastering in your editing process?
Audio mixing and mastering are equally crucial to a high-quality video. My audio workflow typically involves these steps:
- Cleaning and Repair: The first step is to clean and repair audio tracks, removing any noise, hum, or unwanted sounds. I utilize noise reduction and audio restoration tools.
- Dialogue Editing: I synchronize dialogue, remove any unwanted breaths or coughs, and may apply equalization and compression to improve clarity and consistency.
- Sound Design: Depending on the project, I incorporate additional audio elements like sound effects (SFX) and music. This is crucial for setting the mood and enhancing the emotional impact of the video.
- Mixing: I balance the levels of different audio tracks – dialogue, SFX, music – using audio mixing techniques to ensure clarity and prevent clipping or muddiness. Using panning creates a sense of depth and spatialization.
- Mastering: The final step is mastering the audio mix, ensuring the sound is optimized for the target platform. This often involves final EQ adjustments, compression, and limiting to achieve the desired loudness and dynamic range.
I frequently collaborate with dedicated audio engineers for larger projects or those with more demanding audio requirements. However, I possess a strong understanding of audio principles and utilize professional tools for all steps, ensuring the audio quality matches the high visual standards.
Q 8. What are some common video editing techniques you frequently utilize?
Nonlinear editing allows for flexible manipulation of video clips, unlike linear editing where changes require re-recording. My frequent techniques include:
- J-Cuts and L-Cuts: Overlapping audio and video to create seamless transitions. A J-cut starts the audio of the next clip before the video of the current clip ends; an L-cut is the reverse.
- Cutting on Action: Editing during a continuous movement to hide the cut, enhancing fluidity. For example, cutting when a character’s hand reaches for an object.
- Match Cuts: Connecting two different shots with a visually similar element or action. This creates a subtle but effective transition that guides the viewer’s attention.
- Assembly Editing: Initially structuring the video with rough cuts, focusing on the story’s pacing and overall sequence, before refining individual shots.
- Using B-roll Footage: Incorporating supplementary shots to enhance visual appeal and offer context beyond the main footage. This helps to maintain viewer engagement.
These techniques, employed strategically, help to maintain viewer engagement and create a polished final product.
Q 9. Describe your experience with keyframing and animation.
Keyframing and animation are essential for creating dynamic and engaging visuals. My experience spans various software including Adobe After Effects and Premiere Pro. I routinely use keyframes to:
- Control animation parameters: I create smooth movements for titles, lower thirds, and graphics by adjusting properties like position, opacity, and scale over time. For instance, I might keyframe a logo to fade in and out.
- Adjust audio levels: Keyframing allows precise control of audio levels throughout a video, for example, gradually increasing music volume during a climax scene.
- Create complex motion graphics: Using keyframes, I can craft advanced animations such as camera moves, object transformations, and even rotoscoping effects.
For example, recently, I animated a company logo to ‘bounce’ into place on screen using multiple keyframes to adjust the logo’s position and scaling, creating a playful introduction.
Q 10. How do you approach collaborative editing projects?
Collaborative editing necessitates clear communication and organized workflows. My approach involves:
- Utilizing cloud-based platforms: Tools like Frame.io or Dropbox facilitate easy sharing and version control, allowing multiple editors to access and work on the same project simultaneously.
- Establishing clear roles and responsibilities: Defining individual tasks, such as color grading, sound design, or specific editing sections, streamlines the process and prevents conflicts.
- Regular check-ins and feedback sessions: Frequent communication keeps everyone on the same page, allowing for early identification and resolution of issues. This ensures a cohesive final product.
- Using a consistent naming convention and file organization: This maintains clarity and prevents confusion, particularly on large-scale projects.
A recent project involved a team of three. We used Frame.io for collaborative editing, with each editor focusing on different sections. Regular meetings ensured a smooth, efficient workflow.
Q 11. How do you troubleshoot common editing problems?
Troubleshooting in nonlinear editing often involves systematically identifying the source of the problem. Common issues include:
- Media incompatibility: Checking codec compatibility and resolution ensures smooth playback and prevents errors. Often, converting media to a compatible format solves the issue.
- Rendering errors: This can stem from insufficient system resources or corrupted project files. Optimizing project settings and using a more powerful computer can resolve this.
- Audio synchronization problems: If audio is out of sync, reviewing the timeline for any frame rate or timecode discrepancies is essential. Rechecking source files can also help identify the root issue.
- Software glitches: Sometimes the software itself can cause problems. Restarting the software or even the computer, followed by checking for updates, can often fix unexpected errors.
My approach involves methodically examining each potential cause, beginning with the most common, ensuring a logical, systematic troubleshooting strategy.
Q 12. Describe your experience with video effects and compositing.
Video effects and compositing are integral parts of my workflow. My experience includes:
- Color correction and grading: I utilize tools to adjust color balance, saturation, and contrast, enhancing the overall look and feel. This can involve using color wheels, curves, and other specialized tools.
- Keying and masking: These techniques allow isolating specific parts of the video, enabling the addition of effects or changing the background. For example, this is crucial for green-screen compositing.
- Motion graphics and animation: Creating engaging visuals such as lower thirds, animated titles, and transitions enhances the visual impact of the final product.
- Using plugins and effects to enhance visual appeal: Various plugins add capabilities, such as particle effects or advanced color correction, enriching the editing process.
For a recent commercial, I used advanced keying techniques to seamlessly integrate CGI elements with live-action footage, creating a visually stunning effect.
Q 13. How do you ensure the final product meets client specifications and deadlines?
Meeting client specifications and deadlines involves meticulous planning and communication. My process begins with:
- Thorough review of the brief: Understanding client needs and expectations is paramount. This includes reviewing the storyline, target audience, and desired aesthetics.
- Creating a detailed shot list and timeline: This acts as a roadmap for the project, ensuring efficient resource allocation and adherence to deadlines.
- Regular client updates: This maintains transparency and allows for timely feedback, incorporating adjustments as needed throughout the production process.
- Utilizing project management tools: Assigning tasks, tracking progress, and maintaining communication all contribute to effective project management.
A key strategy is to proactively identify and address potential delays, ensuring that the project stays on schedule.
Q 14. What’s your process for exporting and delivering finished videos?
Exporting and delivering videos involves ensuring quality and compatibility. My process includes:
- Choosing the appropriate codec and resolution: This depends on the intended platform and desired quality; some platforms require specific formats or resolutions for optimal playback.
- Rendering with appropriate settings: Balancing quality and file size is crucial. Higher quality results in larger file sizes, but may be required for specific platforms or uses.
- Testing the final output: Before delivery, the video is tested on multiple devices and platforms to ensure compatibility and correct playback.
- Providing client with various formats: Clients might require different formats for different purposes; offering multiple options accommodates their varied needs.
Client satisfaction is paramount; by supplying options, I guarantee suitability and streamline post-production integration.
Q 15. Explain your understanding of different video codecs and formats.
Video codecs and formats are fundamental to nonlinear editing. A codec (coder-decoder) is essentially a set of rules for compressing and decompressing video data. Different codecs offer varying degrees of compression, impacting file size and quality. The format refers to the container that holds the video and audio data, along with metadata.
- H.264 (AVC): A widely used codec known for a good balance between compression and quality. It’s compatible with most devices and editing software.
- H.265 (HEVC): A newer codec offering better compression than H.264, resulting in smaller file sizes for the same quality. However, it can be more demanding on processing power.
- ProRes (Apple): A high-quality, lossless or near-lossless codec ideal for intermediate editing. It maintains image fidelity but results in larger file sizes.
- DNxHD (Avid): Another high-quality codec often used in professional workflows, offering good balance between quality and file size.
Formats like MP4 (using codecs like H.264 or H.265), MOV (often using ProRes or other codecs), and AVI (supporting various codecs) are common examples. The choice depends on factors like project requirements (quality vs. storage), target platform, and editing software capabilities. For instance, a high-resolution project might benefit from ProRes for editing, then transcoded to H.264 for online distribution.
Career Expert Tips:
- Ace those interviews! Prepare effectively by reviewing the Top 50 Most Common Interview Questions on ResumeGemini.
- Navigate your job search with confidence! Explore a wide range of Career Tips on ResumeGemini. Learn about common challenges and recommendations to overcome them.
- Craft the perfect resume! Master the Art of Resume Writing with ResumeGemini’s guide. Showcase your unique qualifications and achievements effectively.
- Don’t miss out on holiday savings! Build your dream resume with ResumeGemini’s ATS optimized templates.
Q 16. How familiar are you with motion graphics and titling software?
I’m highly proficient in motion graphics and titling software. My experience spans various applications, including Adobe After Effects, Cinema 4D, and Motion.
After Effects is my primary tool for creating sophisticated animations, lower thirds, and kinetic typography. I’m comfortable with keyframing, expressions, and working with pre-made templates and plugins to expedite the process. I’ve also used Cinema 4D for 3D titles and animations, integrating them seamlessly into my video projects. Motion is another strong tool in my arsenal, allowing for efficient and high-quality motion graphics creation within the Final Cut Pro ecosystem.
I understand the importance of creating visually appealing and consistent graphics that enhance the storytelling, and I always strive to match the overall aesthetic of the project.
Q 17. What is your experience with working with different cameras and resolutions?
My experience encompasses a wide range of cameras and resolutions, from DSLR cameras like the Canon EOS series and Sony Alpha series to professional cinema cameras like RED and Arri. I’m also familiar with various sensor sizes and aspect ratios.
I’m comfortable working with footage shot at different resolutions, from standard definition (SD) to high definition (HD) and Ultra High Definition (4K and beyond). I understand the implications of different resolutions on file sizes, editing performance, and final output quality. This includes color space considerations (e.g., Rec.709, Rec.2020) and the management of color grading to maintain consistency across varied sources.
Understanding camera settings such as shutter speed, aperture, and ISO is crucial for achieving a desired look and feel, and something I utilize to help create a cohesive edit across varied footage.
Q 18. Describe a challenging editing project and how you overcame its difficulties.
One challenging project involved a documentary about a historical event, relying heavily on archival footage of various qualities and formats – some grainy, some severely degraded. The timeline was incredibly tight, and the client expected a polished, visually consistent final product.
To overcome the difficulties, I employed several strategies:
- Careful Footage Selection and Restoration: I prioritized the highest-quality footage available, then used restoration techniques in software like Adobe Premiere Pro and After Effects to improve the degraded material. This involved careful color correction, noise reduction, and stabilization.
- Creative Editing: I used creative editing techniques to minimize the impact of low-quality footage, sometimes employing stylistic choices to complement the imperfections. For instance, adding stylized filters or grain to unify the look.
- Efficient Workflow: I established a rigorous workflow, organizing the footage meticulously and utilizing proxy editing for smoother performance. Using a well-defined color grading pipeline ensured consistent coloring across different sources.
- Collaboration: Close communication with the client and the archival team helped make the best use of limited time and resources. Early feedback loops were critical.
The result was a documentary that met the client’s expectations, even with the significant challenges presented by the source material. It showcased the power of thoughtful editing and creative problem-solving in overcoming technical limitations.
Q 19. What are your strategies for time management in video editing?
Time management in video editing is crucial. My strategies involve a combination of planning, organization, and efficient workflow techniques.
- Detailed Pre-Production: A clear project plan is paramount. This includes a well-defined scope, a shot list (if applicable), and a rough timeline.
- Organized Asset Management: I use a meticulous system for organizing my footage, audio, graphics, and other assets. This minimizes time wasted searching for specific files.
- Proxy Editing: When working with high-resolution footage, I often employ proxy editing. This allows for smoother performance during the editing process, reserving rendering of full-resolution files for the final stages.
- Batch Processing: Automating repetitive tasks like exporting or converting files saves considerable time.
- Regular Breaks: Preventing burnout is important for maintaining focus and efficiency. Taking short, regular breaks improves productivity.
These strategies, coupled with realistic timelines and effective communication with clients, ensure timely project completion without sacrificing quality.
Q 20. How do you ensure video quality and consistency throughout a project?
Maintaining video quality and consistency requires a multi-faceted approach.
- Color Grading Workflow: Establishing a consistent color grading workflow from the outset ensures that footage from different sources maintains a uniform look and feel. Utilizing color correction, color matching, and color grading techniques allows for a cohesive final product.
- Audio Consistency: Matching audio levels and sound design across different clips or scenes is vital for consistency. Professional audio sweetening techniques are important.
- Resolution and Aspect Ratio Control: Maintaining consistent resolution and aspect ratio throughout the project ensures a clean and visually appealing final output. Keeping an eye on these technical factors is paramount.
- Regular Quality Checks: Throughout the editing process, regular quality checks—including full-screen previews—ensure any issues are identified and addressed promptly.
- Version Control: Regularly saving different versions of the project with clear version numbers and notes minimizes the risk of data loss and facilitates easy reversion if needed.
By implementing these checks and balances, I ensure the final product meets the highest quality standards.
Q 21. How do you handle client feedback and revisions?
Handling client feedback and revisions effectively is a crucial part of the process. I approach it with a structured and collaborative mindset.
- Clear Communication: Maintaining open and frequent communication throughout the project helps to minimize misunderstandings and align expectations.
- Organized Feedback System: I document all feedback received, whether through email, notes, or in-person meetings, keeping a log of what’s been addressed and what is pending.
- Iterative Approach: I typically handle revisions in an iterative manner. Presenting revisions in small batches allows for more manageable feedback and quicker turnarounds.
- Transparency and Justification: If a revision isn’t feasible or would compromise the overall quality, I explain my reasoning clearly and propose alternative solutions.
- Confirmation: After implementing revisions, I always seek client confirmation before proceeding to the next stage to ensure everyone is on the same page.
This approach ensures a smooth and collaborative process, leading to a final product that satisfies both the client’s vision and the highest professional standards.
Q 22. What are your skills in using proxy files?
Proxy files are lower-resolution versions of your source video files. They’re invaluable in nonlinear editing because they significantly speed up the editing process, especially when working with high-resolution footage like 4K or 8K. Think of them as lightweight stand-ins for your high-resolution originals. I use them extensively. My workflow typically involves generating proxies during the ingest process using software like Adobe Media Encoder or DaVinci Resolve. This creates smaller, easily manageable files that allow for smooth playback and editing even on less powerful hardware. Once the edit is locked, I then relink to the high-resolution originals for rendering the final product. This two-step process maintains high-quality output while maximizing efficiency during the creative phase.
For example, imagine editing a feature film shot in 8K. Editing directly with the original files would be incredibly slow and resource-intensive. Proxies allow me to work fluidly, making quick cuts and transitions without the constant buffering and lag. Once the edit is finalized, I simply switch back to the high-resolution files and render the final master.
Q 23. What are your experience in audio synchronization and cleaning?
Audio synchronization and cleaning are critical components of post-production. My experience spans various techniques, from simple manual adjustments to utilizing advanced audio editing software. I’m proficient in identifying and fixing audio drift, removing unwanted noise and hum, and matching audio levels for consistency. I often use tools like Adobe Audition or DaVinci Resolve’s Fairlight audio suite.
A common scenario is a scene shot with separate audio tracks – one for dialogue and another for ambient sound. I use these tools to perfectly align these tracks, ensuring lip-sync accuracy. I also employ noise reduction techniques to eliminate unwanted background noise – such as traffic or wind – enhancing audio clarity. I often use spectral editing to identify and isolate specific problematic frequencies, for example, to remove a persistent hum from a microphone.
Q 24. How familiar are you with different video compression techniques?
My familiarity with video compression techniques is extensive. I understand the trade-offs between file size, quality, and compression artifacts. I work regularly with codecs like H.264, H.265 (HEVC), ProRes, and DNxHD. The choice of codec heavily depends on the project’s requirements, target platform, and desired level of quality.
For instance, H.264 is widely used for online platforms due to its broad compatibility and relatively small file sizes. However, it can sometimes introduce more noticeable compression artifacts compared to ProRes, which is a lossless codec often preferred for post-production workflows where maintaining the highest possible quality is paramount. H.265 offers better compression than H.264, achieving higher quality at lower bitrates, but it requires more processing power. I select the best codec for each situation, weighing the balance between file size, quality, and the available processing power.
Q 25. Describe your knowledge of video standards and resolutions (e.g., 4K, HD).
I have a thorough understanding of video standards and resolutions. I’m experienced in working with various formats, from standard definition (SD) to high definition (HD) – including 720p and 1080p – and ultra-high definition (4K and beyond). I understand the implications of different aspect ratios (e.g., 16:9, 4:3) and their impact on the final output. I’m aware of the challenges of working with high-resolution footage and optimize workflows accordingly, often using proxies as discussed earlier.
For example, when working with 4K footage, I understand the need for powerful hardware to handle the larger file sizes. Furthermore, I know how to appropriately scale down the resolution for different platforms without compromising quality, or how to letterbox or pillarbox content to maintain the correct aspect ratio on various screens. This ensures compatibility across devices and screens.
Q 26. How would you optimize video for different platforms (e.g., YouTube, Vimeo, Social Media)?
Optimizing video for different platforms involves a multi-faceted approach. It’s not a ‘one-size-fits-all’ solution. I tailor my approach to each platform’s specifications and target audience. For YouTube, I might prioritize H.264 encoding with a resolution optimized for their recommended settings to balance quality and streaming efficiency. Vimeo might allow for higher bitrates and resolution for a more visually rich experience. Social media platforms, however, often require specific formats and aspect ratios, such as square or vertical videos, and may necessitate lower resolutions for quicker loading times on mobile devices.
I usually perform several test renders at varying bitrates and resolutions to determine the optimal balance between quality and file size for each specific platform. I carefully monitor the bandwidth requirements of my target audience to ensure their viewing experience is smooth. I also consider platform-specific guidelines, like YouTube’s recommended video settings or Instagram’s preferred aspect ratio.
Q 27. Explain your understanding of metadata and its importance in video production.
Metadata is essentially the information *about* the video file, not the video content itself. This information includes things like title, description, keywords, author, creation date, and technical specifications (codec, resolution, frame rate, etc.). It’s incredibly important for several reasons. Firstly, it makes organizing and searching large video libraries much easier. Secondly, it aids in efficient collaboration, ensuring that everyone on the team is working with the correctly labelled and identified assets. Finally, metadata is crucial for online platforms to understand your video, improving searchability and discoverability.
Imagine a large-scale documentary project with hundreds of clips. Without proper metadata, finding a specific shot could be a nightmare. By meticulously tagging each asset with relevant keywords and descriptions, searching and locating the required footage becomes considerably more efficient. Furthermore, platforms like YouTube use metadata to categorize and recommend your videos to viewers.
Q 28. What are your preferred methods for archiving and backing up video projects?
Archiving and backing up video projects are essential for data security and long-term preservation. My approach is multi-layered and employs both local and cloud-based storage. Locally, I use RAID storage systems for redundancy, offering protection against hardware failure. These usually consist of multiple hard drives mirroring data. For cloud storage, I employ reputable services like Backblaze or Amazon S3, which offer secure offsite backups. I maintain at least two independent backup locations for crucial projects.
A typical workflow involves creating a local RAID backup immediately after a project is completed. Then, I upload a second copy to the cloud storage. This two-tiered system ensures redundancy and protects against catastrophic events such as fire or theft, offering peace of mind. Furthermore, I regularly verify the integrity of my backups to guarantee that they remain accessible and usable.
Key Topics to Learn for Nonlinear Editing Interview
- Understanding Nonlinear Editing Principles: Grasp the core concepts of nonlinear workflows, including the ability to edit video in any order, regardless of recording sequence. Understand the advantages over linear editing.
- Software Proficiency: Demonstrate practical experience with industry-standard NLE software like Adobe Premiere Pro, Avid Media Composer, DaVinci Resolve, or Final Cut Pro. Be prepared to discuss your experience with specific features and workflows in your chosen software.
- Video and Audio Editing Techniques: Mastering cuts, transitions, color correction, audio mixing, and effects is crucial. Be ready to discuss your approach to achieving specific visual and sonic goals.
- Project Management in NLE: Explain your process for organizing projects, managing assets, and collaborating with teams. Discuss strategies for efficient workflow and problem-solving during production.
- Workflow Optimization: Highlight your understanding of efficient editing techniques, including keyboard shortcuts, using proxies, and optimizing render settings for faster turnaround times.
- File Formats and Codecs: Demonstrate a solid understanding of various video and audio file formats and codecs, and their impact on editing performance and quality.
- Troubleshooting and Problem-Solving: Be prepared to discuss how you approach technical challenges during the editing process, such as corrupted files, codec issues, or performance bottlenecks.
- Storytelling and Narrative Structure: Beyond technical skills, emphasize your understanding of visual storytelling, pacing, and how editing contributes to a compelling narrative.
Next Steps
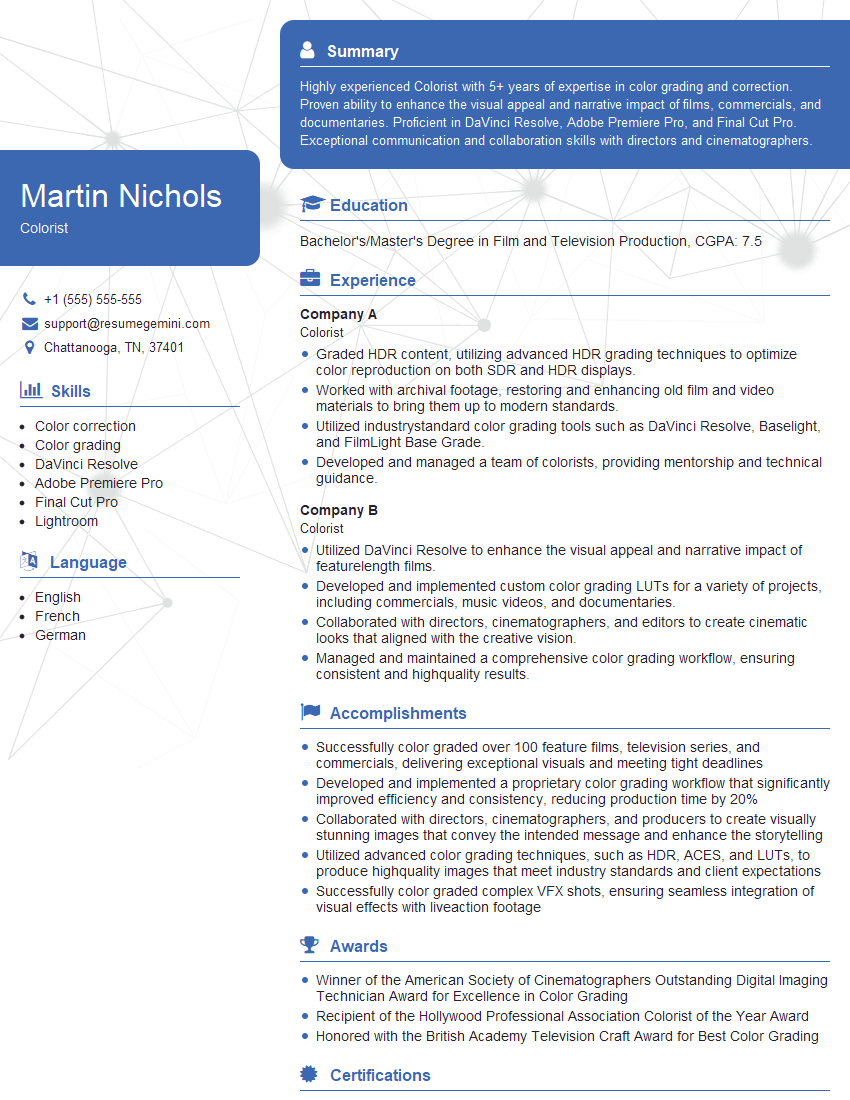
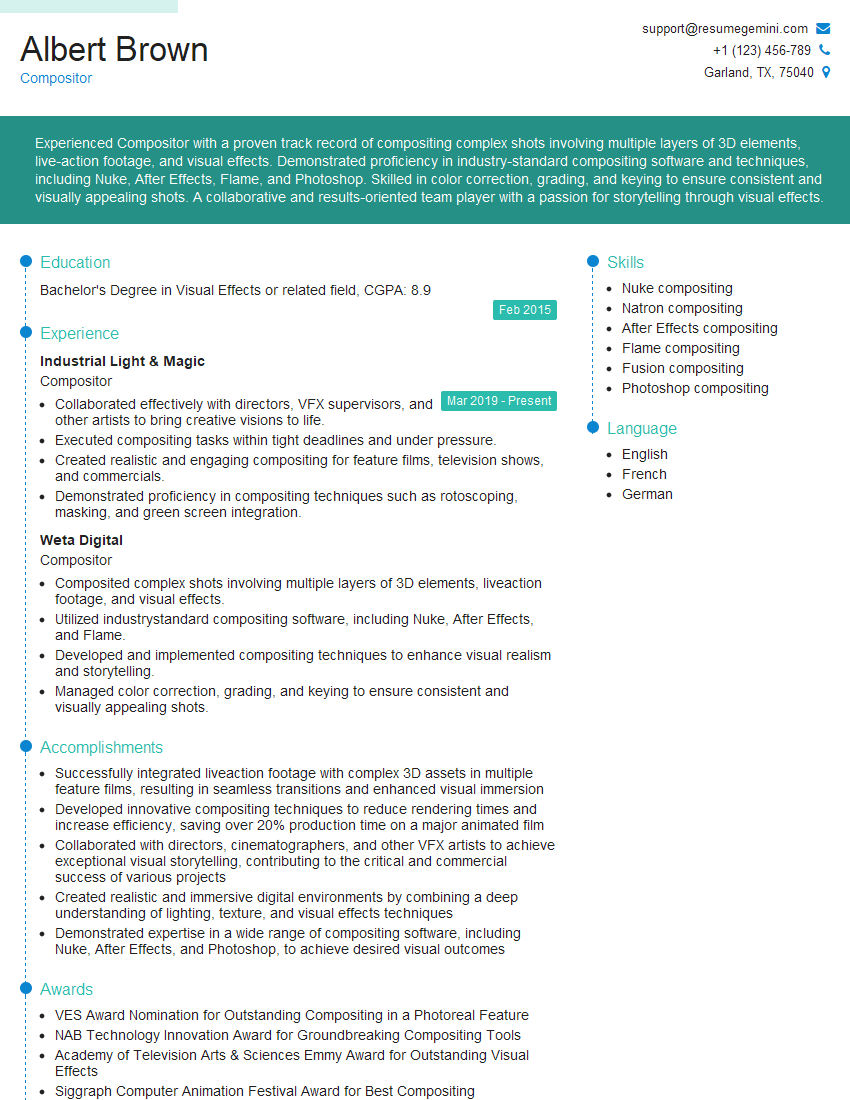
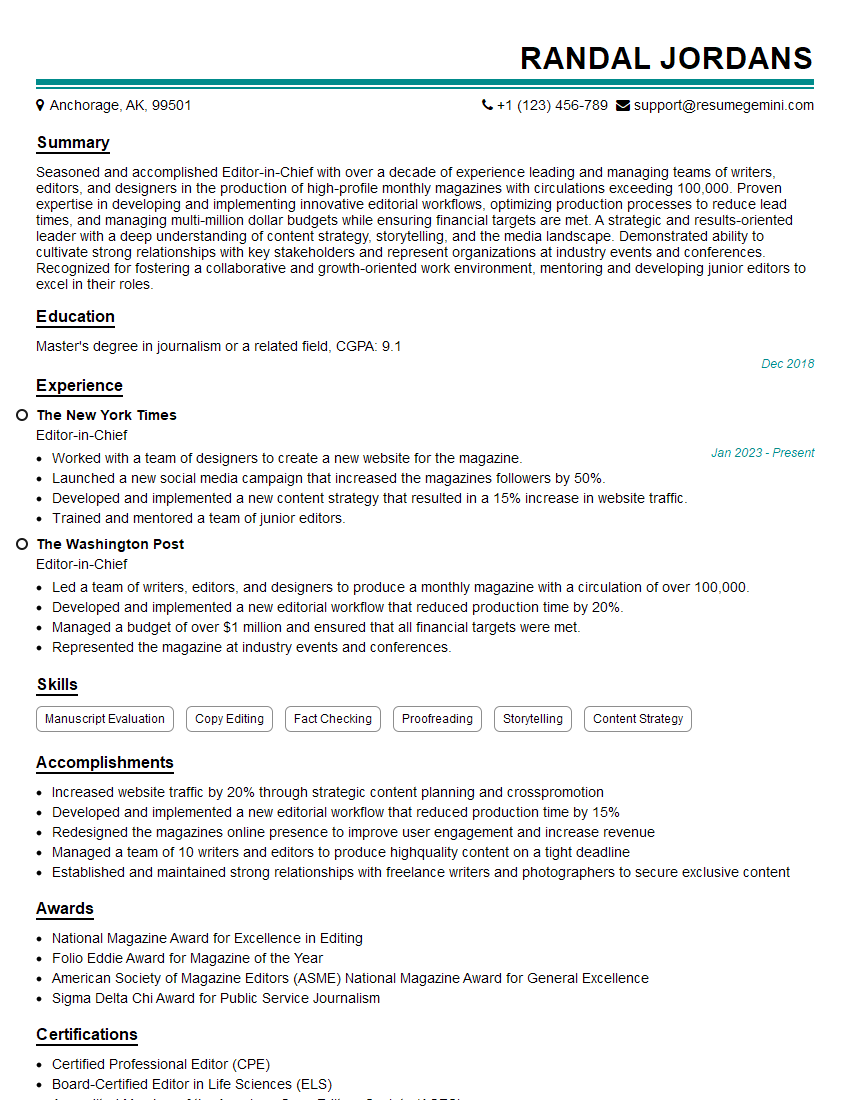
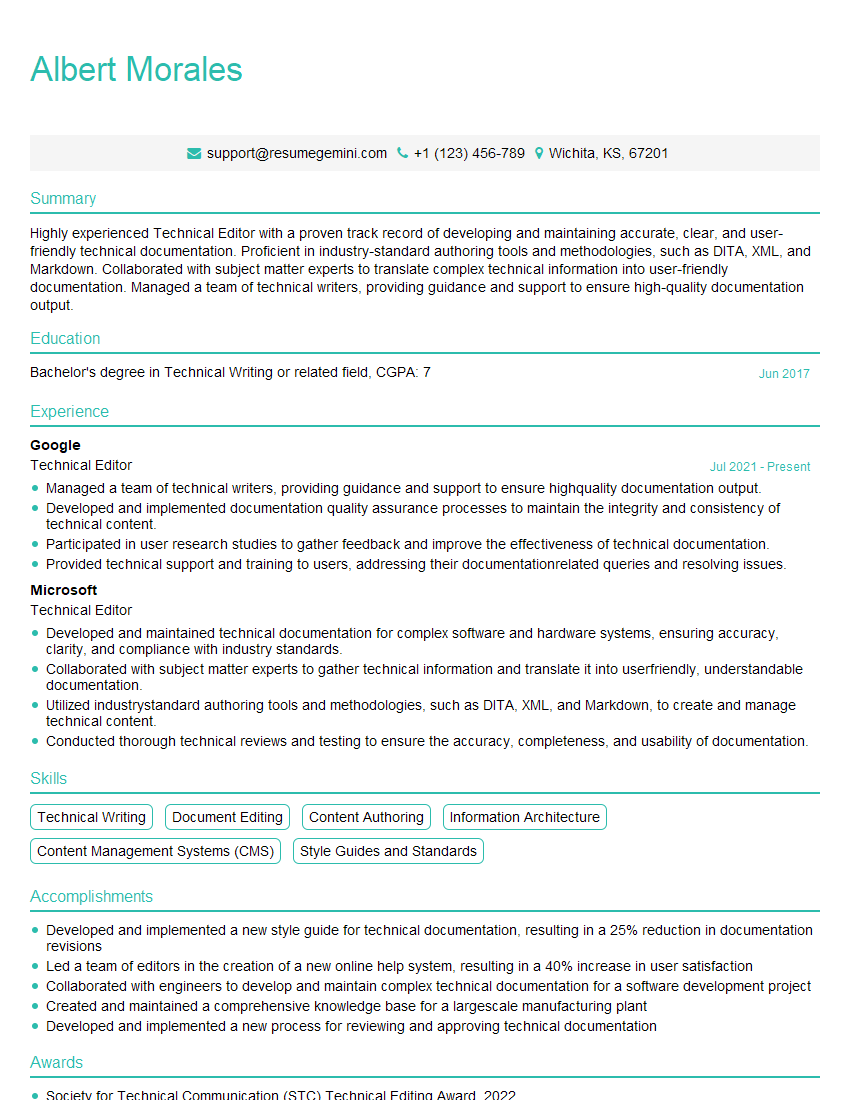
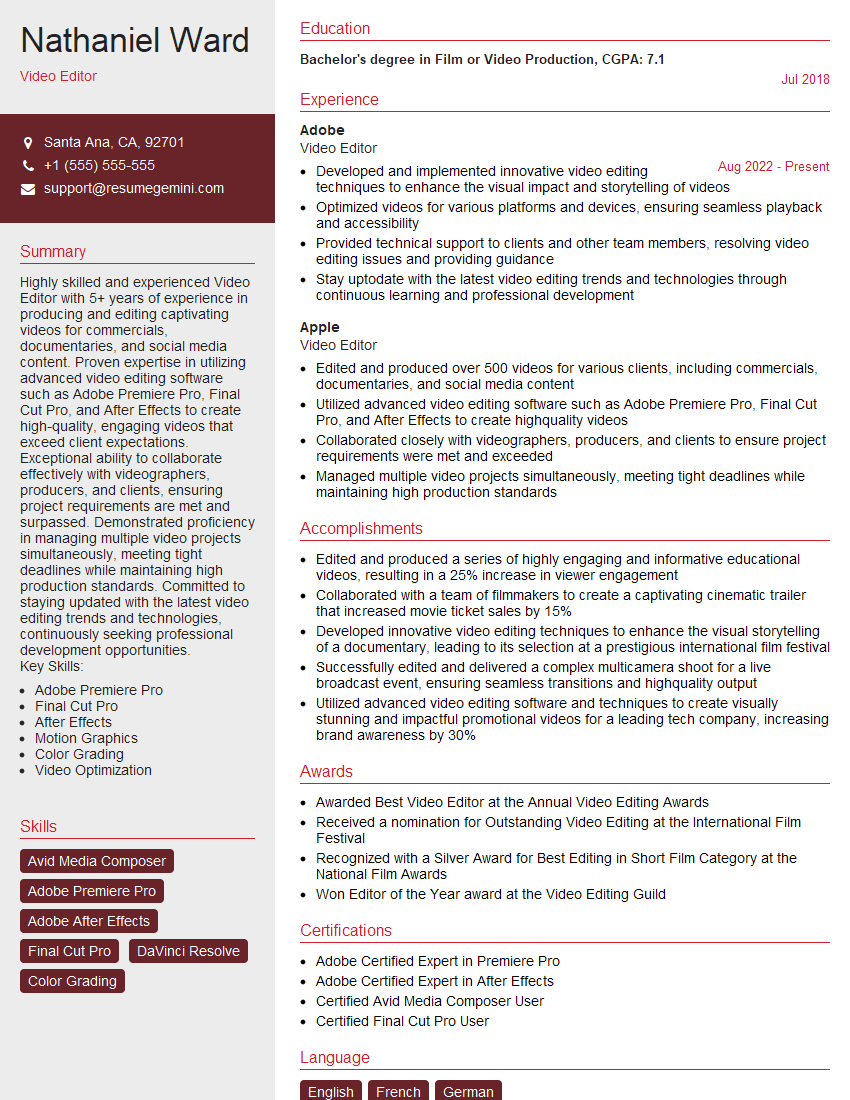
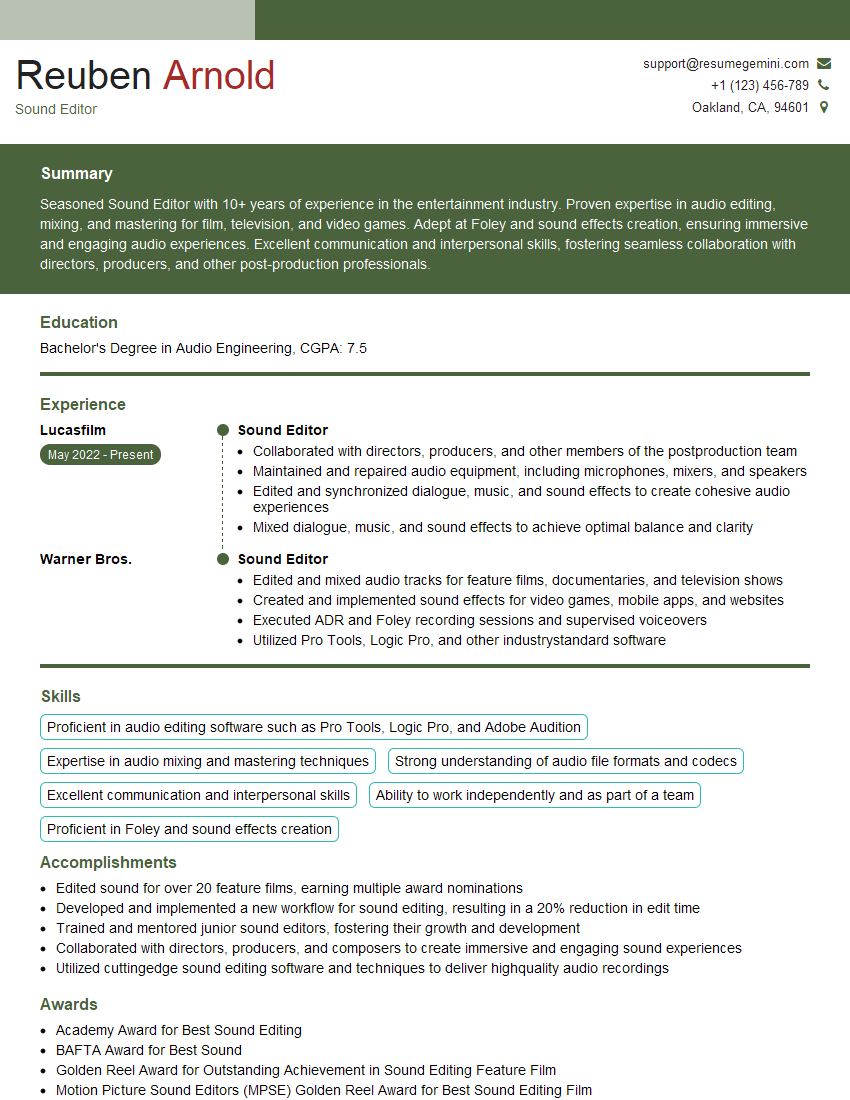
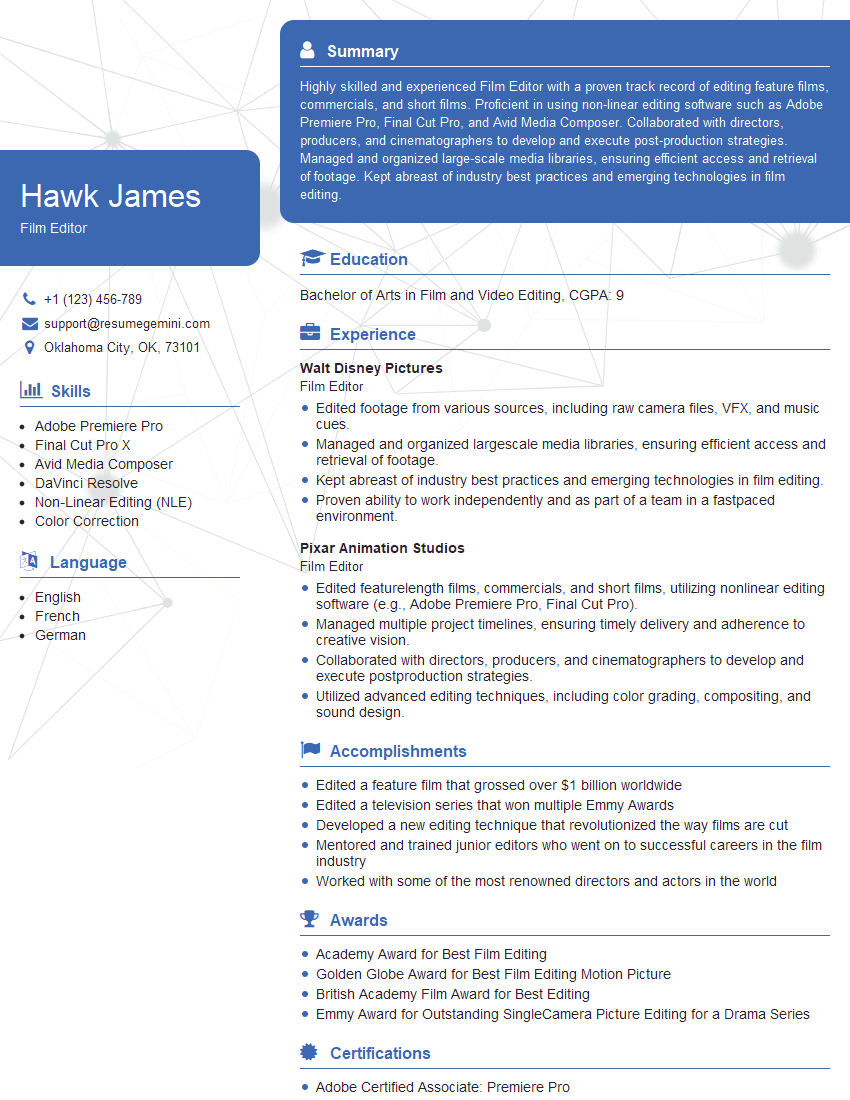
Mastering nonlinear editing opens doors to exciting and rewarding careers in film, television, advertising, and more. To maximize your job prospects, crafting a strong, ATS-friendly resume is essential. ResumeGemini is a trusted resource to help you build a professional and impactful resume that highlights your skills and experience effectively. Examples of resumes tailored to Nonlinear Editing professionals are available to guide you. Take the next step in your career journey – build your best resume today!
Explore more articles
Users Rating of Our Blogs
Share Your Experience
We value your feedback! Please rate our content and share your thoughts (optional).
What Readers Say About Our Blog
good
