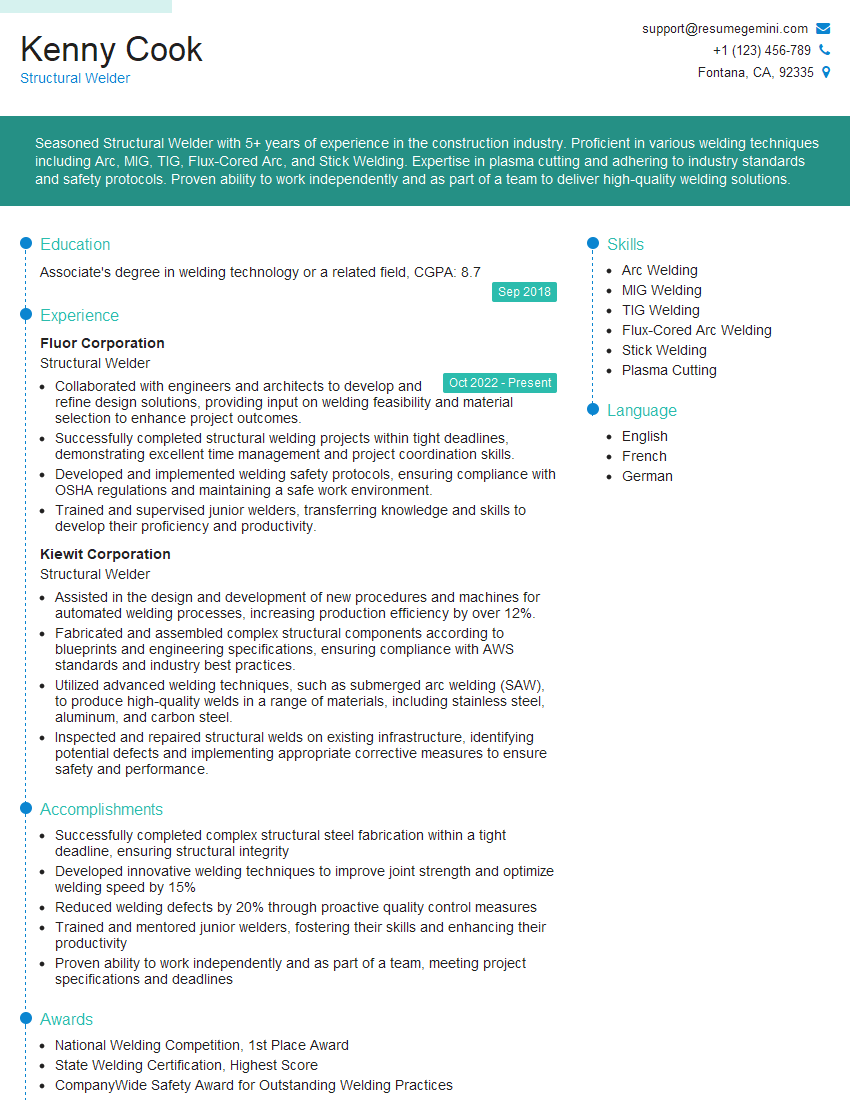
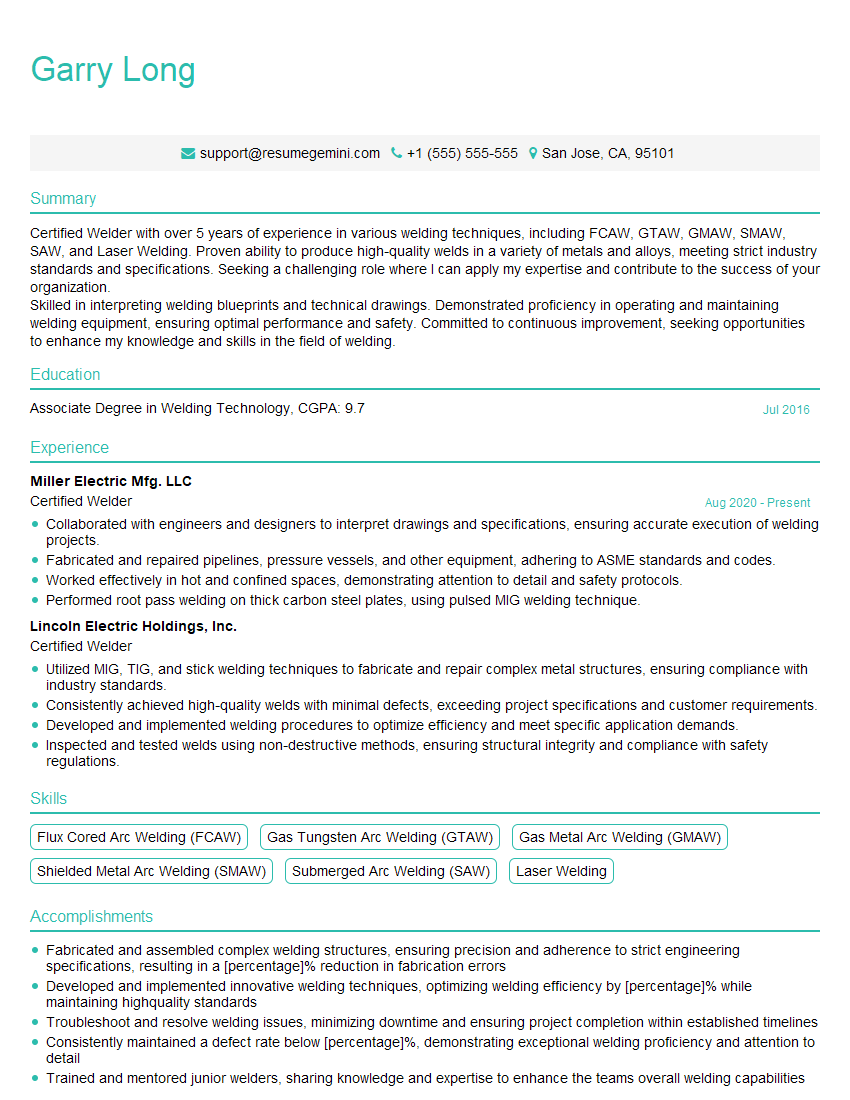
Every successful interview starts with knowing what to expect. In this blog, we’ll take you through the top Welding Techniques (SMAW, GMAW) interview questions, breaking them down with expert tips to help you deliver impactful answers. Step into your next interview fully prepared and ready to succeed.
Questions Asked in Welding Techniques (SMAW, GMAW) Interview
Q 1. Explain the difference between SMAW and GMAW welding processes.
SMAW (Shielded Metal Arc Welding) and GMAW (Gas Metal Arc Welding) are both arc welding processes, but they differ significantly in their method of shielding the weld and delivering the filler metal. SMAW, often called stick welding, uses a consumable electrode coated with flux that provides shielding gas and deoxidizers. The flux melts along with the electrode and base metal, creating the weld pool and protecting it from atmospheric contamination. GMAW, or MIG welding, uses a continuously fed consumable wire electrode as the filler metal, and a separate shielding gas is supplied to protect the weld from the atmosphere. Think of it like this: SMAW is like using a crayon that’s both the color and the drawing implement, while GMAW is like using a paintbrush and paint separately.
In essence, SMAW is simpler to set up, requiring only an electrode and power source, making it portable. GMAW requires more equipment, including a wire feeder, shielding gas supply, and often a more sophisticated power source, but offers greater speed and control, particularly for automation.
Q 2. Describe the types of shielding gases used in GMAW welding.
The choice of shielding gas in GMAW is critical for weld quality and depends heavily on the base metal and the desired weld properties. Common gases include:
- 100% CO2: Cost-effective, provides good penetration, but produces more spatter and can result in a less aesthetically pleasing weld. Often used for thicker materials.
- Argon (Ar): Produces cleaner welds with less spatter and offers better arc stability, particularly for aluminum and stainless steel. However, it’s more expensive than CO2.
- Argon/CO2 mixtures: These blends attempt to combine the benefits of both gases, often offering a good balance between cost and weld quality. The precise mixture depends on the specific application.
- Helium (He): Used less frequently due to its high cost, but it offers very good arc stability and deeper penetration for thicker materials.
The selection of the shielding gas impacts arc characteristics, penetration, and weld bead appearance, demonstrating the importance of careful gas selection in optimizing GMAW processes.
Q 3. What are the common welding defects in SMAW and GMAW, and how are they prevented?
Both SMAW and GMAW are prone to specific defects. Prevention relies on proper technique, equipment maintenance, and material selection.
- SMAW Defects:
- Porosity: Caused by gas entrapment in the weld metal. Prevented by using dry electrodes, maintaining proper arc length, and avoiding contamination.
- Undercutting: Groove formation at the weld toe. Avoided by using proper amperage and travel speed.
- Lack of Fusion: Incomplete melting of the base metal. Prevented through proper joint preparation, preheating, and consistent welding technique.
- Slag Inclusion: Trapped slag from the electrode coating. Prevented through proper cleaning of the weld between passes.
- GMAW Defects:
- Porosity: Similar to SMAW, but also affected by shielding gas purity and moisture content. Regular gas system checks are crucial.
- Spatter: Droplets of molten metal ejected from the weld pool. Minimized through correct voltage, wire feed speed, and shielding gas selection.
- Lack of Fusion: Similar to SMAW, proper joint preparation and cleaning are essential.
- Burn-through: Excessive penetration creating a hole through the weld. Avoided by carefully selecting welding parameters for material thickness.
Regular inspection and understanding of the root causes are key to preventing these defects. Training and experience are paramount in recognizing and avoiding these common issues.
Q 4. Explain the importance of proper electrode selection in SMAW welding.
Electrode selection in SMAW is paramount for weld quality and mechanical properties. The electrode’s coating type determines its characteristics. For example, E6010 electrodes are known for their deep penetration and ability to weld in all positions, excellent for out-of-position welding in the field, while E7018 electrodes are popular for their superior strength and toughness, making them ideal for critical applications. Each electrode has a designation (e.g., E6010, E7018) that describes its tensile strength, position capabilities, and coating type. Selecting the incorrect electrode can lead to poor weld quality, cracking, or insufficient strength. Proper selection ensures the weld meets the required specifications for the application.
For instance, using an E6010 electrode where an E7018 is specified could lead to a weld that fails under stress. Always refer to welding codes and specifications to ensure proper electrode selection and compliance.
Q 5. What are the different types of wire feed systems used in GMAW?
GMAW wire feed systems deliver the consumable electrode to the weld pool. The two primary types are:
- Push-type: The wire is pushed from a spool towards the contact tip. Simpler and more robust, suitable for less demanding applications.
- Pull-type: The wire is pulled from the spool towards the contact tip by a motorized drive mechanism. More precise control over wire feed speed, often preferred for higher-quality welds and automated systems.
Some systems utilize servo-driven motors to provide even more precise control and adaptability to changing conditions.
Q 6. How do you determine the appropriate welding parameters (voltage, amperage, wire feed speed) for GMAW?
Determining appropriate GMAW parameters requires considering several factors: base metal type and thickness, joint design, shielding gas, and desired weld properties. There isn’t a single formula; it involves a combination of experience and experimentation guided by manufacturer recommendations and welding codes.
A common approach involves starting with a suggested parameter setting from a welding data sheet or handbook, based on the wire type and base material. Then, adjustments are made based on the appearance of the weld bead. Too much voltage can lead to burn-through; too little results in insufficient penetration. Wire feed speed directly relates to weld metal deposition rate. Fine-tuning involves observing the weld bead’s shape, penetration, and absence of defects. Many machines have digital displays and adjustable controls to fine-tune these parameters until optimal settings are achieved.
Think of it like baking a cake – you start with a recipe (manufacturer’s recommendations), but you might need to adjust the oven temperature (voltage) or baking time (wire feed speed) depending on your oven and the desired outcome.
Q 7. Describe the process of setting up and adjusting a GMAW welding machine.
Setting up a GMAW machine involves several steps:
- Connect the gas cylinder: Ensure the gas regulator is properly connected and set to the correct pressure. Leak tests are crucial before commencing any welding.
- Connect the wire spool: Properly load the correct diameter wire onto the wire feeder and ensure smooth wire feed operation.
- Set the welding parameters: Adjust the voltage, amperage, and wire feed speed based on the selected wire, shielding gas, and base metal. Refer to manufacturer recommendations or pre-calculated settings from a welding data sheet.
- Adjust the contact tip-to-work distance: Maintain the correct distance to ensure proper arc length and shielding gas coverage.
- Purge the gas line: Purge the line with shielding gas to remove any air or contaminants before striking the arc. This step is crucial to avoid porosity.
- Strike the arc and weld: Practice on a scrap piece of the same material to fine-tune the settings before welding the actual workpiece.
- Monitor and adjust parameters: Continuously monitor the weld bead appearance and adjust parameters as needed to achieve optimal results.
Regular maintenance, including cleaning the contact tip and checking for wire feed issues, is vital for consistent performance and safety. Always consult the manufacturer’s instructions for your specific welding machine model.
Q 8. What are the safety precautions you take while performing SMAW and GMAW welding?
Safety is paramount in welding. For both SMAW (Shielded Metal Arc Welding) and GMAW (Gas Metal Arc Welding), my safety protocols are rigorous and consistent. Think of it like this: welding is inherently dangerous; it involves high temperatures, intense light, and potentially hazardous fumes. So, preparation is key.
- Personal Protective Equipment (PPE): This is non-negotiable. I always wear a welding helmet with the appropriate shade lens to protect my eyes from arc flash and intense UV radiation. My clothing includes flame-resistant clothing, gloves, and high-topped boots to safeguard against burns and sparks.
- Respiratory Protection: Depending on the material being welded and the environment, I use a respirator to filter out harmful fumes and particulate matter. This is particularly crucial when dealing with materials containing lead, cadmium, or chromium.
- Fire Prevention: The welding area is cleared of flammable materials, and a fire extinguisher is readily available. A fire watch may be implemented depending on the project’s scope and the surrounding environment.
- Environmental Considerations: I ensure adequate ventilation to dissipate fumes and gases. Proper shielding protects nearby workers and equipment from sparks and spatter.
- Electrical Safety: With GMAW, which uses electrical current, I always check the power source and connections for proper grounding and insulation. I inspect cables for any damage before beginning the weld.
Regular safety checks and adherence to these protocols are not just procedures, but a commitment to my own safety and the safety of those around me.
Q 9. Explain the importance of preheating and post-heating in welding.
Preheating and post-heating are crucial steps in many welding processes, especially when dealing with thicker materials or those susceptible to cracking. They help control the cooling rate of the weld, preventing issues like cracking and ensuring optimal mechanical properties.
Preheating warms the base metal before welding. This reduces the temperature gradient between the hot weld and the cooler base material, lessening the stress caused by rapid cooling. Imagine heating a glass before pouring hot liquid into it; it’s less likely to crack. Preheating is often necessary for high-carbon steels and other materials prone to cracking due to rapid cooling.
Post-heating involves slowly heating the weldment *after* welding. This helps relieve residual stresses that can develop during cooling. This is particularly useful in large welds or those subjected to high stress in service. The slow, controlled cooling reduces the likelihood of cracking or distortion.
The specific preheating and post-heating temperatures depend on the base material, thickness, and welding process. These are usually outlined in welding procedure specifications (WPS) and determined using appropriate charts and tables.
Q 10. How do you identify and correct weld porosity?
Weld porosity, the presence of small holes or voids in the weld metal, weakens the weld and compromises its integrity. Identifying it usually involves visual inspection, often supplemented with non-destructive testing (NDT) methods like radiography or ultrasonic testing.
Visually, porosity might appear as small pinholes or craters on the weld surface. If significant, it might even be noticeable as a rough or uneven surface. Radiography and ultrasound provide a more detailed internal examination.
Correcting porosity requires addressing its root cause. Common causes include:
- Contamination: Moisture, oil, or other contaminants on the base metal or welding consumables.
- Improper shielding gas: Insufficient or contaminated shielding gas in GMAW.
- Incorrect welding parameters: Excessive welding speed, improper arc length, or insufficient heat input.
Corrective actions involve cleaning the base metal thoroughly, using fresh consumables, adjusting welding parameters based on the material, or improving shielding gas flow/quality. In severe cases, the weld may need to be removed and re-welded.
Q 11. How do you identify and correct weld undercut?
Weld undercut is a groove melted into the base metal alongside the weld, weakening the joint and creating a stress concentration point. It’s easily identified visually as a groove at the toe of the weld (where the weld meets the base metal).
Undercutting primarily results from excessive heat input, too high a welding current, or improper welding technique, such as using too short an arc length. It’s more common in GMAW if wire feed speed is too high.
Correction involves grinding the undercut to blend it smoothly with the surrounding base metal. This restores the structural integrity. In severe cases, the weld might need to be removed and re-welded with appropriate parameter adjustments. Prevention is key; adhering to correct welding techniques and parameters will minimize undercut formation.
Q 12. What are the different types of weld joints?
Weld joints classify the way parts are joined together. The choice of joint type depends on factors like the application’s strength requirements and ease of welding.
- Butt Joint: The simplest, joining two pieces end-to-end.
- Lap Joint: Overlapping two pieces.
- Tee Joint (T-joint): Joining two pieces at a 90-degree angle.
- Corner Joint: Joining two pieces at a 90-degree angle, with the weld on the outside.
- Edge Joint: Joining the edges of two overlapping pieces.
Each joint type can have variations, such as single- or double-sided welds, depending on access and design requirements. Choosing the right joint type is crucial for structural integrity and efficiency in the welding process.
Q 13. Explain the importance of proper joint preparation in welding.
Proper joint preparation is absolutely essential for creating strong, reliable welds. It ensures good fusion between the base materials and reduces the chances of defects.
Joint preparation includes several steps, often dictated by the type of joint and the material being welded. These steps might include:
- Edge beveling: Cutting angles into the edges of the base materials to create a gap for the weld pool to penetrate. This is crucial in thicker materials to avoid lack of fusion.
- Cleaning: Removing any rust, scale, paint, or other surface contaminants that can interfere with the weld. This improves the weld’s quality and strength.
- Alignment: Ensuring the base materials are properly aligned to allow for good penetration and minimize distortion.
- Fit-up: Ensuring the correct gap between the base materials, which is critical for consistent weld penetration and minimizing weld defects.
Without proper joint preparation, welds can be weak, prone to cracking, or contain imperfections such as porosity or lack of fusion. This leads to significant safety and reliability concerns.
Q 14. Describe the different types of weld beads.
Weld beads describe the shape and appearance of the deposited weld metal. Understanding different bead types helps in assessing weld quality and selecting appropriate welding parameters. Think of it like writing with a welding torch!
- Convex Bead: A bead with a wider top than base; usually indicates high heat input or excessive travel speed.
- Concave Bead: A bead with a narrower top than base; usually indicates low heat input or insufficient travel speed.
- Reinforced Bead: A bead with extra weld metal deposited, often for added strength in specific areas.
- Flat Bead: A bead with an even width across its entire length. This is the ideal, signifying proper heat input and travel speed, leading to a visually pleasing and robust weld.
The type of bead formed can reveal much about the process parameters used and the quality of the weld. A consistently good-looking weld bead suggests consistent, controlled welding technique.
Q 15. What are the limitations of SMAW and GMAW welding processes?
Both Shielded Metal Arc Welding (SMAW) and Gas Metal Arc Welding (GMAW) have their limitations. SMAW, while versatile and requiring minimal equipment, suffers from lower deposition rates compared to GMAW. The process is also affected by the skill of the welder, as maintaining a consistent arc length and manipulating the electrode is crucial. Furthermore, slag removal between passes adds time to the process. GMAW, while faster and offering better weld quality control with consistent arc, can be sensitive to environmental conditions like wind and humidity, affecting arc stability. It also requires more specialized equipment, including a wire feeder and gas supply. In addition, GMAW’s effectiveness is dependent on proper shielding gas selection and maintenance of shielding gas coverage.
For example, SMAW struggles in windy conditions due to the open arc, leading to inconsistent welds. Conversely, GMAW can experience spatter issues if the wire feed speed or voltage isn’t correctly adjusted, impacting the final weld appearance and integrity. The choice between the two depends heavily on the specific application and the available resources.
Career Expert Tips:
- Ace those interviews! Prepare effectively by reviewing the Top 50 Most Common Interview Questions on ResumeGemini.
- Navigate your job search with confidence! Explore a wide range of Career Tips on ResumeGemini. Learn about common challenges and recommendations to overcome them.
- Craft the perfect resume! Master the Art of Resume Writing with ResumeGemini’s guide. Showcase your unique qualifications and achievements effectively.
- Don’t miss out on holiday savings! Build your dream resume with ResumeGemini’s ATS optimized templates.
Q 16. What are the advantages and disadvantages of using solid and flux-cored wires in GMAW?
In GMAW, both solid and flux-cored wires have their own set of advantages and disadvantages.
- Solid Wires: Advantages include cleaner welds (less spatter and inclusions), better penetration control, and suitability for automated welding. Disadvantages include a higher sensitivity to environmental conditions, requiring precise shielding gas coverage and potentially higher skill for optimal performance. They also require more careful wire feed adjustments for consistent welds.
- Flux-cored Wires: Advantages include greater ease of use, good performance in all positions, and less sensitivity to wind or drafts. They produce relatively high deposition rates. Disadvantages include the presence of slag which needs careful removal, often resulting in a less visually appealing weld, and a slightly lower weld quality compared to solid wire in terms of mechanical properties in certain applications. The flux itself can also contain alloying elements which might not always be desired.
For instance, a project requiring high-speed automated welding in a controlled environment might benefit from solid wire for its efficiency and clean weld profile. In contrast, a field welding job where wind could be a factor, a flux-cored wire might be preferred for its ease of use and resilience to environmental conditions.
Q 17. How do you perform a visual inspection of a weld?
A visual inspection is the first and often most crucial step in weld quality assessment. It involves a systematic examination of the weld’s appearance to identify any defects. This usually begins with checking the weld for overall geometry (proper size, profile), followed by a detailed observation for surface imperfections.
- Weld bead profile: Is it smooth, consistent, free from excessive undercuts or overlaps?
- Surface condition: Are there any cracks, pores, spatter, or inclusions (foreign material trapped in the weld)?
- Fusion: Does the weld bead show complete fusion with the base material (no lack of fusion)?
- Overall appearance: Is the weld bead uniformly colored, or are there any discolourations that suggest inconsistencies?
The process often utilizes magnification tools (e.g., magnifying glass) to better assess fine details. Documentation, including photographs and written notes, is critical. The standards followed often dictate specific acceptance criteria which guide the inspection. Experienced welders or inspectors can often identify potential issues based on the visual characteristics alone.
Q 18. Explain the importance of using proper personal protective equipment (PPE).
Using proper Personal Protective Equipment (PPE) is paramount in welding due to the inherent hazards involved. The arc generates intense ultraviolet (UV) and infrared (IR) radiation, along with molten metal spatter and potentially harmful fumes. Inadequate PPE can lead to severe injuries.
- Welding Helmet/Shield: This is essential for protecting eyes and face from intense light and spatter. The helmet should have an appropriate shade number corresponding to the welding process.
- Welding Gloves: Provide protection for hands and forearms from burns and spatter.
- Welding Jacket/Apron: Made of flame-resistant materials, these protect the body from burns and spatter.
- Safety Boots: Protect feet from falling objects and molten metal.
- Respiratory Protection: Depending on the material being welded, a respirator may be needed to prevent inhalation of harmful fumes.
For example, I once witnessed a colleague suffer a severe eye injury due to a lack of proper eye protection. This incident reinforced the critical importance of always adhering to safety protocols and wearing complete PPE. It’s not just about personal safety; it’s also about maintaining a safe working environment for everyone on the site.
Q 19. How do you troubleshoot common problems encountered during GMAW welding?
Troubleshooting in GMAW welding involves systematic investigation of potential issues.
- Excessive Spatter: This often indicates incorrect wire feed speed, voltage, or shielding gas flow. Adjustments to these parameters are typically required. Using a different type of wire can also sometimes resolve spatter issues.
- Porosity (holes in the weld): This usually results from contamination (moisture in the wire, improper shielding gas, etc.) or inadequate cleaning of the base metal. Addressing these issues through proper cleaning and using appropriately dried materials is critical.
- Lack of Fusion: Insufficient heat input or improper joint preparation are the most common causes. Adjusting welding parameters (amperage, travel speed) and ensuring proper joint design can correct this. Ensuring the base material is clean and free from oxides is also crucial.
- Undercut/Overlaps: These usually indicate incorrect travel speed or amperage. Adjusting the welding parameters often resolves this.
A systematic approach, starting with visual inspection and then checking welding parameters, is essential. For instance, if a weld exhibits porosity, I’d first check for moisture in the shielding gas and wire, inspect the base metal for cleanliness, and finally, consider adjusting welding parameters.
Q 20. Describe your experience with different types of welding positions.
My experience encompasses all common welding positions (flat, horizontal, vertical, and overhead). Each position presents unique challenges.
- Flat Position: This is the easiest position, allowing for a consistent weld bead. It’s typically used for training and establishing foundational skills.
- Horizontal Position: Requires careful control of the weld pool to prevent sagging. The technique usually involves weaving or a faster travel speed.
- Vertical Position: This position is more challenging, demanding precise control of the weld pool to prevent runs or undercut. Appropriate amperage, travel speed and technique adjustments are critical.
- Overhead Position: The most challenging position, requiring significant skill and experience to control the molten weld pool against gravity. Experience and proper welding techniques are essential to avoid weld defects.
I’ve worked extensively on various projects involving all these positions, from simple structural welds in a flat position to complex pipe welding in all positions. The ability to proficiently weld in all positions is crucial for versatility and addressing diverse project requirements.
Q 21. How do you calculate the required weld size based on design specifications?
Calculating the required weld size is critical for ensuring structural integrity. This is done using design specifications and appropriate welding codes (like AWS D1.1 for structural steel). The size is determined by the load-carrying capacity required for the joint and is usually expressed as a combination of weld leg length and throat thickness.
The process often involves considering several factors:
- Joint design: Different joint types (butt, fillet, lap, etc.) have varying strength characteristics and influence weld size calculations.
- Load requirements: The expected load (tensile, shear, etc.) on the weld dictates the necessary strength of the weld.
- Material properties: The yield strength and other mechanical properties of the base material affect the required weld size.
- Safety factor: A safety factor is always included to account for uncertainties and variations in material or workmanship.
Calculation methods may use formulas or tables provided in relevant welding codes. For example, for a fillet weld in structural steel, the leg size (or weld size) would be calculated based on the applied load, the material’s yield strength, the weld’s throat thickness, the weld’s length, and the applicable safety factors. Software tools are frequently used for complex calculations to reduce errors.
Ultimately, determining the correct weld size is a critical step for ensuring a structure’s safety and longevity and must be performed by a qualified professional following established standards.
Q 22. Explain your understanding of the AWS welding codes and standards.
The American Welding Society (AWS) codes and standards are a crucial set of guidelines that ensure the safety, quality, and consistency of welding processes. They provide detailed specifications for welding procedures, welder qualifications, materials, and inspection methods. Think of them as the rulebook for safe and reliable welding. They cover a wide range of aspects, from the selection of appropriate filler metals to the proper execution of the welding process itself. For example, AWS D1.1 covers structural welding code for steel, providing requirements for the design, fabrication, and inspection of steel structures. Another important code is AWS D1.1/D1.1M which covers structural welding code for steel and covers the use of both metric and inch units. These codes are essential for ensuring the structural integrity of everything from skyscrapers to bridges.
My understanding encompasses not only the individual codes but also the interplay between them. I know how to identify the relevant code for a specific application, understand its requirements, and ensure compliance throughout the welding process. This includes interpreting qualification requirements, material specifications, and inspection criteria. I’ve successfully applied AWS codes in numerous projects, ensuring consistent quality and adherence to industry best practices.
Q 23. Describe your experience with different types of base metals.
My experience spans a wide variety of base metals, including carbon steel, stainless steel (austenitic, ferritic, and martensitic grades), aluminum, and various alloys. Each metal presents unique challenges and requires a tailored approach to welding.
- Carbon Steel: I’m highly proficient in welding various grades of carbon steel, understanding the impact of carbon content on weldability and mechanical properties. I routinely handle mild steel, high-strength low-alloy steels, and even high-carbon steels, employing appropriate preheating and post-weld heat treatment techniques where necessary. A recent project involved welding high-strength steel for a critical component of a construction machine, necessitating meticulous attention to detail and precise control of parameters to ensure the integrity of the weld.
- Stainless Steel: Welding stainless steel demands expertise in preventing sensitization and maintaining corrosion resistance. My experience includes working with different grades of stainless steel, selecting appropriate filler metals, and utilizing techniques like TIG welding to minimize heat input and avoid discoloration. A specific example is my work on a chemical processing plant where maintaining the corrosion resistance of the stainless steel welds was paramount.
- Aluminum: Aluminum welding requires special attention to surface preparation and the use of appropriate filler metals and shielding gases. I’m experienced in TIG and MIG welding of aluminum, understanding the importance of clean surfaces, and proper purging techniques to minimize porosity. I remember a project where precision TIG welding of thin aluminum sheets was crucial for the aerospace component we were constructing.
My ability to adapt welding parameters and techniques to different base metals ensures consistent high-quality welds across diverse projects.
Q 24. How do you interpret welding symbols?
Welding symbols are a concise and standardized way of conveying critical information about a weld. They’re like a shorthand for welders and engineers, ensuring everyone understands the exact requirements for a weld. They include details about the type of weld, the weld size, the location, and any specific requirements.
Interpreting a welding symbol involves understanding its various components. The basic components of a welding symbol include the reference line, arrow, basic weld symbol, dimensions, other supplementary symbols and specifications. The arrow always points to the part to be welded and the reference line indicates the location of the weld. The basic weld symbol indicates the type of weld (e.g., fillet, groove, etc.) The dimensions provide details such as the weld leg size or the weld throat thickness. Supplementary symbols indicate additional specifications, such as the type of welding process to be used, or whether any post-weld heat treatment is required.
For example, a symbol with a triangular basic weld symbol, a specified leg length, and a particular process indicated, would specify a fillet weld with a particular leg length, requiring a specific welding process.
My experience involves not only reading but also creating welding symbols to accurately represent the weld requirements for any given project. This is a fundamental skill that ensures consistent and accurate welding procedures are followed.
Q 25. Explain the process of qualification for welding procedures.
Welding procedure qualification (WPQ) is the process of demonstrating that a specific welding procedure consistently produces welds that meet the required standards. It’s like proving a recipe works every time. This involves a series of tests and inspections to verify the strength, toughness, and overall quality of the welds produced using that specific procedure.
The process typically involves:
- Procedure Development: Defining the specific welding parameters (electrode type, current, voltage, travel speed, etc.) for a given material combination.
- Test Weld Production: Creating test welds using the defined procedure.
- Mechanical Testing: Conducting tests such as tensile, bend, and impact testing to assess the mechanical properties of the weld.
- Macro and Micro Examination: Examining the weld visually and microscopically to assess weld appearance, penetration, and microstructure.
- Radiographic Testing (RT) or other NDT methods: Depending on the requirements, nondestructive testing methods might be used to detect any internal flaws.
- Documentation: Thorough documentation of the entire process, including test results, is essential for the procedure’s approval and future use.
Successful completion of these steps leads to the qualification of the welding procedure, allowing its consistent use in production. I have extensive experience in developing, executing, and documenting WPQs for various base metals and welding processes, ensuring compliance with relevant AWS codes and customer specifications. A challenging project involved qualifying a new welding procedure for a high-strength alloy, requiring rigorous testing and extensive documentation to meet stringent industry standards.
Q 26. Describe your experience with automated welding systems.
My experience with automated welding systems includes working with both robotic and mechanized systems. These systems offer increased precision, repeatability, and efficiency compared to manual welding. They’re particularly useful in high-volume production or applications requiring complex or intricate welds.
I’ve worked with various automated systems, from simple automated guided vehicles (AGVs) carrying welding torches to sophisticated robotic systems with advanced programming capabilities. This includes programming and operating robotic welding cells, troubleshooting equipment malfunctions, and ensuring the quality of welds produced by these automated systems. For instance, on a large-scale manufacturing project, I helped implement a robotic welding system, significantly improving productivity and reducing labor costs while maintaining the consistency of weld quality.
Understanding the programming and operation of these systems, as well as the principles of welding, is critical for ensuring efficient and high-quality automated welding. I’m proficient in both setting up and troubleshooting automated systems to optimize their performance.
Q 27. What is your experience with non-destructive testing (NDT) methods used in welding?
My experience with nondestructive testing (NDT) methods used in welding is extensive, covering various techniques to evaluate weld quality without damaging the component. These methods are crucial for ensuring the integrity of welded structures. I’m familiar with the following:
- Visual Inspection (VT): A fundamental NDT method, visually checking for surface defects such as cracks, porosity, and undercuts.
- Radiographic Testing (RT): Using X-rays or gamma rays to detect internal flaws like cracks, porosity, and lack of fusion.
- Ultrasonic Testing (UT): Employing high-frequency sound waves to detect internal flaws, offering better resolution than RT in certain cases.
- Magnetic Particle Testing (MT): Used for detecting surface and near-surface cracks in ferromagnetic materials.
- Liquid Penetrant Testing (PT): A surface inspection method for detecting cracks and other surface-breaking defects.
I understand the limitations and applications of each method, and I know how to interpret the results to assess weld quality. My experience includes performing and interpreting NDT results, ensuring that welds meet the required standards of quality and safety. A recent project required the use of both RT and UT to detect minute internal flaws in a pressure vessel weld, ensuring the safety of the equipment.
Q 28. How do you maintain welding equipment and ensure its proper functioning?
Maintaining welding equipment is essential for ensuring its proper functioning, safety, and the quality of the welds produced. It’s a multifaceted process that involves regular inspections, preventative maintenance, and prompt repairs.
My maintenance routine includes:
- Daily Inspection: Checking cables, connectors, gas hoses, and other components for any damage or wear. I always ensure the gas cylinders are properly secured and the regulators are correctly adjusted.
- Regular Cleaning: Keeping the welding machine clean of spatter, dust, and debris to prevent malfunctions.
- Preventative Maintenance: This involves regularly scheduled maintenance activities such as lubricating moving parts, checking and replacing worn components (such as contact tips for MIG welding and electrode holders for SMAW), and ensuring proper gas flow rates. I follow manufacturer’s recommendations for preventative maintenance schedules.
- Calibration: Periodic calibration of equipment such as gas flow meters ensures accuracy and consistency in the welding process.
- Prompt Repair: Addressing any malfunctions promptly and reporting any significant issues immediately.
By following a rigorous maintenance schedule, I ensure the equipment remains in optimal condition, minimizing downtime and maximizing the quality and consistency of the welding operations. I am also trained to perform minor repairs and know when it’s necessary to call in specialized repair personnel for more complex issues.
Key Topics to Learn for Welding Techniques (SMAW, GMAW) Interview
- SMAW (Shielded Metal Arc Welding): Understanding electrode selection based on material type and thickness, proper amperage and voltage settings, techniques for achieving different weld bead profiles (e.g., concave, convex), and troubleshooting common SMAW defects like porosity and undercutting.
- GMAW (Gas Metal Arc Welding): Familiarity with different wire feed speeds and gas types, understanding the impact of travel speed and wire stick-out on weld quality, knowledge of different GMAW transfer modes (short-circuiting, globular, spray), and troubleshooting issues like spatter and lack of fusion.
- Weld Joint Design and Preparation: Knowledge of different weld joint types (butt, lap, tee, corner), proper joint preparation techniques (e.g., beveling, edge preparation), and the importance of joint design in ensuring weld strength and integrity.
- Welding Safety and Procedures: Understanding and adhering to safety regulations and procedures, proper use of personal protective equipment (PPE), and awareness of potential hazards associated with welding processes.
- Weld Inspection and Quality Control: Familiarity with visual inspection techniques, understanding of common weld defects, and the importance of quality control in ensuring structural integrity.
- Practical Application: Be prepared to discuss your experience with real-world welding projects, highlighting your problem-solving skills and ability to adapt to different welding situations. Discuss challenges faced and solutions implemented.
- Materials Science Basics: A foundational understanding of different base metals (steel, aluminum, etc.), their properties, and how these properties influence welding parameters and techniques.
Next Steps
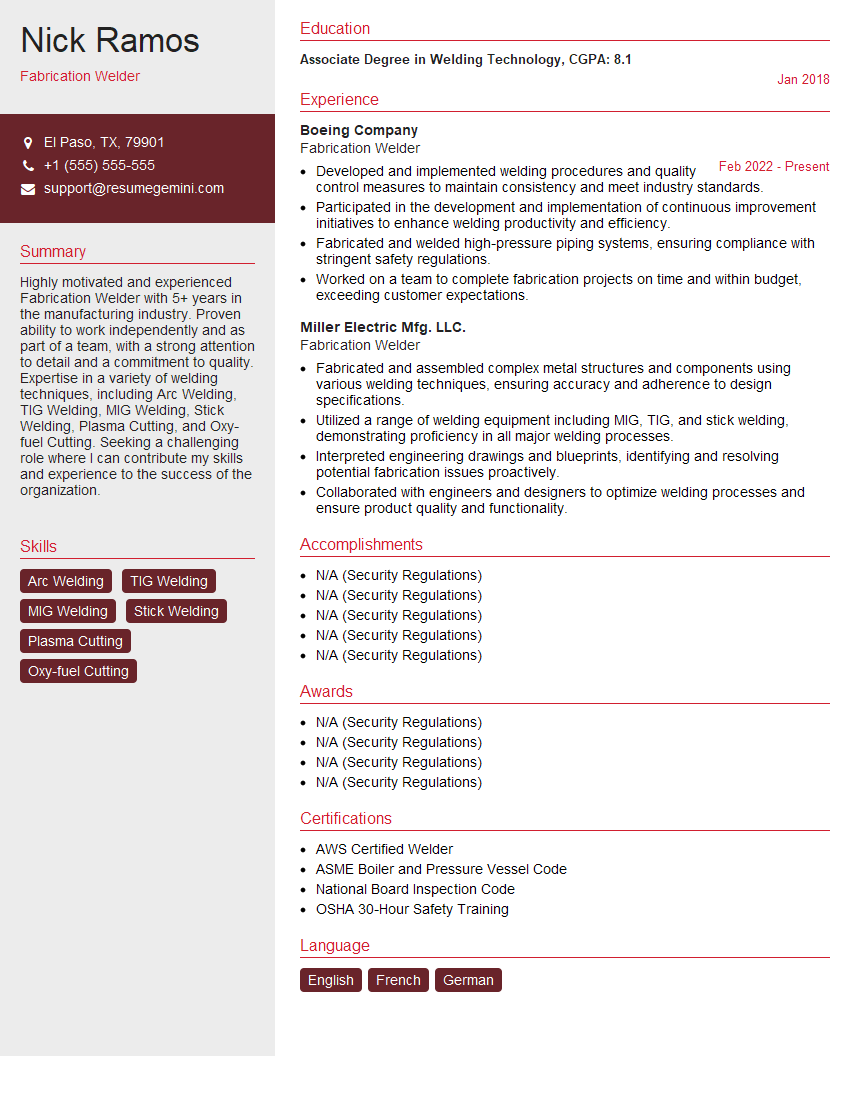
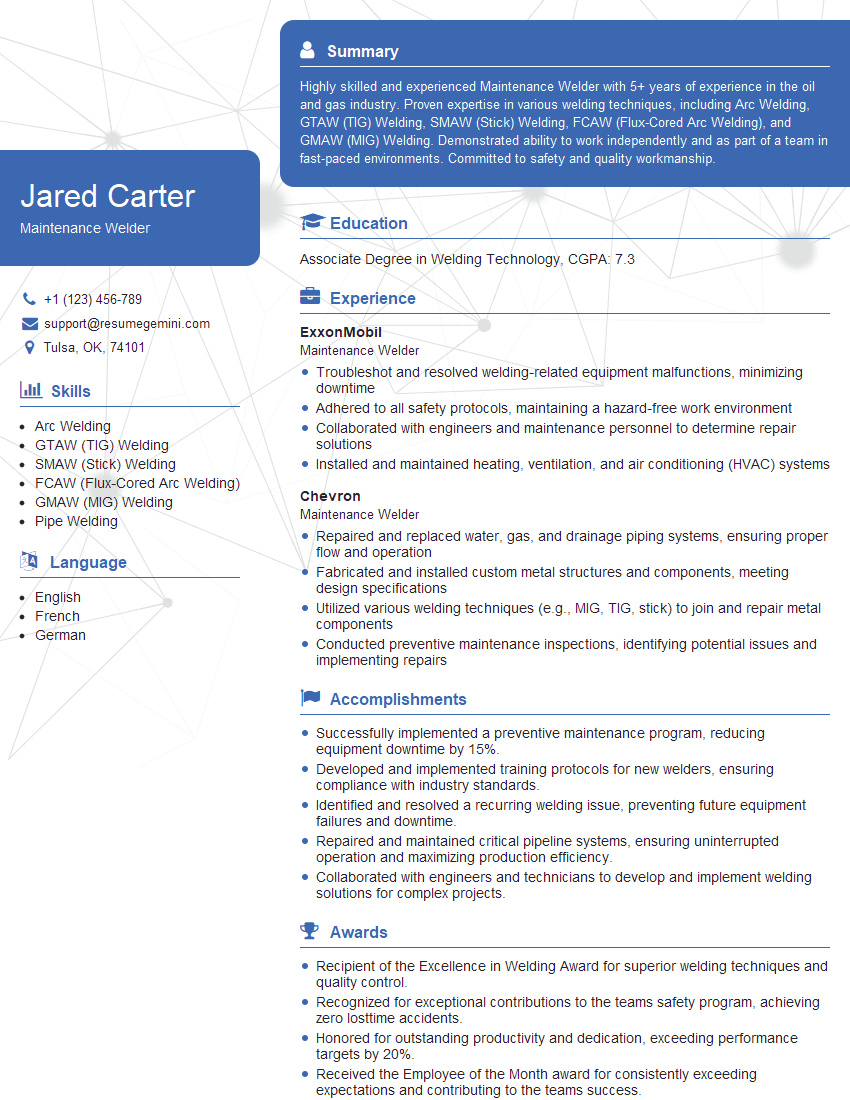
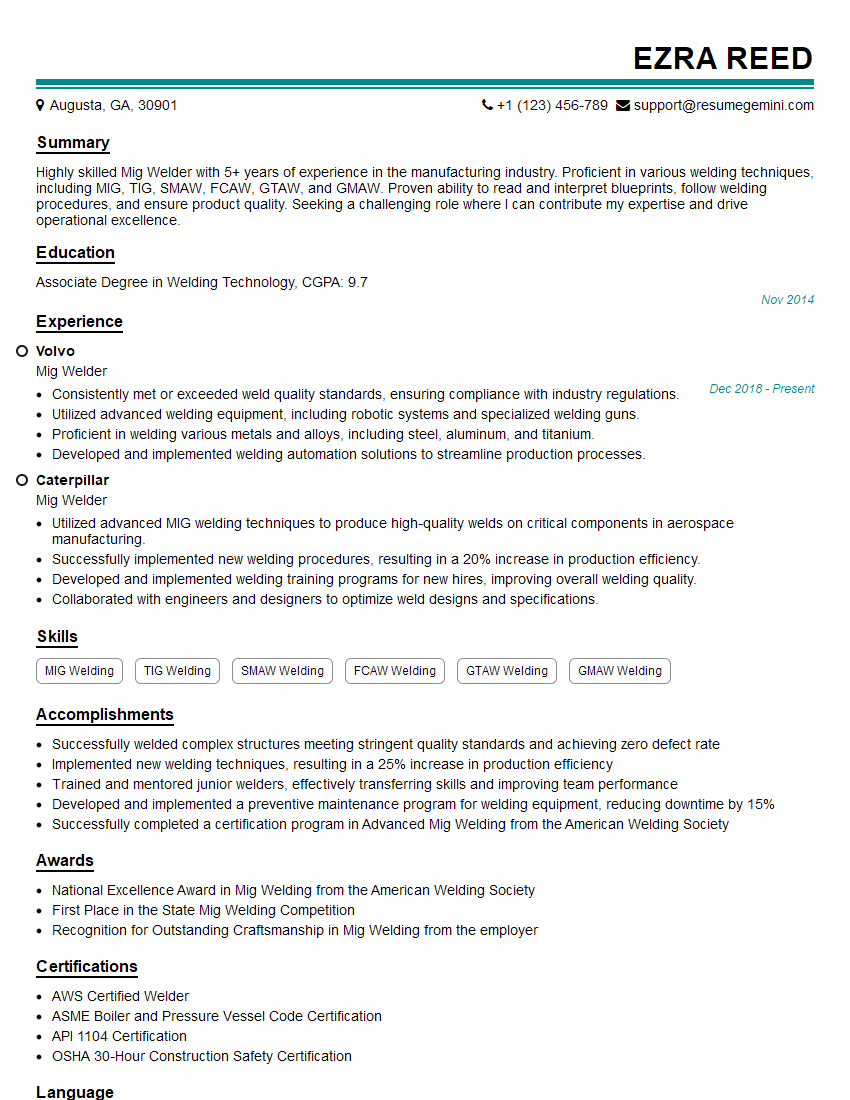
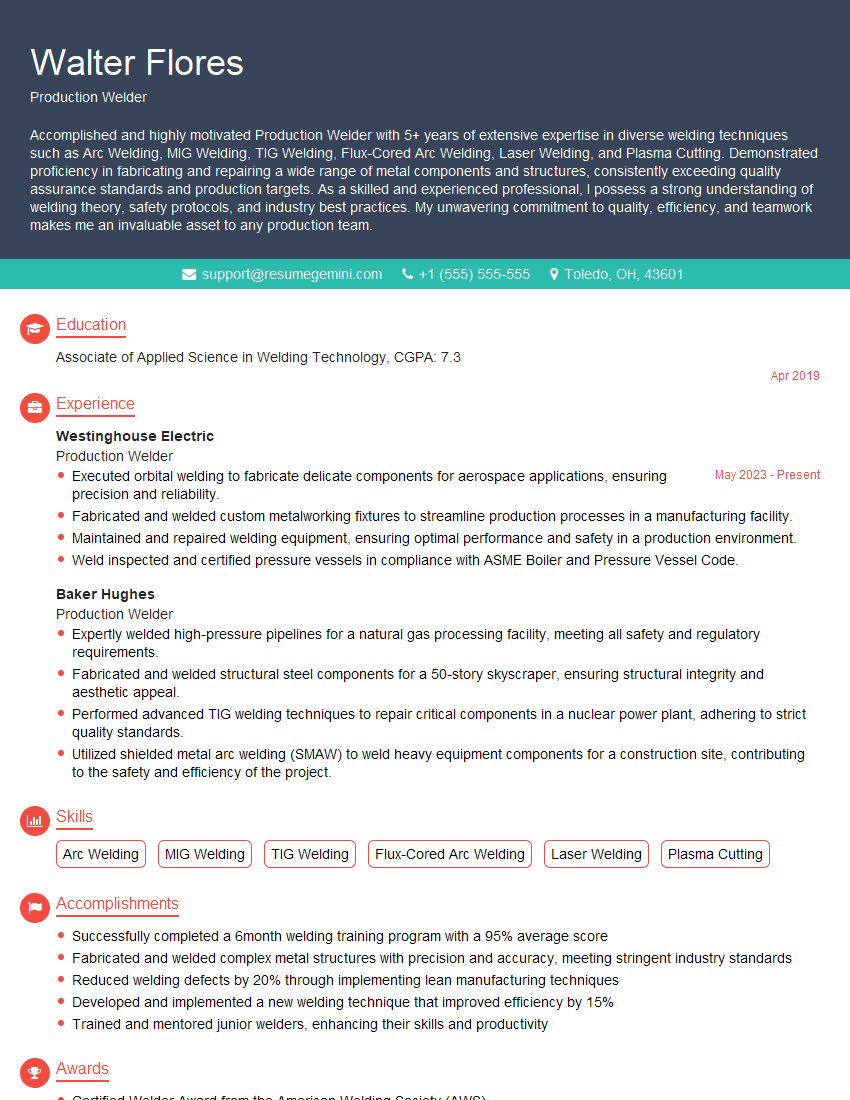
Mastering SMAW and GMAW welding techniques is crucial for career advancement in a highly skilled and in-demand field. Strong welding skills open doors to diverse roles and higher earning potential. To maximize your job prospects, focus on crafting an ATS-friendly resume that highlights your skills and experience effectively. ResumeGemini is a trusted resource that can help you create a professional and impactful resume. We provide examples of resumes tailored specifically to Welding Techniques (SMAW, GMAW) to guide you. Invest time in building a compelling resume – it’s your first impression to potential employers.
Explore more articles
Users Rating of Our Blogs
Share Your Experience
We value your feedback! Please rate our content and share your thoughts (optional).
What Readers Say About Our Blog
Hi I am a troller at The aquatic interview center and I suddenly went so fast in Roblox and it was gone when I reset.
Hi,
Business owners spend hours every week worrying about their website—or avoiding it because it feels overwhelming.
We’d like to take that off your plate:
$69/month. Everything handled.
Our team will:
Design a custom website—or completely overhaul your current one
Take care of hosting as an option
Handle edits and improvements—up to 60 minutes of work included every month
No setup fees, no annual commitments. Just a site that makes a strong first impression.
Find out if it’s right for you:
https://websolutionsgenius.com/awardwinningwebsites
Hello,
we currently offer a complimentary backlink and URL indexing test for search engine optimization professionals.
You can get complimentary indexing credits to test how link discovery works in practice.
No credit card is required and there is no recurring fee.
You can find details here:
https://wikipedia-backlinks.com/indexing/
Regards
NICE RESPONSE TO Q & A
hi
The aim of this message is regarding an unclaimed deposit of a deceased nationale that bears the same name as you. You are not relate to him as there are millions of people answering the names across around the world. But i will use my position to influence the release of the deposit to you for our mutual benefit.
Respond for full details and how to claim the deposit. This is 100% risk free. Send hello to my email id: [email protected]
Luka Chachibaialuka
Hey interviewgemini.com, just wanted to follow up on my last email.
We just launched Call the Monster, an parenting app that lets you summon friendly ‘monsters’ kids actually listen to.
We’re also running a giveaway for everyone who downloads the app. Since it’s brand new, there aren’t many users yet, which means you’ve got a much better chance of winning some great prizes.
You can check it out here: https://bit.ly/callamonsterapp
Or follow us on Instagram: https://www.instagram.com/callamonsterapp
Thanks,
Ryan
CEO – Call the Monster App
Hey interviewgemini.com, I saw your website and love your approach.
I just want this to look like spam email, but want to share something important to you. We just launched Call the Monster, a parenting app that lets you summon friendly ‘monsters’ kids actually listen to.
Parents are loving it for calming chaos before bedtime. Thought you might want to try it: https://bit.ly/callamonsterapp or just follow our fun monster lore on Instagram: https://www.instagram.com/callamonsterapp
Thanks,
Ryan
CEO – Call A Monster APP
To the interviewgemini.com Owner.
Dear interviewgemini.com Webmaster!
Hi interviewgemini.com Webmaster!
Dear interviewgemini.com Webmaster!
excellent
Hello,
We found issues with your domain’s email setup that may be sending your messages to spam or blocking them completely. InboxShield Mini shows you how to fix it in minutes — no tech skills required.
Scan your domain now for details: https://inboxshield-mini.com/
— Adam @ InboxShield Mini
Reply STOP to unsubscribe
Hi, are you owner of interviewgemini.com? What if I told you I could help you find extra time in your schedule, reconnect with leads you didn’t even realize you missed, and bring in more “I want to work with you” conversations, without increasing your ad spend or hiring a full-time employee?
All with a flexible, budget-friendly service that could easily pay for itself. Sounds good?
Would it be nice to jump on a quick 10-minute call so I can show you exactly how we make this work?
Best,
Hapei
Marketing Director
Hey, I know you’re the owner of interviewgemini.com. I’ll be quick.
Fundraising for your business is tough and time-consuming. We make it easier by guaranteeing two private investor meetings each month, for six months. No demos, no pitch events – just direct introductions to active investors matched to your startup.
If youR17;re raising, this could help you build real momentum. Want me to send more info?
Hi, I represent an SEO company that specialises in getting you AI citations and higher rankings on Google. I’d like to offer you a 100% free SEO audit for your website. Would you be interested?
Hi, I represent an SEO company that specialises in getting you AI citations and higher rankings on Google. I’d like to offer you a 100% free SEO audit for your website. Would you be interested?
good
