Unlock your full potential by mastering the most common Lighting Equipment Handling interview questions. This blog offers a deep dive into the critical topics, ensuring you’re not only prepared to answer but to excel. With these insights, you’ll approach your interview with clarity and confidence.
Questions Asked in Lighting Equipment Handling Interview
Q 1. Describe your experience with different types of lighting fixtures (e.g., Fresnels, PARs, LEDs).
My experience encompasses a wide range of lighting fixtures, from traditional incandescent to the latest LED technology. I’m proficient with Fresnel lenses, known for their soft, adjustable beams, perfect for highlighting actors or creating atmospheric effects. I’ve extensively used PAR (Parabolic Aluminized Reflector) lamps, offering a more focused and intense beam, ideal for backlighting or accent lighting. More recently, I’ve become highly skilled in working with LEDs, appreciating their energy efficiency, long lifespan, and the color-temperature control they offer. For instance, on a recent film shoot, I used a combination of Fresnels for key lighting, PAR cans for backlighting, and LED panels for fill light, achieving a balanced and visually stunning effect. The versatility of each fixture type allows for great creative control.
- Fresnels: Excellent for soft, diffused light, controllable spill.
- PARs: Produce a concentrated, powerful beam; often used for spotlights.
- LEDs: Energy-efficient, long-lasting, and offer precise color temperature control and color mixing.
Q 2. Explain the process of setting up a three-point lighting system.
Setting up a three-point lighting system is fundamental in cinematography and photography. It’s a simple yet effective way to illuminate a subject evenly and sculpt its appearance. The system comprises three lights: the key light, the fill light, and the back light.
- Key Light: The main light source, positioned at a 45-degree angle to the subject, providing the primary illumination and shaping the subject’s form. Think of it as the sun in a natural scene.
- Fill Light: Placed opposite the key light, it softens the shadows created by the key light, preventing harsh contrasts. This light is generally less intense than the key light.
- Back Light: Positioned behind the subject, it separates the subject from the background, adding depth and dimension. This light creates a rim or halo effect around the subject, making it pop.
For example, in a portrait setup, the key light might be a Fresnel, the fill light a diffused softbox, and the backlight a small LED panel. The intensity and placement of each light can be adjusted to fine-tune the lighting according to the scene’s demands. I often use light meters to ensure consistent exposure and balance between the three lights.
Q 3. How do you ensure the safety of lighting equipment on a set?
Safety is paramount when handling lighting equipment. My approach involves several key strategies: proper cable management to prevent tripping hazards; securing all lighting instruments to stands or trusses using appropriate clamps and safety chains; ensuring all equipment is grounded correctly to prevent electrical shocks; never overloading circuits; using appropriate safety eyewear when working with high-intensity lights; and consistently checking power cables for any damage before use. I also insist on regular safety briefings for the crew, and emphasize the importance of reporting any potential hazards immediately. During a recent outdoor shoot, a sudden wind gust threatened to topple a lighting stand. My quick thinking allowed us to secure the stand before any damage occurred, preventing a potential accident and equipment loss.
Q 4. What are the common safety regulations related to lighting equipment handling?
Safety regulations vary by location, but common themes include adherence to electrical codes, proper grounding of equipment, use of safety chains and clamps to secure lights, use of safety eyewear to protect against glare and potential damage to the eyes, and working within safe load limits of power circuits. We also need to be aware of fire safety regulations – ensuring appropriate distances are maintained between lights and flammable materials. Regular inspection and maintenance of equipment are crucial, and proper training for all crew members handling lighting equipment is mandatory to create a safe working environment.
Q 5. Describe your experience with lighting control systems (e.g., dimmer boards, consoles).
I have extensive experience with various lighting control systems, from simple dimmer boards to sophisticated lighting consoles. Dimmer boards allow for individual control of light intensity, suitable for smaller setups. However, for larger and more complex productions, lighting consoles provide far greater control and programming capabilities, allowing for intricate lighting sequences and effects. I’m proficient in programming cues, using color mixing capabilities, and creating dynamic scenes. For example, I recently used a lighting console to program a dynamic chase sequence of lights during a concert, synchronizing the lights with the music rhythm flawlessly. My understanding encompasses both analog and digital control systems, adapting to the specific needs of each project.
Q 6. How do you troubleshoot common lighting equipment malfunctions?
Troubleshooting lighting equipment malfunctions involves a systematic approach. First, I visually inspect the equipment, checking for any obvious damage to cables, bulbs, or connections. I then verify power supply and circuit breakers, ensuring adequate power is reaching the fixture. If the problem persists, I might test the lamp itself, or if using a dimmer, check its functionality. If the issue lies with the dimmer board or console, it may involve checking connections or consulting manuals. Systematic testing of each component helps isolate the problem quickly. For example, a flickering light could be caused by a loose connection, a faulty lamp, or a problem with the dimmer. By systematically eliminating each possibility, I quickly found the problem was a loose connection in that instance. Documenting troubleshooting steps helps future problem solving as well.
Q 7. What are the differences between tungsten and LED lighting?
Tungsten and LED lighting represent two distinct technologies with key differences. Tungsten lights, traditional incandescent bulbs, generate light through heating a tungsten filament. They produce a warm, yellowish light, but are energy-inefficient and generate considerable heat. LEDs (Light Emitting Diodes), on the other hand, are far more energy-efficient, producing light through electroluminescence. They have a longer lifespan, generate less heat, and offer better control over color temperature and color mixing. However, LED lights can sometimes have a more digital, less natural light quality. The choice between tungsten and LED depends heavily on the specific needs of the project. For a period drama aiming for a specific color palette, tungsten might be preferred. For a high-energy modern setting, the energy efficiency, longevity and color mixing versatility of LEDs would likely be chosen.
Q 8. Explain the concept of color temperature and its importance in lighting design.
Color temperature, measured in Kelvin (K), describes the warmth or coolness of a light source. Lower Kelvin values (e.g., 2700K) represent warmer, more yellowish light, like an incandescent bulb, while higher values (e.g., 6500K) represent cooler, bluer light, like daylight. In lighting design, color temperature is crucial because it significantly impacts the mood, atmosphere, and overall aesthetic of a scene. For instance, warm light is often used in restaurants to create a cozy ambiance, while cool light is preferred in offices for its stimulating effect.
Think of it like this: a sunset is a low color temperature, while a bright midday sun is a high color temperature. Choosing the right color temperature is essential for setting the desired tone and matching the overall design concept. Inconsistent color temperatures can lead to a jarring and unprofessional-looking final result.
Q 9. How do you calculate lighting power requirements for a specific setup?
Calculating lighting power requirements involves several steps. First, determine the area you need to illuminate and the desired illuminance level (measured in lux or foot-candles). This is often specified by building codes or determined by the project’s needs. Then, you need to consider the efficacy of your chosen light fixtures (lumens per watt). Finally, factor in any losses due to light absorption by walls, ceilings, or other objects.
Here’s a simplified formula: Total wattage = (Area x Desired illuminance) / (Efficacy x Utilization factor). The utilization factor accounts for light loss, typically ranging from 0.5 to 0.8 depending on the room’s geometry and surface reflectivity. For example, if you need 500 lux in a 20-square-meter room using fixtures with 100 lumens/watt and a utilization factor of 0.7, the calculation would be: Total wattage = (20 x 500) / (100 x 0.7) ≈ 143 watts. This is a simplified calculation; software packages provide more refined estimations.
Q 10. Describe your experience with rigging lighting equipment.
I have extensive experience in rigging lighting equipment for various productions, ranging from small-scale shoots to large-scale events. My experience covers all aspects, from planning and design to safe and efficient execution. I’m proficient in using various rigging hardware, including trusses, clamps, chain hoists, and safety lines. I always prioritize safety by adhering to strict industry standards and regulations. Before any rigging work, I perform thorough inspections to ensure all equipment is in good working order and properly rated for the load. I also ensure all crew members understand and follow safety procedures.
One memorable project involved rigging complex lighting for a large outdoor concert. The intricate setup involved multiple motorized hoists, and careful planning was crucial to ensure smooth operation and prevent accidents. The successful execution of this project highlighted the importance of meticulous pre-planning, teamwork, and adherence to safety protocols.
Q 11. What are the different types of lighting gels and their applications?
Lighting gels are thin, colored plastic sheets placed in front of light sources to alter their color. They come in a wide range of colors and densities. Different types of gels include:
- Color Correction Gels: Used to match light sources to a specific color temperature (e.g., converting tungsten light to daylight).
- Color Effects Gels: Used to create specific moods or effects (e.g., creating a sunset effect or adding a dramatic tone).
- Diffusion Gels: Soften the light and reduce harsh shadows.
- CTO (Color Temperature Orange) and CTB (Color Temperature Blue) Gels: Specific gels for color temperature adjustments.
The choice of gel depends on the desired effect and the type of light source. For example, a diffusion gel might be used to soften a harsh spotlight, while a CTO gel might be used to warm up a cool-toned LED light.
Q 12. How do you maintain and clean lighting equipment?
Maintaining and cleaning lighting equipment is crucial for its longevity and performance. Regular cleaning involves wiping down the fixtures with a soft, damp cloth to remove dust and debris. For more stubborn stains, mild soap and water can be used, but always ensure the equipment is completely dry before powering it on. Regular inspections should be done to check for any damage to cables, lenses, or other components. If any damage is found, the equipment should be repaired or replaced promptly to prevent potential hazards. Also, ensure proper storage to prevent damage from moisture or impacts.
For more complex fixtures, always consult the manufacturer’s guidelines for cleaning and maintenance. Proper care not only extends the lifespan of the equipment but also ensures safe and efficient operation.
Q 13. What is your experience with different lighting modifiers (e.g., softboxes, umbrellas)?
I have extensive experience working with a variety of lighting modifiers, including softboxes, umbrellas, beauty dishes, and reflectors. Each modifier affects the quality and direction of light differently. Softboxes produce soft, diffused light, ideal for portraits or beauty shots. Umbrellas offer a similar effect but are generally less expensive and more portable. Beauty dishes create a more concentrated, yet still relatively soft, light with a characteristic falloff. Reflectors bounce light back onto the subject, creating fill light or adding highlights.
The choice of modifier depends on the desired look and the specifics of the project. For example, a large softbox might be used for a broad, even lighting across a large scene, while a smaller beauty dish might be used for a more targeted, glamorous look.
Q 14. Explain your understanding of lighting ratios and their impact on the final image.
Lighting ratios refer to the relative intensity of different light sources within a scene. They are crucial in shaping the mood, contrast, and three-dimensionality of an image. A high ratio (e.g., 4:1 or higher) creates strong contrast with deep shadows and highlights, lending a dramatic or moody feel. A low ratio (e.g., 1:1 or 2:1) creates a softer, more even lighting with fewer shadows, suitable for portraits or situations requiring a more natural look.
For example, a classic Rembrandt lighting setup often employs a ratio of around 3:1, creating a subtle triangle of light on the subject’s cheek. Understanding and controlling lighting ratios is essential for achieving the desired creative outcome in any photographic or filmmaking context.
Q 15. How do you manage cable management and avoid tripping hazards?
Cable management is paramount for safety and efficiency on any lighting project. Tripping hazards are a serious concern, so a proactive approach is essential. My strategy begins with meticulous planning. Before any cables are laid, I map out the entire setup, considering the placement of all lighting equipment and power sources. This prevents unnecessary cable length and allows for organized routing.
- Color-coded Cables: I use different colored cables to identify circuits and power sources, making troubleshooting and maintenance much easier. Think of it like a color-coded map of your electrical system.
- Cable Ties and Raceway Systems: I utilize cable ties to bundle cables neatly and securely. For larger installations, I often incorporate raceway systems (conduits or trunking) to protect cables and maintain a clean, professional look. Imagine these as highways for your cables, keeping everything organized and safe.
- Floor Protection: In high-traffic areas, I use floor protectors (such as rubber mats or gaff tape) to prevent cables from being crushed or damaged, reducing the risk of tripping.
- Regular Inspections: Throughout the project and after setup, I conduct regular inspections to ensure cables are properly secured and there are no potential hazards.
For example, on a recent outdoor concert setup, I employed a combination of raceway systems for main power runs and individual cable ties for smaller instrument lighting, ensuring a safe and aesthetically pleasing environment for both the crew and the audience.
Career Expert Tips:
- Ace those interviews! Prepare effectively by reviewing the Top 50 Most Common Interview Questions on ResumeGemini.
- Navigate your job search with confidence! Explore a wide range of Career Tips on ResumeGemini. Learn about common challenges and recommendations to overcome them.
- Craft the perfect resume! Master the Art of Resume Writing with ResumeGemini’s guide. Showcase your unique qualifications and achievements effectively.
- Don’t miss out on holiday savings! Build your dream resume with ResumeGemini’s ATS optimized templates.
Q 16. What software or programs are you familiar with for lighting design or control?
I’m proficient in several software packages vital for lighting design and control. My expertise spans from basic design to advanced simulation and control.
- Vectorworks Spotlight: This is my go-to for creating detailed lighting plots, visualizing light distribution, and generating documentation. It allows for precise control over fixture placement and aiming, crucial for accurate simulations.
- WYSIWYG (What You See Is What You Get): This software is invaluable for pre-visualization, letting me see exactly how the lighting will look in the finished space before even touching the equipment. This minimizes costly on-site adjustments.
- ETC EOS Family (console software): For larger projects, I extensively utilize the ETC EOS family for show control, which allows me to program complex lighting sequences and effects. Its flexibility and reliability are unmatched.
- Capture (Lighting design software): I also have experience using Capture for design and visualization, especially useful for complex architectural lighting projects.
I frequently use these programs in conjunction, leveraging their respective strengths for complete lighting project management, from initial design to final execution and documentation.
Q 17. Describe your experience working with different types of power sources.
My experience encompasses a wide range of power sources, from standard AC power to more specialized systems. Safety and compatibility are always my top priorities.
- AC Power (120V/240V): This is the most common source, and I’m fully versed in safe handling procedures, including proper grounding and the use of appropriate breakers and surge protectors.
- DC Power (various voltages): I frequently work with DC power, especially for LED lighting and battery-powered systems. Understanding the voltage and amperage requirements of each fixture is critical for safe and effective operation.
- Generators: On location shoots or in areas with unreliable power grids, I am adept at setting up and managing generators. This involves careful load balancing to ensure sufficient power for all equipment and adhering to all safety regulations.
- Battery Power: For portable lighting setups or situations requiring complete power independence, I have extensive experience with various battery systems, including Lithium-ion and lead-acid batteries.
For instance, during a recent outdoor event, a sudden power outage necessitated the immediate switch to a backup generator system, which I smoothly managed to keep the event running smoothly without any disruption to the lighting.
Q 18. How do you ensure the proper balance between light intensity and energy efficiency?
Balancing light intensity and energy efficiency is a key aspect of sustainable lighting design. My approach involves a combination of strategies.
- Energy-Efficient Fixtures: I prioritize the use of energy-efficient fixtures such as LEDs, which offer excellent light output with significantly reduced energy consumption compared to traditional incandescent or halogen lamps.
- Intelligent Lighting Control: Employing dimmers and automated lighting control systems allows for precise adjustment of light intensity, reducing energy waste when full brightness isn’t required. Think of it as fine-tuning your lighting needs instead of using a sledgehammer.
- Fixture Selection & Placement: Carefully selecting fixtures and strategically placing them to minimize light spill reduces wasted energy. Precise aiming and efficient reflector design are crucial here.
- Daylight Harvesting: Maximizing natural light whenever possible is a simple yet effective way to reduce reliance on artificial lighting, substantially lowering energy consumption.
For example, in a recent office retrofit, I replaced all outdated fluorescent lighting with LED fixtures and installed a smart lighting control system. The result was a 60% reduction in energy consumption without compromising the quality of illumination.
Q 19. Explain your experience with troubleshooting lighting equipment in various weather conditions.
Troubleshooting lighting equipment in various weather conditions requires preparedness and a systematic approach. Safety is paramount.
- Water Ingress Protection (IP Ratings): I always select fixtures with appropriate IP ratings (Ingress Protection) to withstand the specific environmental conditions. For instance, an outdoor fixture would require a higher IP rating than an indoor one.
- Surge Protection: Protecting against electrical surges from lightning strikes is vital. I use surge protectors and grounding techniques to safeguard both the equipment and personnel.
- Weatherproofing Measures: In extreme weather, I take additional precautions, such as securing cables and fixtures to prevent damage from wind or rain. This may involve using waterproof covers or relocating equipment to a more sheltered area.
- Regular Maintenance & Inspections: Before and after any outdoor setup, I conduct thorough inspections to identify potential issues, ensuring all components are functioning correctly and safely.
During a recent outdoor film shoot, a sudden downpour threatened to disrupt the production. However, due to my proactive weatherproofing measures and quick response to a small cable issue, we managed to minimize downtime and complete the shoot without incident.
Q 20. What is your experience with HMI lighting systems?
I have significant experience with HMI (Hydrargyrum Medium-arc Iodide) lighting systems, known for their bright, daylight-balanced output. However, they’re also high-power systems requiring special handling.
- Safety Procedures: I’m thoroughly familiar with the safety procedures associated with HMI lighting, including proper ballast handling, lamp installation, and the potential hazards of high voltage. Safety is never compromised.
- Ballast Operation: I understand the importance of proper ballast operation and the consequences of incorrect usage. This includes understanding the different ballast types and their specific requirements.
- Lamp Handling: HMI lamps require careful handling to avoid breakage and exposure to the mercury vapor inside. I follow strict protocols during lamp installation and disposal.
- Cooling Requirements: I am aware of the critical cooling requirements of HMI fixtures and ensure adequate ventilation to prevent overheating and premature lamp failure.
For example, on a recent television production, we used HMI lighting for external day scenes. My expertise ensured the safe and efficient operation of these powerful lights, resulting in high-quality lighting without any incidents.
Q 21. How do you create a lighting plan for a specific scene or project?
Creating a lighting plan involves a systematic approach, incorporating artistic vision and technical expertise. My process generally follows these steps:
- Understanding the Scene/Project: I begin by thoroughly understanding the scene’s mood, purpose, and aesthetic requirements. What story are we trying to tell with the lighting?
- Site Survey & Measurements: I conduct a detailed site survey to gather accurate measurements of the space, noting existing architectural features and considering the available power sources.
- Lighting Plot Development: I develop a detailed lighting plot, using software like Vectorworks Spotlight to visualize and plan the placement of fixtures, their angles, and intensity. This is akin to creating a blueprint for the lighting design.
- Fixture Selection: I select appropriate fixtures based on the scene’s requirements, considering factors like color temperature, light distribution, and energy efficiency. This is like choosing the right tools for the job.
- Testing & Refinement: After installation, I conduct rigorous testing to ensure that the lighting scheme meets the artistic vision and technical requirements. This often involves multiple iterations of adjustments and refinements.
- Documentation: I meticulously document the entire lighting plan, including fixture specifications, placement details, and control settings. This ensures consistent operation and easy troubleshooting.
For instance, when designing the lighting for a theatrical production, I worked closely with the director to translate their artistic vision into a detailed lighting scheme, achieving the specific moods and emotional impacts required for each scene.
Q 22. How familiar are you with different types of light stands and grip equipment?
My familiarity with light stands and grip equipment is extensive. I’ve worked with a wide variety of stands, from basic C-stands and boom arms to more specialized units like Avenger and Matthews stands. I understand the differences in their weight capacities, adjustability, and suitability for different lighting instruments and situations. Grip equipment is equally familiar; I’m proficient with sandbags, clamps, grip heads, and various types of connectors, ensuring safe and secure rigging of lights.
- C-stands: These are workhorses, incredibly versatile for smaller lights and modifiers.
- Boom arms: Essential for positioning lights overhead or at unusual angles.
- Light stands with auto-leveling heads: Offer stability and speed, especially on uneven terrain or in a hurry.
- Grip heads: Allow for precise adjustment and secure attachment of lighting equipment.
Understanding the nuances of each piece allows me to select the optimal equipment for any given shot, prioritizing both safety and efficiency.
Q 23. How do you communicate effectively with other members of a lighting crew?
Effective communication on a lighting crew is paramount. It’s all about clear, concise, and proactive communication. Before a shoot, I ensure I understand the lighting plan, including the key light, fill light, and backlight setups. During the shoot, I use precise terminology, avoiding ambiguity. For instance, instead of saying ‘move the light a bit,’ I would say ‘move the 650 Fresnel on stand 3 two feet to the left and up six inches.’
Visual aids, like lighting plots and diagrams, are invaluable. I’m comfortable using walkie-talkies, and I always confirm my understanding of instructions. Active listening is crucial; I’ll repeat directions to ensure accuracy and proactively anticipate potential problems.
Building rapport with the crew is also important. A positive and collaborative atmosphere enhances communication and helps solve problems quickly and effectively. I believe in open dialogue and actively seeking feedback to ensure everyone is on the same page.
Q 24. Describe your experience with lighting for different types of productions (e.g., film, television, theatre).
My experience spans various production types, each requiring a unique approach. In film, I’ve worked on both large-scale productions, involving complex lighting setups with multiple instruments and precise color matching, and smaller independent films with more minimalist designs. The focus is often on creating a cinematic look and atmosphere.
Television work often demands speed and efficiency. I’ve worked on both studio and location shoots, frequently needing to adapt to different sets and lighting conditions quickly. Consistency is key, as lighting must maintain a cohesive look throughout the series or episode.
In theatre, the challenges involve the dynamic nature of the performance. I’ve worked on lighting designs that integrate special effects, changes of mood, and cues precisely timed with the actors’ movements. Understanding the director’s vision and conveying that through the lighting design is essential.
Q 25. What are the key considerations for lighting in different environments (e.g., indoor, outdoor)?
Lighting different environments requires careful consideration of several factors. Indoor shoots often involve working with existing light sources, managing ambient light, and potentially using diffusion or bounce techniques to soften shadows. The control you have is typically greater indoors.
Outdoor shoots present the opposite challenges. The sun is the dominant light source, and you’re battling uncontrolled light and changing weather conditions. We often use flags, reflectors, and diffusers to shape the light and use powerful instruments to compete with sunlight. The use of HMI lights or LEDs with high output is common. Considerations include managing shadows cast by trees, buildings, or other objects, and finding suitable power sources for larger lights.
In both cases, understanding color temperature and managing shadows are crucial to achieving the desired look and feel.
Q 26. How do you prioritize safety and efficiency while working under pressure?
Safety and efficiency are always my top priorities, even under pressure. My approach is methodical. I always begin by assessing the environment—checking power sources, ensuring proper grounding, and identifying potential hazards. I’ll inspect equipment before each use, paying attention to cable wear and ensuring proper functionality. For larger setups, I create a detailed rigging plan to ensure stability and prevent accidents.
Working efficiently means planning ahead, organizing equipment, and having a backup plan in case of equipment failure. I’m adept at quickly diagnosing and resolving minor issues. I always prioritize safety; rushing a job will increase risks.
For example, I always secure heavy equipment properly and never leave cables where people could trip. Regular safety checks throughout the production are crucial for maintaining a safe and efficient workflow.
Q 27. Describe your experience with troubleshooting and repairing lighting equipment.
Troubleshooting and repairing lighting equipment is a significant part of my role. I’m proficient in diagnosing common issues, such as blown bulbs, faulty ballasts, and wiring problems. I’m familiar with various lighting technologies and know how to perform basic repairs on the spot. I can replace bulbs, troubleshoot dimmer packs, and repair minor electrical issues. If necessary, I can also escalate problems to an electrician.
For instance, if a light flickers, I’d first check the bulb and then the connection to the power source. If that doesn’t solve the problem, I’d examine the ballast and the dimmer pack. My approach is systematic and focuses on isolating the cause and fixing it quickly and safely.
I keep a well-stocked toolkit with common replacement parts and essential tools for on-set repairs.
Q 28. What are your strategies for staying updated on the latest technologies and techniques in lighting equipment handling?
Staying current in lighting technology is vital. I utilize several strategies: I actively participate in industry events, workshops, and online courses. I subscribe to trade publications and follow lighting professionals on social media and online forums. I’m also always keen to test and learn about new products and techniques.
This includes keeping up-to-date with developments in LED lighting, new lighting control systems, and advancements in lighting design software. Hands-on experience is also crucial; I actively seek opportunities to work with new equipment and techniques on various productions.
Continuous learning is essential to maintain my expertise and provide the highest quality work in this ever-evolving field.
Key Topics to Learn for Lighting Equipment Handling Interview
- Types of Lighting Equipment: Understanding the differences between various lighting instruments (e.g., Fresnels, PARs, LEDs, HMI) and their respective capabilities.
- Safe Handling Procedures: Mastering techniques for lifting, carrying, rigging, and securing lighting equipment to prevent accidents and damage. This includes understanding weight limits and proper lifting techniques.
- Electrical Safety: Knowledge of electrical hazards associated with lighting equipment, safe wiring practices, and the use of appropriate safety gear (e.g., gloves, insulated tools).
- Troubleshooting and Maintenance: Familiarity with common lighting equipment malfunctions and their solutions, basic maintenance procedures, and the importance of regular inspections.
- Rigging and Mounting: Understanding different rigging techniques, safety considerations for hanging and supporting lighting equipment, and the use of appropriate hardware (e.g., clamps, safety chains).
- Light Metering and Calibration: Practical experience with light meters, understanding color temperature and intensity adjustments, and techniques for achieving consistent lighting levels.
- Practical Application: Being able to describe experiences setting up lighting for various applications (e.g., film sets, stage productions, events) and adapting techniques to different environments.
- Problem-Solving: Demonstrating the ability to diagnose and resolve lighting equipment issues on set or in the field, showcasing your resourcefulness and adaptability.
Next Steps
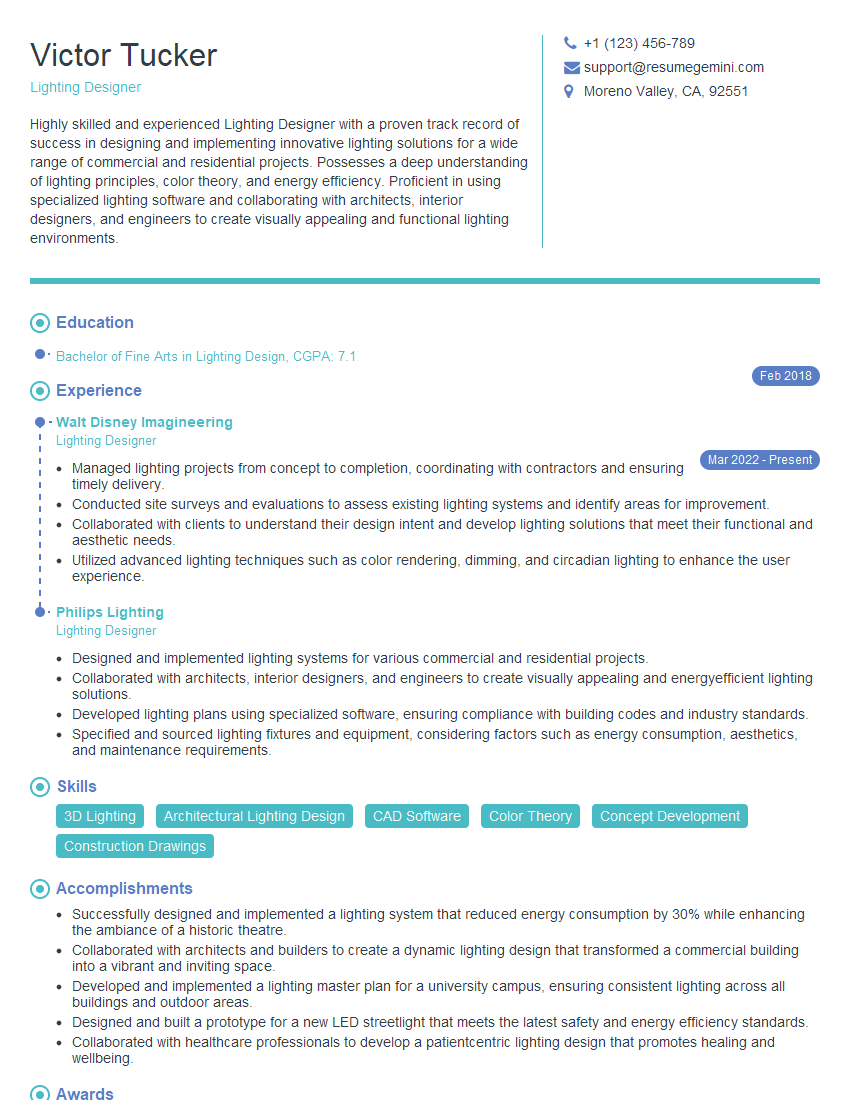
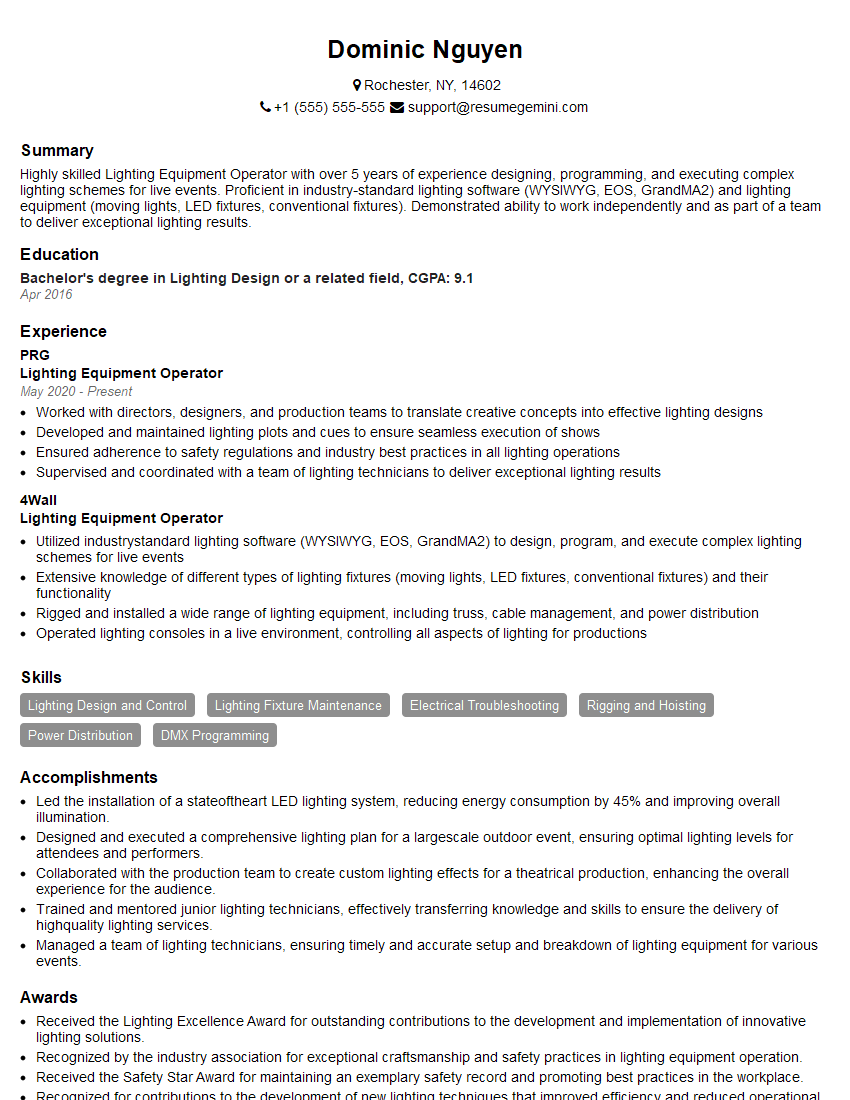
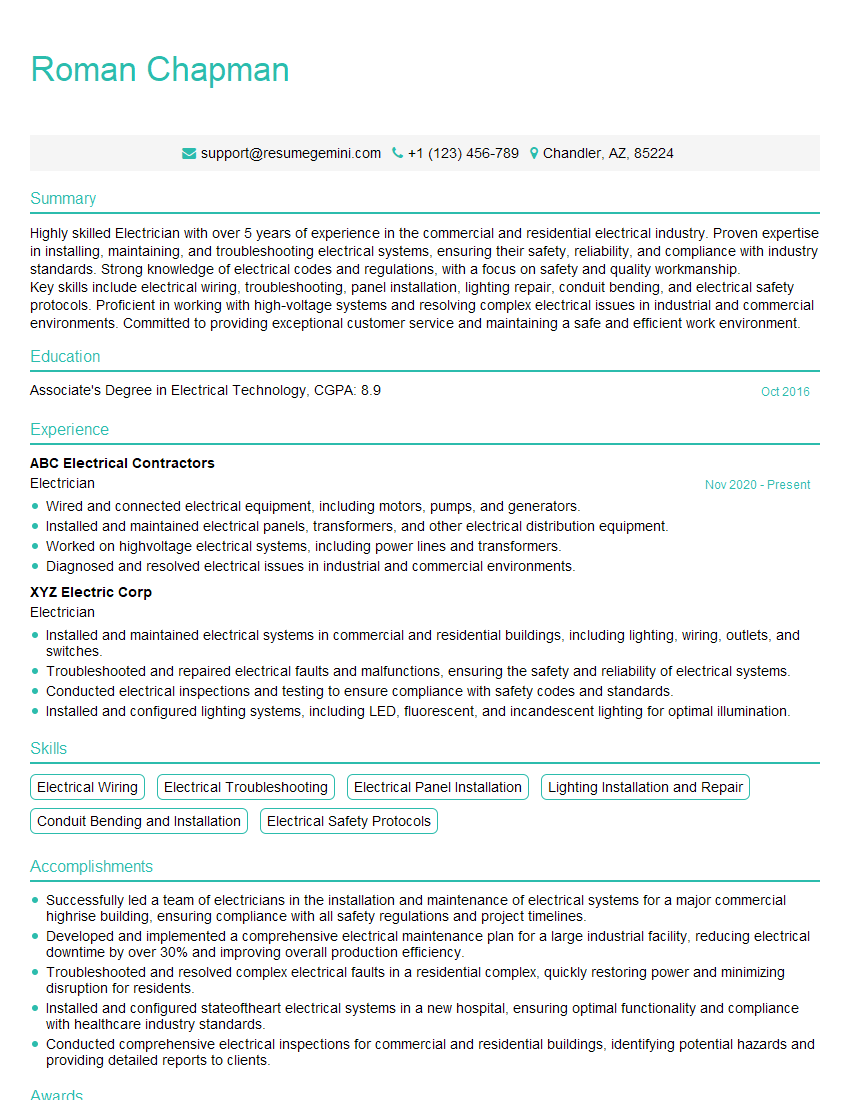
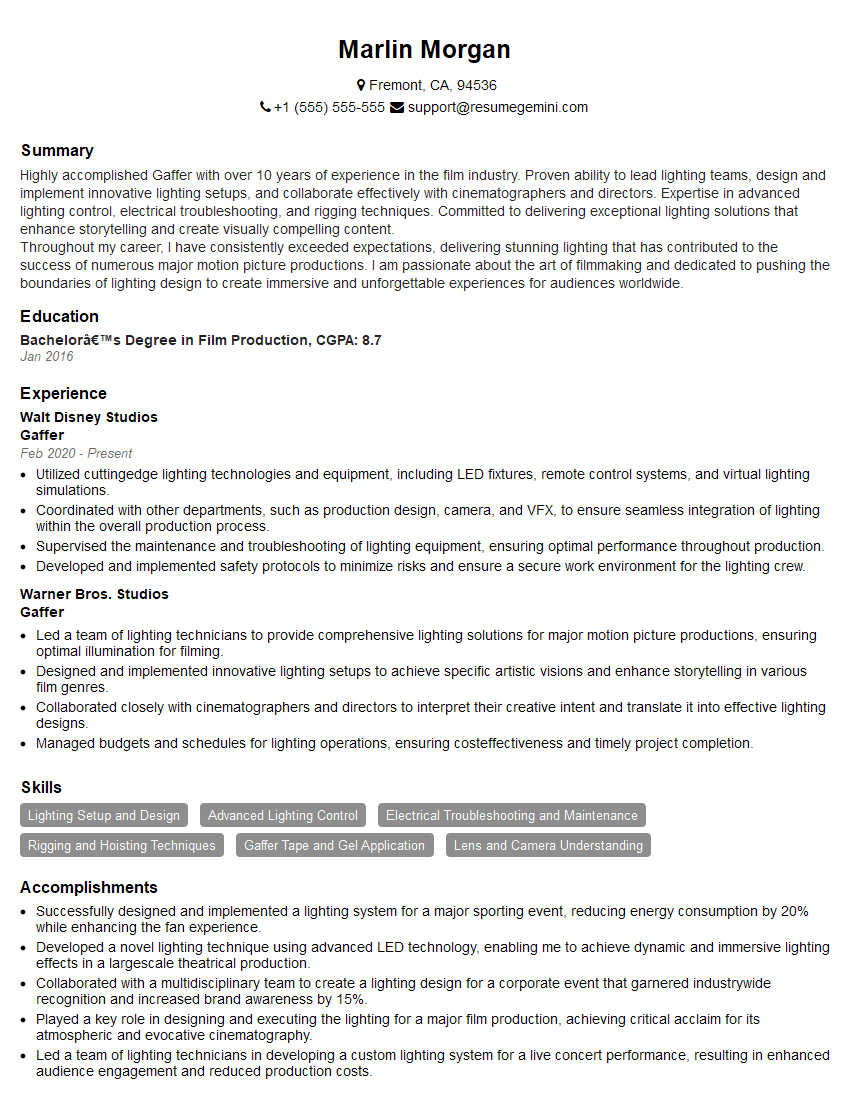
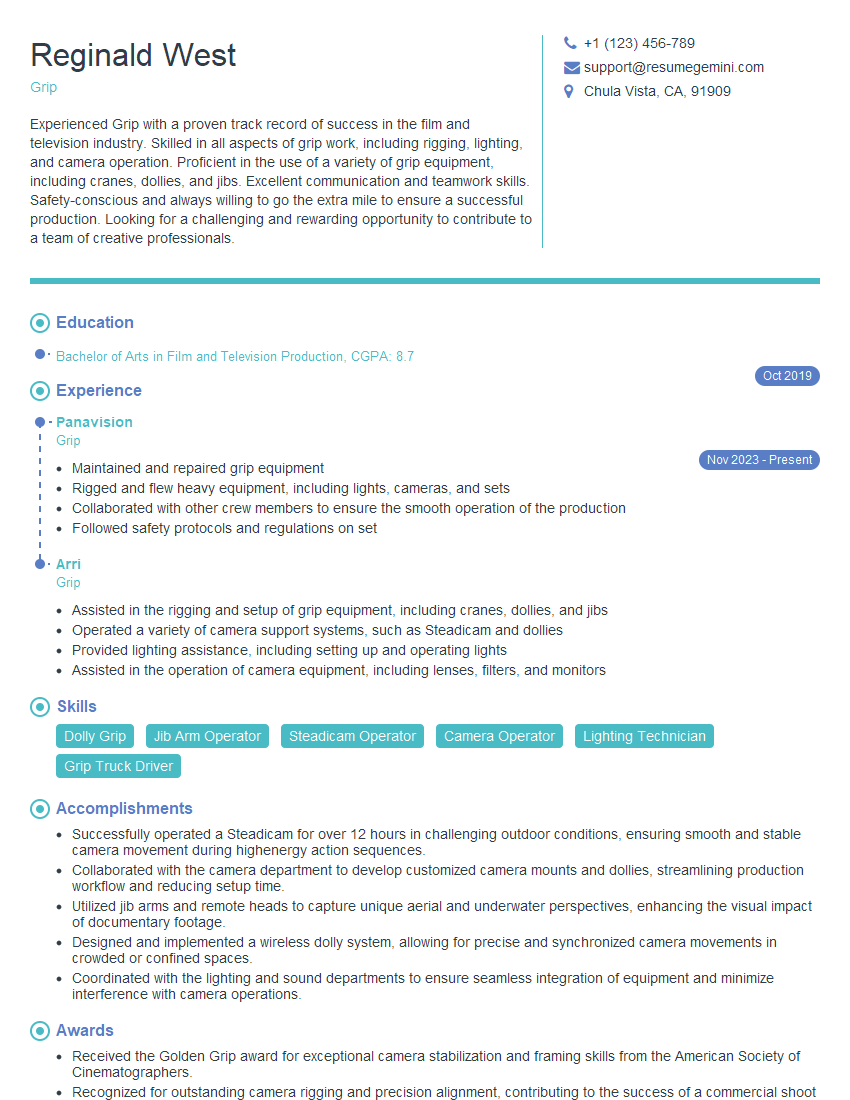
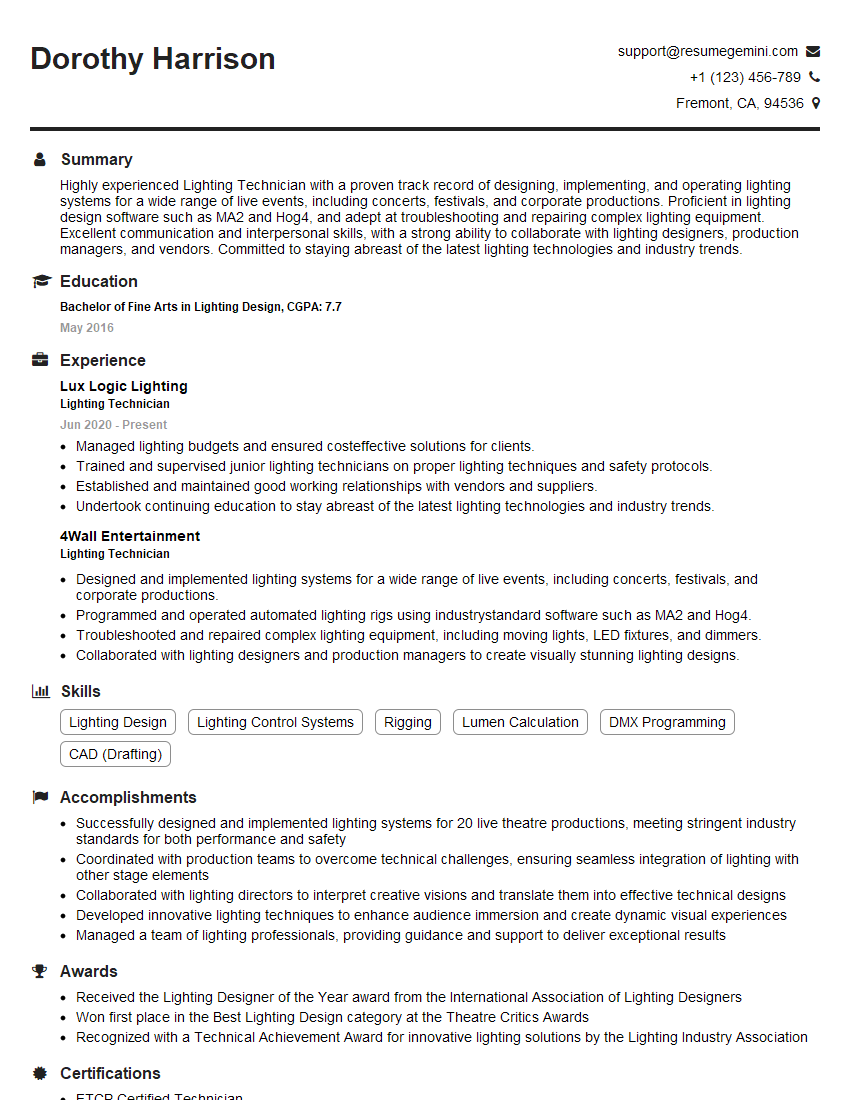
Mastering Lighting Equipment Handling is crucial for career advancement in the film, television, theatre, and event industries. Proficiency in this area demonstrates a commitment to safety, efficiency, and technical expertise, making you a highly valuable asset to any production team. To significantly improve your job prospects, create an ATS-friendly resume that highlights your skills and experience. ResumeGemini is a trusted resource that can help you build a professional and effective resume. Examples of resumes tailored to Lighting Equipment Handling are available to guide you through the process.
Explore more articles
Users Rating of Our Blogs
Share Your Experience
We value your feedback! Please rate our content and share your thoughts (optional).
What Readers Say About Our Blog
good
