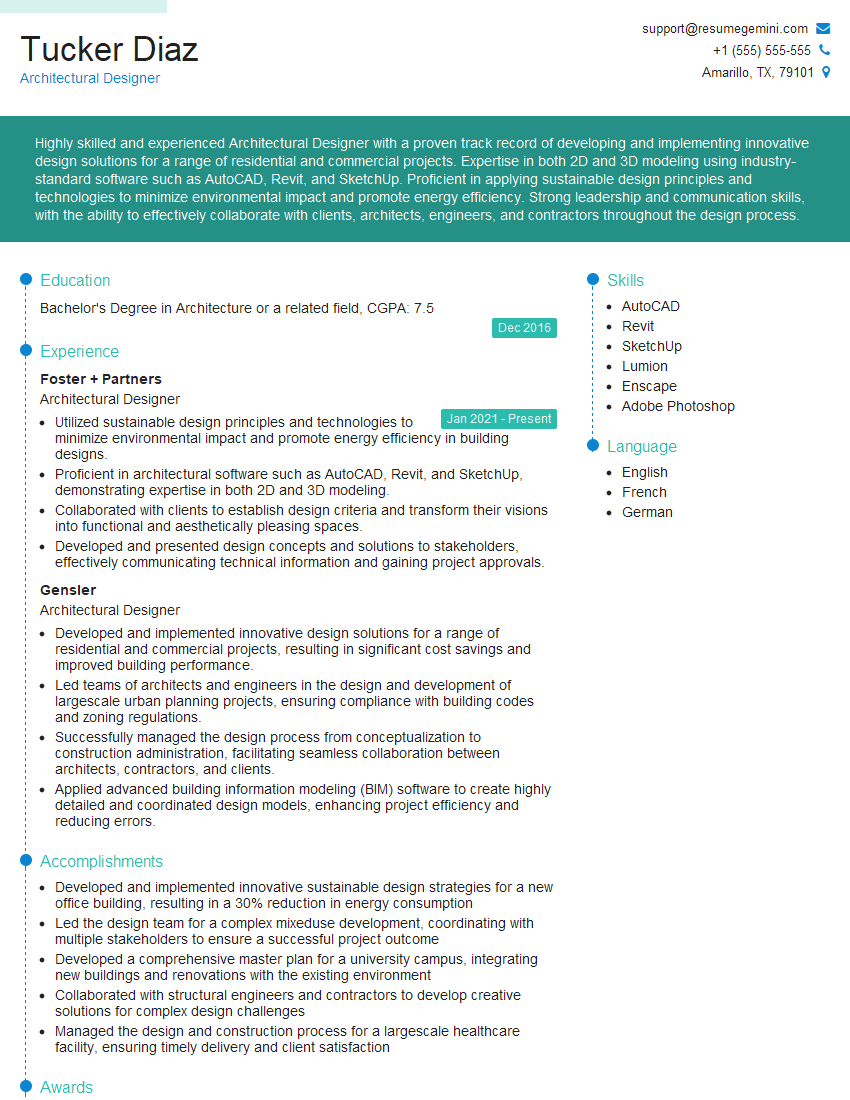
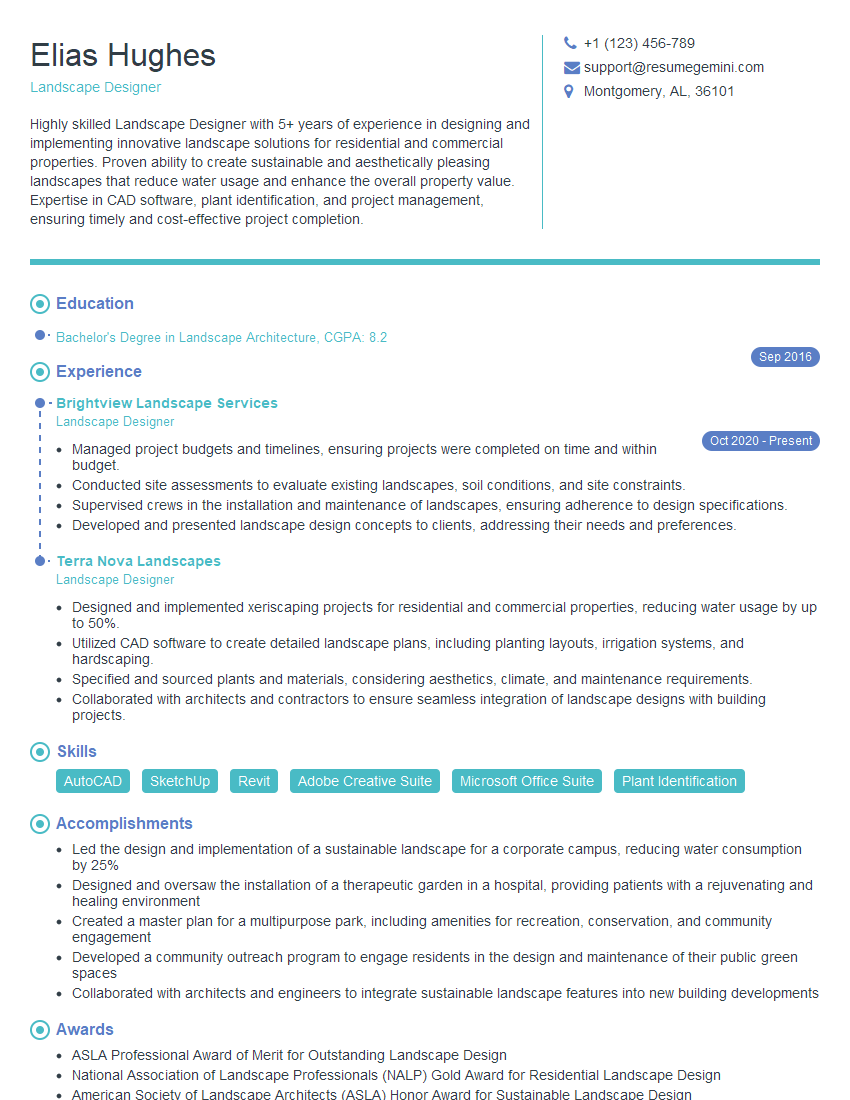
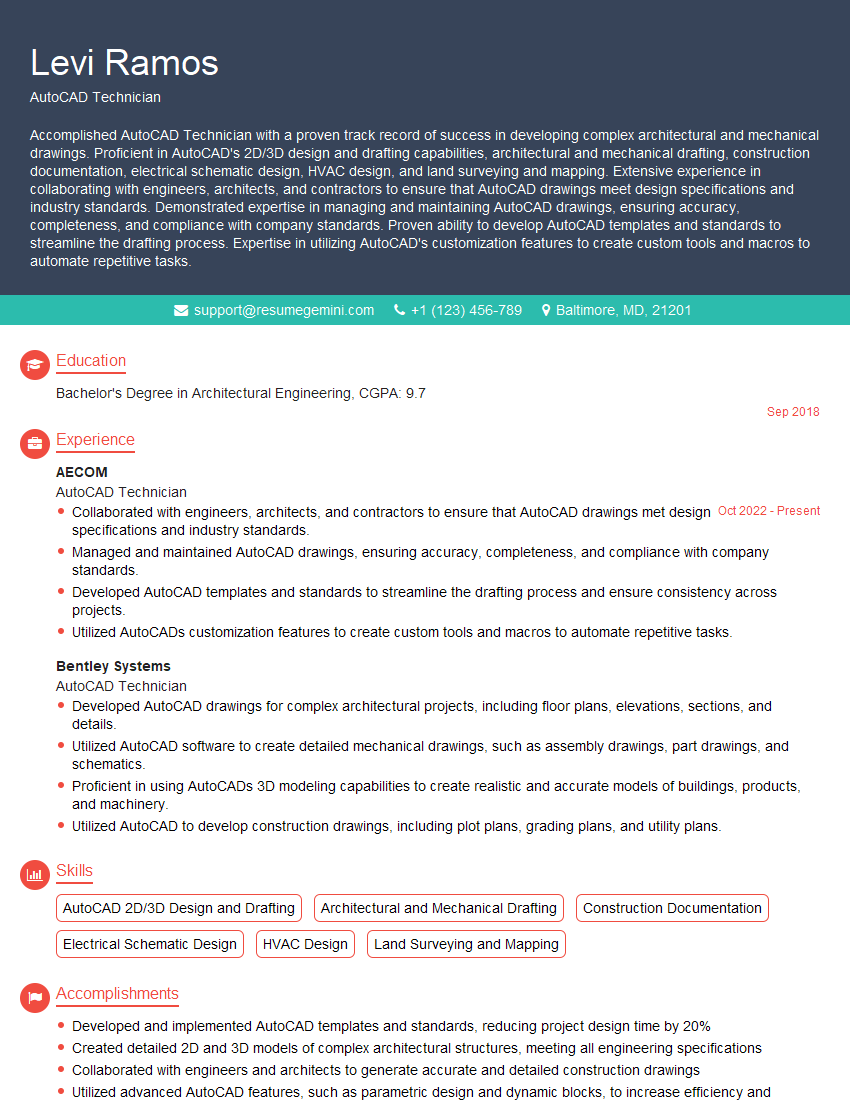
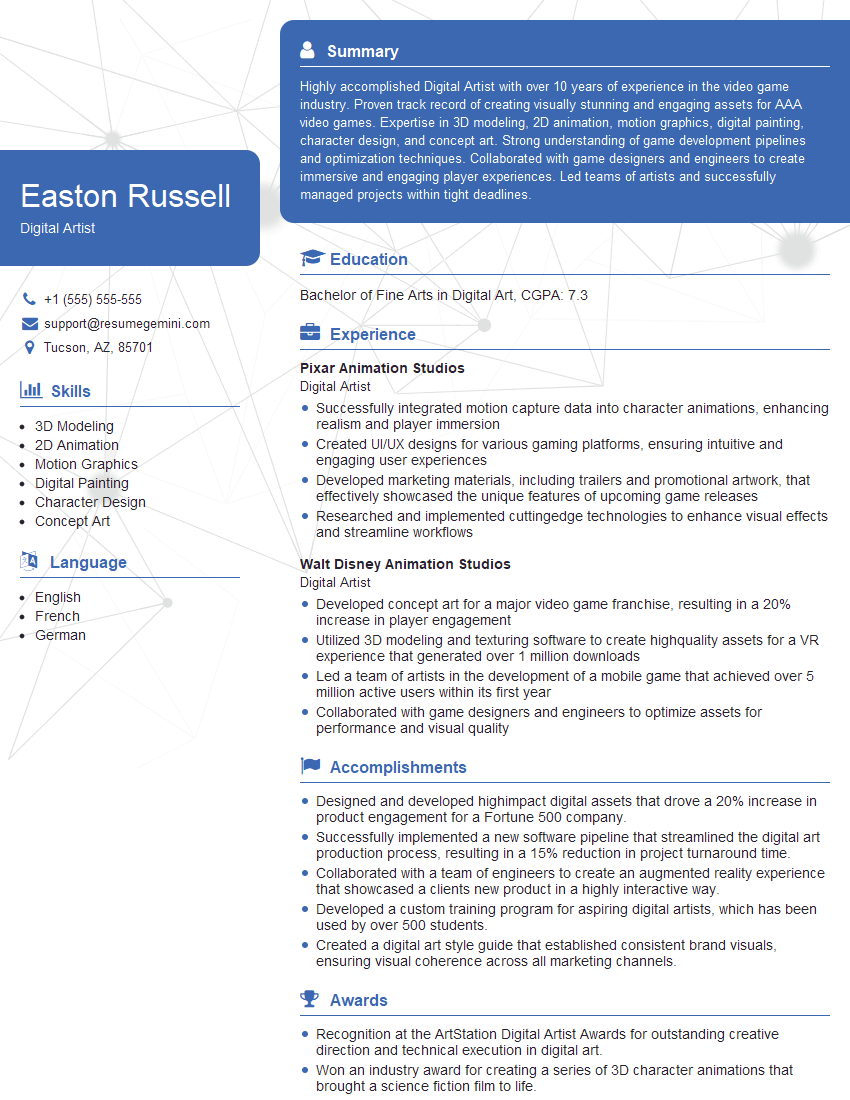
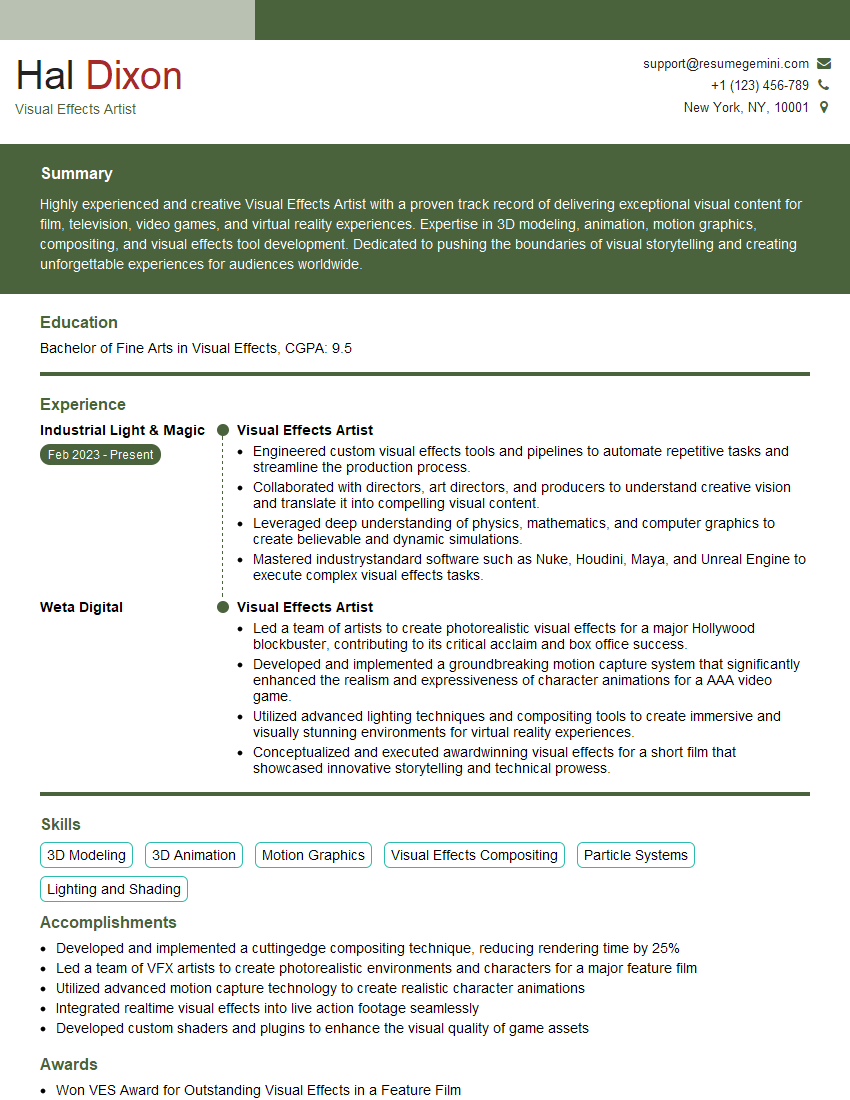
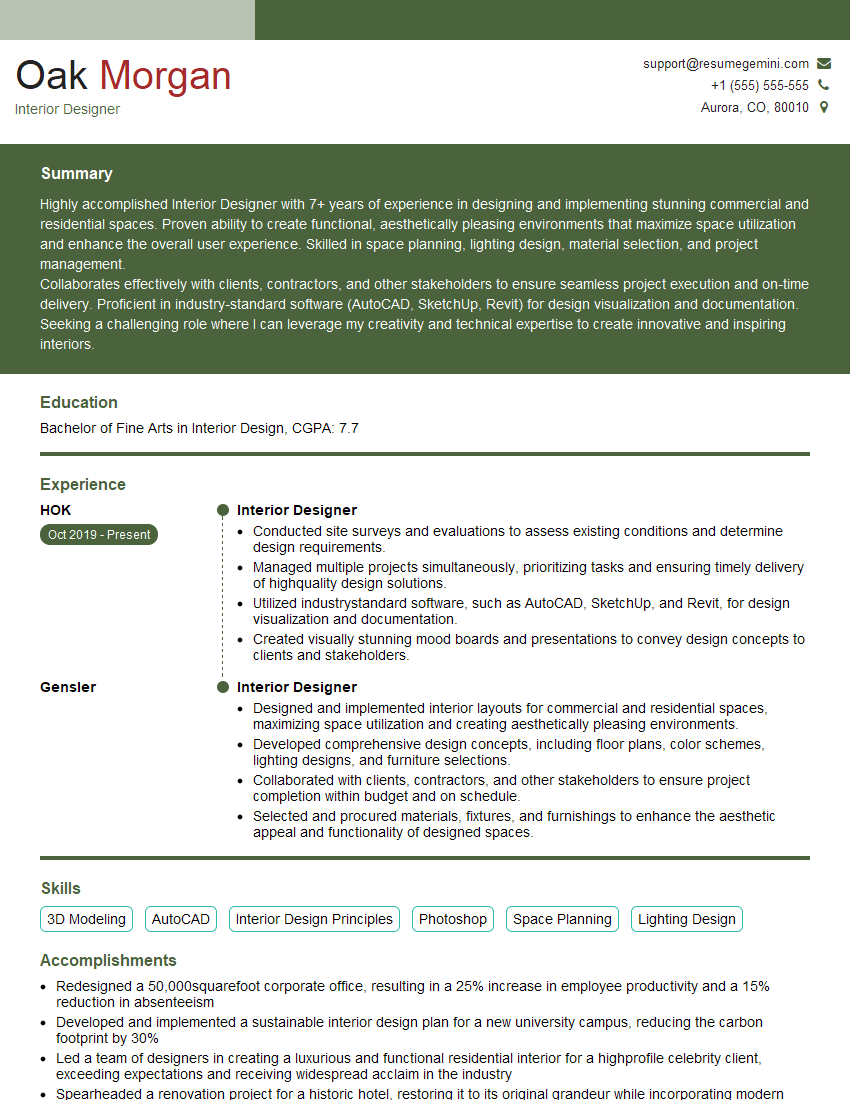
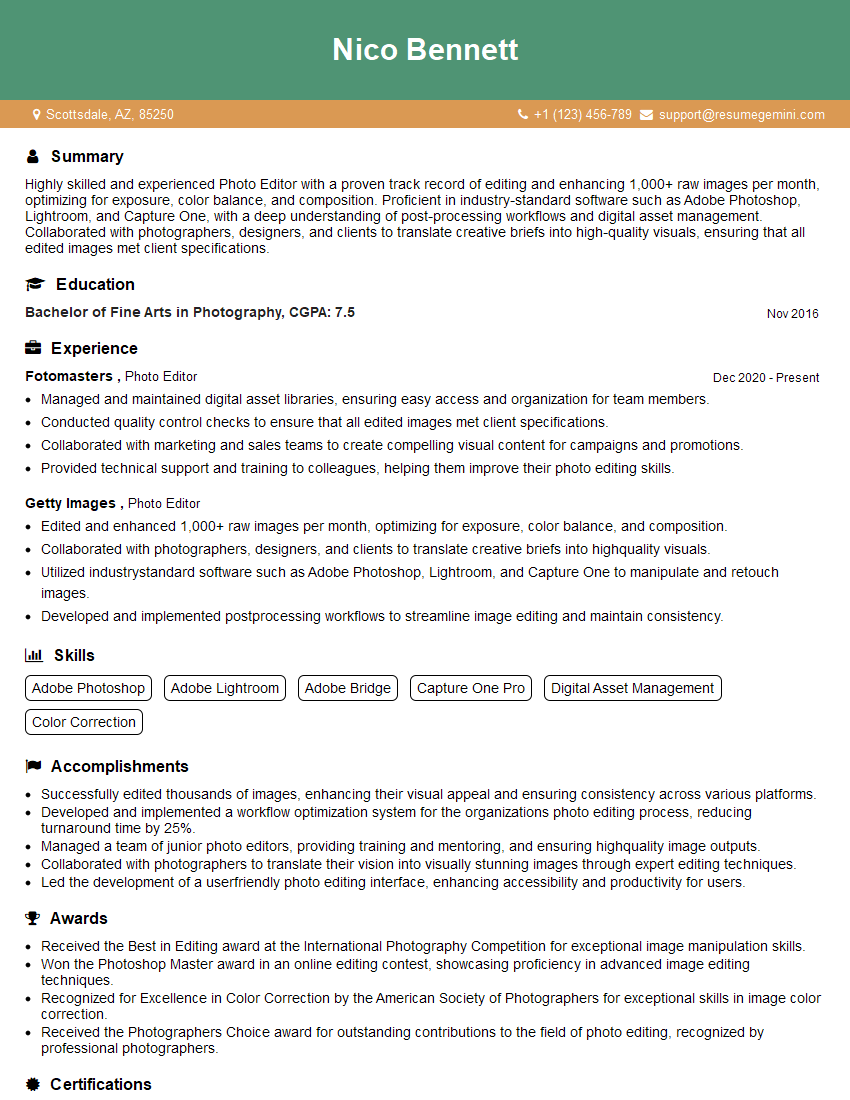
Interviews are more than just a Q&A session—they’re a chance to prove your worth. This blog dives into essential Software Proficiency (e.g., AutoCAD, SketchUp, Photoshop) interview questions and expert tips to help you align your answers with what hiring managers are looking for. Start preparing to shine!
Questions Asked in Software Proficiency (e.g., AutoCAD, SketchUp, Photoshop) Interview
Q 1. Explain the difference between relative and absolute coordinates in AutoCAD.
In AutoCAD, coordinates define the location of points. Absolute coordinates specify a point’s position directly from the origin (0,0) of the drawing. Relative coordinates, on the other hand, define a point’s location relative to the last point you specified. Think of it like giving directions: absolute is like providing a full address, while relative is like saying “go two blocks north and one block east.”
Absolute Coordinates: You specify the X and Y (and Z in 3D) values directly. For example, 10,5 would place a point 10 units along the X-axis and 5 units along the Y-axis from the origin. 10,5,2 in 3D adds a Z-coordinate of 2.
Relative Coordinates: You use the @ symbol to indicate a relative position. For instance, if the last point was at 10,5, then @2,3 would place the next point at 12,8 (10+2, 5+3). This is incredibly useful for quickly creating lines, arcs, and other objects by defining their position relative to the preceding geometry. This greatly speeds up the drawing process, especially in complex designs where precise location relative to existing geometry is essential.
Real-world application: Imagine designing a building’s floor plan. Using relative coordinates, you can easily draw a series of walls by defining their lengths and positions relative to the already drawn walls. This is much faster than calculating the absolute coordinates of each wall corner from the origin.
Q 2. Describe your experience using layers and layer properties in AutoCAD.
Layers are fundamental in AutoCAD for organizing and managing drawing elements. They act like transparent sheets stacked on top of each other, each containing different aspects of the design. Think of it like separating architectural elements (walls, doors, windows) from MEP (Mechanical, Electrical, Plumbing) elements on separate sheets, so they can be manipulated independently.
My experience involves extensively using layers to manage the complexity of large projects. I typically create layers based on object type (e.g., “Walls,” “Doors,” “Plumbing”), discipline (e.g., “Architectural,” “Structural,” “Electrical”), or even different design phases (e.g., “Concept,” “Design Development,” “Construction Documents”).
Layer Properties: Each layer has customizable properties, including its color, linetype (solid, dashed, etc.), lineweight, and plot style. I utilize these properties to visually distinguish different elements. For instance, I might use red for structural elements, blue for plumbing, and a dashed line type for proposed changes.
Real-world application: During the design of a multi-story building, different disciplines (architecture, structural, MEP) need to coordinate their work. By assigning each discipline to their own layer with unique colors and linetypes, we can easily manage and visualize all the elements without confusion. This simplifies collaboration and prevents accidental modifications.
Q 3. How do you create and manage blocks in AutoCAD?
Blocks in AutoCAD are reusable collections of objects that you create once and then insert multiple times throughout your drawing. They are essentially templates for frequently used elements, similar to creating a custom stamp or symbol. This saves significant time and effort, ensuring consistency.
Creating Blocks: To create a block, you first select the objects you want to include, then use the BLOCK command. You assign a name to the block and choose whether to keep the original objects in the drawing or delete them. I often use descriptive names (e.g., “Door_TypeA”, “Window_Standard”).
Managing Blocks: AutoCAD provides tools for managing blocks, including editing existing blocks (modifying their geometry or properties), renaming them, and saving them to a library for future use in other drawings. I usually organize blocks into libraries categorized by project type or element type. This promotes reuse and standardization across projects.
Real-world application: Imagine a standard office cubicle. I can create it as a block and insert it multiple times to quickly create a floor plan of an office space. If I need to modify the cubicle design, I can simply edit the block definition, and all instances will update automatically.
Q 4. Explain your process for creating 3D models in SketchUp.
My process for creating 3D models in SketchUp starts with a clear understanding of the project goals. I begin by sketching a rough concept, and then move to SketchUp. SketchUp’s intuitive interface and focus on simplicity make it ideal for quick iterations.
1. Defining the base plane: I start with the base plane, typically setting the units (feet or meters). A well-defined base plane ensures accuracy and avoids distortions later in the modeling process.
2. Building the model: Using a combination of the Line, Arc, and Rectangle tools, I build the model using basic shapes. I often use the Push/Pull tool, a powerful feature in SketchUp that allows easy extrusion of faces to create three-dimensional forms.
3. Refining the model: Once the main structure is created, I refine the model using the various editing tools to add details and ensure accurate proportions. The Move, Rotate, and Scale tools are frequently used to precisely position and size the objects. I utilize layers to organize the different components of the model effectively.
4. Adding textures and materials: In the later stages, I add realism to the model by applying textures and materials. SketchUp’s materials library offers a wide range of options, but you can also import custom textures.
Real-world application: I recently used SketchUp to model a custom home design. I started with the foundation, built the walls using the Push/Pull tool, added windows and doors, and then refined the model with interior details, textures, and landscaping.
Q 5. How do you utilize components and groups in SketchUp to improve workflow?
Components and groups are crucial for efficient workflow in SketchUp. They allow you to create reusable parts and manage complex models effectively. Components are independent instances, while groups are collections of geometry linked together. Think of components as LEGO bricks and groups as smaller assemblies within the LEGO construction.
Components: Components are independent instances that are linked together. Changes made to the original component definition update all instances simultaneously. This is extremely useful for creating repetitive elements like furniture, trees, or building components. I’ll create components of windows, doors, and rooms. If I make a change to one window component, all others update automatically.
Groups: Groups are collections of geometry that are treated as a single unit. They provide a way to organize elements within a model without the automatic update feature of components. I might group smaller details within a room.
Improving workflow: By using components and groups, I can create complex models more efficiently. They reduce file size and make editing easier. For instance, if I have to redesign a chair in a room, I only need to edit the chair component, rather than each individual chair.
Q 6. Describe your experience with SketchUp’s rendering capabilities.
SketchUp’s built-in rendering capabilities are quite basic, but adequate for quick visualizations. The Styles panel allows for basic adjustments to the model’s appearance, such as lighting, shadows, and ambient occlusion. It’s sufficient for client presentations where a quick visual is needed, but often lacks photorealism.
For high-quality renderings, I generally export the model to a dedicated rendering program like V-Ray for SketchUp, Lumion, or Enscape. These plugins or standalone programs offer far more advanced features, such as realistic materials, lighting simulations, and post-processing capabilities. The results provide more accurate visualizations.
Real-world application: For a quick client presentation, I might use SketchUp’s built-in rendering to show a basic model with basic lighting. For high-quality marketing materials, however, I would definitely export the model to a dedicated renderer for photorealistic results.
Q 7. How do you handle complex geometry and high-polygon models in SketchUp?
Handling complex geometry and high-polygon models in SketchUp requires careful planning and optimization techniques. High-polygon models can slow down performance significantly. One must be mindful of this issue when tackling large designs.
Strategies:
- Simplify geometry: Avoid unnecessary detail. Use simpler shapes whenever possible. High levels of detail are not always necessary, particularly for large models or low-resolution renderings.
- Use components effectively: Create components for frequently used elements, making the model more manageable and reducing the overall polygon count.
- Clean up geometry: Regularly check for and remove unnecessary edges or faces to reduce the polygon count.
- Optimize for rendering: If rendering is critical, consider exporting to a dedicated renderer with optimized settings.
- Use layers strategically: Layers can help to isolate parts of the model which are being actively worked on from the rest of the model. This isolates parts which are slowing down performance.
Real-world application: When modeling a large building, I may not need to model every single brick. Instead, I might use simpler shapes and textures to represent the overall facade. By applying these strategies, I ensure smoother performance and reduced rendering times.
Q 8. Explain the difference between raster and vector graphics in Photoshop.
The core difference between raster and vector graphics lies in how they represent images. Raster graphics, like JPEGs and PNGs, are made up of a grid of pixels. Each pixel has a specific color, and changing the image size alters the pixel count, potentially leading to pixelation or blurring. Think of it like a mosaic—changing the size changes the size of the individual tiles.
Vector graphics, on the other hand, use mathematical formulas to define shapes and lines. This means you can scale them to any size without losing quality. Think of it like a drawing made with precise lines; enlarging it just makes the lines thicker, not blurry. In Photoshop, you’ll work primarily with raster images, but you can import and work with vector graphics from other programs like Illustrator.
For example, a photograph is a raster graphic, while a logo created in Illustrator is typically a vector graphic. In Photoshop, you can trace vector graphics, converting them into raster images.
Q 9. Describe your experience with Photoshop’s layer blending modes.
Layer blending modes in Photoshop are powerful tools that allow you to control how the pixels of one layer interact with the pixels of the layer below. Instead of simply overlaying one layer on top of another, blending modes allow for a wide range of effects, from subtle transparency adjustments to dramatic color shifts. I’ve used them extensively for everything from creating realistic lighting effects to combining textures and creating composite images.
For example, the ‘Multiply’ mode darkens the underlying layer, creating shadows or adding depth. ‘Screen’ mode lightens the underlying layer, useful for highlights. ‘Overlay’ blends the colors based on the base color, adding contrast. I frequently experiment with different modes, often starting with ‘Overlay’ or ‘Soft Light’ for subtle adjustments and moving to ‘Multiply’ or ‘Screen’ for more dramatic results.
My experience spans various applications, from compositing product shots (using ‘Multiply’ to realistically integrate shadows), to creating artistic effects by combining textures (using ‘Overlay’ or ‘Hard Light’ for vivid results) and enhancing portraits by selectively lightening or darkening parts (utilizing ‘Dodge’ and ‘Burn’). Understanding how each mode interacts with different color values is key to harnessing their potential effectively.
Q 10. How do you utilize adjustment layers in Photoshop to non-destructively edit images?
Adjustment layers are a cornerstone of non-destructive editing in Photoshop. Unlike directly adjusting the pixels of a layer, adjustment layers create a mask that modifies the appearance of underlying layers without permanently altering their pixel data. This ensures that any changes can be easily modified, removed, or tweaked later in the workflow, maintaining image quality.
For instance, instead of using the ‘Brightness/Contrast’ tool directly on a layer (destructive), I’ll add a ‘Brightness/Contrast’ adjustment layer. This allows me to change the brightness and contrast at any time, and even mask specific areas, applying the adjustments only where needed. I can also change the blending mode of the adjustment layer for more creative control.
I regularly employ adjustment layers for color balance (using ‘Color Balance’ and ‘Curves’), levels (using ‘Levels’), and vibrancy (‘Vibrance’). This method is crucial when working on complex projects involving many edits, allowing for easy revisions and exploration of different looks without fear of damaging the base image.
Q 11. Explain your workflow for retouching photographs in Photoshop.
My retouching workflow begins with assessing the image’s needs. Is it a simple blemish removal or a more complex task requiring color correction and composition adjustments? My process typically involves:
- Initial Assessment and Pre-processing: This involves checking for dust spots, color casts and overall image quality.
- Spot Removal: Using the Clone Stamp or Healing Brush tools to carefully remove blemishes, dust, and other imperfections, paying attention to the texture and surroundings for seamless integration.
- Color Correction: Employing adjustment layers (Levels, Curves, Color Balance) to adjust brightness, contrast, and color balance. This step often involves targeting specific areas using masks to ensure precise adjustments.
- Frequency Separation (for advanced retouching): Separating the image into high-frequency (detail) and low-frequency (tone) layers allows for independent detail and tone editing, leading to smoother skin while preserving fine details.
- Dodging and Burning: Using the Dodge and Burn tools to selectively enhance highlights and shadows, adding depth and dimension.
- Sharpening: Using Unsharp Mask to enhance detail and clarity, carefully adjusting the settings to avoid over-sharpening.
- Final Adjustments and Export: A final review, ensuring the image looks natural and achieves the desired aesthetic. Exporting at the correct resolution and file format is the final stage.
This workflow is adaptable and adjusts based on the complexity of the retouching needs. For example, a quick product shot might only need spot removal and color correction, while a portrait might require a more extensive process including frequency separation.
Q 12. How do you create and use custom brushes in Photoshop?
Creating custom brushes in Photoshop allows for highly personalized and efficient workflow. You can design brushes to mimic real-world tools (like chalk or watercolor) or create unique textures and patterns. The process involves selecting the Brush tool, accessing the Brush Settings panel, and experimenting with various parameters.
To create a custom brush, you might start with a simple shape, like a circle or square, on a new layer. You then select the shape, go to ‘Edit’ > ‘Define Brush Preset,’ name your brush, and it’s added to your brush library. You can further customize the brush by altering its shape dynamics, scattering, and texture. Experimenting with the ‘Shape Dynamics,’ ‘Scattering,’ and ‘Texture’ options is key to controlling aspects like brush size variation, the spacing of brush strokes, and the addition of surface texture to your brush strokes.
For instance, I created a custom brush for a project that needed a textured, worn-out paint effect. By importing a high-resolution image of worn paint, I created a brush with varied opacity and a rough edge. This eliminated the need to manually replicate that texture for every stroke.
Q 13. Describe your experience with Photoshop’s selection tools.
Photoshop’s selection tools are fundamental to effective editing. My proficiency extends to using these tools precisely and efficiently. Understanding their strengths and limitations is crucial. The key tools I frequently use are:
- Marquee Tools (Rectangular, Elliptical, Single Row, Single Column): For making simple, precise rectangular and elliptical selections.
- Lasso Tools (Regular, Polygonal, Magnetic): The Lasso tools offer freehand selection, with the Magnetic Lasso being especially useful for selecting edges that contrast sharply with their background.
- Quick Selection Tool: A remarkably fast and efficient tool for selecting large areas of similar color or tone.
- Magic Wand Tool: Quickly selects areas of similar color tolerance.
- Object Selection Tool: AI-powered tool that intelligently selects objects in an image based on context.
I often combine these tools for complex selections. For instance, I might use the Quick Selection tool to make a rough selection, then refine the edges with the Lasso tool. Mastering the use of feathering and refining edge options is crucial for seamless selections. These precise selection skills are critical for retouching, masking, and compositing tasks.
Q 14. What are your preferred methods for optimizing images for web use in Photoshop?
Optimizing images for web use is critical for fast loading times and a positive user experience. My process usually involves:
- Resolution: Reducing the image resolution to a size appropriate for the web. Overly large images significantly impact loading times. Common resolutions range from 72 to 150 pixels per inch (PPI).
- File Format: Choosing the correct file format is essential. JPEGs are ideal for photographic images and offer a good balance between file size and image quality. PNGs are suitable for images with sharp lines, text, or transparent backgrounds. WebP is another option offering superior compression.
- Compression: Using Photoshop’s ‘Save for Web (Legacy)’ feature allows for fine-tuning of compression settings, which directly impacts file size. A balance must be struck between file size and acceptable visual quality loss.
- Image Size: Scaling the image down to the appropriate dimensions for the intended use on the website. This prevents unnecessarily large images from being downloaded. Using the Image Size dialogue is critical for this step.
For instance, when optimizing a hero image for a website, I’d carefully reduce the resolution to around 150 PPI while maintaining acceptable visual quality to ensure the image loads quickly without appearing pixelated. The specific settings for compression would depend on the image content and acceptable quality loss.
Q 15. How do you manage large Photoshop files efficiently?
Managing large Photoshop files efficiently is crucial for maintaining performance and preventing crashes. It’s like managing a huge library – you wouldn’t want to search through every single book individually, right? Here’s how I approach it:
Layer Management: I meticulously organize my layers using folders and descriptive names. This is paramount. Think of it as creating logical sections within your library. Instead of a chaotic jumble, you have categorized sections for backgrounds, characters, text, and effects. This makes finding and editing specific elements a breeze.
Smart Objects: For elements that may need frequent edits (like logos or textures), I convert them into Smart Objects. This preserves the original quality, allowing non-destructive editing. It’s like having a master copy you can reuse and update without affecting other parts of the project.
Layer Comps: To quickly switch between different design iterations, I use Layer Comps. These save different states of your layers, offering a preview of various options. Think of it as saving different versions of your library’s catalog – you can easily browse different versions.
Saving in PSD Format: While other formats might be smaller, PSD retains all layers and edits, which is essential for flexibility. This is like preserving your library with detailed information about each book, rather than just a summary.
Regular File Cleanup: I regularly merge unnecessary layers, delete unused assets, and save my work frequently to prevent data loss and keep file sizes manageable. This keeps my digital library organized and efficient.
Using High-Resolution Images Judiciously: I use high-resolution images only when absolutely necessary and scale images appropriately to avoid unnecessarily large file sizes. This is like choosing the right book size for your shelf – no need for oversized tomes for simple information.
Career Expert Tips:
- Ace those interviews! Prepare effectively by reviewing the Top 50 Most Common Interview Questions on ResumeGemini.
- Navigate your job search with confidence! Explore a wide range of Career Tips on ResumeGemini. Learn about common challenges and recommendations to overcome them.
- Craft the perfect resume! Master the Art of Resume Writing with ResumeGemini’s guide. Showcase your unique qualifications and achievements effectively.
- Don’t miss out on holiday savings! Build your dream resume with ResumeGemini’s ATS optimized templates.
Q 16. What is your experience with creating and editing vector graphics?
I have extensive experience creating and editing vector graphics using Adobe Illustrator and Inkscape. Vector graphics are fundamentally different from raster graphics (like those in Photoshop); they’re resolution-independent, meaning they can be scaled to any size without losing quality. It’s like working with mathematical equations – you can enlarge them indefinitely without losing detail.
My experience spans creating logos, illustrations, icons, and complex designs from scratch. I’m proficient in using various vector tools, including the Pen Tool (for precise drawing), Shape Builder Tool (for merging and combining shapes), and Pathfinder (for more complex manipulations). I also understand the importance of using proper stroke weights and fill colors to ensure scalability and maintain visual consistency across different media. I’ve worked on projects where vector graphics were crucial for maintaining crispness on large format printing, website design, and mobile app interfaces. For example, I recently designed a corporate logo that needed to be used across various applications from business cards to billboard-sized advertisements. The vector nature of the logo ensured perfect quality across all sizes.
Q 17. How familiar are you with using plugins and extensions in your design software?
I’m highly familiar with plugins and extensions across various design software. They greatly enhance the capabilities and workflow. Think of them as power-ups for your design software.
In Photoshop, I frequently use plugins for actions (automating repetitive tasks), filters (adding unique effects), and color management. In Illustrator, I’ve used plugins for generating patterns, optimizing artwork for web, and integrating with other applications. For example, I used a plugin in Photoshop to automate batch processing of images for a large-scale e-commerce project, saving significant time and effort. I always carefully research and select plugins from reputable sources to ensure compatibility and security.
Q 18. Describe a time you had to troubleshoot a technical issue in your design software.
During a project involving intricate 3D modeling in SketchUp, I encountered a frustrating issue where my model was inexplicably crashing the program. The usual suspects (lack of memory, corrupted file) were ruled out.
My troubleshooting process began with isolating the problem: I systematically saved the project as smaller files, removing components one by one until I found the culprit – a highly complex component with too many overlapping faces and poorly defined geometry. This is akin to debugging software; you have to isolate and identify problematic sections of code. The solution was to simplify the geometry of this component, cleaning up the mesh and reducing the number of polygons. After this, the program ran smoothly. This experience highlighted the importance of maintaining clean and efficient models in 3D software.
Q 19. How do you ensure your designs are consistent with branding guidelines?
Maintaining design consistency with branding guidelines is paramount for establishing a strong brand identity. It’s like following a recipe closely to ensure the final dish tastes perfect. I ensure consistency by:
Thorough Review of Brand Guidelines: I meticulously review the provided style guide, paying close attention to the color palette, typography, logo usage, and imagery guidelines. This forms the foundation for my design choices.
Using Style Guides Within Software: I leverage the style guide functionality in design software like Photoshop and Illustrator, creating custom swatches for colors, character styles for typography, and custom brushes to ensure consistency in strokes and effects. This simplifies my work and minimizes mistakes.
Maintaining Asset Libraries: I build and maintain libraries of approved brand assets (logos, images, fonts) to ensure easy access and correct usage throughout the project. This keeps everyone on the same page and prevents any deviation from the brand’s visual identity.
Regular Collaboration and Feedback: I regularly collaborate with stakeholders, seeking feedback and ensuring design decisions align with the brand’s vision. Communication is key!
Q 20. Explain your experience with using CAD software for drafting technical drawings.
My experience with CAD software, primarily AutoCAD, is extensive. I’m proficient in creating detailed 2D technical drawings, including floor plans, elevations, sections, and detailed components. I understand the importance of accuracy and precision in CAD drawings, utilizing tools like snapping, constraints, and layers for precise design and management.
I’ve worked on projects ranging from architectural plans to mechanical engineering drawings, demonstrating my ability to adapt to different drafting standards and conventions. For instance, I recently used AutoCAD to draft technical drawings for a manufacturing project, ensuring the drawings were accurate, compliant with industry standards, and readily understandable by the manufacturing team. This involved using advanced features like dimensioning, annotation, and creating custom blocks to expedite the process.
Q 21. Describe your experience with creating and modifying 3D models from 2D drawings.
Converting 2D drawings into 3D models requires a strong understanding of both 2D and 3D principles. It’s like sculpting a figure from a flat photograph – you need to visualize the three-dimensional form from the two-dimensional representation.
My experience involves utilizing software such as SketchUp and Blender. The process typically involves carefully studying the 2D drawings to understand the dimensions, perspectives, and details of the object. Then, I begin creating the 3D model based on the 2D information, using appropriate modeling techniques and tools. I often find myself referencing the 2D drawings to ensure the 3D model remains faithful to the original design. This process requires attention to detail and spatial reasoning skills. For example, I recently converted architectural floor plans into a 3D model for a client, which was then used for visualization and virtual walkthrough purposes.
Q 22. How do you maintain version control in your design projects?
Maintaining version control in design projects is crucial for collaboration, error tracking, and project history. I primarily use cloud-based solutions like Autodesk A360 or similar platforms, offering features like file versioning, revision history, and collaborative editing. Think of it like Google Docs for CAD drawings – multiple people can work simultaneously, and every change is recorded. This prevents accidental overwrites and allows us to easily revert to previous versions if necessary.
For instance, if I’m working on a complex building model in Revit, each time I save a significant change, the system automatically creates a new version. This detailed history helps me trace the evolution of the design and identify the point where a problem was introduced. I also utilize descriptive version names (e.g., ‘v1.0_initial_model’, ‘v1.1_added_stairs’, ‘v2.0_final_render’) for easy identification and referencing.
Q 23. How do you collaborate with others on design projects?
Collaboration is essential in design. I’ve utilized several methods depending on the project size and team structure. For smaller teams, we might employ cloud-based platforms like mentioned before, where we can work on the same file simultaneously, leaving comments and notes within the software itself. This enables real-time feedback and avoids email chains cluttered with revisions.
For larger, more complex projects, we often use dedicated project management software, like Asana or Trello, which helps streamline workflows. We define clear roles, tasks, and deadlines. This software also provides a central repository for communication, file sharing, and progress tracking. Think of it as a central hub for the project, ensuring everyone is on the same page.
Regular team meetings and design reviews are also critical. These sessions allow us to discuss challenges, brainstorm solutions, and ensure everyone is aligned with the design goals. Effective communication is key to successful collaboration.
Q 24. Explain your process for creating design specifications.
Creating robust design specifications involves a methodical approach, ensuring that the final product meets both functional and aesthetic requirements. It usually begins with a comprehensive understanding of the client’s needs and project goals, often through detailed discussions and meetings. Then, I translate these requirements into clear, measurable, achievable, relevant, and time-bound (SMART) objectives.
My process involves several key steps:
- Client Brief Analysis: Thoroughly reviewing the client’s brief, identifying key features, functionalities, and limitations.
- Conceptual Design & Sketches: Creating preliminary sketches and 3D models to explore different design options and establish a strong visual direction.
- Detailed Specifications Document: Producing a formal document outlining all technical aspects (dimensions, materials, tolerances, etc.) and aesthetic elements, often with detailed drawings and renderings. This ensures clear communication between the design and construction teams.
- Review and Iteration: Regularly reviewing the specifications with the client and stakeholders to ensure alignment and incorporate feedback.
For example, when designing a furniture piece, I’d specify the exact dimensions, material type (wood, metal, etc.), finish, joinery techniques, and any special construction notes in detail. This ensures the manufacturer can build the product accurately and consistently.
Q 25. How familiar are you with industry standards for file formats and data exchange?
I’m very familiar with industry-standard file formats and data exchange protocols. Understanding these standards is crucial for seamless collaboration and compatibility across different software and platforms. I regularly work with formats like:
- .dwg (AutoCAD): The industry standard for CAD drawings.
- .skp (SketchUp): For 3D models, commonly used in architectural visualization and product design.
- .psd (Photoshop): For image editing and rendering.
- .pdf: For sharing 2D drawings and presentations.
- .fbx, .obj: For 3D model exchange between different software packages.
Furthermore, I’m proficient in using data exchange methods like IFC (Industry Foundation Classes) for building information modeling (BIM) projects, ensuring interoperability between different BIM software.
Choosing the appropriate format for a given project is vital for maintaining data integrity and minimizing compatibility issues. My understanding of these standards ensures smooth communication and prevents project delays.
Q 26. Describe your experience with creating presentations and documentation for your design work.
Creating effective presentations and documentation is a key aspect of my design process. I use a combination of software and techniques to convey design concepts clearly and persuasively. I often use PowerPoint or Keynote to create compelling visual presentations, incorporating high-quality renderings, animations, and concise text to highlight design features and innovations. For detailed technical documentation, I utilize specialized software depending on the project. For example, for construction documents I’d use AutoCAD or Revit to create detailed 2D and 3D drawings.
A recent project required me to present a complex urban design proposal to the city council. I created a multi-media presentation combining high-resolution aerial renders, interactive 3D models, and concise data visualizations. The presentation’s success was largely due to its clear visual communication, making complex data accessible to the non-technical audience. I also maintain meticulous records of all design decisions and iterations within the project’s documentation, which serves as a valuable archive for future reference.
Q 27. What are your strengths and weaknesses as a CAD/Design professional?
My strengths as a CAD/Design professional lie in my ability to quickly grasp complex design challenges, find innovative solutions, and create detailed, accurate documentation. I am adept at utilizing a variety of software, collaborating effectively with diverse teams, and delivering high-quality results within tight deadlines. I’m also skilled at visual communication, presenting design ideas effectively to both technical and non-technical audiences.
However, like every professional, I also have areas for improvement. One weakness I’m actively working on is streamlining my workflow to further optimize efficiency in large-scale projects. I’m currently exploring advanced project management techniques and software to better manage tasks and allocate resources.
Q 28. Where do you see yourself in five years in this field?
In five years, I envision myself as a senior design professional, leading and mentoring junior team members while contributing to high-impact projects. I hope to specialize in sustainable design, integrating environmentally conscious practices into my workflow and contributing to more eco-friendly designs. I’d also like to expand my expertise in parametric modeling and generative design, leveraging advanced software and techniques to create more efficient and innovative solutions. Continuously learning and adapting to new technologies and design methodologies will remain a high priority, ensuring I remain at the forefront of the industry.
Key Topics to Learn for Software Proficiency (e.g., AutoCAD, SketchUp, Photoshop) Interview
Ace your next interview by mastering these key areas. Remember, demonstrating practical application is crucial!
- AutoCAD: Understanding 2D/3D drafting principles, layer management, creating and modifying blocks, using external references (xrefs), and navigating the interface efficiently.
- AutoCAD Practical Application: Be prepared to discuss projects where you used AutoCAD to create detailed drawings, perform calculations, or collaborate on designs. Showcase your ability to solve design challenges using AutoCAD’s features.
- SketchUp: Mastering modeling techniques, understanding component creation and management, using textures and materials effectively, working with scenes and layers, and utilizing extensions to enhance workflow.
- SketchUp Practical Application: Prepare examples of models you’ve created, highlighting your problem-solving skills in architectural visualization or 3D modeling. Discuss your experience with different modeling techniques and their application.
- Photoshop: Proficiency in image manipulation, understanding layer management, mastering selection tools, retouching techniques, color correction and adjustment, and using filters effectively.
- Photoshop Practical Application: Be ready to discuss projects where you’ve used Photoshop for image editing, retouching, or graphic design. Show how you addressed specific challenges using Photoshop’s features and tools.
- General Software Proficiency: Familiarize yourself with file formats, data management techniques, troubleshooting common issues, and understanding the importance of version control.
- Problem-Solving Approach: Practice articulating your problem-solving process. Be ready to discuss how you approach challenges, debug errors, and find creative solutions within your chosen software.
Next Steps
Mastering software proficiency is paramount for career advancement in many fields. A strong command of these tools opens doors to exciting opportunities and higher earning potential. To maximize your job prospects, create an ATS-friendly resume that highlights your skills and experience effectively. ResumeGemini is a trusted resource that can help you build a professional resume tailored to your specific skills and experience. We offer examples of resumes tailored to Software Proficiency (e.g., AutoCAD, SketchUp, Photoshop) to guide you. Invest the time to create a compelling resume – it’s your first impression!
Explore more articles
Users Rating of Our Blogs
Share Your Experience
We value your feedback! Please rate our content and share your thoughts (optional).
What Readers Say About Our Blog
Hello,
We found issues with your domain’s email setup that may be sending your messages to spam or blocking them completely. InboxShield Mini shows you how to fix it in minutes — no tech skills required.
Scan your domain now for details: https://inboxshield-mini.com/
— Adam @ InboxShield Mini
Reply STOP to unsubscribe
Hi, are you owner of interviewgemini.com? What if I told you I could help you find extra time in your schedule, reconnect with leads you didn’t even realize you missed, and bring in more “I want to work with you” conversations, without increasing your ad spend or hiring a full-time employee?
All with a flexible, budget-friendly service that could easily pay for itself. Sounds good?
Would it be nice to jump on a quick 10-minute call so I can show you exactly how we make this work?
Best,
Hapei
Marketing Director
Hey, I know you’re the owner of interviewgemini.com. I’ll be quick.
Fundraising for your business is tough and time-consuming. We make it easier by guaranteeing two private investor meetings each month, for six months. No demos, no pitch events – just direct introductions to active investors matched to your startup.
If youR17;re raising, this could help you build real momentum. Want me to send more info?
Hi, I represent an SEO company that specialises in getting you AI citations and higher rankings on Google. I’d like to offer you a 100% free SEO audit for your website. Would you be interested?
Hi, I represent an SEO company that specialises in getting you AI citations and higher rankings on Google. I’d like to offer you a 100% free SEO audit for your website. Would you be interested?
good


