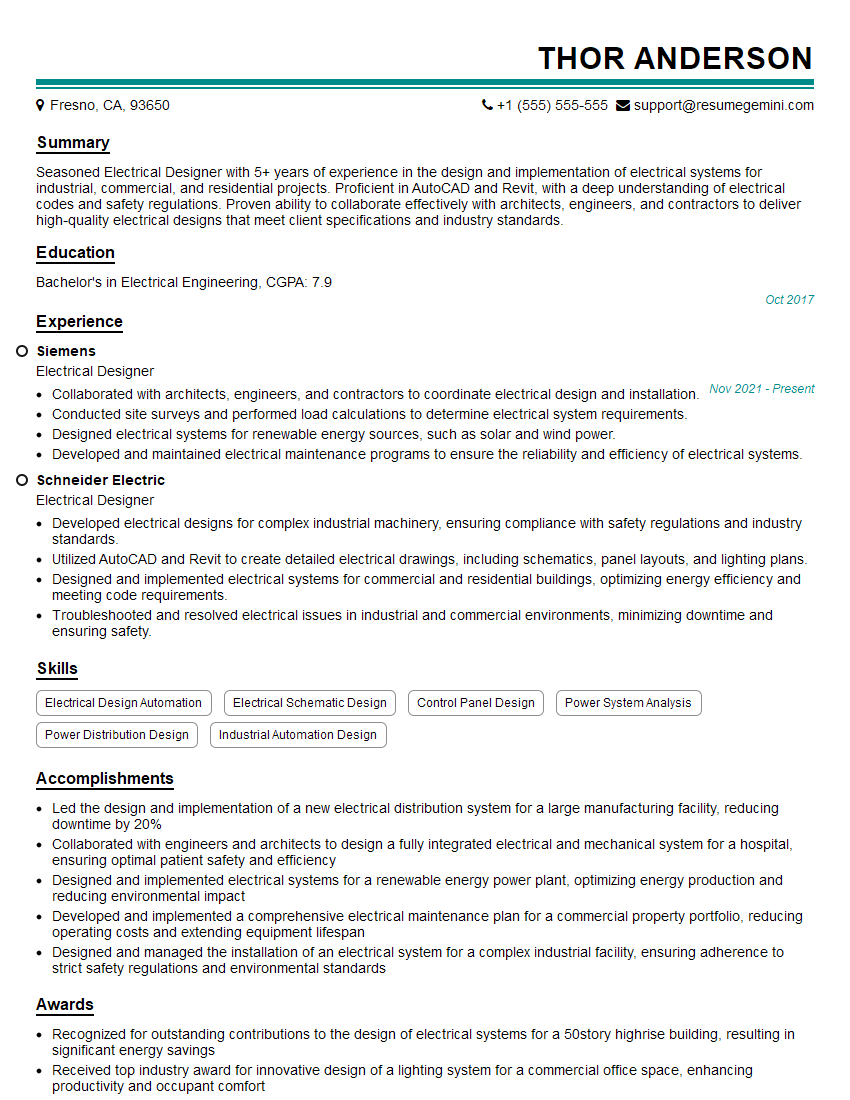
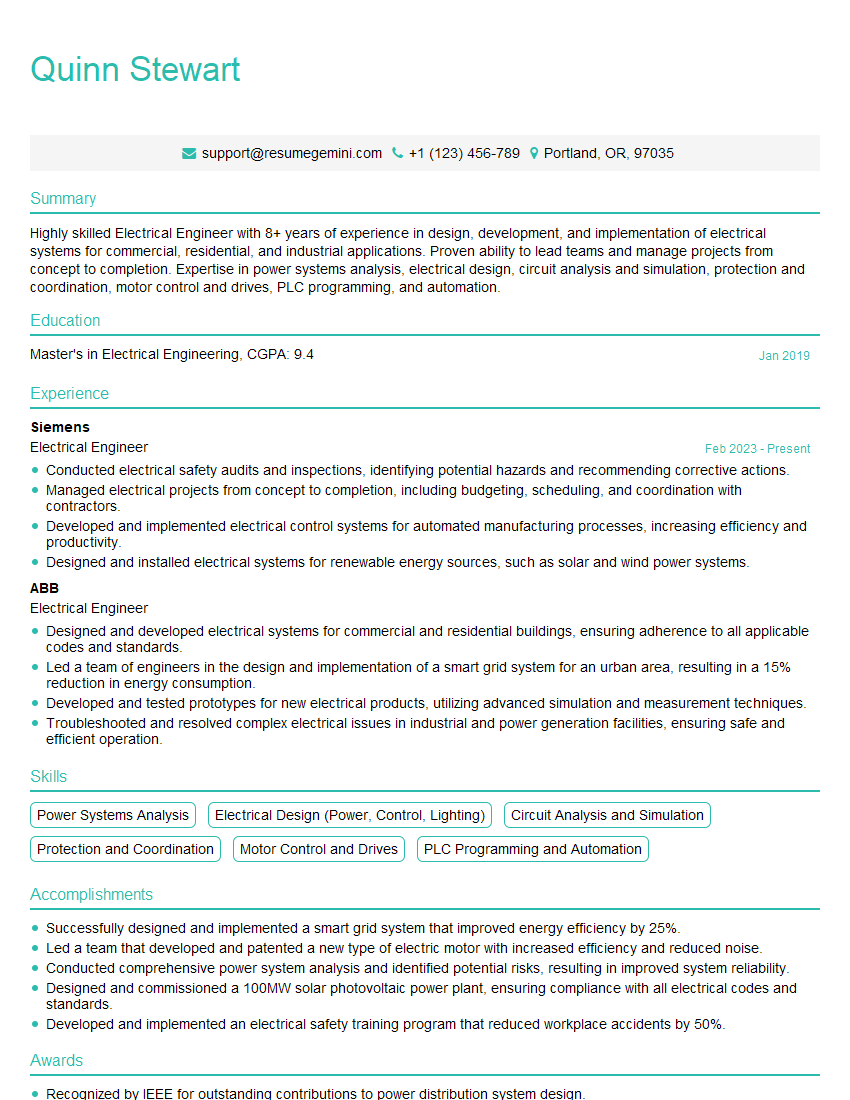
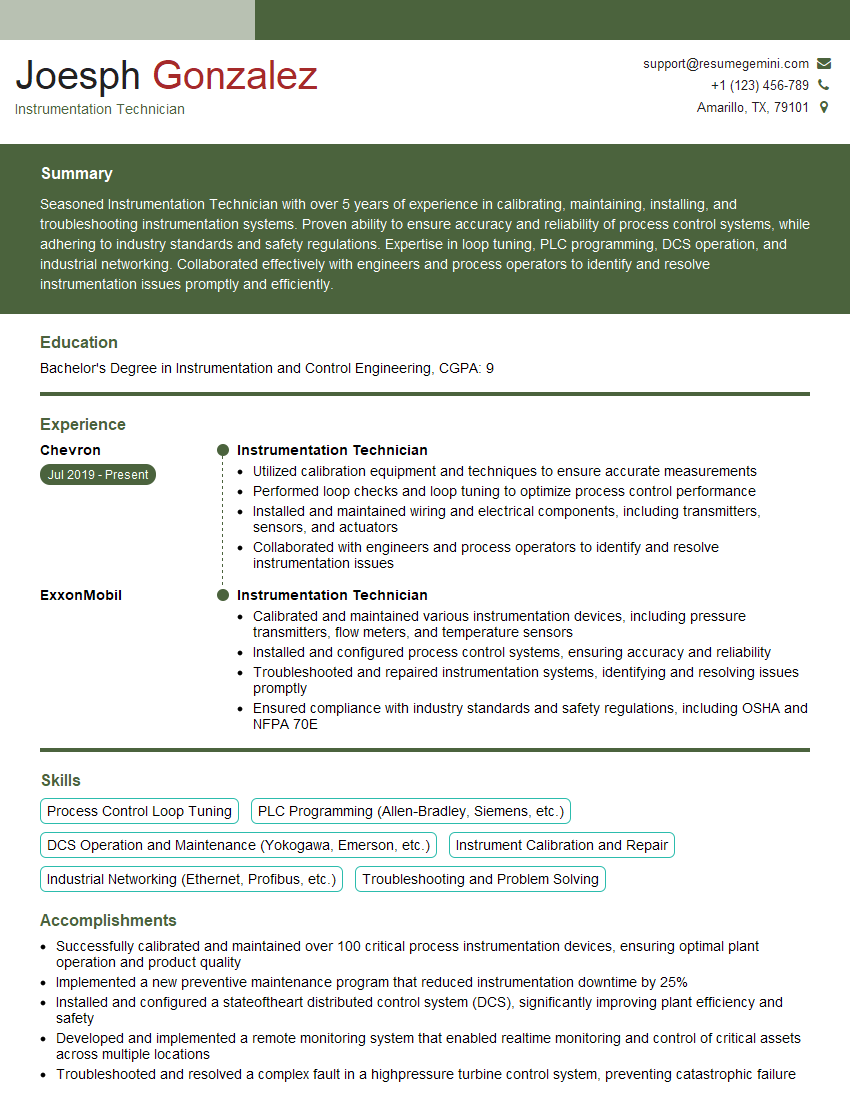
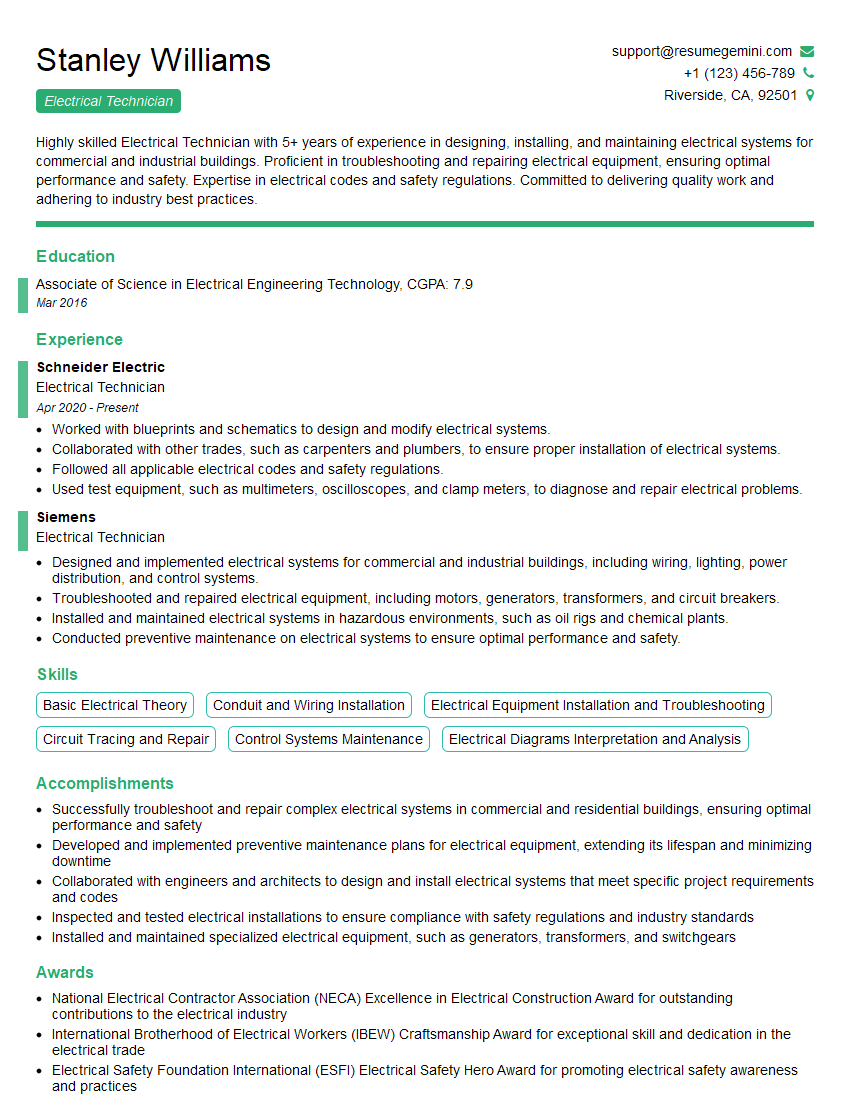
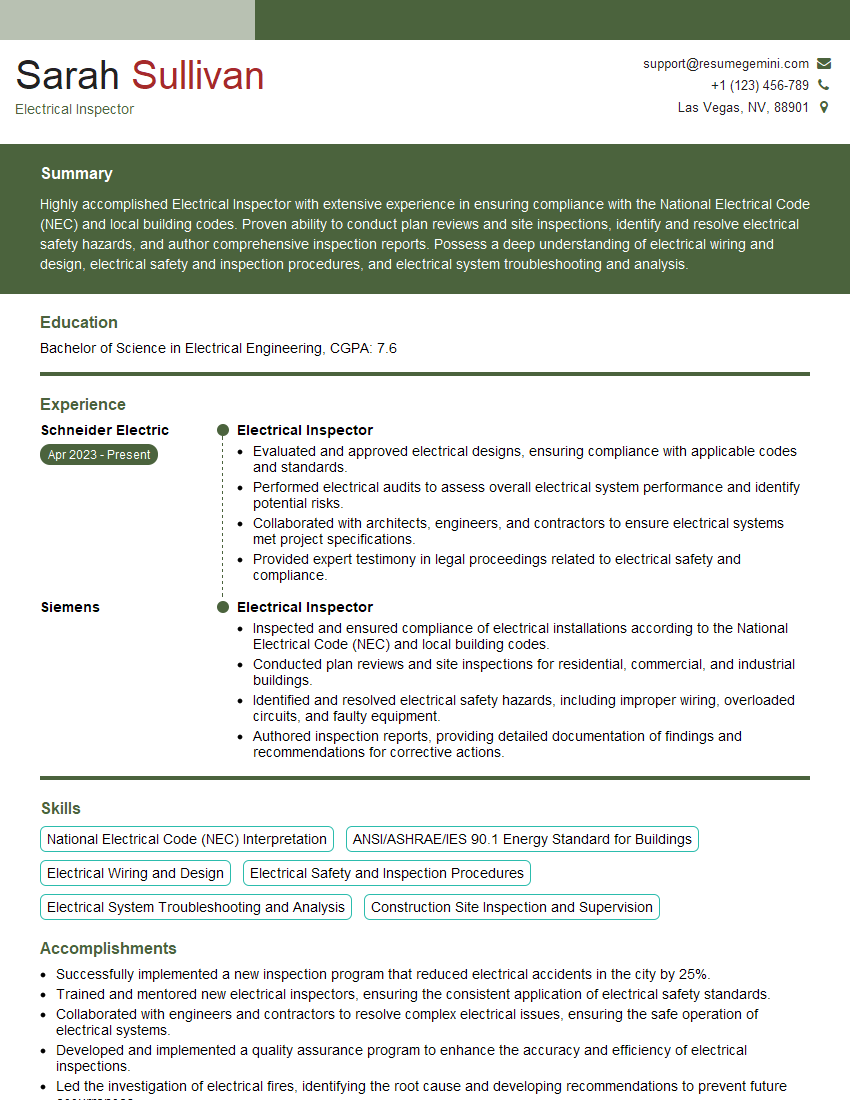
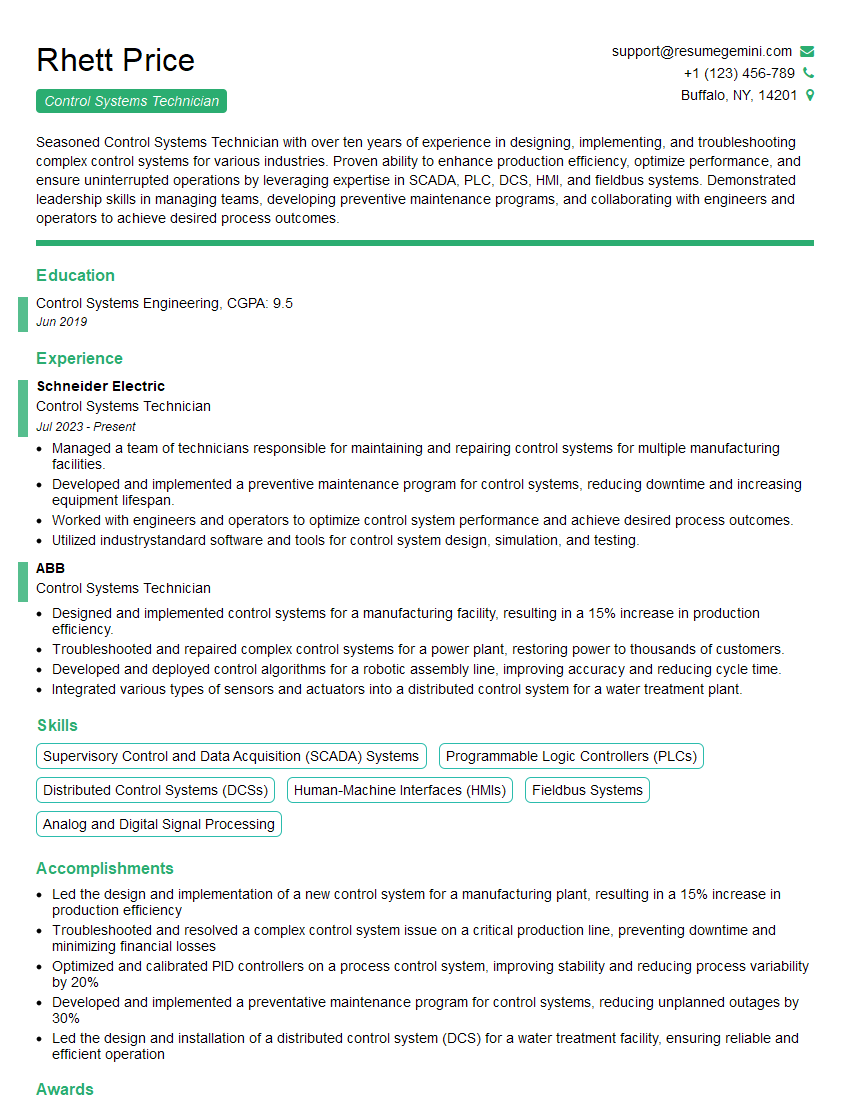
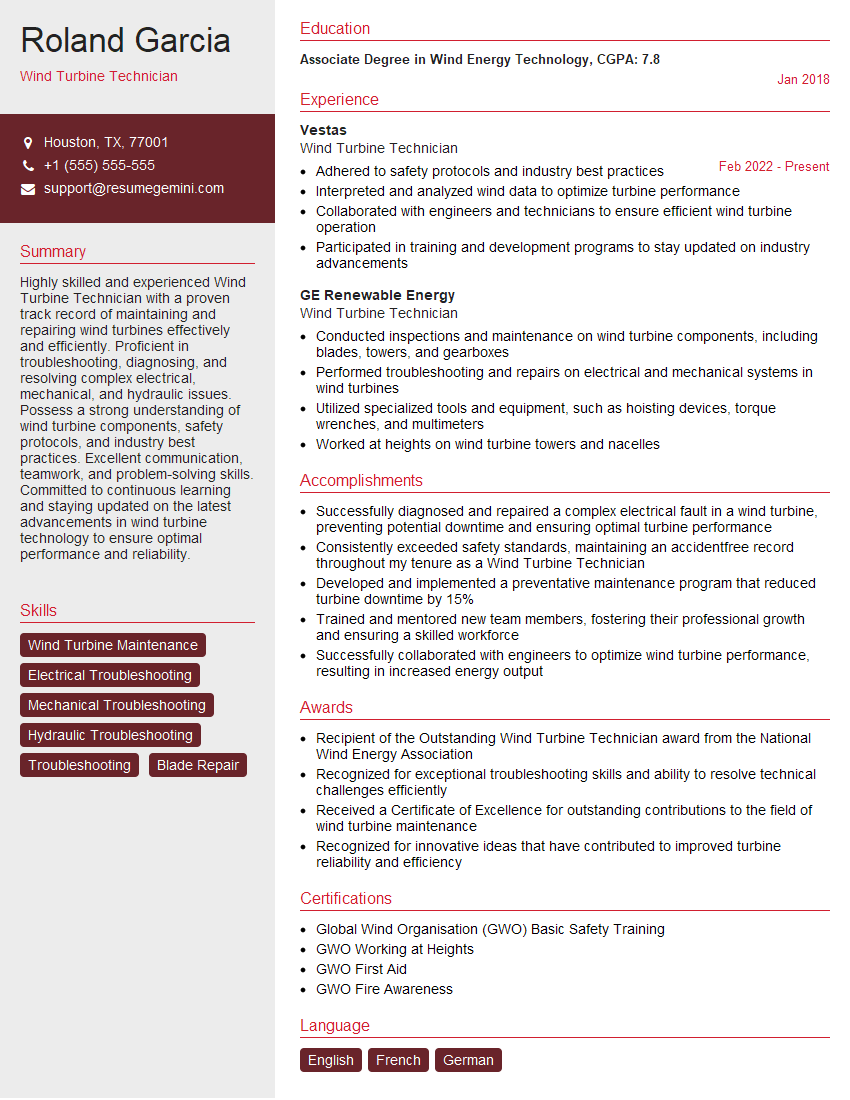
Feeling uncertain about what to expect in your upcoming interview? We’ve got you covered! This blog highlights the most important Using a variety of tools and equipment to perform electrical work interview questions and provides actionable advice to help you stand out as the ideal candidate. Let’s pave the way for your success.
Questions Asked in Using a variety of tools and equipment to perform electrical work Interview
Q 1. Describe your experience with different types of wire strippers.
Wire strippers are essential tools for safely removing insulation from electrical wires without damaging the conductors. I’ve extensive experience with several types, each suited for different wire gauges and insulation materials.
- Automatic wire strippers: These are my go-to for consistent, quick stripping of various wire sizes. They’re like precision scissors, automatically adjusting to the wire diameter. I find them particularly useful for high-volume jobs. For instance, during a recent large-scale rewiring project, the automatic stripper significantly sped up the process, ensuring accuracy and consistency across thousands of wires.
- Diagonal cutters (dykes): These are indispensable for cutting and stripping smaller wires, especially when working in tight spaces. Their sharp blades allow for precise cuts, minimizing wire damage. I often use them in conjunction with a smaller, manual stripper for fine work on delicate wires like those in control circuits.
- Manual strippers: These offer more control for various wire types and gauges. They usually have multiple sized holes to accommodate different wire diameters. I’ve found them helpful when dealing with thicker or more rigid insulation materials that might be difficult for automatic strippers. For example, stripping heavy-gauge THHN wire often requires the precision offered by a manual stripper to avoid nicking the conductor.
Selecting the right stripper depends entirely on the job. The wrong tool can lead to damaged wires, which could affect circuit integrity and safety.
Q 2. Explain the proper use of a multimeter for voltage, current, and resistance measurements.
A multimeter is a crucial tool for electrical diagnostics and troubleshooting. It measures voltage, current, and resistance, allowing technicians to identify problems in circuits. Proper use is paramount for both accurate readings and personal safety.
- Voltage Measurement: Always start by selecting the appropriate voltage range (AC or DC, and a range exceeding the expected voltage). Connect the probes – red to positive, black to negative – across the component being measured. Never touch the probes to yourself while the meter is on. I always start with a high range and work my way down to get a more precise reading. For example, when testing a 120V outlet, I’d begin with the 600V AC range and then switch to a lower range to get a more precise reading.
- Current Measurement: This requires breaking the circuit and inserting the multimeter in series. It’s crucial to select the correct amperage range before connecting. Always start with a higher range and go down to get a precise reading. Incorrect range selection could damage the meter. I use this for things like checking the draw on a specific component. I always double check my connections before turning the power on. For example, measuring the current draw of a motor demands meticulous connection in series to get accurate readings.
- Resistance Measurement: Always ensure the circuit is completely de-energized before measuring resistance. Connect the probes across the component. A reading of zero indicates a short circuit, while an infinite reading suggests an open circuit. I often use this to check for continuity in wiring or to test the integrity of components.
Consistent practice with a multimeter develops intuition for interpreting readings, crucial for efficient troubleshooting.
Q 3. How do you safely use a voltage tester?
Safety is paramount when using a voltage tester. These devices are designed to quickly indicate the presence of voltage without requiring a complete circuit.
Before using the tester, always visually inspect it for damage. If the tip is damaged or there’s any evidence of wear, it should be replaced. Always ensure the tester is properly working by testing it on a known live source (such as a known-good outlet).
When testing for voltage, firmly touch both probes to the conductors or terminals. Never touch the metal probes or the wires under test; use the insulated handles only. If the tester indicates voltage, treat the circuit as energized. A false sense of security can be very dangerous. A non-contact voltage tester is also a great addition to any electrician’s tool kit.
After testing, always return the tester to its case or holder to prevent accidental damage or misuse.
Q 4. What are the safety precautions when working with high-voltage equipment?
High-voltage work demands rigorous adherence to safety protocols. The consequences of errors can be fatal.
- Lockout/Tagout (LOTO): Before commencing any work on high-voltage equipment, implement LOTO procedures to ensure the power is completely isolated and cannot be accidentally re-energized. This involves physically locking out the power source and tagging it with a warning label.
- Personal Protective Equipment (PPE): Appropriate PPE is non-negotiable. This includes insulated gloves, safety glasses, arc-flash suits (depending on the voltage), and safety boots with insulating properties.
- Grounding: Thorough grounding of the equipment is essential to dissipate any residual charge. I personally always use a grounding rod or a dedicated grounding clamp on any high-voltage equipment.
- Awareness of Surroundings: Always maintain a safe working distance and be acutely aware of potential hazards such as overhead power lines. When working near power lines, I never underestimate the danger of accidental contact.
- Teamwork and Supervision: High-voltage work should ideally involve a team where one person acts as a spotter. This person keeps a watchful eye on the other to ensure safety and to react in case of emergency.
Working with high voltage necessitates a thorough understanding of electrical safety standards and a commitment to meticulous procedures. A lack of caution or insufficient training in this area is highly dangerous.
Q 5. Describe your experience with different types of conduit benders.
Conduit benders are used to shape metal conduit for electrical installations, creating neat and safe runs for wiring. I’ve used several types over the years.
- Hand Benders: These are essential for smaller jobs and precise bends in tight spaces. They provide excellent control for fine adjustments. I often use these when installing conduit inside walls or ceilings where space is limited. The key is to use the right size bender for the conduit size to prevent kinking.
- Hydraulic Benders: These are ideal for larger conduit and for creating multiple bends efficiently. They are significantly faster than manual benders and allow for creating more complex curves, ideal for longer runs. I remember using a hydraulic bender during the installation of conduit for a new factory – it considerably reduced the time spent on bending, improving overall productivity.
- Electric Benders: These are the most powerful and efficient, best for large-scale projects. These motorized benders can handle even the largest conduit sizes accurately and quickly. I’ve used this on particularly large projects where speed and efficiency were critical and labor cost savings were significant.
The choice depends on the job size, conduit diameter, and the complexity of bends required. Mastering each type is crucial for a skilled electrician.
Q 6. How do you select the appropriate size of conduit for a given application?
Selecting the correct conduit size is critical for safety and code compliance. Too small a conduit could lead to overheating, while too large a conduit is wasteful and may not be suitable for the application. There are several factors to consider.
- Number of Conductors: The more conductors in a conduit, the larger the conduit size needs to be to maintain appropriate fill. National Electrical Code (NEC) tables specify maximum fill percentages to prevent overheating. I always refer to the NEC tables to ensure the conduit is appropriately sized.
- Conductor Size: Larger conductors require a larger conduit. The diameter and insulation thickness of the conductors are major factors in the calculation.
- Bends: Bends in the conduit reduce the effective area, so more conduit space is required when using several bends.
- Type of Installation: Indoor or outdoor installations may have different requirements based on environmental factors.
Before selecting the conduit size, I always consult the NEC tables and any relevant local codes. Accurate calculation is essential to ensure safety and avoid potential problems. I often double-check my calculations with a senior electrician to make sure there are no errors in my sizing.
Q 7. Explain the process of installing a receptacle.
Installing a receptacle is a common task, but doing it correctly is essential for safety and functionality. Here’s the process:
- Turn off power: Always de-energize the circuit at the breaker box before commencing work. Double-check with a non-contact voltage tester to confirm that power is off at the receptacle location.
- Mount the receptacle box: Securely fasten the receptacle box to the wall using appropriate screws and anchors. Ensure the box is level and securely mounted.
- Connect the wires: Connect the wires to the receptacle’s terminals according to the wiring diagram. This typically involves connecting the hot (usually black), neutral (usually white), and ground (usually bare copper or green) wires.
- Secure the wires: Tightly fasten the wire connections. Loose connections can cause overheating and fire hazards. I use wire nuts to connect the wires and ensure they are appropriately tightened.
- Mount the receptacle: Snap the receptacle into the box and ensure it’s securely fastened.
- Test the receptacle: Restore power to the circuit at the breaker box and test the receptacle using a properly functioning lamp to ensure proper installation and functionality.
I always meticulously check the wiring and ensure the connections are safe and secure. Consistent attention to detail is crucial for preventing potential electrical hazards.
Q 8. How do you troubleshoot a faulty circuit breaker?
Troubleshooting a faulty circuit breaker involves a systematic approach prioritizing safety. First, always ensure the power is OFF at the main breaker panel. Never work on live circuits! Then, visually inspect the breaker for any signs of damage, such as scorch marks, loose wiring, or a tripped mechanism. A tripped breaker will be in the ‘off’ position. If it’s tripped, carefully reset it by switching it to the ‘off’ position and then back to the ‘on’ position. If it immediately trips again, the problem lies elsewhere in the circuit. This indicates an overload or short circuit. To determine the cause, I’d systematically unplug appliances and lights connected to that circuit, resetting the breaker after each disconnection to pinpoint the faulty device. If the breaker continues to trip even after disconnecting everything, there might be a wiring fault within the walls, requiring professional investigation and repair.
For example, I once encountered a tripped breaker in a commercial kitchen. By methodically unplugging appliances, I discovered that a faulty refrigerator compressor was drawing excessive current, causing the breaker to trip. Replacing the compressor resolved the issue.
Q 9. What are the different types of circuit breakers and their applications?
Circuit breakers are safety devices preventing overcurrent situations that could lead to fire. Several types exist, each with specific applications:
- Standard Circuit Breakers: These are the most common type, found in residential and commercial settings. They protect against overloads and short circuits.
- Ground Fault Circuit Interrupters (GFCIs): GFCIs offer added protection against electrical shocks, especially in areas with water, such as bathrooms and kitchens. They detect imbalances in current flow and quickly shut off the power, preventing electrocution. I often install these in wet areas to meet safety codes.
- Arc Fault Circuit Interrupters (AFCIs): AFCIs protect against electrical fires caused by arcing faults, which can be difficult to detect. They monitor the electrical current for unusual patterns indicative of arcing and will trip to interrupt the flow of electricity. This is especially crucial in bedroom circuits to prevent fires started by faulty appliances.
- Molded-Case Circuit Breakers: These are more robust and are generally used in industrial and commercial applications. They are designed to handle much higher current loads than standard breakers.
The choice of circuit breaker depends heavily on the application’s specific needs and the local electrical codes. I always select the breaker with the appropriate amperage rating and safety features for the intended load.
Q 10. Describe your experience with different types of electrical panels.
My experience encompasses various electrical panel types, from simple residential panels to more complex industrial switchboards. I’ve worked with:
- Residential Panels (Load Centers): These typically consist of a range of standard circuit breakers, providing protection for household circuits. I’m proficient in understanding their wiring configurations and safety procedures.
- Commercial Panels: Larger and more complex than residential panels, these accommodate a greater number of circuits and may include specialized breakers and metering systems. I’ve handled installations in various commercial environments, ensuring compliance with relevant codes.
- Industrial Switchboards: These are large, heavy-duty units used in industrial settings to control and distribute large amounts of power. They require a high level of expertise and careful handling to maintain safety.
Each panel type requires a different level of expertise in terms of installation, maintenance, and troubleshooting. I always adhere to strict safety procedures, including lockout/tagout, when working with any type of electrical panel.
Q 11. How do you properly terminate wires in a junction box?
Proper wire termination in a junction box is crucial for safety and reliable electrical connections. I always follow these steps:
- Turn off the power: Always disconnect power to the circuit at the breaker box before starting any work.
- Strip the wires: Carefully strip the insulation from the wire ends using a wire stripper, ensuring no damage to the conductors. The length of the exposed wire should be appropriate for the connector.
- Connect the wires: Use wire connectors appropriate for the wire gauge and the number of wires being joined. Twist the wires securely before inserting them into the connector, ensuring that all strands are included within the connector.
- Secure the connections: Ensure the wire nuts are twisted tightly to create a secure and reliable connection. Never use too few or too many wire nuts.
- Tuck the wires neatly: Place the connected wires inside the junction box, keeping them organized and leaving sufficient space for future inspections.
- Secure the cover: Replace the junction box cover to prevent accidental contact and protect the wiring from damage.
I always double-check my work, ensuring connections are secure and properly insulated. I regularly use wire nuts that are properly sized for the wire gauge, which is a critical step in ensuring a solid and safe connection.
Q 12. Explain the NEC code requirements for grounding.
The National Electrical Code (NEC) mandates grounding to protect people and equipment from electrical hazards. The goal is to provide a low-impedance path for fault currents to flow back to the source, minimizing the risk of electric shock or equipment damage. Key NEC requirements include:
- Grounding electrode system: A properly installed grounding electrode system, typically a ground rod driven into the earth, provides a reliable path to ground.
- Grounding conductors: Grounding conductors connect electrical equipment and the wiring system to the grounding electrode system. These conductors must be properly sized and protected from damage.
- Ground fault protection: The NEC specifies requirements for ground fault protection devices (GFCIs and AFCIs) to quickly interrupt the flow of current in the event of a ground fault.
- Equipment grounding: Metal enclosures of electrical equipment must be effectively grounded to prevent electric shock.
Compliance with the NEC’s grounding requirements is paramount for ensuring the safety of electrical installations. I thoroughly understand and always adhere to these standards during all electrical work.
Q 13. How do you identify and test ground faults?
Identifying and testing ground faults involves using specialized tools and techniques to detect imbalances in electrical current flow. The most common method is using a ground fault circuit interrupter (GFCI) tester, a simple device that checks if a GFCI outlet or breaker is functioning correctly. For more complex situations, a clamp-on ammeter can measure current flow in a circuit. A significant difference between the current flowing into and out of a circuit can indicate a ground fault. Also, I’ll use a multimeter with continuity testing to check the ground connection’s integrity. A low resistance reading indicates a good ground connection, while a high reading or no continuity suggests a potential fault. In addition, visual inspection for signs of damage or corrosion to wiring, connectors, and ground rods plays a vital role in identifying the location of the potential fault. For example, a corroded ground connection may show a high resistance and cause a faulty ground.
When a ground fault is suspected, always turn off the power before beginning any diagnostics or repairs. Safety is paramount during all these procedures.
Q 14. Describe your experience working with different types of motors.
I have extensive experience working with a variety of motors, including:
- AC Induction Motors: These are the most common type of motor used in many industrial and commercial applications. I’m proficient in their installation, maintenance, and troubleshooting. Common issues include bearing wear, winding problems, and capacitor failures. I understand the importance of proper motor starting techniques and overload protection.
- DC Motors: DC motors are used in applications requiring precise speed control, such as robotics and automated systems. My experience includes understanding their commutation systems and controlling their speed through various methods such as pulse width modulation (PWM).
- Servo Motors: Servo motors are precise and responsive, used in applications requiring accurate positioning and control. I’m experienced in integrating them into automated systems and configuring their control parameters.
- Stepper Motors: Stepper motors are used in applications needing precise, step-by-step movement. I’ve worked with them extensively in automation applications where accuracy and repeatability are crucial.
My approach to working with any motor starts with understanding the specific requirements of the application and carefully reviewing the motor’s specifications and control documentation. Safety is a constant priority – ensuring proper grounding, overload protection, and appropriate safety procedures are followed during installation, maintenance, and repair.
Q 15. How do you troubleshoot a malfunctioning motor?
Troubleshooting a malfunctioning motor involves a systematic approach. First, ensure safety by disconnecting the power supply. Then, I visually inspect the motor for obvious problems like loose connections, damaged wiring, or physical obstructions. Next, I’d check the power supply using a multimeter to verify the correct voltage and amperage are reaching the motor. If the power is good, I might check the motor’s bearings for wear and tear – a common cause of motor failure. Excessive vibration or unusual noises are indicators. I then assess the motor windings using a multimeter to test for continuity and insulation resistance. Open circuits or shorts in the windings indicate internal damage. Finally, I’d examine the motor’s control circuit, looking for faults in the starter, overload relay, or other components. Each step provides clues to pinpoint the root cause, leading to an effective repair or replacement. For instance, on a recent job, a seemingly faulty motor was actually caused by a simple loose connection, highlighting the importance of thorough inspection.
Career Expert Tips:
- Ace those interviews! Prepare effectively by reviewing the Top 50 Most Common Interview Questions on ResumeGemini.
- Navigate your job search with confidence! Explore a wide range of Career Tips on ResumeGemini. Learn about common challenges and recommendations to overcome them.
- Craft the perfect resume! Master the Art of Resume Writing with ResumeGemini’s guide. Showcase your unique qualifications and achievements effectively.
- Don’t miss out on holiday savings! Build your dream resume with ResumeGemini’s ATS optimized templates.
Q 16. What are the different types of motor starters and their applications?
Motor starters are crucial for controlling the starting and running of motors, protecting them from damage. Several types exist, each suited for different applications:
- Across-the-line starters: Simple and inexpensive, these directly connect the motor to the power supply. Suitable for smaller motors with low inrush current.
- Reduced-voltage starters: These reduce the initial voltage to the motor, lowering the inrush current and mechanical stress. Used for larger motors to protect them and the power system.
- Star-delta starters: Used for three-phase induction motors, they initially connect the motor windings in a star configuration for lower starting current, then switch to a delta configuration for full power. This offers a good balance between starting current reduction and efficiency.
- Autotransformer starters: Similar to reduced-voltage starters, but they use an autotransformer to smoothly reduce the voltage during starting. Ideal for applications requiring smoother starts.
- Solid-state starters: These use electronic components to control motor starting, allowing for precise control over starting current and speed. Often used for applications demanding soft starts and precise control, such as conveyor systems.
The choice depends on factors such as motor size, starting current requirements, and the desired level of control and protection. For example, a large industrial fan might use a reduced voltage starter to avoid power surges, while a small pump could use a simple across-the-line starter.
Q 17. Explain the principles of three-phase power.
Three-phase power is an electrical power system that uses three alternating current (AC) waveforms, each offset by 120 degrees. Think of it like three separate water pipes delivering water simultaneously, but slightly out of sync. This creates a rotating magnetic field in the motor, leading to efficient and smooth rotation. This is unlike single-phase power, which only has one waveform. The balanced three-phase system is more efficient, provides higher power density, and offers better torque characteristics for motors compared to single-phase.
The three phases (typically labelled L1, L2, and L3) are interconnected to create a closed loop, enabling continuous power delivery and reduced pulsation. Each phase has its own voltage, and the difference between any two phases is the line-to-line voltage, typically higher than the line-to-neutral voltage. The phase sequence (the order in which the voltage waveforms reach their peak) is crucial for the proper operation of three-phase motors; a reversed sequence can lead to motor damage.
Q 18. How do you calculate the voltage drop in a circuit?
Voltage drop is the decrease in voltage across a circuit due to the resistance of the conductors. We calculate it using Ohm’s law and the formula: Voltage Drop = I × R × L where:
Iis the current in amperes.Ris the resistance of the conductor in ohms per 1000 feet (or per meter).Lis the length of the conductor in 1000 feet (or meters).
It’s important to note that you need to calculate the voltage drop separately for each conductor (positive and negative) and add them together for the total voltage drop. Excessive voltage drop results in reduced power, decreased efficiency, and can even damage equipment. For example, if a long extension cord is used for a high-power tool, the significant voltage drop could lead to the tool not functioning properly or overheating. Proper conductor sizing and selecting the correct length are crucial to minimize this.
Q 19. Describe your experience with different types of lighting fixtures.
My experience encompasses a wide range of lighting fixtures, including:
- Incandescent: Simple, cost-effective, but inefficient and short-lived.
- Fluorescent: Energy-efficient, but larger and can contain mercury.
- LED: Highly energy-efficient, long-lasting, and available in various colors and styles. They’re becoming the industry standard.
- High-intensity discharge (HID): Used for high-lumen output applications like streetlights; they require special ballasts and can take time to warm up.
- Recessed lighting: Installed within ceilings, offering a clean, integrated look.
- Track lighting: Versatile, adjustable lighting that allows for custom placement of lights.
- Emergency lighting: Battery-powered lights that activate during power outages, ensuring safety.
I’m familiar with their unique characteristics, installation methods, and safety considerations. Each has specific applications and advantages. I’ve worked with retrofitting old fluorescent fixtures with modern LEDs, improving energy efficiency and reducing maintenance costs.
Q 20. How do you install and wire different types of lighting fixtures?
Installing and wiring lighting fixtures varies depending on the type, but the general steps involve:
- Disconnecting power: Always turn off the power at the breaker before starting any work.
- Mounting the fixture: Securely attaching the fixture to the electrical box, according to the manufacturer’s instructions.
- Wiring connections: Connecting the fixture’s wires (typically black for hot, white for neutral, and green or bare copper for ground) to the corresponding wires in the electrical box, using wire nuts. I always carefully check for correct connections to prevent shorts and shocks.
- Securing connections: Tightly securing the wire nuts and tucking the wires neatly into the electrical box.
- Testing: Turning the power back on and testing the fixture to ensure it’s working correctly.
- Finishing: Completing the installation, which may involve installing cover plates and other accessories.
Safety is paramount. I always follow the National Electrical Code (NEC) and wear appropriate safety gear. I’ve completed many installations, ranging from simple ceiling lights to complex multi-circuit lighting systems in commercial settings.
Q 21. What are the different types of transformers and their applications?
Transformers are used to change the voltage of an AC power supply. They have several types:
- Step-up transformers: Increase voltage, used to transmit power over long distances with less energy loss.
- Step-down transformers: Decrease voltage, used to bring high-voltage power to safer levels for home and appliance use.
- Autotransformers: Have a single winding and are used for voltage regulation or step-up/step-down applications.
- Isolation transformers: Provide electrical isolation between the input and output circuits, improving safety and preventing ground faults.
Their applications are vast. Step-up transformers are essential for power distribution grids, while step-down transformers are found in virtually every household. Isolation transformers are often used in sensitive electronic equipment to protect from voltage spikes and surges. I have hands-on experience troubleshooting transformer problems, which can involve testing for short circuits, open windings, and checking for proper insulation levels using a multimeter and other specialized equipment.
Q 22. How do you troubleshoot a faulty transformer?
Troubleshooting a faulty transformer involves a systematic approach, prioritizing safety. First, I’d visually inspect the transformer for any obvious signs of damage like burns, loose connections, or physical impact. Then, I’d use a voltage meter to check the primary and secondary windings for voltage levels. A significant deviation from the expected voltage indicates a problem. If the voltage is low or absent, I might check for continuity using a multimeter to identify broken wires or internal shorts. High voltage readings are a serious safety concern and require careful handling and proper safety equipment. If the issue isn’t immediately apparent, further testing might include measuring the insulation resistance to identify potential shorts within the transformer windings. This is done using a Megger, which applies a high voltage DC test to measure the insulation resistance. A low resistance reading suggests insulation breakdown. Finally, if the problem remains unsolved after these steps, I would consult the transformer’s specifications and potentially seek expert advice or replace the unit altogether.
For example, I once worked on a transformer in a small industrial plant where the output voltage was significantly lower than expected. By systematically checking voltage, continuity, and insulation resistance, I identified a short circuit in the secondary winding that necessitated replacing the transformer.
Q 23. Describe your experience with different types of electrical testing equipment.
My experience encompasses a wide range of electrical testing equipment. I’m proficient with multimeters for measuring voltage, current, resistance, and continuity. I’m also skilled in using clamp meters for non-invasive current measurements, which are invaluable for assessing circuit loads without breaking the circuit. I’m experienced with insulation resistance testers (Meggers) for checking the integrity of insulation in cables and equipment. I have also used specialized equipment like power quality analyzers to identify issues like voltage sags, surges, and harmonic distortions. I’m familiar with loop testers for determining the impedance of circuits in fault finding and testing of earth bonding. Finally, I’m comfortable using digital oscilloscopes for more in-depth analysis of waveforms and signal behavior which is critical in detecting intermittent faults.
Using these tools correctly is crucial for accurate diagnoses and safety. For instance, a simple multimeter helps assess basic circuit health, while a Megger ensures high-voltage equipment is safe to operate. Power quality analyzers help identify problems that could lead to premature failure or disruptions.
Q 24. How do you interpret electrical schematics and blueprints?
Interpreting electrical schematics and blueprints requires a thorough understanding of electrical symbols and conventions. I start by identifying the key components like transformers, motors, switches, and breakers. Then, I trace the flow of power through the circuit, noting the connections and path of the current. Blueprints provide the overall layout and physical location of the equipment, helping me visualize the wiring paths in the actual installation. I always look for key details like wire sizes, circuit breakers ratings and protective device types, as these provide critical information about the system’s capacity and safety features. Understanding the different parts of the drawings is also vital – single line diagrams, wiring diagrams, and panel schedules each offer different but complementary pieces of information.
For example, when working on a large commercial building’s electrical system, I used the schematics and blueprints to map the power distribution system, identify the location of various circuit breakers, and ensure that the cabling matched the design. This was crucial for carrying out repairs and maintenance safely and efficiently.
Q 25. Explain your understanding of electrical codes and standards.
My understanding of electrical codes and standards is comprehensive and up-to-date. I’m familiar with the National Electrical Code (NEC) and other relevant local and international standards. These codes govern safety practices, installation methods, and equipment specifications to prevent electrical hazards. I understand the importance of grounding and bonding to protect against electric shock. I know the regulations concerning wiring methods, protection devices, and specific requirements for different types of installations, such as industrial settings, commercial buildings, and residential homes. Furthermore, I stay informed about any updates and changes to these codes through continuous professional development.
For example, recently I had to adapt a design to meet stricter grounding requirements stipulated by the local code, ensuring that the installation met all safety standards and regulations. I believe adherence to these codes is non-negotiable, as it directly impacts safety and system reliability.
Q 26. Describe a time you had to troubleshoot a complex electrical problem.
During a recent project at a manufacturing plant, I encountered a complex issue. A critical machine suddenly stopped working due to an apparent power failure. Initial inspection showed no obvious faults in the main power supply. The problem was intermittent and difficult to replicate. I started by carefully reviewing the machine’s electrical schematics and then, using a multimeter, systematic measured voltages and currents at different points in the circuit, documenting my findings at each stage. I then employed an oscilloscope to analyse waveforms. This helped me identify a subtle but critical issue: intermittent voltage drops from a specific phase of the power supply which were only apparent under heavy load. I traced the problem to a loose connection at a connector block that was causing the intermittent fault. This connection was difficult to access and required careful work within a confined space. After securing this connection, the issue was resolved, and the machine restarted with no issues. This experience reinforced the importance of methodical troubleshooting, careful documentation and the use of advanced testing tools.
Q 27. How do you ensure the safety of yourself and others while performing electrical work?
Safety is paramount in electrical work. I always follow established safety protocols, including lockout/tagout procedures to prevent accidental energization of equipment during maintenance or repair. I use appropriate personal protective equipment (PPE), including insulated gloves, safety glasses, and arc-flash protective clothing as needed. Before commencing any work, I verify that the power is completely disconnected and test to ensure it is de-energized using appropriate tools. I’m very mindful of working heights and potential hazards in the work area. If working with other personnel, I communicate clearly, ensure everyone understands safety procedures, and maintain a safe working distance from energized equipment. I frequently review and reinforce safety guidelines and stay updated on the latest safety practices and regulations.
An example of my safety practices involves using a non-contact voltage tester before beginning any work, even after having turned off the breaker. This eliminates any risk of unexpected power. I never compromise on safety. I’d rather take the time to ensure safety than risk injury.
Q 28. Describe your experience with preventative maintenance on electrical equipment.
Preventative maintenance is crucial for the longevity and reliability of electrical equipment. My experience includes regular inspections of electrical panels, checking for loose connections, corrosion, or signs of overheating. I also perform thermal imaging scans to detect potential hotspots that may indicate impending failures. I regularly test circuit breakers and other protective devices to ensure they operate correctly and conduct insulation resistance testing on cables and equipment using a Megger to identify potential degradation of insulation. I also perform regular lubrication of moving parts in equipment like motors. Creating a detailed maintenance log and schedule is critical for keeping track of completed work and planning for future tasks. This approach ensures early detection of potential problems, preventing costly downtime and maintaining system reliability.
For example, during a preventative maintenance schedule at a data center, I identified several loose connections in a critical power distribution unit. These were tightened, thereby averting a potential catastrophic power failure. Regular preventative maintenance significantly reduces the risk of unexpected outages and extends the life of the electrical equipment.
Key Topics to Learn for Using a variety of tools and equipment to perform electrical work Interview
- Safety Procedures and Regulations: Understanding and adhering to OSHA standards, lockout/tagout procedures, and proper personal protective equipment (PPE) usage is paramount. This includes knowing how to identify and mitigate potential hazards.
- Hand Tools and Power Tools: Demonstrate proficiency with various hand tools (e.g., screwdrivers, pliers, wire strippers) and power tools (e.g., drills, saws, crimpers). Be prepared to discuss their safe and effective operation, maintenance, and applications in different electrical scenarios.
- Electrical Testing Equipment: Familiarize yourself with multimeters (including their various functions), voltage testers, and other diagnostic equipment. Be ready to explain how you would use these tools to troubleshoot electrical problems and ensure system safety.
- Wiring Methods and Techniques: Understand different wiring methods (e.g., conduit bending, wire termination, splicing techniques) and their applications in various electrical systems. Be prepared to discuss the importance of proper wire sizing and insulation.
- Troubleshooting and Repair: Discuss your approach to diagnosing electrical faults, using appropriate testing equipment, and implementing effective repair strategies. Highlight your problem-solving skills and ability to identify the root cause of electrical issues.
- Reading and Interpreting Electrical Drawings: Demonstrate your ability to understand and interpret electrical schematics, blueprints, and wiring diagrams. Explain how you would use these documents to plan and execute electrical work.
- National Electrical Code (NEC) Knowledge: Show familiarity with relevant NEC articles and their practical implications in ensuring safe and compliant electrical installations and repairs.
Next Steps
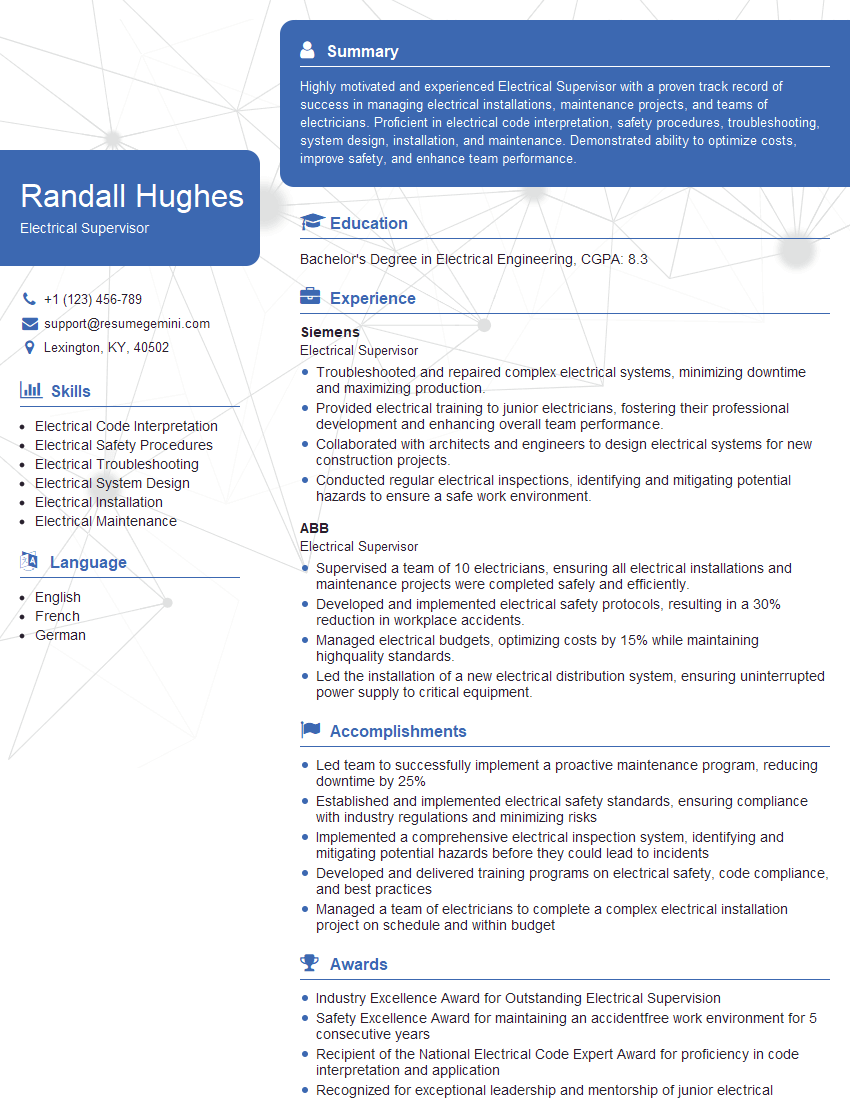
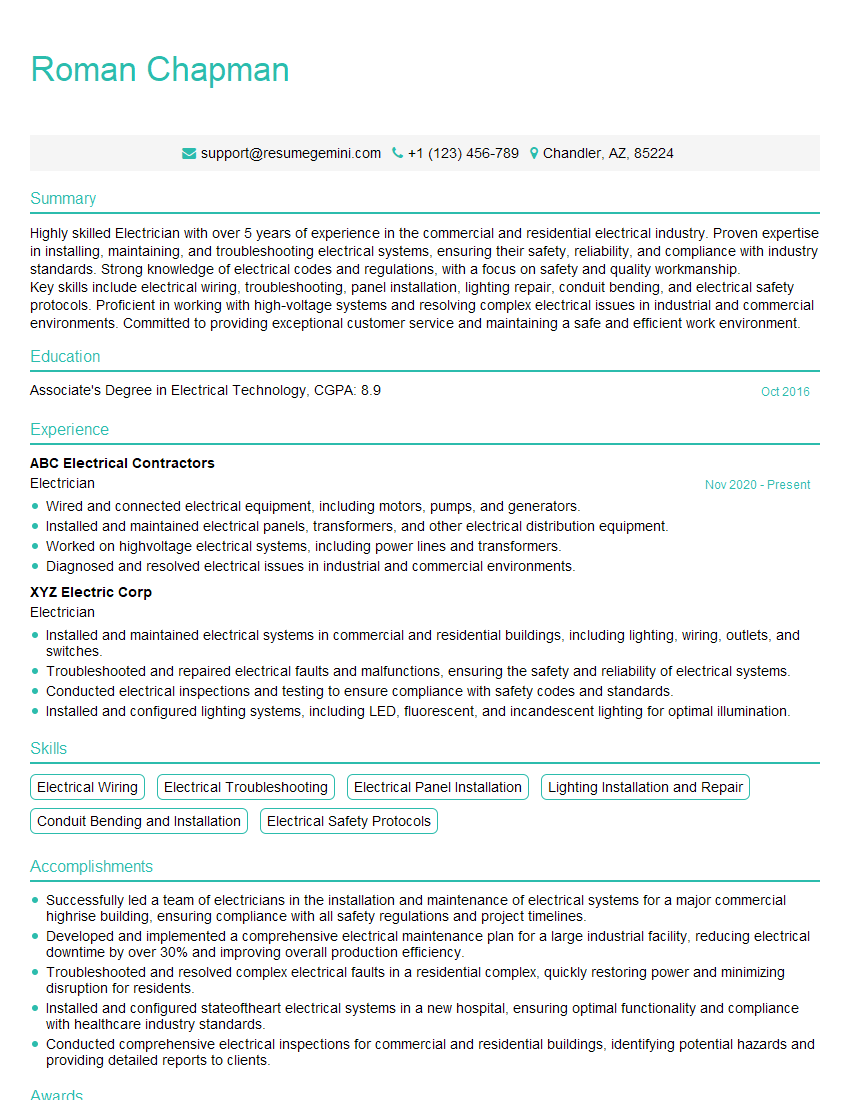
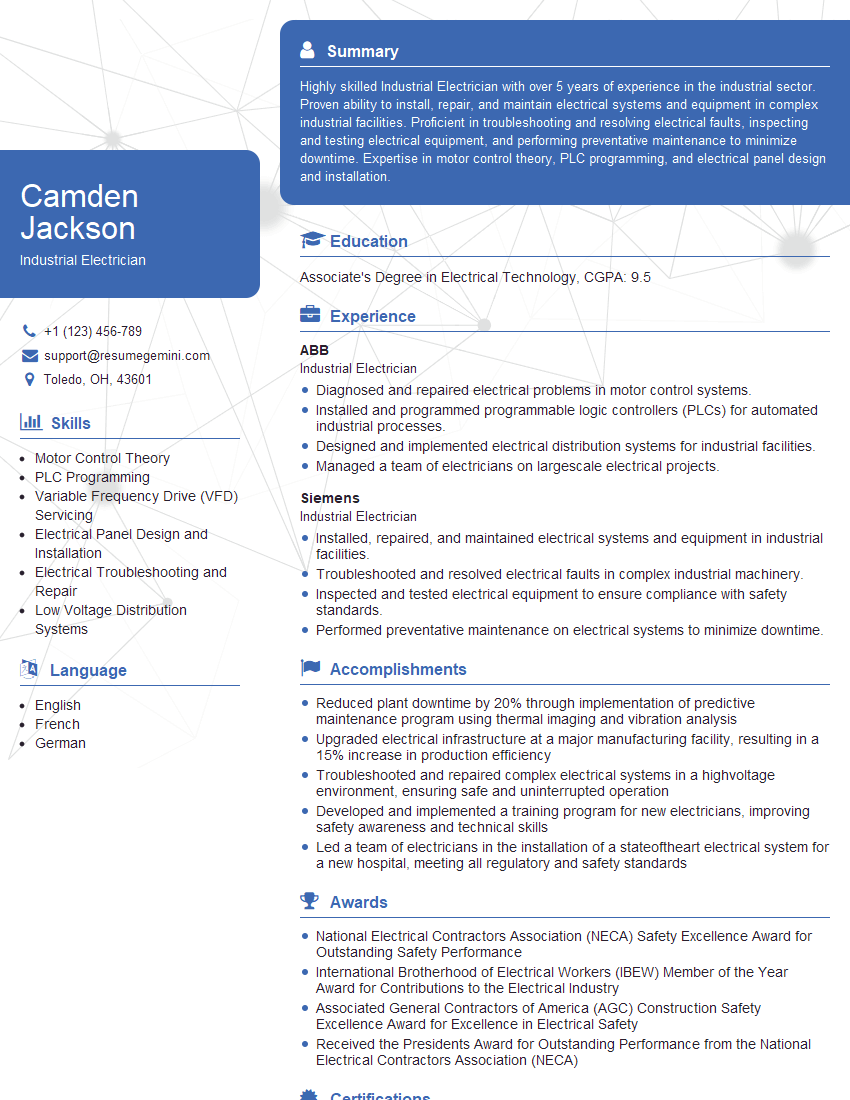
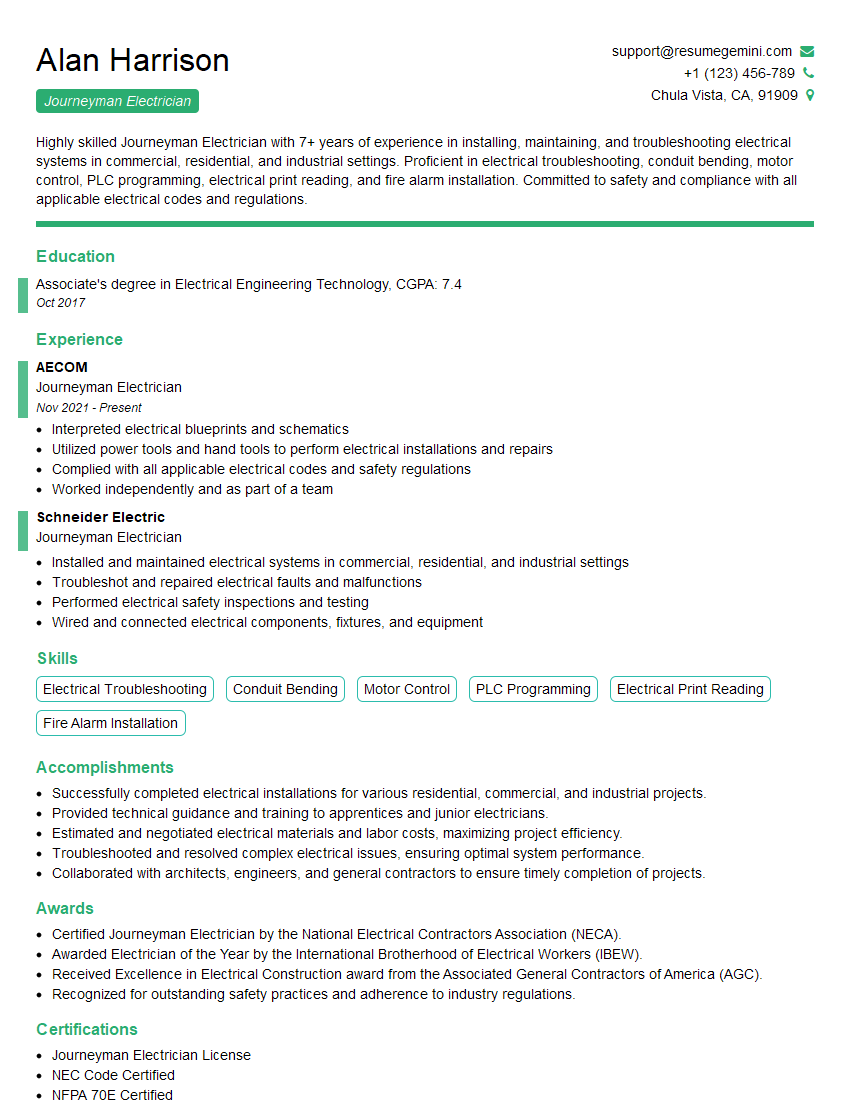
Mastering the use of a variety of tools and equipment for electrical work is crucial for career advancement in this field. It demonstrates a commitment to safety, efficiency, and technical proficiency, opening doors to more challenging and rewarding opportunities. To maximize your job prospects, focus on building an ATS-friendly resume that highlights your skills and experience effectively. ResumeGemini is a trusted resource to help you create a professional and impactful resume. We provide examples of resumes tailored to using a variety of tools and equipment to perform electrical work to guide you in showcasing your qualifications. Take the next step towards your ideal career today!
Explore more articles
Users Rating of Our Blogs
Share Your Experience
We value your feedback! Please rate our content and share your thoughts (optional).
What Readers Say About Our Blog
Hello,
We found issues with your domain’s email setup that may be sending your messages to spam or blocking them completely. InboxShield Mini shows you how to fix it in minutes — no tech skills required.
Scan your domain now for details: https://inboxshield-mini.com/
— Adam @ InboxShield Mini
Reply STOP to unsubscribe
Hi, are you owner of interviewgemini.com? What if I told you I could help you find extra time in your schedule, reconnect with leads you didn’t even realize you missed, and bring in more “I want to work with you” conversations, without increasing your ad spend or hiring a full-time employee?
All with a flexible, budget-friendly service that could easily pay for itself. Sounds good?
Would it be nice to jump on a quick 10-minute call so I can show you exactly how we make this work?
Best,
Hapei
Marketing Director
Hey, I know you’re the owner of interviewgemini.com. I’ll be quick.
Fundraising for your business is tough and time-consuming. We make it easier by guaranteeing two private investor meetings each month, for six months. No demos, no pitch events – just direct introductions to active investors matched to your startup.
If youR17;re raising, this could help you build real momentum. Want me to send more info?
Hi, I represent an SEO company that specialises in getting you AI citations and higher rankings on Google. I’d like to offer you a 100% free SEO audit for your website. Would you be interested?
Hi, I represent an SEO company that specialises in getting you AI citations and higher rankings on Google. I’d like to offer you a 100% free SEO audit for your website. Would you be interested?
good

