Every successful interview starts with knowing what to expect. In this blog, we’ll take you through the top Jewelry Making Techniques (e.g., casting, soldering, stone setting) interview questions, breaking them down with expert tips to help you deliver impactful answers. Step into your next interview fully prepared and ready to succeed.
Questions Asked in Jewelry Making Techniques (e.g., casting, soldering, stone setting) Interview
Q 1. Describe the different types of casting methods used in jewelry making.
Casting is a fundamental jewelry-making technique where molten metal is poured into a mold to create a desired shape. Several methods exist, each with its advantages and disadvantages.
- Investment Casting (Lost-Wax Casting): This is the most prevalent method for intricate designs, involving a wax model, investment mold, and molten metal.
- Sand Casting: A simpler, less precise method using sand molds, suitable for larger, less detailed pieces. It’s generally less precise than investment casting.
- Centrifugal Casting: Molten metal is spun in a mold using centrifugal force for even distribution, often used for hollow pieces.
- Die Casting: Uses reusable metal molds (dies) for mass production, resulting in highly consistent pieces, but limited design flexibility.
The choice of method depends on the design complexity, desired quantity, and budget.
Q 2. Explain the process of investment casting, including sprue placement and burnout.
Investment casting, also known as lost-wax casting, is a precise method ideal for intricate designs. It involves several stages:
- Wax Model Creation: A wax model of the desired piece is created, often using techniques like carving, molding, or 3D printing.
- Sprue Attachment: A sprue (a channel) is attached to the wax model, allowing molten metal to flow into the mold. Careful sprue placement ensures complete filling and minimizes air bubbles. The sprue’s diameter and length are critical for proper metal flow. A thicker sprue will allow for a faster flow and larger casting while a thinner sprue will slow it down.
- Investment Process: The wax model is invested (surrounded) in a refractory material (investment), creating a mold. This investment material is carefully mixed to achieve the right consistency for a strong yet easily removed mold.
- Dewaxing (Burnout): The wax model is melted and removed from the investment mold through a carefully controlled heating process. This leaves a cavity in the exact shape of the wax model.
- Casting: Molten metal is poured into the heated investment mold. The metal fills the cavity, replicating the wax model’s shape.
- Mold Removal: After the metal cools, the investment mold is carefully broken away to reveal the finished casting.
- Cleaning and Finishing: The casting is cleaned, sprues are removed, and the piece is finished using various techniques like filing, sanding, and polishing.
Incorrect sprue placement can lead to incomplete filling or air bubbles in the casting, highlighting the importance of precision in this step.
Q 3. What are the common alloys used in jewelry casting, and what are their properties?
Several alloys are commonly used in jewelry casting, each possessing unique properties:
- Gold Alloys: Karat (K) indicates the gold purity (24K is pure gold). Common alloys include 14K, 18K, and 22K gold, often alloyed with silver, copper, and zinc to increase hardness and durability. Higher karat gold is softer and more malleable.
- Silver Alloys: Sterling silver (92.5% silver) is the most common, alloyed with copper for strength and workability. Fine silver (99.9% silver) is softer and more prone to tarnish.
- Platinum Alloys: Platinum alloys are highly durable, resistant to tarnish, and hypoallergenic. They are often alloyed with iridium, ruthenium, or palladium for increased hardness.
- Other Alloys: Various other metals, including brass, bronze, nickel silver, and pewter, can be used in jewelry casting, offering a wide range of aesthetic and functional properties.
The selection of alloy depends on factors like cost, desired color, durability requirements, and the piece’s intended use. For example, a delicate necklace might be cast in 18K gold, while a durable ring could be cast in platinum.
Q 4. How do you troubleshoot porosity in a cast piece?
Porosity, the presence of tiny holes in a casting, is a common issue that can be addressed by understanding its causes and implementing preventive measures.
- Insufficient Burnout: Incomplete removal of the wax can trap gases during casting, resulting in porosity. Addressing this involves carefully monitoring the burnout process, ensuring that the investment mold reaches the appropriate temperature and time.
- Improper Metal Temperature: Molten metal that is too hot or too cold can also lead to porosity. The ideal pouring temperature is crucial for achieving a smooth and void-free casting. Using a thermocouple pyrometer to accurately measure temperature is highly recommended.
- Mold Defects: Cracks or weaknesses in the investment mold can cause gas entrapment and porosity. Ensuring the mold is made using the proper investment mixture and technique reduces such risks.
- Rapid Cooling: Too-rapid cooling can trap gases inside the casting, hence slow cooling is often preferred.
Troubleshooting involves examining the casting for patterns in the porosity to identify the root cause. Careful attention to the casting process is key to preventing this common issue.
Q 5. Explain different soldering techniques and their applications in jewelry making.
Soldering is a metal-joining process that uses a lower-melting-point filler metal (solder) to join two or more pieces of metal. Different techniques exist:
- Hard Soldering (Brazing): Uses a higher-temperature solder (e.g., silver solder), creating a strong joint suitable for structural applications.
- Soft Soldering: Uses a lower-temperature solder (e.g., lead-tin solder – though this is less common now due to safety and environmental concerns), creating a less durable joint.
- Torch Soldering: Uses a torch to melt the solder, offering precise control over heat application.
- Induction Soldering: Uses induction heating to melt the solder, providing rapid and even heating.
The choice of technique depends on the metals being joined, the strength of the joint required, and the complexity of the design.
Q 6. What types of solder are appropriate for different metals (e.g., gold, silver, platinum)?
The selection of solder is crucial for successful soldering. Different metals require different solder types to achieve optimal results:
- Gold: Gold solder is used for joining gold pieces. The karat of the solder should match or be slightly lower than the karat of the gold being joined. For example, 14k solder is appropriate for 14k or 18k gold, but not platinum.
- Silver: Silver solder (various types based on silver content and other alloying metals like copper and zinc) is used for joining silver pieces. Easy-flowing, medium-flow, and hard solders offer various strength characteristics.
- Platinum: Platinum solder (typically alloyed with gold or other platinum group metals) is used for joining platinum pieces. This process typically requires more care and expertise, due to the high melting point of Platinum.
Using an inappropriate solder can lead to weak joints or discoloration. Always select a solder with a melting point lower than that of the metals being joined.
Q 7. How do you prepare metal for soldering (cleaning, fluxing)?
Proper metal preparation is essential for clean and strong solder joints. This involves careful cleaning and fluxing:
- Cleaning: Remove any dirt, oil, or oxides from the metal surfaces to be soldered. This often involves techniques such as pickling (using acids) for removing fire scale. An ultrasonic cleaner can help remove fine particles of debris.
- Fluxing: Apply flux to the metal surfaces. Flux cleans the metal, preventing oxidation during heating, and improves solder flow. Different fluxes are used for different metals (e.g., borax for gold, silver flux for silver).
Thorough cleaning and proper fluxing ensure good capillary action, allowing the solder to flow smoothly between the metal pieces and create a strong, visually appealing joint. Failure to properly prepare the metal will usually result in a weak and uneven solder joint.
Q 8. Describe the process of creating a bezel setting.
Bezel setting is a classic and secure method of holding a gemstone in place. It involves creating a metal frame, or bezel, that wraps around the stone’s perimeter, holding it snugly against the metal. Think of it like a picture frame for your gem!
- Step 1: Prepare the Setting: Begin by cutting a piece of metal, usually a precious metal like gold or platinum, to create the bezel. The metal should be slightly larger than the stone to allow for shaping and snug fitting.
- Step 2: Shaping the Bezel: The metal is then carefully shaped to form a lip around the stone. This usually involves hammering and shaping the metal using specialized tools to ensure a uniform and even rim. Precision is crucial at this stage.
- Step 3: Securing the Stone: The stone is placed in the bezel. The bezel’s top edge is then carefully folded over, creating a protective rim and firmly holding the gem. This requires careful use of pushers and burnishers to ensure the bezel is neatly and securely seated against the stone.
- Step 4: Finishing: Any excess metal is trimmed, the bezel is refined to a smooth finish, and the entire setting is polished for a professional look.
For example, setting a cabochon-cut gemstone is ideally suited for a bezel setting due to its smooth, rounded surface. The bezel perfectly conforms to its shape offering excellent protection.
Q 9. Explain the difference between prong, channel, and pave settings.
These are all popular gemstone setting techniques, each with its own advantages and aesthetic:
- Prong Setting: The stone is held in place by metal prongs (typically 4-6) that extend upwards from the setting. This setting showcases the stone beautifully, offering maximum light exposure. Think of a diamond solitaire ring; it’s almost always a prong setting. The downside is that the prongs can be vulnerable to damage if struck.
- Channel Setting: This setting involves placing gemstones in a channel created in the metal. The stones are held in place by the metal walls of the channel, and the sides of the stones are typically flush with the metal. It creates a sleek, streamlined look, perfect for linear designs or bands of gemstones.
- Pavé Setting: This technique involves setting many small stones closely together, creating a continuous surface of sparkling gems. The stones are often secured with tiny prongs, barely visible to the naked eye. It’s a very intricate and time-consuming setting but results in an extremely luxurious and dazzling finish.
The choice often depends on the size and shape of the stone, the desired aesthetic, and the overall design of the jewelry piece. A pave setting wouldn’t be suitable for a large, statement stone, while a prong setting wouldn’t be ideal for a row of tiny gemstones.
Q 10. How do you select the appropriate stone setting technique for a given design?
Selecting the right setting technique involves careful consideration of several factors:
- Gemstone Characteristics: The stone’s shape, size, hardness, and fragility influence the setting choice. Delicate stones might require a more protective bezel setting, whereas a hard stone like a diamond could be securely held by prongs.
- Design Aesthetics: The overall design of the piece will heavily influence the setting. A minimalist design might lend itself to channel settings, while a more elaborate design might utilize prong or pave settings.
- Security and Durability: Some settings are inherently more secure than others. A bezel setting, for instance, is very secure, while a prong setting is more susceptible to damage.
- Metal Type and Thickness: The type and thickness of metal used also influence the setting. Thicker metals can support more complex settings like pave.
For example, a delicate opal might benefit from a bezel setting for protection, while a cluster of sapphires might be beautifully showcased in a channel setting.
Q 11. What are the safety precautions you take when using a torch for soldering?
Safety is paramount when using a torch for soldering. Several precautions must be strictly followed:
- Eye Protection: Always wear safety glasses or a face shield to protect your eyes from intense light and potential debris.
- Proper Ventilation: Work in a well-ventilated area or use a fume extractor to remove harmful fumes produced during soldering.
- Fire Safety: Keep a fire extinguisher nearby and be aware of flammable materials in the workspace.
- Heat-Resistant Mat: Always work on a heat-resistant mat to protect your workbench and prevent fires.
- Appropriate Clothing: Wear heat-resistant gloves and clothing to avoid burns.
- Jewelry Handling: Use appropriate tools (tweezers, pliers) to handle hot metal to avoid burns.
I always remind my apprentices that rushing can lead to mistakes, and mistakes can lead to accidents. Patience and a careful approach are essential for safe soldering.
Q 12. How do you prevent solder from flowing where it shouldn’t?
Preventing solder flow where it’s not wanted involves several techniques:
- Heat Sinks: Applying heat sinks (e.g., graphite blocks, tungsten carbide tips) to areas you don’t want solder to flow will absorb excess heat and prevent the solder from melting and spreading.
- Flux Application: Applying flux only to the joints where soldering is needed directs the flow of solder to the desired location. Accurate application of flux is key.
- Solder Stops: Some solder is designed with tiny metal beads attached that serve as barriers preventing solder from traveling past those stops. These are especially helpful for delicate work.
- Temperature Control: Using a low-temperature solder and applying heat gradually avoids excessive movement. Precision is essential for avoiding mistakes.
A common example is creating a bezel setting. Using heat sinks around the stone protects the stone from accidental heat damage while allowing the solder to only bond the bezel’s edges.
Q 13. Describe the different types of files and their uses in jewelry making.
Files are essential tools for shaping and smoothing metal. Different files cater to specific tasks:
- Flat Files: Used for general filing, shaping, and smoothing flat surfaces. They come in various widths and cuts (coarse, medium, fine).
- Half-Round Files: Ideal for shaping curved surfaces and creating concave forms. The curved profile allows for precise shaping along curves.
- Round Files: Used for shaping round surfaces and creating internal curves. Excellent for detailing and smoothing round shapes.
- Square Files: Used for creating sharp corners and precise shaping of square features. They’re invaluable for creating clean, defined edges.
- Needle Files: Tiny files with fine points, perfect for delicate work and reaching tight areas. Crucial for detailed finishing and intricate repairs.
The choice of file depends on the task; a flat file for smoothing a broad surface, a half-round file for shaping a ring shank, and a needle file for intricate details.
Q 14. How do you polish and finish a piece of jewelry?
Polishing and finishing are crucial for achieving a professional look. The process typically involves several steps:
- Initial Shaping and Filing: The piece is first shaped and filed to remove any excess metal and achieve the desired form. Removing scratches and imperfections is crucial for optimal finishing.
- Sanding: Different grits of sandpaper are used progressively, starting with coarser grits and moving to finer grits to smooth the surface. This removes scratches left by filing.
- Abrasive Buffing: Abrasive compounds, such as Tripoli and rouge, are used on polishing wheels or buffs to remove fine scratches and create a high shine. Different compounds offer varying levels of aggression for different finishing requirements.
- Final Polishing: A final polishing with a soft cloth or a polishing wheel removes the finest scratches and produces a brilliant, smooth finish.
The final finish can vary depending on the desired aesthetic, from a brushed satin finish to a highly polished mirror-like gleam. The process of polishing requires patience and practice to achieve the best results.
Q 15. What types of finishing techniques are used to create different surface textures?
Achieving diverse surface textures is crucial for adding visual interest and enhancing the overall aesthetic appeal of a jewelry piece. This is accomplished through a variety of finishing techniques, each impacting the metal’s appearance differently.
- Sandblasting: This technique uses compressed air to propel abrasive particles onto the metal’s surface, creating a matte, even texture. The coarseness of the texture can be controlled by varying the size of the abrasive particles and the pressure of the air. It’s perfect for creating a subtle, uniform finish on larger pieces or for preparing surfaces for further treatments like plating.
- Polishing: This involves using progressively finer abrasives (like polishing compounds) and polishing wheels or cloths to create a highly reflective, smooth surface. Different polishing compounds achieve various levels of shine, ranging from a satin finish to a mirror-like polish. A classic example is the high polish on a silver ring.
- Brushing: Metal brushes with various textures (wire, nylon, etc.) are used to create linear or directional patterns. This is great for adding subtle texture or highlighting the piece’s contours. Think of the brushed finish commonly found on stainless steel watches.
- Hammering/Texturing: Using specialized hammers and stamps creates unique, embossed patterns or textures on the metal. This technique allows for incredible artistic expression, creating everything from subtle hammered effects to intricate designs. This is common in handcrafted designs.
- Oxidizing/Patina: Chemical treatments are used to create a darkened or antique finish on the metal. This can create dramatic contrast against brighter parts of the piece, enhancing its depth and visual appeal. A classic example is the darkened silver accents often seen in antique jewelry.
The choice of finishing technique depends heavily on the design, the metal, and the desired aesthetic. Often, multiple techniques are combined to achieve the most visually captivating results.
Career Expert Tips:
- Ace those interviews! Prepare effectively by reviewing the Top 50 Most Common Interview Questions on ResumeGemini.
- Navigate your job search with confidence! Explore a wide range of Career Tips on ResumeGemini. Learn about common challenges and recommendations to overcome them.
- Craft the perfect resume! Master the Art of Resume Writing with ResumeGemini’s guide. Showcase your unique qualifications and achievements effectively.
- Don’t miss out on holiday savings! Build your dream resume with ResumeGemini’s ATS optimized templates.
Q 16. Explain the importance of using appropriate safety equipment in jewelry making.
Safety is paramount in jewelry making. The processes involve working with sharp tools, high temperatures, and potentially hazardous chemicals. Neglecting safety precautions can lead to serious injury.
- Eye Protection: Safety glasses or goggles are essential to protect against flying debris during processes like filing, sawing, or stone setting. I always wear safety glasses, regardless of the task.
- Respiratory Protection: When working with chemicals like fluxes or polishing compounds, a respirator is crucial to prevent inhalation of harmful dust or fumes. Proper ventilation is also essential.
- Hand Protection: Gloves are necessary when handling chemicals or working with sharp tools. They protect against cuts, burns, and chemical exposure.
- Hearing Protection: Certain tools, like grinders, can generate high levels of noise. Hearing protection, such as earplugs or earmuffs, is vital for long-term hearing health.
- Proper Ventilation: Working in a well-ventilated area is crucial to reduce the risk of inhaling harmful fumes from soldering or chemical processes. I always make sure my workspace has good air circulation.
Beyond these specific items, maintaining a clean and organized workspace helps prevent accidents. Every tool has its proper place, and I always ensure that my work area is free from clutter. A safe jewelry-making environment prevents accidents and allows me to focus on the creative aspects of the work.
Q 17. Describe your experience working with different gemstones and their properties.
My experience with gemstones is extensive. I’ve worked with a wide range, each presenting unique challenges and opportunities based on their hardness, durability, and optical properties.
- Diamonds: Their exceptional hardness requires specialized tools and techniques for setting. The brilliance and fire are maximized through precise faceting and polishing.
- Sapphires & Rubies: These corundum gems are relatively hard, but require careful handling to avoid chipping. Their vibrant colors are captivating and require precise setting to enhance their luminosity.
- Emeralds: Known for their inclusions, emeralds require gentle handling during setting. The setting style needs to consider the fragility of the stone, often incorporating protective measures.
- Opals: These hydrous silica gems are relatively softer and require extra care. Their play-of-color is mesmerizing, but they are susceptible to damage from harsh chemicals or impacts.
Understanding each stone’s individual properties is crucial for successful setting and longevity. For example, I always choose a setting that complements the gemstone’s hardness and potential vulnerabilities. For softer stones like opals, I prioritize prong settings that minimize pressure points and provide maximum protection.
Q 18. How do you identify and address common problems encountered during stone setting?
Stone setting is a delicate process, and problems can arise. Knowing how to identify and address these issues is essential for creating high-quality jewelry.
- Stone Cracking or Chipping: This usually happens due to excessive force during setting. Careful pressure and the right tools are crucial. If a stone cracks, it usually needs to be replaced.
- Loose Stones: This suggests the prongs or bezel are not properly secured. Resetting might involve refitting the prongs or remaking the bezel.
- Uneven Setting: If the stone sits unevenly, it can impact the piece’s aesthetics and even its structural integrity. Precise adjustments to the setting are crucial to ensure a flush and stable fit.
- Metal Distortion: Overly forceful hammering or incorrect techniques can distort the metal surrounding the stone. Carefully removing the stone, then reshaping and resetting it usually solves this.
Problem-solving in stone setting often involves a combination of careful observation, meticulous technique, and the right tools. When faced with a challenge, I always start with a careful assessment of the problem before proceeding with a solution. Patience and precision are essential to successful repairs.
Q 19. What software are you proficient in for jewelry design (CAD, etc.)?
Proficiency in CAD software is crucial for modern jewelry design. I’m highly proficient in Rhino 3D and Matrix. Rhino 3D allows me to create intricate 3D models, while Matrix facilitates the process of generating manufacturing data for production.
My skills include creating detailed models, rendering realistic visualizations, generating manufacturing files (STL, OBJ etc.), and utilizing the software’s various tools for precise design modifications. I can design from scratch or modify existing designs to meet specific client needs. The ability to render high-quality images and videos also helps in presenting designs to clients efficiently.
Q 20. Describe your experience with 3D printing in jewelry manufacturing.
3D printing has revolutionized jewelry manufacturing, offering unprecedented design freedom and rapid prototyping capabilities. My experience encompasses using both wax and metal 3D printing for various applications.
- Wax Printing for Lost-Wax Casting: This allows for the creation of intricate designs that would be difficult or impossible to achieve through traditional methods. The printed wax models are then used for creating the investment molds for casting.
- Direct Metal Printing: This technology allows for the direct printing of metal components, bypassing the need for casting. This approach is ideal for producing small, intricate parts or for creating prototypes quickly.
I’m adept at preparing 3D models for printing, managing the printing process, and post-processing the printed components. This includes cleaning, finishing, and sometimes incorporating the printed components into larger pieces created using traditional techniques.
Q 21. How do you maintain and care for your jewelry making tools?
Proper tool maintenance is crucial for their longevity and performance. Regular cleaning and sharpening extend the life of the tools and ensure precision.
- Cleaning: After each use, I thoroughly clean my tools, removing any residue of metal filings, polishing compounds, or other materials. A soft brush and appropriate solvents are used to effectively clean various tools.
- Sharpening: Sharp tools are essential for precise work and safety. I regularly sharpen my saws, files, and gravers using appropriate sharpening stones and techniques.
- Storage: Tools are stored in organized and protective cases or racks to prevent damage and corrosion. Certain tools might require specific storage conditions, such as keeping them away from moisture or extreme temperature changes.
- Lubrication: Moving parts of certain tools, like jeweler’s saws, benefit from regular lubrication with appropriate lubricants to reduce friction and extend their lifespan.
Regular maintenance isn’t just about extending the life of my tools; it’s about ensuring my work is precise, safe, and of the highest quality. A well-maintained tool is a happy tool, and that translates directly into superior craftsmanship.
Q 22. What are some common quality control checks you perform on your work?
Quality control in jewelry making is paramount. It’s not just about aesthetics; it’s about ensuring durability and client satisfaction. My process involves several checks at various stages.
Initial Design Review: I meticulously examine the design for potential structural weaknesses before even beginning the creation process. This includes assessing the weight distribution, the strength of delicate elements, and the overall balance of the piece.
Casting Inspection: After casting, I carefully examine the piece for air bubbles, porosity, or imperfections in the metal. A magnifying glass is invaluable here. Any minor flaws are addressed through filing, sanding, and polishing.
Stone Setting Verification: With stone-set pieces, I check for secure settings, ensuring each stone is firmly held in place and free from any movement. I test for potential looseness by gently applying pressure.
Soldering Assessment: Following soldering, I scrutinize the joints for strength and smoothness. I check for any gaps or inconsistencies that might compromise the structural integrity.
Final Polish and Inspection: The final polish is crucial. I check for scratches, dull spots, and any remaining imperfections. The piece is examined under bright light from multiple angles to catch even the slightest flaw.
Weight and Dimensions Verification: For bespoke pieces, I verify the final weight and dimensions against the initial design specifications to ensure accuracy.
This multi-stage approach ensures that every piece leaving my workshop meets the highest standards of quality and craftsmanship.
Q 23. Describe a time you had to troubleshoot a complex problem during jewelry making.
I once encountered a challenging problem while creating a complex filigree pendant. The intricate design involved numerous delicate soldered connections, and during the final soldering stage, a crucial section of the filigree melted slightly, causing a significant distortion. I initially panicked but quickly adopted a methodical approach.
Assessment: I carefully examined the damage under magnification, identifying the exact extent of the melting.
Planning: I decided to carefully reconstruct the damaged section using very fine wire and precise soldering. This required patience and steady hands.
Reconstruction: I carefully reshaped the melted section by adding small segments of wire, meticulously soldering each piece in place. I used a lower temperature setting to avoid further damage.
Refinement: After the reconstruction, I carefully filed and polished the repaired area until it was seamless and indistinguishable from the rest of the pendant.
The result was flawless. This experience taught me the importance of meticulous soldering techniques and the value of patience and precision when working with delicate designs. It also highlighted the need for careful temperature control during the soldering process.
Q 24. Explain your understanding of metal alloys and their karat values.
Metal alloys are mixtures of two or more metals, often used in jewelry making to enhance properties like hardness, durability, and color. Karat values represent the purity of gold in an alloy.
Pure gold is 24 karats (24K). 18K gold is 18/24 parts pure gold, with the remaining 6/24 parts being other metals, such as silver, copper, or zinc. These alloying metals influence the color and durability of the gold. For example, adding copper creates a reddish hue (rose gold), while adding silver produces a paler shade (white gold).
Different karat values offer varying levels of durability and cost. Higher karat gold (like 24K) is softer and more expensive, while lower karat gold is harder and more affordable. The choice of karat depends on the design and intended use of the piece.
Understanding karat values is crucial for accurately pricing and selecting appropriate materials for a project. It’s important to note that other precious metals like platinum and palladium also have different alloy compositions and purity standards.
Q 25. What are your preferred methods for cleaning and maintaining finished jewelry pieces?
Cleaning and maintaining finished jewelry pieces is crucial for preserving their beauty and longevity. My preferred methods depend on the material and the type of setting. Generally, I recommend:
Gentle Cleaning: For most jewelry, a mild detergent solution and a soft-bristled brush are ideal. Avoid harsh chemicals or abrasive cleaners.
Ultrasonic Cleaning (with caution): Ultrasonic cleaners can be effective for removing dirt and debris, but they should only be used on sturdy pieces without loose stones or delicate settings. Always check the manufacturer’s recommendations.
Polishing Cloths: Regular polishing with a soft polishing cloth helps maintain the shine of the metal. This is particularly helpful for sterling silver and gold.
Proper Storage: Store jewelry individually in soft pouches or cases to prevent scratches and tarnishing. Avoid stacking pieces together.
Professional Cleaning: For intricate or valuable pieces, I recommend periodic professional cleaning by a qualified jeweler to ensure proper care.
These methods ensure that the jewelry remains in excellent condition and continues to bring joy to the owner for years to come.
Q 26. Describe your experience working with different types of waxes for carving.
Wax carving is a critical step in lost-wax casting. Different waxes offer unique properties, influencing the carving process and final result. I frequently work with:
Injection Wax: This type of wax is ideal for intricate designs due to its smooth, consistent texture and ease of injection into molds. However, it can be slightly brittle.
Casting Wax: This wax offers good detail and strength, making it suitable for larger, more complex pieces. It’s slightly less precise than injection wax for the finest details.
Hard Wax: Hard waxes are beneficial when creating very fine details because they hold their shape exceptionally well and resist distortion during carving and handling.
The choice of wax depends entirely on the specific design’s intricacy, size, and required level of detail. I often combine types for optimal results—perhaps using injection wax for the main body and hard wax for fine filigree elements.
Q 27. What are your preferred methods for creating precise and intricate designs?
Creating precise and intricate designs involves a blend of artistic skill and technical proficiency. My preferred methods include:
CAD Design: For very complex designs, Computer-Aided Design (CAD) allows me to create highly precise, three-dimensional models. This is especially useful for intricate filigree or repetitive patterns.
Wax Carving: For more organic and free-flowing designs, I rely on my wax carving skills. Years of practice have honed my ability to translate designs into three-dimensional wax models. I use a range of tools such as carving knives, files, and specialized wax shapers.
Precision Tools: Microscopic detail is often achieved with incredibly fine tools like gravers and specialized pushers for stone setting.
Templates and Jigs: To maintain consistency and precision, I sometimes use templates or jigs to guide the shaping process.
The key to precision lies in a combination of careful planning, attention to detail, and a steady hand, coupled with the appropriate tools and techniques for the design’s complexity.
Q 28. How do you ensure the structural integrity of your jewelry pieces?
Structural integrity is critical for any jewelry piece. My approach involves several strategies:
Material Selection: Choosing the right metal alloys is crucial. Different alloys have varying degrees of strength and malleability. I select alloys appropriate to the design’s complexity and the stresses it’s likely to encounter.
Reinforcement Techniques: For delicate designs, I incorporate reinforcement techniques such as adding internal supports or thicker sections in key areas to prevent bending or breakage.
Secure Stone Setting: When working with gemstones, I employ secure setting methods appropriate to the type of stone and the design. This ensures that stones are firmly held and won’t become loose or fall out.
Proper Soldering: Clean and precise soldering techniques are crucial. Weak solder joints are a major cause of structural failure. I ensure complete fusion of the metals to achieve strong, reliable connections.
Stress Testing: Before delivering any piece, I perform a stress test. This involves gently applying pressure to the jewelry to check for weak points or structural flaws.
By paying close attention to these aspects throughout the creation process, I can ensure that each piece possesses the structural integrity to withstand normal wear and tear and remain beautiful for years to come.
Key Topics to Learn for Jewelry Making Techniques (e.g., casting, soldering, stone setting) Interview
- Casting:
- Wax carving techniques and mold preparation.
- Investment casting processes (lost-wax casting) and troubleshooting common issues like porosity or surface imperfections.
- Understanding different casting alloys (e.g., gold, silver, bronze) and their properties.
- Burnout procedures and flask preparation.
- Soldering:
- Different soldering techniques (e.g., hard, medium, easy solder).
- Flux selection and application for optimal solder flow.
- Understanding the importance of temperature control and proper torch manipulation.
- Troubleshooting common soldering problems like cold joints or solder flowing where unintended.
- Stone Setting:
- Various stone setting methods (e.g., prong, bezel, channel, pave).
- Selecting appropriate settings for different stone types and shapes.
- Proper techniques for securing stones to prevent loss or damage.
- Understanding the importance of stone durability and structural integrity within the setting.
- Finishing and Polishing:
- Techniques for achieving a high-quality finish (e.g., filing, sanding, polishing).
- Appropriate tools and materials for different metals and finishes.
- Understanding the importance of proper finishing for both aesthetics and durability.
- Safety Procedures and Workshop Practices:
- Safe handling of chemicals and tools.
- Proper ventilation and waste disposal.
- Understanding and adhering to workshop safety regulations.
Next Steps
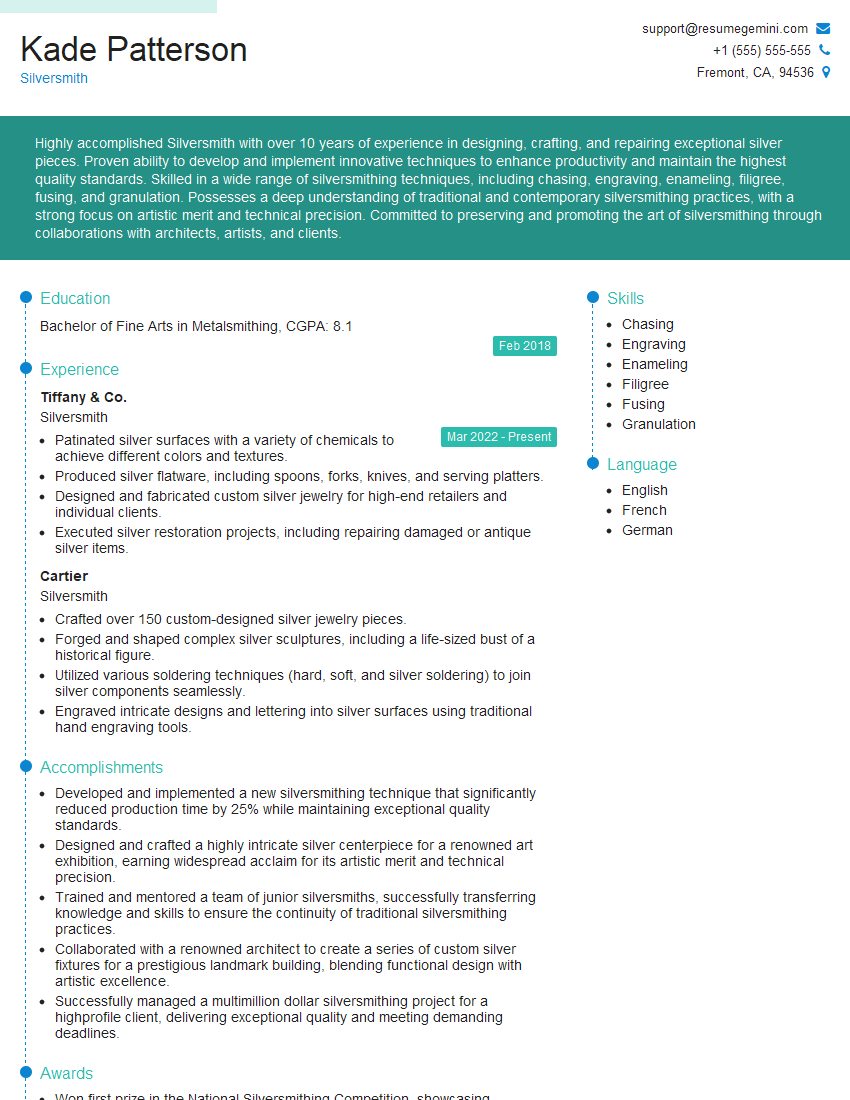
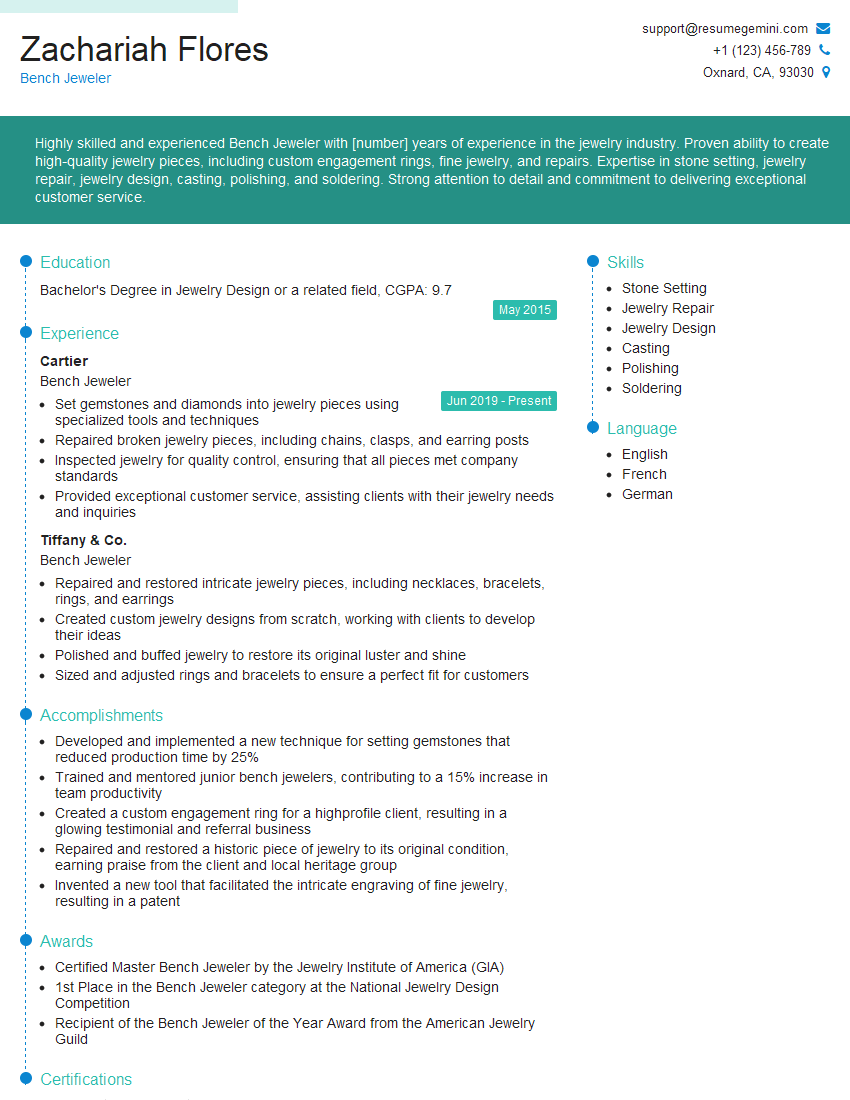
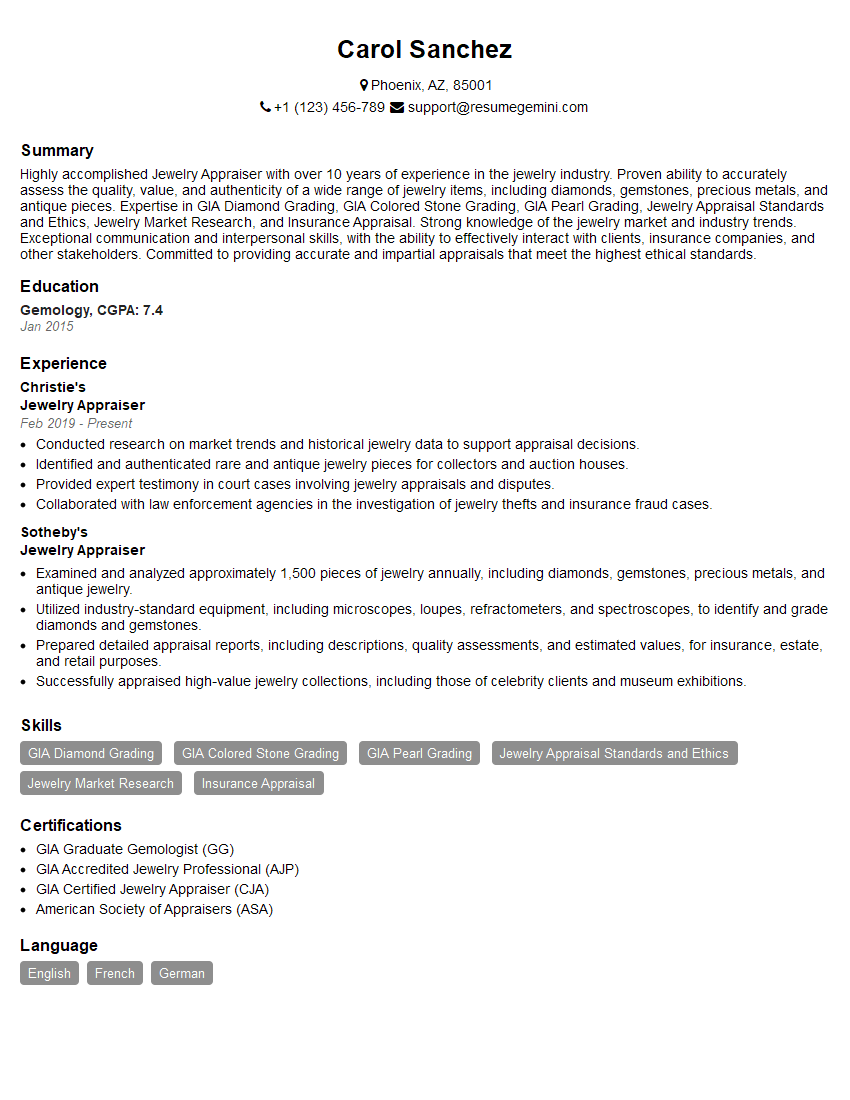
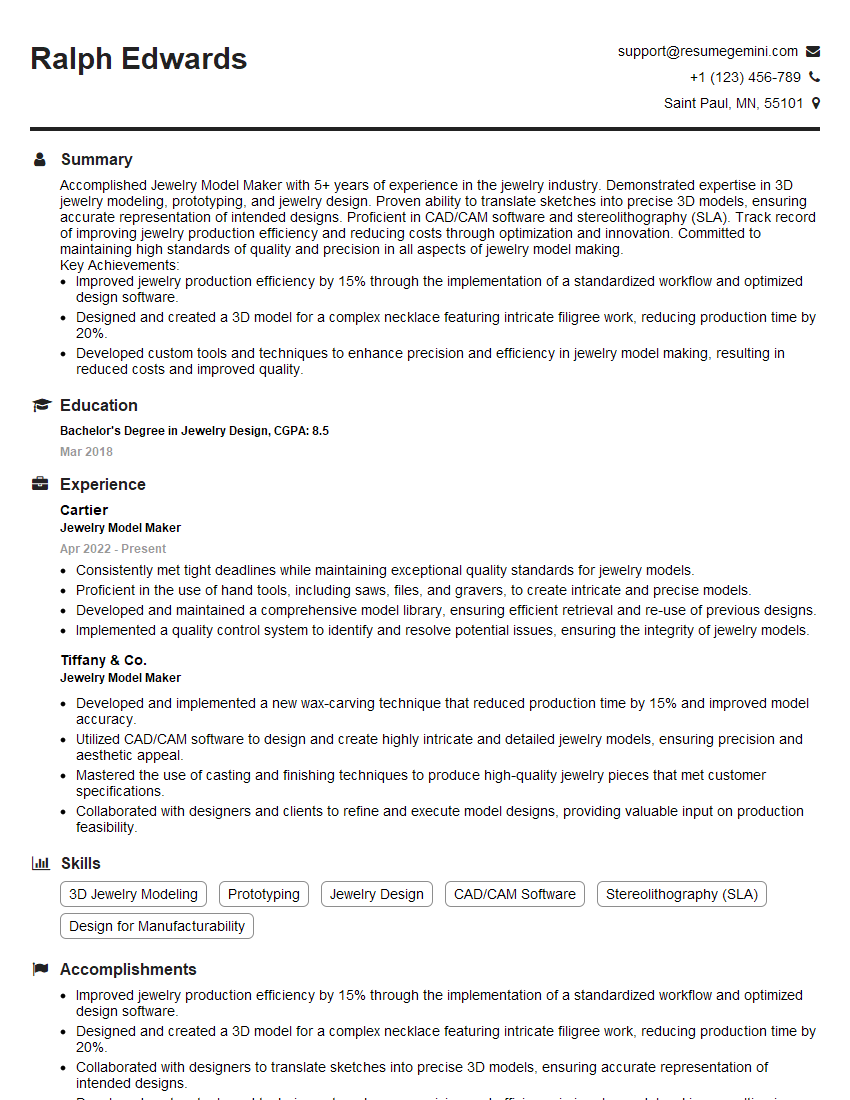
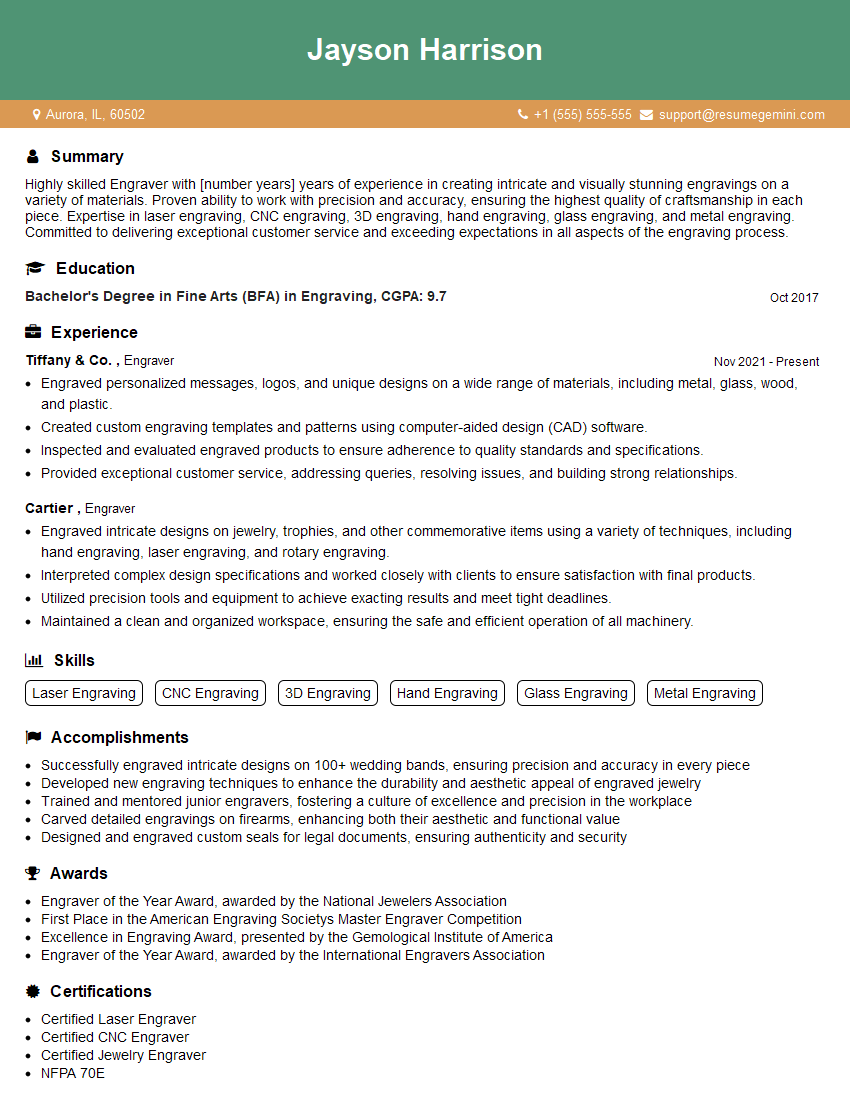
Mastering jewelry making techniques like casting, soldering, and stone setting is crucial for career advancement in this field. A strong understanding of these processes will significantly improve your chances of securing your dream role. To maximize your job prospects, focus on creating an ATS-friendly resume that highlights your skills and experience effectively. ResumeGemini is a trusted resource that can help you build a professional and impactful resume. Examples of resumes tailored to showcasing expertise in casting, soldering, and stone setting are available to guide you. Take the next step towards your successful career in jewelry making!
Explore more articles
Users Rating of Our Blogs
Share Your Experience
We value your feedback! Please rate our content and share your thoughts (optional).
What Readers Say About Our Blog
Hello,
We found issues with your domain’s email setup that may be sending your messages to spam or blocking them completely. InboxShield Mini shows you how to fix it in minutes — no tech skills required.
Scan your domain now for details: https://inboxshield-mini.com/
— Adam @ InboxShield Mini
Reply STOP to unsubscribe
Hi, are you owner of interviewgemini.com? What if I told you I could help you find extra time in your schedule, reconnect with leads you didn’t even realize you missed, and bring in more “I want to work with you” conversations, without increasing your ad spend or hiring a full-time employee?
All with a flexible, budget-friendly service that could easily pay for itself. Sounds good?
Would it be nice to jump on a quick 10-minute call so I can show you exactly how we make this work?
Best,
Hapei
Marketing Director
Hey, I know you’re the owner of interviewgemini.com. I’ll be quick.
Fundraising for your business is tough and time-consuming. We make it easier by guaranteeing two private investor meetings each month, for six months. No demos, no pitch events – just direct introductions to active investors matched to your startup.
If youR17;re raising, this could help you build real momentum. Want me to send more info?
Hi, I represent an SEO company that specialises in getting you AI citations and higher rankings on Google. I’d like to offer you a 100% free SEO audit for your website. Would you be interested?
Hi, I represent an SEO company that specialises in getting you AI citations and higher rankings on Google. I’d like to offer you a 100% free SEO audit for your website. Would you be interested?
good

