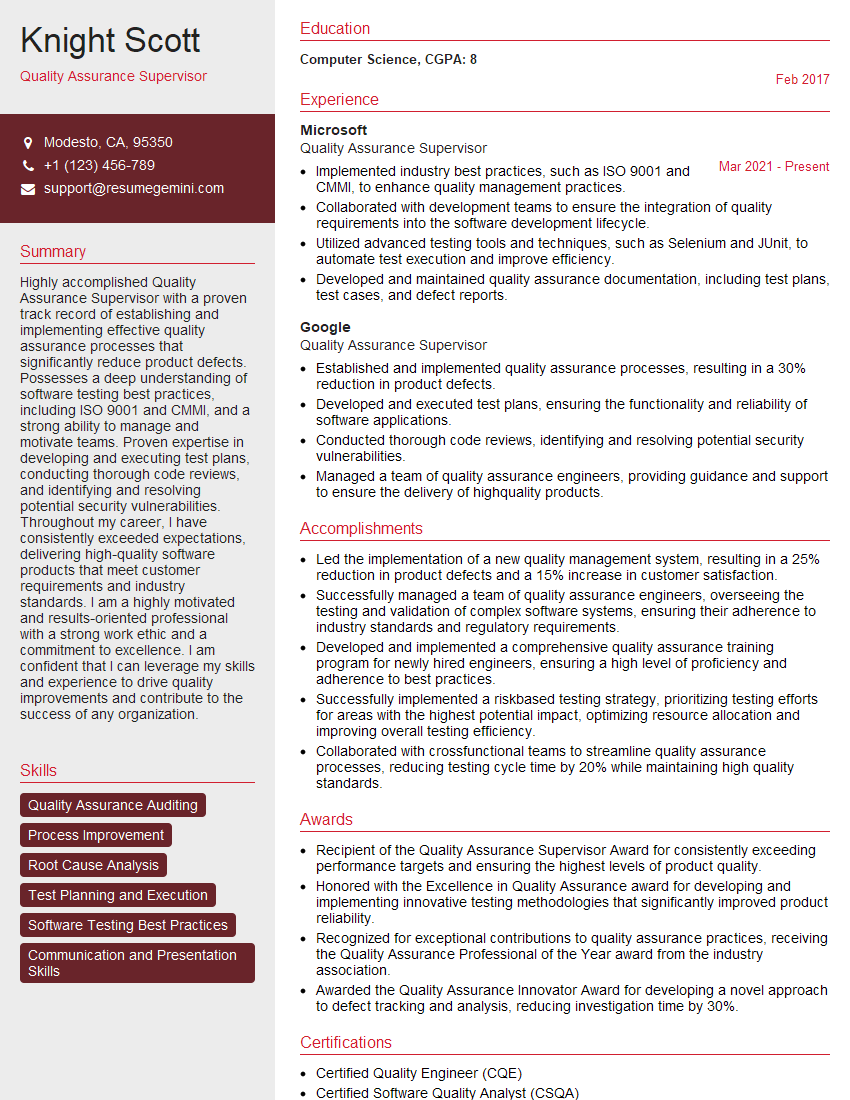
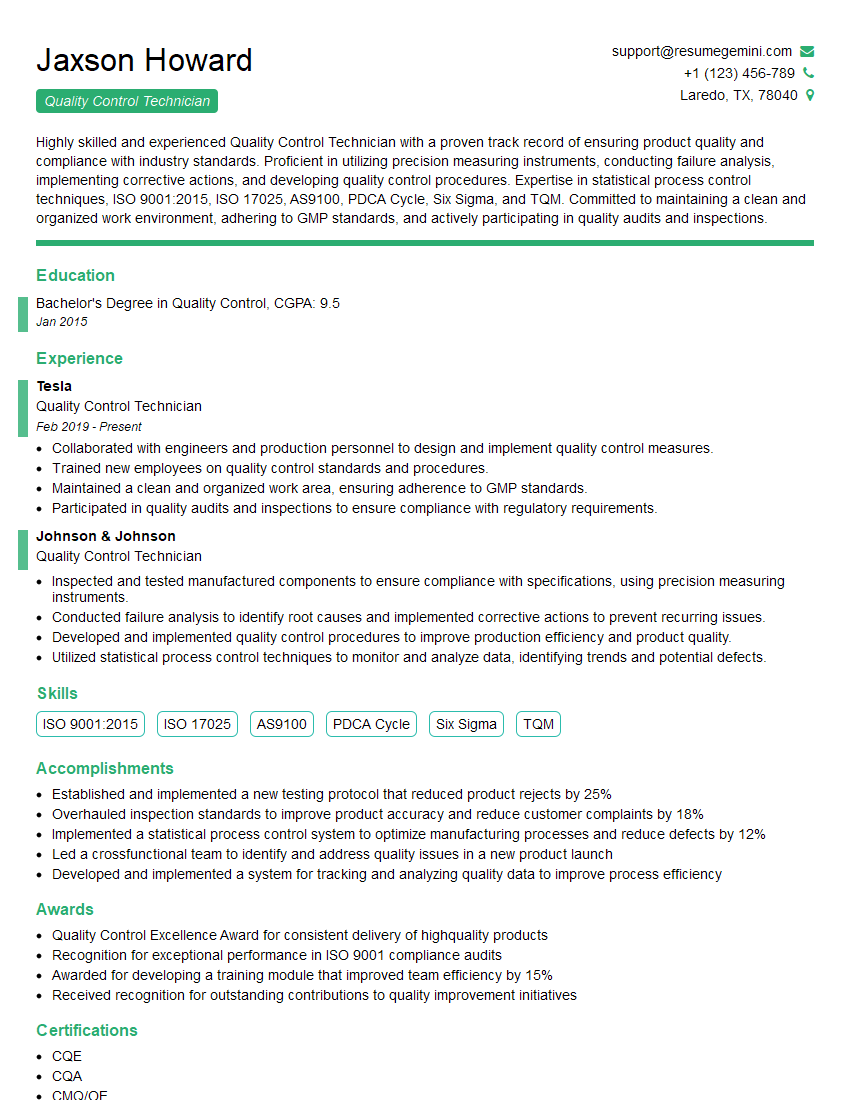
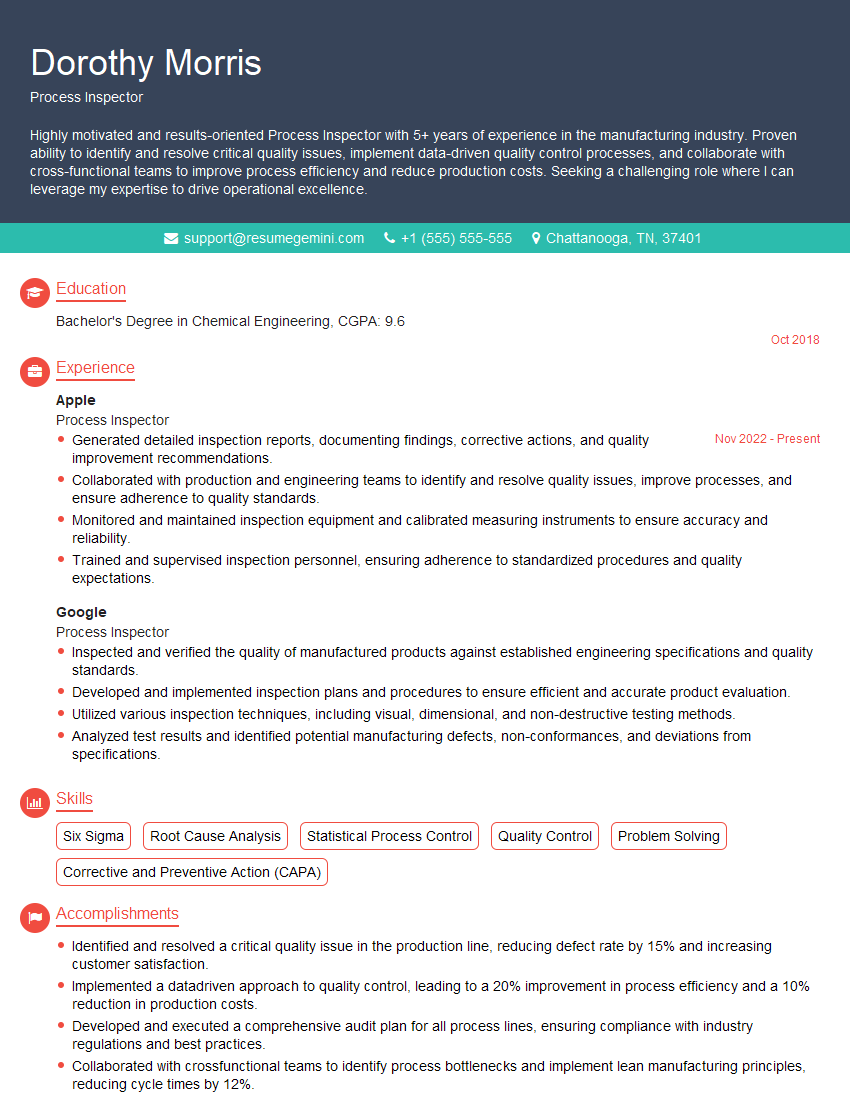
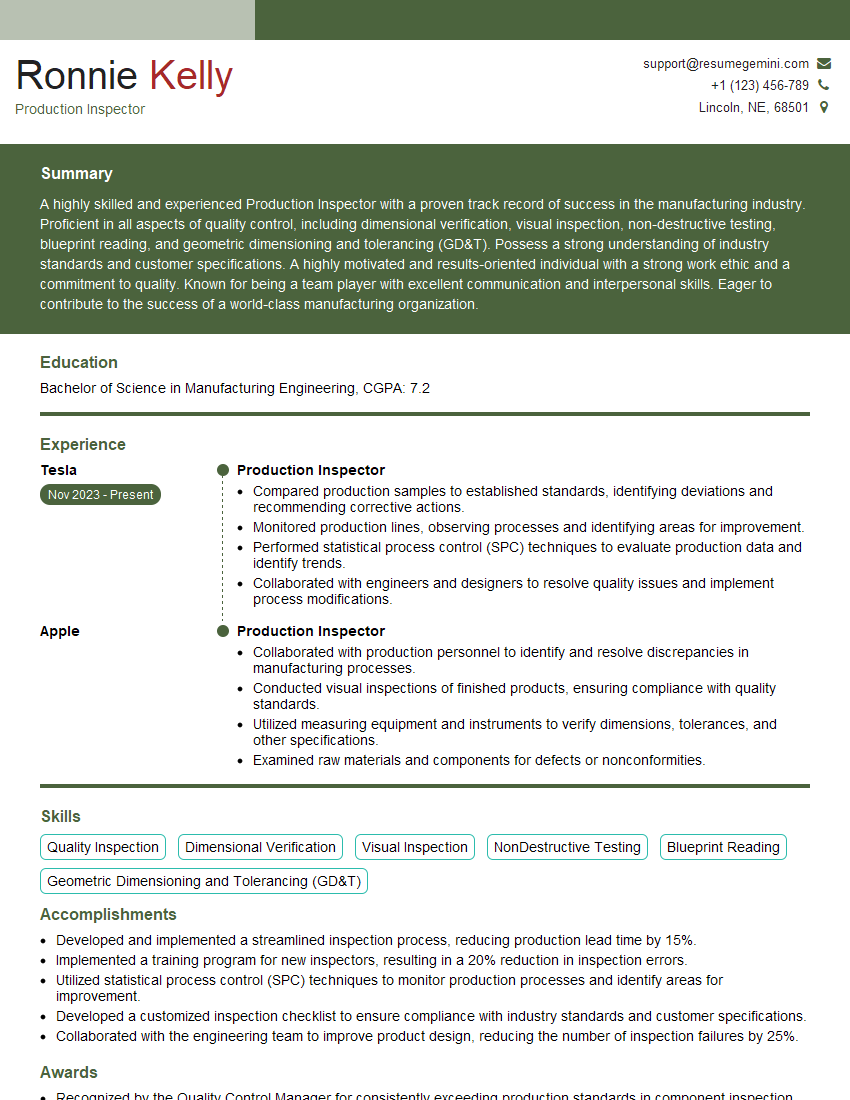
Interviews are more than just a Q&A session—they’re a chance to prove your worth. This blog dives into essential Performing Quality Inspections of Pads interview questions and expert tips to help you align your answers with what hiring managers are looking for. Start preparing to shine!
Questions Asked in Performing Quality Inspections of Pads Interview
Q 1. Describe your experience with various pad inspection techniques.
My experience encompasses a wide range of pad inspection techniques, from simple visual inspections to sophisticated automated systems. Visual inspection is fundamental, allowing me to assess surface quality, dimensions, and overall appearance. I’m proficient in using various magnification tools, including microscopes, to detect minute defects. I also have experience with dimensional measurement using calipers, micrometers, and coordinate measuring machines (CMMs) for precise evaluations. Furthermore, I’m familiar with destructive testing methods like tensile strength and tear resistance testing, when needed to assess the pad’s structural integrity. In some cases, I’ve utilized specialized testing equipment to evaluate specific properties like absorbency or chemical resistance.
For example, in one project involving highly absorbent medical pads, I used a specialized absorbency tester to quantitatively measure the fluid uptake rate. In another, I used a CMM to ensure the precise dimensions of adhesive pads were within tolerance for reliable dispensing.
Q 2. What are the common defects found in pads during inspection?
Common defects found in pads during inspection vary significantly depending on the pad type and its intended use. However, some recurring issues include:
- Dimensional variations: Pads may be too large or small, or have inconsistent thicknesses. This can be critical for proper functionality in applications like automotive parts or medical devices.
- Surface imperfections: These include scratches, dents, discoloration, delamination (separation of layers), and foreign material contamination. Even small surface defects can impact aesthetics or performance.
- Adhesion issues: For adhesive pads, poor adhesion to the backing material or the intended surface is a major problem. This is tested with peel strength tests and visual inspection.
- Structural flaws: Holes, tears, or inconsistencies in the pad’s internal structure can compromise its integrity and lifespan. This is often detected through destructive testing.
- Contamination: Presence of dust, fibers, or other foreign materials can render the pad unusable, particularly in cleanroom applications.
The severity of each defect is evaluated against pre-defined acceptance criteria, and appropriate actions are taken based on the findings.
Q 3. How do you ensure consistent application of inspection standards?
Consistent application of inspection standards is paramount for maintaining product quality. We achieve this through a multi-pronged approach:
- Detailed Standard Operating Procedures (SOPs): Clear, documented SOPs define the inspection process, including methods, acceptance criteria, and corrective actions for non-conformances. These SOPs are regularly reviewed and updated.
- Regular calibration of equipment: Inspection tools and equipment are regularly calibrated to ensure accuracy and traceability. Calibration records are meticulously maintained.
- Training and certification of inspectors: Inspectors undergo comprehensive training to understand the SOPs and the proper use of inspection equipment. Regular competency assessments are conducted to ensure ongoing proficiency.
- Use of check sheets and checklists: Structured check sheets and checklists guide inspectors through the inspection process, minimizing subjectivity and ensuring consistent coverage of all critical aspects.
- Internal audits: Regular internal audits verify that the inspection process is being followed correctly and that the inspection standards are being consistently applied.
This systematic approach ensures everyone involved in the inspection process adheres to the same high standards, minimizing variability and maximizing product quality.
Q 4. Explain your experience using various inspection tools and equipment.
My experience with inspection tools and equipment includes a wide array of instruments, tailored to different pad types and inspection requirements. This includes:
- Optical instruments: Microscopes (stereo and metallurgical), magnifying glasses, and vision systems for detailed surface examination.
- Dimensional measurement tools: Vernier calipers, micrometers, dial indicators, and CMMs for precise dimensional measurements.
- Material testing equipment: Tensile testers, tear strength testers, and absorbency testers, to evaluate the physical and chemical properties of the pads.
- Specialized test equipment: Equipment specific to the application, such as adhesion testers, for adhesive pads; or cleanroom-compatible inspection tools.
I am proficient in operating and maintaining these instruments, ensuring accurate and reliable results. I understand the limitations of each tool and select the most appropriate one for a given inspection task. For instance, while a caliper is suitable for measuring the overall dimensions of a pad, a microscope may be required for identifying surface defects.
Q 5. How do you document and report inspection findings?
Documentation and reporting of inspection findings are crucial for traceability and continuous improvement. My typical process involves:
- Detailed inspection reports: These reports include a description of the inspection performed, the methods used, the equipment employed, and a summary of findings. Any non-conformances are clearly documented, with specific details about their location, type, and severity.
- Photographs and/or video documentation: Visual evidence of defects is often included in the report to clearly illustrate the issues found.
- Use of a quality management system (QMS): The findings are typically entered into our QMS database, providing a centralized record of inspection results and enabling efficient tracking and analysis of trends.
- Statistical analysis of findings: Data from inspections are often analyzed to identify potential trends or patterns that may indicate underlying process issues.
- Clear communication of findings: Inspection results are communicated effectively to relevant stakeholders, including production personnel, quality managers, and potentially clients.
The documentation process is designed to ensure the findings are accurate, complete, and easily understood by everyone involved.
Q 6. How do you handle discrepancies or disagreements regarding inspection results?
Discrepancies or disagreements regarding inspection results are addressed through a structured process that ensures objectivity and fairness:
- Re-inspection: A second inspector independently reviews the pad to verify the initial findings. If necessary, a third party may be involved to resolve differences.
- Calibration verification: The accuracy of any measuring equipment is checked to rule out any instrumental errors.
- Review of SOPs: The inspection process is reviewed to ensure compliance with established standards and procedures.
- Documentation review: The documentation is carefully reviewed to verify the accuracy and completeness of recorded information.
- Team discussion and consensus: In cases of persistent disagreement, a team discussion is held to reach a consensus based on objective evidence and expert opinion.
The aim is to resolve any disagreements through a collaborative approach, focusing on evidence and data to arrive at an accurate assessment of the product quality.
Q 7. Describe your experience with statistical process control (SPC).
Statistical Process Control (SPC) is a crucial aspect of maintaining consistent product quality. My experience with SPC includes:
- Control chart analysis: I’m proficient in developing and interpreting control charts (e.g., X-bar and R charts) to monitor key pad characteristics (e.g., thickness, dimensions, adhesion strength) over time. This helps identify trends, shifts, or other variations that might indicate process instability.
- Process capability analysis: I use statistical methods to assess the capability of the production process to meet specified quality requirements. This helps determine whether the process is capable of consistently producing pads within acceptable tolerances.
- Data analysis and interpretation: I analyze SPC data to identify patterns, trends, and root causes of process variations. This information is then used to implement appropriate corrective actions.
- Implementation of corrective actions: Based on the SPC analysis, I’ve contributed to developing and implementing corrective actions to address process issues and improve the consistency of pad quality.
For example, by using control charts to monitor pad thickness, we identified a systematic drift in the manufacturing process. By investigating the root cause of this drift (a worn-out machine part), we were able to make corrections, restoring the process to a state of statistical control and improving product consistency.
Q 8. How do you identify root causes of recurring defects in pads?
Identifying the root causes of recurring defects in pads requires a systematic approach. It’s not enough to simply identify the defect; we need to understand why it’s happening repeatedly. I typically employ a combination of methods, starting with data analysis. This involves reviewing historical inspection data to pinpoint trends – are defects concentrated in specific batches, production times, or machine operators?
Next, I’d conduct a thorough visual inspection of the affected pads, paying close attention to details like material consistency, adhesive application, and any signs of wear and tear on the machinery. Then, I’d move to process analysis, reviewing the manufacturing process steps to identify potential points of failure. This might involve examining the raw materials, the machinery settings, or even the environmental conditions in the manufacturing area.
Finally, I use tools like fishbone diagrams (Ishikawa diagrams) to visually map out potential causes, categorizing them into categories like materials, methods, machinery, manpower, measurements, and environment. This helps identify the most likely root causes and facilitates a structured problem-solving approach. Once the root cause is identified, corrective actions are implemented, and subsequent inspections monitor the effectiveness of these actions. For example, if we consistently found defects in a particular area of the pad, it could point to a problem with the die used in the manufacturing process. Or if many defects appear after a specific machine stage, that machine could need recalibration or maintenance.
Q 9. Explain your understanding of different pad materials and their properties.
Pad materials vary widely depending on their intended application. Common materials include:
- Foam: This is prevalent in many applications due to its cushioning properties. Different foam types, like polyurethane, polyethylene, or EVA (ethylene-vinyl acetate), offer varying levels of density, resilience, and durability. For instance, a high-density foam might be chosen for heavy-duty applications, while a low-density foam is better suited for delicate items.
- Rubber: Rubber pads provide excellent shock absorption and resistance to abrasion. Natural rubber and various synthetic rubbers (like nitrile, neoprene, or silicone) each have distinct properties relevant to specific needs. Natural rubber might be preferred for its elasticity, while nitrile rubber offers superior chemical resistance.
- Fabric: Fabric pads, often made from cotton, polyester, or blends, are used where softness and absorbency are crucial. The weave and density of the fabric influence its durability and overall performance. A tightly woven fabric will be more durable than a loosely woven one.
- Gel: Gel pads offer excellent conformability and pressure distribution, making them ideal for sensitive applications. Silicone gels are commonly used for their non-toxic nature and ease of cleaning.
The properties of each material – including density, hardness (Shore hardness), tensile strength, tear resistance, compression set, and chemical resistance – must be carefully considered during the pad design and selection process to meet the specific application requirements.
Q 10. What are the critical quality characteristics of pads?
Critical quality characteristics of pads depend heavily on their intended use, but some common factors include:
- Dimensions: Pads must adhere precisely to specified dimensions (length, width, thickness). Inconsistent dimensions can lead to improper fitting or functionality.
- Surface Finish: The surface texture of the pad plays a significant role. It might need to be smooth, textured, or have a specific pattern for optimal performance. For instance, a textured surface might be better for gripping, while a smooth surface is crucial for protecting delicate items.
- Adhesive Strength: For pads that require adhesion, the strength and consistency of the adhesive are critical. Weak or uneven adhesion leads to premature failure.
- Material Properties: As discussed previously, material properties like density, hardness, and chemical resistance are crucial. These properties determine the pad’s durability and ability to withstand its intended use.
- Appearance: While often secondary, aesthetic consistency is sometimes vital, especially in high-visibility applications. Color uniformity and the absence of blemishes are important considerations.
Defects in any of these characteristics can compromise the functionality, durability, and even safety of the pad, depending on the application. Therefore, rigorous quality control is imperative.
Q 11. How do you prioritize inspection tasks to ensure efficiency?
Prioritizing inspection tasks hinges on risk assessment. I use a combination of techniques to ensure efficiency:
- Risk-Based Inspection: This approach focuses on inspecting those aspects of the pad most likely to cause failure or pose a safety risk. For example, dimensional accuracy and adhesive strength might be given higher priority than minor cosmetic flaws.
- Statistical Process Control (SPC): SPC techniques use statistical methods to monitor process variation. This allows for early detection of potential problems and prevents defects from accumulating. Control charts and other SPC tools help identify when the process is drifting out of control and needs intervention.
- Sampling Plans: Appropriate sampling plans are crucial for efficiently inspecting large batches of pads. These plans dictate the number and selection of samples to be inspected to obtain statistically valid results. The choice of sampling plan depends on factors like the batch size, acceptable quality level (AQL), and inspection cost.
- Automation: Where possible, I leverage automated inspection systems for tasks like dimensional measurements and surface analysis. Automation increases inspection speed and accuracy.
By combining these methods, I focus inspection efforts on the most critical aspects, maximizing efficiency while minimizing the risk of defects escaping detection.
Q 12. Describe your experience with different types of pad manufacturing processes.
My experience encompasses several pad manufacturing processes, including:
- Die-Cutting: This is a common method for producing pads from sheets of material. A sharp die cuts the material into the desired shape. Precision in the die and the machine’s operation is critical for consistent pad dimensions.
- Waterjet Cutting: Waterjet cutting provides greater flexibility in cutting complex shapes and various materials. It’s less prone to material deformation but requires precise programming.
- Molding: This process is suitable for creating pads with intricate shapes or those made from specific formulations (e.g., molded foam or rubber). The quality of the mold and the molding parameters are paramount in ensuring consistent pad quality.
- Casting: Casting involves pouring liquid materials into molds to create pads. This process is often used for creating rubber or gel pads. It’s important to control the viscosity, temperature, and curing conditions for optimal results.
Understanding the strengths and limitations of each process allows me to effectively assess the potential sources of defects during inspections and guide corrective actions.
Q 13. How do you maintain calibration and accuracy of inspection equipment?
Maintaining the calibration and accuracy of inspection equipment is paramount. I follow a rigorous calibration schedule based on the manufacturer’s recommendations and relevant standards. This usually involves:
- Regular Calibration: Each instrument is calibrated at predetermined intervals, using traceable standards (i.e., standards that can be traced back to national or international standards). Calibration certificates document the accuracy and traceability of the equipment.
- Preventive Maintenance: Regular preventive maintenance, including cleaning and minor adjustments, helps prevent equipment malfunction and maintain accuracy.
- Use of Standard Reference Materials: I periodically use standard reference materials (SRMs) to verify the accuracy of the inspection equipment. SRMs are materials with well-defined properties, providing a benchmark for comparison.
- Operator Training: Properly trained operators are crucial for accurate equipment use and data interpretation. Regular training ensures operators understand the equipment’s limitations and proper operating procedures.
- Record Keeping: Meticulous records are kept of all calibration activities, including dates, results, and any corrective actions taken. This documentation provides a historical trail for audits and troubleshooting.
By adhering to a strict calibration protocol, I ensure the reliability and accuracy of the inspection data, providing confidence in the quality of the pads.
Q 14. How do you ensure compliance with relevant quality standards (e.g., ISO 9001)?
Ensuring compliance with quality standards like ISO 9001 involves a multifaceted approach. This starts with a thorough understanding of the specific requirements of the standard. We develop and maintain a robust quality management system (QMS) that addresses all aspects of the pad manufacturing process, from design and production to inspection and delivery.
Key elements include:
- Documented Procedures: Standardized procedures are documented for all key processes, ensuring consistency and repeatability. These procedures are regularly reviewed and updated to reflect changes in the process or requirements.
- Internal Audits: Regular internal audits are conducted to evaluate compliance with the QMS and identify areas for improvement. These audits involve a systematic review of all aspects of the system.
- Corrective and Preventive Actions (CAPA): A documented CAPA system is in place to address nonconformities and prevent their recurrence. Root cause analysis is performed to identify the underlying issues, and effective corrective and preventive actions are implemented.
- Supplier Management: Effective management of suppliers is essential to ensure the quality of incoming materials. Supplier assessments and approvals are conducted to ensure they comply with quality requirements.
- Record Keeping: Maintaining comprehensive records of all quality-related activities is crucial. These records provide evidence of compliance during audits and external inspections.
Regular training of personnel ensures everyone understands their roles and responsibilities in maintaining quality standards. Through continuous improvement efforts, we strive to exceed the requirements of ISO 9001 and deliver consistently high-quality pads.
Q 15. How do you handle non-conforming pads?
Handling non-conforming pads involves a systematic approach ensuring quality standards are met. First, I would isolate the non-conforming pads to prevent further processing or use. Next, I would thoroughly document the nature of the non-conformity, including the type of defect, the number of affected pads, and any relevant production information such as batch number and date. This documentation is crucial for root cause analysis.
Following documentation, I would initiate a non-conformance report, outlining the specifics of the issue and initiating corrective actions. This might involve investigating the root cause – was it a machine malfunction, a material defect, or a procedural error? Depending on the severity and nature of the defect, the pads may be scrapped, reworked, or quarantined pending further investigation. For example, if the defect is a minor dimensional inconsistency, rework might be possible. However, if the defect compromises the structural integrity of the pad, scrapping would be necessary. Finally, I’d ensure the corrective actions prevent recurrence, perhaps involving adjustments to machine settings, improved operator training, or modification of the manufacturing process.
Career Expert Tips:
- Ace those interviews! Prepare effectively by reviewing the Top 50 Most Common Interview Questions on ResumeGemini.
- Navigate your job search with confidence! Explore a wide range of Career Tips on ResumeGemini. Learn about common challenges and recommendations to overcome them.
- Craft the perfect resume! Master the Art of Resume Writing with ResumeGemini’s guide. Showcase your unique qualifications and achievements effectively.
- Don’t miss out on holiday savings! Build your dream resume with ResumeGemini’s ATS optimized templates.
Q 16. Explain your experience in using a quality management system (QMS).
My experience with Quality Management Systems (QMS) spans several years, primarily working within ISO 9001 frameworks. I’m proficient in all aspects of a QMS, from internal auditing and documentation control to corrective and preventative action (CAPA) procedures. For instance, in my previous role, I was instrumental in developing and implementing a new inspection checklist for pads, significantly improving the consistency and efficiency of the inspection process. This checklist, integrated into our QMS, ensured all critical characteristics were systematically checked, minimizing human error and improving the overall quality of our pads.
I understand the importance of documented procedures, regularly updated records, and proactive management reviews in maintaining the integrity of a QMS. I’ve actively participated in internal audits, ensuring compliance with established quality standards and identifying opportunities for continuous improvement. My experience extends to training new inspectors on QMS procedures and the proper use of inspection equipment.
Q 17. How do you contribute to continuous improvement in the inspection process?
Contributing to continuous improvement in pad inspection involves a multi-faceted approach. I regularly analyze inspection data to identify trends and patterns in defects. For instance, if a specific type of defect is recurring, it signals a need for corrective action, be it machine recalibration, operator retraining, or a process refinement. I use data-driven insights to propose improvements to inspection procedures, equipment, and even pad design itself.
I actively participate in brainstorming sessions with production personnel and engineering teams to find innovative solutions to address persistent quality issues. For example, we once addressed a problem with pad thickness inconsistencies by implementing a new automated measurement system, significantly reducing the variation and improving overall quality. Furthermore, I keep abreast of industry best practices and new technologies to continually improve our inspection methodologies and ensure we maintain a competitive edge.
Q 18. How familiar are you with different types of pad testing (e.g., dimensional, physical)?
My familiarity with pad testing is extensive, encompassing both dimensional and physical testing methods. Dimensional testing involves verifying the precise measurements of the pads, such as length, width, thickness, and diameter, ensuring they conform to specifications. I’m proficient in using various measuring instruments like calipers, micrometers, and coordinate measuring machines (CMMs) to perform these checks. For example, I’ve used CMMs to inspect complex pad geometries with high precision, ensuring minimal tolerance deviations.
Physical testing goes beyond dimensions, assessing the pad’s material properties and performance characteristics. This could involve tests like tensile strength, compression strength, tear resistance, and abrasion resistance, depending on the pad’s intended application. I have experience using universal testing machines to determine the strength and durability of the pads, ensuring they can withstand the intended stresses. The specific tests performed are tailored to the pad’s design and application requirements.
Q 19. Describe your experience with data analysis related to pad inspection.
Data analysis is a cornerstone of my approach to pad inspection. I utilize statistical process control (SPC) techniques to monitor and analyze inspection data, identifying trends and patterns that can indicate potential problems. I’m proficient in using software tools to generate control charts, histograms, and other statistical visualizations to assess process capability and identify areas for improvement.
For example, by analyzing historical data on pad thickness, we discovered a seasonal variation linked to ambient humidity levels. This finding allowed us to implement environmental controls within the production area, significantly improving the consistency of pad thickness. I also employ data mining techniques to identify correlations between different inspection parameters, allowing for a more holistic understanding of the factors impacting pad quality.
Q 20. How do you communicate effectively with production personnel regarding inspection results?
Effective communication with production personnel is paramount. I believe in a collaborative approach, focusing on shared understanding and problem-solving. When communicating inspection results, I prioritize clarity and avoid technical jargon. I use visual aids such as charts and graphs to present data effectively. I also explain the implications of the findings and the potential impact on the product’s performance and customer satisfaction.
For instance, if I identify a recurring defect, I wouldn’t simply report the defect rate; I would work with the production team to pinpoint the root cause. This might involve reviewing production records, observing the manufacturing process, and discussing potential solutions with the operators. Open communication and a proactive approach foster a culture of continuous improvement and prevent future non-conformances.
Q 21. Explain your understanding of the relationship between pad design and quality.
The relationship between pad design and quality is intrinsically linked. A well-designed pad inherently possesses better quality characteristics. Factors such as material selection, geometry, and manufacturing processes all significantly impact the final product’s quality and performance. For example, using a material with superior abrasion resistance will lead to more durable pads, while a more ergonomic design might improve usability.
I work closely with the design engineering team, providing feedback from the inspection process to influence design modifications. If inspection data reveals recurring defects linked to a specific design feature, I’ll provide that information to inform design changes. This collaborative approach ensures that the pad design is not only functional but also manufacturable to consistent quality standards. A robust design minimizes the likelihood of defects, reducing waste and improving overall efficiency.
Q 22. How do you manage your workload and prioritize tasks in a high-pressure environment?
In a high-pressure environment, effective workload management is crucial. My approach is threefold: prioritization, time-blocking, and proactive communication. First, I utilize a prioritization matrix, ranking tasks based on urgency and importance. This helps me focus on critical inspections first, ensuring timely completion of high-impact tasks. For instance, if a rush order for a critical component requires inspection, it immediately takes precedence over routine checks. Second, I use time-blocking to allocate specific time slots for different inspection types. This structured approach helps me avoid feeling overwhelmed and ensures consistent progress. For example, I might dedicate the first two hours of my day to visually inspecting a batch of pads, followed by two hours using precision measuring equipment. Third, proactive communication with my team and supervisors is key. Keeping everyone informed about my progress and any potential roadblocks allows for collaborative problem-solving and prevents unnecessary delays. This ensures everyone is on the same page and I can quickly get support when needed.
Q 23. Describe your proficiency in using any specific software for quality inspection.
I’m proficient in using several software programs for quality inspection, most notably LIMS (Laboratory Information Management System) and specialized metrology software. LIMS allows for efficient data recording, tracking, and analysis of inspection results, significantly reducing manual paperwork and enhancing data integrity. I use it to record pad dimensions, material properties, and any defects detected. For example, I input data from a caliper measurement directly into the LIMS, creating an automated record. Metrology software, on the other hand, is crucial for precise dimensional analysis of complex pad geometries. This software interfaces directly with the measuring instruments (e.g., CMMs – Coordinate Measuring Machines) to generate comprehensive reports with detailed measurements and visual representations of discrepancies. For instance, in analyzing a highly intricate pad design, the metrology software’s 3D modeling capabilities allow for a precise comparison of the actual part against the CAD model, quickly pinpointing any deviations.
Q 24. What is your approach to problem-solving when facing unexpected inspection challenges?
My approach to unexpected challenges involves a systematic problem-solving methodology: First, I carefully document the problem, noting all relevant details, including observations, measurements, and any potential contributing factors. For instance, if I find unexpected inconsistencies in pad thickness, I meticulously record the specific locations and the magnitude of the deviation. Second, I systematically analyze the problem, considering possible causes. Does the issue stem from material defects, manufacturing process variations, or equipment malfunction? I might consult relevant specifications, quality control procedures, and even communicate with other departments to gather information. Third, I implement corrective actions, depending on the root cause. This could involve adjusting machine parameters, modifying inspection procedures, or initiating a more thorough investigation. I always ensure that any corrective actions are documented and communicated to relevant parties. Finally, I implement preventative measures to avoid similar issues in the future. This might include refining our quality control checkpoints or improving operator training. This systematic approach ensures not only immediate resolution of the problem but also prevents future occurrences.
Q 25. How do you maintain accuracy and precision during repetitive inspection tasks?
Maintaining accuracy and precision during repetitive tasks requires a combination of techniques. Regular calibration of measuring instruments is paramount. This ensures consistent and accurate readings throughout the inspection process. For example, I calibrate my micrometer daily before starting inspections. Beyond equipment, I employ visual inspection techniques to reduce eye strain and maintain focus. Regularly taking short breaks and changing my focus point helps avoid fatigue and errors. Furthermore, I use checklists and standardized procedures to ensure consistency in my approach and minimize the risk of overlooking critical aspects during the inspection. This eliminates any subjectivity and provides a consistent standard across all inspections. Finally, I regularly review my own work and compare it with the work of others. This peer review process can highlight any biases or inconsistencies that may have crept into my inspections.
Q 26. How do you stay current with industry best practices and standards related to pad inspection?
Staying current with industry best practices requires continuous learning. I actively participate in professional organizations related to quality control and manufacturing, attending conferences and workshops to learn about the latest advancements and regulations. Reading industry publications and research papers keeps me informed about new technologies and inspection methods. Also, online courses and certifications in areas like statistical process control and advanced metrology enhance my knowledge and skills. I also regularly review relevant industry standards and guidelines, like ISO 9001, ensuring our inspection procedures align with best practices. This proactive approach ensures that I remain at the forefront of the field and that our pad inspection process remains robust and efficient.
Q 27. Explain your experience in training others on pad inspection procedures.
I have extensive experience in training new inspectors on pad inspection procedures. My approach involves a combination of theoretical instruction and hands-on practical training. The training begins with an overview of relevant specifications and quality standards. Then, I explain the various types of defects that might be encountered and how to detect them using different inspection techniques. I use visual aids, including samples of pads with various defects, to illustrate key points. Hands-on training is critical; I supervise trainees as they perform inspections on actual pads, providing guidance and feedback. We use both simple and complex pads to cover a wide range of inspection challenges. Regular quizzes and practical exams ensure a thorough understanding of the material. Finally, I encourage continuous learning and feedback, allowing trainees to ask questions and improve their skills over time.
Q 28. How do you ensure that your inspection process contributes to overall product quality?
My inspection process contributes to overall product quality through several key mechanisms. Firstly, early defect detection is paramount. Through rigorous inspections, I identify and report defects early in the production process, preventing the propagation of faulty pads to downstream stages. Secondly, providing data-driven feedback to manufacturing is crucial. Detailed inspection reports, including the type, frequency, and location of defects, enable the manufacturing team to identify root causes and implement corrective actions. For example, if a consistent defect pattern emerges, we can investigate if it is due to a machine malfunction or a material issue. Thirdly, ensuring compliance with quality standards is crucial. By rigorously adhering to relevant standards and regulations, I contribute to building a reputation for quality and reliability. This is essential for customer satisfaction and maintaining competitive advantage. Finally, continuous improvement is essential. Through regular analysis of inspection data and identification of trends, we can refine our inspection procedures and improve the overall efficiency and effectiveness of the quality control process.
Key Topics to Learn for Performing Quality Inspections of Pads Interview
- Understanding Pad Specifications: Thoroughly review and comprehend all relevant documentation outlining pad dimensions, material composition, and performance requirements. This includes understanding tolerances and acceptable deviation from specifications.
- Visual Inspection Techniques: Master the art of visual inspection, including identifying defects such as surface imperfections, inconsistencies in color or texture, and dimensional inaccuracies. Practice describing these defects clearly and concisely.
- Measurement and Calibration: Familiarize yourself with the tools and techniques used for precise measurements (e.g., calipers, micrometers). Understand the importance of calibration and its impact on accuracy.
- Testing and Analysis: Learn about different testing methods used to assess pad performance, such as pressure testing, absorption testing, or durability tests. Be prepared to discuss the principles behind these tests and interpret their results.
- Documentation and Reporting: Understand the importance of meticulous record-keeping. Practice documenting inspection findings clearly and accurately, using appropriate terminology and formats for reports.
- Problem-Solving and Troubleshooting: Develop your ability to identify the root cause of recurring quality issues. Practice formulating solutions and proposing preventative measures.
- Quality Control Standards and Regulations: Become familiar with relevant industry standards and regulations related to pad manufacturing and quality control (e.g., ISO standards). Understand their application in your inspection process.
- Safety Procedures: Understand and be prepared to discuss relevant safety protocols and procedures in a manufacturing environment, especially those related to handling materials and operating inspection equipment.
Next Steps
Mastering Performing Quality Inspections of Pads opens doors to exciting career advancements within manufacturing and quality assurance. A strong understanding of these concepts will significantly improve your interview performance and overall job prospects. To further enhance your chances, focus on creating an ATS-friendly resume that highlights your skills and experience effectively. ResumeGemini is a trusted resource that can help you build a professional and impactful resume. They offer examples of resumes tailored to Performing Quality Inspections of Pads to guide you in crafting your own compelling application. Take advantage of these resources to present yourself as the ideal candidate.
Explore more articles
Users Rating of Our Blogs
Share Your Experience
We value your feedback! Please rate our content and share your thoughts (optional).
What Readers Say About Our Blog
Hello,
We found issues with your domain’s email setup that may be sending your messages to spam or blocking them completely. InboxShield Mini shows you how to fix it in minutes — no tech skills required.
Scan your domain now for details: https://inboxshield-mini.com/
— Adam @ InboxShield Mini
Reply STOP to unsubscribe
Hi, are you owner of interviewgemini.com? What if I told you I could help you find extra time in your schedule, reconnect with leads you didn’t even realize you missed, and bring in more “I want to work with you” conversations, without increasing your ad spend or hiring a full-time employee?
All with a flexible, budget-friendly service that could easily pay for itself. Sounds good?
Would it be nice to jump on a quick 10-minute call so I can show you exactly how we make this work?
Best,
Hapei
Marketing Director
Hey, I know you’re the owner of interviewgemini.com. I’ll be quick.
Fundraising for your business is tough and time-consuming. We make it easier by guaranteeing two private investor meetings each month, for six months. No demos, no pitch events – just direct introductions to active investors matched to your startup.
If youR17;re raising, this could help you build real momentum. Want me to send more info?
Hi, I represent an SEO company that specialises in getting you AI citations and higher rankings on Google. I’d like to offer you a 100% free SEO audit for your website. Would you be interested?
Hi, I represent an SEO company that specialises in getting you AI citations and higher rankings on Google. I’d like to offer you a 100% free SEO audit for your website. Would you be interested?
good

