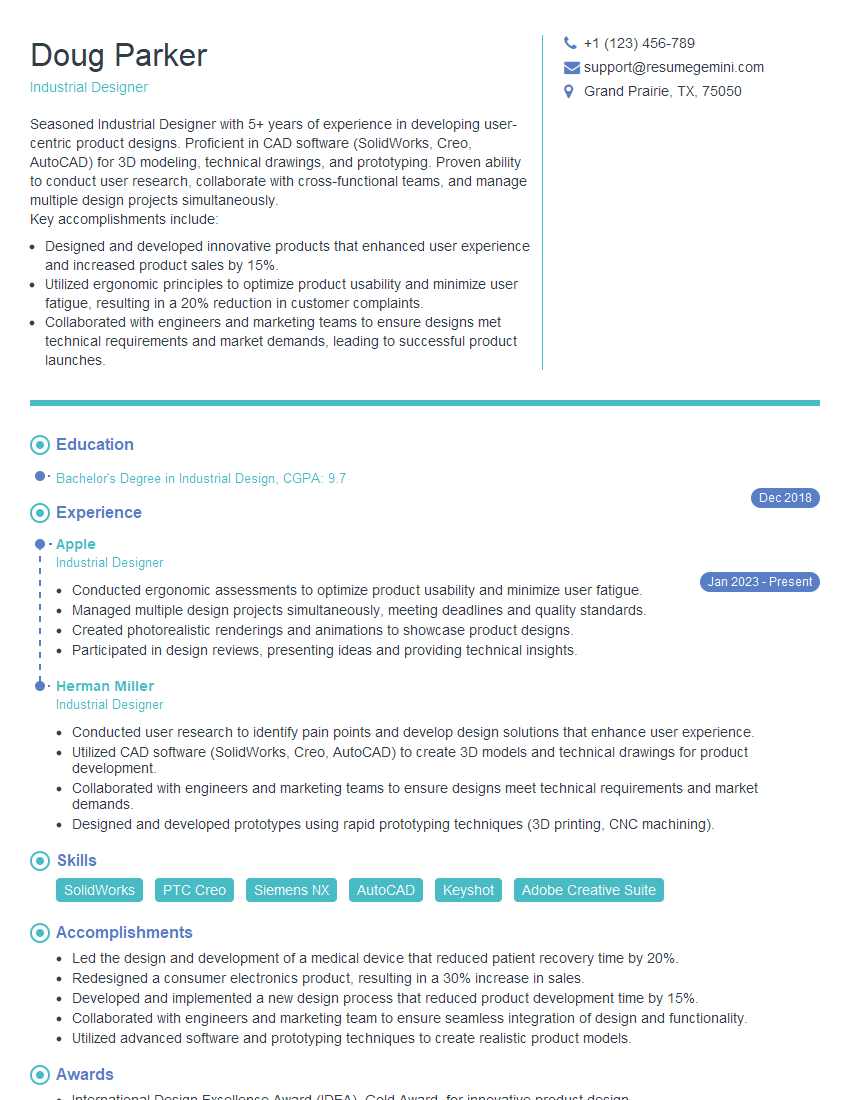
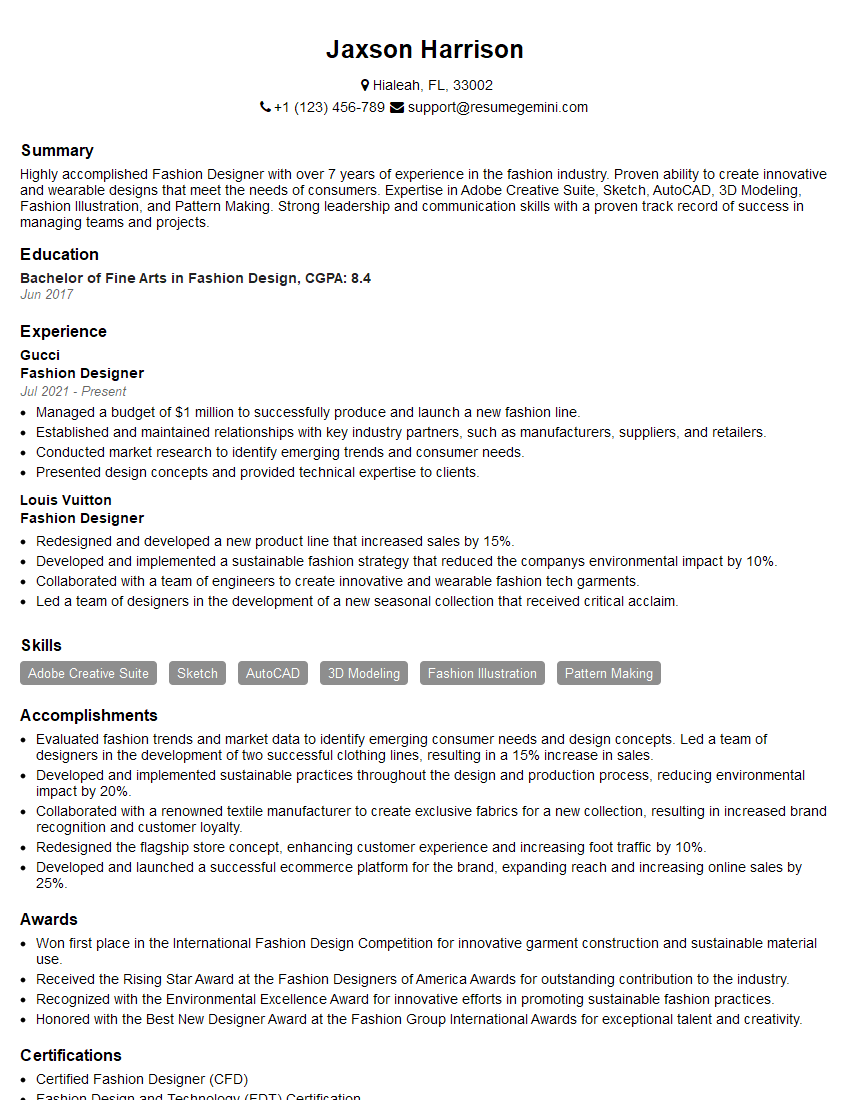
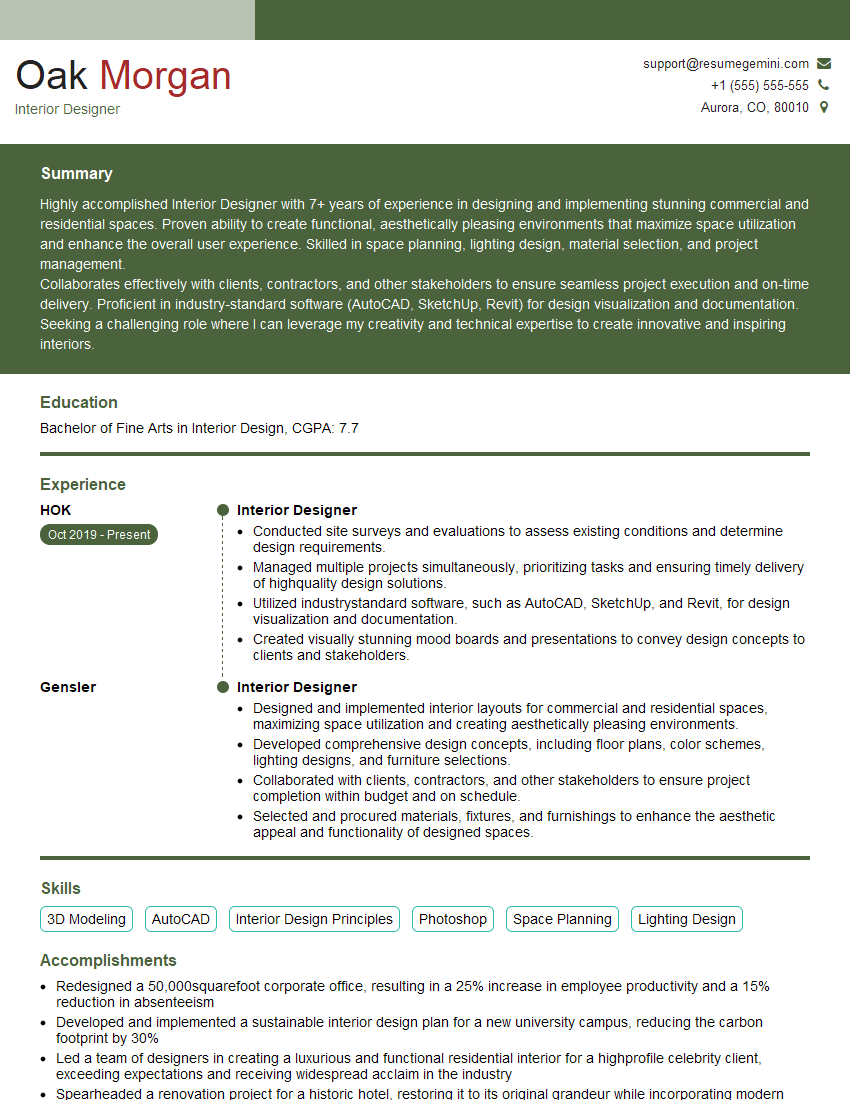
Preparation is the key to success in any interview. In this post, we’ll explore crucial Sketching and Rendering Techniques interview questions and equip you with strategies to craft impactful answers. Whether you’re a beginner or a pro, these tips will elevate your preparation.
Questions Asked in Sketching and Rendering Techniques Interview
Q 1. Explain your process for creating a quick sketch.
My process for creating a quick sketch prioritizes capturing the essence of the subject quickly and efficiently. I begin with a light, loose gesture drawing to establish the overall form and proportions. This initial phase involves focusing on the main lines and shapes, not getting bogged down in details. Think of it like building a skeleton for your drawing. Next, I add a few key details, focusing on the most important features to establish visual interest. It’s a process of elimination, deciding what truly needs to be shown to convey the subject. Finally, I might add a little shading or tone to suggest depth and form, but usually I keep it minimal for a quick sketch. This entire process, from initial gesture to final touches, often takes just a few minutes. I often use this technique when brainstorming design concepts or capturing fleeting moments of inspiration.
For example, if I’m sketching a figure, I might start with a simple stick figure to establish the pose before adding the basic shapes of the head, torso, and limbs. Only after that would I start suggesting details like clothing folds or facial features.
Q 2. What are your preferred sketching tools and why?
My preferred sketching tools are varied and depend on the task at hand. For quick sketches and initial concept work, I rely heavily on a variety of pencils – ranging from a very soft 6B for rich darks to a hard 2H for precise lines. The versatility of pencils allows for controlled shading and line weight variations. I also frequently use fine-liner pens for adding sharp, crisp details and inking over pencil sketches. The texture of the paper also plays a crucial role; a smooth surface provides crisp lines, while a textured paper offers a unique aesthetic.
For more detailed sketches, I sometimes incorporate charcoal for its ability to create rich, dark tones, and colored pencils for adding a splash of color and indicating textures. The choice of tools is always about finding what helps me best translate my vision onto the page.
Q 3. Describe your workflow for rendering a complex scene.
Rendering a complex scene is a multi-stage process requiring careful planning and execution. It begins with a solid foundation – a well-developed sketch with accurate perspective and composition. This sketch acts as a roadmap for the rendering process. Then, I start with a base layer, blocking in large areas of light and shadow to establish the overall value range. This establishes the foundation for form and volume. Next, I begin to refine the details, working my way up from large shapes to smaller elements. This involves carefully applying shading and highlights using various techniques, such as hatching, cross-hatching, and blending, to create a sense of depth, texture, and realism. I frequently use reference images to ensure accuracy and realism in this phase. Finally, I add finishing touches, paying close attention to smaller details like subtle reflections and atmospheric perspective. The process is iterative, meaning I regularly step back to assess the overall balance and make adjustments until I achieve the desired effect.
Q 4. What rendering software are you proficient in?
I’m proficient in several rendering software packages. My primary tools are Blender and Photoshop. Blender offers exceptional capabilities for 3D modeling and rendering, allowing me to create photorealistic images and animations. It’s my go-to for complex scenes and architectural visualizations. Photoshop, on the other hand, is invaluable for post-processing, enhancing textures, and adding fine details. It allows me to make subtle color and tonal adjustments to achieve the desired artistic effect and seamlessly integrate 2D elements with 3D renders. I also have experience with other software such as Keyshot and Substance Painter, which are excellent for specific rendering tasks.
Q 5. How do you handle perspective in your sketches?
Handling perspective accurately is crucial for creating believable sketches. I primarily use the one-point, two-point, and three-point perspective methods, choosing the most appropriate method based on the subject and desired viewpoint. I often begin by establishing a horizon line and vanishing points. These points serve as guides for constructing receding lines, ensuring objects correctly diminish in size as they move away from the viewer. Understanding how to draw lines converging at the vanishing point is key. Practice is essential; I continually refine my understanding of perspective by drawing various objects and scenes from different viewpoints.
To help visualize and improve perspective accuracy, I frequently use a ruler or straight edge to aid in drawing accurate lines, especially when dealing with architectural subjects or precise measurements.
Q 6. How do you achieve realism in your renderings?
Achieving realism in renderings involves understanding and accurately depicting light, shadow, texture, and material properties. I pay close attention to the light source’s direction and intensity; how light interacts with different surfaces to create highlights, shadows, reflections, and refractions. Mastering the subtle nuances of these light interactions is key. Accurate material representation is equally important – I study the properties of different materials, such as wood, metal, or fabric, to ensure their textures and reflective qualities are convincingly rendered. Finally, details such as atmospheric perspective and subtle environmental effects, like dust particles or fog, add a layer of realism and depth. It’s important to combine technical proficiency with an artistic eye for detail.
Q 7. Explain different shading techniques you use.
I use a variety of shading techniques depending on the desired effect and style of the rendering. Hatching involves creating parallel lines to suggest shading; closer lines indicate darker areas, while spaced-out lines represent lighter areas. Cross-hatching, which overlays lines at angles, provides richer tones and more detailed shading. Scumbling involves using short, broken strokes to create a textured effect, ideal for representing rough surfaces. Blending, using tools like tortillons or smudging techniques, is used to create smooth transitions between light and shadow. Stippling employs small dots to create tonal variations; a denser concentration of dots results in darker areas. The choice of shading technique depends entirely on the context of the artwork and its style.
Q 8. How do you manage color palettes in your work?
Color palette management is crucial for visual harmony and conveying the right mood. My approach is multifaceted and begins with understanding the project’s purpose. Is it a whimsical children’s book illustration or a realistic architectural rendering? The intended feeling dictates the palette. I often start with a mood board, collecting images that inspire the desired atmosphere. This could be anything from photographs of nature to paintings or even fabric swatches. Then, I use color theory principles. I might select a dominant color, perhaps a warm earthy brown for a rustic scene, and then choose complementary colors (colors opposite each other on the color wheel) for accents or analogous colors (colors next to each other on the wheel) for a more cohesive feel. I utilize digital tools like Adobe Color or Kuler to explore color harmonies and generate palettes based on a seed color or image. Finally, I refine the palette iteratively during the sketching and rendering process, adjusting hues, saturation, and value to achieve the perfect balance.
For example, for a rendering of a futuristic cityscape, I might start with cool blues and purples as a base, then introduce accent colors like vibrant oranges or pinks to add visual interest. In a more natural scene, I might use variations of greens, browns, and blues to create a sense of depth and realism.
Q 9. Describe your experience with different rendering algorithms.
My experience encompasses a range of rendering algorithms, from simple ray tracing to more sophisticated path tracing and photon mapping techniques. Ray tracing, in its basic form, simulates the path of light rays from a light source to the camera, creating realistic shadows and reflections. It’s relatively fast but can struggle with complex scenes or subtle lighting effects. Path tracing, on the other hand, traces light paths in all directions, producing highly realistic results with soft shadows and global illumination, but it is computationally expensive and requires significant rendering time. Photon mapping is another advanced technique that simulates the scattering of light, resulting in incredibly detailed and realistic renderings, particularly for caustics (light focusing through transparent materials). I select the algorithm based on the project’s complexity, required level of realism, and available rendering time. For quick sketches, a simpler algorithm like ray tracing might suffice. For high-quality final renderings, however, path tracing or photon mapping may be necessary.
I’ve used various software packages that implement these algorithms, including Blender Cycles (which uses path tracing), Octane Render (based on path tracing and unbiased rendering), and Arnold (another advanced renderer capable of path tracing and other techniques). Each has its strengths and weaknesses in terms of speed, features, and ease of use.
Q 10. How do you create believable textures?
Creating believable textures is about understanding the underlying material’s properties. I start by studying reference images—close-up photographs of real-world materials are invaluable. This allows me to observe the nuances of surface detail: the subtle variations in color, the direction and distribution of light, and the overall roughness or smoothness. Then, I use different techniques depending on the medium. In digital painting, I employ brushes with varied textures and opacity, layering different brush strokes to create a sense of depth. I might use noise textures to simulate the irregularity of natural materials like wood or stone, and then selectively blend or mask them to enhance realism. For 3D modeling, I might sculpt the details directly into the model’s geometry or use procedural textures, which allow for greater control and repeatability. Normal maps, bump maps, and displacement maps are also crucial for adding surface detail without increasing polygon count significantly.
For example, to create a realistic wood texture, I might start with a base color and then add layers of grain using a textured brush. I might then add subtle variations in color and value to create depth and realism. The key is to avoid uniform textures and instead aim for randomness and subtle variations that reflect the natural world.
Q 11. How do you balance speed and quality in your sketches?
Balancing speed and quality in sketching is a constant challenge. My approach is to prioritize understanding the essence of the subject before diving into intricate details. I start with quick thumbnail sketches to explore composition and basic forms, focusing on line weight, value, and silhouette. This helps me define the overall shape and structure efficiently. Then, I refine the sketch progressively, adding details only where necessary to enhance readability and communicate the design effectively. I avoid getting bogged down in unnecessary details early on, reserving those for later stages when I have a clear vision of the composition. I work in layers, both physically (with different papers or digitally with layers in Photoshop) and conceptually, refining one aspect of the sketch at a time.
For example, if I’m sketching a portrait, I might begin with a very loose sketch focusing on the overall shape of the head and face. Then, I would gradually add more details like the eyes, nose, and mouth, ensuring that each element is integrated harmoniously within the overall composition. Using lighter pencil strokes for initial sketching helps maintain speed and provides a framework for refining details later.
Q 12. What is your approach to lighting in your renderings?
Lighting is the cornerstone of any successful rendering. I approach it by considering the light source’s type, intensity, color, and direction, and how it interacts with the scene’s objects and materials. I often start by identifying the key light source—the primary light illuminating the scene. Then, I consider fill lights to soften shadows and create a more even illumination, and rim lights or backlights to add depth and separation from the background. I pay close attention to how light reflects and refracts off different surfaces, understanding how materials affect the appearance of light. Shiny surfaces reflect light specularly, creating highlights, while matte surfaces diffuse light more evenly. The color of light also plays a crucial role—warm sunlight casts different shadows than cool fluorescent light.
In digital rendering, I use software features like HDRI (High Dynamic Range Imaging) to simulate realistic environments, taking advantage of global illumination techniques to accurately render light bouncing off multiple surfaces. I also meticulously adjust the light settings to achieve the desired mood and atmosphere.
Q 13. How do you use value to create depth in your work?
Value, or the lightness and darkness of a color, is fundamental to creating depth in a sketch or rendering. I use value to guide the viewer’s eye, leading them through the composition. Objects in the foreground generally have higher contrast and more detailed values, while those in the background are softer and less detailed, with a reduced range of values. This creates a sense of atmospheric perspective, making distant objects appear less distinct. I also use chiaroscuro (the treatment of light and shadow in drawing and painting) to model form, defining the three-dimensionality of objects through careful manipulation of light and shadow. Strong contrasts can be used to highlight focal points, while subtle variations can add realism and texture.
For example, in a landscape rendering, I might use dark values to represent the shadows in a foreground forest, contrasting them with lighter values in the background hills. This creates a sense of distance and depth. Within the individual trees themselves, I would vary values to suggest volume and texture.
Q 14. What is your process for creating believable materials?
Creating believable materials involves a deep understanding of their physical properties: roughness, reflectivity, transparency, and color. I begin by analyzing reference images, observing how light interacts with different materials under varying conditions. For digital rendering, I utilize shaders or material presets that allow me to adjust parameters such as reflectivity, roughness, and subsurface scattering. Subsurface scattering, in particular, is crucial for creating realistic skin or marble textures, by simulating light scattering beneath the surface of the material. In traditional media, I might use different drawing techniques to suggest different textures: for example, using smooth strokes for polished metal and rough strokes for rough wood. Layering different media or color techniques can also create the illusion of material variation and depth.
For instance, rendering glass requires understanding how it refracts light, creating distortions and reflections. I would use a shader that allows for transparency and refractive index adjustment to simulate this correctly. Creating a realistic fabric texture would require understanding its weave and drape, possibly using procedural textures or displacement maps to achieve realism.
Q 15. Describe your experience with digital painting techniques.
My experience with digital painting is extensive, spanning over [Number] years. I’m proficient in various software, including Photoshop, Procreate, and Clip Studio Paint. My approach emphasizes building up layers of color and texture to achieve depth and realism. I start with loose sketches to establish the composition and values, then gradually refine the details using a variety of brushes and blending techniques. For example, when painting a portrait, I might begin with a base layer of skin tones using a soft airbrush, then add details like freckles and wrinkles using smaller, harder brushes. I frequently utilize layer masks to maintain control and flexibility throughout the process. I’m also experienced in various painting styles, from photorealistic rendering to more stylized approaches.
One specific project involved painting a highly detailed fantasy creature. To achieve the intricate scales and textures, I used a combination of custom brushes and digital painting techniques like wet-on-wet blending to mimic traditional media. The final result demonstrated a strong understanding of light, shadow, and form, showcasing my ability to create visually compelling artwork.
Career Expert Tips:
- Ace those interviews! Prepare effectively by reviewing the Top 50 Most Common Interview Questions on ResumeGemini.
- Navigate your job search with confidence! Explore a wide range of Career Tips on ResumeGemini. Learn about common challenges and recommendations to overcome them.
- Craft the perfect resume! Master the Art of Resume Writing with ResumeGemini’s guide. Showcase your unique qualifications and achievements effectively.
- Don’t miss out on holiday savings! Build your dream resume with ResumeGemini’s ATS optimized templates.
Q 16. How do you handle feedback on your sketches and renderings?
I value feedback as an essential part of the creative process. I actively seek constructive criticism to improve my work. My approach involves carefully considering each point raised and understanding the rationale behind it. I don’t take feedback personally; instead, I see it as an opportunity to learn and grow. I’m particularly attentive to comments regarding composition, value, and color harmony, as these are fundamental aspects of a successful rendering. For example, if feedback points out a weakness in the overall composition, I’d revisit my initial sketch, potentially adjusting the placement of elements to better guide the viewer’s eye. If the feedback points out a lack of realism in the shading, I’d investigate reference images more closely and potentially employ different blending techniques to address the issue. After absorbing the feedback, I’ll carefully revise my work, often documenting the changes made to demonstrate how I’ve integrated the suggestions.
Q 17. Explain your understanding of composition in art.
Composition is the arrangement of elements within an artwork to create a visually pleasing and impactful image. It’s about guiding the viewer’s eye through the piece and establishing a sense of balance and harmony. Key principles include the rule of thirds, leading lines, and visual weight. The rule of thirds suggests placing key elements off-center to create a more dynamic composition, rather than placing them directly in the center. Leading lines, like roads or rivers, can draw the viewer’s eye into the scene. Visual weight refers to how much attention certain elements attract – larger, brighter objects tend to have more visual weight.
For instance, in a landscape painting, I might use the rule of thirds to position the horizon line, then incorporate leading lines (like a path) to direct the viewer’s gaze toward the main focal point, perhaps a dramatic mountain range. I’d also consider the visual weight of elements – a brightly lit mountain peak would naturally draw more attention than a dimly lit forest.
Q 18. How do you utilize reference images effectively?
Reference images are invaluable in my workflow. I utilize them not to copy directly, but to study form, anatomy, lighting, texture, and color. I treat them as a guide, meticulously analyzing the nuances of light and shadow, how different materials reflect light, and the subtle variations in color and texture. I might use multiple reference images to capture different aspects of a subject. For example, when painting a person, I might use one image for the overall pose, another for the facial features, and a third for the texture of clothing. I always maintain an ethical approach and only use images I have the right to use. It is important to maintain my individual style while using reference as a tool, avoiding direct copying.
Q 19. Describe your experience with different types of brushes.
My experience encompasses a wide range of brushes, both pre-set and custom-made. I’m adept at understanding how different brush settings (size, opacity, hardness, flow, etc.) affect the final result. Hard-edged brushes are ideal for sharp lines and details, while soft-edged brushes are better for blending and creating smooth transitions. I often create custom brushes to achieve specific textures or effects. For example, I might create a custom brush to simulate the texture of fur or fabric. My brush selection is highly contextual. For creating a realistic portrait, I might use a combination of round brushes for detail work and airbrushes for soft blending. In a more stylized piece, I might employ custom brushes with unique shapes and textures. The choice of brush reflects the style and requirements of the specific project.
Q 20. How do you address challenges in creating realistic shadows?
Creating realistic shadows is crucial for adding depth and believability to artwork. Challenges often arise from understanding the interaction of light and form, and accurately representing the intensity, direction, and color of shadows. To address these challenges, I focus on studying the light source and understanding its impact on the form. I analyze the core shadow, the reflected light, and the cast shadow. The core shadow is the darkest part of the shadow, while the reflected light is where light bounces off nearby surfaces. The cast shadow is the shadow projected onto a different surface. I utilize reference images to understand these interactions in real-world scenarios. Furthermore, paying attention to the color temperature of the shadows is essential – shadows are rarely just black; they often reflect the ambient light and can have a bluish or warm tint depending on the situation.
Q 21. Explain your experience with photogrammetry or similar techniques.
My experience with photogrammetry is limited, but I’m familiar with its principles and applications. Photogrammetry is the process of creating 3D models from multiple photographs. While I don’t directly use photogrammetry in my digital painting process, I understand its value in generating accurate 3D models that can serve as detailed references for my artwork. I could use a 3D model generated through photogrammetry to observe a particular object’s form from various angles and study light and shadow interactions much more effectively than from a single photograph.
For example, if I were painting a complex architectural structure, using a 3D model derived from photogrammetry would allow me to study the intricate details and understand the relationships between different parts of the structure much more efficiently. While I don’t currently create these 3D models myself, I’m familiar with software capable of such processes, and I see the potential benefits of integrating this technology into my workflow for certain projects.
Q 22. What are the differences between various rendering engines?
Rendering engines are the heart of any 3D software, responsible for translating a 3D model and its associated data into a 2D image. Different engines employ varying algorithms and techniques, leading to significant differences in speed, quality, and features. For instance, a path tracing engine like Cycles (Blender) simulates light’s interaction with surfaces meticulously, resulting in highly realistic images but at a computational cost. In contrast, a rasterization engine like the one in Unreal Engine prioritizes speed by approximating light interactions, offering real-time rendering capabilities ideal for games and interactive applications, although the image quality might be less photorealistic. Another key difference lies in their support for various features such as global illumination, subsurface scattering, and different shading models. A physically-based rendering (PBR) engine like Arnold (Autodesk) prioritizes accurate physical simulations, while others might prioritize artistic control over strict physical accuracy.
- Rasterization: Fast, good for real-time applications, approximates light interaction.
- Ray Tracing: More accurate, slower, simulates light paths individually.
- Path Tracing: Subset of Ray Tracing, highly accurate, very slow, simulates multiple light bounces.
- Hybrid Renderers: Combine techniques like rasterization and ray tracing for balance between speed and quality.
The choice of engine depends heavily on the project’s requirements. Games need real-time performance, whereas architectural visualizations often favor high-quality, offline rendering.
Q 23. How do you manage large datasets while rendering?
Managing large datasets in rendering is crucial for efficiency and preventing crashes. My approach is multifaceted and involves a combination of techniques. First, I optimize the model itself: unnecessary geometry is removed through decimation or simplification; high-resolution textures are downsampled to appropriate sizes where feasible; and unnecessary subdivisions are avoided in modeling. Then, I leverage techniques like level of detail (LOD) rendering, where the engine dynamically switches to lower-resolution models as objects move further away from the camera. For example, a faraway building might be rendered using a simplified mesh and low-resolution textures, saving significant processing power. I also employ out-of-core rendering, where parts of the scene are streamed from the hard drive only when needed, eliminating the need to load the entire dataset into RAM. This is particularly important when dealing with massive terrains or highly detailed environments. Finally, I take advantage of efficient data structures such as Octrees or Bounding Volume Hierarchies (BVHs) to speed up ray tracing and other rendering calculations.
// Example of LOD implementation (Conceptual) if (distanceToCamera < 100) { useHighDetailModel; } else if (distanceToCamera < 500) { useMediumDetailModel; } else { useLowDetailModel; }Through a combination of these strategies, I've successfully rendered scenes containing millions of polygons and gigabytes of texture data without compromising performance.
Q 24. Explain your approach to optimizing rendering performance.
Optimizing rendering performance is a continuous process, requiring a holistic approach. My strategy begins with profiling – using built-in tools within the rendering engine to identify bottlenecks. This helps pin down whether the issue lies with geometry complexity, texture resolution, shading calculations, or other factors. Once the bottleneck is identified, targeted optimization strategies are employed. For instance, if geometry is the issue, I might use techniques like mesh simplification or level of detail. For slow shading computations, I explore simpler shaders or utilize GPU instancing. If textures are the problem, I optimize texture sizes and compression without sacrificing visual quality too much.
Beyond individual elements, I also optimize the overall rendering pipeline. This includes adjusting sampling rates (reducing the number of rays traced for ray tracing engines), using efficient data structures (Octrees, BVHs), and leveraging multi-threading or parallel processing where possible. Smart use of render layers and render passes can also drastically impact efficiency by allowing for selective rendering and post-processing. Finally, regularly updating drivers and using the latest versions of the rendering engine and software often contain performance improvements.
I remember one project where rendering times were excessively long. Through profiling, I discovered that a single, highly detailed material was consuming an enormous amount of processing power. By simplifying the material's shaders and reducing the texture resolution, I managed to reduce rendering time by over 50%.
Q 25. What is your method for creating convincing reflections and refractions?
Creating convincing reflections and refractions hinges on accurate simulation of light interaction with surfaces. For reflections, I utilize ray tracing or screen-space reflections (SSRs). Ray tracing provides higher fidelity but is computationally expensive, whereas SSR is faster but can suffer from artifacts. The choice depends on the project's needs and performance constraints. The key lies in understanding surface properties: roughness determines how blurry the reflections are; reflectivity defines how much light is reflected; and Fresnel effects control the amount of reflection at different viewing angles. For complex scenes, I might combine ray tracing for important reflective surfaces with SSR for less critical areas to strike a balance.
Refractions are similarly handled. Ray tracing is again the most accurate method, simulating how light bends as it passes through transparent materials. However, subsurface scattering, the way light penetrates and scatters within translucent materials like skin or marble, is also crucial and necessitates specialized shaders and techniques. The refractive index of the material significantly influences the bending of light, and accuracy in this parameter is important for realism. I might use techniques like pre-calculated refractive maps or volume rendering for greater control and performance optimization depending on the material and complexity.
For example, a glass of water needs both accurate refraction (the bending of light as it passes from air to water) and subsurface scattering (light scattering within the water itself) to look realistic.
Q 26. Describe a time you had to troubleshoot a rendering issue.
In a recent project, we encountered flickering artifacts in rendered animations. Initial investigation pointed to the lighting setup. However, after thorough analysis, I discovered the issue wasn't in the lighting itself but rather in how the animation data was being interpolated between frames. Small discrepancies in the model's transformation matrix between keyframes, undetectable when viewing the animation directly in the 3D software, were causing the lighting calculations to slightly vary between frames, resulting in the flickering. The solution involved adjusting the animation interpolation method to a smoother, more stable algorithm, eliminating the artifacts completely.
This highlighted the importance of methodical debugging. I approached the problem by eliminating potential causes one by one, carefully examining each component of the rendering pipeline and utilizing debugging tools to pinpoint the exact location of the issue. The solution, while seemingly simple once identified, required a systematic approach to discover the subtle error in the animation data.
Q 27. How do you stay up to date with the latest advancements in rendering technology?
Staying current in the rapidly evolving field of rendering technology requires a multi-pronged approach. I actively follow industry blogs, online forums, and publications specializing in computer graphics and rendering. Attending conferences and workshops provides opportunities for networking with other experts and learning about the latest developments firsthand. I also dedicate time to exploring new software and rendering engines, experimenting with their features and capabilities, and participating in online tutorials and courses. Following prominent researchers and developers on platforms like Twitter or LinkedIn keeps me informed about groundbreaking research and new techniques. Finally, actively engaging with open-source projects related to rendering allows me to understand the implementation details of cutting-edge algorithms and contribute to the community.
Q 28. Explain your understanding of global illumination techniques.
Global illumination (GI) techniques simulate the indirect lighting in a scene—how light bounces from one surface to another, creating realistic shadows, ambient lighting, and color bleed. Unlike direct lighting calculated from light sources directly to surfaces, GI accounts for all the light bounces, contributing significantly to the realism of a rendering. Key GI techniques include:
- Radiosity: This method focuses on diffuse interactions, treating surfaces as emitters and receivers of light energy. While effective for diffuse lighting, it struggles with specular surfaces.
- Path Tracing: A more comprehensive approach that simulates individual light paths, tracing their bounces to calculate the final color of each pixel. This leads to highly realistic results but at a significant computational cost.
- Photon Mapping: A technique that pre-calculates light paths, storing them as photons that are then used to illuminate the scene. This allows for efficient rendering of indirect lighting, particularly for caustics (focused reflections).
- Lightmaps/Baked Lighting: These are pre-computed solutions that store lighting information in textures. While less flexible than real-time GI, they offer excellent performance, especially in games and interactive applications.
The choice of GI technique depends heavily on the project's requirements. Real-time applications usually rely on approximations like lightmaps or screen-space global illumination, while high-quality offline renders often benefit from path tracing or a combination of methods. Understanding the strengths and weaknesses of each technique is essential for choosing the right one for a given project.
Key Topics to Learn for Sketching and Rendering Techniques Interview
- Fundamental Sketching Techniques: Understanding different sketching styles (e.g., perspective, gesture, observational), mastering line weight and value, and practicing quick sketches to convey ideas effectively. Consider exploring various sketching mediums and their applications.
- Rendering Principles: Grasping the concepts of light, shadow, form, texture, and color in creating realistic and visually compelling renderings. Practice applying these principles to different materials and objects.
- Digital Rendering Software Proficiency: Demonstrate familiarity with industry-standard software (e.g., Photoshop, Illustrator, SketchUp, etc.) and their application in rendering techniques. Highlight your skills in digital painting, texturing, and lighting.
- Material Studies and Representation: Showcase your understanding of how to accurately represent different materials (e.g., wood, metal, fabric) through sketching and rendering, conveying their unique textures and properties.
- Perspective and Composition: Demonstrate a strong understanding of perspective drawing principles (one-point, two-point, three-point) and how to use composition techniques to create visually impactful sketches and renderings.
- Problem-Solving and Creative Thinking: Highlight your ability to translate abstract concepts into visual representations, solve design challenges through sketching, and iterate on designs based on feedback.
- Workflow and Process: Be prepared to discuss your typical workflow for creating sketches and renderings, including your approach to ideation, sketching, refinement, and final rendering.
Next Steps
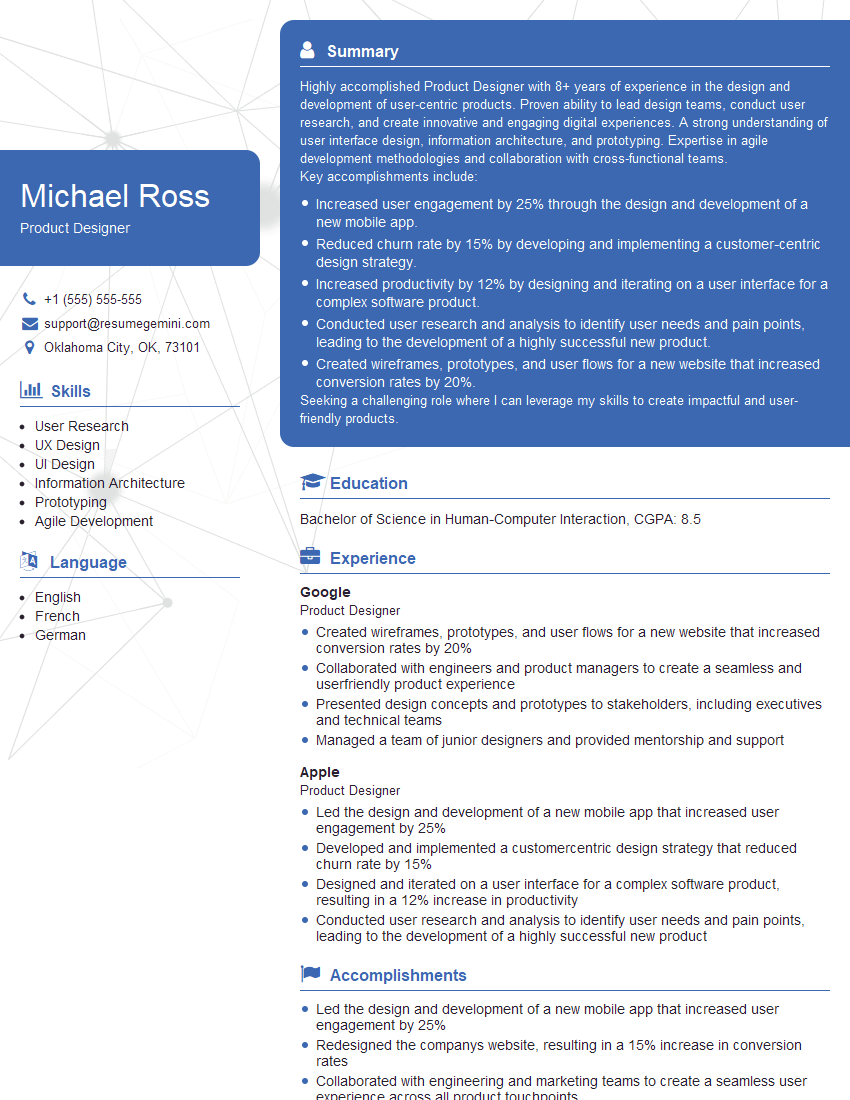
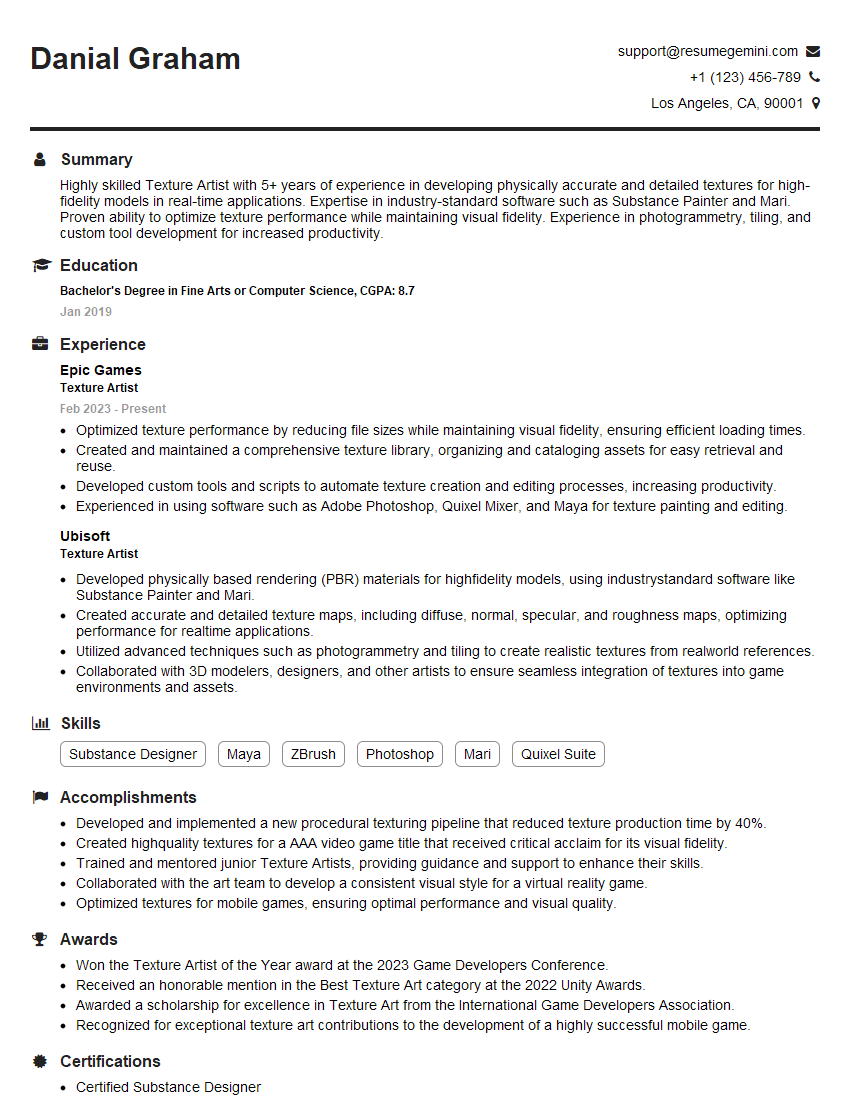
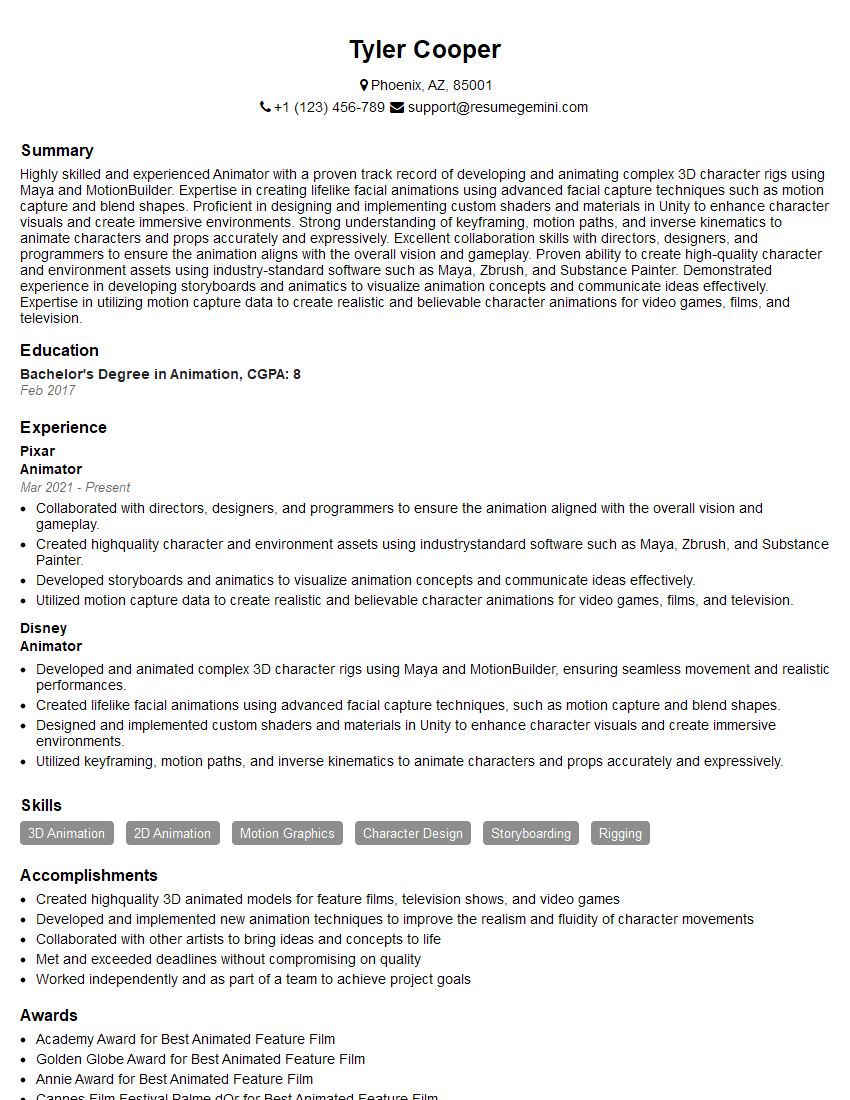
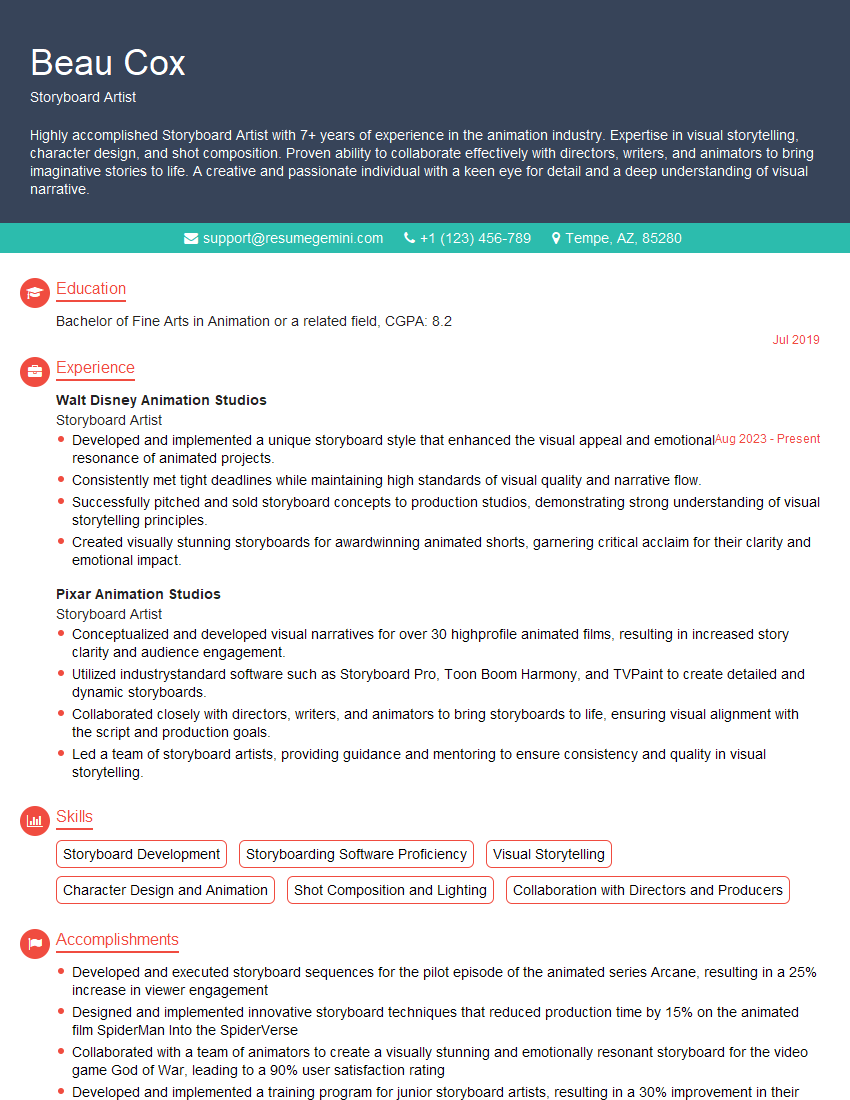
Mastering Sketching and Rendering Techniques is crucial for a successful career in many creative fields, opening doors to exciting opportunities in design, architecture, animation, and more. A strong portfolio showcasing your skills is essential, but equally important is a well-crafted resume that effectively communicates your abilities to potential employers. Building an ATS-friendly resume significantly improves your chances of getting noticed by recruiters. To help you create a professional and impactful resume, we recommend using ResumeGemini. ResumeGemini offers a user-friendly platform and provides examples of resumes tailored to Sketching and Rendering Techniques, ensuring your application stands out from the crowd.
Explore more articles
Users Rating of Our Blogs
Share Your Experience
We value your feedback! Please rate our content and share your thoughts (optional).
What Readers Say About Our Blog
Hello,
We found issues with your domain’s email setup that may be sending your messages to spam or blocking them completely. InboxShield Mini shows you how to fix it in minutes — no tech skills required.
Scan your domain now for details: https://inboxshield-mini.com/
— Adam @ InboxShield Mini
Reply STOP to unsubscribe
Hi, are you owner of interviewgemini.com? What if I told you I could help you find extra time in your schedule, reconnect with leads you didn’t even realize you missed, and bring in more “I want to work with you” conversations, without increasing your ad spend or hiring a full-time employee?
All with a flexible, budget-friendly service that could easily pay for itself. Sounds good?
Would it be nice to jump on a quick 10-minute call so I can show you exactly how we make this work?
Best,
Hapei
Marketing Director
Hey, I know you’re the owner of interviewgemini.com. I’ll be quick.
Fundraising for your business is tough and time-consuming. We make it easier by guaranteeing two private investor meetings each month, for six months. No demos, no pitch events – just direct introductions to active investors matched to your startup.
If youR17;re raising, this could help you build real momentum. Want me to send more info?
Hi, I represent an SEO company that specialises in getting you AI citations and higher rankings on Google. I’d like to offer you a 100% free SEO audit for your website. Would you be interested?
Hi, I represent an SEO company that specialises in getting you AI citations and higher rankings on Google. I’d like to offer you a 100% free SEO audit for your website. Would you be interested?
good

