Interviews are opportunities to demonstrate your expertise, and this guide is here to help you shine. Explore the essential Proficiency with Digital Measuring Tools interview questions that employers frequently ask, paired with strategies for crafting responses that set you apart from the competition.
Questions Asked in Proficiency with Digital Measuring Tools Interview
Q 1. What are the common types of digital measuring tools used in manufacturing?
Manufacturing relies on a variety of digital measuring tools for precision and efficiency. Common types include:
- Digital Calipers: Versatile tools for measuring internal, external, depth, and step dimensions.
- Digital Micrometers: Provide highly accurate measurements of small dimensions with exceptional precision.
- Digital Height Gauges: Used for measuring height, depth, and thickness, particularly on larger workpieces.
- Digital Angle Gauges: Measure angles with high accuracy, crucial in machining and tooling.
- Laser Distance Measurers: Measure distances over longer ranges, ideal for construction and large-scale projects.
- Coordinate Measuring Machines (CMMs): Advanced 3D measuring systems used for complex geometries and quality control inspection.
The choice of tool depends on the specific measurement requirement, the size and shape of the object, and the desired level of accuracy.
Q 2. Explain the principles of operation for a digital caliper.
A digital caliper uses a linear encoder to convert mechanical movement into a digital readout. Think of it like a really precise ruler with a tiny sensor inside. When you adjust the caliper jaws, the encoder detects the change in position. This information is then processed by a microcontroller which displays the measurement on the LCD screen. The encoder uses either an optical or magnetic system. Optical encoders use light beams and patterned scales, while magnetic encoders use magnetic sensors and scales. Both systems provide high resolution and accuracy, eliminating the parallax error associated with analog calipers.
For example, imagine a 1 mm movement of the caliper jaws. The encoder will register this, and the microcontroller translates it into a digital value displayed on the screen, usually with a resolution of 0.01 mm or better. The system also usually includes a battery, a processor, and an LCD display.
Q 3. How do you ensure the accuracy and calibration of digital measuring tools?
Accuracy and calibration are paramount in digital measurement. Regular calibration against traceable standards is essential. This typically involves using a certified reference standard (e.g., gauge blocks) with known tolerances. We compare the measurements from the digital tool against those of the standard. The process involves:
- Periodic Calibration: Following the manufacturer’s recommendations, which often suggests calibration at set intervals or after a certain number of uses.
- Using Traceable Standards: Ensuring the reference standards used are traceable to national or international standards organizations (like NIST or equivalent).
- Environmental Control: Maintaining consistent temperature and humidity during calibration and measurements, as these factors can affect the accuracy of the tool.
- Proper Handling: Avoiding impacts and misuse, which can damage the instrument and compromise its accuracy. We should handle tools with care to maintain their calibration.
- Documentation: Maintaining detailed records of all calibration procedures, including dates, results, and any adjustments made.
Calibration certificates should be available to demonstrate the tool’s accuracy and compliance with quality standards. A calibration certificate shows the results of a professional comparison of the measurements from a measuring tool against the measurements from a known standard.
Q 4. Describe the process of using a micrometer to measure a small diameter.
Measuring a small diameter with a micrometer requires precision and a steady hand. The process involves:
- Select the appropriate micrometer: Choose a micrometer with a measuring range that encompasses the anticipated diameter of the object.
- Prepare the object: Ensure the object is clean and free of debris, to avoid any measurement errors.
- Open the micrometer jaws: Gently open the anvil and spindle to a width greater than the expected diameter.
- Insert the object: Carefully insert the object between the anvil and spindle, ensuring firm contact without applying excessive force. Make sure the object is central within the jaws.
- Close the micrometer jaws: Slowly close the micrometer until the object is gently held between the anvil and spindle.
- Read the measurement: Observe the reading on the micrometer’s thimble and barrel. Most micrometers display measurements to 0.001mm or 0.0001 inches, depending on the scale.
- Record the measurement: Note the reading in your records, clearly indicating the units used. Also record any uncertainties or observations regarding the measurement.
Remember to use a consistent and gentle approach to avoid damaging the micrometer or the object being measured. Multiple measurements should be taken to improve accuracy and account for any small variations.
Q 5. What are the different types of measurement errors associated with digital measuring tools?
Various errors can affect the accuracy of digital measuring tools. These include:
- Parallax Error: Incorrect reading due to the angle of viewing the display. This is less of an issue with digital tools than analog ones but can still occur if the display isn’t viewed straight on.
- Calibration Error: Error resulting from an improperly calibrated or outdated instrument.
- Environmental Errors: Temperature and humidity fluctuations can impact the accuracy of the measurement.
- Operator Error: Improper handling, misreading the display, or applying excessive pressure during measurement can introduce errors.
- Zero Error: An error where the device doesn’t read zero when closed. This can be corrected through zero adjustment.
- Wear and Tear: Over time, the moving parts of the instrument may wear, leading to inconsistencies in measurements. Regular maintenance is key.
Understanding these potential sources of error is crucial for mitigating them and improving measurement accuracy.
Q 6. How do you handle measurement uncertainty and its impact on quality control?
Measurement uncertainty reflects the doubt associated with a measurement result. It is expressed as a range of values within which the true value is likely to lie. Handling uncertainty is critical for quality control because it directly impacts the conformance of manufactured products to specifications.
We handle uncertainty through a combination of strategies:
- Proper Calibration: Regular calibration minimizes systematic errors and reduces overall uncertainty.
- Multiple Measurements: Taking multiple measurements and calculating the average reduces the effect of random errors.
- Statistical Analysis: Using statistical methods like standard deviation to quantify the uncertainty associated with the measurements.
- Uncertainty Propagation: Calculating the overall uncertainty when combining several measurements in a calculation.
- Tolerance Analysis: Considering the allowable range of variation (tolerance) in the final product and ensuring the measurement uncertainty is smaller than the tolerance.
By carefully controlling and evaluating measurement uncertainty, we can ensure that manufactured parts meet quality standards and reduce the risk of defects.
Q 7. Explain the importance of traceability in digital measurement systems.
Traceability in digital measurement systems links the measurements made to national or international standards. This provides a chain of custody showing how the accuracy of the measuring instrument is verified. Traceability is essential for:
- Ensuring Accuracy: Verifying that the measurements are reliable and comparable to other measurements made elsewhere.
- Meeting Quality Standards: Demonstrating compliance with industry standards and regulations that often require traceable measurements.
- Improving Confidence: Building confidence in the measurements and their use for decision-making.
- Facilitating Audits: Simplifying audits and inspections by providing clear documentation of the calibration process.
Traceability is achieved through regular calibration using traceable standards and maintaining detailed records of all calibration procedures. The chain of traceability shows how your measurements are connected to known standards, assuring consistent accuracy across different locations, time periods, and even different organizations. For example, a manufacturer could trace their measurements back to NIST standards, showing the complete chain of custody. This ensures that the product produced meets the required specifications and quality standards.
Q 8. How do you select the appropriate digital measuring tool for a specific task?
Selecting the right digital measuring tool depends heavily on the task’s specifics. Think of it like choosing the right tool from a toolbox – you wouldn’t use a hammer to screw in a screw! We need to consider the required accuracy, the size and shape of the part, the material, and the type of measurement needed.
- Accuracy: For highly precise measurements down to micrometers, a Coordinate Measuring Machine (CMM) is essential. For less demanding applications, a digital caliper or micrometer might suffice.
- Size and Shape: Large, complex parts often require a CMM’s versatility. Small, simple parts can be measured with handheld tools like dial indicators or laser distance meters.
- Material: The material’s properties (e.g., hardness, surface finish) influence probe selection on a CMM or the need for specialized sensors on other tools.
- Measurement Type: Do you need linear measurements, angles, surface roughness, or 3D coordinates? Each requires a different tool.
For example, measuring the diameter of a small cylindrical pin calls for a digital caliper, while inspecting the intricate geometry of a complex automotive part would require a CMM with a suitable probe.
Q 9. Describe your experience with Coordinate Measuring Machines (CMMs).
My experience with Coordinate Measuring Machines (CMMs) spans over eight years, encompassing various models from different manufacturers. I’m proficient in operating both bridge-type and articulated-arm CMMs. My expertise extends to programming CMMs using various software packages, including PC-DMIS and CAMIO. I’ve used CMMs for a wide range of applications, from first-article inspection of precision-machined parts to reverse engineering complex components. I am also experienced in performing complex geometrical tolerancing inspections (GD&T) on CMMs. I’ve led training sessions for junior metrologists on proper CMM operation and data interpretation. A memorable project involved using a CMM to precisely measure and map the surface irregularities of a delicate medical implant, ensuring it met stringent quality standards. This required careful probe selection and meticulous data analysis to avoid damaging the implant.
Q 10. What are the different types of CMM probes and their applications?
CMM probes come in various types, each suited for different applications. The choice depends on the part’s geometry, material, and required accuracy. Here are some common types:
- Touch Trigger Probes: These are the most common type. They trigger a signal upon contact with the part’s surface, providing point coordinate data. They are versatile and suitable for a wide range of applications.
- Scanning Probes: These continuously measure the part’s surface as they move along it, generating a cloud of points for more detailed surface analysis. This is ideal for complex shapes and surface texture analysis.
- Optical Probes: These use lasers or other optical methods for non-contact measurements. This is crucial for delicate or fragile parts that cannot be touched directly. It’s also excellent for measuring transparent materials.
- Stylus Probes: These employ various stylus configurations to reach into tight spaces or measure specific features on complex parts. They are adaptable and can handle various measurement scenarios.
For instance, inspecting a smooth, metallic part might use a touch trigger probe, while analyzing the surface finish of a molded plastic component would benefit from a scanning probe. A delicate glass lens might be measured using an optical probe to avoid causing damage.
Q 11. Explain the concept of GD&T (Geometric Dimensioning and Tolerancing) and its relation to digital measurement.
Geometric Dimensioning and Tolerancing (GD&T) is a standardized system for defining and specifying engineering tolerances. It uses symbols and notations to clearly communicate the allowable variations in a part’s geometry. Digital measurement tools, particularly CMMs, play a critical role in verifying that a part meets these GD&T specifications. Instead of relying on simple linear dimensions, GD&T considers factors like form, orientation, location, and runout, providing a more comprehensive and realistic assessment of part quality.
For example, a GD&T callout might specify that a hole must be within a certain diameter range (size), located within a specific tolerance zone (position), and have a certain level of circularity (form). A CMM equipped with appropriate software can automatically assess these parameters and generate a report indicating whether the part conforms to the specifications. This ensures that the part functions correctly and interchanges properly within an assembly.
Q 12. How do you interpret a CMM inspection report?
Interpreting a CMM inspection report involves carefully analyzing the numerical data and graphical representations it contains. The report typically includes:
- Measured values: These are the actual measurements taken by the CMM for each feature.
- Nominal values: These are the target or design values for each feature.
- Tolerances: These define the allowable deviations from the nominal values.
- Deviation analysis: This shows the difference between measured and nominal values, highlighting any discrepancies.
- Graphical representations: These visualizations, such as point clouds or cross-sectional views, help to understand the part’s geometry and deviations.
- GD&T assessment: If GD&T specifications were included, the report indicates whether each feature meets those requirements.
A thorough review of this information helps determine if the part is within acceptable tolerances and meets the required quality standards. Identifying significant deviations alerts us to potential issues in the manufacturing process. For example, consistent deviations exceeding the tolerance might signal a need for tool adjustments or process improvements.
Q 13. Describe your experience with data acquisition and analysis software used with digital measuring tools.
My experience with data acquisition and analysis software is extensive. I’m proficient in using several industry-standard packages, including PC-DMIS, CAMIO, and PolyWorks. These software packages allow me to control the CMM, acquire measurement data, process it, and generate comprehensive inspection reports. I am also adept at creating custom programs tailored to specific part geometries and inspection requirements. Furthermore, I’m experienced in using statistical process control (SPC) software to analyze measurement data, identify trends, and improve manufacturing processes. I’ve utilized these tools to optimize measurement strategies, reducing inspection time and improving data accuracy. One example involved developing a custom program in PC-DMIS to automate the inspection of a complex assembly, significantly reducing the inspection time and increasing throughput.
Q 14. How do you troubleshoot common issues encountered with digital measuring tools?
Troubleshooting digital measuring tools requires a systematic approach. Here’s a typical workflow:
- Identify the problem: What exactly is malfunctioning? Is it inaccurate readings, a system error, or a physical problem with the tool?
- Check the basics: Verify power supply, calibration status, and sensor connections. Are the batteries charged? Is the tool properly leveled? Is the probe clean and functioning correctly?
- Review the software: Check for software errors or glitches. Make sure the software is updated and correctly configured for the specific tool.
- Consult the manual: The operator’s manual often provides troubleshooting steps and diagnostic information for common issues.
- Calibrate the tool: If the accuracy is suspect, recalibrating the tool is crucial. Using certified standards is important to maintain accuracy and traceability.
- Seek expert assistance: If basic troubleshooting fails, contact technical support or a qualified metrologist for assistance.
For example, if a digital caliper gives inconsistent readings, I would first check the battery, then inspect the jaws for dirt or damage. If these checks don’t resolve the issue, I’d verify the calibration and potentially send it for professional calibration.
Q 15. What are the safety precautions you take when using digital measuring tools?
Safety is paramount when using digital measuring tools. My approach involves a multi-faceted strategy encompassing both personal safety and instrument protection.
- Personal Protective Equipment (PPE): I always wear appropriate safety glasses to protect my eyes from potential debris or tool malfunction. In some situations, gloves are also necessary to maintain a clean and firm grip, preventing slippage and damage to both the instrument and the workpiece.
- Proper Handling: I handle tools gently, avoiding drops or impacts that could damage the sensors or internal components. I ensure the tool is properly grounded, especially when working with electrically conductive materials, to prevent electrical shock.
- Environmental Awareness: I’m mindful of the surrounding environment. I avoid using the tools in extremely hot, cold, or humid conditions, as these can impact accuracy. I also make sure the area is well-lit and free from obstructions to prevent accidents.
- Regular Inspection: Before each use, I thoroughly inspect the tool for any damage – cracks, loose parts, or battery corrosion – and avoid using it if any issues are detected.
For example, during a recent project involving precise measurements on a CNC machine, I ensured both my safety glasses and a sturdy grip on the digital caliper, given the machine’s moving parts and potential for small metallic shavings.
Career Expert Tips:
- Ace those interviews! Prepare effectively by reviewing the Top 50 Most Common Interview Questions on ResumeGemini.
- Navigate your job search with confidence! Explore a wide range of Career Tips on ResumeGemini. Learn about common challenges and recommendations to overcome them.
- Craft the perfect resume! Master the Art of Resume Writing with ResumeGemini’s guide. Showcase your unique qualifications and achievements effectively.
- Don’t miss out on holiday savings! Build your dream resume with ResumeGemini’s ATS optimized templates.
Q 16. Explain the difference between resolution and accuracy in digital measurements.
Resolution and accuracy are critical, yet distinct, aspects of digital measurements. Think of it like this: resolution is the smallest increment a tool can display, while accuracy refers to how close that measurement is to the true value.
Resolution is the level of detail the instrument can provide. A caliper with a resolution of 0.01 mm can display measurements to the hundredth of a millimeter, while one with 0.1 mm resolution only shows measurements to the tenth of a millimeter. Higher resolution doesn’t automatically mean higher accuracy; it simply means finer increments are possible.
Accuracy, on the other hand, is how close the measured value is to the actual value. A highly accurate instrument will consistently give readings very close to the true value, even if its resolution is not extremely high. Accuracy is often expressed as a tolerance range (e.g., ±0.02 mm).
For instance, a caliper might have a resolution of 0.001 mm, but its accuracy might only be ±0.01 mm. This means even though it displays values to the thousandth of a millimeter, those values might be off by as much as 0.01mm.
Q 17. How do you perform a basic calibration check on a digital caliper?
Calibrating a digital caliper is essential for maintaining accuracy. A basic check involves using a known standard, such as gauge blocks (precision measuring blocks with known dimensions).
- Gather Materials: You’ll need a set of gauge blocks with dimensions covering the caliper’s measurement range and a clean, stable surface.
- Zero Calibration: With the caliper jaws closed, ensure the display reads 0.000 mm (or 0.000 inches). If not, refer to the instrument’s manual to learn how to zero it. Most calipers have a zero adjustment function.
- Measure Gauge Blocks: Measure several different gauge blocks, recording the caliper reading for each.
- Compare Readings: Compare the caliper readings to the known dimensions of the gauge blocks. Any significant discrepancies indicate that the caliper needs adjustment or recalibration by a qualified technician. Minor differences are expected due to inherent measurement uncertainty.
For example, if a 10 mm gauge block shows a reading of 10.002 mm, it’s within an acceptable range. However, a 25 mm gauge block reading 24.980 mm suggests a problem requiring professional attention.
Q 18. What is the significance of the repeatability and reproducibility of measurement results?
Repeatability and reproducibility are crucial indicators of the reliability of measurements. They assess the consistency of the measurement process under different conditions.
Repeatability refers to the ability to obtain the same measurement multiple times under the same conditions (same operator, same instrument, same location, short time intervals). High repeatability indicates the measurement process is stable and free of significant random errors.
Reproducibility measures the consistency of results when different factors are varied. This could involve different operators using the same instrument, the same operator using different instruments, or measurements taken at different times or locations. High reproducibility suggests the measurement process is robust and not overly sensitive to changes in conditions.
Imagine a manufacturing process where a crucial dimension needs to be consistently maintained. Both repeatability and reproducibility are essential. If a technician repeatedly gets the same result but another technician obtains a different result, we have a reproducibility issue; however, if one technician gets different results multiple times, then we have a repeatability issue. Both indicate a problem that needs solving.
Q 19. How do environmental factors affect the accuracy of digital measurements?
Environmental factors significantly influence the accuracy of digital measurements. Temperature, humidity, and even air pressure can affect the instrument’s performance and lead to measurement errors.
- Temperature: Extreme temperatures can cause expansion or contraction in the instrument’s components, leading to deviations in measurements. The materials of both the tool and workpiece can expand or contract at different rates, altering their physical dimensions.
- Humidity: High humidity can cause corrosion or condensation on the tool’s surfaces and affect electronic components.
- Air Pressure: Changes in air pressure can also influence some types of measurements, especially those involving very high precision.
For instance, if a digital caliper is used in a hot, humid environment, thermal expansion might lead to slightly larger measurements than expected. Always consider environmental conditions when taking measurements and consult the instrument’s manual for its operating temperature and humidity ranges.
Q 20. Describe your experience with statistical process control (SPC) in relation to digital measurement data.
Statistical Process Control (SPC) is integral to ensuring the quality and consistency of manufacturing processes that rely heavily on precise digital measurements. My experience involves using SPC techniques to analyze measurement data, identify trends, and address potential issues.
I use control charts (like X-bar and R charts or individuals and moving range charts), to monitor measurement data from digital tools. By plotting the data over time, we can quickly identify patterns indicating shifts in the mean (average) or increase in variability. This allows for timely intervention before defects occur.
For example, while monitoring the thickness of a manufactured component using a digital micrometer, if the data consistently falls outside the control limits on a control chart, that would signal a process issue requiring investigation – perhaps a machine needs recalibration, tooling needs replacement, or environmental factors need to be better controlled.
Q 21. How do you ensure the proper handling and storage of digital measuring tools?
Proper handling and storage are crucial for extending the lifespan and ensuring the accuracy of digital measuring tools.
- Cleaning: After each use, I clean the tool with a soft, lint-free cloth, paying close attention to the measuring surfaces to remove any debris or fingerprints. Never use abrasive cleaners.
- Storage: I store the tool in its protective case or a designated storage area, away from extreme temperatures, humidity, and dust. The protective case prevents damage, impacts, and corrosion.
- Calibration Schedule: I maintain a regular calibration schedule according to manufacturer’s recommendations. Frequent calibration ensures continued accuracy.
- Avoid Exposure: I always keep the tool away from electromagnetic fields or other sources that could interfere with its electronic components.
I had an incident where a caliper was left out overnight in a damp area. When I returned, I found some light surface corrosion. This highlighted the significance of proper storage. Following a thorough cleaning, the caliper was then recalibrated and returned to service.
Q 22. What software or applications are you familiar with for data logging and analysis from digital measurement devices?
Data logging and analysis from digital measuring devices often involve specialized software. My experience includes using applications like LabVIEW, which is powerful for complex data acquisition and manipulation, especially in automated measurement systems. I’m also proficient in using dedicated software packages provided by manufacturers of specific devices, such as the software accompanying coordinate measuring machines (CMMs) or laser scanners. These manufacturer-specific programs often offer intuitive interfaces for data visualization, statistical analysis (like calculating mean, standard deviation, and tolerance), and report generation. For simpler applications, I frequently use spreadsheet software like Microsoft Excel or Google Sheets to import and analyze data. These programs allow for easy charting and basic statistical analysis. Finally, I have experience with data analysis platforms like Python with libraries like Pandas and NumPy, providing greater flexibility for more in-depth analysis and custom report generation.
For example, when working with a CMM, the manufacturer’s software allows me to directly import the point cloud data, analyze the dimensional accuracy of a part compared to its CAD model, and generate comprehensive reports detailing deviations from the nominal dimensions. Using Python with Pandas, I can automate much of this process and tailor the report generation according to specific customer needs.
Q 23. Explain your understanding of different measurement units (e.g., inches, millimeters, microns).
Understanding measurement units is fundamental to accurate measurement. Inches, millimeters, and microns represent different scales of length. An inch is a unit in the imperial system, roughly equivalent to 25.4 millimeters. A millimeter (mm) is one-thousandth of a meter, a common unit in the metric system. A micron (µm), also known as a micrometer, is one-millionth of a meter, representing a significantly smaller unit used for extremely precise measurements, commonly in microelectronics or nanotechnology. Think of it like this: an inch is about the width of your thumb, a millimeter is about the thickness of a dime, and a micron is roughly the width of a human hair. Converting between these units is crucial for accurate calculations and communication. It’s essential to pay close attention to the units specified by the measuring instrument and the required units for documentation or analysis. Incorrect unit conversions can lead to significant errors in manufacturing or design.
Q 24. Describe a situation where you had to troubleshoot a faulty digital measuring tool and how you resolved the issue.
I once encountered a situation where a digital caliper consistently showed readings that were 0.1mm higher than expected. After initially checking the battery and ensuring it was properly calibrated (following the manufacturer’s instructions), I noticed minor debris obstructing the jaws of the caliper. A simple cleaning with compressed air resolved the issue. However, if the problem persisted after this, further investigation might involve checking the instrument’s linearity (measuring across different lengths to identify consistent errors) and its repeatability (taking multiple measurements of the same object to see if readings vary excessively). If these initial troubleshooting steps failed, the next step would be to contact the manufacturer for repair or replacement under warranty, as it may indicate a more significant internal malfunction.
Q 25. How would you verify the accuracy of a newly purchased digital measuring tool?
Verifying the accuracy of a new digital measuring tool is critical. I would first check the manufacturer’s certificate of calibration, which should indicate the instrument’s accuracy within specified tolerances. Then, I’d compare its readings against a known standard, such as a gauge block of precisely known dimensions (traceable to a national metrology institute). For example, if I’m using a micrometer, I would compare its reading to a gauge block of a known dimension, noting any discrepancies. If discrepancies exceed the manufacturer’s stated tolerances, further investigation into calibration or potential defects may be required. Repeated measurements and statistical analysis (comparing mean and standard deviation) help to ensure accurate results and identify potential inconsistencies or systematic errors in the measuring tool.
Q 26. What is your experience with different types of digital angle measuring tools?
My experience with digital angle measuring tools includes using both digital protractors and inclinometers. Digital protractors provide a direct angle measurement in degrees, minutes, and seconds, useful for measuring angles in various applications like machining or carpentry. Inclinometers, on the other hand, measure angles of inclination or slope and are valuable in surveying, construction, and other applications where precise angle measurement is crucial. I’ve worked with both contact-type and non-contact digital angle finders. Non-contact methods, often incorporating laser technology, are advantageous for situations where direct contact with the surface is impractical or undesirable. The selection of the appropriate tool depends heavily on the application, required accuracy, and physical constraints.
Q 27. Explain your understanding of laser measurement technology.
Laser measurement technology relies on the precise measurement of the time it takes for a laser beam to travel to a target and reflect back. The distance is calculated based on the speed of light. Laser measurement systems offer several advantages: high accuracy, non-contact measurement (ideal for delicate objects or inaccessible locations), and rapid measurement capabilities. Different types of laser measurement systems exist, including laser rangefinders (for measuring distances), laser scanners (for creating 3D models), and laser interferometers (for extremely precise distance measurements). Laser interferometry, for instance, leverages the interference patterns of laser light to achieve sub-micron level accuracy. The accuracy and range of laser measurement technology are critical factors, dependent on laser wavelength, signal processing, and environmental conditions like temperature and humidity.
Q 28. Describe your experience using vision measurement systems.
Vision measurement systems utilize digital cameras and image processing software to perform highly accurate measurements. I have experience using these systems for dimensional inspection, gauging, and part identification. These systems can analyze images to measure dimensions, angles, areas, and other geometrical features. The process generally involves capturing images of the object, using software to identify features of interest (edges, corners, etc.), and performing calculations based on pixel coordinates and calibration parameters. Vision measurement systems offer significant advantages over traditional contact methods, including high throughput, non-contact operation, and the ability to automate inspection processes. This automation is particularly beneficial in manufacturing settings, streamlining production and improving quality control. For example, in a PCB inspection scenario, a vision system can rapidly and accurately check for defects or deviations from the design specifications.
Key Topics to Learn for Proficiency with Digital Measuring Tools Interview
- Understanding Different Tool Types: Explore the functionalities and limitations of various digital measuring tools, including laser distance meters, ultrasonic sensors, caliper gauges, and digital micrometers. Consider their applications in different industries.
- Accuracy and Precision: Grasp the concepts of accuracy and precision in measurement. Understand sources of error and how to minimize them. Practice calculations involving tolerances and measurement uncertainties.
- Data Acquisition and Analysis: Learn how to effectively collect and record data from digital measuring tools. Understand methods for analyzing measurement data, identifying trends, and drawing meaningful conclusions. Familiarize yourself with data presentation techniques.
- Calibration and Maintenance: Know the importance of regular calibration and maintenance of digital measuring tools to ensure accuracy. Understand procedures for checking calibration and performing basic maintenance tasks.
- Safety Procedures: Review safety protocols associated with using different digital measuring tools. Understand potential hazards and how to mitigate them.
- Practical Applications: Consider real-world applications across diverse fields like manufacturing, construction, engineering, and quality control. Be prepared to discuss how these tools improve efficiency and accuracy in these settings.
- Troubleshooting and Problem Solving: Develop your ability to identify and troubleshoot common problems associated with digital measuring tools. Practice analyzing situations where measurements are inaccurate and finding solutions.
Next Steps
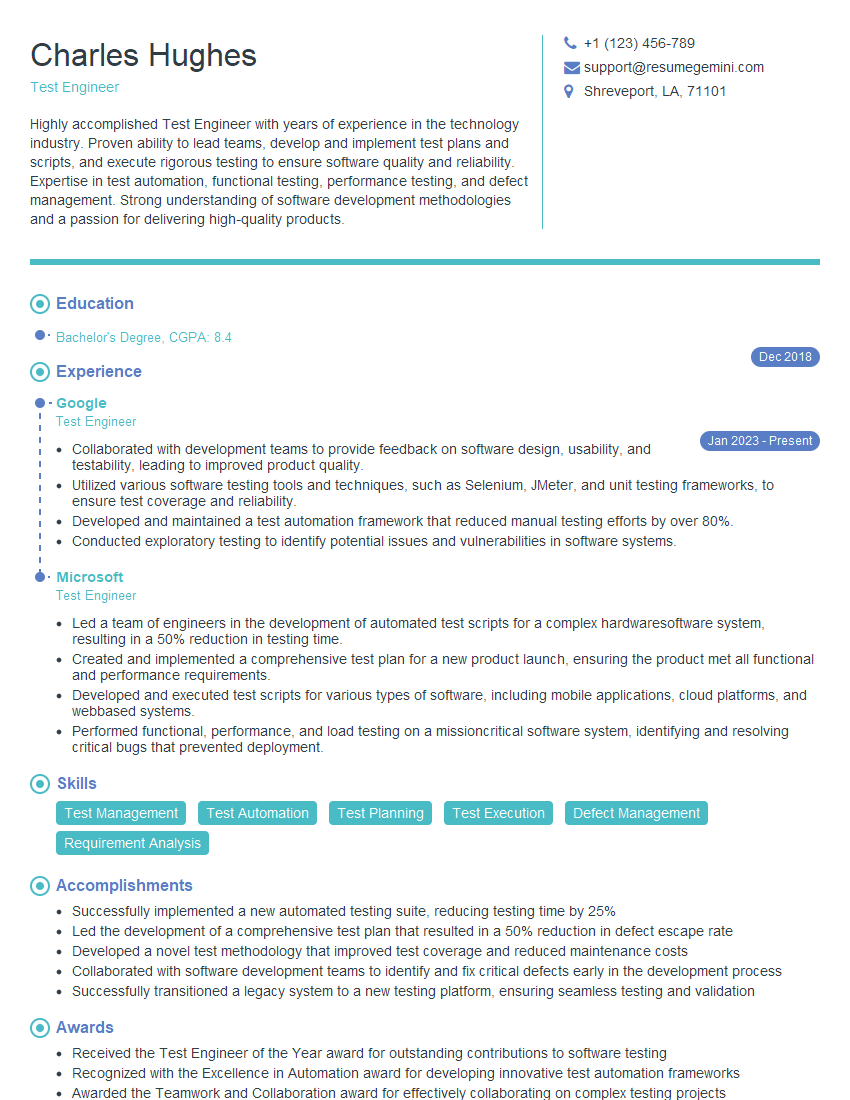
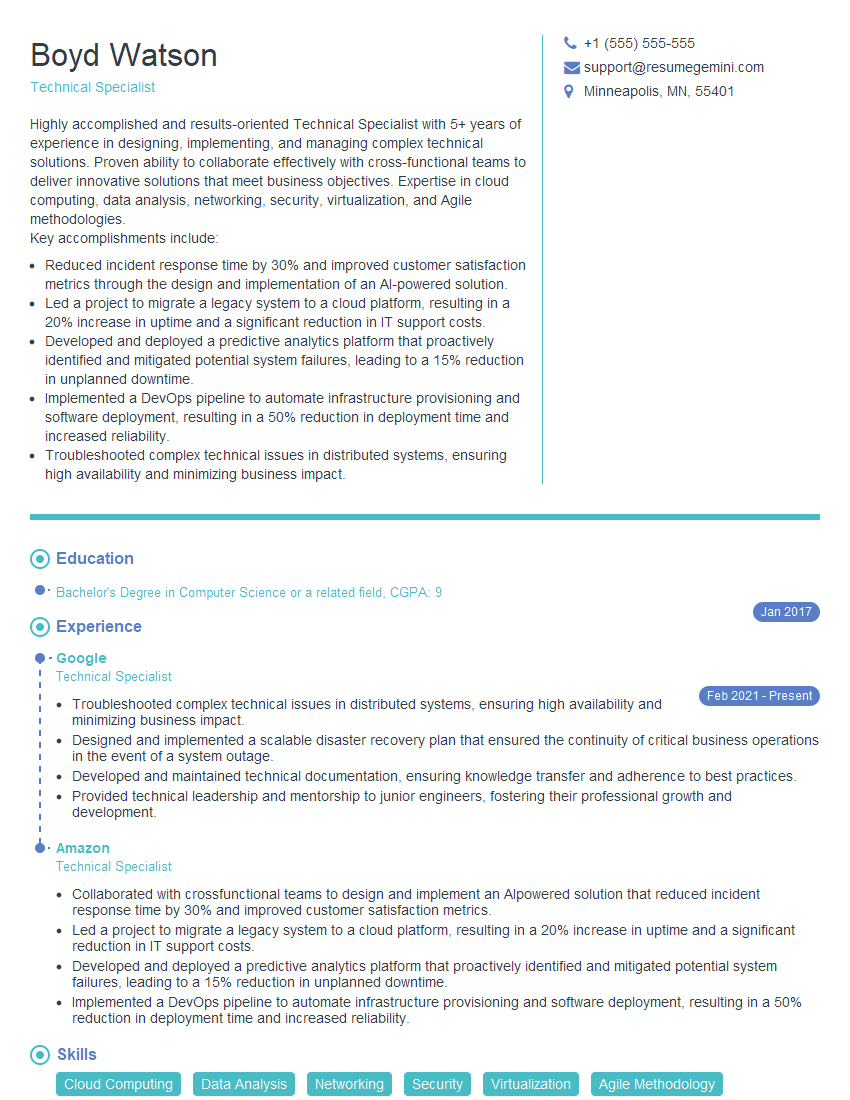
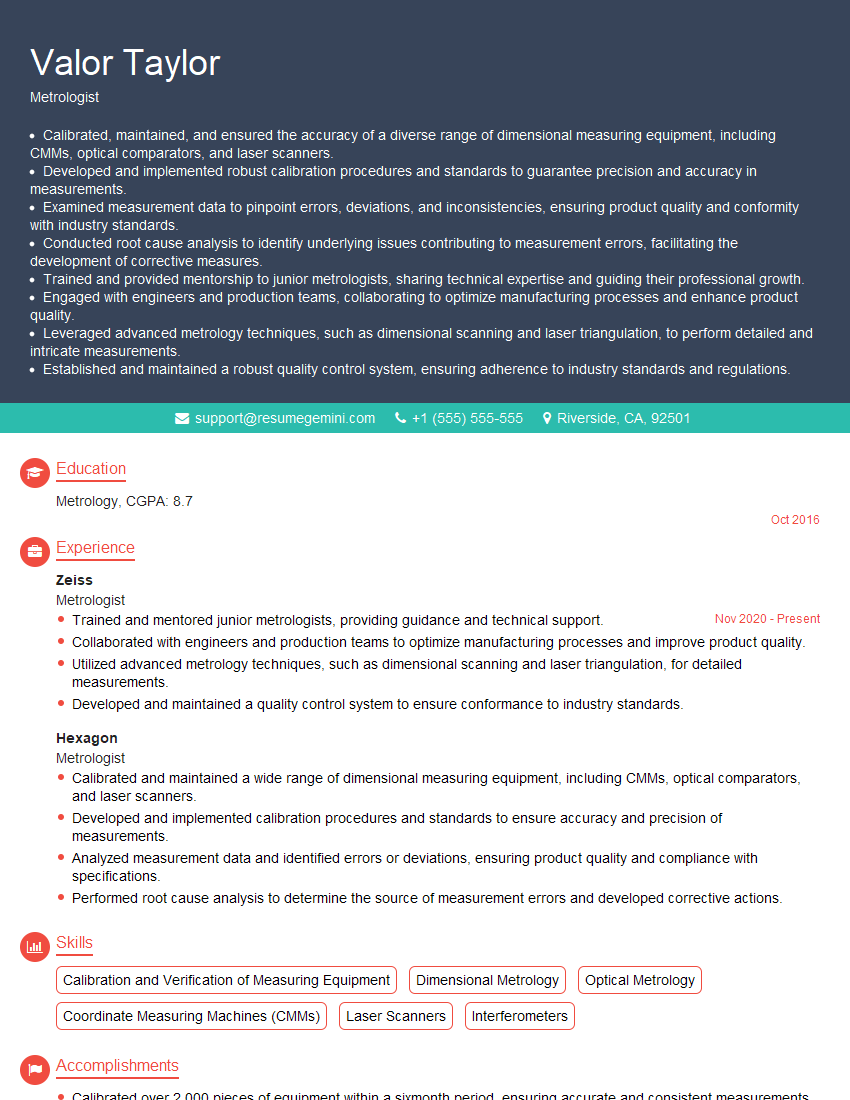
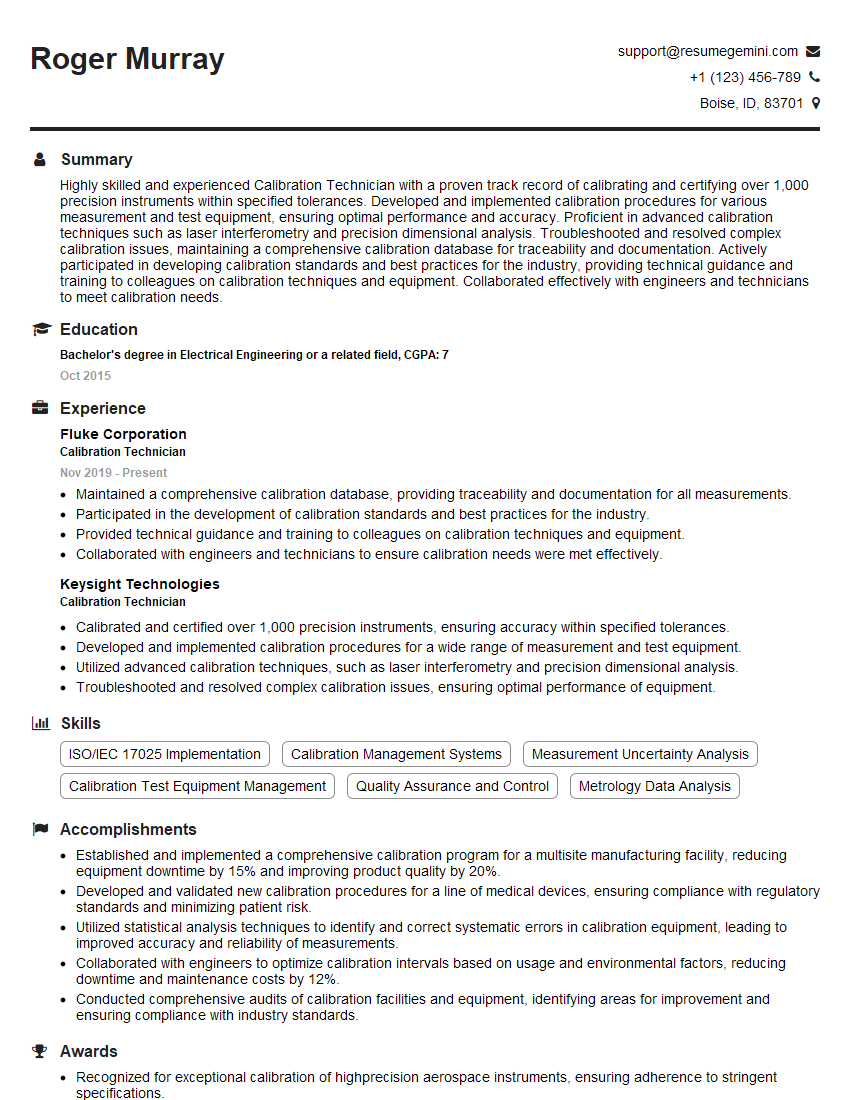
Mastering proficiency with digital measuring tools significantly enhances your marketability across various industries, opening doors to exciting career opportunities with higher earning potential. To stand out from the competition, crafting an ATS-friendly resume is crucial. This ensures your application gets noticed by recruiters and hiring managers. We strongly encourage you to leverage ResumeGemini, a trusted resource for building professional, impactful resumes. ResumeGemini provides examples of resumes tailored to Proficiency with Digital Measuring Tools, helping you showcase your skills effectively. Take the next step towards your dream career – build a winning resume today!
Explore more articles
Users Rating of Our Blogs
Share Your Experience
We value your feedback! Please rate our content and share your thoughts (optional).
What Readers Say About Our Blog
Hello,
We found issues with your domain’s email setup that may be sending your messages to spam or blocking them completely. InboxShield Mini shows you how to fix it in minutes — no tech skills required.
Scan your domain now for details: https://inboxshield-mini.com/
— Adam @ InboxShield Mini
Reply STOP to unsubscribe
Hi, are you owner of interviewgemini.com? What if I told you I could help you find extra time in your schedule, reconnect with leads you didn’t even realize you missed, and bring in more “I want to work with you” conversations, without increasing your ad spend or hiring a full-time employee?
All with a flexible, budget-friendly service that could easily pay for itself. Sounds good?
Would it be nice to jump on a quick 10-minute call so I can show you exactly how we make this work?
Best,
Hapei
Marketing Director
Hey, I know you’re the owner of interviewgemini.com. I’ll be quick.
Fundraising for your business is tough and time-consuming. We make it easier by guaranteeing two private investor meetings each month, for six months. No demos, no pitch events – just direct introductions to active investors matched to your startup.
If youR17;re raising, this could help you build real momentum. Want me to send more info?
Hi, I represent an SEO company that specialises in getting you AI citations and higher rankings on Google. I’d like to offer you a 100% free SEO audit for your website. Would you be interested?
Hi, I represent an SEO company that specialises in getting you AI citations and higher rankings on Google. I’d like to offer you a 100% free SEO audit for your website. Would you be interested?
good
