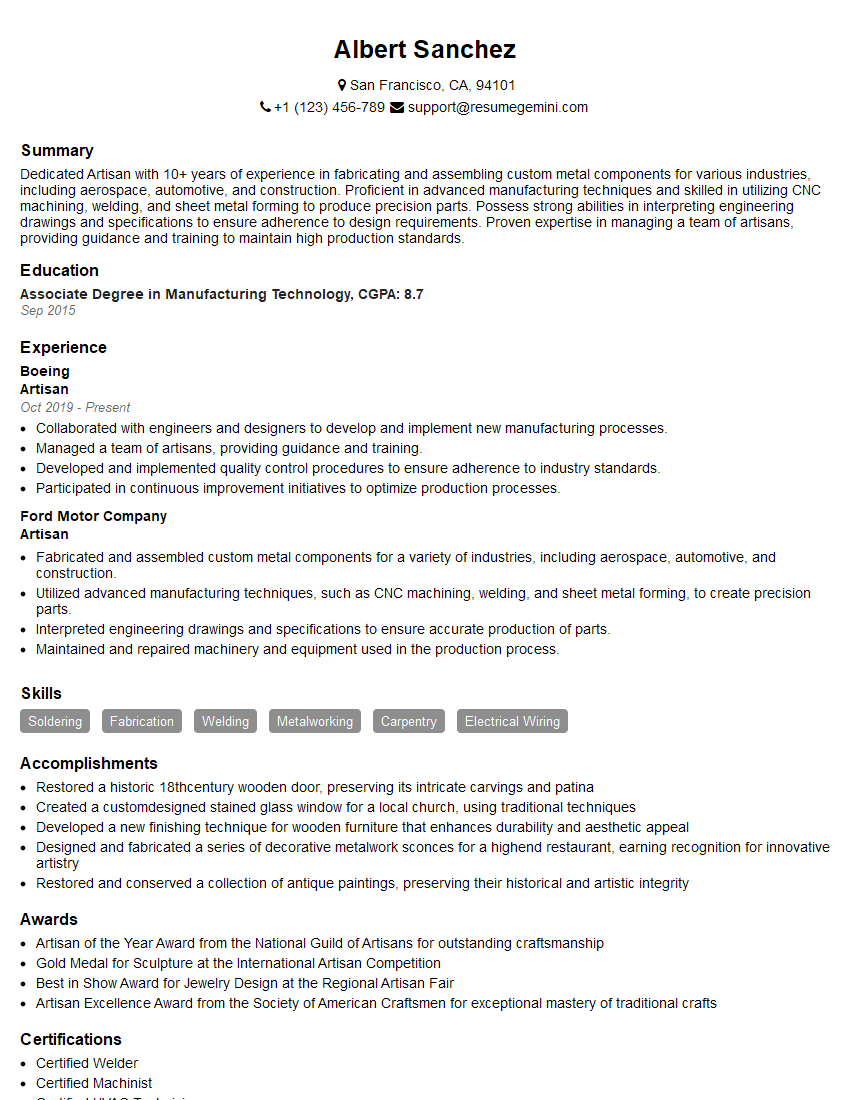
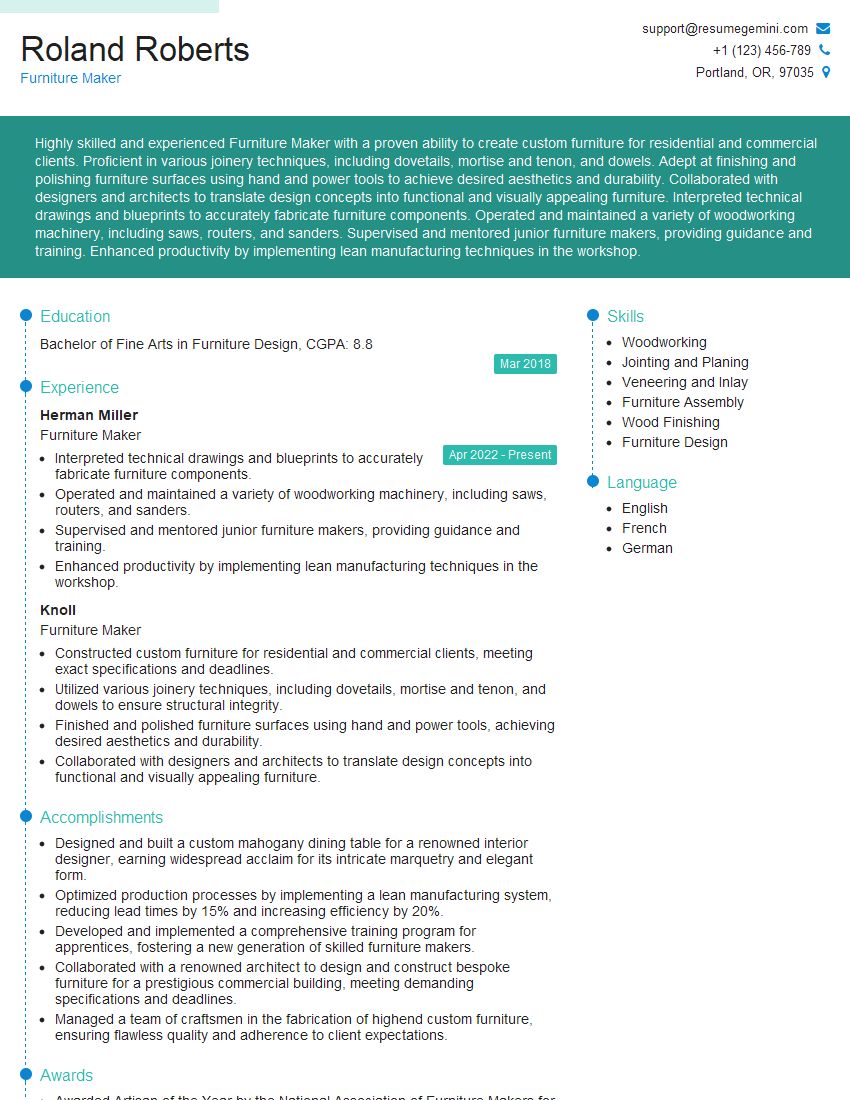
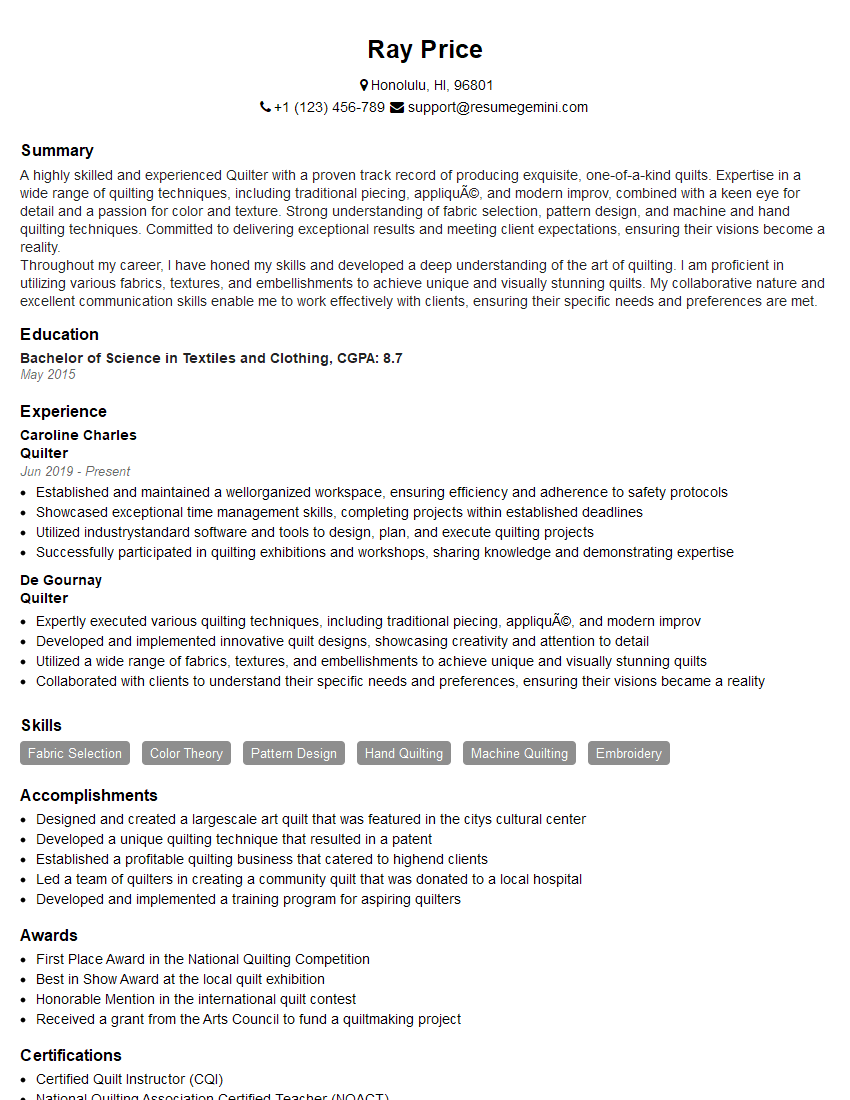
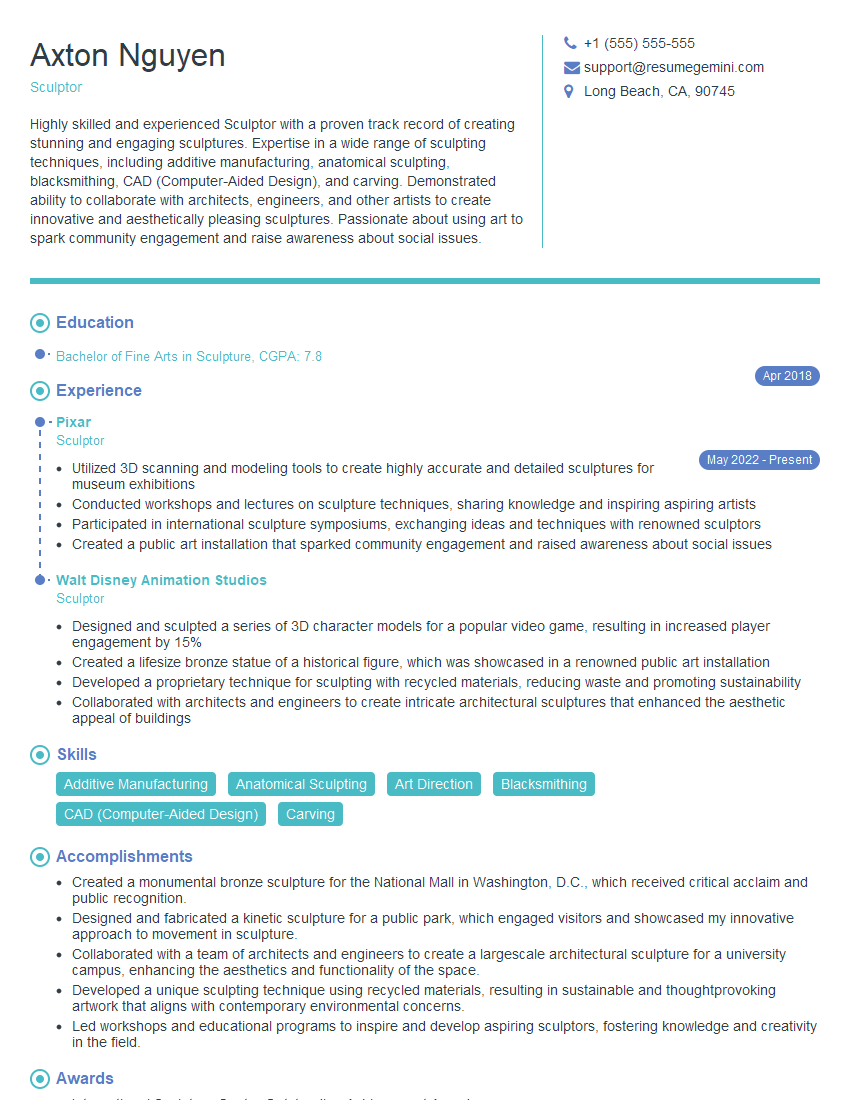
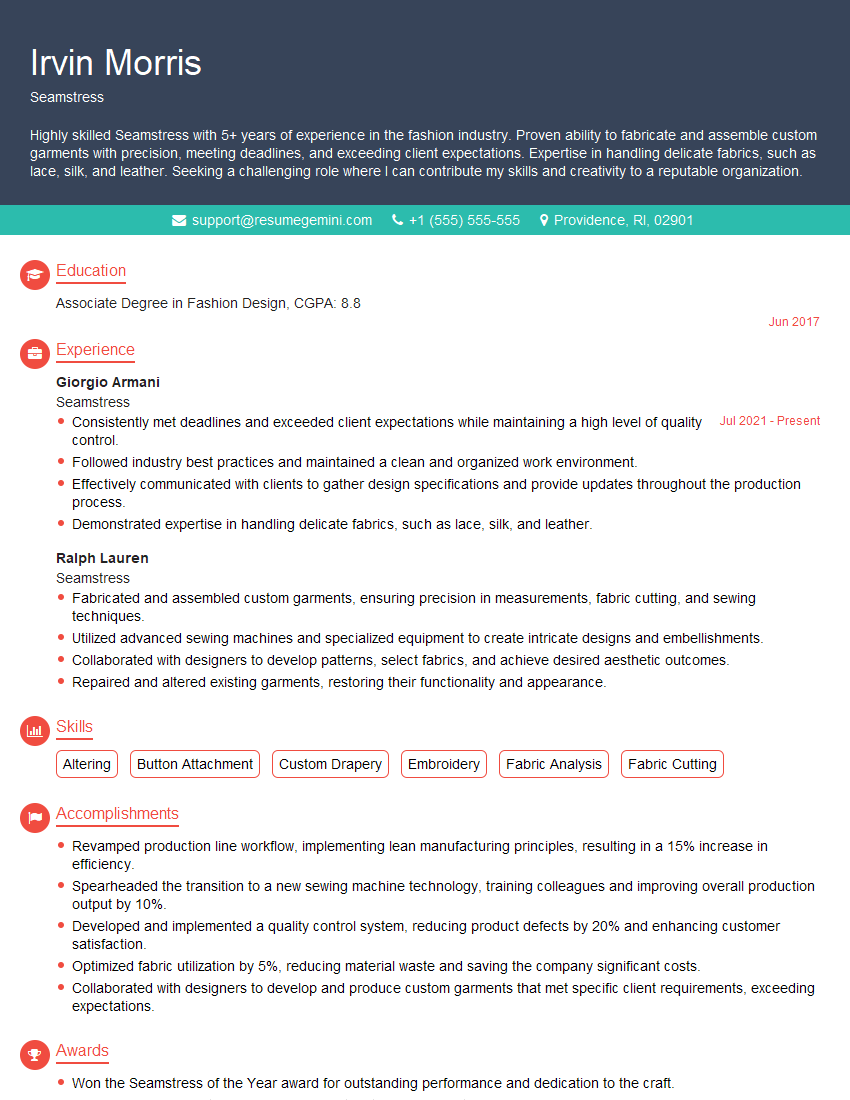
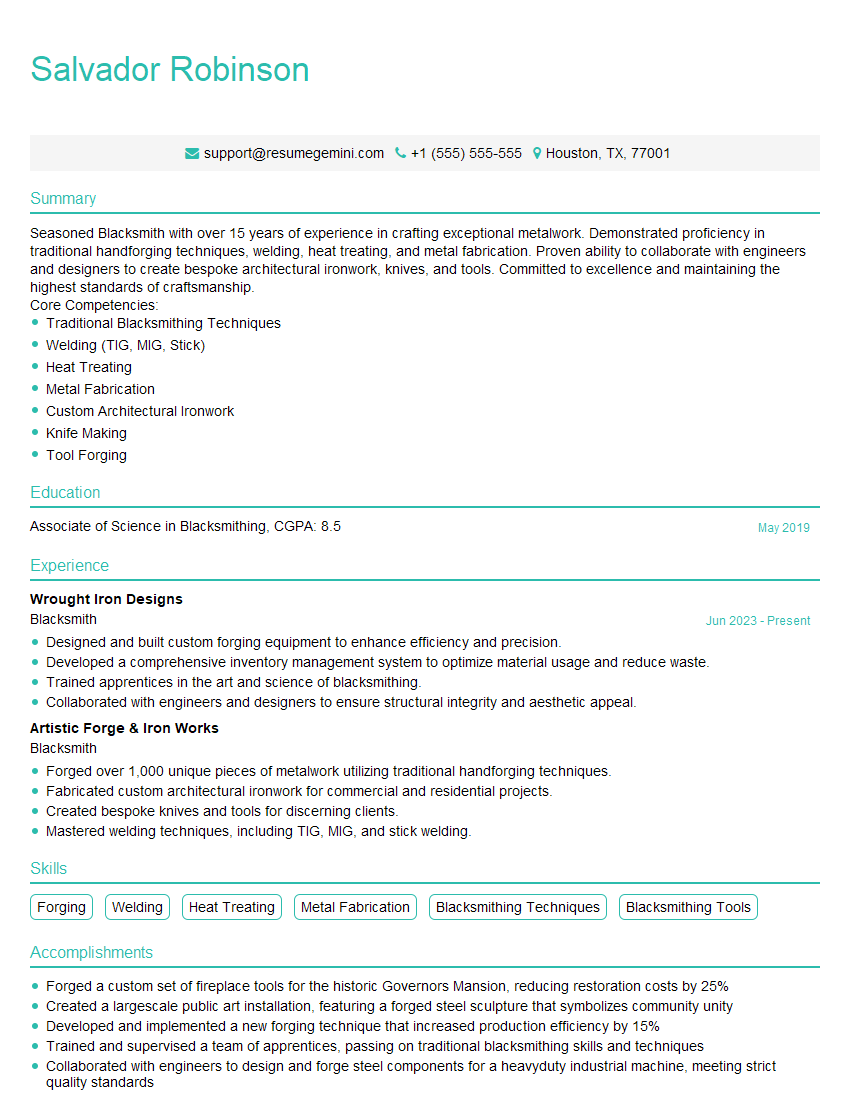
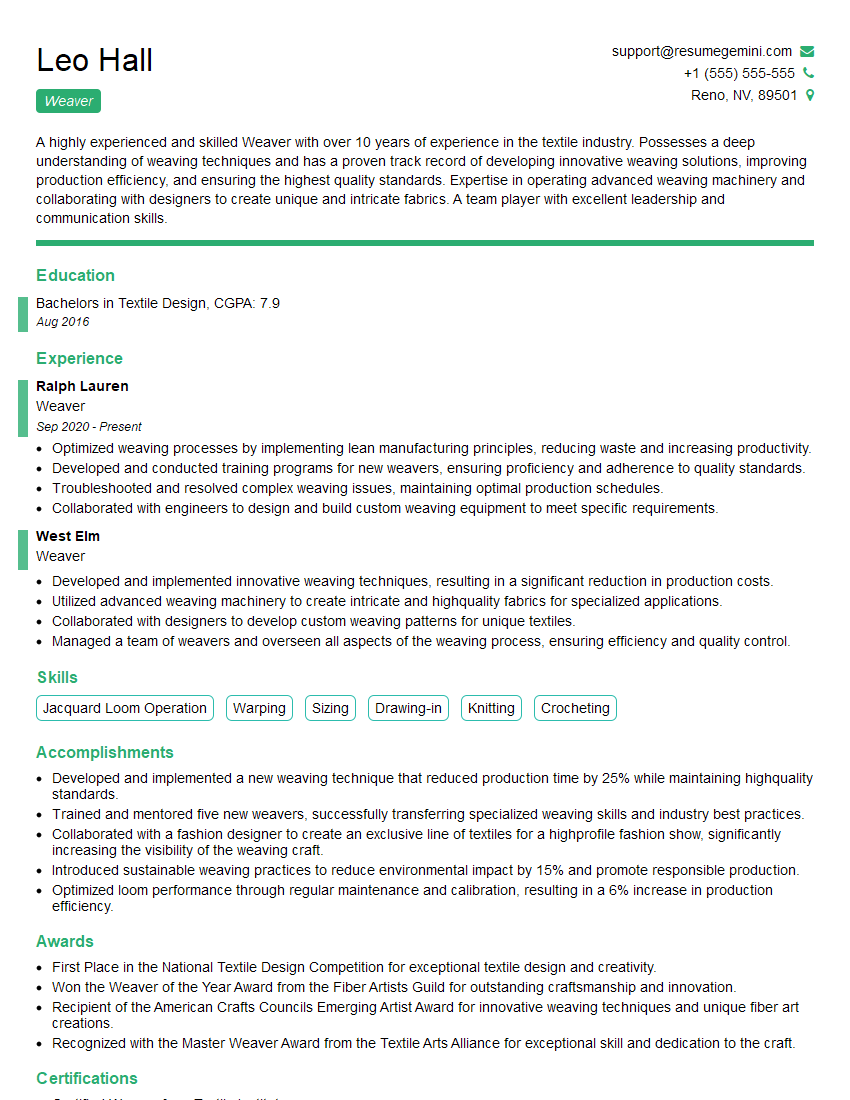
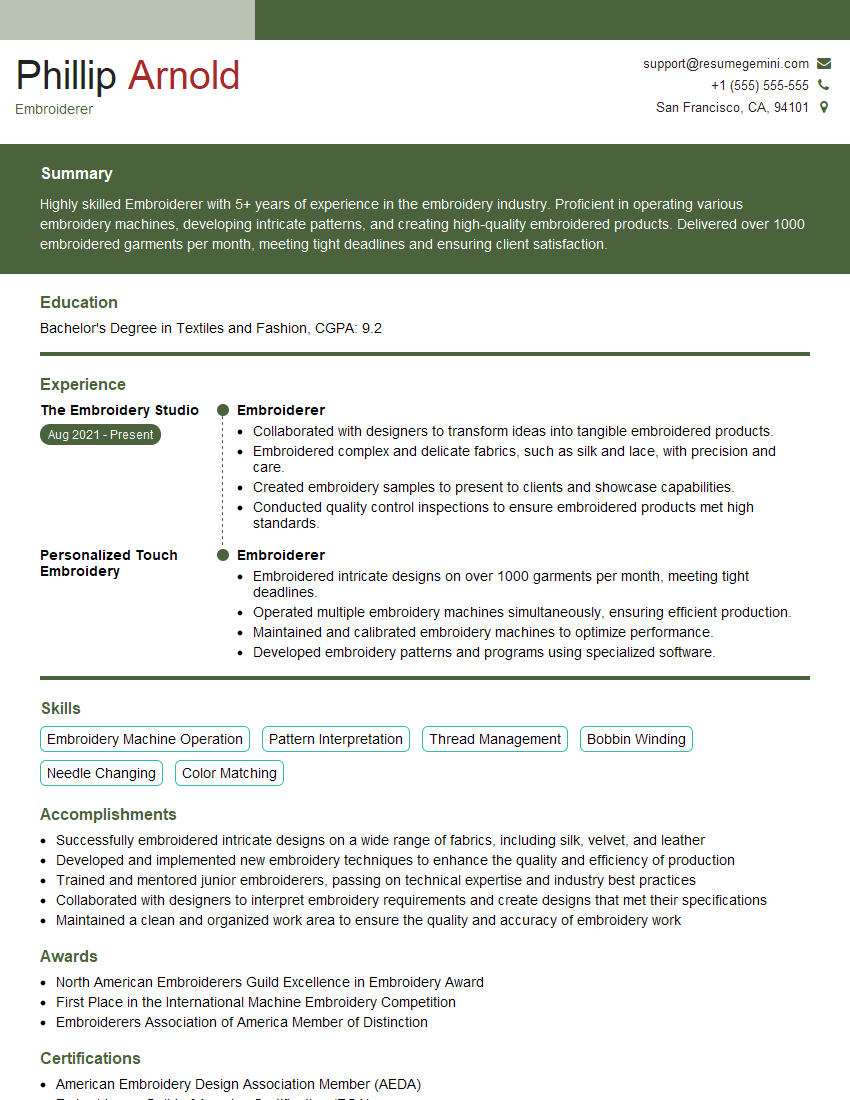
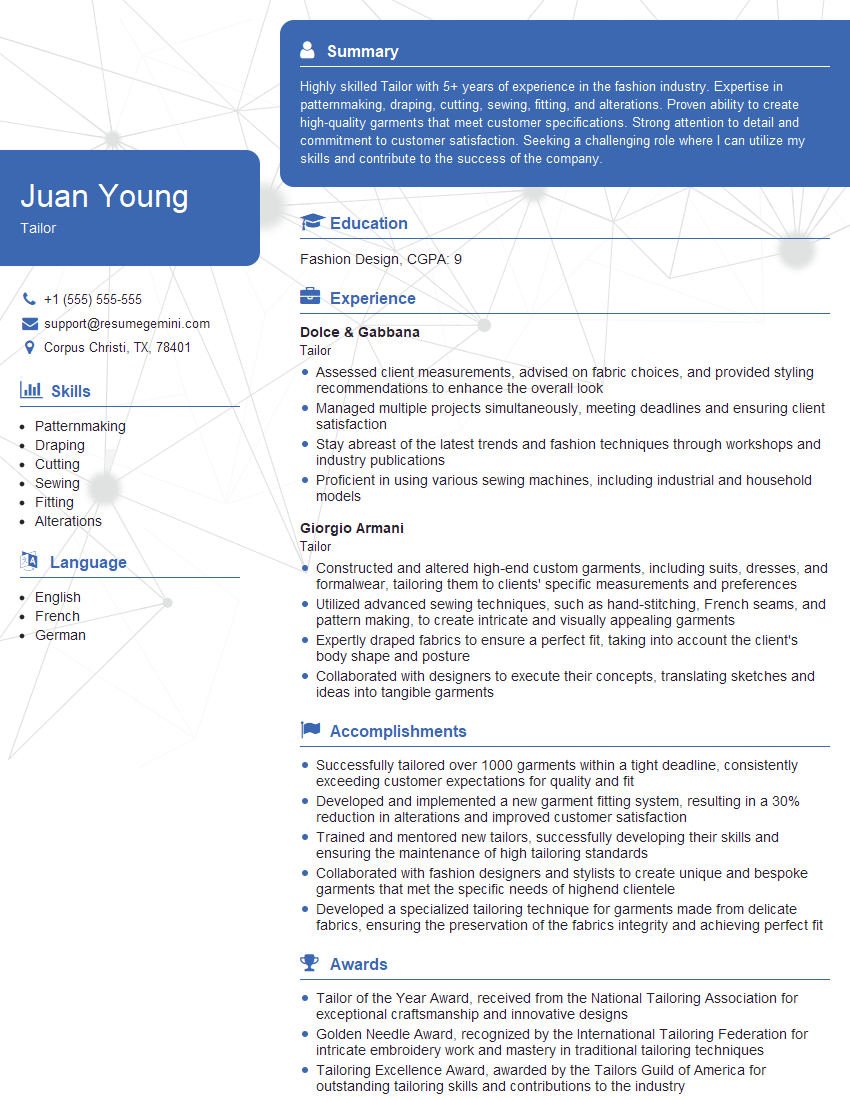
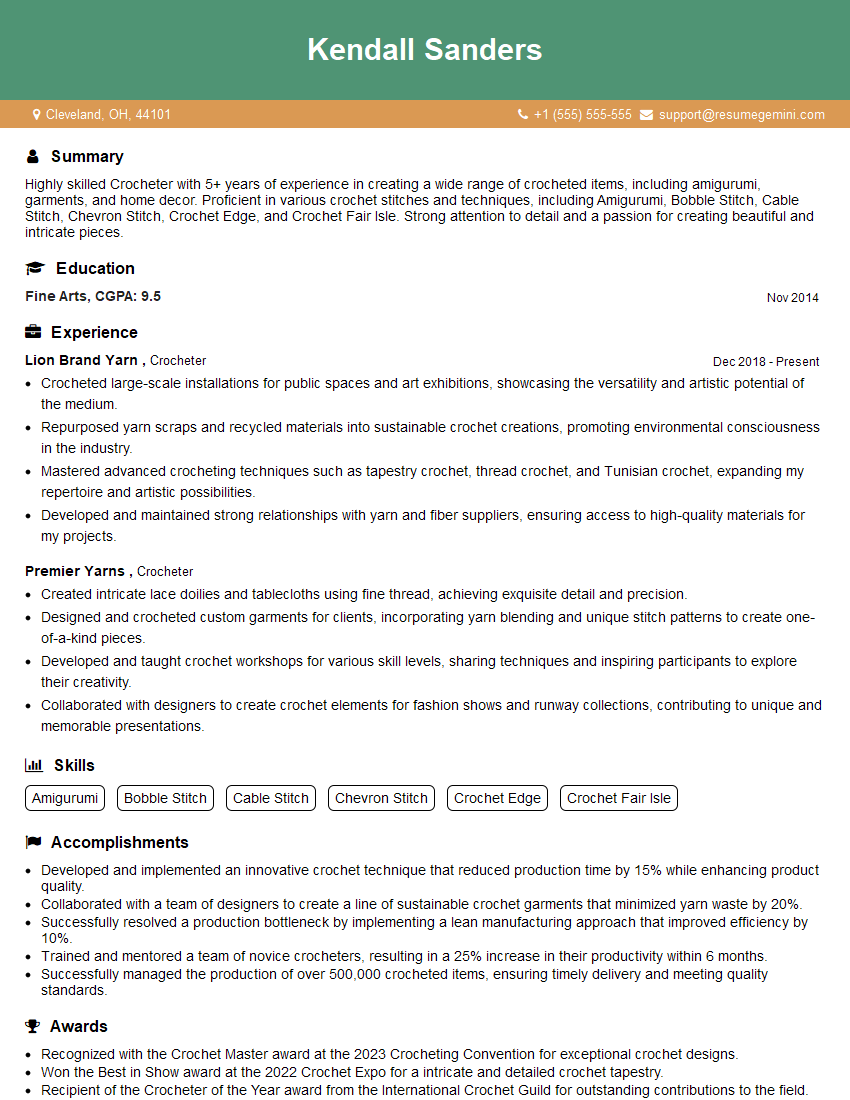
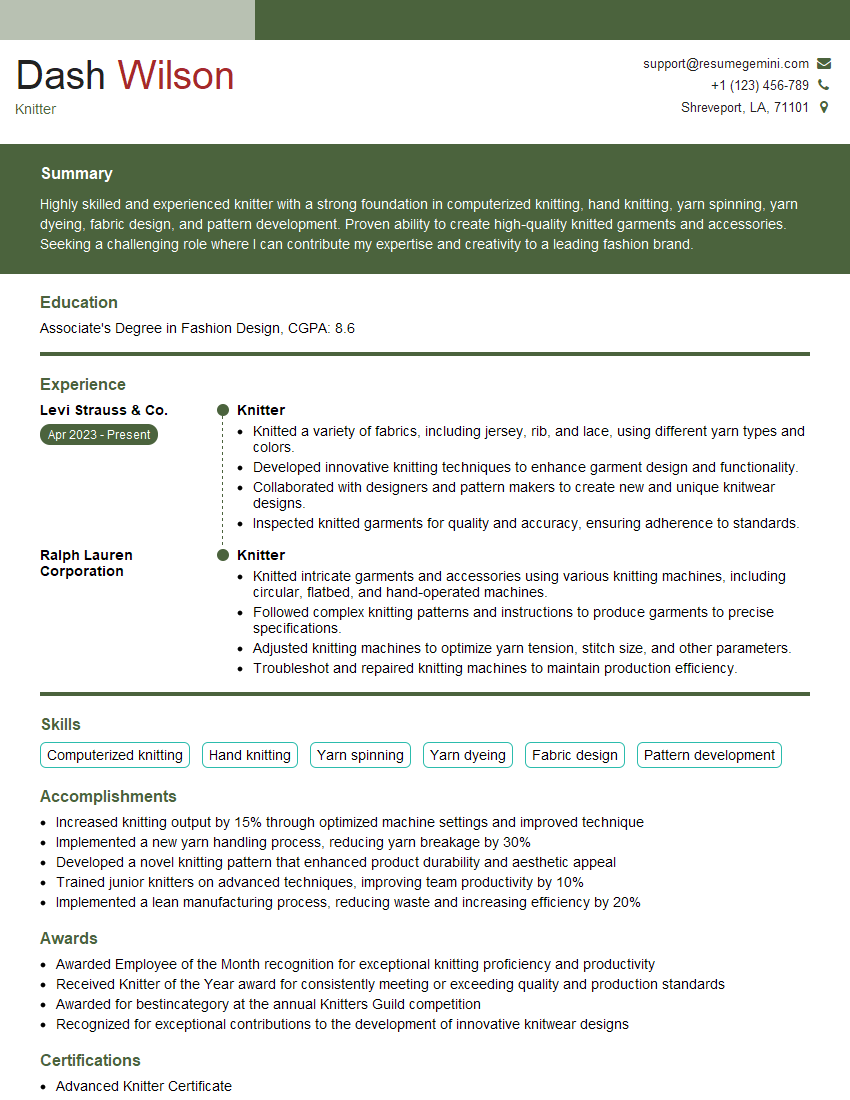
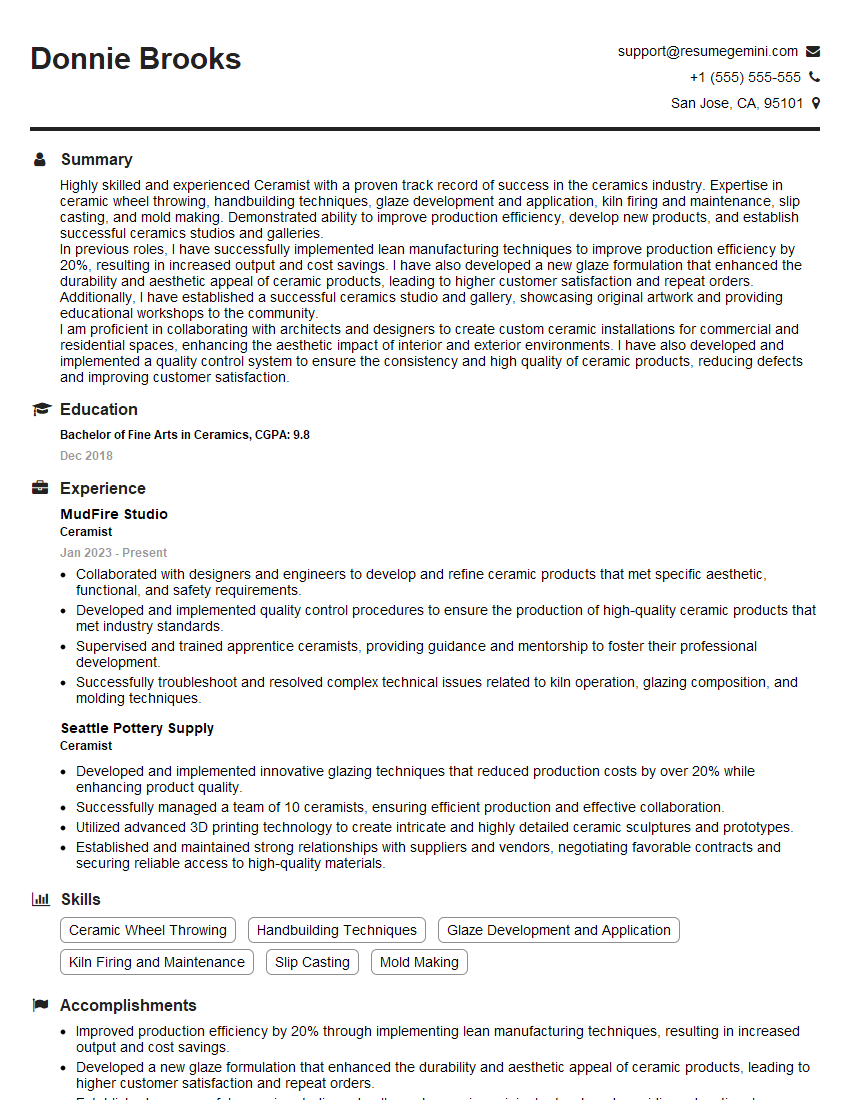
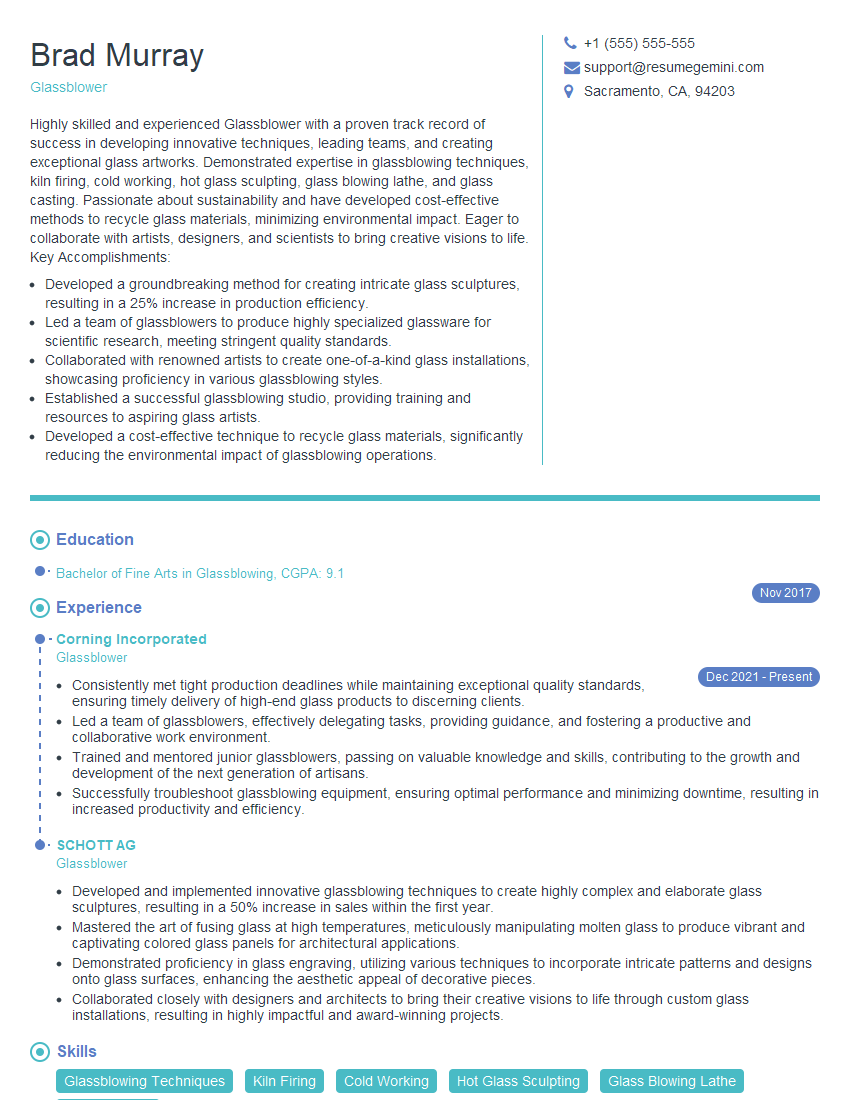
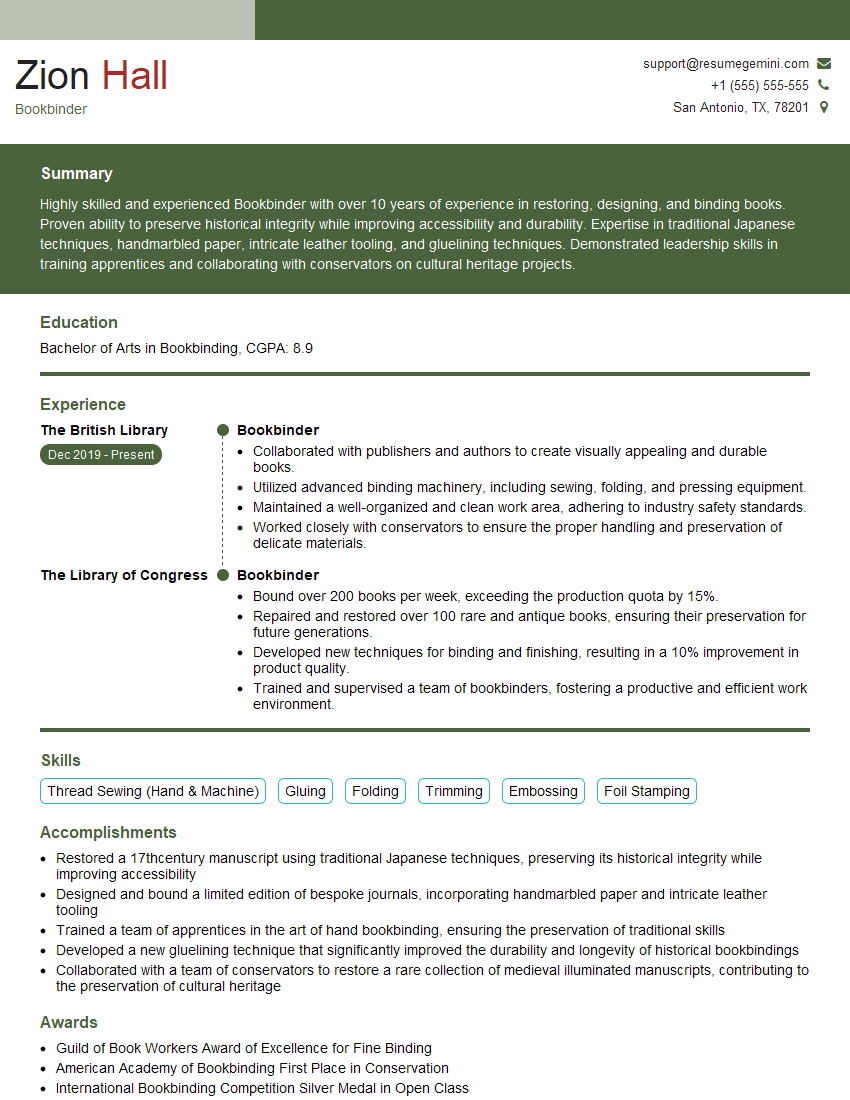
Are you ready to stand out in your next interview? Understanding and preparing for Craft Techniques interview questions is a game-changer. In this blog, we’ve compiled key questions and expert advice to help you showcase your skills with confidence and precision. Let’s get started on your journey to acing the interview.
Questions Asked in Craft Techniques Interview
Q 1. Describe your experience with different types of wood and their suitability for specific projects.
Selecting the right wood is crucial for any woodworking project. Different woods possess unique properties influencing their suitability for specific applications. For instance, hardwoods like oak and maple are known for their strength, durability, and beautiful grain patterns, making them ideal for furniture, flooring, and fine cabinetry. These woods are more resistant to wear and tear. Conversely, softwoods such as pine and fir are easier to work with, more affordable, and suitable for projects requiring less structural integrity, like crafting boxes or simple shelving.
My experience includes working extensively with:
- Hardwoods: Oak (for its strength and character), Maple (for its clean lines and durability), Walnut (for its rich color and luxurious feel), Cherry (for its warm tones and workability).
- Softwoods: Pine (for its affordability and ease of use), Fir (for its straight grain and lightness), Cedar (for its aromatic qualities and natural resistance to decay).
Choosing the right wood involves considering factors beyond just aesthetics. For example, I wouldn’t use a softwood like pine for a heavily used dining table leg due to its susceptibility to dents and scratches. The choice always depends on the intended use, durability requirements, and the desired aesthetic.
Q 2. Explain the process of creating a specific craft technique, including tools and materials.
Let’s consider the process of creating a dovetail joinery, a classic woodworking technique renowned for its strength and beauty. This joint is created by interlocking precisely cut triangular ‘tails’ and ‘pins’ on two pieces of wood.
Tools and Materials:
- Wood: Hardwood like cherry or maple is ideal for its strength and ability to hold the intricate joint.
- Marking Gauge: Used to accurately mark the layout of the dovetails.
- Dovetail Saw: A thin, fine-toothed saw specifically designed for cutting precise dovetail cuts. A coping saw can also be used.
- Chisels: Various sizes are needed for paring and shaping the dovetails to a perfect fit.
- Mallet: Used to gently tap the chisels.
- Hand Plane (optional): For smoothing surfaces.
- Wood Glue: To bond the two pieces together.
Process:
- Layout: Accurately mark the layout of the tails and pins on the two pieces of wood using the marking gauge and pencil.
- Cutting the Tails: Carefully cut the tails on one piece of wood using the dovetail saw. This requires precise cuts to ensure a proper fit.
- Cutting the Pins: Cut the pins on the other piece of wood, ensuring they fit snugly into the tails.
- Paring: Carefully pare and shape the tails and pins using chisels to ensure a tight, accurate fit. This is where experience and skill are most crucial.
- Assembly: Apply wood glue to the mating surfaces and carefully assemble the joint.
- Finishing: Sand the joint smooth and apply a finish to protect the wood.
The result is a strong, visually appealing joint that is a hallmark of fine woodworking.
Q 3. What are the common challenges encountered in your chosen craft technique, and how do you overcome them?
Challenges in woodworking are numerous, particularly with intricate techniques like dovetailing. Common issues include:
- Inaccurate Cuts: Slightly inaccurate cuts can result in a loose or poorly fitting joint. This necessitates careful planning and precise execution.
- Wood Movement: Wood expands and contracts with changes in humidity. This can affect the fit of the joint over time. Proper acclimation of the wood and careful joint design can minimize this effect.
- Chipping: Aggressive chiseling can chip the wood, ruining the piece. Careful control and sharp tools are essential to prevent this.
Overcoming Challenges:
- Practice: Consistent practice is key to developing the skills needed for precision.
- Sharp Tools: Using sharp tools minimizes the risk of chipping and improves accuracy.
- Careful Planning: Meticulous planning and marking reduce the likelihood of errors.
- Patience: Woodworking requires patience and attention to detail.
I overcome these challenges through continuous learning, refining my technique through practice, and selecting appropriate tools for each task. I also make sure that wood is properly dried to minimize movement.
Q 4. How do you maintain the quality and consistency of your work?
Maintaining quality and consistency in woodworking hinges on several key factors.
- Material Selection: I always source high-quality, well-seasoned wood that is free from defects. The quality of the starting material directly impacts the finished product.
- Tool Maintenance: My tools are meticulously sharpened and maintained. Sharp tools are essential for precise cuts and a clean finish. I regularly clean and oil my tools to prolong their life and maintain their efficiency.
- Process Consistency: I follow established procedures and techniques carefully in every project. This ensures consistency in the quality of the finished work. This includes careful planning and using jigs and templates where applicable to minimize variation.
- Quality Control Checks: I perform quality checks at each stage of the process—from layout to finishing—to identify and correct any errors early on. This iterative process helps to prevent small mistakes from cascading into larger problems.
By adhering to these principles, I can maintain the high standards I set for myself and consistently deliver excellent results.
Q 5. Describe your experience with different finishing techniques for your craft.
Finishing is the final, crucial step in woodworking, enhancing both the appearance and durability of the piece. My experience spans various finishing techniques:
- Oil Finishes: These offer a natural look, enhancing the wood’s grain and providing a protective layer. Examples include linseed oil, tung oil, and Danish oil. They are relatively easy to apply and repair, but require more frequent reapplication than other finishes.
- Varnishes: Varnishes offer a harder, more durable finish than oils, providing excellent protection against scratches and spills. They come in various sheens (gloss, satin, matte). They may require more effort in terms of even application to avoid brush marks.
- Lacquers: Lacquers dry quickly and offer a durable, hard finish. They can provide a very high gloss. They can be more sensitive to application techniques, so experience is helpful.
- Stains: Stains are used to color the wood without significantly obscuring the grain. They come in a wide variety of colors and can be combined to create custom hues. It’s important to choose the right stain type (oil-based or water-based) depending on the wood type and the final finish desired.
The choice of finish depends on the project’s requirements and the desired aesthetic. For example, a kitchen table might benefit from a durable varnish, while a delicate hand-carved piece might be better suited to a subtle oil finish.
Q 6. How do you adapt your techniques to meet the needs of different clients or projects?
Adaptability is crucial in my work. I tailor my techniques to meet diverse client needs and project demands. This includes:
- Design Adaptation: I collaborate closely with clients, understanding their vision and making necessary adjustments to my approach. This involves incorporating their preferences into the design while maintaining structural integrity and functionality. For example, a client might want a specific type of wood or a unique finish, requiring me to adjust my material selection and finishing techniques.
- Technique Modification: Different projects require different joinery techniques. While I might favor dovetails for certain pieces, I seamlessly transition to other methods such as mortise and tenon, dadoes, or butt joints depending on the project’s requirements and design.
- Scale and Complexity: I adapt my approach to the scale and complexity of the project. A small, intricately carved box requires a different level of precision and attention to detail than a large, simple table.
This adaptability is not just about technical skills; it’s about effective communication and collaboration with clients to ensure the final product meets their expectations perfectly.
Q 7. Explain your understanding of color theory and its application in your craft.
Color theory plays a vital role in woodworking, impacting both the aesthetic appeal and the perceived mood or atmosphere of the finished piece. My understanding encompasses:
- Color Harmonies: I utilize color harmonies such as analogous (colors next to each other on the color wheel), complementary (colors opposite each other), and triadic (three colors equally spaced) to create visually pleasing combinations of wood stains, paints, and finishes. For example, using warm wood tones combined with muted greens can create a calming ambiance.
- Color Temperature: Warm colors (reds, oranges, yellows) create a sense of warmth and energy, while cool colors (blues, greens, purples) evoke feelings of calmness and serenity. The choice of wood and finish influences the perceived color temperature.
- Value and Saturation: These elements affect the lightness or darkness (value) and intensity (saturation) of the color. A high-value, low-saturation color might create a light, airy feel, whereas a low-value, high-saturation color might feel rich and dramatic. I consider the lighting conditions and surroundings when selecting colors.
- Wood Grain and Color Interaction: I understand that wood grain influences how color is perceived. The grain pattern can affect the visual depth, highlight certain aspects of the color, or even obscure it. I select colors based on their ability to work harmoniously with a wood’s natural variations.
Through careful consideration of these elements, I integrate color theory into my woodworking to enhance the overall impact and aesthetic of my work.
Q 8. How do you ensure the safety and proper use of tools and equipment?
Safety is paramount in any craft. My approach to tool and equipment safety is multifaceted, starting with a thorough understanding of each tool’s capabilities and limitations. This includes reading manufacturer instructions carefully, understanding the proper techniques for handling and maintenance, and always wearing appropriate personal protective equipment (PPE).
- PPE: This includes safety glasses, respirators (for dust or fumes), gloves (depending on the material), and hearing protection for loud machinery. I never compromise on PPE, even for seemingly ‘small’ tasks.
- Tool Maintenance: Regularly inspecting tools for damage – cracks, loose parts, frayed cords – is crucial. A dull blade, for instance, is more dangerous than a sharp one because it requires more force, increasing the risk of accidents. I keep tools sharpened and oiled according to their specific needs.
- Proper Technique: This is learned through practice and training. For example, when using a lathe, I always ensure the workpiece is securely clamped and understand the safe speeds for different materials. Improper techniques are a major source of accidents.
- Workspace Organization: A clean and organized workspace prevents accidents by reducing clutter and tripping hazards. Tools are stored safely and accessibly, following the manufacturer’s guidelines.
For example, when working with wood, I always use push sticks to keep my fingers away from the blade on a table saw, and I never reach across the blade. This commitment to safety ensures a productive and injury-free environment.
Q 9. What are some innovative approaches you’ve used in your craft?
Innovation in craft is about pushing boundaries and finding new ways to express creativity. I’ve explored several innovative approaches:
- Combining Techniques: I’ve successfully combined traditional wood carving techniques with digital design, creating intricate patterns that are then laser-cut into wood. This marries the organic feel of hand carving with the precision of digital technology.
- Material Experimentation: I’ve experimented with unconventional materials like recycled plastics and upcycled textiles in my projects, creating unique textures and forms while promoting sustainability. For instance, I’ve used reclaimed wood to create sculptural pieces that showcase the beauty of natural imperfections.
- Digital Fabrication: I’ve incorporated 3D printing and CNC routing into my workflow, which allows me to create complex shapes and designs that would be impossible to achieve through traditional methods alone. For example, I designed intricate jewelry components using CAD software and then had them 3D printed in metal.
- Interactive Elements: I’ve integrated electronics and sensors into my craft projects, creating interactive installations that respond to their environment or user input. A recent project involved creating a kinetic sculpture powered by a small motor, where the motion was controlled by a light sensor.
These approaches demonstrate my commitment to constantly learning and adapting to new technologies and techniques to expand the possibilities of my craft.
Q 10. Explain your process for designing and developing new craft projects.
My design process is iterative and involves several stages:
- Inspiration and Ideation: This phase involves brainstorming, sketching, and researching. I draw inspiration from nature, art, architecture, and even everyday objects.
- Concept Development: I refine my initial ideas, focusing on the functionality, aesthetics, and feasibility of the project. This often involves creating detailed sketches and 3D models.
- Material Selection: I choose materials based on their properties, availability, and sustainability. The material directly impacts the design and the construction techniques I will use.
- Prototyping and Testing: I build prototypes to test the design and make adjustments as needed. This is crucial for identifying and resolving potential issues before final production.
- Refinement and Finalization: Based on the prototype testing, I refine the design and finalize the construction plan. This often involves making detailed drawings or blueprints.
- Production and Finishing: I execute the construction plan, paying close attention to detail and precision. The final stages involve finishing techniques like sanding, polishing, or painting.
For example, while designing a chair, I’d start with sketches exploring different forms. I’d then build a small-scale model to test the ergonomics and structural integrity before proceeding to the full-sized piece. This meticulous approach ensures a high-quality final product.
Q 11. How do you manage your time and resources effectively when working on multiple projects?
Managing multiple projects effectively requires a structured approach. I utilize several strategies:
- Project Prioritization: I prioritize projects based on deadlines, importance, and resource availability. Using a Kanban board or similar visual management tool helps greatly.
- Detailed Planning: Each project has a detailed plan outlining tasks, timelines, and resource allocation. Breaking down large projects into smaller, manageable tasks simplifies the workflow.
- Time Blocking: I dedicate specific blocks of time to each project, minimizing distractions and maximizing focus. This improves efficiency and avoids context switching.
- Resource Management: I meticulously track materials and tools, ensuring I have what I need when I need it. This minimizes delays and waste.
- Regular Review: I regularly review progress against the plan, identifying potential problems and adjusting the schedule as necessary.
For instance, if I have three projects – a large furniture commission, a smaller craft fair piece, and a personal art project – I might allocate a week to the furniture commission, two days to the craft fair piece, and a few evenings to the personal project. This structured approach helps me meet all deadlines while maintaining a good work-life balance.
Q 12. Describe your experience working with different materials, including their properties and limitations.
My experience encompasses a wide range of materials, each with its own unique properties and limitations.
- Wood: I work with various hardwoods and softwoods, understanding their grain patterns, density, and workability. Hardwoods like oak are strong and durable but can be challenging to work with; softwoods like pine are easier to carve but less durable.
- Metal: I have experience with different metals, including copper, brass, and steel. Each metal has distinct properties; copper is malleable and easily shaped but tarnishes; steel is strong and durable but requires specialized tools.
- Textiles: I work with various fabrics, understanding their drape, texture, and strength. Natural fibers like linen and cotton have unique properties compared to synthetics like polyester.
- Plastics: I use various plastics, understanding their flexibility, durability, and melting points. Acrylic is transparent and easily worked with, whereas ABS is stronger and more durable but requires specialized equipment.
Understanding these material properties is critical. For instance, when choosing wood for a chair, I consider its strength and durability to ensure it can withstand the stress of daily use. My ability to select and utilize diverse materials appropriately is a key element of my expertise.
Q 13. How do you maintain a clean and organized workspace?
A clean and organized workspace is essential for efficiency and safety. My approach involves several key elements:
- Designated Storage: Tools and materials are stored in designated areas, easily accessible yet safely secured. I use labeled containers and drawers to keep everything organized.
- Regular Cleaning: I clean my workspace regularly, removing dust, debris, and scraps. This prevents accidents and keeps the space hygienic.
- Workflow Optimization: I arrange my workspace to optimize my workflow. Tools and materials are positioned to minimize movement and maximize efficiency.
- Waste Management: I implement a system for managing waste, separating recyclable materials from non-recyclable ones. This contributes to environmental responsibility.
For example, I have a specific area for wood scraps, a designated drawer for small tools, and a clearly marked space for hazardous materials. This organized approach allows me to focus on my work without unnecessary distractions.
Q 14. What are some of the latest trends in your chosen craft technique?
The craft world is constantly evolving, with several key trends shaping my chosen techniques:
- Sustainability and Upcycling: There’s a growing emphasis on using recycled and sustainable materials, reducing waste, and minimizing environmental impact.
- Digital Integration: Digital tools are increasingly integrated into craft processes, from design and prototyping to fabrication and marketing.
- Personalization and Customization: Consumers are increasingly seeking personalized and unique items, leading to a rise in bespoke craftwork.
- Hybrid Techniques: Combining traditional and modern techniques to create innovative pieces is becoming increasingly popular.
- Experiential Crafts: There’s a growing interest in interactive and experiential crafts, incorporating technology and sensory elements.
For example, I’ve seen a rise in the use of laser cutters and 3D printers in woodworking and jewelry making, along with a greater focus on using reclaimed wood and eco-friendly finishes. Staying abreast of these trends keeps my work relevant and exciting.
Q 15. How do you troubleshoot problems that may arise during the crafting process?
Troubleshooting in crafting is like detective work. You need to systematically identify the problem, analyze its cause, and implement a solution. It starts with careful observation. What went wrong? Is the material behaving unexpectedly? Is the tool malfunctioning?
- Identify the issue: Is the seam splitting? Is the paint cracking? Is the wood warping?
- Analyze the cause: Incorrect technique? Faulty materials? Tool misuse? Environmental factors (temperature, humidity)?
- Implement a solution: This might involve adjusting your technique, replacing faulty materials, sharpening a dull tool, or modifying your work environment. For example, if a seam is splitting, I might check if I used the correct glue, or if the pressure applied was insufficient, or perhaps the materials weren’t properly prepared.
- Document the process: Keeping a record of the problem, its cause, and the solution allows me to learn from mistakes and avoid repeating them.
For instance, once I was working with a delicate lace and noticed the stitching was constantly breaking. After careful examination, I realized my needle was slightly blunt. Replacing it immediately solved the issue.
Career Expert Tips:
- Ace those interviews! Prepare effectively by reviewing the Top 50 Most Common Interview Questions on ResumeGemini.
- Navigate your job search with confidence! Explore a wide range of Career Tips on ResumeGemini. Learn about common challenges and recommendations to overcome them.
- Craft the perfect resume! Master the Art of Resume Writing with ResumeGemini’s guide. Showcase your unique qualifications and achievements effectively.
- Don’t miss out on holiday savings! Build your dream resume with ResumeGemini’s ATS optimized templates.
Q 16. Explain your knowledge of different joining techniques for your craft.
Joining techniques are crucial in crafting, determining the strength, aesthetics, and longevity of a piece. My expertise spans several methods:
- Gluing: A versatile technique utilizing various adhesives depending on the materials (wood glue, epoxy, PVA). Proper surface preparation is key, as is clamping for even pressure.
- Sewing: From basic running stitches to intricate embroidery, sewing secures fabrics and creates decorative elements. Choosing the right needle and thread for the fabric is crucial.
- Weaving: Interlacing fibers creates strong, stable structures. Different weaves (plain, twill, satin) offer varying textures and strengths.
- Knotting: Essential for macrame and ropework, knotting requires precision and knowledge of various knots for specific purposes. The strength and security of the knot are paramount.
- Mechanical Fasteners: Screws, nails, rivets, and other hardware are often used for woodworking and metalwork, offering strength and durability. Selecting the appropriate fastener for the job is critical.
For example, when building a wooden chair, I’d combine gluing techniques with dowels for strong joints, complemented by screws for added security.
Q 17. What are the key differences between different craft techniques?
Different craft techniques vary significantly based on the materials used and the desired outcome. For instance:
- Woodworking vs. Metalworking: Woodworking focuses on shaping and joining wood using tools like chisels, planes, and saws. Metalworking involves manipulating metals through techniques like forging, casting, and welding, requiring different tools and safety precautions.
- Knitting vs. Crochet: Both create fabric using yarn, but knitting utilizes two needles to form interlocking loops, while crochet employs a single hook.
- Painting vs. Drawing: Painting uses liquids to create images on a surface, while drawing utilizes dry media such as pencils or charcoal. The techniques, tools, and materials differ greatly.
- Pottery vs. Ceramics: Both involve working with clay, but pottery is typically wheel-thrown, while ceramics can be hand-built through various methods.
The choice of technique depends on the materials, desired outcome, the craftsman’s skill set, and available tools.
Q 18. Describe your experience with hand tools and power tools.
I’m proficient with both hand tools and power tools, understanding their capabilities and limitations. Hand tools, like chisels, saws, and files, offer precision and control, ideal for intricate details. Power tools, such as routers, drills, and sanders, increase efficiency for repetitive tasks and larger projects.
- Hand tools: I have a deep understanding of sharpening and maintaining hand tools to optimize performance and safety. The feel and control they offer are irreplaceable for certain tasks.
- Power tools: I’m familiar with the safety regulations and operational procedures for various power tools. This includes understanding proper blade selection, speed control, and safety guards.
I always prioritize safety by using appropriate personal protective equipment (PPE), such as safety glasses, ear protection, and dust masks, regardless of the tool used. For example, when using a circular saw, I always use a push stick to keep my fingers away from the blade.
Q 19. How do you approach problem-solving in your craft?
My problem-solving approach in crafting is iterative and experimental. I start by clearly defining the problem and breaking it down into smaller, manageable steps. I then research potential solutions, experiment with different techniques, and evaluate the results. Documentation is key to learning from both successes and failures.
- Define the problem: What exactly is not working?
- Research solutions: Consult books, online resources, or experienced craftspeople.
- Experimentation: Test different approaches, keeping detailed notes.
- Evaluation: Assess the results and refine the approach.
- Documentation: Record the process, noting successes and failures.
For example, if a join is weak, I might try different glues, joinery techniques, or reinforcements until I find a solution that meets my needs.
Q 20. What software or technology do you use to assist in your craft?
Technology plays a significant role in my craft. While I value traditional techniques, software and technology can enhance efficiency and precision.
- CAD software: For designing complex projects, especially in woodworking or metalworking, CAD software helps create precise plans and visualizations.
- Digital pattern making: Software can create accurate and scalable patterns for sewing, quilting, and other fabric-based crafts.
- 3D modeling and printing: This allows for creating prototypes and intricate components, particularly useful for jewelry making or sculpting.
- Online communities and forums: These platforms provide access to a wealth of knowledge, tutorials, and support from other craftspeople.
For instance, when designing a complex piece of jewelry, I use 3D modeling software to create a virtual prototype, allowing me to refine the design before committing to the final production.
Q 21. Explain your understanding of ergonomics in crafting.
Ergonomics is crucial for preventing injuries and maintaining comfort during long crafting sessions. It involves designing and arranging your workspace to promote proper posture, minimize strain, and reduce repetitive movements.
- Proper posture: Sitting or standing with good posture reduces back pain and fatigue.
- Comfortable workspace: A well-organized workspace minimizes reaching and bending.
- Proper lighting: Adequate lighting prevents eye strain.
- Tool selection: Using appropriately sized and weighted tools reduces strain.
- Regular breaks: Taking frequent breaks prevents fatigue and repetitive strain injuries.
For example, I use a comfortable chair with good lumbar support when working at my workbench. I also ensure my lighting is adequate to avoid eye strain, and I take regular breaks to stretch and move around. Ignoring ergonomics can lead to serious health problems such as carpal tunnel syndrome or back problems, so it’s a priority for me.
Q 22. How do you price your work and justify your pricing?
Pricing my handcrafted pieces involves a multi-faceted approach that considers several key factors. It’s not just about the cost of materials; it’s about valuing my time, skill, and the artistry involved.
- Cost of Materials: I meticulously track the cost of all raw materials, including any specialized tools or equipment used. This forms the base price.
- Time Investment: I calculate the total time spent on each piece, from initial design and sketching to the final finishing touches. I assign an hourly rate that reflects my experience and expertise in the field.
- Skill and Expertise: This is where my years of practice and the uniqueness of my techniques come into play. Highly intricate pieces or those requiring specialized skills will command a higher price.
- Market Research: I constantly research the market to understand the pricing of similar handcrafted items. This helps me ensure my prices are competitive yet fairly reflect the value I offer.
- Profit Margin: Finally, I incorporate a reasonable profit margin to cover business expenses and allow for growth.
For example, a complex embroidered piece might have a higher price than a simpler woven item, even if the materials cost less, due to the significantly greater time and skill involved in the embroidery process. I clearly explain this breakdown to clients upon request, so they understand the justification for my pricing.
Q 23. Describe your marketing and sales strategies for your craft.
My marketing and sales strategies are designed to reach my target audience effectively and build a loyal customer base. It’s a multi-pronged approach:
- Online Presence: I maintain a professional website and active social media profiles (Instagram, Etsy, etc.) showcasing my work with high-quality images and detailed descriptions. I engage with followers, respond promptly to inquiries, and run targeted ads to reach specific demographics.
- Craft Fairs and Markets: Participating in local and regional craft fairs allows me to connect directly with customers, showcase my work in person, and receive immediate feedback. This provides valuable face-to-face interaction.
- Collaborations: I collaborate with other artisans and businesses in complementary fields. This expands my reach and exposes my work to a wider audience. For example, partnering with a local gift shop to sell my items.
- Word-of-Mouth Marketing: Satisfied customers are my best marketing tool. I encourage reviews and testimonials to build trust and credibility.
- Email Marketing: I maintain an email list to keep customers informed about new collections, workshops, and special offers.
By combining these strategies, I create a robust marketing and sales funnel that consistently attracts new customers and fosters strong relationships with existing ones.
Q 24. How do you handle criticism and feedback on your work?
Constructive criticism is vital for growth. I view feedback, both positive and negative, as an opportunity to learn and improve my craft. My approach involves:
- Active Listening: I carefully listen to the feedback, seeking to understand the perspective of the critic. I avoid becoming defensive.
- Objective Assessment: I analyze the feedback objectively, separating constructive criticism from personal opinions. Is there a genuine flaw in the technique or design?
- Seeking Clarification: If the feedback is unclear, I politely ask for clarification to ensure I fully understand the concerns.
- Implementation: I consider how to incorporate constructive criticism into my future work, whether it’s refining a technique or adjusting my design process.
- Professional Response: I respond to criticism professionally, thanking the person for their input, even if I don’t agree with every point. This shows respect and professionalism.
For instance, criticism about inconsistent stitching in a piece would prompt me to refine my stitching technique, perhaps by practicing a new method or using better tools. I document these improvements for future reference.
Q 25. What are your career goals in the field of crafts?
My career goals in the field of crafts are ambitious yet grounded in my passion for the art form. I aim to:
- Build a thriving business: I want to create a sustainable business that allows me to dedicate myself fully to my craft, providing high-quality products and exceptional customer service.
- Expand my skillset: I plan to continue learning and mastering new techniques, continually challenging myself to create innovative and unique pieces.
- Teach and mentor: Sharing my knowledge and skills with others is a significant goal. I want to inspire the next generation of artisans through workshops and teaching opportunities.
- Gain wider recognition: I strive to showcase my work in prestigious exhibitions and galleries, building my reputation as a leading artisan.
- Collaborate on larger-scale projects: I hope to participate in collaborative projects, such as installations or public art initiatives, allowing me to work on a larger scale and reach a wider audience.
Ultimately, my goal is to contribute meaningfully to the world of crafts and leave a lasting legacy of beautiful and functional handcrafted items.
Q 26. Describe a time you had to overcome a significant challenge in your craft.
One significant challenge I faced was mastering a complex weaving technique for a large-scale tapestry commission. The pattern was intricate, requiring precise tension and color coordination. I initially struggled with maintaining consistency throughout the piece.
To overcome this, I developed a step-by-step process:
- Detailed Planning: I created a more detailed plan with diagrams and color charts to visualize the process better. This helped me break down the task into smaller, manageable sections.
- Practice and Refinement: I dedicated extra time to practice the technique on smaller samples, experimenting with different tension levels and weaving styles until I achieved the desired consistency.
- Seeking Guidance: I reached out to a more experienced weaver for advice and feedback. They offered valuable insights into troubleshooting common issues.
- Patience and Persistence: The project was time-consuming, requiring immense patience. I maintained a positive mindset and persevered through moments of frustration.
Through meticulous planning, consistent practice, and seeking guidance, I successfully completed the tapestry. This experience taught me the importance of preparation, perseverance, and seeking help when needed.
Q 27. How do you stay current with the latest developments in your field?
Staying current in the field of crafts involves continuous learning and engagement with the community. I employ several strategies:
- Industry Publications and Blogs: I regularly read industry magazines, blogs, and online publications to stay updated on new techniques, materials, and trends.
- Workshops and Conferences: Attending workshops and conferences allows me to learn from renowned artisans, network with peers, and experience new approaches firsthand.
- Online Courses and Tutorials: Online platforms offer a wealth of educational resources. I utilize online courses to learn new techniques and expand my skills.
- Social Media and Online Communities: I actively participate in online communities and social media groups to engage in discussions, share knowledge, and discover new resources.
- Museum Visits and Exhibitions: Visiting museums and art exhibitions exposes me to the works of master artisans from different eras and cultures, inspiring creativity and providing insights into evolving aesthetics.
By actively pursuing these avenues, I ensure that my knowledge and skills remain relevant and contemporary, allowing me to adapt and innovate in my own craft.
Q 28. Explain your understanding of intellectual property rights related to craft designs.
Understanding intellectual property (IP) rights in the context of craft designs is crucial for protecting my creative work. It primarily involves copyright and design patents.
- Copyright: Copyright protects the expression of an idea, not the idea itself. In the context of crafts, this means the unique design, pattern, or artistic interpretation of a piece is protected. Copyright protection is automatic upon creation, but registering the work with the relevant copyright office provides additional legal protection and recourse in case of infringement.
- Design Patents: Design patents protect the ornamental design of a functional item. For instance, the unique shape or pattern of a ceramic vase could be protected by a design patent. Unlike copyright, design patents require formal application and examination by the patent office.
- Trademarks: If I establish a brand name or logo associated with my crafts, I can register it as a trademark to protect it from unauthorized use.
- Moral Rights: These rights, while not directly related to commercial exploitation, protect the artist’s attribution to their work and prevent distortion or mutilation that would harm their reputation.
It’s essential to understand these distinctions and consider which form of IP protection is most suitable for a particular craft design. I consult with legal professionals specializing in intellectual property to navigate the complexities of IP protection and ensure my work is adequately safeguarded.
Key Topics to Learn for Craft Techniques Interview
- Material Selection and Properties: Understanding the characteristics of various materials (wood, metal, fabric, etc.) and their suitability for different craft techniques. Practical application: Justifying material choices based on project requirements and budget.
- Tool & Equipment Proficiency: Demonstrating knowledge of hand tools, power tools, and specialized equipment relevant to your craft. Practical application: Describing safe and efficient use of tools for specific tasks and troubleshooting common issues.
- Design Principles & Aesthetics: Applying design principles like balance, proportion, and rhythm to create visually appealing and functional crafts. Practical application: Analyzing existing crafts and identifying strengths and weaknesses in their design.
- Construction Methods & Techniques: Mastering the specific techniques relevant to your craft (e.g., woodworking joints, metal forging, textile weaving). Practical application: Explaining the steps involved in a complex craft process and problem-solving potential challenges.
- Finishing & Refinement: Understanding finishing techniques to enhance the appearance and durability of the craft (e.g., painting, staining, polishing). Practical application: Choosing appropriate finishing methods based on material and desired outcome.
- Quality Control & Troubleshooting: Identifying and rectifying errors during the crafting process. Practical application: Explaining methods for quality assurance and problem-solving common issues encountered in craft projects.
- Health & Safety Protocols: Demonstrating awareness and adherence to safety regulations and best practices within the craft environment. Practical application: Identifying potential hazards and describing the necessary safety measures.
Next Steps
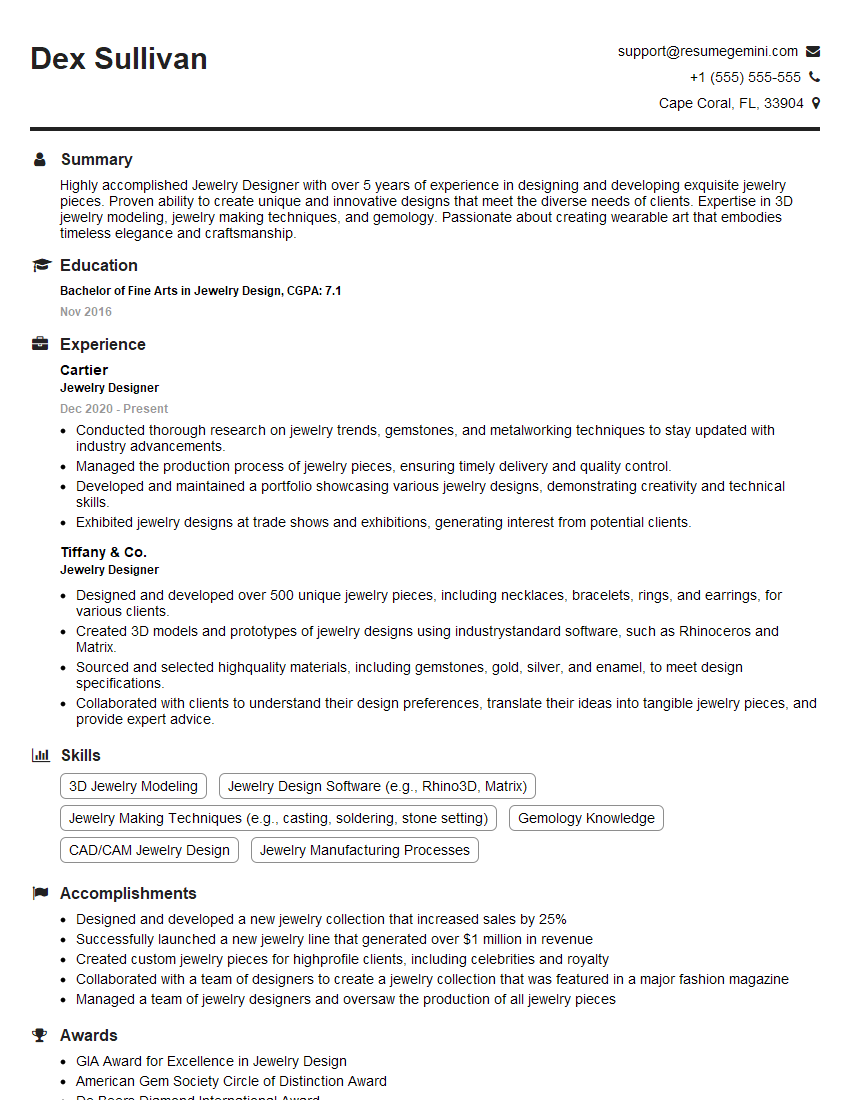
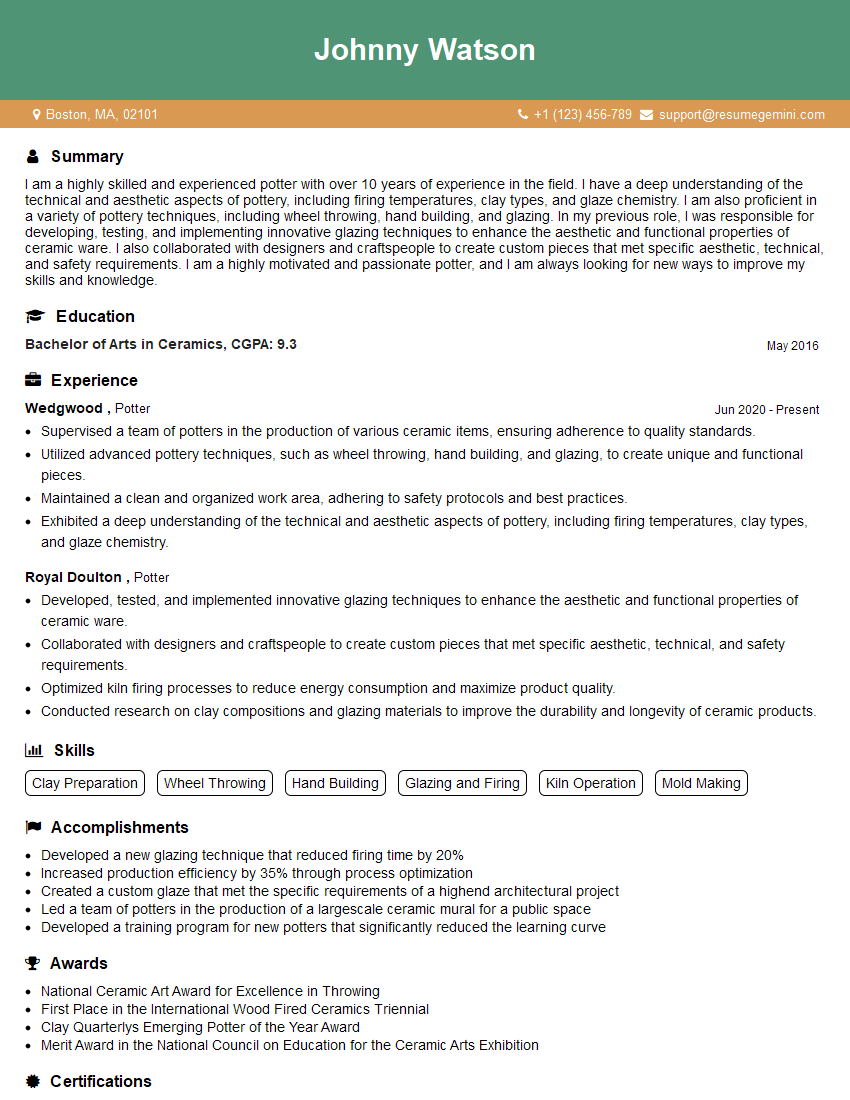
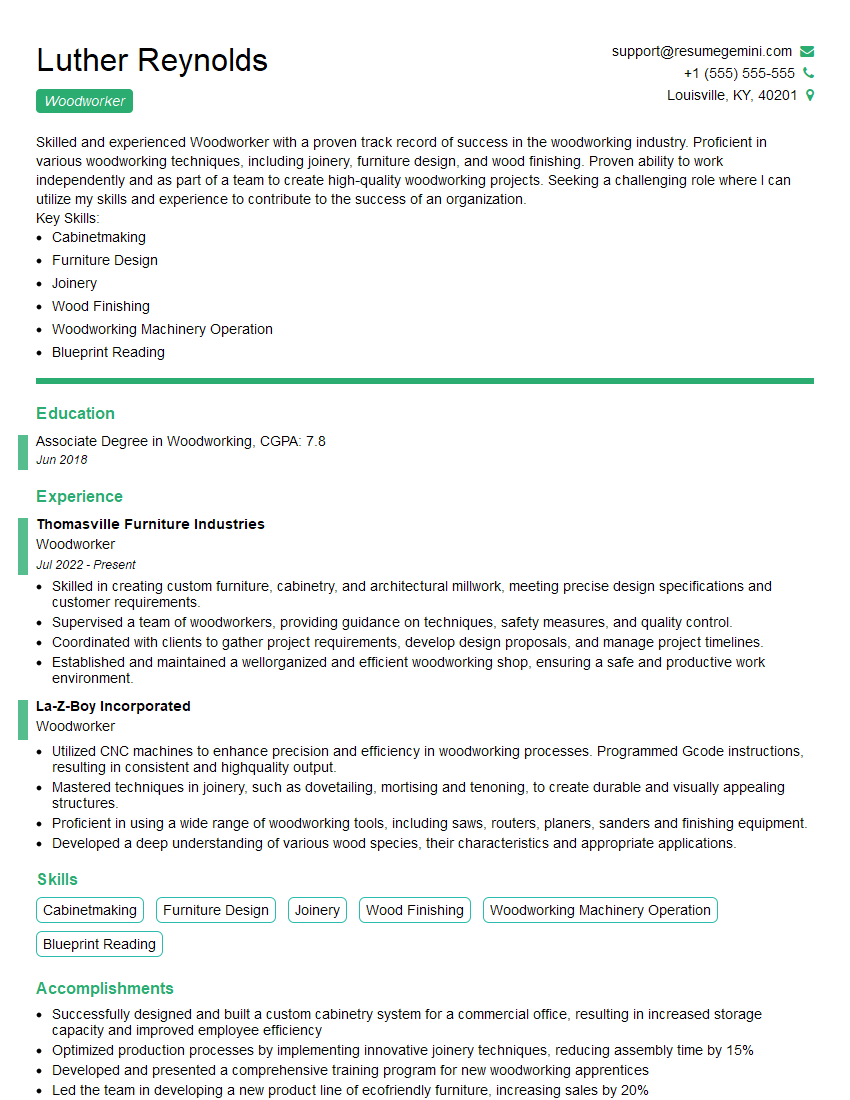
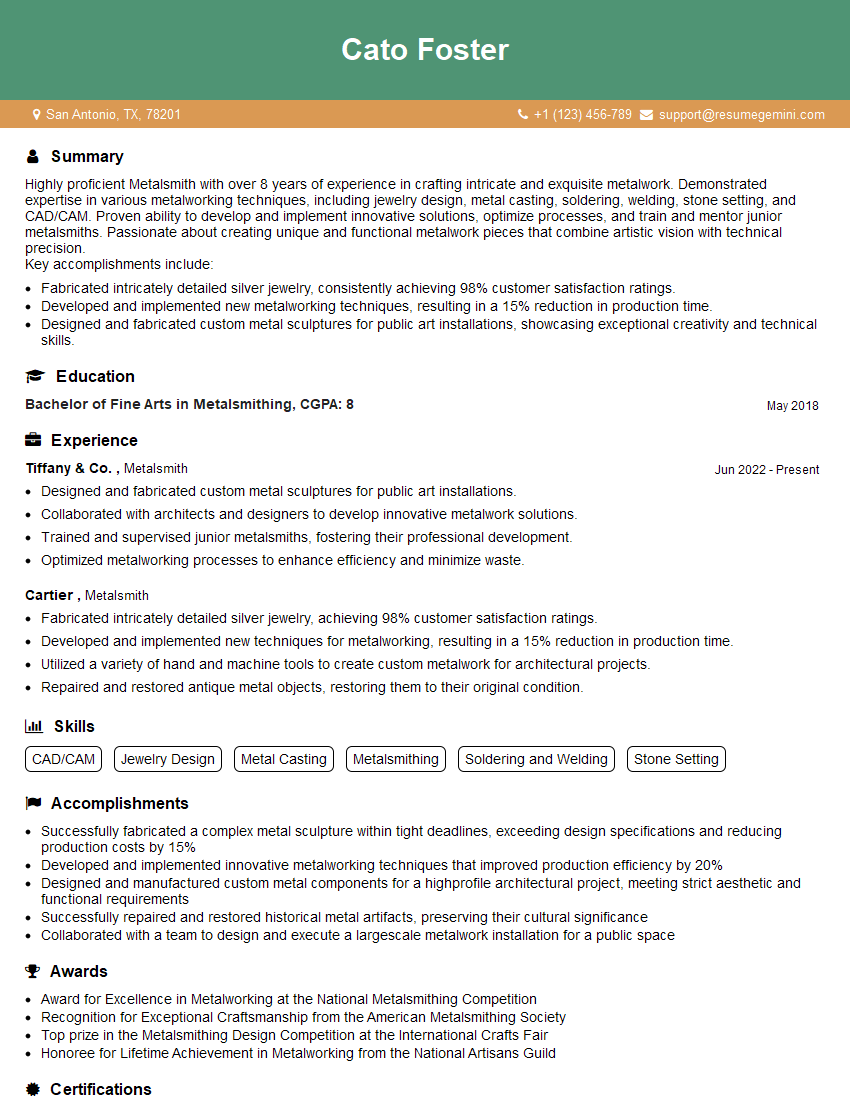
Mastering Craft Techniques is crucial for career advancement, opening doors to exciting opportunities and higher earning potential. A well-crafted resume is your key to unlocking these prospects. An ATS-friendly resume ensures your application gets noticed by recruiters. To create a truly impactful resume that highlights your skills and experience in Craft Techniques, we highly recommend using ResumeGemini. ResumeGemini provides a user-friendly platform to build a professional resume, and we have examples of resumes tailored to Craft Techniques available to guide you. Take the next step towards your dream career – start building your resume today!
Explore more articles
Users Rating of Our Blogs
Share Your Experience
We value your feedback! Please rate our content and share your thoughts (optional).
What Readers Say About Our Blog
Hello,
We found issues with your domain’s email setup that may be sending your messages to spam or blocking them completely. InboxShield Mini shows you how to fix it in minutes — no tech skills required.
Scan your domain now for details: https://inboxshield-mini.com/
— Adam @ InboxShield Mini
Reply STOP to unsubscribe
Hi, are you owner of interviewgemini.com? What if I told you I could help you find extra time in your schedule, reconnect with leads you didn’t even realize you missed, and bring in more “I want to work with you” conversations, without increasing your ad spend or hiring a full-time employee?
All with a flexible, budget-friendly service that could easily pay for itself. Sounds good?
Would it be nice to jump on a quick 10-minute call so I can show you exactly how we make this work?
Best,
Hapei
Marketing Director
Hey, I know you’re the owner of interviewgemini.com. I’ll be quick.
Fundraising for your business is tough and time-consuming. We make it easier by guaranteeing two private investor meetings each month, for six months. No demos, no pitch events – just direct introductions to active investors matched to your startup.
If youR17;re raising, this could help you build real momentum. Want me to send more info?
Hi, I represent an SEO company that specialises in getting you AI citations and higher rankings on Google. I’d like to offer you a 100% free SEO audit for your website. Would you be interested?
Hi, I represent an SEO company that specialises in getting you AI citations and higher rankings on Google. I’d like to offer you a 100% free SEO audit for your website. Would you be interested?
good
