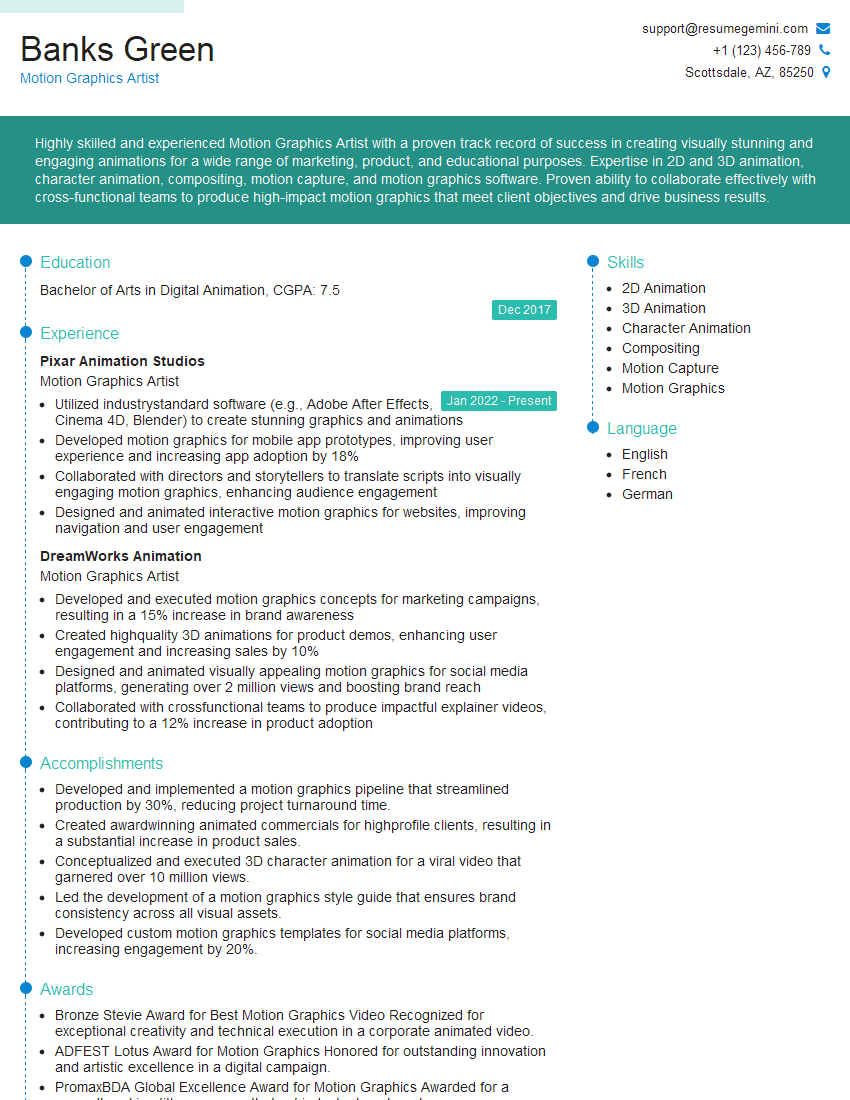
Unlock your full potential by mastering the most common Proficiency in 3D Modeling and Animation Software interview questions. This blog offers a deep dive into the critical topics, ensuring you’re not only prepared to answer but to excel. With these insights, you’ll approach your interview with clarity and confidence.
Questions Asked in Proficiency in 3D Modeling and Animation Software Interview
Q 1. What 3D modeling software are you proficient in?
I’m proficient in several industry-standard 3D modeling software packages. My core expertise lies in Autodesk Maya, which I’ve used extensively for high-polygon character modeling, environment creation, and animation. I’m also experienced with Blender, a powerful and versatile open-source option, particularly useful for quick prototyping and efficient workflow in certain projects. Finally, I have working knowledge of ZBrush, primarily for sculpting high-detail models and adding intricate surface details.
Q 2. Describe your experience with polygon modeling techniques.
Polygon modeling forms the foundation of many 3D models. It involves creating a 3D shape using a mesh of polygons – primarily triangles and quads. My experience encompasses a wide range of techniques, from box modeling (building a model from a simple cube) to edge looping (creating smooth curves and organic shapes by strategically adding edges). I understand the importance of clean topology – ensuring the arrangement of polygons is efficient and doesn’t lead to deformation issues during animation. For example, when creating a character’s arm, I carefully plan the edge loops to allow for natural bending and avoid stretching or pinching. I’m adept at using tools like extrude, bevel, and inset to manipulate the polygon mesh and achieve the desired form.
Q 3. Explain your workflow for creating a realistic character model.
My workflow for creating a realistic character model is iterative and involves several key stages. It usually begins with concept art and reference gathering. Then:
- Concept & Reference: I start by gathering reference images and potentially even 3D scans to inform the design and proportions.
- Base Mesh: I create a low-poly base mesh in Maya, focusing on the overall shape and proportions. This is crucial for animation and game optimization.
- Sculpting (ZBrush): I then import the low-poly model into ZBrush to sculpt high-resolution details, refining the anatomy, adding wrinkles, and creating surface variations.
- Retopology: After sculpting, I retopologize the high-poly model in Maya, creating a new, clean low-poly mesh that maintains the detail from the sculpt. This is crucial for efficient animation and texturing.
- UV Unwrapping: I unwrap the UVs (UV mapping coordinates) to prepare the model for texturing. I aim for efficient UV layouts to minimize texture distortion and seam visibility.
- Texturing: I create detailed textures using Substance Painter or Photoshop, incorporating various maps such as diffuse, normal, specular, and roughness maps.
- Rigging & Skinning: Finally, I rig and skin the model in Maya, creating a skeletal structure and linking it to the mesh, allowing for realistic animation.
Throughout this process, I constantly refine and iterate, ensuring anatomical accuracy and a visually appealing result. For instance, I might go back and adjust the topology if I find an area is difficult to animate.
Q 4. How do you optimize 3D models for game engines?
Optimizing 3D models for game engines requires a focus on polygon count, texture resolution, and draw calls. High polygon counts can significantly impact performance, leading to slow frame rates. My approach includes:
- Polygon Reduction: Using decimation techniques or manual editing to reduce the polygon count of the model without sacrificing visual fidelity significantly.
- Texture Optimization: Using appropriate texture resolutions and compression techniques (like DDS) to reduce the memory footprint and loading times. I avoid unnecessarily high-resolution textures.
- Level of Detail (LOD): Creating multiple versions of the model with decreasing levels of detail. The game engine switches between these LODs based on the distance from the camera, improving performance without sacrificing visual quality up close.
- Mesh Optimization: Ensuring the model’s topology is efficient, avoiding unnecessary triangles or long, skinny polygons. This reduces the processing required to render the model.
I always keep the target game engine’s specifications in mind throughout the modeling process, so optimization is not an afterthought but an integral part of my workflow.
Q 5. What are your preferred texturing techniques?
My preferred texturing techniques involve a combination of procedural and hand-painted methods. I frequently use Substance Painter for its powerful procedural tools, allowing me to quickly generate realistic materials. For example, I can create detailed wood textures using procedural noise and variations, saving time compared to manually painting every detail. However, I often incorporate hand-painted details in Photoshop to add unique characteristics and finesse. This combined approach allows for a balance of efficiency and artistic control.
Q 6. Explain your understanding of UV unwrapping.
UV unwrapping is the process of mapping a 3D model’s surface onto a 2D plane to apply textures. Imagine flattening out an orange peel – that’s essentially what UV unwrapping does. A good UV unwrap minimizes distortion, keeps seams in inconspicuous areas, and creates efficient texture layouts. I utilize various techniques such as planar projection, cylindrical projection, and automated unwrapping tools in Maya, choosing the method best suited to the model’s geometry. Understanding UV layouts is crucial because stretched or distorted UVs result in distorted textures on the 3D model.
Q 7. Describe your experience with rigging and skinning.
Rigging and skinning are essential for animating 3D models. Rigging involves creating a skeletal structure (the rig) inside the model, representing the bones and joints. Skinning is the process of binding the model’s mesh to the rig, so that when the bones are moved, the mesh deforms realistically. I’m experienced in creating both simple and complex rigs, depending on the needs of the project. For example, a simple rig might suffice for a static prop, while a complex character rig would require careful consideration of joint placement and weight painting (assigning skin influence to different bones) to ensure natural-looking movements. I utilize Maya’s rigging tools extensively, and I regularly employ techniques like inverse kinematics (IK) to simplify animation and create more intuitive control over character poses.
Q 8. How do you approach animating complex character movements?
Animating complex character movements requires a layered approach, combining technical skill with artistic understanding. I typically start with a thorough understanding of the character’s anatomy and the desired emotions or actions. This involves studying reference material – be it video footage, anatomical diagrams, or even observing people in real life.
Next, I break down the complex movement into smaller, manageable segments. Think of it like composing a symphony; you wouldn’t try to play the entire piece at once! I might focus on individual limbs first, ensuring smooth transitions and realistic weight distribution, before bringing them together to create the full movement. Keyframing is crucial here, but I also utilize tools like curves and graph editors for precise control over timing, speed, and easing.
For example, animating a character running requires attention to details like foot placement, arm swing, and torso rotation. I would animate the legs first, ensuring a natural stride, then integrate arm movement to maintain balance and momentum. Finally, subtle torso and head movements would add realism. I often use inverse kinematics (IK) to simplify complex relationships, allowing me to manipulate the end points of limbs (like the feet and hands) while the software automatically adjusts the intermediate joints.
Iteration is key. I constantly review my work, comparing it to reference material and making adjustments to ensure accuracy and believability. This process involves a continuous cycle of refinement, ensuring the final animation is fluid, engaging, and true to the character’s personality.
Q 9. What is your experience with motion capture data?
I have extensive experience with motion capture (mocap) data, using it to enhance realism and efficiency in my animations. I’m proficient in importing, cleaning, and retargeting mocap data from various sources, both optical and inertial. This involves using software like Autodesk MotionBuilder or similar applications.
The process often begins with cleaning the raw mocap data. This can involve removing noise, correcting artifacts, and fixing any inconsistencies in the data. Then, I retarget the motion onto my 3D character rig, which is a crucial step that often requires careful adjustment to match the skeletal structures and proportions. Simply putting mocap data onto a rig often isn’t enough; I frequently need to edit and enhance the data manually to create compelling results that properly communicate emotion and intent.
For example, in a recent project involving a character performing parkour, the raw mocap data needed adjustments to better suit the character’s physique and to add more dynamic poses to enhance the visual impact. I used a combination of automated retargeting tools and manual keyframing to achieve this.
However, I understand that relying solely on mocap data can lead to stiff or unnatural results, so I treat it as a base, always refining the animation manually to add personality and detail.
Q 10. How do you troubleshoot issues with animation loops?
Troubleshooting animation loops is a common challenge. A seamlessly looping animation requires precise timing and consistent positioning of the character at the loop’s start and end points. Issues often arise from subtle differences in pose or timing, leading to jarring transitions or visible glitches.
My troubleshooting approach involves a methodical process: First, I visually inspect the animation at the loop’s endpoints, using slow motion to identify any discrepancies. If differences exist, I use various tools provided in the software to adjust the poses, aligning keyframes precisely to resolve the issue. If this doesn’t work, I check the curves, ensuring the animation’s velocity and easing are consistent. This often includes smoothing out abrupt changes in speed.
Sometimes the problem lies in the character’s rigging or model. Incorrectly weighted joints can cause unexpected movements during the loop. In these cases, I might need to return to the modeling stage and revise the rig’s configuration. I often add helper objects or create custom constraints to address more complicated rigging issues. Lastly, I might use advanced tools like cycle-based animation techniques for more control and smoother loops.
For example, a character’s foot might subtly shift position between the beginning and end of a walk cycle loop. By carefully adjusting the keyframes in the final frames of the animation loop, I can create a smooth, seamless transition.
Q 11. Describe your experience with lighting and rendering techniques.
My experience in lighting and rendering encompasses a broad range of techniques, from photorealistic to stylized. I’m adept at creating mood and atmosphere through lighting, understanding how light interacts with surfaces and affects the overall visual narrative.
I begin by establishing a clear understanding of the scene’s atmosphere and the desired emotional impact. This informs my choice of lighting techniques, ranging from simple three-point lighting (key, fill, and back) for a more classical approach to complex setups utilizing area lights, HDRI environments, and volumetric lighting for more nuanced effects.
I utilize global illumination techniques, such as radiosity and path tracing, to create realistic lighting interactions between objects within the scene. I also have experience in using light modifiers like IES profiles to create highly specific lighting effects for realism, such as mimicking specific lamp shapes and light distributions.
I’m particularly adept at utilizing techniques such as ambient occlusion and subsurface scattering to enhance realism and visual fidelity, especially when rendering organic materials like skin and fabrics. Post-processing in compositing software also plays a critical role in refining the final look, including color correction, adding atmospheric effects, and applying finishing touches.
Q 12. What is your experience with different render engines (e.g., V-Ray, Arnold, Cycles)?
I’ve worked extensively with various render engines, including V-Ray, Arnold, and Cycles, each with its own strengths and weaknesses. My choice of engine often depends on the project’s specific requirements, such as render speed, desired level of realism, and available hardware resources.
V-Ray offers strong performance and a robust set of tools for photorealistic rendering, particularly useful for architectural visualization and product design. Arnold excels in its efficient handling of complex scenes and provides excellent control over subsurface scattering, making it ideal for character animation and VFX. Cycles, Blender’s built-in render engine, is a powerful option known for its unbiased rendering capabilities and its ability to handle physically accurate materials; it’s great for projects where accuracy and flexibility are prioritized, even if render times may be longer.
For example, in a project requiring highly realistic skin rendering, I might opt for Arnold for its superior subsurface scattering capabilities. However, for a stylized project where render time is a major constraint, V-Ray might be the more efficient choice.
My experience extends beyond simply using these engines; I’m comfortable optimizing render settings, troubleshooting issues, and leveraging the unique features of each engine to achieve optimal results.
Q 13. How do you manage large 3D scenes efficiently?
Managing large 3D scenes efficiently is paramount for maintaining project performance and preventing crashes. My approach involves a combination of best practices in scene organization, asset optimization, and leveraging software features.
First, I prioritize meticulous scene organization. This includes creating a logical folder structure for assets, grouping related objects, and using layers effectively. This makes it much easier to select, manage, and manipulate elements within a large scene.
Secondly, I employ optimization techniques at both the modeling and texturing stages. This involves using low-poly models whenever possible, optimizing polygon counts, and utilizing efficient texture formats. I also utilize proxy geometry for distant objects to reduce the overall polygon count.
Thirdly, I utilize level of detail (LOD) systems where appropriate, switching to lower-resolution models as objects move farther away from the camera. This significantly reduces the rendering load without compromising the visual quality of close-up shots. Finally, I leverage instancing wherever possible to reduce memory usage, especially when dealing with large numbers of similar objects.
For instance, in a scene with a vast forest, I wouldn’t model every single tree individually. Instead, I would create a few detailed tree models and then instance them across the scene, significantly reducing memory usage and improving performance.
Q 14. Describe your experience with version control systems (e.g., Perforce, Git)?
I have experience using Perforce for large-scale collaborative projects, particularly in professional studio environments. Perforce’s robust features for version control, branching, and merging are essential for managing large datasets and coordinating efforts among multiple artists. It enables efficient workflow, preventing conflicts and ensuring data integrity. I understand how to handle check-in/check-out procedures, resolve merge conflicts, and leverage Perforce’s other features, like shelving, to improve collaboration.
While Perforce is my primary choice for large professional projects, I also possess working knowledge of Git, often using it for smaller personal projects or side tasks. Git’s distributed nature makes it more flexible for individual workflows and open-source projects, and I’m familiar with its branching strategies (like Gitflow) for managing feature development and releases.
Regardless of the system used, I emphasize a clear understanding of the version control system’s workflows to maintain a well-organized project history and avoid potential conflicts. This approach contributes to maintainability, traceability, and ease of collaboration with other team members.
Q 15. Explain your understanding of normal maps and their application.
Normal maps are essentially texture maps that store information about surface normals, which dictate how light interacts with a surface. Instead of explicitly modeling intricate surface details, a normal map ‘tricks’ the renderer into perceiving depth and bumps by altering the lighting calculations based on the normal data. Imagine it like a photograph of tiny hills and valleys – it doesn’t actually change the shape, but it creates the *illusion* of depth.
Application: Normal maps are incredibly efficient for adding fine detail to models without increasing polygon count. Think about the difference between a flat brick wall and one with realistic mortar lines. Modeling each line individually would be incredibly time-consuming, but a normal map can achieve a similar visual effect effortlessly. They’re commonly used for creating textures like rough stone, bumpy skin, or worn metal, effectively adding realism and visual interest to any 3D model.
Example: In a game engine, you might use a normal map to give a low-poly character model the appearance of detailed wrinkles and pores. This saves significant processing power compared to using a high-polygon model with all the details sculpted into it.
Career Expert Tips:
- Ace those interviews! Prepare effectively by reviewing the Top 50 Most Common Interview Questions on ResumeGemini.
- Navigate your job search with confidence! Explore a wide range of Career Tips on ResumeGemini. Learn about common challenges and recommendations to overcome them.
- Craft the perfect resume! Master the Art of Resume Writing with ResumeGemini’s guide. Showcase your unique qualifications and achievements effectively.
- Don’t miss out on holiday savings! Build your dream resume with ResumeGemini’s ATS optimized templates.
Q 16. How do you create realistic materials and textures?
Creating realistic materials and textures involves a multifaceted approach that blends artistic skill with technical knowledge. It starts with understanding the underlying properties of the material you’re aiming to replicate. For instance, wood has grain patterns, metallic surfaces reflect light differently than plastic, and fabrics have varied textures based on their weave.
Process: I often begin by gathering reference images – high-resolution photographs are crucial. Then, I utilize a combination of techniques. For example, I might use procedural textures for generating repeating patterns like wood grain or marble, using software like Substance Designer or similar. For more unique or complex textures, I might photograph real-world objects, scan them using a 3D scanner, or painstakingly paint them in digital painting software like Photoshop.
Software: I utilize various software depending on the project’s needs. Substance Painter excels at creating PBR (Physically Based Rendering) textures, providing realistic results in real-time renderers like Unreal Engine or Unity. Photoshop is invaluable for detailed painting and manipulation of textures, while programs like Quixel Megascans provide a library of pre-made high-quality textures.
Example: To create a realistic leather texture, I would combine a procedural noise texture for the underlying grain, layered with a hand-painted normal map for wear and tear, and finally add subtle color variations to enhance realism.
Q 17. Describe your experience with creating realistic hair and fur.
Realistic hair and fur simulation is a challenging but rewarding aspect of 3D animation. The key lies in understanding the physics of hair strands – how they interact with each other, gravity, and wind. Gone are the days of simple polygon-based hair; now we rely on advanced techniques.
Methods: I typically utilize specialized tools or plugins within my 3D software. XGen in Maya and HairFX in 3ds Max are common choices. These tools use particle systems and simulations to generate individual strands or fur fibers, each responding to physics and controlled by parameters that define their stiffness, length, and behavior. Careful grooming is essential to create natural-looking hairstyles or fur coats, using tools to comb, style, and shape the hair as needed.
Challenges: Balancing realism with performance is crucial, particularly in real-time applications like games. Dense hair simulations can be incredibly resource-intensive. Optimization techniques like hair carding (grouping strands into larger sheets) or using level of detail (LOD) systems are commonly employed.
Example: For a character with long, flowing hair, I would use a particle system to generate individual strands, then simulate wind and gravity to create natural movement and swaying. I’d then meticulously groom the hair, using curves and guides to achieve the desired style and volume.
Q 18. How do you create believable water simulations?
Creating believable water simulations demands a deep understanding of fluid dynamics. While simple techniques might suffice for a still pond, realistic depictions of waves, ripples, and currents often require complex simulations.
Techniques: Many 3D software packages include fluid simulation tools (like RealFlow, Maya Fluids, or Houdini). These tools utilize specialized solvers that calculate the movement of water particles based on physics parameters. These parameters control viscosity, surface tension, and interaction with other objects. For simple effects, a procedural shader might be enough, but for dynamic interactions, full simulations are often necessary.
Considerations: Resolution plays a significant role in realism. Higher resolution means more detailed simulations, but also increased computational costs. Techniques like foam and spray simulations, combined with proper lighting and shaders, further enhance realism. Careful consideration should be given to the interaction of water with other elements in the scene.
Example: To simulate ocean waves, I might use a fluid simulation with realistic parameters for water density and viscosity. I’d then use a displacement map to affect the mesh’s surface and create detailed wave geometry. Finally, I’d add shaders that simulate foam, reflections, and refractions to add a polished touch.
Q 19. What is your approach to creating realistic cloth simulations?
Realistic cloth simulation hinges on accurately modeling the physical properties of fabric. It’s not simply about draping; it’s about how fabric wrinkles, stretches, and folds under different forces like gravity, wind, and collisions.
Approaches: Most 3D software packages incorporate cloth simulation tools. These solvers use a variety of techniques, often based on finite element methods (FEM), to calculate how the cloth reacts to external forces. Key parameters include fabric stiffness, drag, and self-collisions (how the fabric interacts with itself).
Optimization: As with hair and water simulations, optimization is crucial. High-resolution cloth simulations can be computationally expensive. Strategies include using lower resolution meshes for initial simulations, then baking the results onto higher-resolution models. Simplifying complex folds and wrinkles can also improve performance.
Example: To simulate a flowing dress, I would create a low-poly mesh and assign cloth properties. I’d then run the simulation, adjusting parameters like stiffness and drag to get the desired level of drape and movement. Once satisfied with the simulation, I might use the results to create a high-resolution mesh for final rendering, preserving the realism without the computational overhead.
Q 20. Explain your understanding of particle systems.
Particle systems are fundamental tools in 3D modeling and animation. They allow you to create a large number of individual elements (particles) that can be manipulated and animated collectively, simulating effects like rain, snow, fire, smoke, or even crowds of people.
Functionality: Each particle has properties like position, velocity, lifespan, size, color, and even unique behaviors. These properties are often modified over time based on forces, rules, or other parameters. The system can simulate particle interactions, collisions, and emissions, providing enormous versatility.
Applications: Particle systems are exceptionally useful for creating complex visual effects. In a game, you could use them to represent explosions, sparks, or magical effects. In a film, they could be used to simulate realistic crowds, falling leaves, or billowing smoke.
Example: To create a realistic fire effect, I’d design a particle system where particles are emitted from a central point, moving upward and fading out over time. I’d also include parameters to control particle size, color (transitioning from orange to red and then to black), and randomness in their trajectories, all contributing to the realism of the effect.
Q 21. How do you handle feedback and revisions on your work?
Handling feedback and revisions is a crucial part of the creative process. I approach it as an opportunity for improvement and collaboration.
My Process: First, I carefully review any feedback, ensuring I fully understand the comments and suggestions. I often ask clarifying questions if something is unclear. I then evaluate the feedback in the context of the project’s goals and constraints. Not all suggestions are feasible or beneficial.
Collaboration: I actively encourage collaboration. If feedback comes from clients or directors, I’ll engage them in discussions to ensure we’re on the same page. I may create quick test renders or mockups to demonstrate the impact of specific changes before implementing them.
Documentation: I maintain detailed records of all revisions, including the nature of changes and rationale behind any decisions made. This helps with version control and facilitates efficient future iterations.
Example: If a client requests a change to a character’s texture, I would discuss the practical implications (time constraints, cost, and potential visual impact). I’d then provide alternative solutions if the original request is too extensive or time-consuming. The final decision would be reached collaboratively, ensuring both artistic vision and practical considerations are balanced.
Q 22. What are your strengths and weaknesses as a 3D artist?
My greatest strength as a 3D artist lies in my versatility and problem-solving abilities. I’m proficient in a range of software, including Maya, Blender, ZBrush, and Substance Painter, allowing me to tackle diverse projects with confidence. I’m also adept at understanding the technical aspects of 3D pipeline and troubleshooting complex issues efficiently. For example, I once had to debug a rigging issue in Maya that was causing unexpected deformations. By systematically analyzing the rig’s hierarchy and constraints, I pinpointed the source of the error and implemented a solution that prevented it from recurring.
However, my weakness is sometimes getting overly focused on detail, which can occasionally lead to exceeding project deadlines. To counter this, I’ve actively implemented time management techniques like breaking down tasks into smaller, manageable chunks and utilizing project management tools to stay organized and on track. I’m continuously working on improving my ability to balance the need for meticulous detail with effective time management.
Q 23. Describe a challenging 3D project you completed and how you overcame the challenges.
One challenging project involved creating a realistic, fully animated short film featuring a complex character design and a demanding environment. The challenge stemmed from the limited resources and tight deadline. The character was intricately detailed, requiring high-polygon modeling and advanced texturing techniques. Simultaneously, the environment needed to be both visually appealing and performant enough to render smoothly. To overcome this, I employed a multi-phased approach.
First, I used ZBrush for sculpting the character, ensuring optimized topology for animation. I then utilized Maya for rigging and animation, focusing on efficient techniques to minimize polygon count and maintain fluidity. For the environment, I leveraged Blender’s procedural texturing capabilities to create intricate details without excessive memory consumption. I collaborated closely with the team throughout the process, constantly reviewing progress and adjusting the workflow as needed. This collaborative approach, combined with careful planning and prioritization, allowed us to successfully complete the project within the constraints, resulting in a visually stunning and well-received final product.
Q 24. How do you stay up-to-date with the latest trends in 3D modeling and animation?
Staying current in the rapidly evolving field of 3D modeling and animation requires a multi-faceted approach. I regularly follow industry blogs, subscribe to relevant newsletters such as 80 Level, and actively participate in online communities like ArtStation and Polycount, where artists share their work, techniques, and insights. I also attend online webinars and workshops offered by platforms such as Udemy and Skillshare, focusing on emerging technologies and software updates.
Furthermore, I subscribe to industry magazines, such as 3D World, and follow prominent artists and studios on social media to stay informed about the latest software releases, rendering techniques, and artistic trends. Finally, I actively seek out opportunities to experiment with new tools and techniques myself. This constant learning and experimentation keeps me adaptable and competitive within the industry.
Q 25. What are your salary expectations?
My salary expectations are commensurate with my experience and skills, and aligned with the industry standard for a 3D artist with my level of expertise. I’m open to discussing a competitive compensation package that reflects the value I bring to the team. I am comfortable reviewing salary ranges based on this specific position’s requirements and responsibilities.
Q 26. What are your career goals?
My career goals include becoming a highly skilled and respected senior 3D artist, ideally leading and mentoring teams on complex projects within a creative and innovative studio environment. I am particularly interested in developing my expertise in character creation and animation for film and video games. I aim to contribute to projects that push the boundaries of visual storytelling and immersive experiences.
Q 27. Why are you interested in this position?
I am interested in this position because of [Company Name]’s reputation for high-quality work, its innovative approach to [mention specific projects or aspects of the company that appeal to you], and the opportunity to contribute to a team of talented professionals. The specific project descriptions and the company’s culture resonate strongly with my professional aspirations and creative vision.
Q 28. Do you have a portfolio you can share?
Yes, I have a comprehensive online portfolio showcasing a range of my 3D modeling and animation work. It includes examples of character modeling, environmental design, animation, and texturing projects, demonstrating my proficiency in various software packages and artistic styles. I am happy to share the link with you.
Key Topics to Learn for Proficiency in 3D Modeling and Animation Software Interview
- Software Proficiency: Deep understanding of at least one major 3D modeling and animation package (e.g., Maya, Blender, 3ds Max, Cinema 4D). This includes mastery of its interface, tools, and workflows.
- Modeling Techniques: Demonstrate expertise in various modeling techniques such as polygon modeling, NURBS modeling, and sculpting. Be prepared to discuss the strengths and weaknesses of each approach and when to apply them.
- Animation Principles: Solid grasp of the 12 principles of animation and how to apply them to create believable and engaging character animation, or animation of inanimate objects.
- Texturing and Shading: Knowledge of creating and applying textures, understanding different shading techniques (e.g., Phong, Blinn-Phong, subsurface scattering), and using materials to achieve realistic or stylized visuals.
- Lighting and Rendering: Experience with lighting setups, different rendering techniques (e.g., ray tracing, path tracing), and optimizing render settings for efficient workflows.
- Rigging and Skinning: Ability to create and use rigs for character animation, understanding the principles of skinning and weight painting for realistic movement.
- Workflow and Pipeline: Understanding of a typical 3D animation pipeline, from initial concept to final rendering, including asset management and collaboration techniques.
- Problem-Solving and Troubleshooting: Showcase your ability to identify and resolve common technical issues encountered during the 3D modeling and animation process.
- Portfolio Presentation: Be prepared to discuss your portfolio, highlighting your skills and creative process for each project.
- Industry Standards and Best Practices: Familiarity with industry-standard file formats, workflows, and best practices for efficient and collaborative projects.
Next Steps
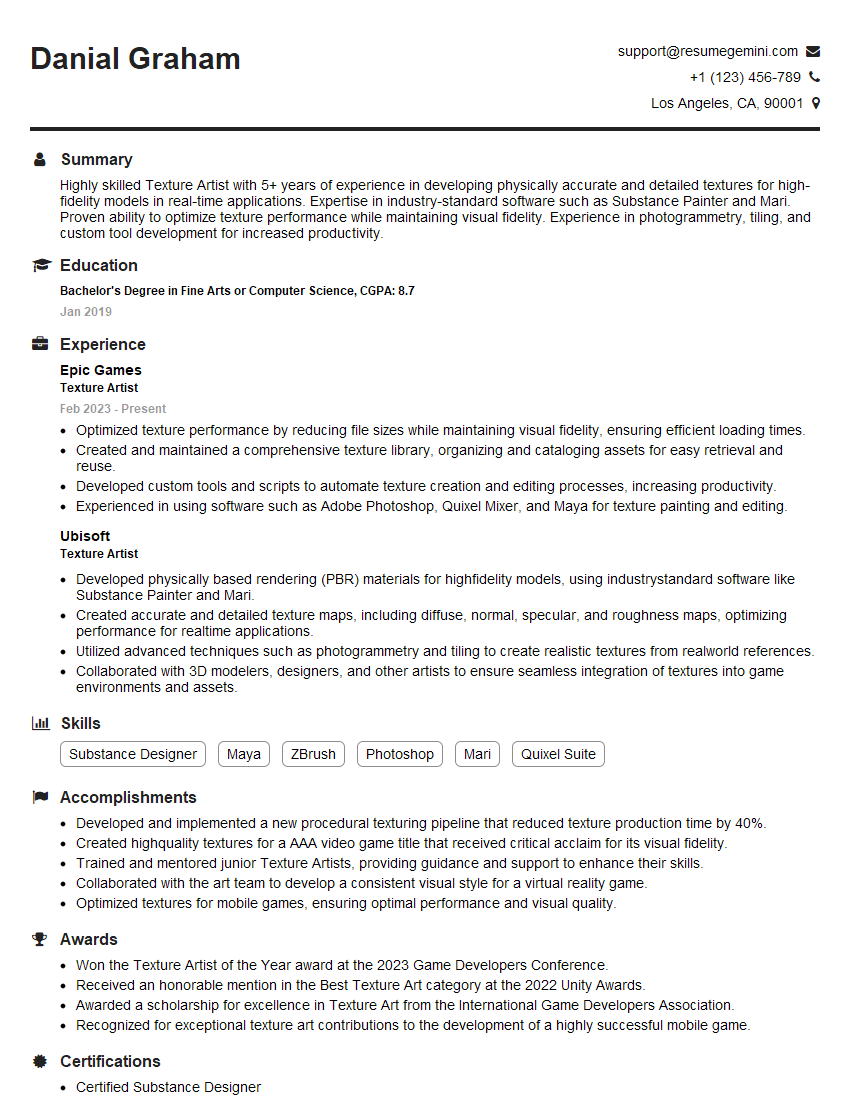
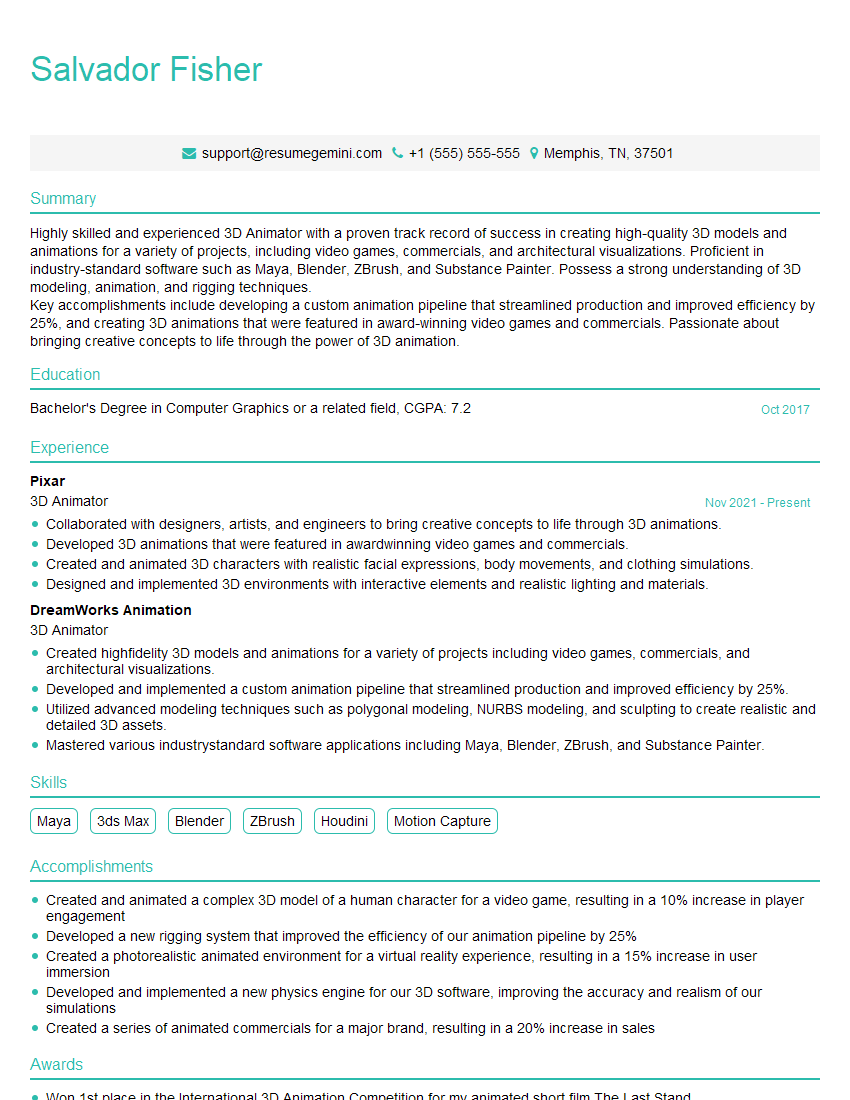
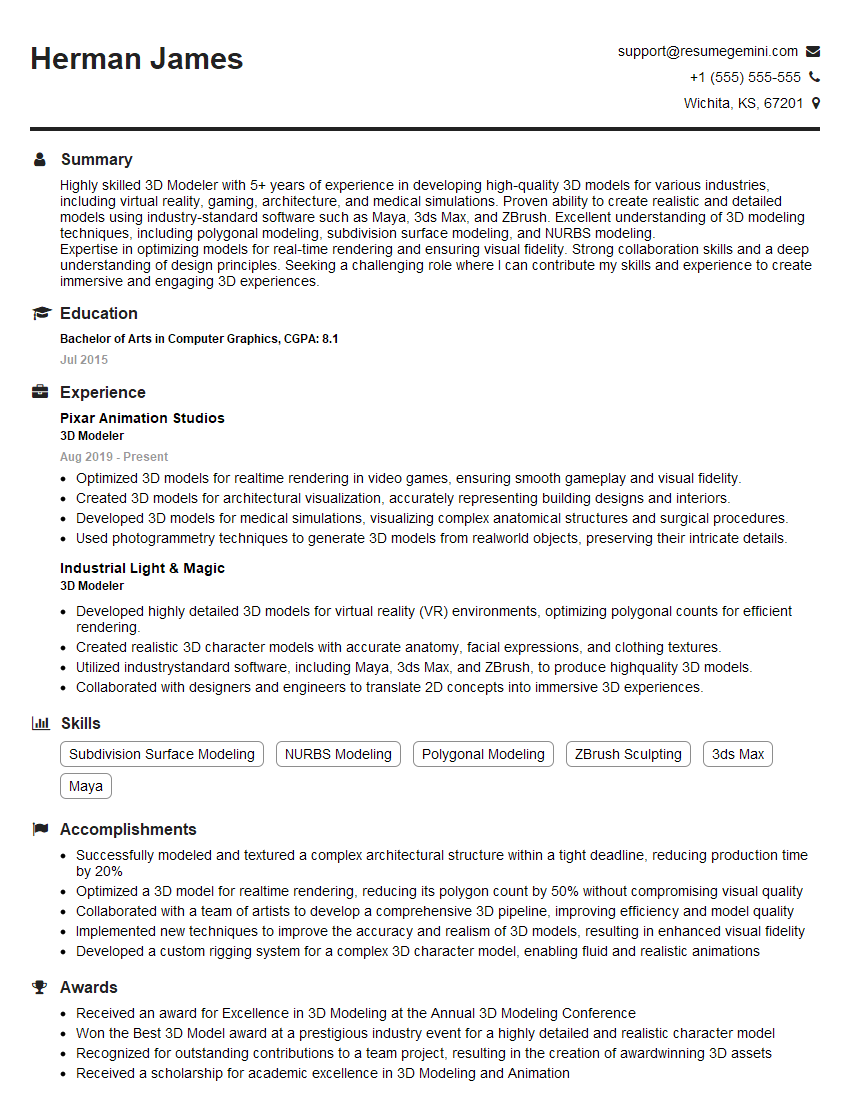
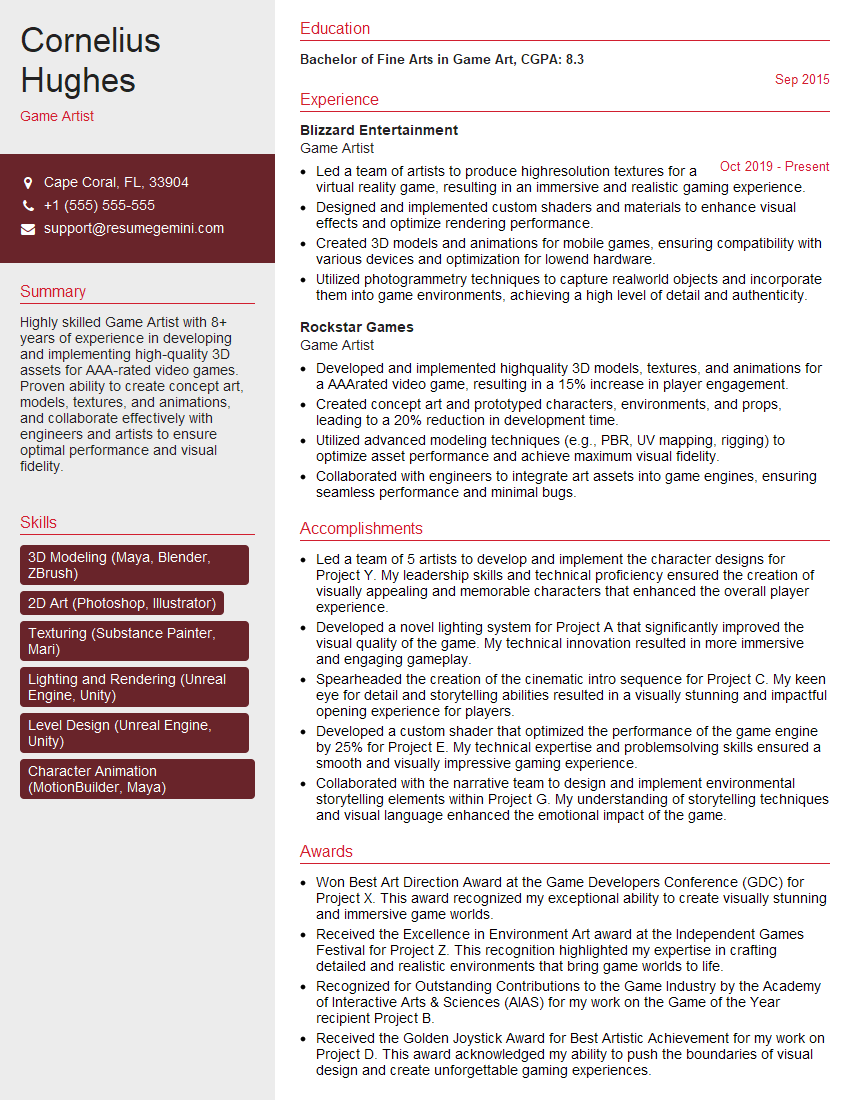
Mastering proficiency in 3D modeling and animation software is crucial for a successful and rewarding career in animation, visual effects, game development, or architectural visualization. A strong foundation in these skills opens doors to exciting opportunities and career advancement. To increase your chances of landing your dream job, crafting an ATS-friendly resume is essential. ResumeGemini is a trusted resource that can help you build a professional and effective resume that highlights your skills and experience. We provide examples of resumes tailored to Proficiency in 3D Modeling and Animation Software to help you get started. Take the next step towards your dream career today!
Explore more articles
Users Rating of Our Blogs
Share Your Experience
We value your feedback! Please rate our content and share your thoughts (optional).
What Readers Say About Our Blog
Hello,
We found issues with your domain’s email setup that may be sending your messages to spam or blocking them completely. InboxShield Mini shows you how to fix it in minutes — no tech skills required.
Scan your domain now for details: https://inboxshield-mini.com/
— Adam @ InboxShield Mini
Reply STOP to unsubscribe
Hi, are you owner of interviewgemini.com? What if I told you I could help you find extra time in your schedule, reconnect with leads you didn’t even realize you missed, and bring in more “I want to work with you” conversations, without increasing your ad spend or hiring a full-time employee?
All with a flexible, budget-friendly service that could easily pay for itself. Sounds good?
Would it be nice to jump on a quick 10-minute call so I can show you exactly how we make this work?
Best,
Hapei
Marketing Director
Hey, I know you’re the owner of interviewgemini.com. I’ll be quick.
Fundraising for your business is tough and time-consuming. We make it easier by guaranteeing two private investor meetings each month, for six months. No demos, no pitch events – just direct introductions to active investors matched to your startup.
If youR17;re raising, this could help you build real momentum. Want me to send more info?
Hi, I represent an SEO company that specialises in getting you AI citations and higher rankings on Google. I’d like to offer you a 100% free SEO audit for your website. Would you be interested?
Hi, I represent an SEO company that specialises in getting you AI citations and higher rankings on Google. I’d like to offer you a 100% free SEO audit for your website. Would you be interested?
good
