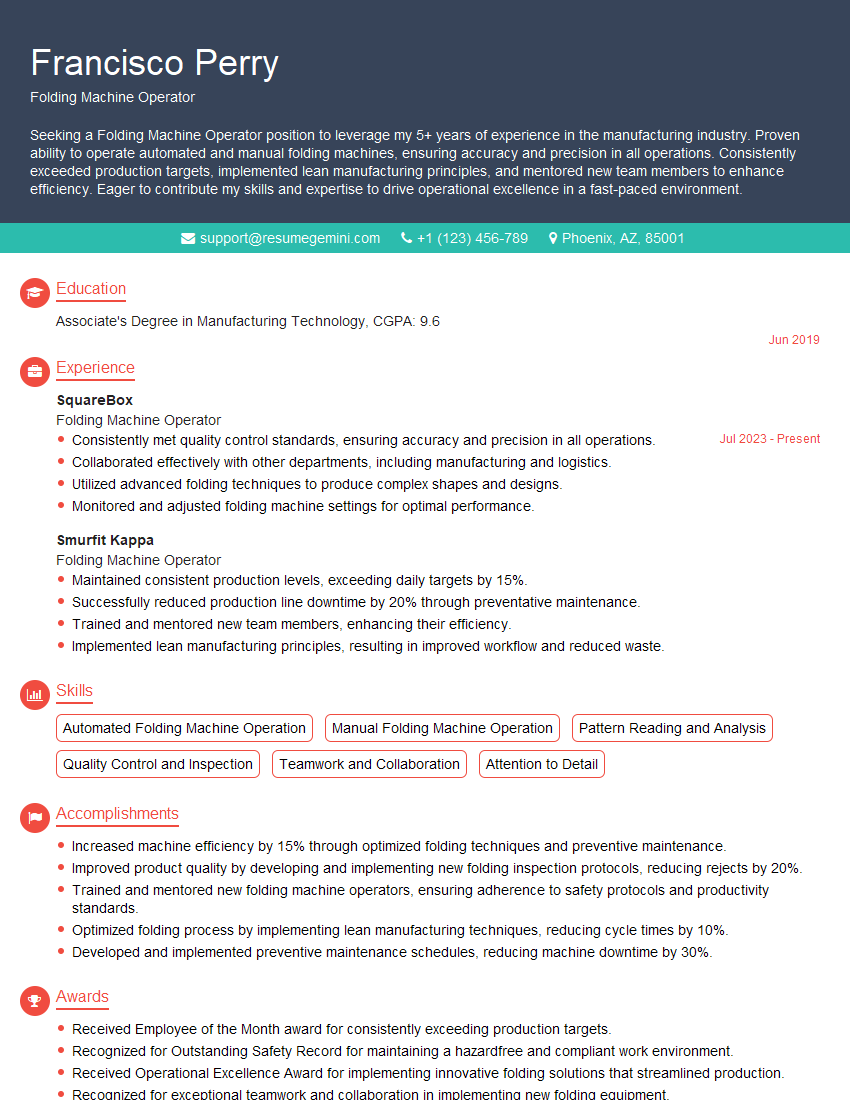
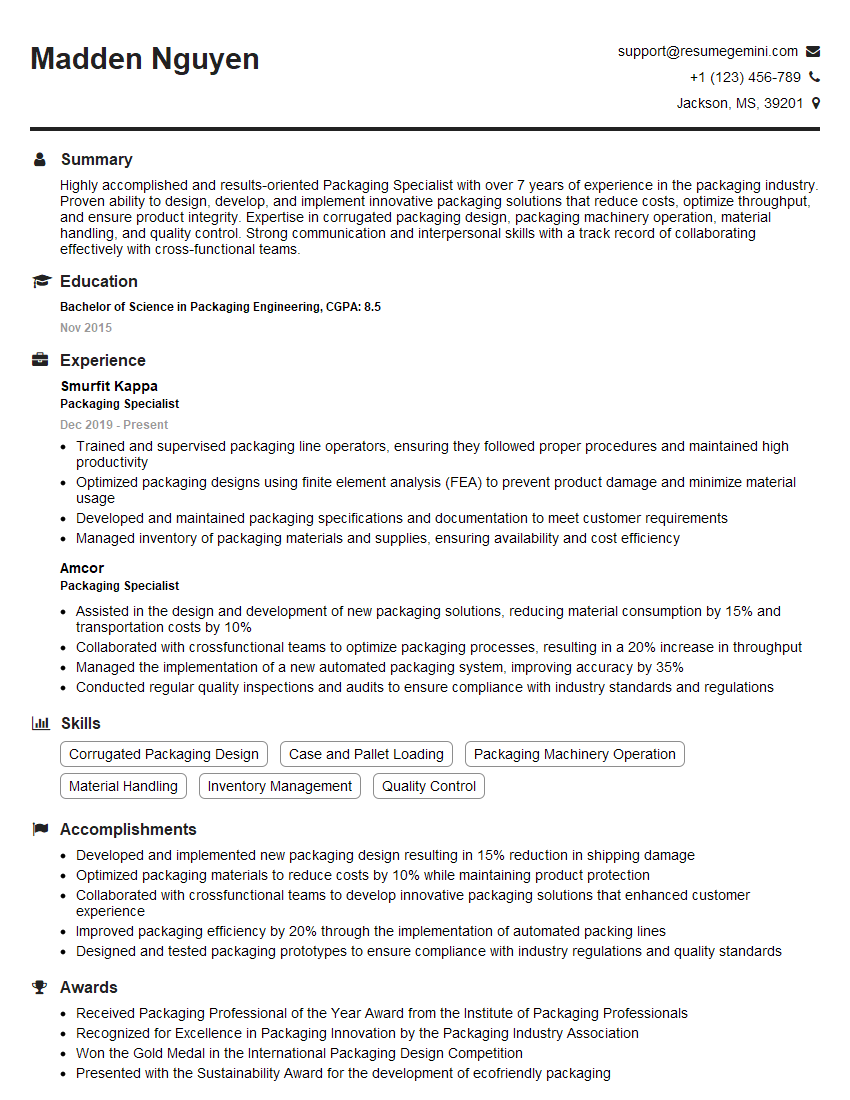
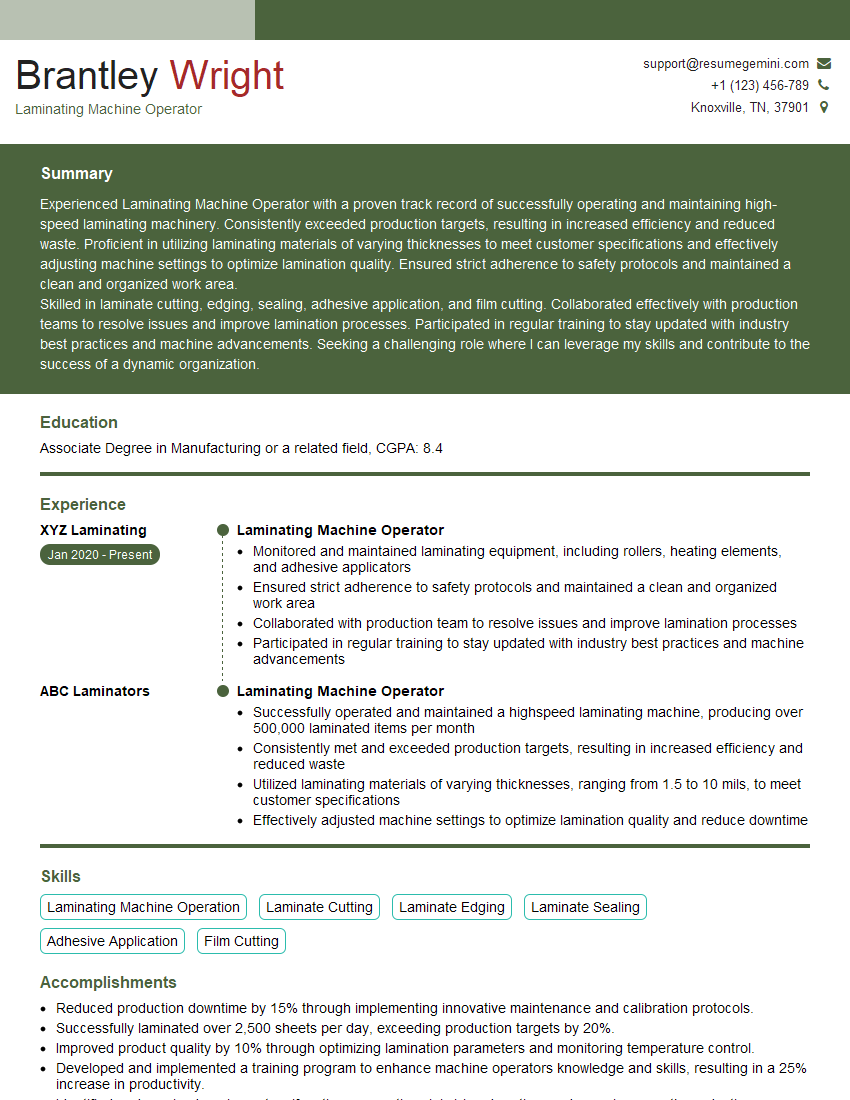
Interviews are opportunities to demonstrate your expertise, and this guide is here to help you shine. Explore the essential Bindery and Finishing Techniques interview questions that employers frequently ask, paired with strategies for crafting responses that set you apart from the competition.
Questions Asked in Bindery and Finishing Techniques Interview
Q 1. Explain the difference between perfect binding and saddle stitching.
Perfect binding and saddle stitching are two common bookbinding methods, each suited for different types of documents. Perfect binding, often used for softcover books, magazines, and journals, involves gluing the edges of the pages together to create a square spine. Think of your typical paperback novel – that’s perfect binding. Saddle stitching, on the other hand, is simpler and more cost-effective. It involves folding sheets of paper in half and then stitching them together through the fold using wire staples. This method is ideal for brochures, booklets, and magazines with a lower page count.
- Perfect Binding: Pages are glued together along the spine, creating a smooth, flat surface. A cover is then wrapped around the glued block.
- Saddle Stitching: Pages are folded in half, and staples are inserted through the fold to secure the pages together. This method is limited by the thickness of the document because too many staples will result in a bulky and poorly-bound item.
The key difference lies in the spine: perfect binding has a smooth, glued spine, while saddle stitching has a visible staple line down the center.
Q 2. Describe the process of three-hole drilling and its applications.
Three-hole drilling is a bindery process that creates three evenly spaced holes along the spine of a document, allowing it to be easily stored in a binder or folder using binder rings, clips, or other fastening mechanisms. The process involves using a specialized drilling machine with adjustable guides to ensure consistent hole placement. This ensures that documents can be easily inserted and removed, keeping them organized and accessible.
- Process: The document stack is aligned in the drilling machine, which has three precisely positioned drill bits. The machine punches the holes simultaneously, creating a neat and uniform row of holes.
- Applications: Three-hole drilling is widely used for documents needing frequent handling, such as reports, invoices, student papers, and documents requiring archiving.
For example, imagine a large office managing hundreds of client reports. Three-hole drilling ensures that these reports remain organized and easy to retrieve without damaging the pages.
Q 3. What are the different types of laminating films and their uses?
Laminating films protect and enhance printed materials. Different films offer various properties:
- Gloss Laminate: Provides a high-gloss, shiny finish. It enhances the vibrancy of colors and makes the print more resistant to scratches and smudges. Ideal for brochures, posters and materials where visual appeal is critical.
- Matt Laminate: Offers a non-reflective, matte finish, reducing glare. It’s often preferred for documents where readability is paramount, like contracts or technical manuals.
- Soft-Touch Laminate: Provides a velvety, soft texture to the printed material, adding a luxurious feel. It is a popular choice for packaging and high-end marketing materials.
- UV Coating: Not strictly a film, but a liquid coating applied to add a protective layer, often with a gloss or matte finish. It provides excellent scratch and scuff resistance.
The choice of laminate depends on the final product and its intended use. A glossy finish might be ideal for eye-catching marketing materials, whereas a matte finish would be better suited for documents needing clear readability.
Q 4. How do you troubleshoot common issues with a perfect binding machine?
Troubleshooting a perfect binding machine requires a systematic approach. Common issues include:
- Glue Problems: Insufficient glue application leads to pages falling out. Check the glue reservoir, nozzle, and temperature settings. A clogged nozzle might require cleaning.
- Misaligned Pages: Inconsistent spine thickness results in crooked books. Check the feeding mechanism and ensure pages are properly aligned before binding.
- Spine Cracking: Over-tightening the spine causes it to crack. Adjust the pressure settings on the machine to find the optimal balance between a secure binding and damage prevention.
- Mechanical Issues: The machine might have a broken component. Regular maintenance and professional servicing are essential.
The troubleshooting process involves inspecting the machine, testing glue consistency, checking alignment, and adjusting settings. If the problem persists, it’s best to consult a qualified technician.
Q 5. Explain the importance of quality control in bindery and finishing.
Quality control is paramount in bindery and finishing. It ensures that the final product meets the required standards and customer expectations. A robust quality control program includes:
- Pre-Press Inspection: Checking the printed sheets for quality, color accuracy, and any defects.
- In-Process Monitoring: Observing the binding and finishing processes to identify and correct any deviations from the standards.
- Post-Process Inspection: Inspecting the finished product for defects such as misaligned pages, uneven gluing, or damage to the cover.
- Statistical Process Control (SPC): Using statistical methods to monitor and control the quality of the processes over time.
Quality control minimizes waste, improves efficiency, and protects the company’s reputation. Imagine delivering a batch of poorly bound books – it would severely damage your client relationships and your company’s image.
Q 6. What are the safety precautions you would take while operating a cutting machine?
Safety is crucial when operating a cutting machine. Here are some essential precautions:
- Proper Training: Operators must receive thorough training before using the machine.
- Personal Protective Equipment (PPE): Always wear cut-resistant gloves, safety glasses, and appropriate clothing.
- Machine Guarding: Ensure all safety guards are in place and functioning correctly. Never operate a machine with a faulty guard.
- Clear Workspace: Keep the area around the machine clear of any obstacles or clutter.
- Careful Feeding: Feed materials slowly and steadily to avoid jams or accidents.
- Emergency Stop: Know the location of the emergency stop button and how to use it.
- Regular Maintenance: Machines should be regularly inspected and maintained to prevent malfunctions.
Failing to follow these safety measures can lead to serious injuries such as cuts, lacerations, or even amputation.
Q 7. How do you handle a jam in a folding machine?
Handling a jam in a folding machine requires caution and a systematic approach. Never force the paper.
- Power Off: Turn off the machine and unplug it from the power source before attempting to clear the jam.
- Locate the Jam: Carefully identify the location of the jam. Most folding machines have access panels to allow inspection.
- Careful Removal: Gently remove the jammed paper, avoiding any forceful movements that could damage the machine or cause injury.
- Inspect for Damage: Check for any signs of damage to the paper or the machine’s components.
- Restart: Once the jam is cleared and the machine is inspected, restart it and check its operation.
It’s crucial to follow the manufacturer’s instructions for clearing jams, as procedures may vary slightly between different models. If the jam persists or you’re unsure about how to handle it, contact a qualified technician.
Q 8. What are the various types of paper finishes and their suitability for different applications?
Paper finishes significantly impact the look, feel, and functionality of a printed piece. They range from simple to highly specialized. The choice depends heavily on the intended use and desired aesthetic.
- Uncoated: Absorbs ink well, giving a slightly textured feel. Ideal for stationery, notepads, or where a natural look is desired. Think of a classic notebook.
- Coated: Offers a smooth, glossy surface, enhancing vibrancy and sharpness of images. Common for magazines, brochures, and high-quality catalogs – places where image quality is key.
- Matte: Provides a smooth, non-reflective surface, reducing glare. Good for books, high-end business cards, and applications needing readability under varying light.
- Silk/Satin: A balance between gloss and matte, offering a subtle sheen. A popular choice for invitations or marketing materials where a touch of elegance is needed.
- Embossed/De-bossed: Creates a raised or indented texture for a tactile element, adding a premium feel. Often used on luxury packaging or invitations.
- Varnished: A protective coating that enhances colors, adds durability, and resists water and scuffing. Used on packaging, covers, and high-traffic materials.
Choosing the right finish is crucial. For instance, using a glossy finish on a business card might be distracting, whereas for a product catalog showcasing vibrant photography, it’s ideal.
Q 9. Describe your experience with die-cutting and its applications.
Die-cutting is a process where a sharp, custom-shaped blade cuts through the material, creating intricate shapes and designs. My experience includes working on numerous projects, ranging from simple shapes like circles and squares to highly complex designs involving intricate curves and perforations.
I’ve used die-cutting for various applications, including:
- Packaging: Creating unique window cut-outs in boxes, unusual shapes for product inserts, or die-cut labels.
- Promotional materials: Producing custom-shaped brochures, business cards, and promotional giveaways, making them more eye-catching and memorable. For example, a die-cut Christmas tree for a holiday promotion.
- Stationery: Crafting cards and invitations with personalized shapes and textures adding an extra layer of sophistication.
- Labels and stickers: Cutting labels into specialized shapes and sizes, for example, custom shaped bottle labels that mirror the product’s form.
I’m proficient in working with both steel-rule dies (for longer runs) and laser-cut dies (for shorter runs and more intricate designs).
Q 10. How do you ensure accurate scoring and creasing?
Accurate scoring and creasing are essential for clean, consistent folds. Improper scoring can lead to cracking or uneven folds, impacting the final product’s quality. To ensure accuracy, I focus on several key areas:
- Proper Machine Calibration: Regularly calibrating the scoring and creasing wheels is crucial to maintain consistent pressure and depth. This ensures a clean, consistent score that allows the paper to fold cleanly.
- Correct Pressure Settings: Adjusting pressure based on the paper stock’s thickness and type. Too much pressure can cause damage; too little won’t create a deep enough score.
- Choosing the Right Tool: Using the appropriate scoring and creasing wheels for different materials. Different materials have different properties, and the wrong tool will negatively affect the process.
- Material Testing: Always perform test runs with new or unusual paper stock before a full production run. This helps to identify any potential issues or required adjustments in advance.
- Quality Control: Inspecting finished products to identify and address any inconsistencies. This is important for high-quality output and efficient rework.
Think of it like baking a cake – precise measurements are crucial to a successful outcome. The same is true with scoring and creasing.
Q 11. What is the role of pre-flighting in ensuring successful bindery and finishing?
Preflighting is a critical step in the print production workflow. It involves checking the files for potential problems *before* they go to press. This prevents costly errors and delays in bindery and finishing.
In bindery, preflighting ensures:
- Correct bleed and margins: Checking to make sure images and text extend beyond the trim line where needed.
- Appropriate color profiles: Ensuring color consistency across different devices and ensuring the colors are accurate to the design.
- Correct imposition: Checking the arrangement of pages for printing and binding; incorrectly imposed pages will cause major problems during finishing.
- Font embedding: Making sure the required fonts are embedded to avoid font substitution issues.
- Image resolution: Verifying sufficient resolution for high-quality printing to avoid pixelation.
By catching these errors early, preflighting significantly improves efficiency, reduces waste, and ensures a higher quality final product. It’s like a safety net, protecting against unexpected problems during the more expensive later stages of production.
Q 12. Explain the process of creating a case-bound book.
Case binding is a robust method used for creating high-quality books, such as textbooks or novels. It involves several steps:
- Gathering and Sewing: The printed sheets are gathered in the correct order and sewn together to form a text block. Different sewing methods exist, such as saddle stitch or perfect binding. This process is fundamental to the book’s structural integrity.
- Adhesive Binding (Optional): A layer of glue may reinforce the sewn sections.
- Trimming and Finishing: The rough edges of the text block are trimmed to create a neat, even edge. This step ensures a clean, professional look.
- Case Making: The cover boards (typically cardboard) are covered with the selected cover material, often cloth or paper. This process requires precise measurements and attention to detail for an aesthetically pleasing cover.
- Attaching the Case: The prepared text block is carefully glued to the cover, creating the finished book. Pressure and proper drying time are important here for a strong bond.
- Cover Finishing: The cover may be further enhanced with foil stamping, embossing, or other finishing techniques. This adds a finishing touch and may influence the perceived quality.
Each step is crucial to the final book’s quality. For example, inaccurate trimming could lead to an uneven book, detracting from the overall aesthetic. My experience includes working with various materials and understanding the subtleties of each step to ensure the highest quality end product.
Q 13. What are the different types of binding techniques suitable for magazines?
Magazines require binding methods that balance cost-effectiveness with durability and a professional finish. The most common techniques include:
- Saddle Stitch Binding: The pages are folded and stitched through the spine with wire staples. It’s a cost-effective method suitable for magazines with a relatively low page count (typically under 64 pages). Think of your average, thin magazine.
- Perfect Binding: The edges of the pages are glued together, and the cover is wrapped around the glued spine. It allows for higher page counts and a more professional look, but is more expensive than saddle stitching. This is common for thicker magazines.
- Wire-O Binding: Pages are punched with holes, and double-loop wire is inserted to bind them. This technique creates a lay-flat book, suitable for magazines that require frequent flipping.
The choice of binding method depends on several factors: the magazine’s page count, budget, desired aesthetics, and the intended use. For example, a promotional magazine might opt for saddle stitch binding for cost-effectiveness, while a high-end fashion magazine might use perfect binding for a more premium feel.
Q 14. How do you handle different paper weights and sizes during finishing?
Handling diverse paper weights and sizes during finishing requires adaptability and the right equipment. Different paper stocks present unique challenges.
Paper Weight: Heavier papers require adjustments to the machine’s pressure and speed. Too much pressure can cause cracking or breakage, while too little may result in poor scoring or folding. I always ensure the machine is calibrated correctly for the paper weight. For example, heavier cardstock for a greeting card will need more pressure than lighter paper for a leaflet.
Paper Size: Larger sheets require careful handling to prevent jams or misalignment. Adjusting the machine’s guides and feeders is critical to ensure smooth processing and accurate cutting and folding. I often utilize specialized equipment designed for handling different sheet sizes efficiently.
Strategies:
- Proper feeding techniques: Using proper techniques to feed the paper into machines, to minimize jams or wrinkling.
- Machine adjustments: Ensuring all the machine settings are correctly adjusted to handle the variations in paper weight and size.
- Material testing: Performing test runs on a new material before beginning the full job to identify and solve any potential issues.
Experience and attention to detail are paramount when dealing with diverse paper stocks to ensure consistent quality and efficiency.
Q 15. Describe your experience with different types of adhesive used in binding.
Selecting the right adhesive is crucial for a successful binding project. The choice depends heavily on the substrate (paper type and weight), binding method, and desired durability. My experience encompasses a wide range of adhesives, including:
- Hot Melt Adhesives: These are fast-setting, thermoplastic adhesives commonly used in perfect binding and saddle stitching. They offer speed and efficiency but can be sensitive to temperature fluctuations and might not be ideal for extremely porous materials. I’ve successfully used them in high-volume book production where speed is paramount. For example, when working on a project with a tight deadline for a large-scale textbook print run, hot melt adhesives proved invaluable.
- PUR (Polyurethane Reactive) Adhesives: These are strong, flexible adhesives that create a durable bond, even on challenging substrates like coated papers or synthetics. They’re frequently used for case binding and perfect binding where a robust, long-lasting bond is essential. A recent project involving a high-end photo album demanded the strength and flexibility of PUR adhesive to prevent cracking or tearing over time.
- Casein Adhesives: Traditional and widely used for case binding, especially in bookbinding that requires longevity. They are known for their archival quality but require more time to dry. I’ve found these particularly useful for preserving historical documents or high-value limited editions.
- Eva Adhesives: These offer good initial tack and flexibility, making them suitable for various applications, including gluing covers. Their versatility makes them a workhorse in many bindery settings. I often use Eva when working with less expensive book projects or brochures where durability is a factor but cost-effectiveness is important.
Understanding the properties of each adhesive type—its tack, drying time, strength, and flexibility—allows me to make informed choices that ensure optimal binding quality and efficiency for different projects.
Career Expert Tips:
- Ace those interviews! Prepare effectively by reviewing the Top 50 Most Common Interview Questions on ResumeGemini.
- Navigate your job search with confidence! Explore a wide range of Career Tips on ResumeGemini. Learn about common challenges and recommendations to overcome them.
- Craft the perfect resume! Master the Art of Resume Writing with ResumeGemini’s guide. Showcase your unique qualifications and achievements effectively.
- Don’t miss out on holiday savings! Build your dream resume with ResumeGemini’s ATS optimized templates.
Q 16. How do you maintain and clean bindery and finishing equipment?
Maintaining bindery and finishing equipment is crucial for maximizing productivity and ensuring consistent quality. My approach involves a multi-faceted strategy:
- Regular Cleaning: Daily cleaning is essential. This includes removing dust, paper scraps, and adhesive residue from all machinery. I use appropriate cleaning solutions—never anything abrasive—following the manufacturer’s recommendations. For example, a soft cloth and isopropyl alcohol are my go-to for cleaning delicate parts of a cutter.
- Preventive Maintenance: Scheduled preventative maintenance is critical. This involves regular lubrication of moving parts, checking for worn components, and tightening loose screws. I maintain detailed logs of all maintenance activities to ensure traceability and predict potential issues. Following a detailed schedule helps avoid costly repairs and breakdowns.
- Operator Training: Proper operator training is key to preventing damage. Operators need to understand the proper operation and limitations of each machine. Regular refresher training ensures best practices are followed.
- Safety Procedures: Safety protocols are paramount. Regular inspections ensure that safety guards are in place and functioning correctly. Safety training is crucial for all personnel.
A well-maintained machine translates to fewer breakdowns, higher output, and better-quality products. Investing time in maintenance is a cost-effective approach to long-term profitability and high-quality work.
Q 17. What are the common causes of misalignment in finishing operations?
Misalignment in finishing operations is a common problem, often stemming from several sources:
- Improper Machine Setup: Incorrect calibration of cutting, folding, or stitching machines is a major culprit. This can be due to faulty installation, lack of maintenance, or operator error. A simple example is an improperly aligned paper guide on a cutter leading to skewed cuts.
- Paper Handling Issues: Variations in paper thickness or moisture content can lead to misfeeds and alignment problems. Incorrect stacking or feeding of paper can also contribute. For example, using slightly damp paper in a high-speed folder could cause misalignment and jamming.
- Worn Components: Over time, machine parts wear down, leading to inaccuracies in alignment. This is especially true for parts like rollers and blades, which often experience significant wear and tear.
- Operator Error: Human error is a frequent source of misalignment. Incorrectly loading materials, neglecting to check alignments during operation, or using incorrect settings all contribute to problems.
Addressing misalignment requires careful troubleshooting and attention to detail. This often involves recalibrating machines, inspecting and replacing worn parts, and ensuring proper paper handling procedures are followed. A methodical approach and attention to detail minimize alignment issues and ensure production accuracy.
Q 18. How do you address inconsistencies in paper thickness during binding?
Inconsistencies in paper thickness during binding can cause significant issues, including uneven folds, binding problems, and poor aesthetics. To manage this:
- Paper Selection: Using paper from a single batch or a supplier who guarantees consistent thickness is crucial. I always check the paper specification sheet for information on thickness variation and tolerance levels.
- Pre-Press Inspection: Carefully inspecting the paper before the binding process is vital. I check for any significant variations in thickness manually or use specialized measuring devices to identify outliers.
- Machine Adjustments: Many binding machines have adjustable features to accommodate varying paper thicknesses. I adjust the settings to optimize for the range of thicknesses found in the project. For instance, the feeder rollers on a perfect binder can be adjusted to handle a slight variation in paper thickness.
- Specialized Techniques: For extreme variations, I might utilize techniques such as pre-conditioning the paper to reduce inconsistencies or employ different binding methods suited to varying thicknesses. For very thick papers, I might switch to a wire-o binding, for instance.
Addressing paper thickness inconsistencies requires a proactive approach, combining careful material selection with machine adjustments and expertise in binding techniques. Proactive measures minimize potential issues, reducing waste and maximizing efficiency.
Q 19. Describe your experience with working with different substrates (e.g., cardstock, vinyl).
My experience working with diverse substrates like cardstock and vinyl is extensive. Each material presents unique challenges and necessitates tailored approaches:
- Cardstock: Cardstock, in various weights and finishes, requires careful consideration of adhesive selection and cutting techniques. Thicker cardstock requires stronger adhesives and more robust cutting tools. I’ve worked with various types of cardstock from lightweight cover stock to heavier presentation board, each demanding different approaches to cutting, creasing, and folding.
- Vinyl: Vinyl substrates, often used in promotional materials or durable covers, present unique challenges. Certain adhesives may not adhere effectively to vinyl’s non-porous surface. Specific cutting techniques might be needed to prevent tearing or damage. The heat sensitivity of vinyl also influences processes such as embossing and lamination.
- Other Substrates: My experience extends to other substrates, including fabrics, plastics, and specialty papers. Each material dictates a unique workflow to achieve optimum results. For example, working with woven fabrics requires a different set of tools and procedures compared to working with hard-cover book boards.
Understanding the properties of each substrate is crucial for selecting appropriate adhesives, tools, and techniques. This ensures efficient and high-quality output while preventing damage to materials and equipment.
Q 20. How do you ensure efficient workflow in a busy bindery department?
Maintaining efficient workflow in a busy bindery demands organization and planning. My approach involves:
- Job Prioritization: Prioritizing jobs based on deadlines and urgency is paramount. This often necessitates a job scheduling system and close coordination with other departments. Utilizing software to manage project timelines is essential in a fast-paced environment.
- Streamlined Processes: Optimizing each step of the binding process is crucial. This involves identifying and eliminating bottlenecks through process mapping and Lean manufacturing principles. Regular review of processes allows for continuous improvement and increased efficiency.
- Teamwork and Communication: Effective communication and teamwork between operators, supervisors, and other departments is essential for preventing delays. Daily stand-up meetings to coordinate tasks are important for avoiding miscommunication and delays.
- Inventory Management: Effective inventory management of consumables like adhesives, paper, and binding materials is crucial to minimize downtime and stockouts. Utilizing a well-managed inventory system prevents production disruptions.
A well-organized and efficient workflow minimizes waste, maximizes throughput, and delivers projects on time and within budget. It’s a continuous improvement cycle requiring adaptability, proactive planning, and effective team communication.
Q 21. What are your preferred methods for waste reduction in bindery operations?
Waste reduction is a key focus in modern bindery operations. My approach combines several strategies:
- Precise Cutting and Trimming: Minimizing waste during cutting and trimming is paramount. This involves using accurate cutting guides, sharp blades, and precise machine settings. Regular maintenance of cutting machines ensures accuracy and minimizes waste.
- Efficient Material Handling: Careful handling of materials minimizes damage and reduces spoilage. Organized storage and efficient workflow help prevent accidental damage or loss of materials.
- Recycling Programs: Implementing a robust recycling program for paper scraps, cardboard, and other materials is essential. This reduces landfill waste and can even generate revenue.
- Process Optimization: Continuous improvement in binding processes helps reduce waste throughout the production cycle. Regular review and adjustment of workflows lead to reduced material consumption and increased efficiency.
- Digital Proofs and Pre-Flight Checks: Using digital proofs and rigorous pre-flight checks helps catch errors early, preventing the production of unusable prints and minimizing waste.
Waste reduction is not just an environmental responsibility but also a cost-saving measure. A systematic approach involving proper training, equipment maintenance, and process optimization leads to significant waste reduction and cost savings.
Q 22. Explain your understanding of color management in relation to finishing.
Color management in finishing is crucial for ensuring the final product matches the design intent. It involves controlling the color throughout the entire process, from prepress to the final output. This includes managing color profiles for different devices like printers, monitors, and cutting machines. Inconsistent color management can lead to significant discrepancies, resulting in costly reprints or dissatisfied clients.
For instance, if the design is created using a specific color profile (e.g., Adobe RGB) but the printer uses a different profile (e.g., sRGB), the printed colors will be different. To mitigate this, we use color management systems (CMS) like those found in Adobe Creative Suite or dedicated proofing software. These systems translate colors between different profiles to ensure consistency. We also perform color proofing, which involves creating a physical proof to check for color accuracy before mass production. This step is often critical for jobs with stringent color requirements, such as corporate branding or high-end photography books.
In practice, this means carefully selecting the appropriate color profile for each stage of the process and using calibration tools to ensure that our equipment is outputting colors accurately. We work closely with the design team to understand their color expectations and then meticulously manage the process to achieve the desired results. The goal is to produce a final product that perfectly captures the designer’s vision.
Q 23. How do you troubleshoot issues with booklet making?
Troubleshooting booklet making involves systematically identifying the source of the problem. This often begins with a visual inspection. Are pages misaligned? Are there creases or folds in the wrong places? Are staples missing or incorrectly placed?
Common issues include misfeeds, which can result in pages out of order or missing. This could stem from problems with the paper itself (e.g., jams caused by moisture or static), the feeder mechanism of the booklet maker, or incorrect settings in the machine. Another frequent problem is incorrect folding, which might be caused by improper settings (e.g., wrong fold size) or worn parts in the folding section. Saddle stitch issues, such as uneven stitching or staples poking through the pages, usually indicate problems with the stitch head or the paper being used.
My troubleshooting approach is a combination of methodical checking, using the machine’s diagnostic tools (if available), and understanding the booklet-making process. I start with the simplest explanation and proceed through the system, testing components or settings until I identify the root cause. I often keep a detailed log of troubleshooting steps, which helps in resolving similar issues in the future and helps communicate the issue effectively if an external repair is needed.
Q 24. How do you ensure proper registration during finishing?
Ensuring proper registration during finishing is paramount for a professional-looking final product. Registration refers to the precise alignment of different elements printed on multiple pages or on different sides of a sheet. Misregistration can lead to significant flaws, such as text or images being slightly off-center or colors not aligning properly.
Several techniques are employed to achieve accurate registration. Pre-press preparation is key; this involves creating imposition sheets that arrange pages precisely for optimal alignment during printing and finishing. We utilize high-precision printing equipment to maintain consistency. During cutting and folding, careful attention is paid to blade alignment and the correct folding pathways. Regular maintenance and calibration of the machinery are crucial to prevent drift and maintain accuracy.
For example, in a multi-color print job, we’ll carefully check the registration marks to ensure each color is aligned correctly before moving to the next stage. We regularly inspect the finished products to maintain quality control, immediately addressing any misregistration to prevent issues affecting large batches. Using registration marks and high-quality equipment combined with a strong emphasis on quality checks enables us to ensure precise alignment throughout the process.
Q 25. What software or systems are you familiar with for managing bindery jobs?
I’m proficient in several software and systems for managing bindery jobs. MIS (Management Information Systems) software is essential for tracking jobs, managing resources, and generating reports. I have experience with systems like Print MIS and EFI Pace, which allow for efficient job scheduling, cost estimation, and inventory management. These systems often integrate with pre-press software, providing a seamless workflow from design to finishing.
Furthermore, I’m familiar with production planning software, which helps optimize the workflow and minimize turnaround times. I also utilize spreadsheet software like Microsoft Excel to create and track job progress sheets and manage material inventory. This includes tracking materials such as paper stock, inks, adhesives, and binding materials, which helps prevent costly delays. Knowing these programs ensures a smooth, efficient, and timely completion of each bindery project.
Q 26. How do you prioritize tasks in a high-pressure bindery environment?
Prioritizing tasks in a high-pressure bindery environment requires a structured approach. I use a combination of techniques, including understanding job deadlines, material availability, and machine capacity. We often employ a system based on urgency and complexity, giving priority to jobs with the tightest deadlines or those requiring specialized equipment.
Using Kanban boards or similar visual management tools helps the entire team visualize the workflow and identify bottlenecks. We hold daily briefings to coordinate tasks and adjust priorities as needed. This collaborative approach ensures that everyone is informed and working towards common goals. Another essential factor is proactively addressing potential delays. By anticipating problems, we can take preventive measures, reducing disruptions to workflow.
For instance, if a large order of a specific type of paper is expected to be delayed, we might re-prioritize jobs that don’t require this specific type of paper to ensure we don’t experience unnecessary downtime. This proactive approach is crucial in ensuring maximum efficiency even under pressure.
Q 27. Describe your problem-solving skills in a bindery context.
My problem-solving skills in bindery are characterized by a systematic and analytical approach. I begin by clearly defining the problem. Is it a mechanical issue, a material issue, a process issue, or a combination? I then gather information, including visual inspection, machine logs (if applicable), and conversations with the team involved in the job.
Once I understand the problem’s nature, I develop potential solutions. This often involves brainstorming with colleagues, checking industry resources, or consulting manuals and technical specifications. I test the proposed solution methodically, making sure to document my actions and findings. If the initial solution fails, I iterate the process, refining my understanding of the issue and developing new approaches.
For example, if a folding machine is consistently producing misfolded booklets, I would first check for simple things, like proper paper alignment and machine settings. If the issue persists, I may inspect the machine for mechanical faults, such as worn rollers or misaligned components. I’m comfortable collaborating with maintenance technicians when required, working as a team to resolve more complex mechanical issues. This methodical approach has helped me resolve various challenges throughout my career, always emphasizing accuracy and efficiency.
Q 28. What are your strategies for improving efficiency in bindery processes?
Improving efficiency in bindery processes requires a multifaceted strategy. One key area is process optimization. This involves analyzing the workflow, identifying bottlenecks, and streamlining the various stages. Lean manufacturing principles, such as eliminating waste and reducing unnecessary steps, can be effectively applied here. This might involve re-arranging the workflow, investing in automation, or implementing new techniques.
Another crucial aspect is employee training and skill development. A well-trained team is more efficient and less prone to errors. Regular training on equipment maintenance, safety procedures, and new technologies can significantly improve productivity and quality. Investing in new technologies, such as automated binding machines or advanced cutting systems, can also drastically increase throughput and precision.
Finally, preventive maintenance is key to ensuring smooth operation and minimizing downtime. Regular equipment checks, cleaning, and calibration can prevent costly breakdowns and delays. Implementing these strategies together creates a culture of continuous improvement, leading to enhanced efficiency and a higher-quality final product.
Key Topics to Learn for Bindery and Finishing Techniques Interview
- Perfect Binding: Understanding the process, its applications (e.g., books, magazines), and common issues like spine cracking or cover adhesion problems. Consider the various adhesive types and their suitability for different paper stocks.
- Saddle Stitch Binding: Learn the mechanics, limitations (page count), and quality control aspects. Be prepared to discuss troubleshooting issues like misalignment or staple malfunctions.
- Case Binding: Explore the steps involved, including cover creation, section sewing, and adhering the cover. Discuss the advantages and disadvantages compared to other binding methods and the types of projects it’s best suited for.
- Die Cutting & Embossing: Understand the principles behind these finishing techniques, including die design, pressure settings, and material selection. Be prepared to discuss potential challenges and quality control measures.
- Folding and Gathering: Explain different folding techniques (e.g., parallel, half, letter) and their applications. Discuss efficient gathering methods and the impact on production speed and accuracy.
- Finishing Processes (e.g., Laminating, UV Coating): Understand the purpose of each process, the materials used, and the potential impact on the final product’s durability and aesthetics. Discuss different lamination types and their properties.
- Print Finishing and Quality Control: Explain the importance of quality control throughout the entire bindery and finishing process. Be able to discuss common quality issues and troubleshooting approaches.
- Equipment Operation & Maintenance (General Knowledge): While specific machine knowledge depends on the role, demonstrating familiarity with common bindery and finishing equipment and basic maintenance is beneficial.
- Material Selection & Cost Considerations: Discuss the importance of selecting appropriate materials (paper, adhesives, coatings) for different projects and the impact of material choices on cost and final product quality.
Next Steps
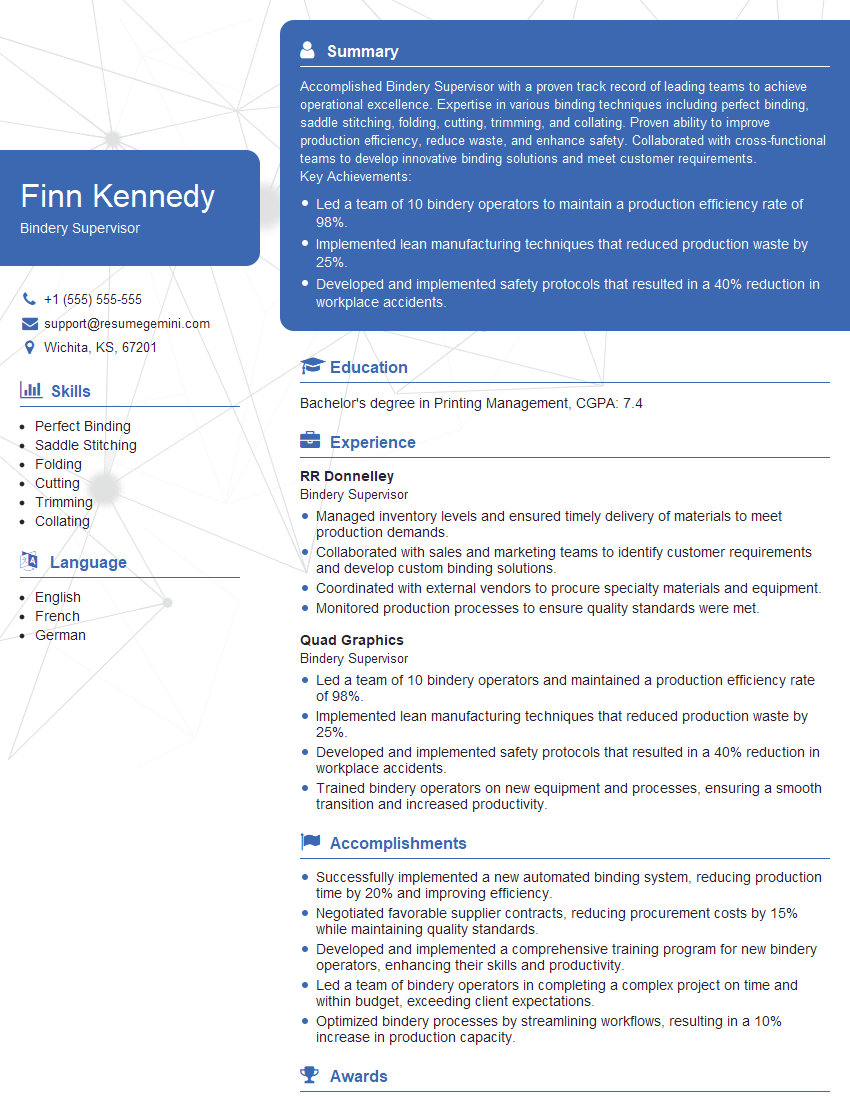
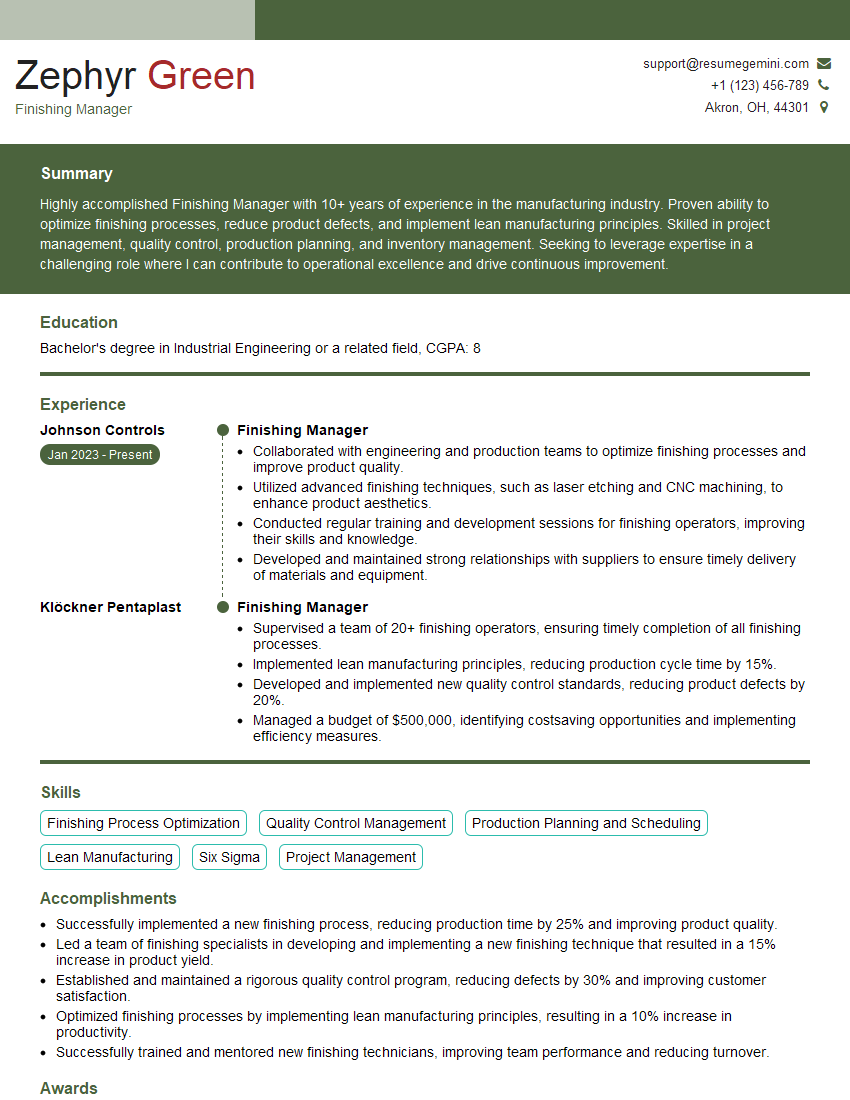
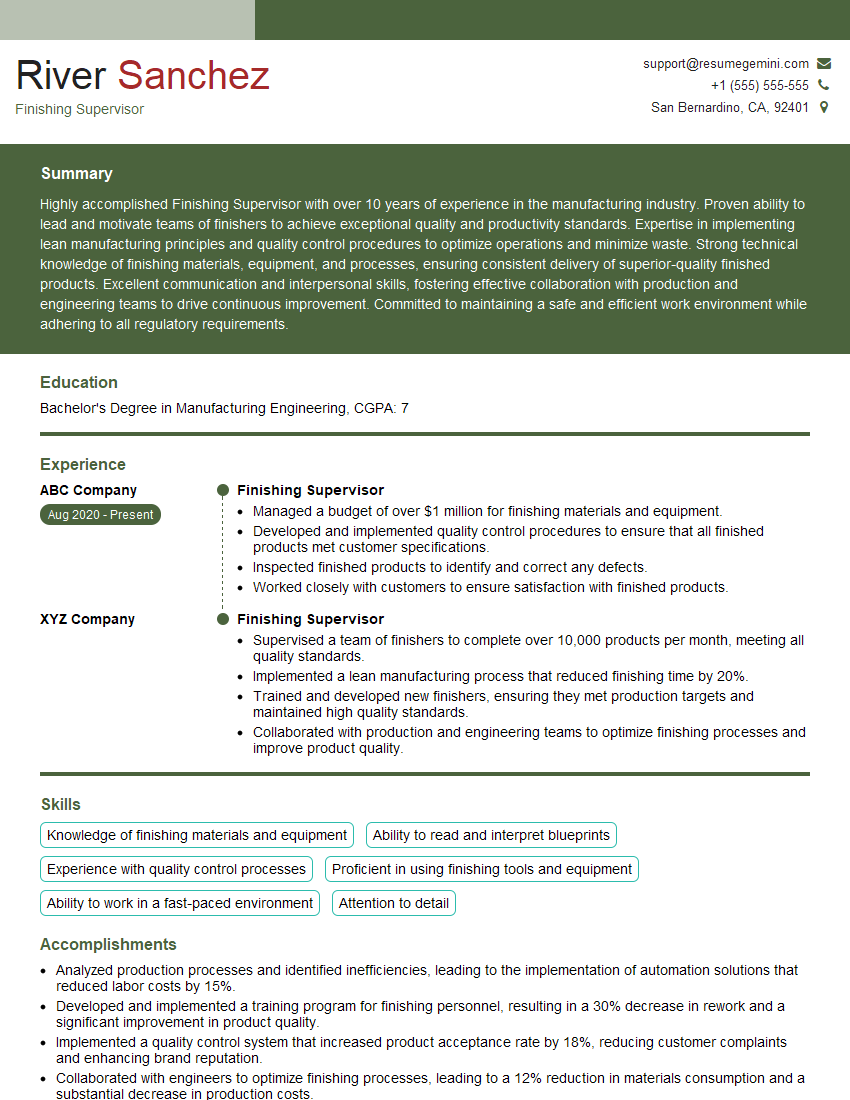
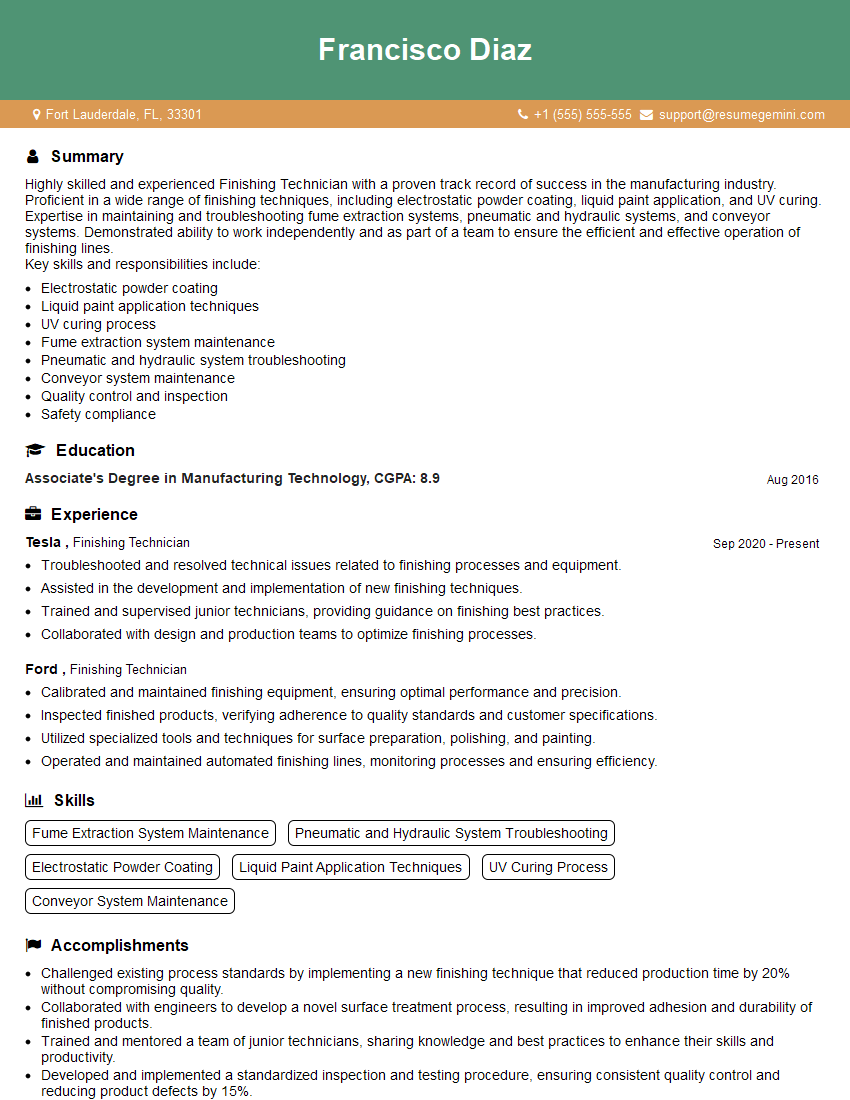
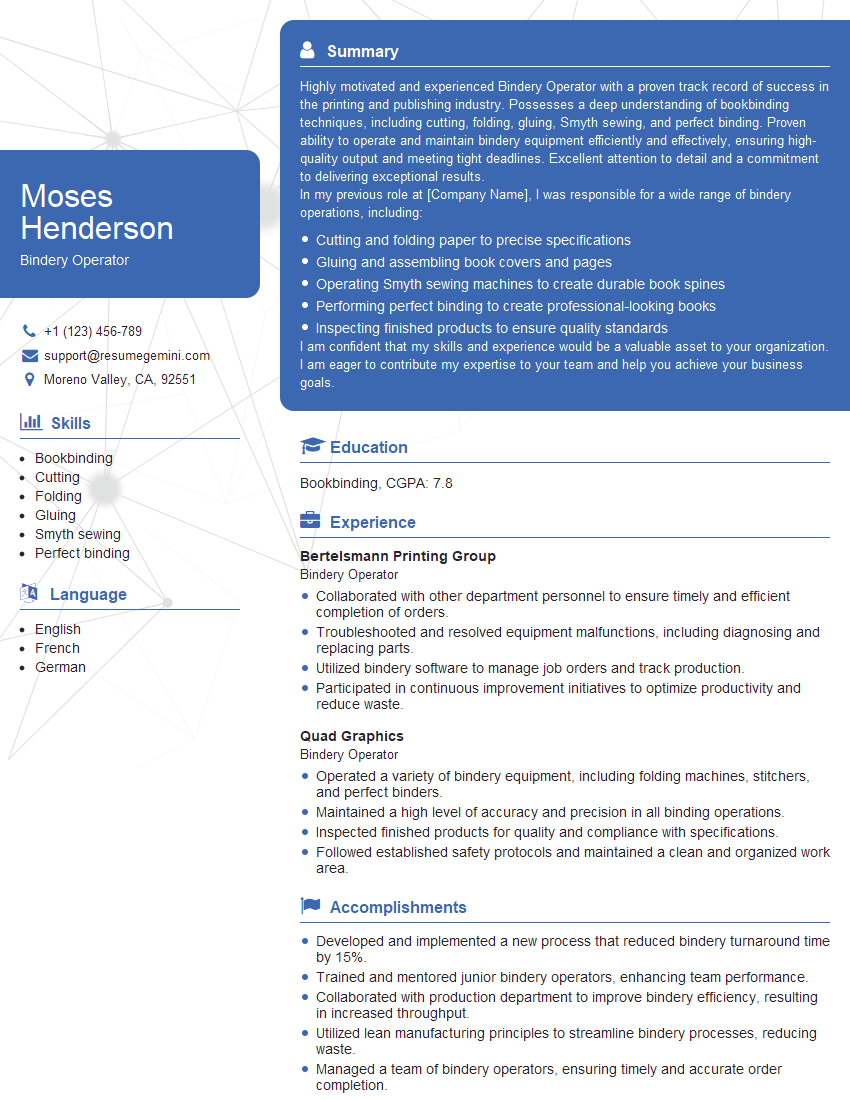
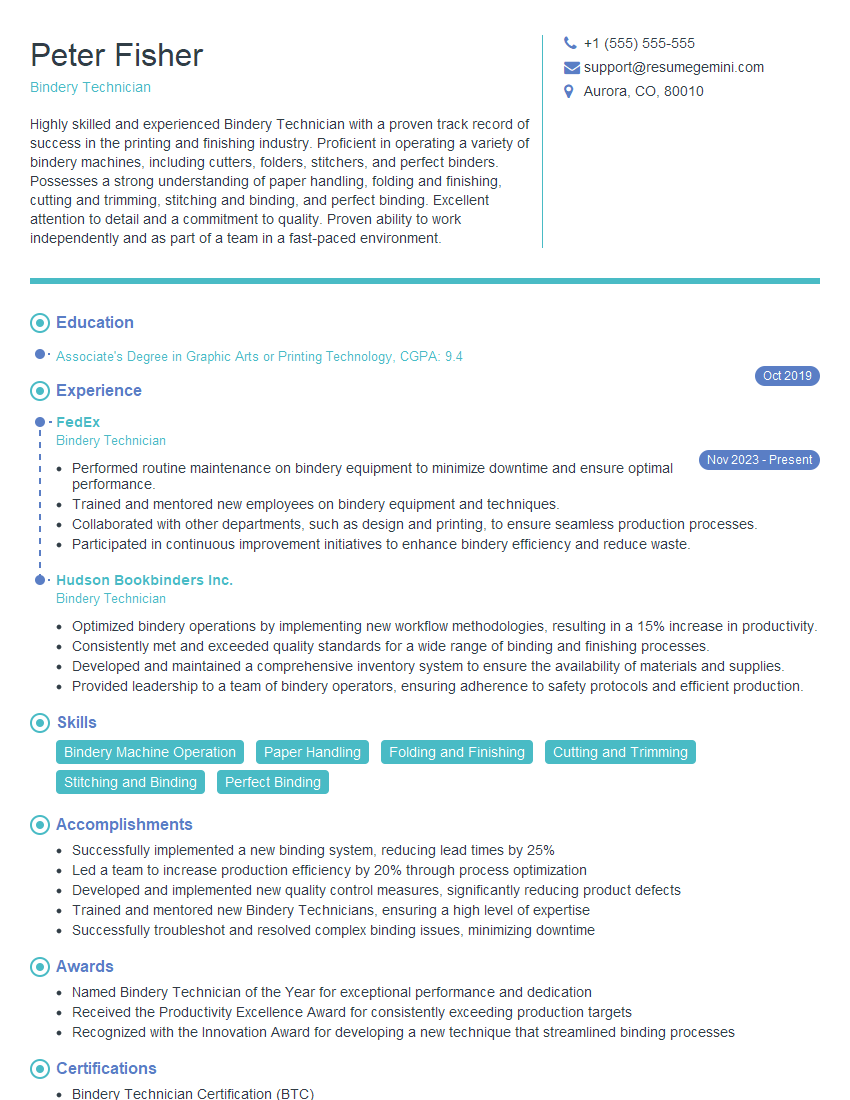
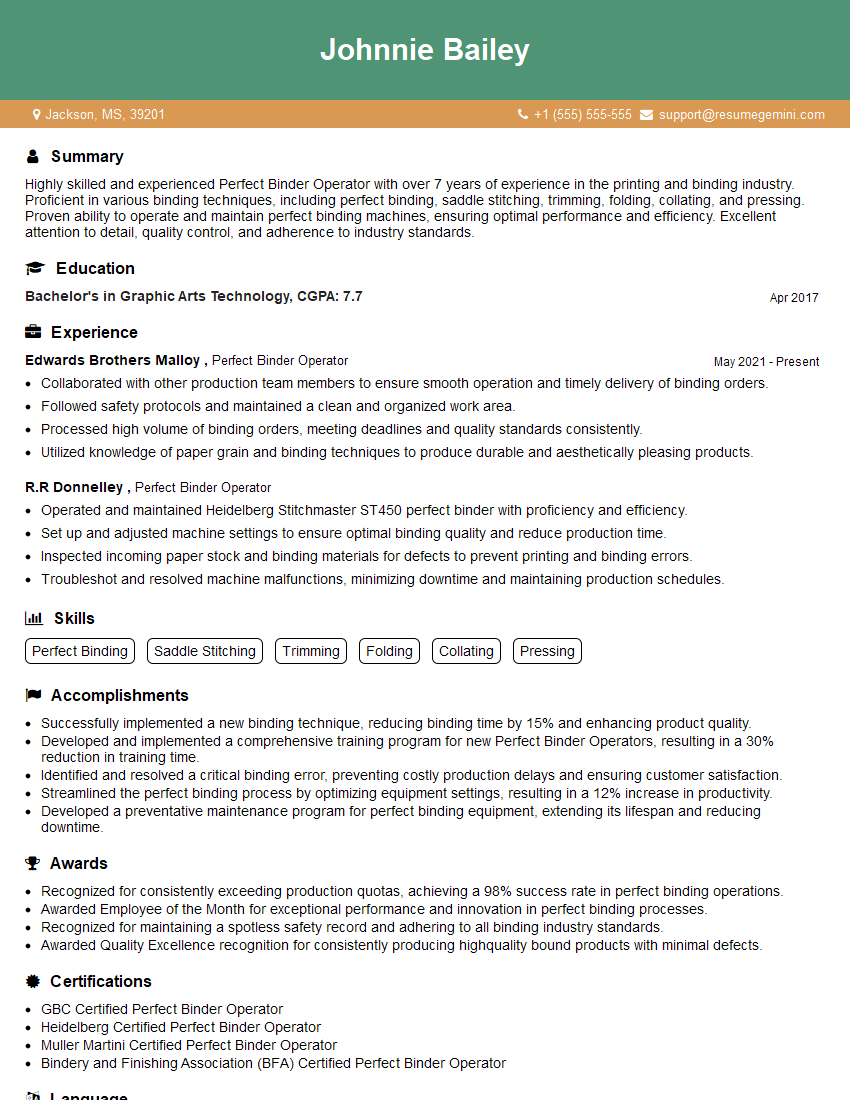
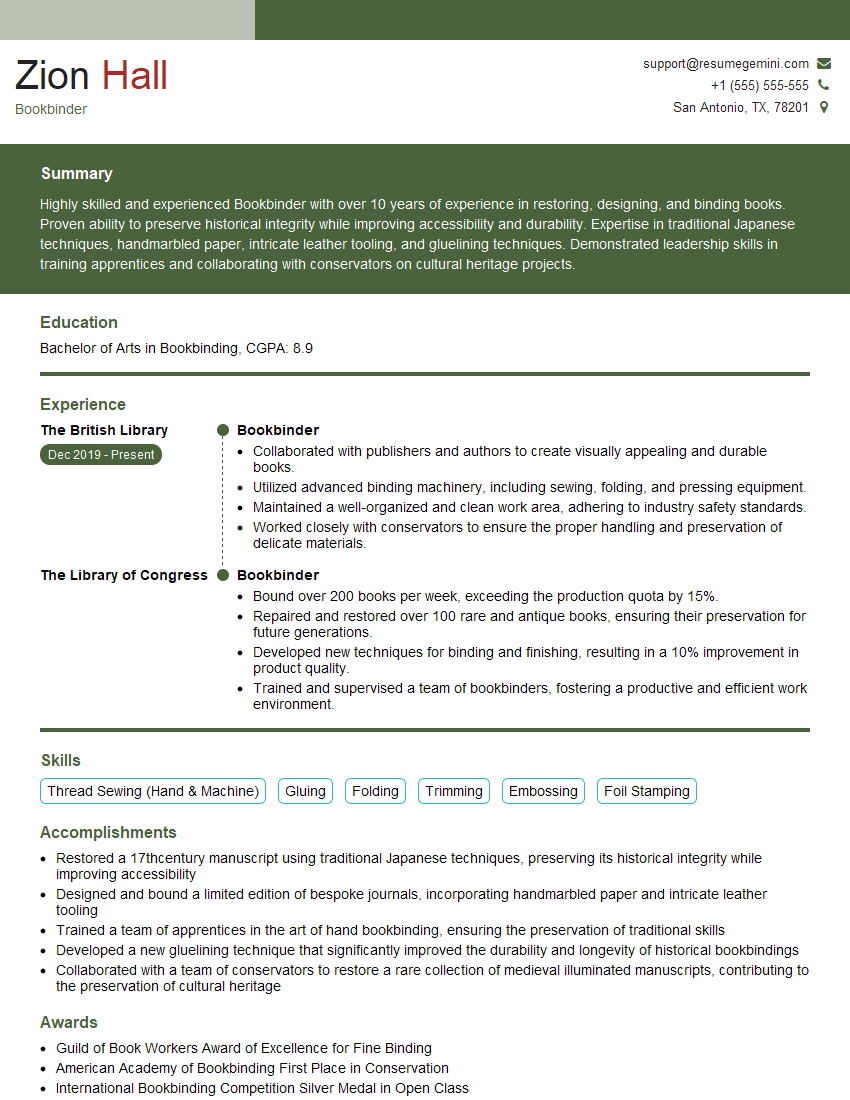
Mastering Bindery and Finishing Techniques opens doors to exciting career opportunities within the printing and publishing industries, offering diverse roles with excellent growth potential. An ATS-friendly resume is crucial to getting your application noticed. To make your qualifications shine, leverage ResumeGemini, a trusted resource for creating professional and effective resumes. ResumeGemini provides examples of resumes tailored to Bindery and Finishing Techniques to help you craft a winning application. Take the next step towards your dream job today!
Explore more articles
Users Rating of Our Blogs
Share Your Experience
We value your feedback! Please rate our content and share your thoughts (optional).
What Readers Say About Our Blog
Hello,
We found issues with your domain’s email setup that may be sending your messages to spam or blocking them completely. InboxShield Mini shows you how to fix it in minutes — no tech skills required.
Scan your domain now for details: https://inboxshield-mini.com/
— Adam @ InboxShield Mini
Reply STOP to unsubscribe
Hi, are you owner of interviewgemini.com? What if I told you I could help you find extra time in your schedule, reconnect with leads you didn’t even realize you missed, and bring in more “I want to work with you” conversations, without increasing your ad spend or hiring a full-time employee?
All with a flexible, budget-friendly service that could easily pay for itself. Sounds good?
Would it be nice to jump on a quick 10-minute call so I can show you exactly how we make this work?
Best,
Hapei
Marketing Director
Hey, I know you’re the owner of interviewgemini.com. I’ll be quick.
Fundraising for your business is tough and time-consuming. We make it easier by guaranteeing two private investor meetings each month, for six months. No demos, no pitch events – just direct introductions to active investors matched to your startup.
If youR17;re raising, this could help you build real momentum. Want me to send more info?
Hi, I represent an SEO company that specialises in getting you AI citations and higher rankings on Google. I’d like to offer you a 100% free SEO audit for your website. Would you be interested?
Hi, I represent an SEO company that specialises in getting you AI citations and higher rankings on Google. I’d like to offer you a 100% free SEO audit for your website. Would you be interested?
good
