Unlock your full potential by mastering the most common Proficient in using engraving exchange materials interview questions. This blog offers a deep dive into the critical topics, ensuring you’re not only prepared to answer but to excel. With these insights, you’ll approach your interview with clarity and confidence.
Questions Asked in Proficient in using engraving exchange materials Interview
Q 1. What types of engraving exchange materials are you familiar with?
My experience encompasses a wide range of engraving exchange materials. This includes metals like aluminum, brass, stainless steel, and copper; various woods such as hardwoods like cherry and maple, and softer woods like pine and balsa; plastics including acrylics, ABS, and polycarbonate; and even some non-traditional materials like leather and glass. The choice of material significantly impacts the engraving process and the final result.
- Metals: Offer durability and a professional look, but require higher power settings and often necessitate post-processing like polishing or brushing.
- Woods: Provide a warm, natural aesthetic, but require careful consideration of grain direction and wood density to avoid burning or uneven engraving.
- Plastics: Versatile and readily available, but different plastics react differently to laser engraving, some potentially producing fumes or melting.
- Leather & Glass: Present unique challenges. Leather requires specialized settings to avoid scorching, while glass engraving often employs a different process (often involving etching).
Q 2. Explain the process of selecting appropriate engraving materials for a specific project.
Selecting the right engraving material is crucial. It’s a multi-step process I approach systematically:
- Project Requirements: Define the project’s purpose (e.g., gift, industrial part, artistic piece). This dictates material properties like durability, aesthetics, and cost.
- Material Properties: Research the material’s characteristics – density, hardness, thermal conductivity. For example, a delicate design might necessitate a softer material like wood or acrylic, while a durable product might need metal.
- Engraving Technique: Consider whether you’re using laser, rotary, or other engraving methods. Each method interacts differently with various materials.
- Budget & Availability: Some materials are costlier or harder to acquire than others. This consideration might necessitate compromises or material substitutions.
- Post-Processing: Anticipate any finishing required. For instance, metal engraving often needs polishing, while wood might require sealing.
For example, a personalized gift might use a hardwood and a detailed design, while an industrial part might utilize a durable, corrosion-resistant metal like stainless steel.
Q 3. How do you determine the optimal settings for different engraving exchange materials?
Optimizing engraving settings involves balancing power, speed, and frequency (for laser engraving). It’s an iterative process. I typically start with manufacturer recommendations as a baseline, then fine-tune through testing on scrap material of the exact type I’ll use for the project.
- Power: Too low power results in shallow, faint engravings; too high can cause burning or damage.
- Speed: Slower speeds generally provide more detailed, precise engravings, but take longer. Faster speeds are suitable for simple designs.
- Frequency (for laser): Affects the depth and quality of the engraving. This parameter might not be adjustable on all machines.
I use test pieces to perform several passes with slightly different settings, meticulously documenting the results. This allows me to pinpoint the optimal parameters for the selected material and desired outcome. For example, engraving deep lettering in metal will need a significantly higher power than a subtle design on acrylic.
Q 4. Describe your experience with laser engraving different materials.
My laser engraving experience spans several years, covering diverse materials. I’ve extensively worked with CO2 and fiber lasers. Here are a few examples:
- Laser Engraving Aluminum: Requires high power and appropriate speeds to achieve a clean, deep engraving. I often use a rotary attachment for cylindrical items.
- Laser Engraving Wood: Demands careful power adjustment to prevent burning, particularly with softer woods. The grain direction significantly influences the outcome.
- Laser Engraving Acrylic: Relatively easy to work with. I often use varied power settings to create depth and contrast in the design.
- Laser Engraving Glass: Uses a different technique (usually etching). I’ve worked with specialized glass etching solutions and methods.
Every material presents unique challenges. The key is understanding the material’s properties and how the laser interacts with it, using trial and error on test pieces to fine-tune parameters before tackling the actual project.
Q 5. What are the common challenges encountered when using engraving exchange materials, and how do you address them?
Several common challenges arise when working with various engraving materials:
- Material Burning or Scorching: Incorrect settings lead to this. I address it by lowering the power or increasing the speed.
- Uneven Engraving Depth or Quality: Material inconsistencies, improper focus, or inconsistent settings contribute. Careful material selection, proper equipment calibration, and meticulous attention to settings resolve this.
- Fumes or Hazardous Emissions: Certain plastics and materials release harmful fumes. I always use appropriate ventilation and personal protective equipment (PPE).
- Material Damage: Cratering or cracking can occur with unsuitable materials or settings. Selecting the right material and using test pieces are crucial.
Proactive problem-solving, diligent testing, and meticulous attention to detail are essential to minimize these issues.
Q 6. How do you maintain and troubleshoot engraving equipment used with various materials?
Regular maintenance is crucial for optimal performance and longevity. This includes:
- Lens Cleaning: Regularly clean the laser lens to prevent contamination and maintain focus. Dust and debris greatly affect engraving quality.
- Mirror Alignment: Check and adjust laser mirrors as needed to ensure proper beam path alignment.
- System Calibration: Periodically calibrate the machine according to the manufacturer’s instructions.
- Software Updates: Keep the control software updated to address bugs and optimize performance.
- Routine Inspections: Visually inspect the system for wear and tear, loose connections, or any unusual signs.
Troubleshooting involves systematic checks. I start by reviewing the settings, then inspect the optics, check for loose connections, and if necessary, consult the machine’s troubleshooting guide or contact technical support.
Q 7. What safety precautions do you take when working with different engraving exchange materials?
Safety is paramount. My approach includes:
- Personal Protective Equipment (PPE): Always wear laser safety glasses appropriate for the laser wavelength, gloves to prevent contamination, and a respirator when handling materials that produce fumes.
- Ventilation: Ensure adequate ventilation to remove fumes and airborne particles generated during the engraving process.
- Fire Safety: Be mindful of flammable materials. Keep a fire extinguisher nearby, and follow fire safety protocols.
- Laser Safety Training: I’ve completed comprehensive laser safety training and strictly adhere to all safety regulations.
- Material Safety Data Sheets (MSDS): I always review MSDS for all materials to understand their hazards and handling precautions.
A proactive approach to safety minimizes risks and ensures a safe working environment.
Q 8. Explain your experience with different types of engraving machines and their compatibility with different materials.
My experience spans a wide range of engraving machines, from traditional rotary engravers to advanced laser and CNC systems. Rotary engravers, using diamond-tipped bits, are excellent for detailed work on softer materials like wood and plastics. Laser engravers offer precision and speed, particularly suitable for intricate designs on materials like acrylic, leather, and even some metals. CNC machines, with their ability to handle various tools, provide versatility for deeper engravings and 3D work across a broader range of materials, including metals and hardwoods.
Material compatibility is crucial. For instance, a high-speed steel bit on a rotary engraver is ideal for hardwoods, but would be too aggressive for softer plastics, leading to breakage or uneven engraving. Laser engravers require materials that either absorb the laser’s energy (like wood) or can be cleanly cut or marked (like acrylic). CNC machines’ compatibility depends heavily on the selected cutting tool and the material’s hardness and properties; a roughing end mill might be needed for deep cuts in metal, while a fine detail bit would be suitable for engraving intricate patterns in softer metals. Understanding these material-machine interactions is paramount to achieving high-quality results.
Q 9. How do you ensure the quality and consistency of engraved products using different materials?
Ensuring quality and consistency relies on meticulous attention to detail throughout the process. This starts with material selection. The material should be free of defects, consistently sized, and appropriate for the chosen engraving method. Calibrating the machine is crucial – this involves testing settings like laser power (for lasers), spindle speed and depth of cut (for rotary and CNC), and ensuring accurate alignment. Consistent engraving depth and sharpness are maintained through regular tool maintenance and replacement – dull bits produce uneven results. For laser engraving, a consistent pass speed ensures proper energy delivery to the material. Pre- and post-engraving quality checks are equally important. Before engraving, checking alignment and design accuracy prevents wasting time and materials. After engraving, inspecting the finished product for any flaws (like incomplete cuts or burns) ensures only high-quality products are delivered.
Q 10. Describe your experience with CAD/CAM software for engraving design and material selection.
I’m proficient in several CAD/CAM software packages, including VCarve Pro, Aspire, and LightBurn (for laser engraving). These software allow me to create detailed designs, vectorize images, and generate toolpaths tailored to the specific engraving machine and material. The software’s material library offers helpful parameters for different materials, assisting in selecting appropriate cutting speeds, depths, and feeds for optimal results. For example, when working on a delicate design in a soft wood using a CNC router, the software allows me to generate a precise toolpath with shallow cuts to prevent tearing. In laser engraving, I can use the software to optimize power settings and speed based on the absorption characteristics of the material to ensure a clean engraving without burning or charring.
Q 11. How do you handle material waste and disposal when using engraving exchange materials?
Material waste and disposal are managed responsibly. The first step is optimization – careful design and efficient toolpaths minimize material usage. For scrap pieces, I segregate them based on material type for proper recycling or disposal. Metals are collected separately for recycling at approved facilities. Plastics are categorized based on their type for proper recycling. Wood scraps are often used for smaller projects or used as kindling (after checking for any hazardous coatings). All disposals comply with local and national environmental regulations, ensuring a sustainable workflow.
Q 12. What is your experience with different finishing techniques for engraved products?
Finishing techniques enhance the final engraved product. For wood, sanding and applying a finish (like oil or varnish) smooths the surface and protects the engraving. For metal, brushing, polishing, and chemical etching can enhance the engraving’s contrast and detail. Acrylic can be polished to a high sheen, accentuating the engraved lines. I’ve also explored hand-painting engraved details, adding a personalized touch. The choice of finish depends heavily on both the material and the desired aesthetic; a rustic, matte finish might be suitable for a wooden sign, whereas a highly polished finish might be preferred for a metal award.
Q 13. Describe your understanding of material compatibility with different engraving techniques.
Material compatibility with engraving techniques is fundamental. Hard materials require robust tools and high power settings (like diamond bits on rotary engravers or high-power lasers), while softer materials necessitate gentler approaches (lower power lasers, sharper bits at lower speeds). Materials with differing densities and heat conductivity affect the engraving process considerably. For example, engraving metal necessitates a robust process that can remove material through cutting or ablation; engraving wood requires the ability of the tool to cut or burn the surface without causing excessive chipping or tearing. I always research the properties of the material before selecting an engraving method and tools to ensure a successful and safe process.
Q 14. How do you handle unexpected issues or defects during the engraving process?
Unexpected issues are addressed methodically. For example, if a bit breaks mid-engraving, I immediately stop the machine to prevent damage. I then inspect the damage, replace the broken bit, and carefully assess whether the remaining engraving is salvageable. If the problem is material-related (like a crack or defect), I would switch to a different piece. Laser issues, such as uneven burning, might necessitate adjusting the power or speed settings. In CNC work, a tool path error may require recalculating the toolpath using the software. Thorough preparation and rigorous machine calibration greatly minimize the occurrence of these issues. Detailed logging and error analysis help me identify patterns and prevent recurrences.
Q 15. What is your experience with quality control measures related to engraving materials?
Quality control in engraving is paramount. It begins with meticulous material selection. I inspect each sheet or piece for imperfections like scratches, discoloration, or inconsistencies in thickness. This is crucial because these flaws can significantly impact the final engraving quality. For example, a scratch on a metal sheet could lead to an uneven engraving, while inconsistent thickness in wood can cause varying depths. Beyond initial inspection, I employ a multi-stage approach: pre-engraving visual checks, test engravings on a sample piece from the same batch to verify settings, and post-engraving inspection with magnification to check for any flaws like incomplete cuts or burn marks. I maintain detailed records of each material batch, including its source, quality checks, and any observed issues, ensuring traceability and accountability.
Career Expert Tips:
- Ace those interviews! Prepare effectively by reviewing the Top 50 Most Common Interview Questions on ResumeGemini.
- Navigate your job search with confidence! Explore a wide range of Career Tips on ResumeGemini. Learn about common challenges and recommendations to overcome them.
- Craft the perfect resume! Master the Art of Resume Writing with ResumeGemini’s guide. Showcase your unique qualifications and achievements effectively.
- Don’t miss out on holiday savings! Build your dream resume with ResumeGemini’s ATS optimized templates.
Q 16. How do you ensure the accuracy and precision of engravings on different materials?
Achieving accurate and precise engravings requires a holistic approach. It starts with precise vector designs created in software like Adobe Illustrator or CorelDRAW. The accuracy of the design directly translates to the engraving. Next, the selection of the appropriate engraving method – laser, rotary, or other – is crucial, each with its strengths and weaknesses for various materials. For instance, laser engraving offers excellent detail on harder materials like metal, while rotary engraving works well for softer materials such as wood. Calibration of the equipment, including focus adjustments and speed settings, is also paramount. Finally, material-specific parameters must be carefully considered. For instance, engraving depth and power settings need to be adjusted for different materials to achieve the desired effect without damaging the material. For example, engraving a delicate design on glass requires much lower power than engraving a deep design on a thick piece of acrylic.
Q 17. Describe your experience with different engraving depths and their impact on various materials.
Engraving depth profoundly affects the final outcome and is highly material-dependent. Shallow engravings are ideal for creating subtle details or surface textures, whereas deeper engravings are used for creating more pronounced effects or removing material. For example, a shallow engraving on a brushed metal surface might create a matte effect, while a deep engraving on wood could produce a 3D relief. Different materials react differently to various depths. Soft materials like wood may require shallower engravings to prevent tear-out, while harder materials like acrylic can tolerate deeper cuts. Too shallow an engraving might be faint or hard to see, while too deep could lead to breakage or damage, particularly with delicate materials. Experience helps in selecting the correct depth based on material and desired aesthetic.
Q 18. What is your experience with engraving on delicate or complex materials?
Engraving delicate or complex materials demands expertise and precision. This often involves using specialized tools and techniques, such as a lower power setting for laser engraving or a very fine-tipped rotary engraver. Material selection is crucial as certain materials are inherently more prone to damage during the engraving process. For example, engraving on thin veneers requires extreme care to avoid breaking or chipping the material. Detailed planning is also necessary; I often create test engravings on a sample piece before attempting to engrave the final product. It’s vital to select the appropriate engraving method to balance aesthetic requirements with material limitations. For instance, intricate designs on a delicate shell might best be accomplished through a meticulous hand-engraving process rather than using a laser.
Q 19. How do you calibrate and maintain engraving equipment to ensure consistent results across various materials?
Consistent results hinge on meticulous equipment calibration and maintenance. This starts with regular cleaning of the lens and working surfaces to remove any debris that could affect the engraving quality. I perform routine calibration checks, often using test engravings on a standardized material to verify power output, focus, and speed settings. Regular preventative maintenance, including replacing worn parts, is vital. For laser engravers, this involves checking the laser alignment, ensuring proper cooling, and replacing consumables like the laser tube as needed. For rotary engravers, this involves checking the bit sharpness, ensuring smooth motor operation, and replacing worn bearings. Detailed logs are kept for all maintenance activities to ensure traceability and facilitate preventative maintenance.
Q 20. Explain your understanding of the effects of different laser power settings on various materials.
Laser power settings drastically impact engraving results across different materials. Lower power settings produce lighter engravings, ideal for subtle details or marking, whereas higher power settings create deeper cuts and more dramatic effects. The optimal power setting is deeply dependent on the material’s properties. For instance, a high power setting might cause charring or burn marks on wood, while a low power setting on metal might not produce a noticeable engraving. Different materials also have varying absorption rates for laser energy. Therefore, establishing the appropriate power setting is crucial and often involves experimentation and iterative adjustment. A methodical approach, starting with low power and gradually increasing, allows for fine-tuning and avoids damaging the material. I always document tested parameters for different materials to facilitate future projects.
Q 21. What software and tools are you proficient with for managing and tracking engraving material usage?
Efficient material management relies on software and tools. I primarily use a customized inventory management system that tracks material usage, including type, quantity, and cost. This system integrates with our engraving software, automatically recording the material used for each job. Barcoding or RFID tagging of materials further enhances accuracy and prevents errors. This system allows for accurate forecasting of material needs, efficient procurement, and cost analysis. Furthermore, I use spreadsheet software like Excel for detailed records of material characteristics, supplier information, and quality control data. This comprehensive approach ensures accountability, minimizes waste, and optimizes our resources.
Q 22. Describe your experience with different engraving styles and their suitability for different materials.
Engraving styles vary significantly depending on the desired aesthetic and the material being engraved. For example, a delicate, intricate design might be best suited to laser engraving on softer materials like wood or acrylic, achieving a clean, precise result. However, for a more rustic or deep-relief design on harder materials like metal, rotary engraving with specialized bits would be more appropriate. Deep carving, often used on wood, requires robust tools and a different approach than the precision required for etching glass.
Suitability also depends on material properties. Harder materials like steel require harder bits and potentially higher power settings to achieve a satisfactory result. Softer materials like wood, on the other hand, can be easily damaged by too much force or aggressive bits, leading to scorching or uneven engravings. The grain direction of wood also influences the engraving process; going with the grain generally produces cleaner results.
- Laser Engraving: Ideal for precise, intricate designs on a wide range of materials, from wood and acrylic to leather and certain metals.
- Rotary Engraving: Best for deeper engravings and detailed carvings, particularly suitable for harder materials like metal and stone.
- Hand Engraving: A traditional method requiring skill and precision, often used for personalized jewelry and fine details.
- Chemical Etching: Suitable for creating designs on metals, glass, or plastics using acids or other chemicals. This method produces a more recessed, less raised effect.
Q 23. How do you select appropriate engraving bits or tooling for different materials?
Selecting the right engraving bit or tooling is crucial for achieving high-quality results and preventing damage to both the bit and the material. The choice depends primarily on the material’s hardness and the desired engraving depth and style.
For example, when engraving wood, I’d typically use V-shaped bits for lettering or detail work and flat-end bits for larger areas. For softer metals like aluminum, I might opt for carbide bits with a sharper point, while engraving harder metals like steel usually necessitates diamond-tipped bits. When working with glass, I prefer diamond-coated bits due to their superior hardness and ability to prevent chipping. The size and shape of the bit also affect the outcome—smaller bits create finer details, while larger bits are better suited for larger areas.
Always consider the bit’s shank size to ensure compatibility with your engraving machine. A mismatch can lead to instability and potentially damage the machine or the workpiece.
Q 24. What is your approach to troubleshooting engraving problems related to material selection?
Troubleshooting engraving issues related to material selection often involves a systematic approach. The first step is to carefully analyze the problem—is the engraving too shallow, too deep, uneven, or damaged? Next, I assess the material itself; is it the correct type for the chosen engraving style and bit? For instance, if I’m using a soft bit on a hard metal, the bit will likely dull quickly, resulting in a shallow or poorly defined engraving. Conversely, using a hard bit on soft material might cause it to break or be damaged.
I’d check the machine settings – speed, depth, power – to ensure they’re optimized for both the material and the bit. Often, adjustments to these parameters solve many problems. If the problem persists, I might try a different bit or adjust the feed rate. Finally, documenting each step of the process helps to pinpoint the root cause and prevent similar issues in the future.
For example, if the engraving is uneven on wood, it might be due to inconsistent grain direction or knots in the wood itself. Addressing this might involve selecting a different section of the wood or adjusting the engraving technique.
Q 25. How do you manage and organize your inventory of engraving exchange materials?
Organization of my engraving exchange materials is paramount for efficiency and preventing damage or loss. I use a combination of methods to ensure everything is readily accessible and accounted for. I categorize my bits by material type (wood, metal, glass), size, and shape, storing them in clearly labeled cases or drawers to prevent them from mixing. I maintain a detailed inventory spreadsheet, tracking the quantity, condition, and date of purchase or sharpening for each bit. This system allows me to quickly identify which bits are in stock and when they require replacement or sharpening.
I also maintain separate storage for other consumables like lubricants, cleaning solvents, and protective materials. Proper storage, particularly for bits, is critical—keeping them clean, dry and organized extends their lifespan. I utilize a system of visual cues, like color-coding, to quickly identify different types of materials and bits. This system is easily updated and allows for quick retrieval of any specific item.
Q 26. Describe your experience with various engraving techniques, such as etching, carving, or embossing.
My experience encompasses a variety of engraving techniques. Etching involves chemically removing material from the surface, often used for delicate designs on metal or glass. Carving, typically done with rotary tools, creates three-dimensional relief or deep cuts into the material. This is often used in wood or stone to create intricate designs with varying depths. Embossing creates a raised design on the surface, often achieved by applying pressure from behind the material, or through techniques like using a heated tool or stamp.
Each technique has its strengths and weaknesses. Etching provides fine detail but limited depth, while carving allows for intricate three-dimensional designs but can be more time-consuming. Embossing is ideal for creating textured or raised designs, but it’s usually limited to softer materials.
The selection of the appropriate technique depends heavily on the material being engraved, the desired outcome (depth, detail), and the available tools. I’ve used all three extensively, and the choice often involves blending techniques to achieve a specific artistic effect. For example, I might combine etching with carving to create a design with both fine detail and depth.
Q 27. What is your understanding of the environmental impact of engraving exchange materials and their disposal?
Environmental impact is a significant consideration when working with engraving materials. Many engraving bits are made from materials like carbide or diamond, which are durable but require careful disposal. The used lubricants and cleaning solvents also require responsible handling to avoid environmental contamination. I always ensure proper disposal according to local regulations. I use environmentally friendly cleaning solutions and lubricants whenever possible. Recycling options are researched for disposal of old or broken bits.
Furthermore, the materials being engraved also have environmental implications. Sustainable sourcing of wood or responsibly sourced metals is critical. Using recycled materials when possible reduces the overall environmental impact of the process. Minimizing waste through careful planning and precise engraving techniques further contributes to sustainability.
Q 28. How would you train a new employee on the proper handling and use of different engraving materials?
Training a new employee on engraving materials involves a layered approach, starting with safety. This includes demonstrating proper handling of sharp tools and bits, the use of personal protective equipment (PPE) such as safety glasses and gloves, and the importance of following all safety protocols. Next, I’d introduce them to different material types and their properties – hardness, grain direction (for wood), potential for breakage, etc. This is followed by a hands-on demonstration on how to select and use appropriate bits for each material.
I’d emphasize the importance of proper machine setup and use, emphasizing speed and depth settings, and the need for consistent pressure. This would be accompanied by practical exercises involving various engraving techniques on sample materials. Throughout the training, I’d stress the importance of careful observation, meticulousness, and the ability to identify and troubleshoot potential problems. Finally, we’d review proper storage, cleaning, and disposal methods of bits and other materials, including an overview of environmental considerations. Regular check-ins and opportunities for questions are essential to ensure proper knowledge retention and safe work practices.
Key Topics to Learn for Proficient in using engraving exchange materials Interview
- Material Selection and Properties: Understanding the characteristics of various engraving materials (metals, plastics, wood, etc.) and their suitability for different engraving techniques and applications. This includes knowledge of hardness, durability, and reactivity.
- Engraving Techniques and Processes: Familiarity with different engraving methods (laser, rotary, hand engraving) and their respective advantages and limitations. This includes understanding the setup, operation, and maintenance of relevant equipment.
- Design and Preparation: Proficiency in preparing artwork for engraving, including vector graphics, scaling, and proper file formats. Understanding the implications of design choices on the final engraved product.
- Safety Procedures and Regulations: Knowledge of safety protocols associated with engraving materials and equipment, including handling hazardous materials and operating machinery safely. Understanding relevant industry regulations.
- Quality Control and Troubleshooting: Ability to identify and rectify common engraving issues, such as inconsistent depth, blurred lines, or material damage. Implementing quality control measures throughout the process.
- Cost Estimation and Project Management: Understanding the factors influencing the cost of engraving projects, including material costs, labor, and equipment usage. Ability to manage projects efficiently and within budget.
- Software Proficiency: Demonstrating competency in using relevant design software (e.g., CAD, vector graphics editors) and engraving machine control software.
Next Steps
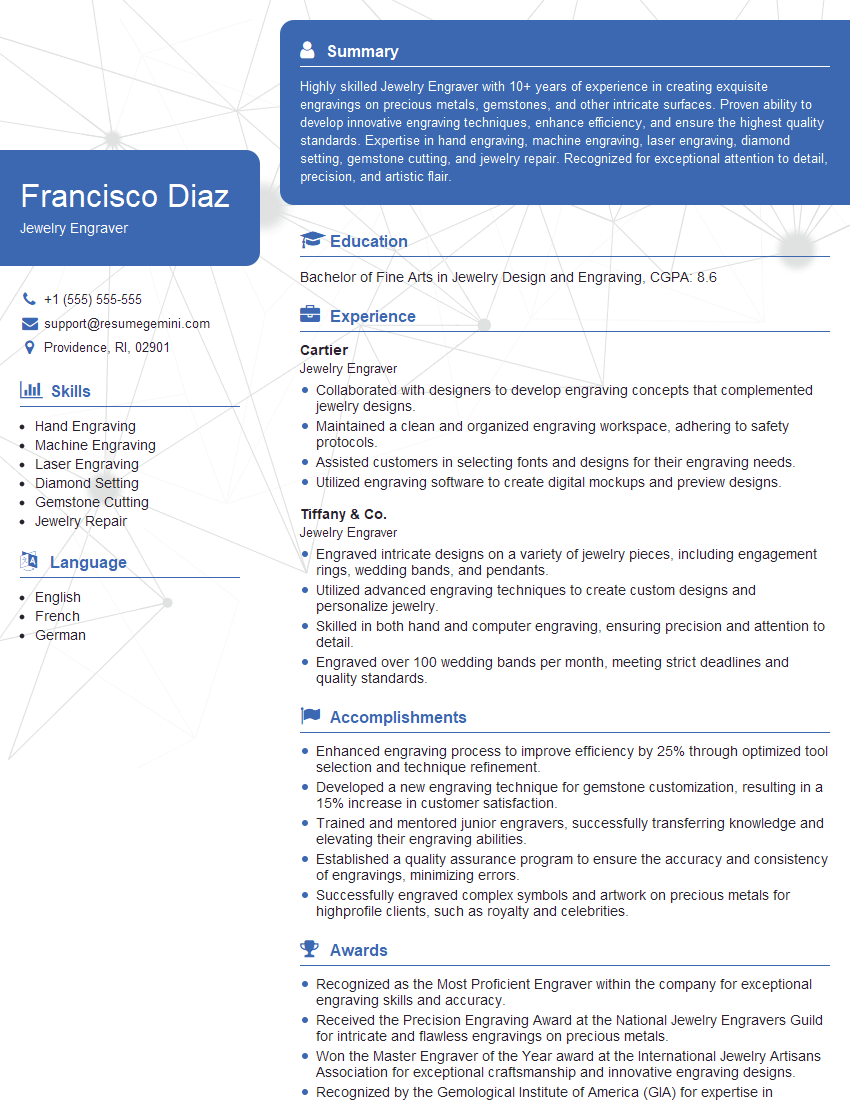
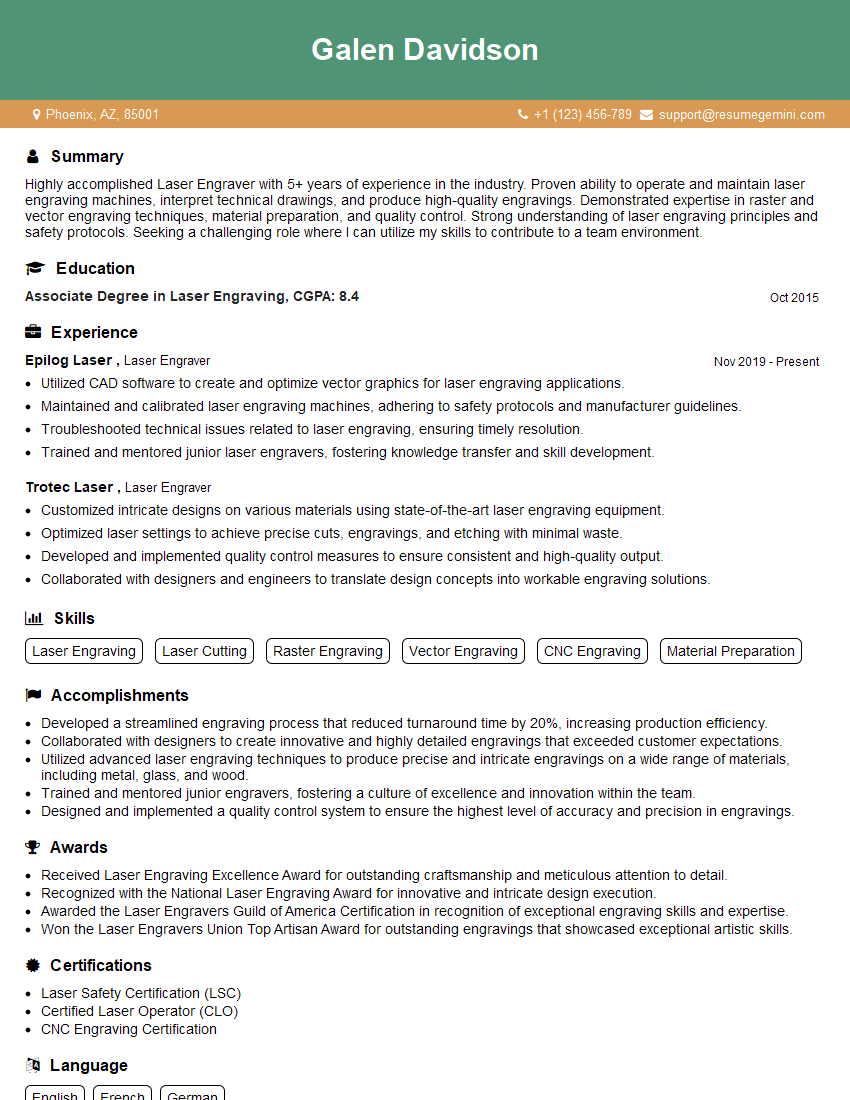
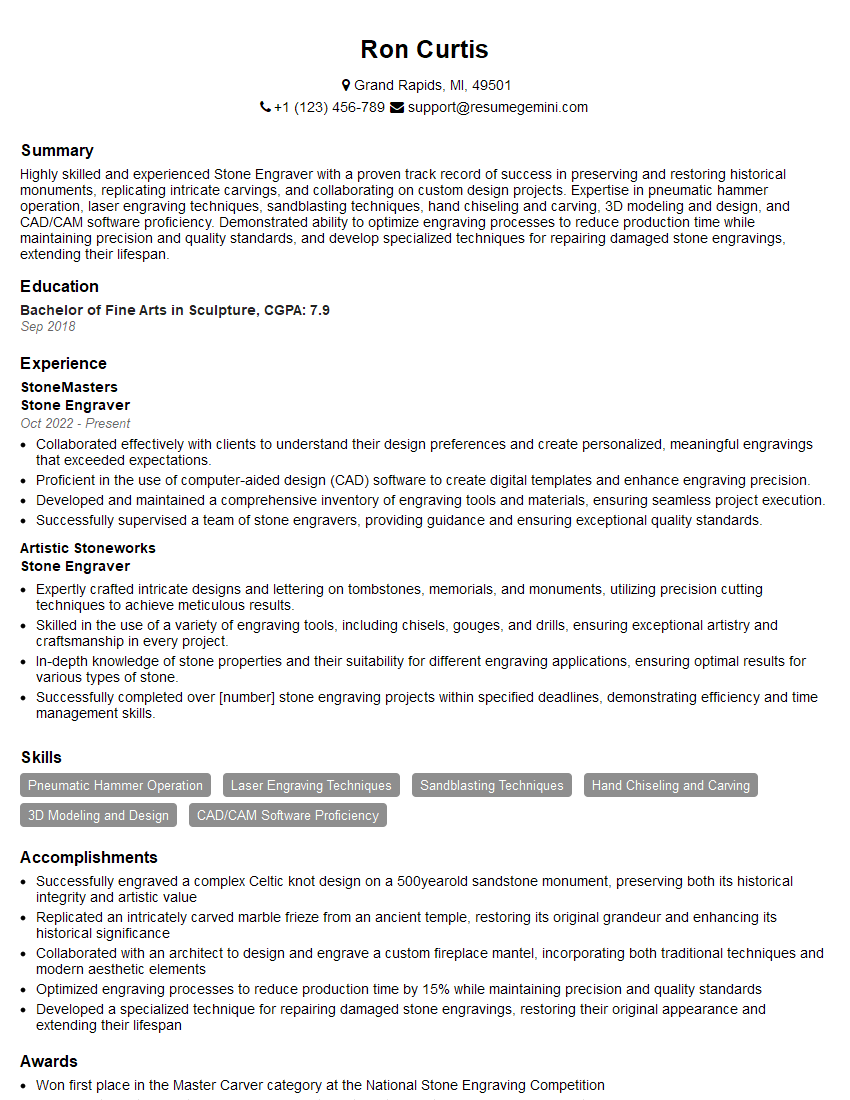
Mastering proficient use of engraving exchange materials significantly enhances your career prospects in manufacturing, design, and related fields. It demonstrates a valuable skillset highly sought after by employers. To maximize your job search success, focus on creating a strong, ATS-friendly resume that highlights your relevant skills and experience. ResumeGemini is a trusted resource to help you build a professional and impactful resume that gets noticed. Examples of resumes tailored to showcasing proficiency in using engraving exchange materials are available to help guide you. Invest time in crafting a compelling resume – it’s your first impression with potential employers.
Explore more articles
Users Rating of Our Blogs
Share Your Experience
We value your feedback! Please rate our content and share your thoughts (optional).
