Preparation is the key to success in any interview. In this post, we’ll explore crucial Certified Quality Inspector (CQI) interview questions and equip you with strategies to craft impactful answers. Whether you’re a beginner or a pro, these tips will elevate your preparation.
Questions Asked in Certified Quality Inspector (CQI) Interview
Q 1. Explain the role of a CQI in ensuring product quality.
A Certified Quality Inspector (CQI) plays a pivotal role in ensuring product quality by acting as the gatekeeper, verifying that products meet predetermined specifications and standards before they reach the customer. This involves meticulously inspecting products at various stages of the manufacturing process, identifying defects, and ensuring corrective actions are taken to prevent future occurrences. Think of a CQI as a detective, searching for inconsistencies and ensuring the final product is of the highest quality.
This role goes beyond simple visual checks; it involves a deep understanding of quality control principles, statistical analysis, and the ability to interpret technical drawings and specifications. CQIs ensure compliance with industry standards and contribute significantly to a company’s reputation and customer satisfaction.
Q 2. Describe your experience with different inspection methods (visual, dimensional, etc.).
My experience encompasses a wide range of inspection methods, including visual inspection, dimensional inspection, and functional testing. Visual inspection, the most basic method, involves observing the product for any surface defects, such as scratches, cracks, or discoloration. I’ve used this extensively in inspecting electronic components and finished goods for cosmetic flaws. Dimensional inspection, on the other hand, uses tools like calipers, micrometers, and coordinate measuring machines (CMMs) to verify that the product’s dimensions conform to the specifications. For example, I’ve used CMMs to verify the precision of machined parts in the aerospace industry. Functional testing involves verifying the operational capabilities of a product. In my past role, I conducted functional tests on automotive components to ensure they met performance requirements, such as pressure testing fuel injectors.
Furthermore, I’m proficient in using various inspection software and equipment, including image analysis systems for automated defect detection. This allows for greater accuracy and efficiency in the inspection process, especially when dealing with large volumes of products.
Q 3. How do you handle discrepancies found during inspection?
When discrepancies are found during inspection, my approach is systematic and documented. First, I clearly and concisely document the discrepancy, including the location, type, and severity of the defect. Then, I isolate the affected product(s) to prevent them from entering the next stage of production or being shipped to the customer. After documentation, I follow established procedures to escalate the issue to the appropriate personnel, typically the production team or quality control manager.
Depending on the severity, this may involve initiating a root cause analysis (RCA) to identify the underlying reasons for the defect. I participate in RCA meetings, offering my insights from the inspection process. Finally, I ensure that the corrective actions are implemented and verified, and that the necessary paperwork is updated to track the resolution of the discrepancy. Consider it like a medical diagnosis: identifying the problem, isolating the patient, consulting with specialists, and ensuring a cure and prevention of future issues.
Q 4. What are the key quality control standards you are familiar with (ISO 9001, etc.)?
I’m thoroughly familiar with several key quality control standards, most notably ISO 9001. ISO 9001 provides a framework for establishing, implementing, maintaining, and continually improving a quality management system (QMS). Understanding this standard enables me to effectively assess the quality systems in place and identify areas for improvement. Beyond ISO 9001, my experience includes working with industry-specific standards and customer-specific requirements, which often necessitate detailed understanding of regulatory compliance requirements like those from FDA, etc.
These standards dictate the requirements for a comprehensive quality system, covering documentation, internal audits, corrective actions, and continual improvement processes. My familiarity ensures consistent application of best practices during all phases of inspection and quality control.
Q 5. Describe your experience with statistical process control (SPC).
Statistical Process Control (SPC) is a crucial tool in ensuring consistent product quality. My experience with SPC includes designing, implementing, and monitoring control charts to track process variation and identify potential problems before they escalate. I have used control charts such as X-bar and R charts, p-charts, and c-charts to monitor various process parameters, ranging from dimensions to defect rates in production.
In one project, I used SPC to monitor the diameter of a critical component. By regularly plotting the data on a control chart, I was able to detect a shift in the mean diameter before it resulted in a large number of out-of-specification parts, saving the company significant time and resources. This proactive approach, rather than a reactive one, is essential for efficient quality control.
Q 6. How do you interpret and utilize control charts?
Control charts are visual tools that provide a continuous record of a process over time, allowing for the detection of trends and patterns. I’m proficient in interpreting various types of control charts, including X-bar and R charts (for continuous data) and p-charts and c-charts (for attribute data). For example, an X-bar chart plots the average of a sample, and the R chart plots the range of the sample; deviations from the central line or exceeding control limits indicate potential process issues.
Understanding the control limits, which are statistically derived, is crucial. Points outside these limits indicate a process that is out of control and requires immediate investigation. Trends, such as a series of points consistently increasing or decreasing, can indicate underlying process changes that need to be addressed even if individual points remain within the control limits. Essentially, I use control charts not just to spot defects, but also to predict and prevent them.
Q 7. Explain your understanding of root cause analysis techniques.
Root cause analysis (RCA) is a systematic approach to identifying the underlying causes of problems, rather than just treating the symptoms. I’m experienced in applying various RCA techniques, including the 5 Whys, Fishbone diagrams (Ishikawa diagrams), and Fault Tree Analysis. The 5 Whys involves repeatedly asking “why” to drill down to the root cause of a problem. For instance, if a product is defective, we might ask: Why is it defective? Because of a faulty component. Why is the component faulty? Because the supplier provided substandard material. Why was substandard material provided? Because their quality control process was inadequate. And so on.
Fishbone diagrams visually represent potential causes and their relationships. This structured approach helps to identify multiple potential contributing factors and is often used in group brainstorming sessions. Fault tree analysis is more complex and typically used for safety-critical systems, working backward from an undesired event to identify the causes. Choosing the appropriate technique depends on the complexity of the problem and the available data. The goal is always to prevent future occurrences by addressing the root cause, not just fixing the immediate problem.
Q 8. How do you document your inspection findings?
Documenting inspection findings is crucial for traceability and maintaining a reliable quality record. My approach involves using a combination of methods tailored to the specific inspection task. This typically includes:
Inspection reports: These are formal documents detailing the inspection process, including the date, time, inspector’s name, item inspected, standards used, specific measurements taken, and deviations from standards. I always ensure these reports are clear, concise, and unambiguous. For instance, if I find a scratch on a machined part, I’d note its location, size, and depth precisely.
Checklists: Checklists ensure a consistent and thorough inspection. They help me cover all necessary points, preventing accidental omissions. I often customize checklists based on specific product requirements or inspection procedures.
Photographs and videos: Visual evidence is invaluable. A picture can clearly show a defect that might be hard to describe in words. I use high-resolution images and videos to supplement my written reports, especially when dealing with complex geometries or subtle imperfections.
Data logs: For inspections involving numerous measurements or tests (e.g., dimensional checks), I maintain detailed electronic data logs. This allows for statistical analysis of the data to identify trends and potential process improvements.
All my documentation is carefully stored according to company procedures, ensuring easy access and retrieval should the need arise. Proper documentation isn’t just about recording problems, it’s about building a complete picture of the product’s quality.
Q 9. How do you ensure the accuracy and reliability of your inspection data?
Ensuring accuracy and reliability is paramount. My strategy focuses on several key aspects:
Calibration of equipment: All measuring instruments I use are regularly calibrated to traceable standards. I meticulously record calibration dates and results, ensuring they fall within acceptable tolerances. For example, my micrometers are calibrated annually by a certified lab.
Proper use of equipment: I’m highly proficient in the operation of all measuring instruments, adhering strictly to manufacturer instructions. This minimizes human error and ensures that measurements are taken correctly and consistently.
Multiple measurements: To reduce random errors, I take multiple measurements whenever possible and calculate averages. This helps identify outliers and improve the overall accuracy of the data.
Peer review: In critical situations or for complex inspections, I have a colleague review my findings and documentation. This acts as a valuable cross-check and ensures objectivity.
Traceability: The whole chain, from the calibration of equipment to the final inspection report, is documented meticulously, allowing for full traceability should discrepancies or questions arise.
Think of it like building a house: each brick needs to be checked, and each step documented. Sloppy documentation leads to a weak structure, potentially resulting in costly rework or even failures later down the line.
Q 10. Describe your experience with calibration equipment.
I have extensive experience with various calibration equipment, including:
Calibration labs: I’ve worked with numerous certified calibration laboratories to ensure the accuracy of my measuring instruments, ranging from simple micrometers to sophisticated CMM (Coordinate Measuring Machines).
Calibration software: I’m familiar with calibration software used to manage calibration schedules, track certificates, and analyze calibration data. This allows for efficient management and compliance with standards.
In-house calibration: In some cases, I’ve assisted with simple in-house calibrations using standard master gauges, always ensuring proper documentation and traceability to external standards.
Understanding the calibration process and maintaining accurate records is crucial to ensure the integrity of my inspection data and prevent costly mistakes. I’ve witnessed firsthand the impact of using improperly calibrated equipment – the results can lead to significant financial loss, safety hazards, and damaged reputation.
Q 11. How do you handle non-conforming materials?
Handling non-conforming materials is a key aspect of quality control. My procedure involves several steps:
Identification and documentation: I clearly identify and document any non-conforming material, including the specific defect, location, and quantity. Detailed photos are essential here.
Segregation: Non-conforming materials are immediately segregated to prevent their accidental use or mixing with conforming materials. Clear labeling is crucial to prevent confusion.
Root cause analysis: I work with the production team to determine the root cause of the non-conformances. This prevents similar issues from recurring.
Corrective actions: Based on the root cause analysis, appropriate corrective actions are implemented to prevent future occurrences. This might involve adjustments to the production process, equipment maintenance, or employee training.
Disposition: Finally, I determine the disposition of the non-conforming material. This could involve rework, repair, scrapping, or concession based on the severity and nature of the defects and company procedures.
For example, recently I found a batch of components with slightly off-size dimensions. After investigating, we discovered a problem with a machine setting. The components were reworked, the machine recalibrated and a new inspection process was implemented to prevent this from happening again.
Q 12. Explain the importance of preventive maintenance in quality control.
Preventive maintenance is absolutely crucial for maintaining quality control. Neglecting it can lead to unexpected equipment failures, resulting in production downtime, increased costs, and potentially the production of defective goods. A proactive approach significantly reduces risks.
Reduced downtime: Regular maintenance prevents unexpected breakdowns, keeping production lines running smoothly and reducing costly downtime.
Improved accuracy: Maintaining equipment ensures that measuring instruments remain calibrated and accurate, minimizing measurement errors and promoting consistent quality.
Increased safety: Proper maintenance minimizes the risk of accidents and injuries associated with malfunctioning equipment.
Extended equipment life: Regular maintenance extends the lifespan of equipment, reducing the need for costly replacements.
Enhanced product quality: By preventing failures and ensuring equipment accuracy, preventive maintenance directly contributes to producing consistent and high-quality products.
Imagine a car—regular oil changes, tire rotations, and other maintenance tasks extend the life of the car and prevent major issues. The same principle applies to equipment in a manufacturing setting.
Q 13. What is your experience with different measuring instruments?
My experience encompasses a wide range of measuring instruments, including:
Vernier calipers: Used for precise linear measurements.
Micrometers: Provide even higher precision for smaller dimensions.
Dial indicators: Measure small displacements or deviations.
Height gauges: Used for accurate height measurements.
Surface roughness testers: Assess surface texture.
Coordinate Measuring Machines (CMMs): Used for highly accurate three-dimensional measurements.
Optical comparators: For comparing parts against master templates.
I’m proficient in using these instruments to ensure the accuracy and precision of my measurements, adapting my choice of instrument to the specific requirements of the inspection task. Selecting the right tool for the job is essential for reliable inspection results.
Q 14. How familiar are you with different types of gauges and their applications?
I’m highly familiar with various types of gauges and their applications. My expertise includes:
Plug and ring gauges: Used for checking hole and shaft diameters.
Snap gauges: For quick go/no-go checks of dimensions.
Thread gauges: Used to verify thread pitch, diameter, and form.
Depth gauges: Measure the depth of holes or recesses.
Pressure gauges: Measure pressure in various systems.
Level gauges: Used to indicate the level of liquids in tanks.
Understanding the limitations and proper use of each gauge type is crucial for obtaining accurate and reliable measurements. Using the wrong gauge or using a gauge incorrectly can lead to erroneous conclusions and potentially unsafe situations.
Q 15. How do you prioritize tasks and manage your workload during inspections?
Prioritizing tasks during inspections is crucial for efficiency and effectiveness. I use a combination of techniques, starting with a clear understanding of the inspection plan and any associated risk assessments. This helps me identify critical areas requiring immediate attention. Then, I employ a prioritization matrix, often based on factors like risk level, potential impact on product quality, and regulatory compliance deadlines. High-risk, high-impact items are addressed first. For example, if an inspection reveals a potential safety hazard, I’ll immediately halt production until the issue is resolved. For a more manageable workload, I break down complex inspections into smaller, more manageable tasks, using tools like checklists and scheduling software. I also regularly review my progress and adjust priorities as needed to ensure timely completion and efficient resource allocation. Finally, proactive communication with stakeholders helps prevent unexpected delays and ensures alignment on priorities.
Career Expert Tips:
- Ace those interviews! Prepare effectively by reviewing the Top 50 Most Common Interview Questions on ResumeGemini.
- Navigate your job search with confidence! Explore a wide range of Career Tips on ResumeGemini. Learn about common challenges and recommendations to overcome them.
- Craft the perfect resume! Master the Art of Resume Writing with ResumeGemini’s guide. Showcase your unique qualifications and achievements effectively.
- Don’t miss out on holiday savings! Build your dream resume with ResumeGemini’s ATS optimized templates.
Q 16. Describe a situation where you had to resolve a quality-related conflict.
In a previous role, a conflict arose between the production team and the engineering team regarding the acceptable defect rate for a newly launched product. The production team argued that the current process was sufficient, while the engineering team identified several defects exceeding the acceptable quality limits (AQL). I facilitated a meeting involving both teams, bringing data from my inspection reports – including visual aids showing defect trends and severity levels – to present a neutral and objective perspective. Through open communication and collaborative problem-solving, we agreed on a compromise: implementing a new quality control measure while gradually improving the production process. This allowed both teams to find common ground and resolve the issue in a timely manner without compromising product quality. The key was to focus on the shared objective of producing high-quality products, rather than dwelling on individual viewpoints.
Q 17. What is your experience with corrective and preventive actions (CAPA)?
Corrective and Preventive Actions (CAPA) are fundamental to continuous improvement. My experience encompasses the entire CAPA lifecycle, from identifying root causes to implementing and verifying corrective actions. I’m proficient in using various tools and methodologies, such as the 5 Whys analysis and fault tree analysis, to investigate the root cause of non-conformances. For example, during an inspection of a batch of components, I identified excessive surface scratches. Using the 5 Whys, we traced the problem back to a worn-out tool in the manufacturing process. Once the root cause was identified, a corrective action was implemented (replacing the worn tool), and a preventive action (regular tool maintenance schedule) was established to prevent recurrence. I meticulously document the entire CAPA process, ensuring that all actions are tracked and verified to prevent future issues. This ensures a closed-loop system where the effectiveness of corrective and preventive actions are regularly reviewed and measured.
Q 18. How do you identify and prevent quality issues?
Identifying and preventing quality issues relies heavily on proactive measures and a thorough understanding of the process. I utilize several methods including statistical process control (SPC) charts to monitor process variability, regular audits and inspections to catch defects early, and a strong emphasis on preventive maintenance. For instance, regular visual inspections of equipment can identify wear and tear before it leads to defects in the product. Using control charts, deviations from the norm are easily highlighted, enabling timely interventions. Furthermore, I actively engage with the production team, encouraging them to report any potential issues or anomalies. This creates a culture of quality awareness, where everyone takes ownership of maintaining high standards. Regular training on quality control procedures is essential, empowering staff to identify and address potential problems before they escalate.
Q 19. Explain your understanding of audit procedures.
Audit procedures are a systematic and independent examination to determine whether activities and related results comply with planned arrangements and whether these arrangements are implemented effectively and are suitable to achieve objectives. A typical audit follows a structured approach. It begins with planning, where the scope, objectives, and criteria are defined. Next, data collection takes place through interviews, document reviews, and observation. Then, the collected data is analyzed against predetermined criteria, and any discrepancies or non-conformances are identified. Findings are documented in an audit report, which includes conclusions and recommendations for corrective actions. Finally, the management review the report and approves the findings, ensuring that corrective and preventive actions are implemented and verified. My experience spans various audit types, including internal audits, supplier audits, and regulatory audits. I’m adept at using audit checklists and reporting software to manage the entire audit process.
Q 20. How do you communicate inspection results to different stakeholders?
Communicating inspection results effectively is vital. My approach is tailored to the audience. For technical teams, I provide detailed reports with data analysis, highlighting trends and root causes. For management, I present concise summaries focusing on key findings and their impact on business objectives. For example, I may use charts and graphs to visually represent inspection data for a better understanding. Visual presentations aid in quick assimilation of information. I also utilize verbal communication to clarify complex points and address any concerns. In addition to formal reports, I maintain open communication channels with various stakeholders, ensuring that feedback and concerns are addressed promptly. The key is to ensure that the message is clear, concise, and easily understood by the recipient, regardless of their technical background.
Q 21. Describe your experience using a computerized maintenance management system (CMMS).
My experience with Computerized Maintenance Management Systems (CMMS) is extensive. I’ve utilized CMMS software to schedule preventive maintenance activities, track equipment performance, and manage work orders related to equipment repairs. This has helped in improving equipment reliability and reducing downtime. For example, I’ve used CMMS to monitor the performance of critical inspection equipment, schedule calibrations, and track maintenance history. The system allows me to easily generate reports on equipment performance, which are useful in identifying potential quality issues related to equipment failure. Furthermore, the CMMS aids in optimizing maintenance schedules, helping prevent equipment breakdowns that could compromise inspection accuracy and product quality. This proactive approach significantly improves the efficiency and effectiveness of the inspection process.
Q 22. What is your proficiency in using various software related to quality control?
My proficiency in quality control software is extensive. I’m highly proficient in using statistical process control (SPC) software like Minitab and JMP, for analyzing data and identifying trends. I’m also experienced with CMMS (Computerized Maintenance Management System) software for tracking equipment maintenance and identifying potential failure points impacting quality. Furthermore, I’m adept at using CAD software for reviewing designs and identifying potential quality issues before production. Finally, I am comfortable utilizing various database systems to manage and analyze inspection data, ensuring accurate record-keeping and reporting. For example, in a recent project involving automotive part manufacturing, I used Minitab to analyze dimensional data from a critical component, identifying a subtle shift in mean diameter that could have led to assembly issues. Through this analysis, corrective actions were implemented, preventing significant rework and cost overruns.
Q 23. How do you maintain a clean and organized inspection workspace?
Maintaining a clean and organized inspection workspace is paramount for efficient and accurate work. Think of it like a surgeon preparing for an operation – a clean environment minimizes error and enhances focus. My approach involves a multi-pronged strategy: First, I ensure all equipment and tools are properly stored and labeled after each use. Second, I regularly clean my work surface, removing any debris or materials that might interfere with inspections. Third, I organize inspection documents and samples in a systematic manner, making them readily accessible. Finally, I maintain a well-lit and ergonomically designed workspace to minimize fatigue and ensure comfort throughout the inspection process. This methodical approach ensures accuracy, reduces the risk of errors, and fosters a professional image.
Q 24. What are your strategies for staying updated on industry best practices and new technologies?
Staying current in the rapidly evolving field of quality control necessitates a proactive approach. I actively participate in professional development activities such as attending industry conferences and webinars. This allows me to network with peers and learn about cutting-edge techniques and technologies. I also subscribe to industry journals and publications, remaining updated on the latest research and best practices. Furthermore, I regularly engage with online learning platforms and pursue certifications to enhance my skillset. For instance, I recently completed a course on advanced statistical methods applied to quality management, further refining my analytical capabilities. This continuous learning ensures I remain at the forefront of the industry.
Q 25. How do you ensure your personal safety during inspections?
Personal safety is non-negotiable during inspections. My approach involves a risk assessment prior to each inspection, identifying potential hazards such as moving machinery, hazardous materials, or confined spaces. Based on this assessment, I select and wear appropriate Personal Protective Equipment (PPE), including safety glasses, gloves, hearing protection, and safety footwear. I also adhere to all company safety protocols and regulations, always prioritizing safety over speed. Furthermore, I regularly communicate with my team and supervisors to report any unsafe conditions or incidents. In one instance, I identified a potential trip hazard in an inspection area and promptly reported it, preventing a possible injury to myself or a colleague.
Q 26. Describe your experience working in a team environment during inspections.
I thrive in team environments. Effective teamwork is crucial for successful inspections, particularly in large-scale projects. I believe in clear and open communication, ensuring all team members are informed of inspection procedures and objectives. I actively contribute my expertise while also valuing and integrating the input of my colleagues. I’m comfortable delegating tasks efficiently and providing constructive feedback to facilitate collaborative problem-solving. For example, during a recent project involving a complex assembly, I collaborated with engineers and production staff to identify and resolve a recurring quality defect, demonstrating the power of interdisciplinary collaboration.
Q 27. How do you handle pressure and deadlines in a fast-paced inspection environment?
Handling pressure and deadlines effectively requires a structured approach. I prioritize tasks based on urgency and importance, utilizing project management techniques to ensure efficient workflow. I regularly communicate with stakeholders to manage expectations and proactively address any potential delays. Time management skills are critical, and I utilize tools like checklists and schedules to ensure all deadlines are met. Maintaining a calm and focused demeanor under pressure is equally important, allowing me to make sound judgments and avoid mistakes. My ability to remain calm and organized even in high-pressure situations allows me to maintain quality and meet deadlines consistently.
Q 28. Explain your understanding of quality costs.
Quality costs encompass all expenses associated with preventing, detecting, and correcting defects. It’s crucial to understand that aiming for zero defects doesn’t mean eliminating all costs; rather, it’s about optimizing the balance between prevention and failure costs. These costs are broadly categorized into four types: Prevention costs (e.g., training, quality planning); Appraisal costs (e.g., inspections, testing); Internal failure costs (e.g., rework, scrap); and External failure costs (e.g., warranty claims, customer returns). A comprehensive understanding of these costs allows for data-driven decision-making to improve quality and reduce overall expenses. For instance, investing in preventative measures like employee training might initially increase prevention costs but significantly reduce internal and external failure costs in the long run, resulting in overall cost savings. By analyzing these costs, we can identify areas for improvement and implement strategies to enhance quality and profitability.
Key Topics to Learn for Certified Quality Inspector (CQI) Interview
- Quality Management Systems (QMS): Understanding ISO 9001, other relevant standards, and their practical implementation within manufacturing or service environments. Consider how different QMS elements interact and contribute to overall quality.
- Statistical Process Control (SPC): Learn to interpret control charts (e.g., X-bar and R charts), understand process capability indices (Cp, Cpk), and apply these techniques to identify and address process variation. Be prepared to discuss real-world examples of how SPC improved a process.
- Inspection Methods and Techniques: Master various inspection techniques, including visual inspection, dimensional measurement (using calipers, micrometers, etc.), and the use of specialized testing equipment. Practice explaining your approach to different inspection scenarios.
- Root Cause Analysis (RCA): Familiarize yourself with various RCA methodologies (e.g., 5 Whys, Fishbone diagrams) and be able to apply them to solve quality-related problems. Prepare to discuss your problem-solving process and decision-making skills.
- Corrective and Preventive Actions (CAPA): Understand the process of implementing CAPA to prevent recurrence of quality issues. Be ready to discuss examples of effective CAPA implementations and the key steps involved.
- Auditing and Documentation: Understand the importance of meticulous record-keeping and conducting internal audits to ensure compliance with QMS standards. Be prepared to discuss audit procedures and best practices.
- Quality Control Tools: Become proficient in using various quality control tools, such as Pareto charts, flowcharts, histograms, and scatter diagrams, to analyze data and identify trends. Practice interpreting data visually and drawing meaningful conclusions.
- Communication and Teamwork: Highlight your ability to effectively communicate findings to different stakeholders, collaborate with teams, and contribute to a positive work environment. Prepare to share examples that demonstrate these skills.
Next Steps
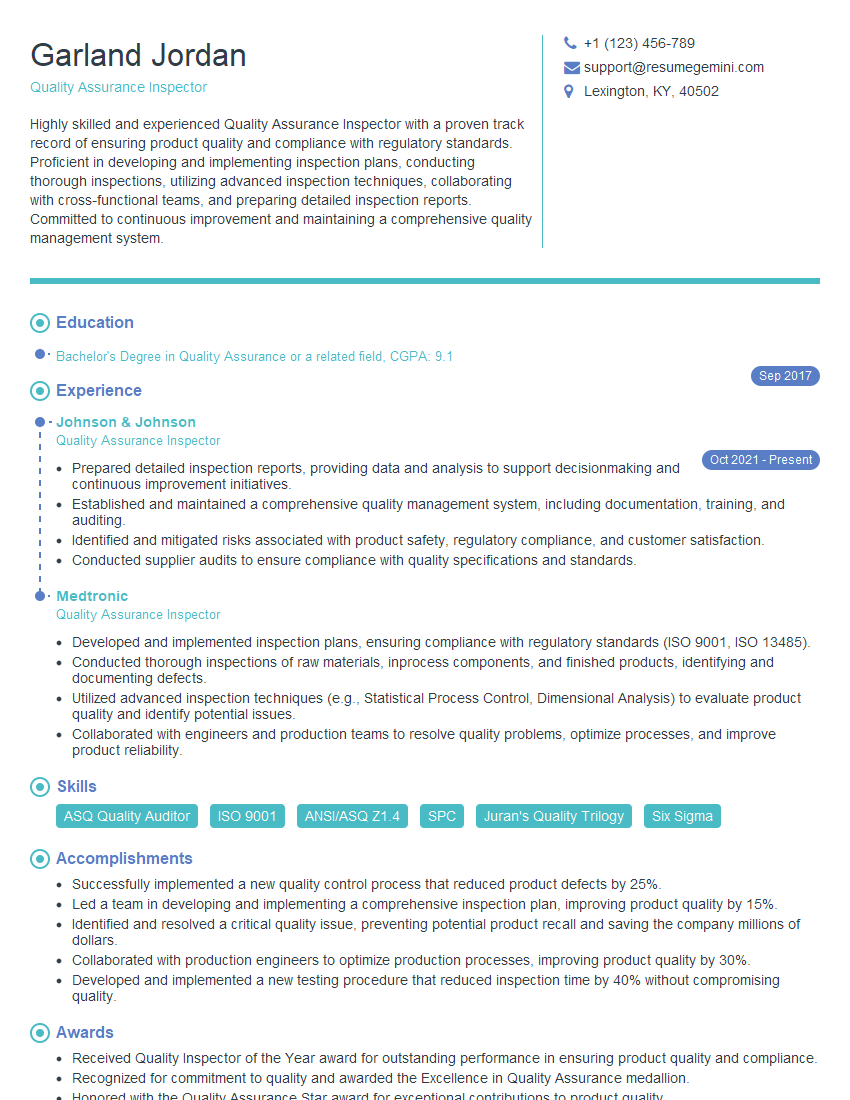
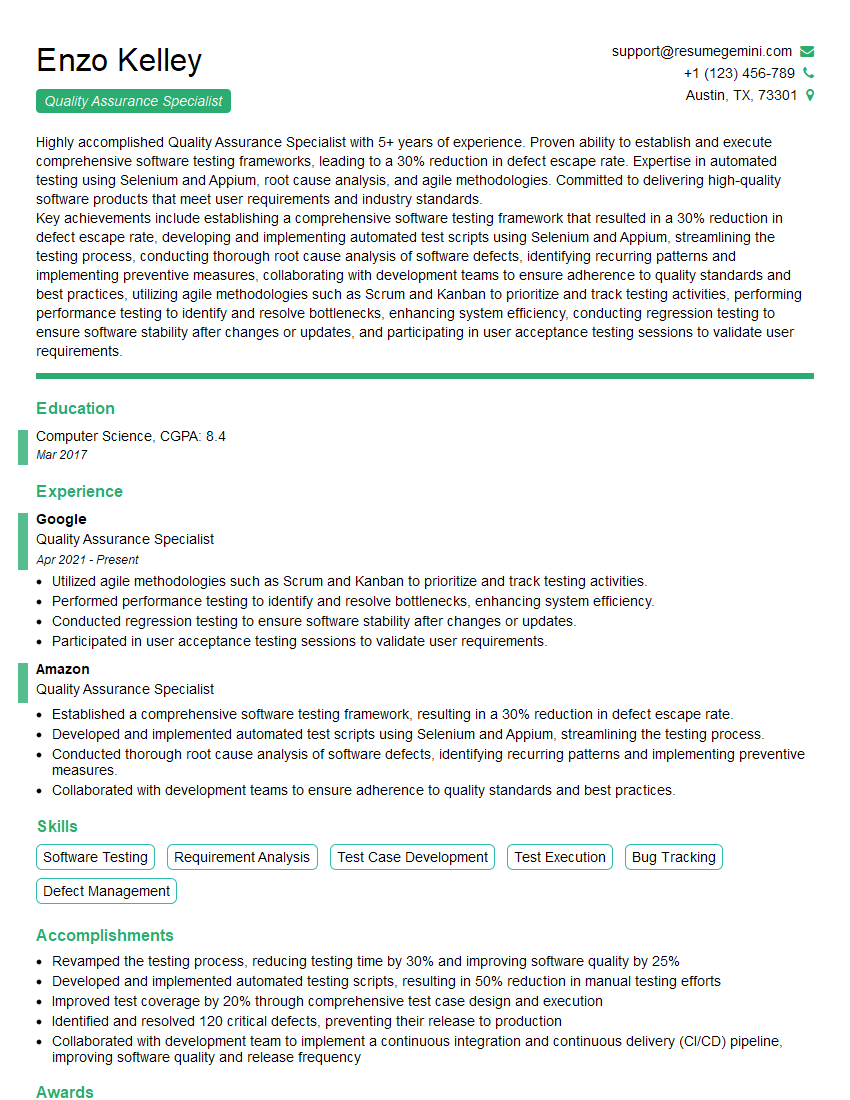
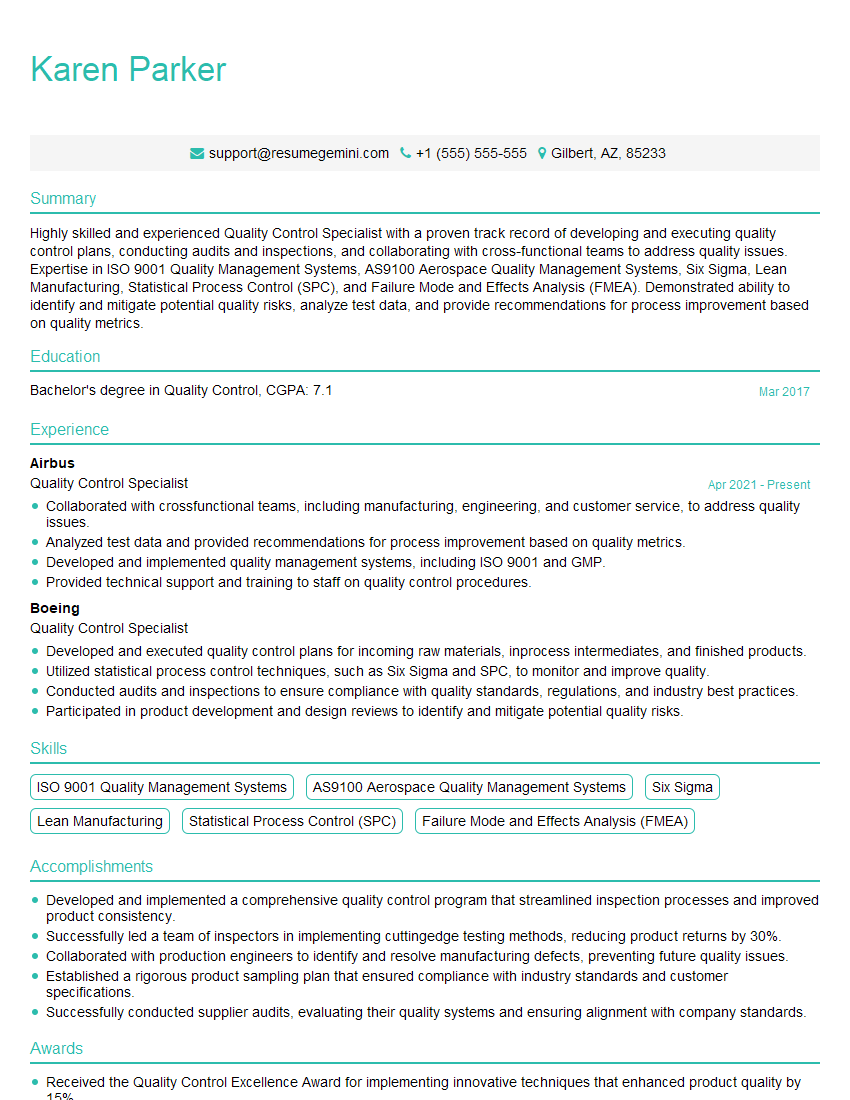
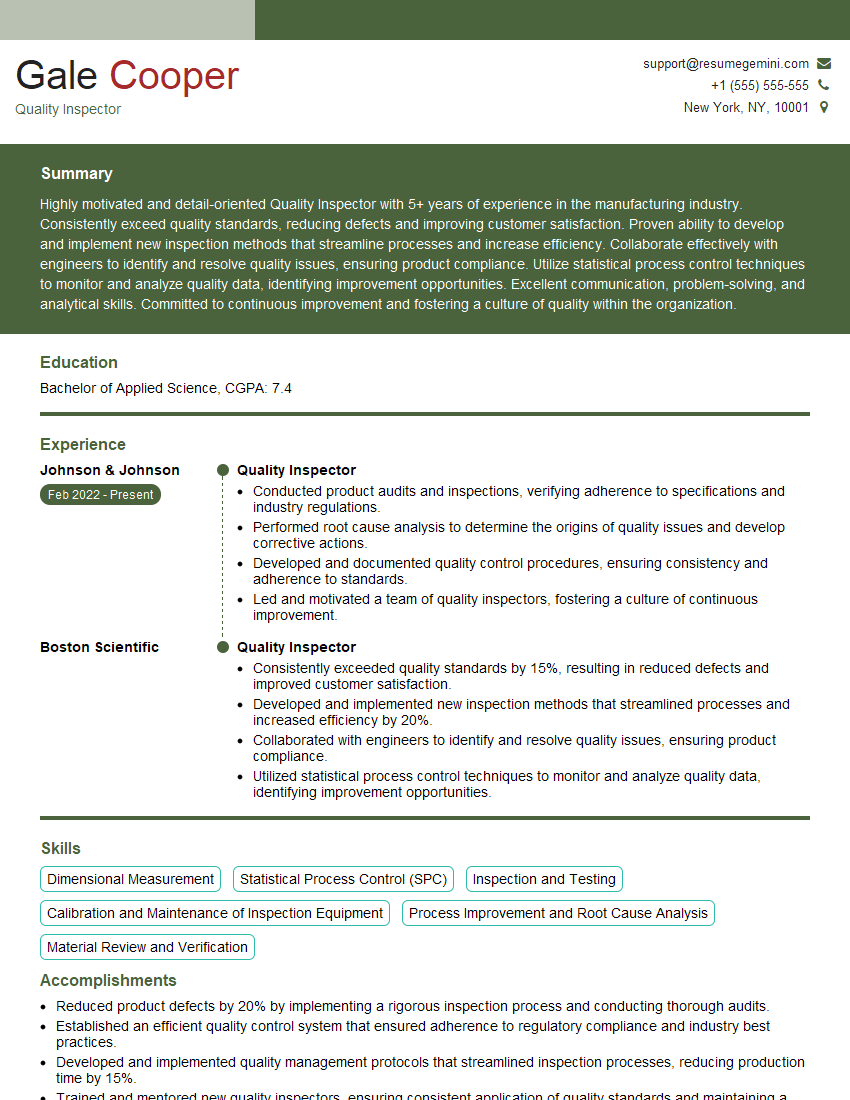
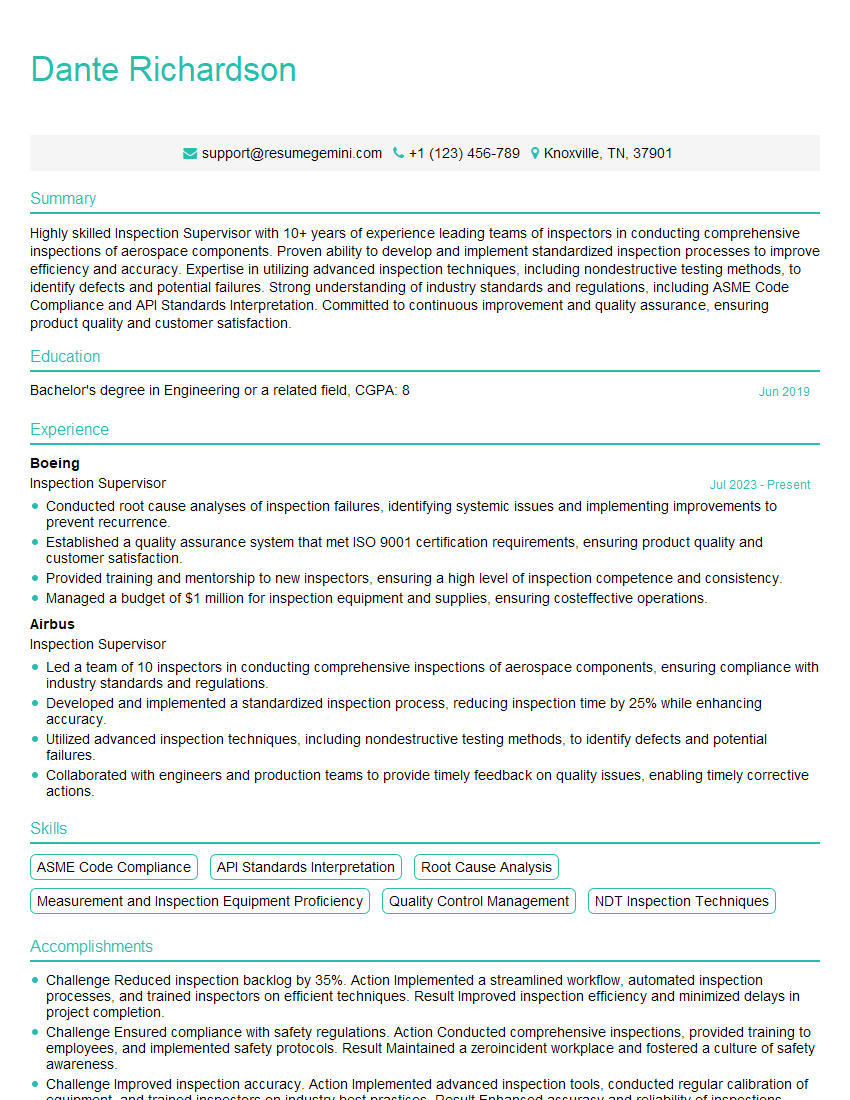
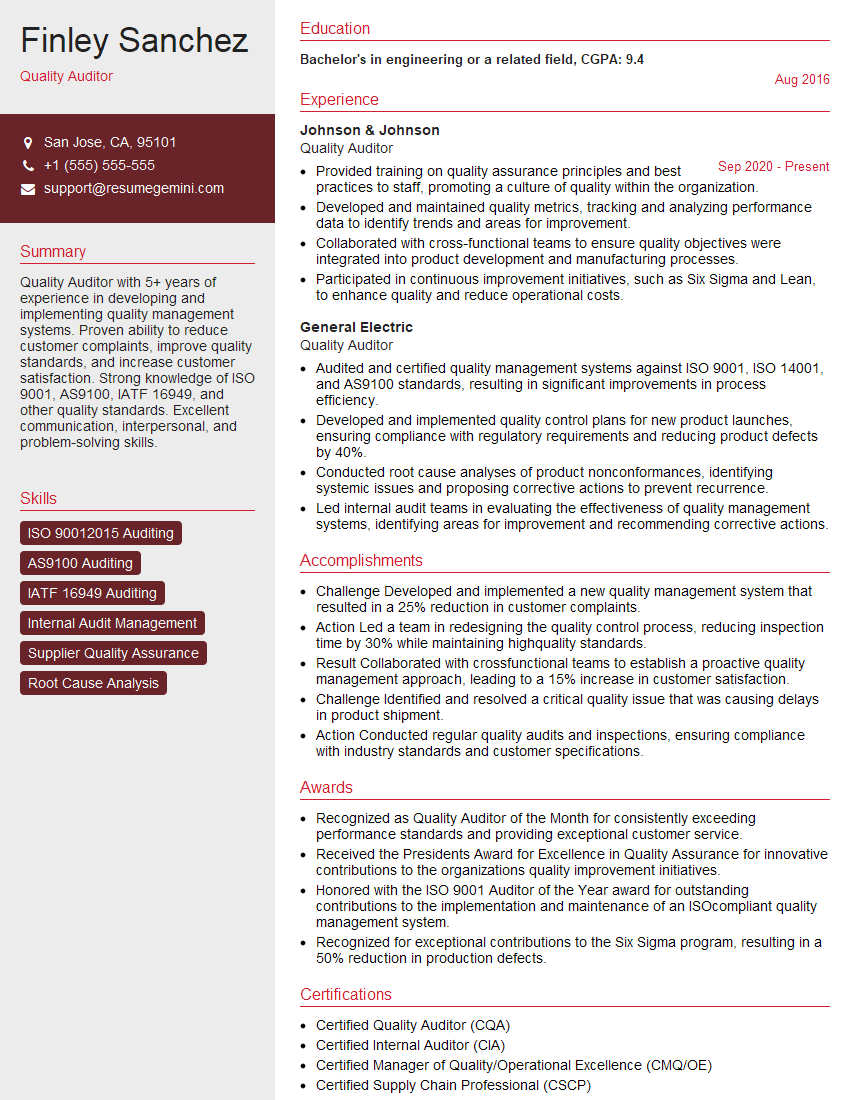
Mastering the Certified Quality Inspector (CQI) field opens doors to exciting career advancements and increased earning potential. A strong, ATS-friendly resume is crucial for getting your foot in the door. To maximize your job prospects, consider using ResumeGemini, a trusted resource for crafting professional resumes. ResumeGemini provides examples of resumes tailored specifically to the Certified Quality Inspector (CQI) role, helping you present your skills and experience effectively. Take the next step towards your dream career today!
Explore more articles
Users Rating of Our Blogs
Share Your Experience
We value your feedback! Please rate our content and share your thoughts (optional).
What Readers Say About Our Blog
Hello,
We found issues with your domain’s email setup that may be sending your messages to spam or blocking them completely. InboxShield Mini shows you how to fix it in minutes — no tech skills required.
Scan your domain now for details: https://inboxshield-mini.com/
— Adam @ InboxShield Mini
Reply STOP to unsubscribe
Hi, are you owner of interviewgemini.com? What if I told you I could help you find extra time in your schedule, reconnect with leads you didn’t even realize you missed, and bring in more “I want to work with you” conversations, without increasing your ad spend or hiring a full-time employee?
All with a flexible, budget-friendly service that could easily pay for itself. Sounds good?
Would it be nice to jump on a quick 10-minute call so I can show you exactly how we make this work?
Best,
Hapei
Marketing Director
Hey, I know you’re the owner of interviewgemini.com. I’ll be quick.
Fundraising for your business is tough and time-consuming. We make it easier by guaranteeing two private investor meetings each month, for six months. No demos, no pitch events – just direct introductions to active investors matched to your startup.
If youR17;re raising, this could help you build real momentum. Want me to send more info?
Hi, I represent an SEO company that specialises in getting you AI citations and higher rankings on Google. I’d like to offer you a 100% free SEO audit for your website. Would you be interested?
Hi, I represent an SEO company that specialises in getting you AI citations and higher rankings on Google. I’d like to offer you a 100% free SEO audit for your website. Would you be interested?
good


