Are you ready to stand out in your next interview? Understanding and preparing for Masonry Installation and Repair interview questions is a game-changer. In this blog, we’ve compiled key questions and expert advice to help you showcase your skills with confidence and precision. Let’s get started on your journey to acing the interview.
Questions Asked in Masonry Installation and Repair Interview
Q 1. What types of mortar are commonly used in masonry construction, and what are their respective strengths and weaknesses?
Mortar selection is crucial for the longevity and structural integrity of a masonry project. Different mortars offer varying strengths, workability, and suitability for specific applications. Common types include:
- Type N: A general-purpose mortar suitable for most applications, offering a good balance of strength and workability. It’s a popular choice for above-grade applications.
- Type S: A higher-strength mortar ideal for applications requiring greater compressive strength, like load-bearing walls or foundation work. It’s less workable than Type N.
- Type M: The strongest type, used for high-strength applications and often in below-grade situations where high compressive strength and resistance to sulfate attack are needed. It’s the least workable and requires more experience to use effectively.
- Type O: A low-strength mortar primarily used for non-load-bearing applications or restoration projects where minimizing stress on older masonry is critical.
Strengths and Weaknesses: Think of it like choosing the right tool for a job. Type N is your all-rounder, Type S your heavy-duty option, Type M your extreme-condition specialist, and Type O your delicate-touch tool. Each mortar has a strength-workability trade-off; higher strength often means reduced workability, requiring more experience and skill to lay properly.
Q 2. Explain the process of laying bricks in a running bond pattern.
The running bond is the most common bricklaying pattern. It’s simple yet effective, providing excellent structural stability. Here’s how it’s done:
- Lay the First Course: Begin with a level, continuous bed of mortar. Place the first brick, ensuring its end is flush with the wall’s edge, and level it.
- Continue the Course: Place subsequent bricks end-to-end, maintaining consistent head joints (vertical spaces between bricks) and bed joints (horizontal spaces). Each brick should rest squarely on the mortar bed and be butted tightly against the previous brick.
- Headers and Stretchers: In a running bond, all bricks in a course are laid as ‘stretchers’ (long side facing outwards). This pattern is then repeated in the next course, offsetting the bricks to create a staggered appearance.
- Mortar Application: Apply a consistent amount of mortar to the bed joint and the head joint. Avoid excessive mortar, as this can weaken the wall.
- Tooling: After laying each brick, use a tool to ensure the mortar joints are neat, consistent, and concave. This improves both the aesthetics and water resistance of the wall.
Imagine building a brick wall like stacking dominoes, but with mortar binding them together. Consistent placement and even mortar distribution are key to ensuring structural integrity.
Q 3. How do you ensure proper leveling and alignment during masonry construction?
Maintaining proper leveling and alignment is paramount in masonry. Inaccurate work leads to structural weakness and aesthetic flaws. Here are crucial techniques:
- Use a Level and Plumb Bob: Regularly check the levelness of each course using a level, and the plumbness (vertical alignment) of the wall using a plumb bob. Adjust bricks as needed.
- Establish a Level Foundation: A perfectly level foundation is the cornerstone of a straight wall. Slight variations in the foundation will be magnified as the wall goes higher.
- Line and Level String: Establish guide lines using strings stretched between stakes at the beginning and end of the wall. This ensures consistent alignment.
- Check Head and Bed Joints: Consistent joint sizes are critical. Irregular joints suggest an uneven wall. Regular checks and adjustments prevent this.
- Use a Bricklayer’s Square: Utilize a square to ensure 90-degree corners, preventing angled or crooked walls.
Think of it like building with LEGOs: each brick needs to be precisely placed to create a sturdy and visually appealing structure. Consistent use of tools for checking and adjustments is vital.
Q 4. Describe different methods for waterproofing masonry structures.
Waterproofing masonry structures protects against damage from moisture, preventing issues like efflorescence (salt deposits), freeze-thaw damage, and deterioration. Methods include:
- Hydrophobic Sealers: These penetrate the masonry, reducing its water absorption. They’re ideal for maintaining the building’s breathability.
- Water-Repellent Coatings: These create a protective barrier on the surface, preventing water penetration. However, they may affect the breathability of the structure.
- Waterproof Membranes: Applied to the exterior, these provide a complete barrier against water. This is essential for below-grade applications, basements, and areas prone to flooding.
- Flashing and Weep Holes: Correct installation of flashing (a thin layer of waterproof material) over vulnerable areas, combined with strategically placed weep holes, allows water to escape instead of pooling within the wall.
The best approach depends on the specific structure and its environment. For example, a hydrophobic sealer might suit a historic building, while a waterproof membrane might be needed for a retaining wall exposed to heavy rainfall.
Q 5. What are the common causes of masonry cracking and how can they be repaired?
Masonry cracking is a common problem with various causes. Understanding these causes is crucial for effective repair:
- Settlement: Uneven foundation settlement is a major culprit, causing cracks that typically run vertically.
- Shrinkage: Mortar shrinkage during drying can cause hairline cracks.
- Thermal Movement: Temperature fluctuations can cause expansion and contraction, leading to cracks.
- Moisture Movement: Freezing and thawing of water within the masonry can cause significant damage.
- Overloading: Excessive loads on the masonry can cause cracks.
Repair: Repairing cracks depends on their size, cause, and location. Small, hairline cracks might only require filling with compatible sealant. Larger cracks might necessitate more extensive repairs, possibly involving underpinning (strengthening the foundation) or replacing damaged sections.
I’ve seen countless examples where a small crack, ignored, led to a much more significant problem later. Early detection and prompt repair prevent minor issues from becoming major structural concerns.
Q 6. How do you select appropriate anchors and fasteners for masonry?
Choosing the right anchors and fasteners is essential for secure and safe installations. The type of anchor depends on several factors:
- Masonry Type: Solid brick, hollow brick, concrete block, and stone all require different anchors.
- Load Capacity: The anchor must support the load it will bear. Consider the weight and stress on the fastener.
- Anchor Depth: Proper embedding depth ensures effective load transfer to the masonry.
- Corrosion Resistance: Select anchors with appropriate corrosion resistance, particularly for exterior or damp applications.
Examples include wedge anchors, drop-in anchors, and expansion anchors. Each has its own strengths and limitations. For instance, a wedge anchor is ideal for solid masonry, while a chemical anchor is often used for hollow or cracked blocks. Always consult manufacturers’ specifications to ensure you’re using the right anchor for your particular job.
A poorly chosen anchor can lead to failure, and potentially dangerous situations. This means selecting the appropriate anchor is a crucial safety consideration.
Q 7. Explain the process of repointing mortar joints.
Repointing involves removing deteriorated mortar from joints and replacing it with fresh mortar, restoring both the structural integrity and aesthetics of the masonry. It’s a delicate process requiring precision and attention to detail:
- Prepare the Joints: Carefully remove the old, damaged mortar using a chisel and hammer or specialized tools, taking care not to damage the masonry units.
- Clean the Joints: Thoroughly clean the joints of dust and debris, ensuring a good bond with the new mortar.
- Mix the Mortar: Prepare a suitable mortar mix, usually a Type N or O, depending on the application. The consistency should be workable but firm.
- Apply the Mortar: Fill the cleaned joints with the fresh mortar, ensuring complete filling and proper tooling.
- Tool the Joints: Shape the mortar joints using a pointing tool, creating a consistent, aesthetically pleasing, and water-resistant profile.
- Cure the Mortar: Allow the new mortar to cure properly, following the manufacturer’s recommendations.
Imagine it’s like fixing a broken tooth: you carefully remove the damaged filling, clean the area, and replace it with a new, strong filling, ensuring a tight, smooth finish.
Q 8. What safety precautions are essential when working at heights on masonry projects?
Working at heights on masonry projects demands meticulous attention to safety. Think of it like climbing a mountain – proper preparation and adherence to safety protocols are paramount. Falls are a significant hazard, so we always prioritize fall protection.
- Fall arrest systems: This includes harnesses, anchor points securely fastened to the structure (not just a flimsy scaffold!), and appropriate-length lanyards to prevent excessive free fall. We ensure regular inspections of all fall protection equipment.
- Scaffolding: Properly erected and inspected scaffolding is crucial. This means ensuring it’s level, stable, and can support the weight of both materials and personnel. We never overload scaffolding and always use proper guardrails and toe boards.
- Personal Protective Equipment (PPE): This is non-negotiable. Hard hats are mandatory to protect against falling objects, safety harnesses to prevent falls, and safety glasses or goggles to protect eyes from debris. We also use appropriate gloves to protect hands from sharp materials and chemicals.
- Training and Communication: All team members undergo thorough safety training before starting work at heights. Clear communication on the job site is key to ensuring everyone is aware of potential hazards and follows safety procedures. We conduct regular toolbox talks to emphasize safe practices and address any immediate concerns.
For instance, on a recent restoration project of a historic brick building, we employed a comprehensive fall arrest system, including a robust scaffolding structure with integrated anchor points. Daily inspections ensured the safety of the entire team.
Q 9. How do you determine the appropriate type and thickness of mortar for a given project?
Choosing the right mortar is like choosing the right glue – the wrong one will weaken the entire structure. The type and thickness depend on several factors: the type of masonry unit (brick, stone, block), the application (interior or exterior), the load-bearing requirements, and the climate.
- Type: Different mortars offer varying strengths and properties. Type N is a general-purpose mortar suitable for most applications. Type S is stronger and used for load-bearing walls, while Type M is the strongest and used for high-strength applications. The choice is informed by the project’s structural demands.
- Thickness: The mortar joint’s thickness affects the structure’s strength, aesthetics, and thermal performance. Too thin a joint can lead to weak bonds, while too thick a joint can result in instability and energy loss. We typically aim for a consistent joint thickness of around 3/8 inch for most applications, adjusting based on the masonry unit’s size and shape.
- Climate: In harsh climates, we use mortars designed to withstand freezing and thawing cycles to prevent damage. The mortar’s water retention is also a key consideration.
For example, in a recent project building a retaining wall, we used Type S mortar to ensure the strength required to withstand the lateral earth pressure. The joint thickness was carefully controlled to maintain structural integrity and a consistent aesthetic look.
Q 10. Describe your experience with different types of masonry materials (brick, stone, block).
My experience encompasses working with a wide range of masonry materials. Each has its unique characteristics and challenges. It’s like working with different types of wood – each requires a unique approach.
- Brick: I’ve worked extensively with various brick types – clay, concrete, and facing bricks. The key is understanding their variations in size, shape, color, and strength. Clay bricks, for example, require careful handling to avoid chipping, while concrete bricks offer more consistent dimensions.
- Stone: Stone masonry is fascinating but demanding. I have experience with natural stones like granite, limestone, and sandstone. The variability in size and shape requires precise planning and cutting to achieve the desired outcome. This is where experience in understanding the stone’s natural fractures and bedding planes becomes crucial. Different stones have different properties – some are more porous, some are more resistant to weathering.
- Block: Concrete blocks are common in many construction projects. Their uniform size and shape make them efficient to work with, but their strength and absorption properties are important factors to consider when choosing mortar and planning the design. We ensure proper curing and moisture control when working with concrete blocks.
On a recent project restoring a stone wall, I used various techniques for cutting and shaping the irregular stones, matching them carefully to create a cohesive and aesthetically pleasing repair.
Q 11. How do you handle variations in the size and shape of masonry units?
Variations in masonry units are inevitable. Think of it like a jigsaw puzzle – you need to find the right pieces to fit together seamlessly. We address this through careful planning and execution:
- Careful Sorting: Before starting the work, we sort masonry units by size and shape to minimize variations within a specific area. This allows us to strategically place larger and smaller units to create a uniform appearance and ensure proper bonding.
- Adjusting Mortar Joints: We carefully adjust the mortar joint thickness to compensate for variations in unit size. This requires precision and an understanding of how the joint thickness influences the strength and aesthetics of the wall.
- Cutting and Shaping: In cases where variations are significant, we use specialized tools like masonry saws and chisels to cut and shape units to fit perfectly. This takes skill and precision.
- Planning: Proper planning in the initial stages helps in selecting appropriate units and optimizing the layout to minimize the need for extensive cutting and shaping.
In one project, we worked with reclaimed bricks that had significant variations in size and shape. We carefully planned the layout and adjusted the mortar joints to accommodate the irregularities, resulting in a beautiful and structurally sound wall that highlighted the character of the reclaimed bricks.
Q 12. What are the signs of structural damage in masonry structures?
Identifying structural damage in masonry structures requires a keen eye for detail. It’s like being a detective – you need to look for clues that indicate weakness or instability. The signs can be subtle or obvious.
- Cracks: Cracks are a major red flag. Diagonal cracks, particularly those extending from the foundation, are serious indicators of structural problems. Horizontal cracks often indicate settlement issues. The size, width, and location of cracks are crucial in assessing their severity.
- Leaning or Settling: If a wall is noticeably leaning or parts of a structure are settling unevenly, this points to foundation problems or underlying soil instability.
- Spalling or Deterioration: Deterioration of masonry units, such as spalling (chipping or flaking) of brick or stone, can be caused by weathering, freeze-thaw cycles, or chemical attack. It signifies progressive damage that must be addressed.
- Efflorescence: White, powdery deposits on the surface of masonry are a sign of salt migration, often indicating moisture penetration and potential damage within the structure.
- Loose or Missing Mortar: Missing or deteriorated mortar weakens the bond between masonry units, compromising the structural integrity. It’s like the glue that’s slowly disappearing.
In one case, we discovered significant diagonal cracking in a load-bearing wall, indicating a foundation settlement issue. Further investigation confirmed our assessment, and we implemented appropriate remediation measures to stabilize the structure.
Q 13. Describe your experience with using different masonry tools and equipment.
Proficiency in using various masonry tools and equipment is vital. Each tool has a specific purpose, and mastering them ensures both efficiency and safety.
- Hand Tools: I’m proficient with trowels (for applying mortar), chisels (for cutting and shaping stones), hammers (for breaking and shaping materials), and levels (for ensuring proper alignment). The right trowel is crucial—it’s like having the right brush for painting – and knowing how to use it correctly ensures a smooth, efficient working process.
- Power Tools: I have experience using power tools such as masonry saws (for cutting bricks and blocks), angle grinders (for grinding and smoothing surfaces), and concrete mixers (for preparing mortar in larger quantities). Safety precautions with power tools are paramount.
- Specialized Equipment: Depending on the project’s scale and complexity, I’ve used specialized equipment such as forklifts (for moving heavy materials), scaffolding systems, and even specialized lifting equipment for large stone blocks. These larger equipment pieces require extra training and safety certifications.
On a recent project, we used a combination of hand and power tools to restore a large stone archway. The precision required in shaping and fitting the stones necessitated both the skill of hand tools and the efficiency of power saws.
Q 14. How do you read and interpret masonry construction drawings?
Reading and interpreting masonry construction drawings is fundamental. These drawings are like a map guiding the construction process. They provide all the necessary information for building a structurally sound and aesthetically pleasing structure.
- Understanding Symbols: It’s crucial to understand the standard symbols used in masonry drawings – different lines represent different elements such as walls, foundations, and openings. Each symbol has its meaning. For example a dashed line might represent a sectioned view.
- Dimensions and Specifications: Paying close attention to dimensions and specifications is crucial for accurate material estimation and construction. This includes wall thickness, unit sizes, mortar joint thicknesses, and locations of openings and details.
- Details and Sections: Details and sections provide a detailed view of specific elements, such as wall connections, foundations, and openings. They showcase the finer details often missing from the main view.
- Interpreting Specifications: It’s essential to thoroughly understand the written specifications to confirm aspects like material type and tolerances.
In one project, the drawings showed a complex brick pattern requiring precise placement of various sized bricks. Understanding the symbols, dimensions, and detailing enabled us to execute the pattern flawlessly, resulting in a beautiful and accurate outcome.
Q 15. Explain your understanding of building codes and regulations related to masonry.
Building codes and regulations for masonry are crucial for ensuring structural safety, durability, and the overall integrity of a structure. These codes, which vary by location (e.g., International Building Code, local ordinances), dictate aspects like the type and strength of mortar, the allowable height and thickness of walls, the required reinforcement (such as steel ties or rebar), and the proper techniques for anchoring and flashing. For example, a code might specify a minimum compressive strength for mortar used in load-bearing walls, or mandate the use of weep holes in cavity walls to prevent water damage. Ignoring these codes can lead to serious consequences, including structural failure, costly repairs, and legal repercussions. My experience includes consistently referencing and adhering to the relevant codes for each project, ensuring all work meets or exceeds the minimum standards. I’m familiar with obtaining and interpreting building permits, and proactively address any potential code conflicts during the planning phase.
Career Expert Tips:
- Ace those interviews! Prepare effectively by reviewing the Top 50 Most Common Interview Questions on ResumeGemini.
- Navigate your job search with confidence! Explore a wide range of Career Tips on ResumeGemini. Learn about common challenges and recommendations to overcome them.
- Craft the perfect resume! Master the Art of Resume Writing with ResumeGemini’s guide. Showcase your unique qualifications and achievements effectively.
- Don’t miss out on holiday savings! Build your dream resume with ResumeGemini’s ATS optimized templates.
Q 16. What is your experience with different types of masonry bonding patterns?
My experience encompasses a wide range of masonry bonding patterns, each chosen based on the project’s specific requirements, aesthetic considerations, and structural demands. Common patterns include running bond (simple and efficient), common bond (includes headers for strength), English bond (alternating courses of headers and stretchers for visual appeal and strength), Flemish bond (alternating headers and stretchers in each course, highly decorative but less efficient), and stack bond (simple, but less structurally sound unless reinforced). For instance, in a load-bearing wall, I’d favor a common or English bond for its superior strength. For a decorative facade, a Flemish bond might be preferred, while a running bond could suffice for less demanding applications. The selection process always involves careful consideration of the project’s unique needs and available resources.
Q 17. How do you ensure the proper curing of mortar?
Proper mortar curing is critical for achieving the desired strength and durability of the masonry structure. This involves maintaining the optimal moisture content and temperature for a specific duration. I typically utilize several methods to ensure this, including proper initial wetting (to prevent rapid moisture loss), using curing compounds (to slow down evaporation), covering the masonry with damp burlap or plastic sheeting (to maintain a moist environment), and even using water sprays or fogging systems for larger projects. The curing period itself varies depending on the type of mortar, weather conditions, and the size of the project, but it usually lasts for several days. Think of it like baking a cake – you need the right temperature and moisture level to ensure it sets properly. Ignoring this step can lead to weak mortar, increased cracking, and compromised structural integrity.
Q 18. Describe your experience with repairing damaged or deteriorated masonry.
Repairing damaged or deteriorated masonry requires careful assessment, appropriate techniques, and the right materials. I’ve tackled various challenges including spalling (chipping or flaking), cracking, efflorescence (salt deposits), and mortar erosion. The approach involves initially evaluating the extent of damage and identifying the underlying cause (e.g., freeze-thaw cycles, faulty construction, water intrusion). Then, I carefully remove the damaged sections, clean the affected area, and use compatible materials (mortar, brick, stone) to rebuild or repair the structure. For example, if a section of a brick wall is severely damaged, I would remove the affected bricks, clean the cavity, and rebuild it using matching bricks and mortar. For minor cracks, I might utilize specialized epoxy injections. The choice of repair methods is always based on a thorough analysis of the damage and the underlying cause, prioritizing longevity and structural integrity.
Q 19. How do you manage a masonry project within a given budget and timeline?
Managing a masonry project within a given budget and timeline requires meticulous planning and efficient execution. This begins with detailed cost estimations, including materials, labor, equipment rentals, and potential unforeseen expenses. I use project management software to track progress, manage resources, and ensure adherence to the schedule. This involves creating a detailed work breakdown structure, scheduling tasks effectively, and proactively identifying potential delays. Regular communication with clients and the project team is also essential to address any arising issues promptly and avoid cost overruns. I’ve successfully managed several projects by adhering to a rigorous plan and utilizing efficient work methods, ensuring timely completion within budget constraints. Think of it as building with LEGOs – you have a limited number of bricks and a specific image to create, you need to plan how to use your resources efficiently to get the best result.
Q 20. What is your approach to problem-solving on a masonry project?
My approach to problem-solving on a masonry project is systematic and data-driven. I start by thoroughly identifying the problem, gathering data through visual inspection, material testing, and if necessary, engaging structural engineers. I then brainstorm potential solutions, considering their feasibility, cost-effectiveness, and impact on the project schedule. I evaluate these solutions based on established criteria, including safety, structural integrity, and aesthetic considerations. Once the best solution is chosen, I implement it meticulously, monitoring the results closely to ensure it resolves the initial issue. For example, if I notice uneven settling in a newly built wall, I would investigate the foundation, conduct load testing, and potentially implement underpinning or other corrective measures to address the root cause.
Q 21. How do you maintain quality control throughout the masonry construction process?
Maintaining quality control is paramount throughout the masonry construction process. This starts with selecting high-quality materials, ensuring they meet the specified standards and requirements. Regular inspections are conducted throughout the various phases of construction, checking for conformance to plans, specifications, and building codes. I utilize checklists and documentation to track progress, identify any deviations, and address issues promptly. This includes verifying the proper mixing and application of mortar, ensuring accurate bricklaying techniques, and verifying the structural integrity of the walls. Additionally, I implement regular quality control meetings with the project team to discuss progress, address any concerns, and ensure everyone is on the same page. Quality control is not a one-time activity but an ongoing process to deliver a high-quality, durable, and safe masonry structure. Just like a chef constantly tastes their dish to ensure it’s perfect, I continuously monitor the construction process to guarantee quality.
Q 22. Explain your experience with different types of masonry finishes.
My experience encompasses a wide range of masonry finishes, each demanding specific techniques and considerations. Think of it like painting a house – you wouldn’t use the same brush and paint for a delicate trim as you would for a large exterior wall. Similarly, different masonry finishes require different approaches.
- Rough-faced finishes: These offer a rustic, textured appearance. I’ve worked extensively with various stone types to achieve this, from granite and sandstone to more common brick, understanding the nuances of each material’s response to tooling and the importance of consistent texture across a large surface area. A recent project involved a rough-faced limestone wall where careful selection of stones and precise placement were crucial for achieving the desired visual effect.
- Smooth finishes: Achieving a perfectly smooth surface often requires careful jointing and the potential for additional surface treatments like plastering or honing. This requires meticulous attention to detail and often involves specialized tools to ensure a consistent, flawless result. For instance, I’ve worked on interior projects where precise application of a thin-set mortar and careful finishing were paramount for a high-end look.
- Ashlar finishes: This method involves precisely cut and sized stones laid with very tight joints, resulting in a clean, elegant appearance. This requires advanced planning and precision cutting. I’ve overseen projects involving intricate ashlar patterns using different types of stone, requiring advanced knowledge of stone properties and careful layout planning. Managing the logistics of procuring and handling the materials was also key to success.
- Stucco finishes: This involves applying a plaster-like material over a masonry base, offering a variety of textures and colors. I have experience with both traditional lime-based stuccos and modern cement-based versions, understanding the importance of proper surface preparation, mix ratios, and application techniques to prevent cracking and ensure durability. I have also worked on integrating decorative elements, such as embedded tiles, within stucco finishes.
My broad experience allows me to advise on the most appropriate finish for any given project, balancing aesthetic preferences with budget and maintenance considerations.
Q 23. Describe your knowledge of different types of masonry foundations.
Masonry foundations are the bedrock of any structure, and I’m well-versed in various types. Choosing the right foundation is critical, dictated by factors like soil conditions, building size, and intended use. It’s not a one-size-fits-all approach.
- Spread footings: These are simple, cost-effective solutions for smaller structures or those on stable soil. I have extensive experience in calculating the required size and depth for various load requirements, ensuring proper bearing capacity and preventing settlement. This includes understanding soil bearing capacity and using appropriate calculations to determine footing dimensions.
- Strip footings: These continuous footings are ideal for supporting walls and are frequently used in projects of all scales. I’ve overseen the placement of strip footings, ensuring they’re properly aligned and leveled to support the structural load and prevent differential settlement, which would lead to issues down the line.
- Pile foundations: For unstable soil conditions or large structures, pile foundations transfer the load to a more stable stratum below the surface. My experience includes working with various pile types, including driven piles, bored piles, and mini-piles. Careful consideration must be given to soil testing, pile spacing, and the overall design to avoid potential failure. I’ve worked on projects where soil conditions made this type of foundation essential.
- Pier and beam foundations: This type of foundation uses concrete piers to support a framework of beams, which then support the structure. This option is common in regions with expansive soils. I have managed projects where proper spacing and sizing of piers were critical to distribute loads effectively and maintain structural integrity.
Understanding soil mechanics and structural engineering principles is crucial for selecting and implementing the appropriate foundation, and I possess that expertise.
Q 24. How do you handle unexpected challenges or changes during a masonry project?
Unexpected challenges are inevitable in construction. My approach focuses on proactive planning, careful observation, and effective problem-solving. I liken it to being a detective, meticulously examining the situation, gathering all the facts, and then formulating a solution.
- Assessment: The first step is to thoroughly assess the situation. What’s the problem? What are its potential causes and consequences?
- Communication: Open and honest communication is key. I’ll inform relevant parties (clients, engineers, subcontractors) of the issue and discuss potential solutions.
- Problem-Solving: I’ll draw on my experience and knowledge to develop solutions. This might involve modifying existing plans, sourcing alternative materials, or employing innovative techniques.
- Documentation: I carefully document the issue, the proposed solution, and any modifications to the original plans. This protects all parties and ensures accountability.
For instance, I once encountered unforeseen bedrock during an excavation for a foundation. Instead of panicking, we carefully assessed the situation, consulted with the structural engineer, adjusted the design to accommodate the bedrock, and successfully completed the project with minimal delay. Flexibility and a resourceful mindset are essential in these scenarios.
Q 25. What are the environmental considerations for masonry construction?
Environmental considerations are paramount in modern masonry construction. It’s about building sustainably and responsibly. My approach integrates these considerations throughout the entire project lifecycle.
- Material Selection: I prioritize using locally sourced materials to reduce transportation emissions and support local economies. We also consider the embodied carbon of materials, opting for those with lower environmental impact whenever feasible. This includes using recycled materials when appropriate.
- Waste Management: Minimizing waste is crucial. We implement rigorous waste management plans, including sorting, recycling, and responsible disposal of construction debris. This helps lessen landfill burden and potentially recovers valuable resources.
- Water Conservation: We implement water-efficient construction practices, minimizing water usage during mixing and cleaning. This includes using water recycling systems where applicable.
- Energy Efficiency: I consider the thermal properties of masonry materials, selecting those that contribute to energy efficiency in the final building. Proper insulation techniques are implemented to further improve energy performance.
- Erosion Control: On-site erosion control measures are implemented to prevent soil erosion and runoff, protecting water quality. This includes proper site grading and the use of erosion control blankets.
Building responsibly isn’t just an add-on; it’s an integral part of every project I undertake.
Q 26. Describe your experience with working with different types of scaffolding.
My scaffolding experience includes working with various types, each with its own strengths and weaknesses, making the right choice crucial for safety and efficiency. It’s about understanding the limitations of each system.
- System Scaffolding: This is a versatile and widely used system, utilizing prefabricated components for ease of assembly and disassembly. I’m proficient in erecting, dismantling, and inspecting system scaffolding, ensuring compliance with all safety regulations. Regular inspections are vital to identify and address potential hazards.
- Tube and Clamp Scaffolding: This adaptable system uses tubes and clamps to create custom scaffolding configurations. I have expertise in designing and constructing tube and clamp scaffolding for complex geometries, ensuring stability and proper load distribution. The design aspect requires strong engineering knowledge.
- Frame Scaffolding: This prefabricated system offers quick and efficient setup, ideal for simpler projects. My experience includes working with various frame scaffolding systems, selecting the appropriate system based on project requirements.
- Suspended Scaffolding: For high-rise or difficult-to-access areas, suspended scaffolding offers a safe and effective solution. I have experience working with this system, understanding the importance of proper rigging, load calculations, and safety measures, particularly in the inspection process.
Safety is paramount, and I rigorously follow all relevant regulations and best practices when working with any scaffolding system.
Q 27. How do you ensure the safety of yourself and others on the job site?
Safety is not just a priority; it’s my top concern. It’s a fundamental aspect of my approach, permeating every step of a project. I believe in leading by example and fostering a culture of safety among the entire team.
- Pre-Job Planning: Thorough planning before starting any work is crucial, including identifying potential hazards, developing risk assessments, and establishing appropriate safety protocols.
- Personal Protective Equipment (PPE): Ensuring everyone on the team uses appropriate PPE is non-negotiable. This includes hard hats, safety glasses, gloves, and high-visibility clothing.
- Tool Safety: Proper tool maintenance and safe tool handling practices are enforced to prevent accidents. Regular inspections are a routine part of our operations.
- Fall Protection: We meticulously implement fall protection measures, such as guardrails, safety nets, and fall arrest systems, especially at heights.
- Training & Communication: Providing regular safety training and maintaining open communication with the team are essential for maintaining a safe work environment. Regular safety meetings and toolbox talks address potential issues and reinforce safety procedures.
My commitment to safety goes beyond simply following regulations; it’s about proactively identifying and mitigating risks to ensure everyone returns home safely at the end of the day.
Q 28. What are your salary expectations for this role?
My salary expectations are commensurate with my experience, skills, and the demands of this role. I am confident that my expertise in masonry installation and repair will bring significant value to your organization. Considering my extensive experience and proven track record, I am seeking a salary in the range of [Insert Salary Range Here]. I am open to discussing this further and am confident we can reach an agreement that is mutually beneficial.
Key Topics to Learn for Masonry Installation and Repair Interview
- Materials Selection and Properties: Understanding the characteristics of various bricks, stones, mortars, and other masonry materials; their strengths, weaknesses, and appropriate applications.
- Construction Methods: Proficiency in different masonry techniques, including laying bricks, stones, and blocks; building walls, arches, and other structures; understanding bonding patterns and their importance.
- Mortar Mixing and Application: Knowledge of proper mortar mixing ratios, consistency, and application techniques for optimal bond strength and durability.
- Repair and Restoration Techniques: Experience in identifying and repairing common masonry problems such as cracks, efflorescence, and deterioration; understanding different repair methods and materials.
- Tools and Equipment: Familiarity with various hand tools and power equipment used in masonry installation and repair, including their safe and effective operation.
- Blueprint Reading and Interpretation: Ability to read and understand construction drawings and specifications related to masonry work.
- Safety Procedures and Regulations: Understanding and adherence to relevant safety regulations and best practices in masonry work, including fall protection and hazard prevention.
- Problem-Solving and Troubleshooting: Ability to identify and resolve on-site challenges related to materials, construction methods, or unexpected issues.
- Estimating and Costing: Understanding material costs, labor costs, and the process of providing accurate project estimates.
- Quality Control and Inspection: Knowledge of quality control measures to ensure the structural integrity and aesthetic appeal of masonry work.
Next Steps
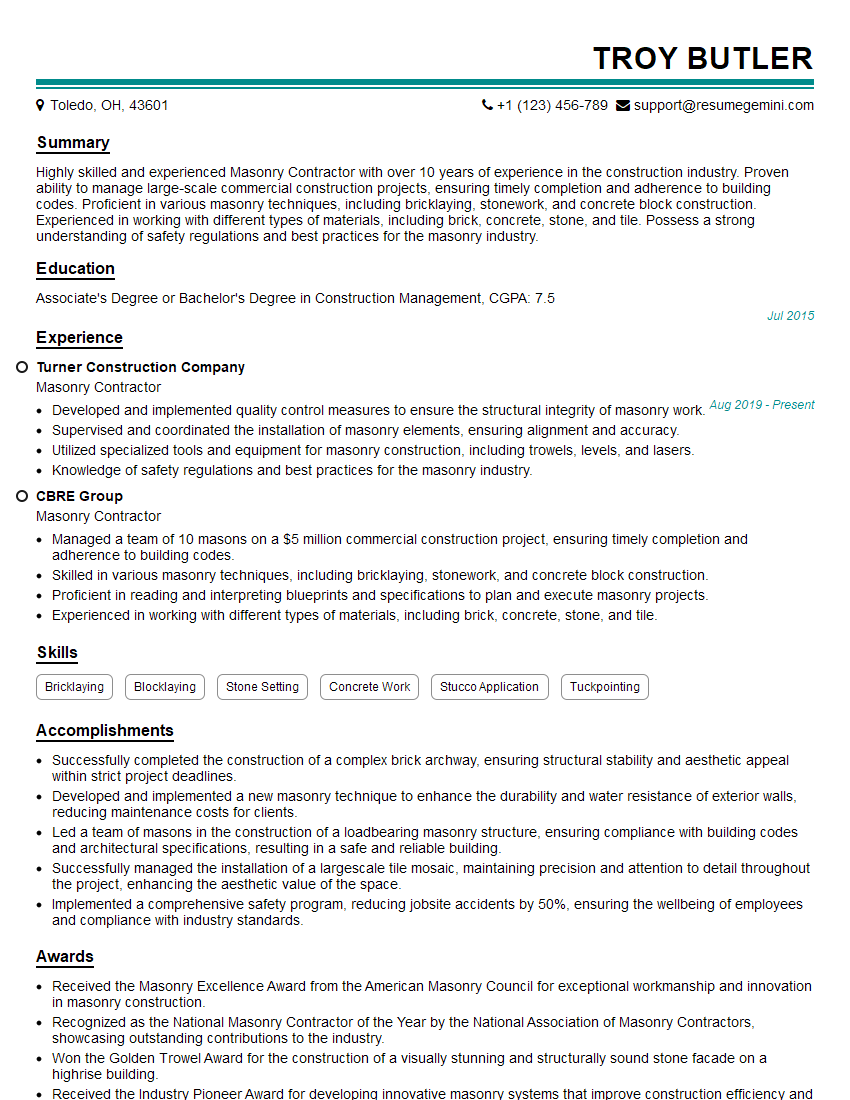
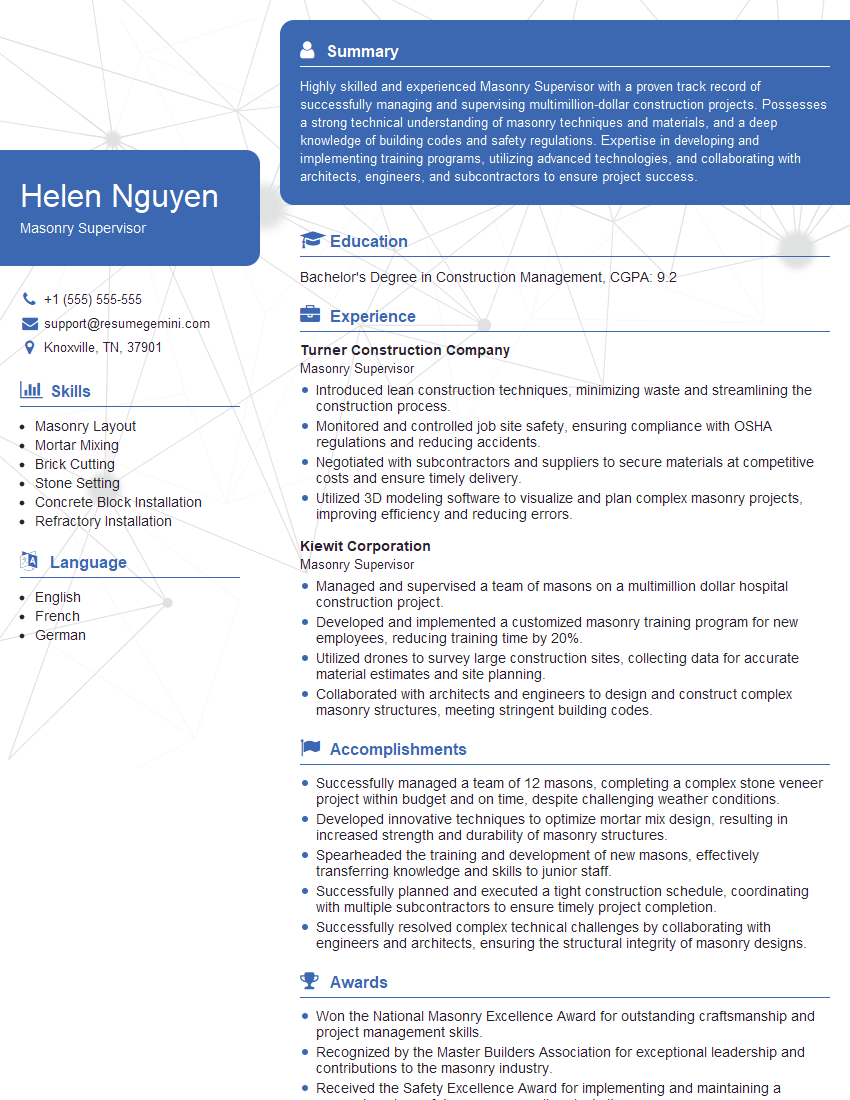
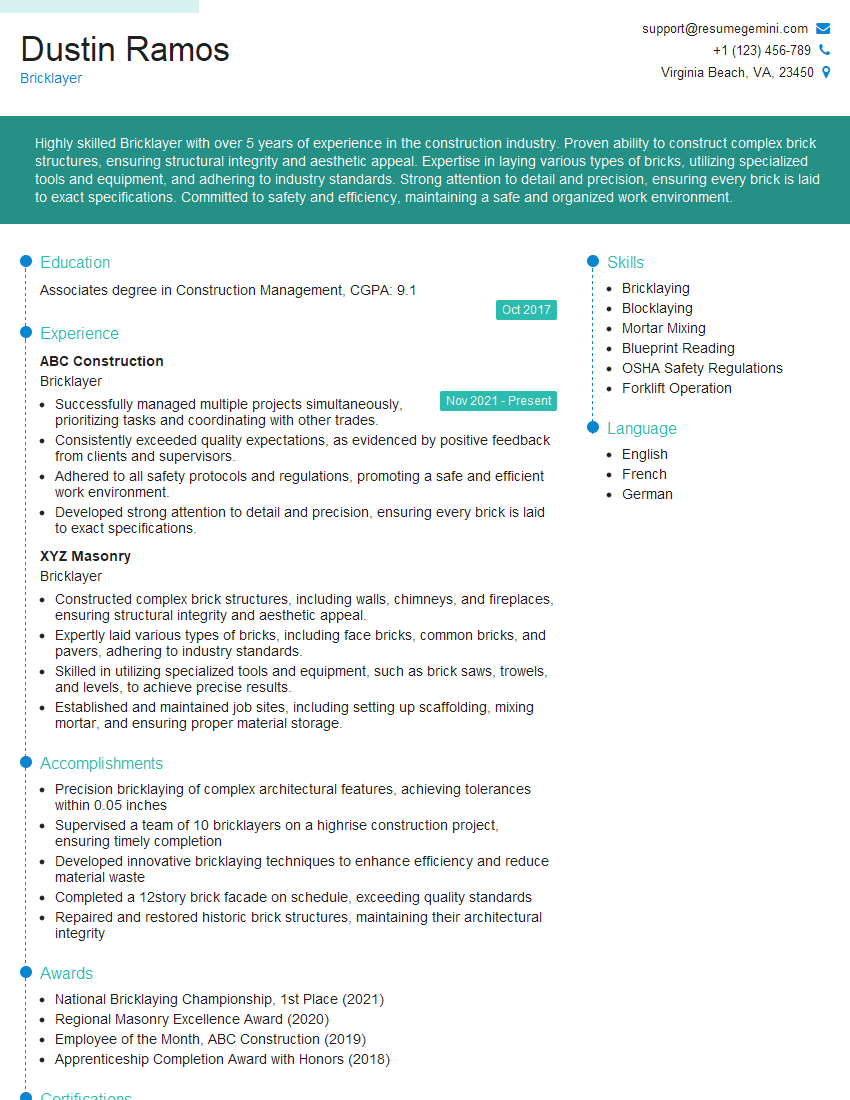
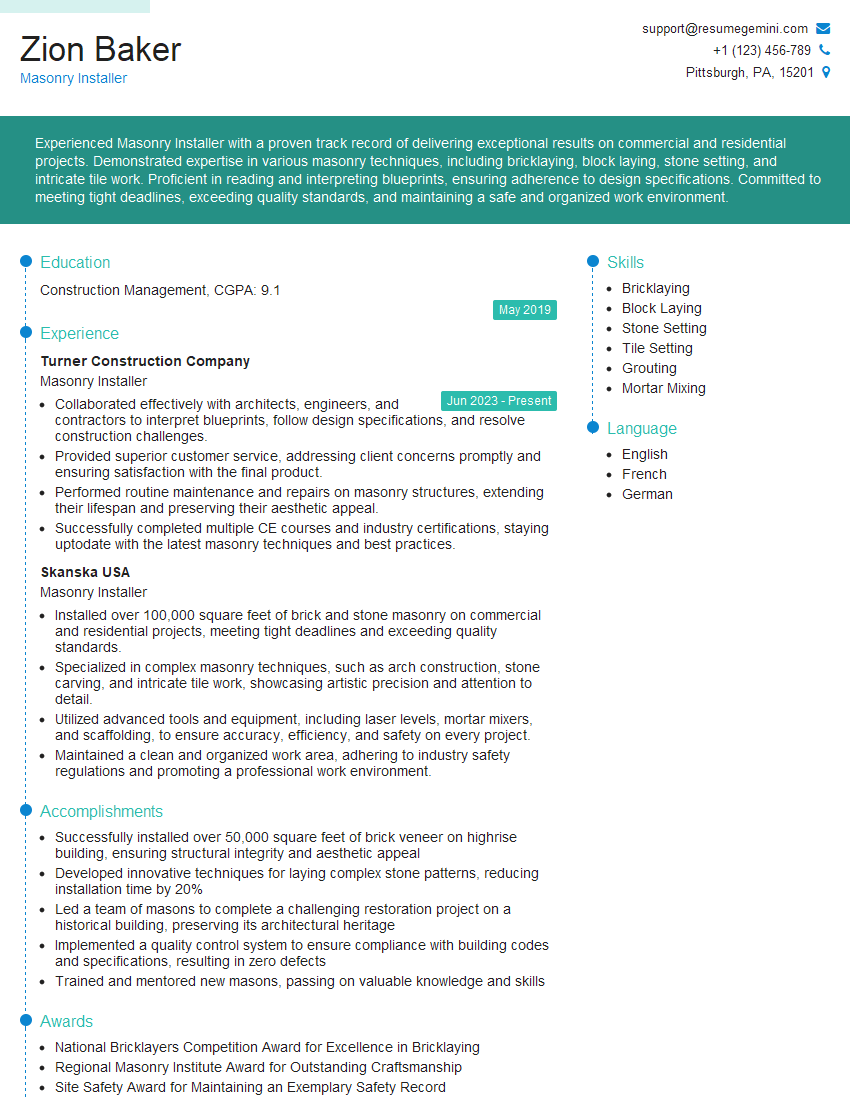
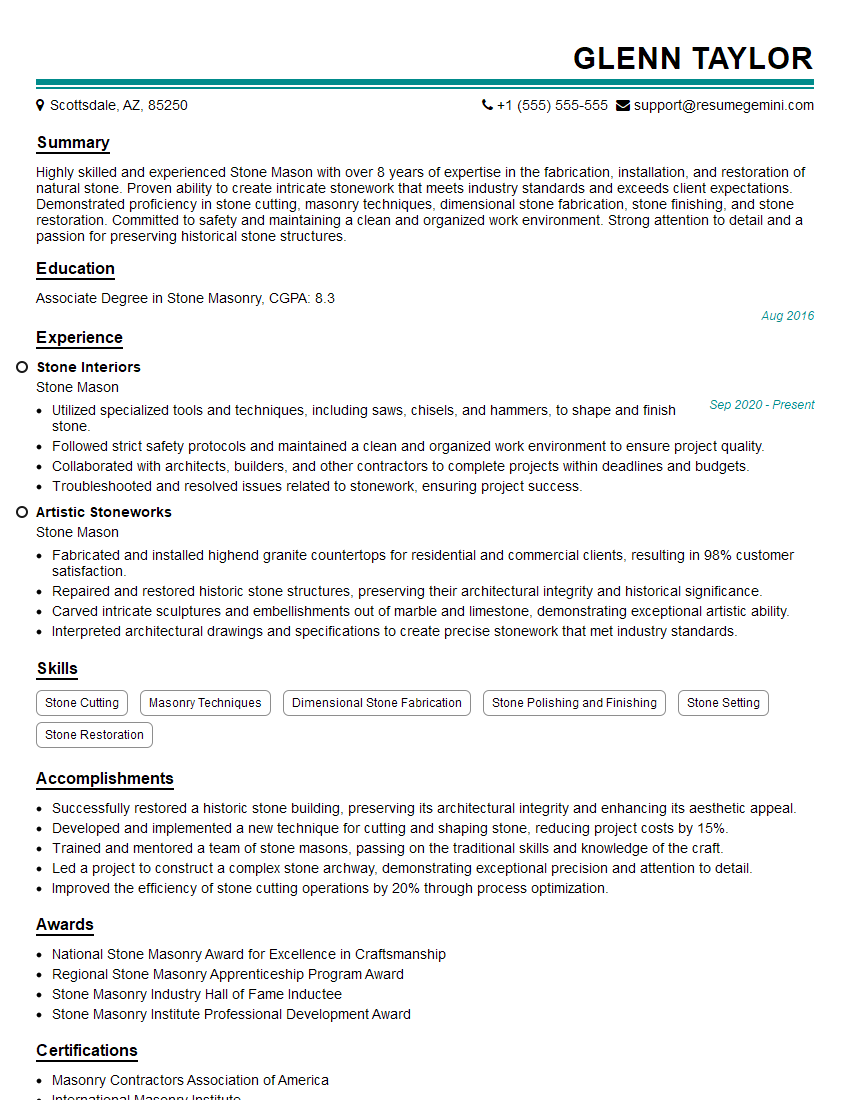
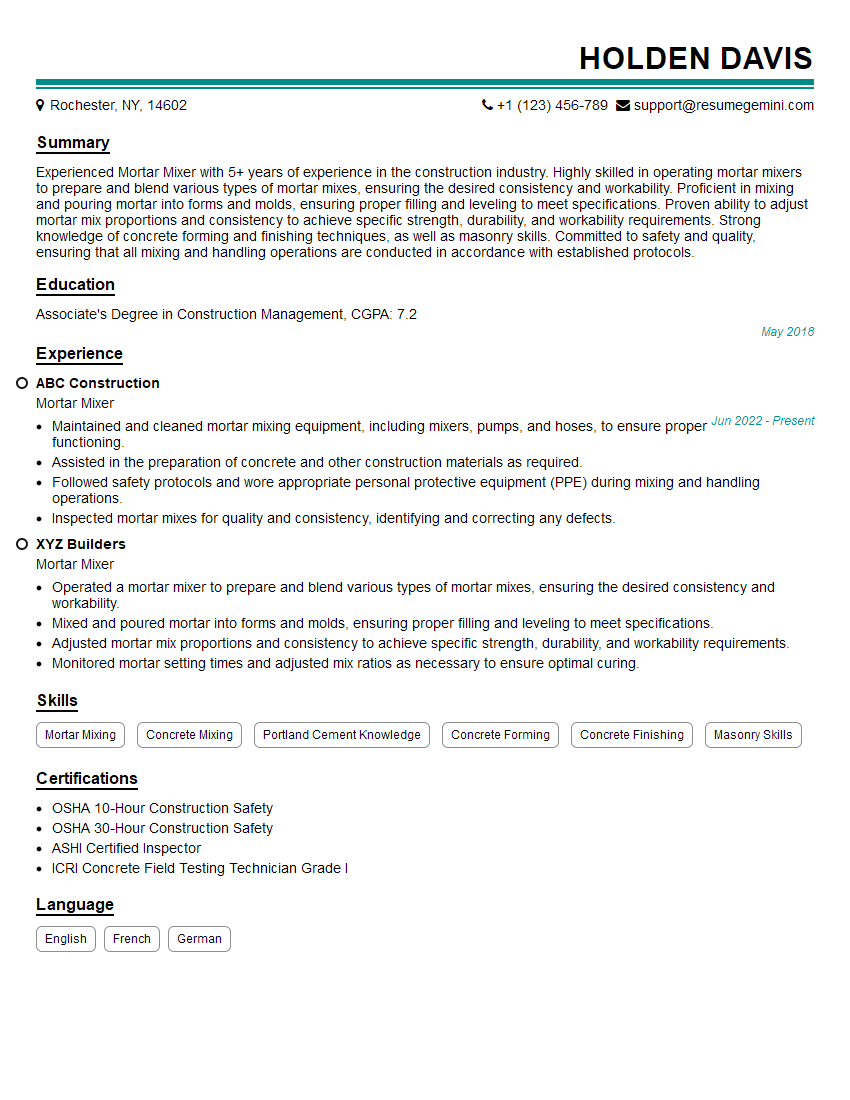
Mastering Masonry Installation and Repair opens doors to a rewarding career with diverse opportunities for growth and advancement. A strong understanding of these skills demonstrates your value to potential employers. To make a compelling impression, create an ATS-friendly resume that showcases your expertise effectively. ResumeGemini is a trusted resource that can help you build a professional resume tailored to highlight your skills and experience. Examples of resumes tailored to Masonry Installation and Repair are available to guide you through the process.
Explore more articles
Users Rating of Our Blogs
Share Your Experience
We value your feedback! Please rate our content and share your thoughts (optional).
What Readers Say About Our Blog
Hello,
We found issues with your domain’s email setup that may be sending your messages to spam or blocking them completely. InboxShield Mini shows you how to fix it in minutes — no tech skills required.
Scan your domain now for details: https://inboxshield-mini.com/
— Adam @ InboxShield Mini
Reply STOP to unsubscribe
Hi, are you owner of interviewgemini.com? What if I told you I could help you find extra time in your schedule, reconnect with leads you didn’t even realize you missed, and bring in more “I want to work with you” conversations, without increasing your ad spend or hiring a full-time employee?
All with a flexible, budget-friendly service that could easily pay for itself. Sounds good?
Would it be nice to jump on a quick 10-minute call so I can show you exactly how we make this work?
Best,
Hapei
Marketing Director
Hey, I know you’re the owner of interviewgemini.com. I’ll be quick.
Fundraising for your business is tough and time-consuming. We make it easier by guaranteeing two private investor meetings each month, for six months. No demos, no pitch events – just direct introductions to active investors matched to your startup.
If youR17;re raising, this could help you build real momentum. Want me to send more info?
Hi, I represent an SEO company that specialises in getting you AI citations and higher rankings on Google. I’d like to offer you a 100% free SEO audit for your website. Would you be interested?
Hi, I represent an SEO company that specialises in getting you AI citations and higher rankings on Google. I’d like to offer you a 100% free SEO audit for your website. Would you be interested?
good
