Every successful interview starts with knowing what to expect. In this blog, we’ll take you through the top Blind Stitch interview questions, breaking them down with expert tips to help you deliver impactful answers. Step into your next interview fully prepared and ready to succeed.
Questions Asked in Blind Stitch Interview
Q 1. Explain the purpose of a blind stitch.
The purpose of a blind stitch is to invisibly join two pieces of fabric together. It’s crucial for creating clean, professional-looking seams, especially in areas where the stitching needs to be hidden, like hems or seams in tailored garments. Think of it as the seamstress’s secret weapon for a flawless finish!
Q 2. Describe the different types of blind stitches and their applications.
There are several types of blind stitches, both hand-sewn and machine-sewn. Hand-sewn blind stitches are generally preferred for their invisibility and adaptability to different fabrics.
- Slip Stitch: This is the most common hand-sewn blind stitch. It involves tiny stitches that catch only a few threads on each side of the seam, creating an almost invisible seam. It’s perfect for hemming delicate fabrics or attaching facings.
- Ladder Stitch: Used for closing seams or mending tears, this stitch creates a nearly invisible line by running the needle up and down between the edges of the fabric.
- Machine Blind Hem Stitch: Modern sewing machines have specialized blind hem stitches that create a neat, concealed hem with speed and efficiency. The settings need to be adjusted according to fabric weight and type.
The application varies based on the stitch type. A slip stitch is ideal for delicate hems, while a ladder stitch excels at seam closures where strength is also needed. The machine blind hem stitch is a time-saver for larger projects.
Q 3. What types of fabrics are best suited for a blind stitch?
Blind stitches work best on a range of fabrics, but some are more suitable than others. Lighter to medium-weight fabrics, such as cotton, linen, silk, and lightweight wool, typically respond well to hand-sewn blind stitches. Heavier fabrics might require a stronger stitch or a machine blind hem stitch to avoid breakage. The choice also depends on the specific blind stitch technique used – a slip stitch might be better suited to sheer fabrics than a ladder stitch.
Q 4. What tools and materials are necessary for executing a blind stitch?
For hand-sewn blind stitches, you will need:
- Sharp needle: A size appropriate for the fabric weight is essential for clean stitches and to prevent fabric damage.
- Matching thread: Choosing a thread that closely matches the fabric color is key to invisibility.
- Seam ripper (optional): For removing any stray stitches or correcting mistakes.
- Small sharp scissors: To trim excess threads.
For machine blind hem stitches, you’ll need a sewing machine with a blind hem stitch setting and the appropriate presser foot.
Q 5. How do you adjust your stitch length for different fabric weights when using a blind stitch?
Stitch length adjustment is crucial for a successful blind stitch. For lighter fabrics, shorter stitch lengths (about 1/8 inch or smaller) are preferable to prevent gaps and keep the stitch inconspicuous. For heavier fabrics, you might increase the stitch length slightly (up to 1/4 inch for hand-sewing) to accommodate the thicker material and avoid breakage. With machine stitches, the machine will often have pre-programmed settings to adapt to the fabric thickness; otherwise, consult your machine’s manual for guidance.
Q 6. Describe the proper hand positioning and needle control for a blind stitch.
Proper hand positioning and needle control are critical for even and invisible stitches. Maintain a comfortable posture, holding the fabric taut but gently. Keep the needle at a shallow angle, picking up only a few threads from each layer of fabric. Use your thumb and index finger to gently guide the needle through the fabric, creating small, even stitches. A relaxed, controlled movement will lead to better results.
Q 7. How do you avoid puckering when using a blind stitch?
Puckering is often caused by pulling the thread too tightly. Maintain a consistent tension throughout the stitching process. Take small stitches and work slowly; this allows for precise needle placement and prevents the fabric from bunching up. If you notice puckering, gently ease the tension using your fingers. A practice run on a scrap fabric can help you refine your technique before tackling the main project.
Q 8. Explain how to create a neat and invisible blind stitch finish.
Creating a neat and invisible blind stitch hinges on two key techniques: precise stitch placement and consistent tension. Imagine you’re weaving a tiny, invisible fence between two fabric edges. You’ll be catching just a few threads from each layer, creating nearly imperceptible stitches.
Step-by-step guide:
- Prepare the edges: Press the seam allowance open or to one side, depending on the project’s requirements. Ensure the edges are neatly trimmed and even.
- Start the stitch: Begin at the end of the seam, taking a tiny stitch on the underside of one fabric piece.
- Catch the opposing fabric: Bring the needle up a few millimeters away on the opposite fabric.
- Make the stitch: Bring the needle back down through the underside of the first fabric, creating a very small stitch. The key is to catch just a few threads to keep the stitches tiny and invisible.
- Repeat: Repeat steps 3 and 4, consistently maintaining the same distance between each stitch. Always move a few millimeters along the edge.
- Finish: Secure the stitch by weaving the thread under several existing stitches on the underside.
Practice on scrap fabric until you master the technique of picking up only a few threads per stitch, keeping them tiny and uniform.
Q 9. What are the common mistakes to avoid when using a blind stitch?
Common blind stitch mistakes often result in a visible or uneven seam. Here are some key pitfalls to avoid:
- Stitches too large: Catching too many threads per stitch makes the stitching visible. Focus on tiny stitches that blend seamlessly.
- Inconsistent stitch spacing: Irregular gaps between stitches lead to an uneven appearance. Practice maintaining consistent spacing for a polished finish.
- Uneven tension: Pulling the thread too tight creates puckering, while loose tension results in a weak, visible stitch. Aim for a consistent, gentle tension.
- Incorrect needle: Using the wrong needle size can create difficulty in piercing the fabric and leave larger holes.
- Improper thread: Using thread too thick or a color that contrasts too strongly against the fabric will make the stitches more visible.
Q 10. How do you troubleshoot a blind stitch that is visible or uneven?
Troubleshooting a visible or uneven blind stitch requires careful examination and adjustment.
- Visible Stitches: If stitches are visible, try using a finer needle, a thinner thread that better matches the fabric color, and reduce the number of threads captured in each stitch. Smaller, more frequent stitches will generally look neater.
- Uneven Stitches: Inconsistent stitch spacing might be due to irregular hand movement. Practice maintaining consistent distance between each stitch, perhaps using your thumbnail as a visual guide.
- Puckering: Puckering suggests that you’re pulling the thread too tight. Ease up on the tension, using more gentle pressure as you pull the thread through.
- Loose Stitches: Loose stitches might mean your tension is too lax. Firm up your tension to ensure the seam is securely closed.
Remember, practice is key. Working on scrap fabric allows you to experiment with needle size, thread type, and tension until you find the optimal setting for your project.
Q 11. How does the type of thread impact the appearance and strength of a blind stitch?
Thread selection significantly influences a blind stitch’s aesthetic and strength. Using a heavy thread, even if it matches the fabric color, can create a bulky, noticeable seam. A thin thread, especially one that blends well with the fabric, will yield an almost invisible finish. The thread’s fiber content matters too; a smoother thread will glide more easily, while a rougher thread may add texture that makes the stitches stand out.
Strength Considerations: A strong thread made of high-quality materials is crucial for durability, especially in areas with stress, such as hems that are frequently moved. All-purpose polyester thread is a popular choice for its strength and blendability.
Q 12. Compare and contrast hand-sewn and machine-sewn blind stitches.
Hand-sewn and machine-sewn blind stitches offer different advantages and disadvantages.
Hand-sewn blind stitches: Provide maximum control and precision, allowing for adaptability to intricate curves and variations in fabric thickness. However, they’re significantly more time-consuming.
Machine-sewn blind stitches: Utilize a special stitch on the machine, creating a much faster, often neater, result. However, they might be less flexible when handling complex curves and uneven fabric thicknesses. Often requires some skill to correctly adjust the machine’s settings.
Q 13. What are the advantages and disadvantages of using a blind stitch compared to other seam finishes?
Blind stitch offers unique advantages over other seam finishes. Its invisibility makes it ideal for seams that need to be discreet, such as hems on trousers or skirts. It also allows for clean and flat seams that don’t add bulk.
Advantages: Invisible finish, creates a flat seam, strong enough for many applications.
Disadvantages: More time-consuming than other finishes when done by hand. Machine blind stitches can require specific machine and foot attachments.
Compared to other finishes like overlocking or zig-zag, the blind stitch offers a much more refined and less noticeable seam. However, it’s typically not as quick or suitable for all seam types.
Q 14. In what types of garments is a blind stitch most commonly used?
The blind stitch finds its most common application in garments where an invisible seam is desired. Examples include:
- Hems: Trousers, skirts, dresses, and curtains
- Joining seams: Where a clean, flat seam is important and visibility is undesirable, like inseam in skirts or trousers.
- Attaching facing or lining: Creating an invisible connection between the garment and its facing or lining is crucial for a clean finish.
Essentially, anywhere a subtle, neat seam is needed, the blind stitch reigns supreme.
Q 15. Explain how to adapt a blind stitch for curved seams.
Adapting a blind stitch to curved seams requires a bit more finesse, but the basic principle remains the same: catching only a few threads from one fabric piece and weaving the stitch through the other. Instead of straight stitches, you’ll work in small, slightly curved stitches that follow the curve of the seam.
Imagine you’re stitching along the edge of a crescent moon; your stitches should subtly mimic that shape. Take smaller stitches than you would on a straight seam, and focus on keeping the tension consistent to avoid puckering. Practice on a scrap piece of fabric first to get a feel for the rhythm before attempting it on your project.
- Smaller stitches: This is crucial for a neat, smooth curve.
- Consistent tension: Avoid pulling too tightly or loosely.
- Follow the curve: Let the needle naturally guide itself along the seam’s contour.
Career Expert Tips:
- Ace those interviews! Prepare effectively by reviewing the Top 50 Most Common Interview Questions on ResumeGemini.
- Navigate your job search with confidence! Explore a wide range of Career Tips on ResumeGemini. Learn about common challenges and recommendations to overcome them.
- Craft the perfect resume! Master the Art of Resume Writing with ResumeGemini’s guide. Showcase your unique qualifications and achievements effectively.
- Don’t miss out on holiday savings! Build your dream resume with ResumeGemini’s ATS optimized templates.
Q 16. How do you adapt your blind stitch technique for delicate fabrics?
Delicate fabrics require a gentler approach to blind stitching. The key is to use the finest needle possible and to take extremely small stitches. A sharp, fine needle minimizes the risk of causing holes or snags. You might even consider using a silk or embroidery thread—these are less likely to damage fragile materials.
Instead of pulling the thread tight, try to leave the stitches slightly loose to avoid stretching or distorting the fabric. A slightly longer needle may also be preferable to accommodate the delicate fabric without piercing it more than necessary. For incredibly delicate fabrics like chiffon, a slip stitch might be a more suitable alternative to a traditional blind stitch.
Q 17. How do you ensure consistent tension when using a blind stitch?
Consistent tension is the cornerstone of a beautiful blind stitch. Inconsistent tension leads to puckering, uneven seams, and a generally messy finish. Think of it like weaving a tight, even tapestry. The tension should be firm enough to hold the fabric pieces together without pulling them out of shape.
One useful tip is to use your fingers to gently control the tension as you work, feeling the pull of the thread and adjusting it as needed. Another tip is to use a thimble to protect your finger and aid in maintaining a consistent pressure on the needle. Practice on scraps of similar weight fabric to get a feel for how much tension is optimal. Regularly check your work for unevenness and adjust your stitch tension as you go.
Q 18. What is the appropriate needle size and type for blind stitching various fabrics?
Needle selection is crucial for successful blind stitching. The ideal needle size and type depend heavily on the fabric’s weight and texture.
- Lightweight fabrics (silk, chiffon): Use a very fine needle, such as a size 60/8 or 70/10 sharps or microtex needles.
- Medium-weight fabrics (cotton, linen): A size 70/10 or 80/12 sharp or universal needle is a good choice.
- Heavyweight fabrics (denim, canvas): You might need a size 90/14 or even larger sharp needle.
Sharps are generally preferred for their ability to pierce fabric cleanly and smoothly, reducing the chances of skipped stitches or damaged fibers. Microtex needles are ideal for delicate fabrics because of their exceptionally fine point.
Q 19. Describe how to perform a blind hem stitch.
A blind hem stitch is a variation of the blind stitch specifically designed for creating nearly invisible hems. It involves catching only a few threads from the folded-over hem allowance and subtly weaving the stitch through the main fabric.
Begin by folding up your hem allowance. Then, using a fine needle and matching thread, carefully stitch from the wrong side of the garment. Pick up only a couple of threads from the hem edge, then weave the needle through the main fabric, just a fraction of an inch away from the hem edge. Repeat this process along the hemline, keeping the stitches small and even.
The goal is to hide the stitches completely; when done correctly, they’ll be practically invisible from the right side.
Q 20. Explain how to create a blind stitch using a sewing machine.
While a true blind stitch is primarily a hand-sewing technique, some sewing machines offer a blind hem stitch setting. This setting creates a zigzag stitch with a very narrow width and an uneven length. The uneven stitch length allows for the top part to be visible while the bottom portion secures the hem, somewhat mimicking the effect of a hand-stitched blind stitch.
However, the results from a machine blind stitch aren’t typically as flawless or invisible as a hand-stitched one. Machine-stitched blind hems are often better suited for heavier fabrics where the slight visible stitching isn’t as noticeable. For delicate fabrics, hand-sewing remains the superior method.
Q 21. What are the settings on a sewing machine for creating an effective blind stitch?
The ideal settings for a machine blind stitch vary based on the machine model and fabric type, but the general principles remain consistent. You’ll need to adjust the stitch width and length to achieve the desired effect. A narrow stitch width is typically essential to create a less visible stitch. The stitch length should be set to its longest length to mimic a hand blind stitch. Consult your machine’s manual for more specific guidance.
You might also find that utilizing a walking foot or other specialized presser foot can enhance results, especially with heavier fabrics. Testing on scrap fabric is highly recommended to find the optimal settings.
Q 22. How do you maintain your sewing machine when using a blind stitch frequently?
Maintaining your sewing machine when frequently using a blind stitch is crucial for consistent, high-quality results. The blind stitch mechanism, particularly on machines with an automatic blind stitch setting, involves intricate parts that require regular attention. Think of it like maintaining the delicate gears in a watch – small neglect can lead to significant problems.
- Regular Cleaning: After each sewing session, use a soft brush to remove lint and thread debris from the feed dogs, bobbin case area, and around the needle plate. Compressed air can help reach hard-to-access areas.
- Lubrication: Apply a high-quality sewing machine oil to the designated lubrication points, as specified in your machine’s manual. This prevents friction and ensures smooth operation of the moving parts involved in creating the blind stitch.
- Needle Replacement: A blunt or damaged needle can lead to skipped stitches and inconsistent blind stitches. Replace your needle frequently, especially when sewing heavier fabrics. Use needles specifically designed for the fabric type you’re working with.
- Stitch Tension Adjustment: Check and adjust the stitch tension regularly. Proper tension is vital for a neat, even blind stitch. Incorrect tension can lead to puckering or loose stitches. The manual will usually guide you on tension adjustments for blind stitches.
- Bobbin Winding: Ensure the bobbin is wound correctly and evenly to prevent thread breakage and stitch inconsistencies. A poorly wound bobbin can significantly affect the performance of the blind stitch.
By following this routine, you’ll keep your machine running smoothly and produce flawlessly executed blind stitches, project after project.
Q 23. Describe the process of troubleshooting a machine-made blind stitch.
Troubleshooting a machine-made blind stitch involves a systematic approach. Think of it like detective work: you need to identify the clues to pinpoint the problem.
- Stitch Appearance: Examine the stitch carefully. Are the stitches too loose or too tight? Are they skipping or breaking? Is the stitch visible on the right side? These clues point toward specific issues.
- Needle and Thread: Check the needle for damage or dullness. The wrong needle size for the fabric can also impact the stitch quality. Ensure you’re using the appropriate thread type and weight for both the needle and the fabric. Consider using a thread that’s close in color to the fabric for best results.
- Stitch Length and Tension: Verify that the stitch length setting is appropriate for the fabric. Incorrect settings can create loose or uneven stitches. Adjust the stitch tension, if necessary, until you achieve a balanced and almost invisible stitch.
- Presser Foot Pressure: Too little pressure can lead to skipped stitches, while too much pressure can result in fabric puckering. Experiment with the presser foot pressure to find the sweet spot for your fabric and machine.
- Machine Maintenance: Is the machine properly lubricated and free of lint? As we’ve discussed, proper machine maintenance is key to reliable blind stitch creation. A dirty or poorly maintained machine can easily lead to inconsistencies.
By systematically addressing these points, you’ll usually be able to resolve the issue and get back to creating beautiful, almost invisible blind stitches.
Q 24. How would you repair a poorly executed blind stitch?
Repairing a poorly executed blind stitch depends on the severity of the problem. Sometimes, minor adjustments are sufficient, while other times, you may need to completely remove and redo the stitch.
- Minor Corrections: For slightly loose or uneven stitches, you can carefully tighten them using a needle and thread matching the original. Work from the back, gently pulling the stitches to improve the appearance without disturbing the surrounding fabric.
- Complete Removal and Re-stitching: If the stitches are significantly uneven, damaged, or too visible, the best approach is usually to carefully remove the stitching. Use a seam ripper to gently separate the threads, being careful not to damage the fabric. Then, re-stitch the seam using the correct technique and settings for your machine. Pay close attention to tension and stitch length.
- Hand-Stitching for Extreme Cases: For very delicate fabrics or if the machine-stitched blind stitch is beyond repair, hand-stitching may be a better option. This provides more control and precision. A slipstitch or a ladder stitch are good alternatives.
Remember, prevention is always better than cure. Taking your time and ensuring the proper settings before stitching will greatly reduce the need for repairs.
Q 25. How do you determine the appropriate stitch length for a blind stitch on different fabrics?
The appropriate stitch length for a blind stitch varies significantly depending on the fabric’s weight and weave. The goal is always to create an almost invisible stitch that holds securely.
- Lightweight Fabrics (Silk, Chiffon): Use a shorter stitch length (e.g., 1.0-1.5 mm) to avoid distorting the delicate fabric. A longer stitch would be too noticeable.
- Medium-Weight Fabrics (Cotton, Linen): A medium stitch length (e.g., 1.5-2.0 mm) typically works well. This balances security with a less visible stitch.
- Heavyweight Fabrics (Denim, Canvas): You can increase the stitch length (e.g., 2.0-2.5 mm) for sturdier seams, especially if the fabric is less prone to showing the stitching. However, even on heavy fabrics, maintain an even, inconspicuous stitch.
Start with a smaller stitch length and test on a scrap of the same fabric before working on your project. This allows you to check the stitch quality and adjust the stitch length before stitching the actual garment. This technique also applies to other aspects such as thread weight, needle type, and tension adjustment for consistent results.
Q 26. Explain the difference between a slipstitch and a blind stitch.
While both slipstitches and blind stitches aim to create an almost invisible seam, they differ significantly in technique and appearance. Think of it like the difference between a whispered secret and a cleverly hidden message.
- Slipstitch: This is a purely hand-stitching technique. Tiny stitches catch only a few threads on each side of the seam, creating almost invisible stitching, but it’s prone to loosening over time. It’s ideal for delicate fabrics where machine stitching would be too visible or damaging.
- Blind Stitch: This can be done either by hand or machine. Machine blind stitches create a series of small stitches that are almost invisible from the right side, with a slightly more noticeable but secure stitch on the wrong side. Hand-blind stitch is similar but done with a needle and thread.
In essence, a slipstitch is a more delicate, hand-sewn solution, suited for fine fabrics and detailed work, whereas a blind stitch, whether hand or machine sewn, offers more strength and is quicker for larger projects. The choice depends on the fabric, desired level of invisibility, and the skillset available.
Q 27. How do you choose the right thread color for a blind stitch?
Choosing the right thread color for a blind stitch is paramount for achieving invisibility. The goal is to blend seamlessly with the fabric, like a chameleon adapting to its surroundings.
- Matching Thread: The ideal choice is a thread that precisely matches the fabric’s color. This ensures the stitch practically disappears.
- Near-Match Thread: If a perfect match is unavailable, choose a thread that is very close in shade. Slight variations are usually unnoticeable.
- Contrast Thread for Specific Effects (Rare): In some instances, such as decorative stitching or highlighting a detail, a contrasting thread might be intentionally used. This is, however, very uncommon for standard blind stitching.
Always test your thread choice on a scrap piece of fabric to see how visible the stitch is before proceeding with the actual garment. In many instances, it is better to err on the side of choosing a closer match. When in doubt, always go for the closest match to avoid conspicuous stitches.
Q 28. Describe how to use a blind stitch to attach facing to a garment.
Attaching facing to a garment using a blind stitch creates a clean, professional finish. Imagine it as the secret handshake that ensures the garment’s structure is perfectly in place but remains discreet.
- Prepare the Facing and Garment: Ensure both the facing and the garment edge are neatly pressed and aligned perfectly.
- Pinning: Pin the facing to the garment, aligning edges carefully. Pay attention to the corners, ensuring a smooth, even fit.
- Machine Blind Stitch: Using a machine blind stitch setting, carefully stitch along the edge, close to the folded edge of the facing. The stitch should only catch a few threads of the garment fabric, leaving the stitch practically invisible from the right side.
- Hand Blind Stitch (Alternative): If your machine does not have a blind stitch setting, a hand-blind stitch may be used. This is done with a needle and thread. In this method you need to be even more cautious of your stitches.
- Pressing: Once stitching is complete, gently press the seam to set the stitches and ensure a neat finish. Press from the wrong side to avoid distorting the facing.
The result is a neatly finished garment with the facing securely attached, while the blind stitch remains discreet, allowing the attention to remain focused on the main design elements of the garment.
Key Topics to Learn for Blind Stitch Interview
- Understanding the Blind Stitch Technique: Mastering the basic hand-sewing technique, including variations and applications.
- Fabric Selection and Preparation: Knowing which fabrics are best suited for blind stitching and how to prepare them for optimal results.
- Needle and Thread Selection: Choosing the appropriate needle and thread type for different fabric weights and colors.
- Stitch Tension and Consistency: Achieving even and invisible stitches through proper tension control and consistent hand movements.
- Practical Applications: Understanding how blind stitch is used in various garment construction scenarios (e.g., hemming, attaching facings).
- Troubleshooting Common Issues: Identifying and resolving problems like uneven stitches, visible stitches, or thread breakage.
- Advanced Techniques: Exploring more advanced blind stitching techniques for specific applications (e.g., slip stitch, ladder stitch).
- Seam Finishing and its relationship to Blind Stitch: Understanding how blind stitching contributes to overall garment quality and professionalism.
Next Steps
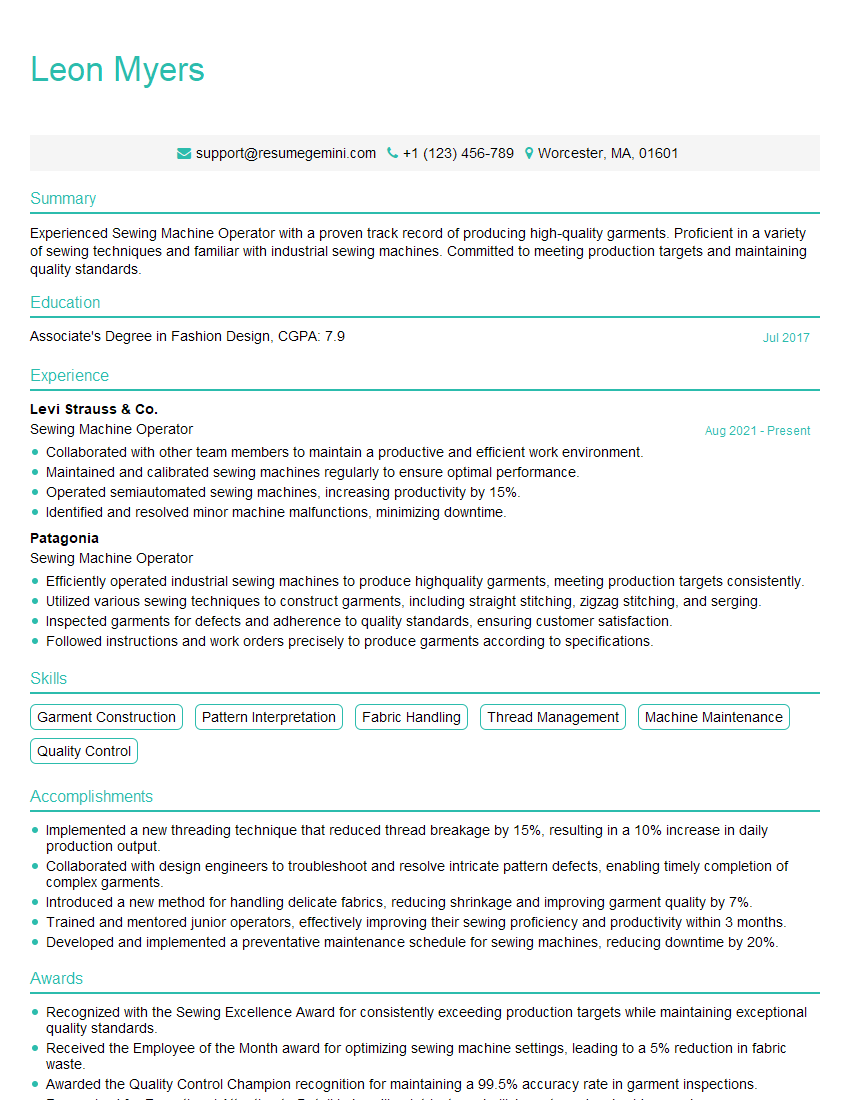
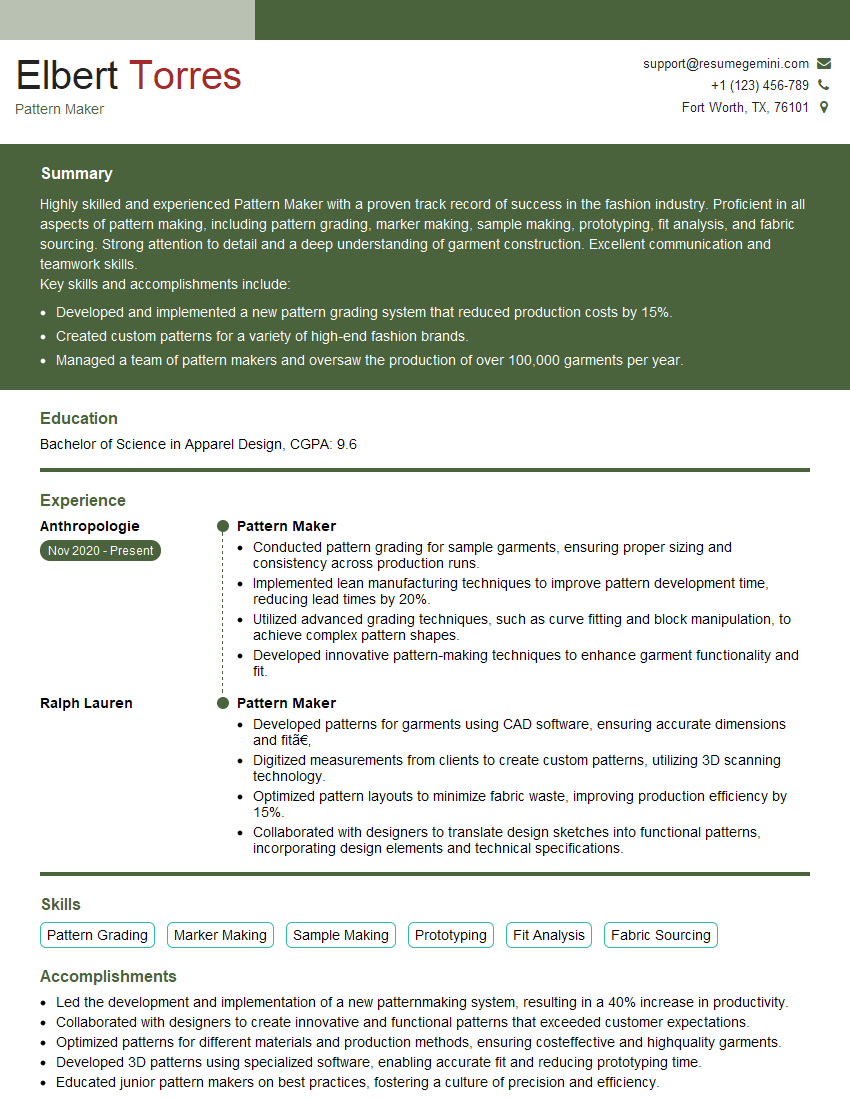
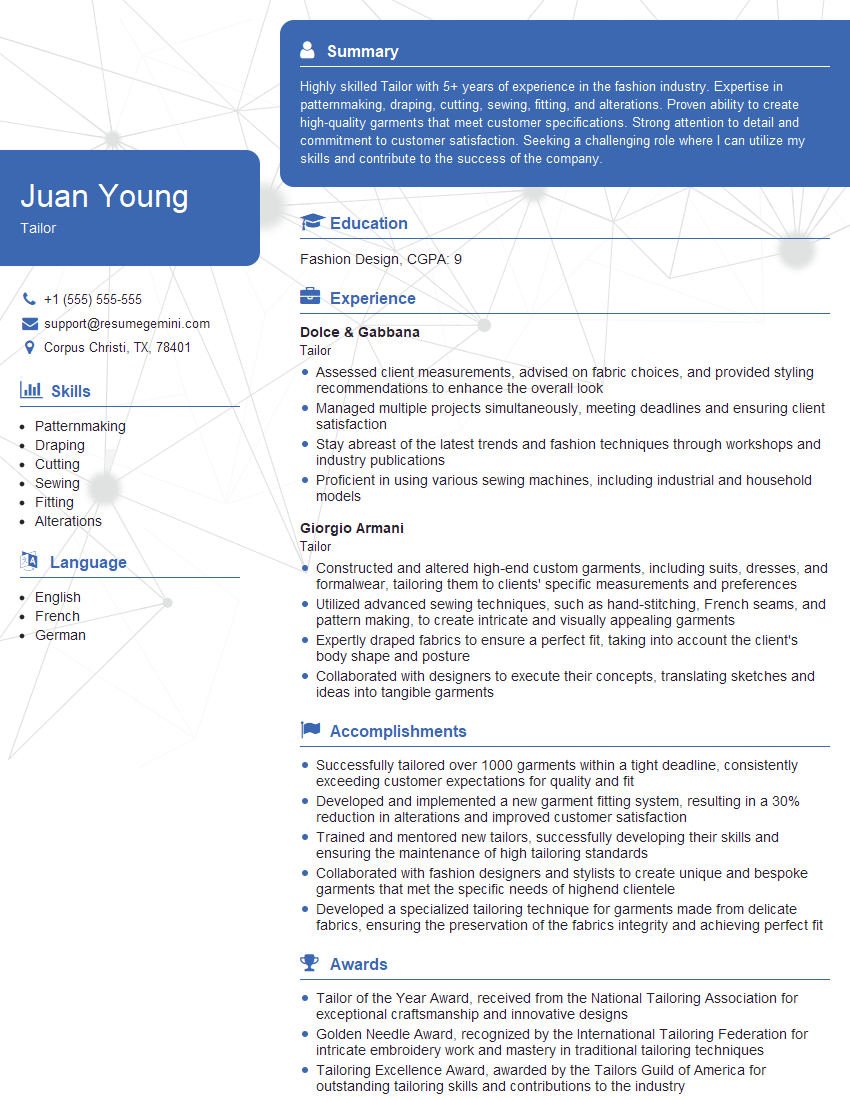
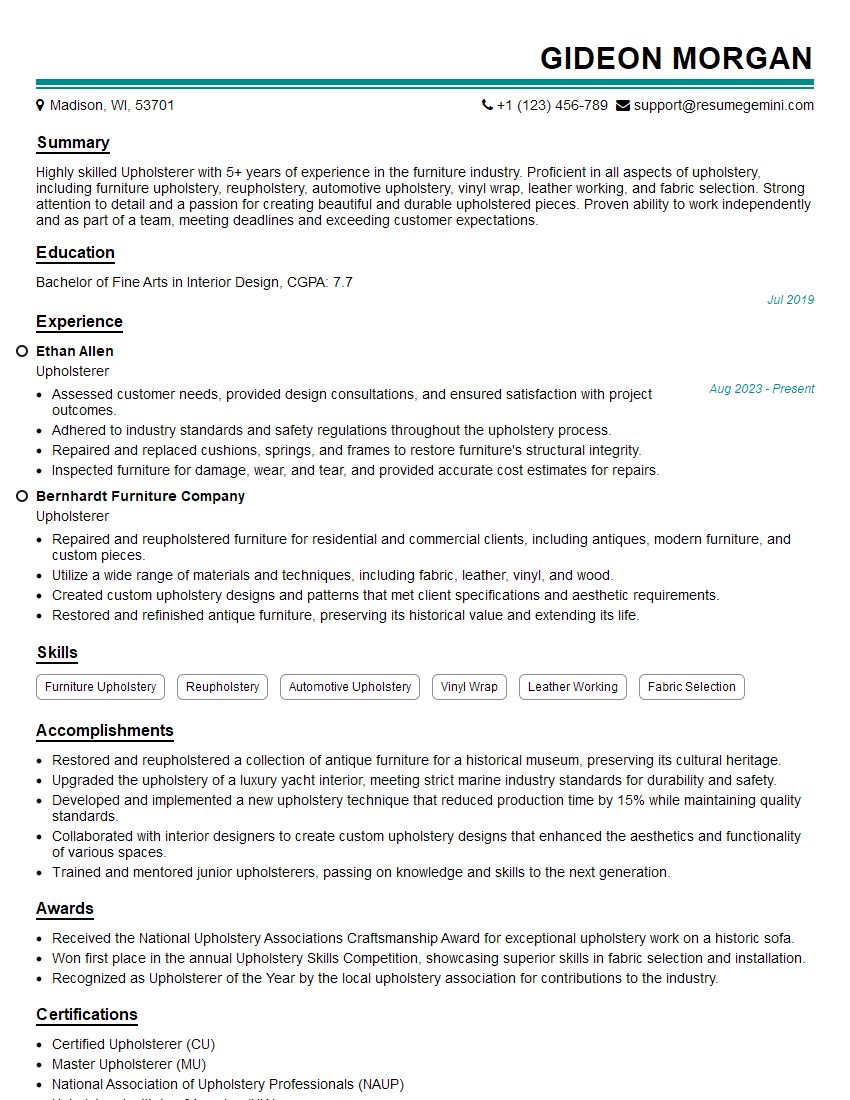
Mastering blind stitch demonstrates valuable hand-sewing skills highly sought after in the fashion and garment industry, opening doors to a wide range of opportunities. A strong understanding of this technique will significantly enhance your chances of success in interviews and throughout your career. To maximize your job prospects, it’s crucial to have an ATS-friendly resume that effectively highlights your skills and experience. We highly recommend using ResumeGemini to build a professional and impactful resume that grabs recruiters’ attention. Examples of resumes tailored to showcasing Blind Stitch expertise are provided below to help guide you.
Explore more articles
Users Rating of Our Blogs
Share Your Experience
We value your feedback! Please rate our content and share your thoughts (optional).
What Readers Say About Our Blog
Hello,
We found issues with your domain’s email setup that may be sending your messages to spam or blocking them completely. InboxShield Mini shows you how to fix it in minutes — no tech skills required.
Scan your domain now for details: https://inboxshield-mini.com/
— Adam @ InboxShield Mini
Reply STOP to unsubscribe
Hi, are you owner of interviewgemini.com? What if I told you I could help you find extra time in your schedule, reconnect with leads you didn’t even realize you missed, and bring in more “I want to work with you” conversations, without increasing your ad spend or hiring a full-time employee?
All with a flexible, budget-friendly service that could easily pay for itself. Sounds good?
Would it be nice to jump on a quick 10-minute call so I can show you exactly how we make this work?
Best,
Hapei
Marketing Director
Hey, I know you’re the owner of interviewgemini.com. I’ll be quick.
Fundraising for your business is tough and time-consuming. We make it easier by guaranteeing two private investor meetings each month, for six months. No demos, no pitch events – just direct introductions to active investors matched to your startup.
If youR17;re raising, this could help you build real momentum. Want me to send more info?
Hi, I represent an SEO company that specialises in getting you AI citations and higher rankings on Google. I’d like to offer you a 100% free SEO audit for your website. Would you be interested?
Hi, I represent an SEO company that specialises in getting you AI citations and higher rankings on Google. I’d like to offer you a 100% free SEO audit for your website. Would you be interested?
good
