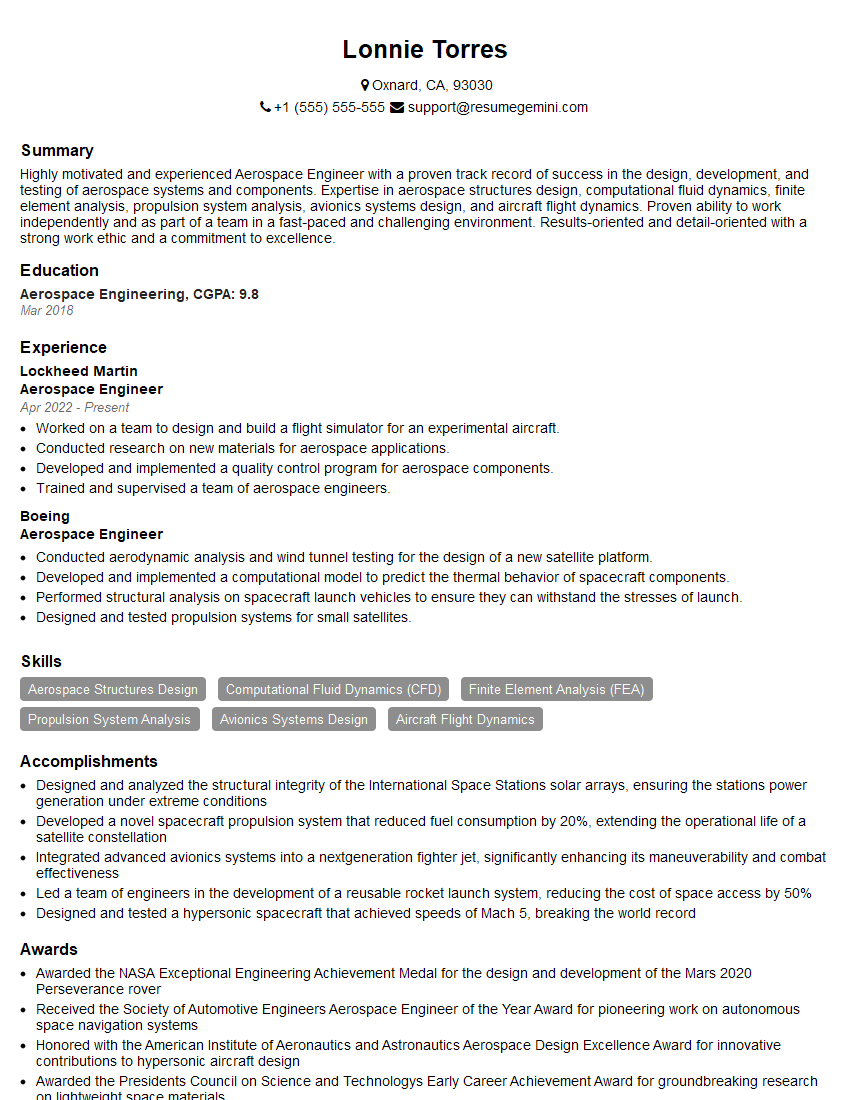
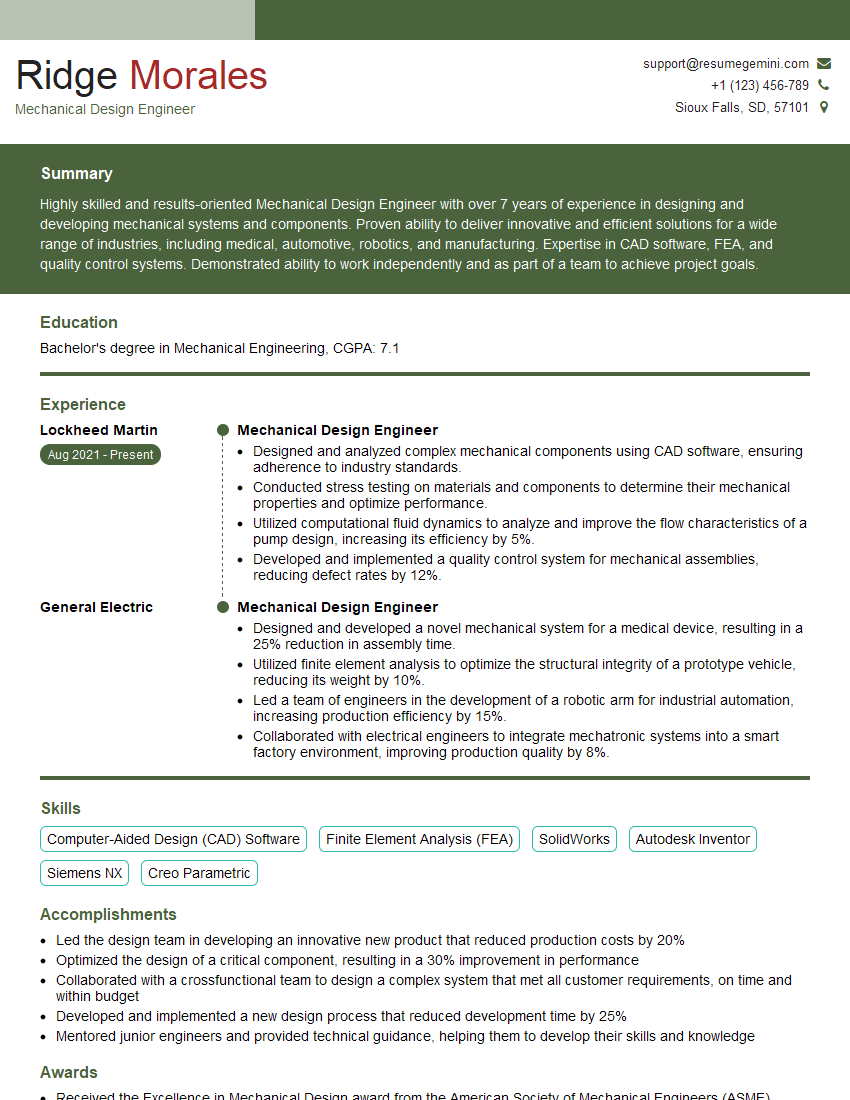
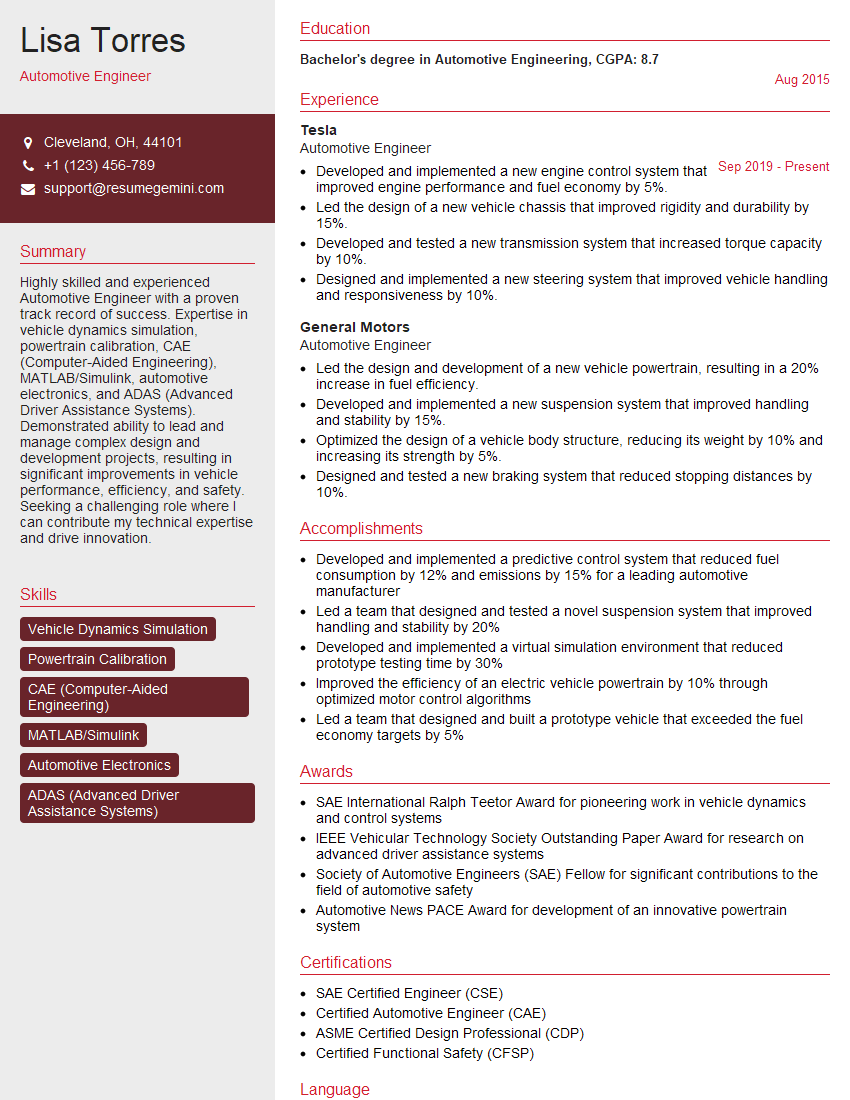
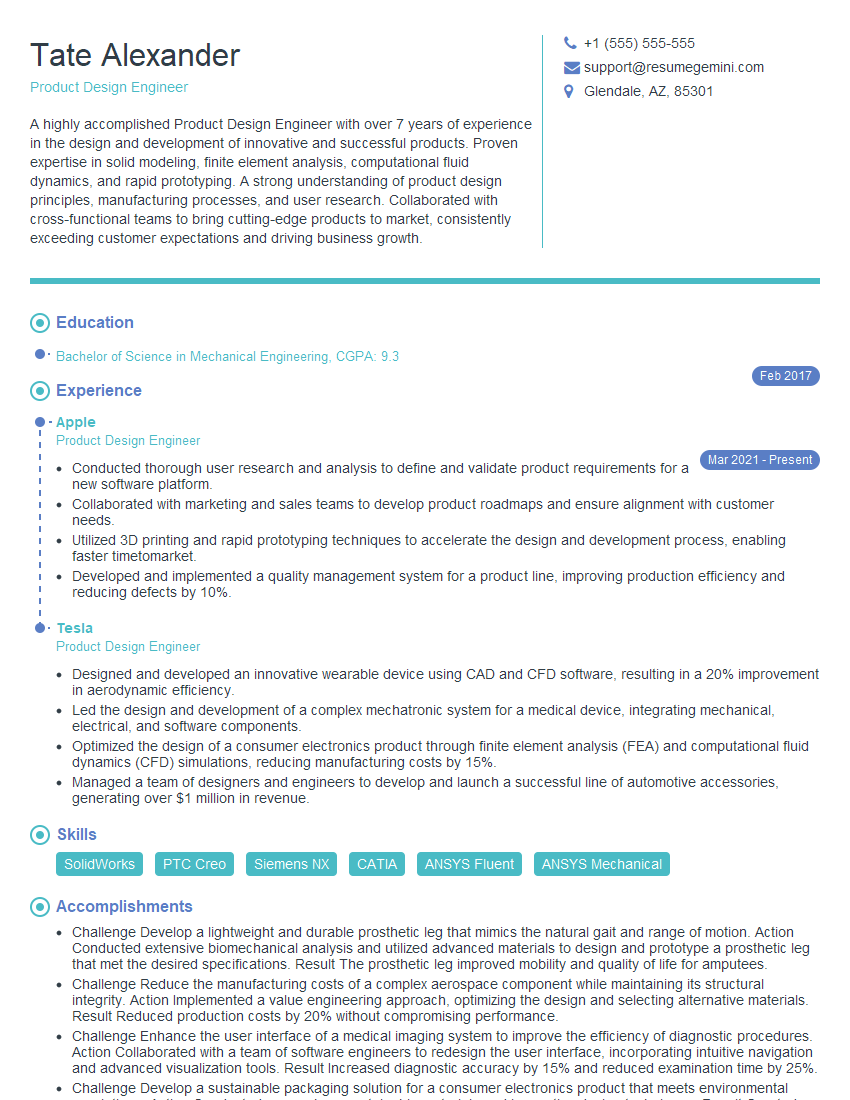
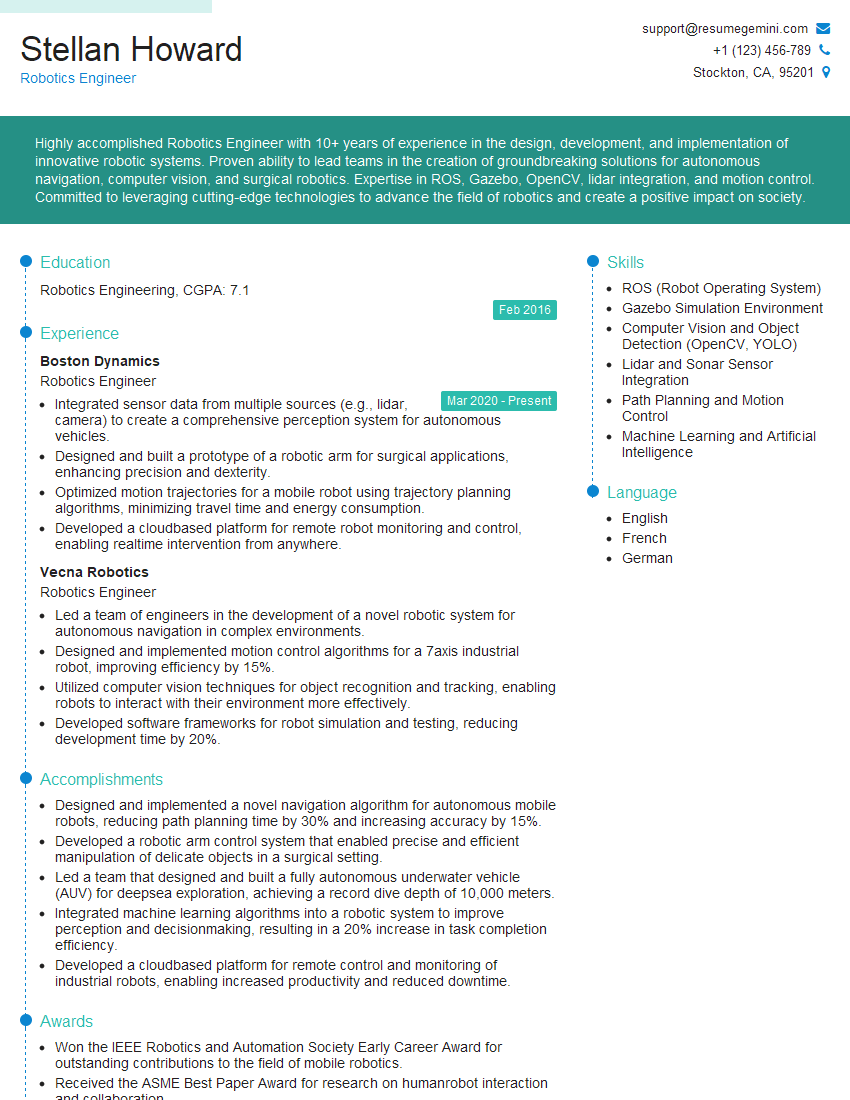
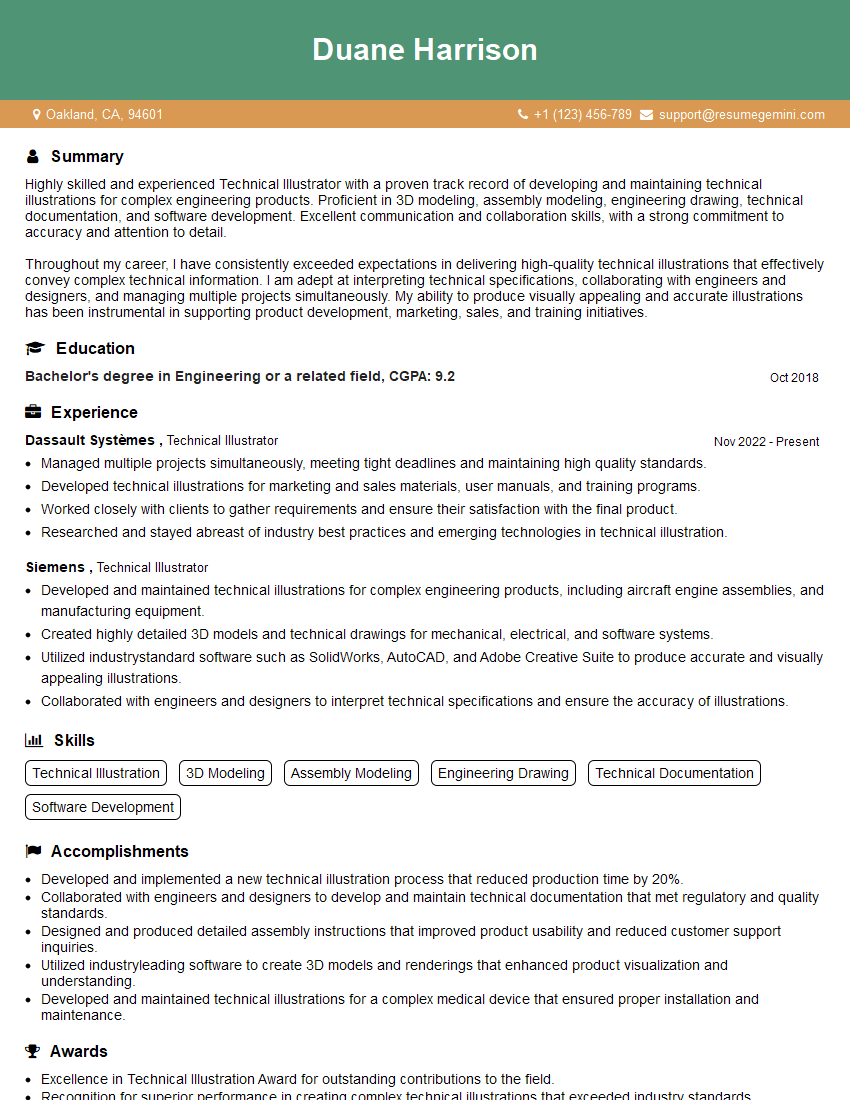
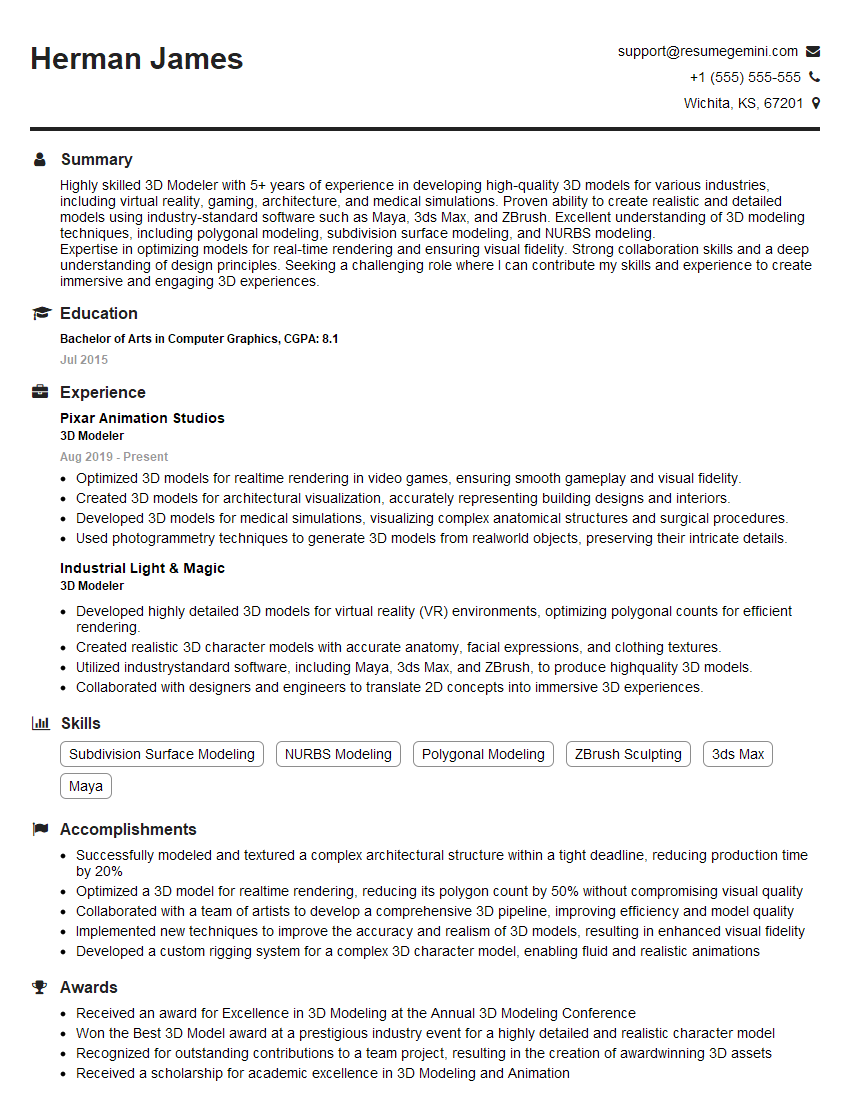
The right preparation can turn an interview into an opportunity to showcase your expertise. This guide to Proficient in CAD/CAE/CAM software (SolidWorks, AutoCAD, CATIA) interview questions is your ultimate resource, providing key insights and tips to help you ace your responses and stand out as a top candidate.
Questions Asked in Proficient in CAD/CAE/CAM software (SolidWorks, AutoCAD, CATIA) Interview
Q 1. Explain the difference between wireframe, surface, and solid modeling.
The three modeling techniques—wireframe, surface, and solid—represent different levels of geometric complexity and data representation within CAD software. Think of building a house: wireframe is like the blueprint showing only lines and points, surface is adding the walls and roof as individual shells, and solid modeling is the complete, finished house including all internal structures.
- Wireframe Modeling: This is the simplest form, representing a 3D object using only lines and points. It’s excellent for initial sketches and conceptual design, but lacks information about the object’s volume or surface properties. It’s like looking at a skeleton.
- Surface Modeling: This builds on wireframes by creating surfaces that define the shape of an object. Think of car body panels—curved surfaces defined mathematically. While visually appealing and useful for creating complex shapes, surface models don’t inherently define volume or mass properties.
- Solid Modeling: This is the most comprehensive method. It creates a complete 3D representation of an object, defining not only its external shape but also its internal volume and mass properties. This allows for realistic simulations, stress analysis (FEA), and manufacturing processes. This is the most accurate representation of a finished product.
In practice, the choice depends on the project’s requirements. For quick prototyping or concept studies, wireframes might suffice. For aesthetically complex designs like jewelry or car bodies, surface modeling is often preferred. For engineering applications demanding accurate analysis and manufacturing, solid modeling is indispensable.
Q 2. Describe your experience with SolidWorks feature trees.
SolidWorks’ feature tree is the backbone of any design. It’s a hierarchical representation of all the operations performed to create a part, acting like a detailed history of your modeling process. I extensively utilize feature trees for several reasons:
- Design Modification: The tree allows me to easily edit or suppress individual features. For example, if a design flaw is found in a specific extrusion, I can directly modify that feature without affecting the entire model. This is significantly faster and more efficient than starting over.
- Design Intent: The tree clearly shows the sequence of operations, documenting the design’s evolution and rationale. This is invaluable for collaboration and understanding the design’s intent, especially when working in teams. It makes sharing and reviewing designs much easier.
- Part Recovery: If a model becomes corrupted, the feature tree can often be used to rebuild parts of it, saving considerable time and effort.
- Automation and Macros: I’ve leveraged the feature tree’s structure to create macros automating repetitive tasks, improving efficiency and consistency across multiple parts.
For example, I recently used the feature tree to identify and fix a small design flaw in a complex injection-molded part. By suppressing and modifying specific features in the tree, I quickly corrected the issue without redrawing the entire model. This saved several hours of work.
Q 3. How do you manage large assemblies in SolidWorks?
Managing large assemblies in SolidWorks efficiently is crucial for performance and productivity. My strategies include:
- Component Simplification: I aim to simplify individual components as much as possible. This involves combining multiple smaller parts into larger, more efficient assemblies where appropriate. Think of a car engine: many individual components can be combined into sub-assemblies like the cylinder head or crankshaft.
- Lightweight Components: SolidWorks offers tools to create lightweight components, reducing file size and improving performance. This is especially effective for large, detailed assemblies.
- Sub-assemblies: Breaking down a large assembly into smaller, manageable sub-assemblies is key. This improves the assembly process and prevents the software from becoming overloaded.
- Top-Down Design: I utilize a top-down design methodology, starting with the overall assembly and gradually adding details. This prevents unnecessary complexity and errors early on.
- Configuration Management: Using configurations to manage variations in the same assembly is efficient for producing variations of the same product (different sizes or options).
- Component Work Features: I use component work features to place components within the assembly, which improves speed and accuracy when placing and connecting parts within larger assemblies.
In one project involving a complex robotic arm, I successfully managed a large assembly with over 500 components by implementing these strategies. The resulting assembly was lightweight and performed well, allowing for seamless simulation and analysis.
Q 4. What are the different types of constraints used in SolidWorks?
SolidWorks offers a wide variety of constraints to precisely define relationships between parts in an assembly. These constraints ensure that the assembly behaves as intended, preventing unexpected movements or interference. Common types include:
- Mate Constraints: These are fundamental constraints defining specific relationships between two components such as:
Mate: Basic mating with no additional orientation.Flush: Two faces are aligned and flush with one another.Concentric: Two cylindrical features are concentric.Tangent: Two cylindrical or curved surfaces are tangent to each other.Angle: Defines an angle between two faces.- Insert Constraints: Define how components fit within a feature, such as a hole into a shaft or a pin in a hole.
- Pattern Constraints: Used to create multiple instances of constraints using a pre-defined pattern. This is great for efficient management of repetitive assembly parts.
- Distance Constraints: Specify a precise distance between two features.
- Coincident Constraints: Two points or geometric points are coincident.
Properly applying constraints is crucial for ensuring the integrity of an assembly. Incorrect constraints can lead to assembly errors, or parts being incorrectly positioned or moving freely unexpectedly. Understanding and utilizing the appropriate constraints is a fundamental aspect of proficient assembly design.
Q 5. Explain your experience with AutoCAD commands like TRIM, EXTEND, and OFFSET.
TRIM, EXTEND, and OFFSET are fundamental AutoCAD commands for modifying geometry, and I utilize them extensively. Think of them as surgical tools for precise editing:
TRIM: This command removes portions of objects that extend beyond an intersection. For example, I frequently useTRIMto clean up excess lines or curves after creating complex drawings.TRIMselect boundary entities select entities to trimEXTEND: This command extends objects to meet an intersection. Imagine extending a line to precisely connect to the edge of a circle—EXTENDefficiently accomplishes this.EXTENDselect entities to extend select boundary entitiesOFFSET: This command creates parallel lines or curves at a specified distance from an existing object. This is invaluable for creating parallel lines for dimensions, creating contours or pathways, or generating multiple versions of the same part with varied dimensions.OFFSETselect object specify offset distance
For instance, in a recent architectural drawing, I used TRIM and EXTEND to precisely define wall intersections and then OFFSET to create construction lines for detailing.
Q 6. How do you create and manage layers in AutoCAD?
Layers in AutoCAD are crucial for organizing and managing complex drawings. They act like stacked sheets of transparent paper, each containing different elements. Efficient layer management is essential for clarity, collaboration, and efficient plotting.
- Layer Creation: I create layers with descriptive names relevant to the drawing’s content (e.g., ‘Walls,’ ‘Doors,’ ‘Plumbing’). This ensures immediate visual identification and organization.
- Layer Properties: I carefully define layer properties such as color, linetype, and lineweight. Consistent use of these properties improves visual clarity and distinguishes various elements of a drawing. For example, walls might be drawn in a thick, solid red line while plumbing is a thin, dashed blue line. This makes it much easier to review and understand different components.
- Layer Organization: I often group related layers into logical sets and freeze or turn off layers not currently needed. This significantly improves the speed of rendering and plotting, particularly for extremely complex drawings.
- Layer States: The ability to easily freeze, thaw, turn layers on and off, or lock layers is invaluable for managing drawing complexity and ensuring accuracy. It minimizes visual clutter, making editing and reviewing more straightforward.
In a large-scale site plan, effectively managing layers allowed me to easily isolate specific elements (like utilities or landscaping) for analysis and modification without affecting other parts of the drawing.
Q 7. Describe your experience with AutoCAD’s dynamic input feature.
AutoCAD’s dynamic input feature is a game-changer for efficiency. It allows you to input coordinates, distances, and angles directly in the drawing area without relying solely on the command line. This significantly speeds up the drawing process and enhances precision.
- Coordinate Input: Instead of typing coordinates in the command line, dynamic input allows you to directly input the coordinates while visually inspecting the desired location. This is less error-prone and more efficient.
- Distance and Angle Input: Similar to coordinate input, dynamic input displays real-time distance and angle values as you move the cursor. This allows for precise specification of distances and angles without any calculations or reliance on the command line. This leads to much faster drafting.
- Polar Tracking: Dynamic input is intrinsically linked with polar tracking. Polar tracking enables snapping to specific angles and distances enhancing precision and speed when defining geometric features.
- Object Snapping: Combining object snaps with dynamic input increases accuracy, and ensures elements are attached correctly to other elements in the drawing.
For instance, when drawing a complex polygon, dynamic input allows for quick and precise input of each vertex’s coordinates, resulting in significantly faster creation of the object compared to using the command line alone.
Q 8. What are the key differences between 2D and 3D modeling?
The core difference between 2D and 3D modeling lies in the representation of objects. 2D modeling creates flat, two-dimensional representations using lines, arcs, and curves. Think of a blueprint for a house – it shows the floor plan but lacks depth and volume. 3D modeling, on the other hand, creates a complete, three-dimensional representation, incorporating length, width, and height. Imagine a digital replica of that same house; you can see every wall, window, and roof detail in full 3D.
In practice, 2D is ideal for drafting, creating technical drawings, and simple schematics. It’s faster and simpler for basic designs. However, 3D modeling is essential for complex designs, simulations, and visualizations. You can perform detailed analyses on stress, strain, and other critical factors only with a 3D model. For example, designing a car engine requires a 3D model to analyze airflow and thermal stresses, impossible with a 2D representation.
- 2D: Primarily used for drawings, plans, and simple representations.
- 3D: Used for complex designs, simulations, analysis, and detailed visualizations. Offers true representation of the object in space.
Q 9. How do you create and edit parametric features in CATIA?
Creating and editing parametric features in CATIA involves using the software’s powerful design features that allow for changes to be made easily without having to redraw everything. This parametric approach is based on defining features based on their relationships (parameters) to each other. If one parameter changes (like a dimension), the entire model updates accordingly. This is done through various tools and features within the CATIA Part Design workbench.
For instance, to create an extruded feature, you’d start by sketching the profile of the feature on a plane. Then, you’d use the ‘Extrude’ command, specifying parameters like the extrusion depth and direction. Later on, if you need to increase the extrusion depth, you simply modify the depth parameter, and CATIA automatically updates the model. This differs from direct modeling where modifications require manual redrawing.
Editing involves selecting the feature in the design tree and modifying its parameters directly. CATIA also provides tools to edit the sketches used to define features, which would consequently modify the features’ geometry and relations.
Example: Let’s say you’re designing a bracket. You might first sketch a rectangle, then extrude it to create the main body. Next, you could add a hole using a hole feature, specifying its diameter and location. If you later decide the bracket needs to be thicker, you only need to change the extrusion depth parameter, and CATIA automatically updates the hole’s position relative to the bracket’s new dimensions.
Q 10. Explain your experience with CATIA’s Knowledgeware.
CATIA’s Knowledgeware is a powerful tool for automating repetitive tasks and creating reusable design templates. It allows engineers to create design rules and relationships that go beyond simple parametric modeling. Essentially, you’re building a custom ‘language’ for your design process. My experience with Knowledgeware involves using it to create custom templates for standardized parts, automating calculations, and creating custom interfaces that streamline the design process.
For example, in one project involving the design of multiple variations of a connector, I used Knowledgeware to create a template that automatically generated various connector sizes based on user input (number of pins, connector type etc.). This drastically reduced design time and minimized errors by automating a repetitive task. Without Knowledgeware, each variation would have required manual modeling, increasing chances of mistakes and slowing down production. Knowledgeware saved significant time and resources.
Q 11. Describe your experience with CATIA’s Generative Shape Design.
CATIA’s Generative Shape Design (GSD) is a powerful tool for creating complex freeform shapes organically. It’s different from traditional feature-based modeling. GSD allows designers to focus on the overall shape and aesthetics rather than individual features, making it excellent for conceptual design and organic shapes. My experience with GSD includes shaping aerodynamic components, designing aesthetically pleasing housings, and generating complex surfaces for automotive body panels. This tool proves invaluable in early-stage design to quickly explore multiple design concepts.
For example, in a previous project that involved designing a new bicycle helmet, I used GSD to create the initial shape. The tool allowed me to easily adjust the curves and contours to achieve the desired aerodynamics while maintaining aesthetic appeal. Then, I transitioned to traditional feature-based modeling to add more technical features such as ventilation holes and attachment points.
Q 12. What is FEA and how have you used it in your previous roles?
FEA, or Finite Element Analysis, is a computational method used to predict how a product reacts to real-world forces, vibration, heat, fluid flow, and other physical effects. It’s crucial for validating designs and ensuring they can withstand intended loads. In my previous roles, I’ve extensively used FEA software integrated with CATIA (or standalone packages like ANSYS) to simulate the performance of mechanical components under various conditions.
One project involved analyzing the stress distribution on a pressure vessel. I created a 3D model in CATIA, then imported it into ANSYS for FEA. I applied boundary conditions representing the internal pressure and external supports. The simulation helped determine the areas of highest stress, allowing us to optimize the vessel’s thickness and material to prevent failure. Without FEA, we would have had to rely on conservative estimates, potentially leading to an over-engineered and expensive design.
Q 13. Explain your experience with meshing techniques in CAE software.
Meshing is a crucial preprocessing step in FEA. It involves dividing the 3D model into a network of smaller, simpler elements (tetrahedra, hexahedra, etc.). The accuracy of the FEA results heavily depends on mesh quality. I have experience with various meshing techniques, including structured, unstructured, and hybrid meshing. The choice of meshing technique depends on the model’s complexity, the required accuracy, and computational resources.
For example, in simulating fluid flow around an airfoil, I used unstructured meshing because it adapts well to the complex geometry. For simpler parts with regular shapes, structured meshing is more efficient. In cases where highly accurate results are needed in specific areas, I’ve used mesh refinement, creating finer meshes in critical zones and coarser meshes in less sensitive areas.
I am also proficient in mesh quality assessment tools to ensure the mesh is suitable for the FEA and doesn’t introduce errors due to poor element shapes (distorted elements lead to inaccurate results).
Q 14. What are the different types of boundary conditions used in FEA?
Boundary conditions define how a model interacts with its environment during an FEA simulation. They are essential for defining the physical constraints and loads applied to the model. Different types of boundary conditions exist, including:
- Fixed Support: Restricts all degrees of freedom (movement in x, y, and z directions, and rotations) at a specific point or surface. Think of welding a part to a rigid base.
- Pinned Support: Restricts movement in certain directions, allowing rotation in others. A hinge is a good example.
- Pressure: Applies a distributed force over a surface. This is common in fluid flow or pressure vessel simulations.
- Force/Load: Applies a concentrated force or moment at a specific point. Imagine pressing down on a lever.
- Temperature: Specifies a temperature value for a surface or volume. Used in thermal analyses.
- Symmetry: Exploits symmetry in geometry and loading to reduce model size and computation time. Useful for parts with reflective symmetry.
Incorrectly applied boundary conditions can lead to inaccurate or misleading simulation results. Therefore, carefully defining the boundary conditions according to the actual physical system is crucial for reliable FEA.
Q 15. How do you interpret FEA results?
Interpreting Finite Element Analysis (FEA) results involves a systematic approach to understanding the simulated behavior of a component under various loads and conditions. It’s not just about looking at numbers; it’s about understanding what those numbers *mean* in the context of the design.
First, I always begin by examining the overall model. Are there any obvious errors in meshing or boundary conditions that might skew the results? Then, I focus on key areas of interest: stress, strain, displacement, and potentially temperature, depending on the analysis type.
- Stress: I look for areas with high stress concentrations, comparing them to the material’s yield strength to identify potential failure points. Von Mises stress is a particularly useful metric for assessing overall stress state.
- Strain: Strain helps understand deformation and potential permanent changes in the component’s shape. Large strains indicate excessive deformation that may compromise functionality.
- Displacement: This helps visualize how the component moves under load. Excessive displacement might indicate instability or interference with other components.
- Factor of Safety (FOS): A crucial parameter derived from the stress results. A FOS of less than 1 indicates potential failure.
For example, in analyzing a pressure vessel, I’d examine stress concentrations at welds and the base material. If the FOS is low in these regions, I would investigate design modifications like weld bead geometry optimization, material upgrades, or even overall shape adjustments to distribute stress more evenly.
Finally, I create visualizations using contour plots, deformed shapes, and animations to communicate the results effectively to engineers and stakeholders. This allows for a clear understanding of the component’s performance under various scenarios and facilitates informed decision-making.
Career Expert Tips:
- Ace those interviews! Prepare effectively by reviewing the Top 50 Most Common Interview Questions on ResumeGemini.
- Navigate your job search with confidence! Explore a wide range of Career Tips on ResumeGemini. Learn about common challenges and recommendations to overcome them.
- Craft the perfect resume! Master the Art of Resume Writing with ResumeGemini’s guide. Showcase your unique qualifications and achievements effectively.
- Don’t miss out on holiday savings! Build your dream resume with ResumeGemini’s ATS optimized templates.
Q 16. What is CFD and how does it differ from FEA?
Computational Fluid Dynamics (CFD) is a branch of fluid mechanics that uses numerical methods and algorithms to solve and analyze problems that involve fluid flows. It’s used to predict the behavior of fluids, like air or water, interacting with surfaces and other fluids.
FEA, on the other hand, focuses on analyzing the structural behavior of solid objects under various loads. It predicts stress, strain, and displacement within the object.
The key difference lies in what they simulate: CFD simulates fluids, while FEA simulates solids. While both use numerical methods, their governing equations and the types of results they produce are distinct.
Consider the design of an aircraft wing: CFD would be used to analyze the airflow over the wing, predicting lift and drag. FEA would be used to analyze the structural integrity of the wing under aerodynamic loads, ensuring it won’t fail under stress.
In some projects, both CFD and FEA are used together. For instance, in designing a heat sink, CFD could model the airflow to determine the temperature distribution, and FEA could analyze the stress on the heat sink due to thermal expansion.
Q 17. Describe your experience with CAM programming and toolpath generation.
My CAM programming experience encompasses a wide range of applications, from simple 2.5-axis milling to complex 5-axis machining strategies. I’m proficient in generating toolpaths using various CAM software packages including SolidCAM, Mastercam, and PowerMILL.
I’ve worked on projects involving the manufacturing of intricate parts with complex geometries, requiring careful selection of cutting tools, speeds, feeds, and depths of cut to achieve desired surface finish and tolerance. My workflow typically involves importing CAD models, defining workpieces, selecting appropriate machining strategies (e.g., roughing, finishing, drilling), and optimizing toolpaths for efficiency and quality.
For example, I recently worked on a project involving the machining of a turbine blade. This required the use of 5-axis machining to create complex curved surfaces. I used a high-speed machining strategy to minimize machining time while maintaining a high-quality surface finish. The process involved careful consideration of tool selection, step-over parameters, and toolpath generation to avoid collisions and ensure the desired accuracy.
I’m also experienced in using simulation features within CAM software to preview the toolpaths and identify potential collisions or issues before sending the code to the CNC machine. This preventative measure helps to minimize errors and avoid costly rework.
Q 18. What are the different types of machining operations?
Machining operations can be categorized in several ways. Here are some common types:
- Turning: Removing material from a rotating workpiece using a single-point cutting tool. This is used to create cylindrical or conical shapes.
- Milling: Removing material from a workpiece using a rotating multi-point cutting tool. This is versatile and used for a wide range of shapes.
- Drilling: Creating holes in a workpiece using a rotating drill bit.
- Boring: Enlarging existing holes to a precise diameter.
- Reaming: Finishing holes to a very precise size and surface finish.
- Tapping: Creating internal threads in a hole.
- Thread milling: Creating external threads on a workpiece.
Each operation has its own set of parameters such as speed, feed, depth of cut, and tool selection which greatly influences the outcome. Selecting the appropriate operation is crucial to achieve desired results within acceptable tolerances and efficiency.
Q 19. How do you optimize toolpaths for efficiency and surface finish?
Optimizing toolpaths for efficiency and surface finish is crucial for successful CAM programming. It’s a balancing act – maximizing material removal rate (MRR) while ensuring the desired surface quality and minimizing tool wear.
Several techniques are employed:
- Proper Tool Selection: Choosing the right tool diameter, number of flutes, and material affects both MRR and surface finish. Larger tools remove material faster but may leave a coarser finish.
- Step-Over Optimization: The distance the tool travels between adjacent passes affects surface finish and efficiency. Smaller step-overs improve finish but increase machining time. Adaptive clearing strategies can dynamically adjust step-overs for optimal efficiency.
- Cutting Parameters (Spindle Speed & Feed Rate): These must be carefully chosen based on material properties, tool geometry, and desired surface finish. Higher speeds and feeds often lead to faster machining, but excessive values can cause tool breakage or poor surface quality.
- Toolpath Strategies: Different toolpath strategies (e.g., contour milling, parallel milling, trochoidal milling) offer varying levels of efficiency and surface finish. Trochoidal milling, for example, offers a balance between both.
- High-Speed Machining (HSM): HSM uses optimized toolpaths and cutting parameters to achieve very high MRR while maintaining good surface quality. It usually requires specialized tooling and CNC machines.
I typically use simulation capabilities within the CAM software to preview the toolpaths and fine-tune parameters before actual machining. This helps to identify and rectify potential problems early on, preventing wasted materials and machine time.
Q 20. Explain your experience with G-code programming.
My experience with G-code programming extends to both manual and post-processor generated codes. While I primarily rely on CAM software for automated G-code generation, I possess a strong understanding of G-code syntax and its implications. This allows me to debug and modify G-codes as needed.
I’m familiar with various G-code commands, including:
G00(Rapid positioning)G01(Linear interpolation)G02(Circular interpolation – clockwise)G03(Circular interpolation – counter-clockwise)G90(Absolute programming)G91(Incremental programming)M03(Spindle on, clockwise)M05(Spindle off)
Understanding G-code is essential for troubleshooting issues on the machine. For instance, if a toolpath is incorrect, I can analyze the G-code to pinpoint the error and make necessary corrections, preventing machine downtime and potentially saving valuable materials. Post-processor customization to optimize the code for specific machine capabilities is also a key part of my workflow.
For example, I’ve modified G-code to incorporate specific tool change commands for machines with automatic tool changers or to optimize feed rates for better surface finish on certain materials. This demonstrates the importance of having a practical understanding of G-code beyond just generating it.
Q 21. What are the common challenges in CAM programming and how do you overcome them?
Several common challenges arise in CAM programming. Overcoming them requires a blend of technical skills, experience, and problem-solving abilities.
- Toolpath Collisions: This is a frequent issue, especially in complex geometries. Careful toolpath simulation and appropriate stock definition are crucial to prevent them. Manually adjusting toolpaths or using collision avoidance features within the CAM software can solve this.
- Achieving Desired Surface Finish: Balancing efficiency with surface finish requires a good understanding of cutting parameters and toolpath strategies. Experimentation, simulation, and iterative refinements are often necessary.
- Program Complexity: Complex parts require sophisticated CAM strategies. Modular programming, breaking down large operations into smaller, manageable tasks, can significantly simplify the process.
- Machine Limitations: CAM programs must consider machine capabilities, such as tool reach, spindle speed limits, and axis travel ranges. Adjusting the CAM program or selecting an appropriate machine is essential.
- Incorrect Tool Selection: Using inappropriate tools can lead to poor surface finish, tool breakage, and increased machining time. A solid understanding of materials, tool geometry, and cutting parameters is required.
My approach to overcoming these challenges involves a systematic process: thorough planning, detailed simulation, iterative testing, and continuous learning. I also rely heavily on the debugging and diagnostic tools provided by CAM software to resolve unexpected errors.
Q 22. Describe your experience with tolerance analysis.
Tolerance analysis is crucial for ensuring a design’s functionality and manufacturability. It involves determining the acceptable range of variations in dimensions and tolerances of individual parts to ensure the assembled product meets its specifications. This is essential because parts are never perfectly manufactured; there’s always some inherent variation.
My experience includes using both statistical and geometric dimensioning and tolerancing (GD&T) methods. For example, in a previous project designing a precision robotic arm, I used Monte Carlo simulation within SolidWorks to analyze the impact of dimensional tolerances on the arm’s overall accuracy and repeatability. This involved defining tolerance zones for each component and running numerous simulations with randomly varied dimensions within those zones. The results allowed us to identify critical dimensions where tighter tolerances were necessary and optimize the design for optimal performance while minimizing manufacturing costs. I’ve also extensively used GD&T symbols (like position, parallelism, perpendicularity) to clearly communicate tolerance requirements on engineering drawings, ensuring that manufacturing could create parts meeting the design intent.
Another instance involved designing a complex injection molded plastic part. By carefully analyzing the mold flow and shrinkage characteristics of the chosen material, I could determine appropriate tolerances to account for these effects and prevent part failures. This required a thorough understanding of manufacturing processes alongside tolerance analysis software.
Q 23. How do you ensure design for manufacturability (DFM)?
Design for Manufacturability (DFM) is a critical process aiming to create designs easily and economically manufactured. It involves considering manufacturing processes, material selection, and assembly methods from the initial design stages. Ignoring DFM can lead to high manufacturing costs, long lead times, and poor product quality.
My approach to DFM integrates several key aspects. Firstly, I select appropriate materials based on their manufacturability, cost, and performance characteristics. For instance, choosing a material easily machined reduces manufacturing time and cost compared to a material requiring specialized tools. Secondly, I simplify geometries whenever possible. Complex geometries often require more specialized and expensive machining processes. Streamlining designs reduces the number of manufacturing steps.
Furthermore, I utilize CAD software’s built-in DFM analysis tools. In SolidWorks, for example, I leverage the analysis features to identify potential problems like undercuts or draft angles that might hinder molding or casting processes. Lastly, I collaborate closely with manufacturing engineers throughout the design process to ensure designs meet manufacturability criteria and get early feedback.
For instance, in a project involving the design of a sheet metal enclosure, I used SolidWorks’ sheet metal features to ensure proper bend radii and avoid potential issues like springback. This collaboration with manufacturing ensured the design was readily manufacturable using standard bending processes.
Q 24. What is your experience with design reviews and collaboration tools?
Design reviews are an integral part of my workflow, promoting collaboration and improving design quality. I’ve participated in numerous formal design reviews, employing various collaboration tools. These reviews typically involve presenting designs to a team of engineers, designers, and sometimes even manufacturing personnel.
We use tools like Windchill and SharePoint for storing and sharing design files, facilitating discussions and feedback. In these reviews, we use the software’s annotation features to highlight design issues and discuss potential solutions. Online collaboration platforms like Microsoft Teams allow for real-time discussion and feedback, even across geographical locations. Formal minutes are recorded documenting decisions made and actions assigned.
One particular project involved designing a complex medical device. Utilizing Windchill’s version control, we held several design review meetings, tracking changes and ensuring everyone reviewed and approved each iterative update. This collaborative process, aided by clear documentation and version history, greatly reduced design errors and delays.
Q 25. Explain your experience using a PDM system.
A Product Data Management (PDM) system is a crucial tool for managing product design data throughout its lifecycle. My experience includes extensive use of Windchill, a popular PDM system. It helps organize, manage, and control the access to CAD models, drawings, documents, and other related information.
I’m proficient in using Windchill to check in and check out files, manage revisions, and track changes throughout the design process. This ensures that everyone is working on the latest version of a design and prevents confusion due to outdated files. I’ve also utilized Windchill’s workflow capabilities to automate approval processes for design changes, ensuring that all stakeholders are involved in the design review process.
In a previous project involving multiple engineering teams, Windchill proved indispensable. It allowed us to manage the large volume of data, ensuring consistency and controlled access, and facilitated seamless collaboration between the teams spread across different geographical locations. This avoided the chaos and potential for conflicts inherent in using shared network drives.
Q 26. Describe your experience with data management and version control.
Data management and version control are critical for successful engineering projects, preventing design errors and maintaining consistency. I ensure the integrity of design data using PDM systems (as described above) and additional best practices. The primary aim is to avoid confusion, maintain a clear audit trail, and ensure that everyone works on the most current and accurate version.
Specifically, I implement a structured file naming convention, which makes searching and retrieval efficient. I also frequently back up files to secure storage. Within CAD software, I regularly save different versions of a design with clear descriptions of each change. This allows me to revert to previous versions if necessary. I rigorously document design decisions and changes using detailed notes and annotation features within the CAD software and PDM system.
For instance, on a project designing a complex assembly, using SolidWorks’ version control features ensured that changes made by different team members were tracked efficiently. The history helped resolve conflicting modifications and maintain design consistency.
Q 27. How do you stay updated with the latest CAD/CAM/CAE software updates and trends?
Staying current with CAD/CAM/CAE software updates and industry trends is crucial for maintaining competitiveness. I actively pursue this through a multifaceted approach.
Firstly, I subscribe to industry publications and online forums (like those dedicated to SolidWorks, AutoCAD, and CATIA) and participate in online communities to learn from other experts’ experiences and insights into best practices and new features.
Secondly, I regularly attend webinars, conferences, and training courses offered by the software vendors themselves. These events provide hands-on experience with new features and best practices, often accompanied by certifications validating my skills.
Thirdly, I actively seek out opportunities to use the latest software versions on projects. This practical application solidifies my learning and allows me to adapt and refine my techniques in a real-world setting. For example, I recently completed a training course on generative design using SolidWorks, enabling me to incorporate this powerful technique into my design process.
Q 28. What are your salary expectations?
My salary expectations are commensurate with my experience and skills, and align with the market rate for a highly experienced CAD/CAE/CAM engineer with my qualifications. I am open to discussing a competitive compensation package that reflects my contributions and aligns with the company’s compensation structure. I would be happy to provide further details about my expectations after learning more about the specific responsibilities and benefits associated with this role.
Key Topics to Learn for Proficient in CAD/CAE/CAM software (SolidWorks, AutoCAD, CATIA) Interview
- SolidWorks: Part modeling techniques (extrusion, revolution, sweeping), assembly modeling, constraints and mates, simulation (basic stress analysis), drawing creation and dimensioning.
- AutoCAD: 2D drafting fundamentals, working with layers and blocks, annotation and dimensioning, understanding coordinate systems, basic commands (line, circle, arc, etc.), managing large drawings.
- CATIA: Part design workbench, assembly design workbench, knowledge of different surfacing techniques, drafting and detailing, experience with generative design tools (if applicable).
- CAD/CAM Integration: Understanding the workflow from design (CAD) to manufacturing (CAM), NC programming basics (toolpaths, post-processing), material selection considerations for manufacturing.
- CAE Fundamentals: Basic concepts of finite element analysis (FEA), understanding stress, strain, and deflection, interpreting simulation results, applying CAE to design optimization.
- Geometric Dimensioning and Tolerancing (GD&T): Understanding and applying GD&T principles to engineering drawings, interpreting tolerances and their impact on manufacturing.
- Practical Application: Be prepared to discuss projects where you used these software packages, highlighting your problem-solving skills and technical expertise. Focus on the challenges you faced and how you overcame them.
- Software Specific Features: Familiarize yourself with advanced features of each software based on your experience. Be ready to explain how these features enhanced your work efficiency and design quality.
Next Steps
Mastering CAD/CAE/CAM software is crucial for a successful career in engineering and design, opening doors to diverse and challenging roles. A strong resume highlighting your skills is essential to securing interviews. Creating an ATS-friendly resume maximizes your chances of getting your application noticed. ResumeGemini is a trusted resource to help you build a professional and effective resume. We provide examples of resumes tailored to candidates proficient in SolidWorks, AutoCAD, and CATIA to help you craft a compelling application that showcases your expertise.
Explore more articles
Users Rating of Our Blogs
Share Your Experience
We value your feedback! Please rate our content and share your thoughts (optional).
What Readers Say About Our Blog
Hello,
We found issues with your domain’s email setup that may be sending your messages to spam or blocking them completely. InboxShield Mini shows you how to fix it in minutes — no tech skills required.
Scan your domain now for details: https://inboxshield-mini.com/
— Adam @ InboxShield Mini
Reply STOP to unsubscribe
Hi, are you owner of interviewgemini.com? What if I told you I could help you find extra time in your schedule, reconnect with leads you didn’t even realize you missed, and bring in more “I want to work with you” conversations, without increasing your ad spend or hiring a full-time employee?
All with a flexible, budget-friendly service that could easily pay for itself. Sounds good?
Would it be nice to jump on a quick 10-minute call so I can show you exactly how we make this work?
Best,
Hapei
Marketing Director
Hey, I know you’re the owner of interviewgemini.com. I’ll be quick.
Fundraising for your business is tough and time-consuming. We make it easier by guaranteeing two private investor meetings each month, for six months. No demos, no pitch events – just direct introductions to active investors matched to your startup.
If youR17;re raising, this could help you build real momentum. Want me to send more info?
Hi, I represent an SEO company that specialises in getting you AI citations and higher rankings on Google. I’d like to offer you a 100% free SEO audit for your website. Would you be interested?
Hi, I represent an SEO company that specialises in getting you AI citations and higher rankings on Google. I’d like to offer you a 100% free SEO audit for your website. Would you be interested?
good
