Interviews are opportunities to demonstrate your expertise, and this guide is here to help you shine. Explore the essential French Seam interview questions that employers frequently ask, paired with strategies for crafting responses that set you apart from the competition.
Questions Asked in French Seam Interview
Q 1. Explain the process of creating a French seam.
A French seam is a remarkably durable and elegant seam finish, particularly prized for its clean, professional look and its ability to completely enclose raw edges. It’s created by sewing the seam twice, with the raw edges enclosed within the seam itself. Think of it as a self-contained, beautifully finished seam.
The process involves two main steps:
- First Seam: Sew the two fabric pieces together with wrong sides facing. Use a smaller seam allowance than usual (around 1/4 inch or 6mm is common). Press the seam open.
- Second Seam: Turn the fabric pieces right side out. Now, stitch along a second seam allowance (typically 3/8 inch or 1cm) directly enclosing the raw edges from the first seam. Press the seam towards one side.
This method creates a clean, strong, and beautifully finished seam, perfect for both delicate and robust fabrics.
Q 2. What types of fabrics are best suited for a French seam?
French seams work beautifully with a wide range of fabrics, but they’re particularly well-suited to:
- Lightweight to medium-weight fabrics: Sheer silks, linens, cotton lawn, voile, and even chambray all benefit from the neatness and durability a French seam provides.
- Fabrics prone to fraying: Because the raw edges are completely enclosed, French seams are ideal for fabrics like silk, chiffon, and rayon that tend to unravel.
- Fabrics where a clean finish is essential: Garments where the inside finish is visible, such as fine blouses or lingerie, look exceptionally professional with French seams.
While they can be used with heavier fabrics, it can become more cumbersome, requiring more effort in turning the seam allowance.
Q 3. What are the advantages of using a French seam over other seam finishes?
French seams offer several advantages over other seam finishes:
- Neat and professional finish: The completely enclosed raw edges create an elegant, high-quality look, especially noticeable on the inside of a garment.
- Durable and strong: The double stitching makes the seam exceptionally strong, capable of withstanding significant stress and wear.
- Prevents fraying: The completely enclosed raw edges eliminate fraying, crucial for delicate fabrics.
- Ideal for sheer fabrics: No raw edges are visible, keeping the garment’s appearance clean and preventing distracting glimpses of raw fabric edges.
Compared to other finishes like serging or zigzag stitching, a French seam provides a much more refined aesthetic and is a superior choice for fine garments.
Q 4. What are the disadvantages of using a French seam?
While French seams offer many benefits, they also have some drawbacks:
- Time-consuming: The double stitching process takes longer than other seam finishes.
- Bulkier seam: The double layer of fabric creates a slightly thicker seam, which may not be suitable for all garments or very delicate fabrics.
- Less forgiving: Precision is needed for a neat finish. Inaccurate stitching can result in a messy or uneven seam.
- Not suitable for all fabrics: While versatile, extremely heavy or bulky fabrics might be difficult to manage with the French seam technique.
Therefore, it’s essential to weigh the advantages and disadvantages to determine whether a French seam is the right choice for a specific project.
Q 5. How does the seam allowance affect the final appearance of a French seam?
The seam allowance significantly impacts the final appearance of a French seam. A consistent and accurate seam allowance is crucial. An uneven first seam allowance will result in an uneven and less professional final product. The second seam allowance should be slightly larger to completely encapsulate the raw edges of the first seam. Using a smaller first seam allowance (around 1/4 inch) and a larger second seam allowance (around 3/8 inch) is a good general rule, but you can adjust based on the fabric weight and desired finished seam width. Using a 1/4 inch seam allowance for both seams is an option but may not completely enclose the edges in all fabrics.
Q 6. Describe how to press a French seam correctly.
Pressing a French seam correctly is key to achieving a polished finish. After each stitching step, press carefully:
- First Seam: Press the first seam open gently. Avoid pressing too hard, which can flatten or distort the fabric.
- Second Seam: After turning the fabric right side out and stitching the second seam, press the seam allowance towards one side. This helps the seam lie flat and keeps the enclosed raw edges secure.
Use a tailor’s ham or a rolled-up towel to support the seam during pressing, especially on curved seams. This prevents the fabric from being pressed flat, and it will help maintain the shape of the seam.
Q 7. How do you adapt the French seam technique for different fabric weights?
Adapting the French seam for different fabric weights involves adjusting the seam allowances and pressing techniques:
- Lightweight fabrics: Use smaller seam allowances (1/4 inch for the first seam and 3/8 inch for the second). Gentle pressing is essential to avoid damaging the delicate fabric.
- Medium-weight fabrics: Slightly larger seam allowances can be used (3/8 inch for the first and ½ inch for the second). Press thoroughly, but take care not to over-press.
- Heavyweight fabrics: For thicker fabrics, a larger seam allowance may be necessary, but it’s still recommended to use two distinct steps to ensure clean edges. Pay close attention to turning the fabric correctly to avoid bulkiness. Heavy fabrics require more effort in turning the seam.
Regardless of the fabric weight, accuracy and consistent seam allowance are crucial for a professional finish. Always test your seam allowance on a scrap of fabric before working on your project.
Q 8. What are some common mistakes when sewing a French seam, and how can they be avoided?
Common mistakes when sewing a French seam often stem from improper fabric preparation or inconsistent stitching. One frequent error is not accurately matching raw edges before stitching the first seam; this leads to an uneven final seam. Another is using a stitch length that’s too long or too short for the fabric type. Too long, and the seam will be weak; too short, and it might pucker. Finally, neglecting to press the seams open after each step can create bulk and distortion.
- Avoid inaccurate edge matching: Pinning accurately along the entire seamline before stitching is crucial. Using a generous seam allowance (at least 5/8”) provides more room for error and easier trimming.
- Choose the right stitch length: Experiment with your machine’s stitch length on a scrap of the same fabric to find the optimal setting. A setting of 2.0-2.5 mm is usually a good starting point for most fabrics.
- Pressing is essential: Press each seam allowance open after stitching, before turning the fabric. This helps to create a smooth, flat seam. Use a tailor’s ham or other pressing tool if needed to prevent flattening curved seams. A light steam will help set the stitches and prevent distortion.
Q 9. How can you ensure even stitching when creating a French seam?
Even stitching in a French seam hinges on consistent speed and tension while sewing. Maintaining a steady pace prevents pulling or stretching the fabric, which can cause unevenness. Proper machine tension ensures that the stitches are neither too loose nor too tight. Using a walking foot can be particularly beneficial, especially with slippery or stretchy fabrics, as it helps to feed both layers of fabric evenly.
- Practice: Practice on scraps until you achieve a consistent rhythm and stitch quality.
- Tension check: Regularly check your machine’s tension and adjust as needed. A test swatch will help identify tension issues.
- Walking foot: A walking foot feeds both fabric layers equally, preventing slippage. This is particularly helpful with silk or other delicate or slippery fabrics.
- Pinning: Pin accurately to prevent shifting during stitching. Use plenty of pins to keep the layers aligned especially around curves.
Q 10. What tools and equipment are essential for creating a professional French seam?
Creating a professional French seam requires a few essential tools. These aren’t all necessarily expensive, but they make a significant difference in the quality of the finished seam.
- Sharp sewing machine needles: A sharp needle is paramount for clean stitching and prevents skipped stitches.
- Seam ripper: Essential for any sewing project, especially French seams where precision is crucial.
- Iron and ironing board: Pressing is key to achieving a professional finish. A tailor’s ham and point presser will also be of immense help, particularly on curves.
- Sharp small scissors or pinking shears: Small, sharp scissors allow for more accurate trimming of seam allowances.
- Measuring tape and ruler: Accuracy in cutting and measuring creates a well-made garment.
- Pins: Fine, sharp pins are ideal to keep fabric pieces together during construction.
- Optional: Walking foot: Greatly simplifies sewing on slippery fabrics or when needing even feed.
Q 11. How would you troubleshoot a French seam that is puckering or uneven?
Puckering or unevenness in a French seam usually points to issues with fabric handling or machine tension. Puckering often indicates too much tension, while unevenness can be caused by inconsistent stitching speed or inaccurate trimming.
- Check your machine tension: If puckering, loosen the upper tension on your machine. Test on a scrap until the stitches are even and smooth.
- Re-evaluate stitching speed: Uneven stitching may result from a jerky or inconsistent sewing pace. Practice slow, even stitching, particularly around curves.
- Precise trimming: Ensure the seam allowance is uniformly trimmed. Uneven trimming directly results in uneven final seams. A rotary cutter will add precision.
- Pressing: Inadequate or improper pressing can lead to unevenness. Press seams open gently after each stage, using steam as needed.
- Re-stitch: If the problem persists, it may be necessary to rip out the seam and re-stitch carefully, paying attention to the identified issues.
Q 12. Explain the difference between a French seam and a serged seam.
Both French seams and serged seams are used to finish raw edges and prevent fraying, but they differ significantly in construction and appearance. A French seam encloses all raw edges within two stitched seams, creating a very clean, professional finish, particularly ideal for fine fabrics. A serged seam, on the other hand, uses a serger machine to create an overlocked stitch that trims and finishes the raw edges simultaneously. It’s faster but less refined than a French seam. While a serged seam is practical and functional, it is sometimes visible, particularly on the right side of the garment.
Q 13. When is a French seam the most appropriate choice for a garment construction?
A French seam is the most appropriate choice when a clean, professional finish is paramount, especially for garments made from fine fabrics or sheer materials where raw edges are highly visible. It’s ideal for lingerie, blouses, or other garments where a high-quality, durable, and visually appealing seam is necessary. Its enclosed nature also provides a better durability than a simple seam in finer fabrics and prevents bulk in more complex garment sections.
For example, a French seam is perfect for a silk blouse, preventing the raveling of delicate silk edges and offering a clean, invisible finish on the exterior. In contrast, using a French seam on denim jeans is often unnecessary, as the raw edges are less prone to fraying and a simpler seam is quite adequate.
Q 14. Can you describe the process of creating a French seam on a curved edge?
Sewing a French seam on a curved edge requires extra care and attention to detail. The process is essentially the same as a straight seam, but with some modifications.
- Stitch the first seam: With wrong sides together, stitch a narrow seam (⅛”- ¼”) along the curve.
- Trim and press: Trim the seam allowance to 1/8”, then press it open gently, being careful not to stretch the fabric.
- Turn and stitch the second seam: Turn the fabric right side out. With right sides together, stitch a wider seam (at least 5/8”) that encloses the first seam. This seam will be on the right side of the garment so accuracy in matching edges is critical.
- Press the final seam: Press the seam open gently and carefully, again being mindful of any fabric stretch. Using a tailor’s ham or point presser can help to prevent flattening of the seam allowance, particularly at the curves.
The key to success with curved seams is to take small, incremental steps, handling the fabric gently. Using many pins is beneficial to ensure that the edges are well matched before stitching each seam. The smaller initial seam will allow a smoother curve and avoid stretching.
Q 15. How do you finish a French seam on a corner?
Finishing a French seam on a corner requires careful manipulation to maintain its clean, enclosed finish. Instead of simply continuing the seam in a straight line, you need to pivot the fabric. Imagine you’re smoothly rounding a corner with a piece of string; the seam should follow a similar graceful curve.
First, sew the first small seam allowance as usual, wrong sides together. When you reach the corner, stop with the needle down to prevent shifting. Pivot the fabric, carefully aligning the corner edges before continuing the seam. Then, when you trim and sew the second seam, this alignment will carry through and prevent any sharp or bulky angles in the finished corner. A well-pressed seam will further refine that curved corner, making it appear seamless and professional.
Think of it like this: If you were drawing the seam line, you wouldn’t create a hard, sharp angle at the corner. You’d smoothly round the corner of your line; the French seam should mimic this curve.
Career Expert Tips:
- Ace those interviews! Prepare effectively by reviewing the Top 50 Most Common Interview Questions on ResumeGemini.
- Navigate your job search with confidence! Explore a wide range of Career Tips on ResumeGemini. Learn about common challenges and recommendations to overcome them.
- Craft the perfect resume! Master the Art of Resume Writing with ResumeGemini’s guide. Showcase your unique qualifications and achievements effectively.
- Don’t miss out on holiday savings! Build your dream resume with ResumeGemini’s ATS optimized templates.
Q 16. How does the choice of thread affect the appearance and durability of a French seam?
Thread selection significantly impacts the appearance and durability of a French seam. A high-quality, fine thread, appropriately matched to the fabric, is crucial. Using a thread that’s too thick can create a visible ridge and make the seam bulky, while too thin a thread might break easily under stress.
For example, using a fine, strong polyester thread on a lightweight cotton fabric will create a nearly invisible seam that’s incredibly durable. Conversely, a heavy cotton thread on a sheer silk will be highly noticeable and detract from the garment’s elegance. The color of the thread should also be carefully considered. While matching the thread exactly to the fabric is preferred for invisibility, contrasting thread can add a subtle, interesting detail, particularly in decorative stitching visible on the outside.
Durability is closely tied to the thread’s strength and the seam’s construction. Using a high-quality thread ensures longevity of the garment by reducing the risk of seam failure due to breakage or fraying.
Q 17. How can you adjust your sewing machine settings for optimal results when creating a French seam?
Optimal sewing machine settings for French seams hinge on achieving consistent stitching and avoiding fabric puckering. Start with a shorter stitch length (around 2.0-2.5 mm) for enhanced durability. This prevents the stitches from loosening or breaking under stress, particularly on areas subjected to repeated stress like seams on sleeves or legs. A slower sewing speed allows for greater control, making it easier to maintain consistent seam allowance and prevent errors during corner pivoting. Using a needle appropriate for your fabric is also key: too thin a needle can cause the thread to break, too thick one may cause holes and damage the fabric.
In addition, check your machine’s tension. Correct tension is vital; uneven tension can lead to puckering or uneven stitching, spoiling the appearance of the finished seam. For testing, sew a sample seam using your chosen settings on a scrap fabric to confirm everything works to your satisfaction before proceeding with the actual garment.
Q 18. What is the role of pressing in creating a high-quality French seam?
Pressing plays a crucial role in achieving a high-quality French seam. It’s not just about smoothing out wrinkles; it’s about shaping and setting the seam for long-lasting durability and a professional finish. After each stitching step (both the initial seam and the second encasing seam), carefully press the seams to create a crisp and clean appearance. Proper pressing helps to ensure that the seam allowances are neatly enclosed and lie flat.
I recommend using a tailor’s ham or a seam roll to shape the curves properly, particularly on curved seams such as those in sleeve caps or collars. This prevents bulky seams and ensures that the garment hangs correctly, preventing odd creases that ruin the line of clothing. Using steam and a well-pressed seam give it that high-end finish one associates with quality couture.
Q 19. Describe a time you had to troubleshoot a problem with a French seam during garment construction.
During a recent project involving a silk crepe dress, I encountered a problem with a French seam where the fabric was slipping and puckering excessively during the second stitching phase. This was especially problematic around the curved armhole seam. The silk’s delicate nature made controlling the fabric challenging.
My troubleshooting involved several steps: First, I switched to a finer needle and thread that were better suited for the lightweight fabric. Secondly, I employed a small amount of spray starch on the seam allowances before stitching the second seam, providing additional stability and preventing slippage. Thirdly, I slowed down my stitching speed considerably to maintain better control over the fabric. By implementing these changes, I effectively resolved the puckering issue and produced a neat, high-quality seam.
Q 20. How would you explain the process of creating a French seam to a beginner?
Imagine you’re wrapping a small gift; a French seam is similar to encasing the raw edges of the fabric to create a strong, neat finish. You start by sewing two fabric pieces together wrong sides facing (the inside of the fabric together), creating a narrow seam allowance. Then, you trim the seam allowance closely. Now, turn the fabric so the right sides are together. Enclose that first seam by sewing again, this time with a slightly wider seam allowance. You end up with the raw edges completely enclosed inside the second seam.
It’s a bit like creating a hidden tunnel for the raw edges of your fabric! It’s a truly professional way to finish seams because it’s invisible from the outside, and the enclosed seams are very strong, preventing fraying and making for a durable and tidy finish.
Q 21. What are some alternative seam finishes that could be used instead of a French seam?
While the French seam is a fantastic choice, several alternative seam finishes can be employed depending on the fabric, garment type, and desired aesthetic.
- Serged seams: These are created using a serger or overlock machine, which cuts and stitches the fabric edges simultaneously, providing a neat, durable finish suitable for many fabrics.
- Zigzag stitch: A simple zigzag stitch on a sewing machine can prevent fraying. It’s quick and easy, but not as strong or elegant as French seams.
- Hong Kong finish: This elegant technique involves binding the seam allowance with bias binding, resulting in a beautifully finished edge ideal for high-end garments.
- Pinked edges: Using pinking shears to create a jagged edge can minimize fraying on stable fabrics, but it is less durable than other methods.
The choice depends on the project. If invisibility and durability are paramount, a French seam is ideal. For speed and simplicity, a serged or zigzag finish might be preferable. For high-end garments, a Hong Kong finish brings unmatched elegance.
Q 22. What are the considerations for selecting the appropriate needle size for a French seam?
Choosing the right needle size for a French seam is crucial for achieving a clean, professional finish. The fabric’s weight and type dictate the needle’s size. Too small a needle might break or cause skipped stitches, while too large a needle can pierce the fabric, leaving unsightly holes.
- Lightweight fabrics (silk, chiffon): Require a very fine needle, such as a size 60/8 or 70/10.
- Medium-weight fabrics (cotton, linen): Work well with a size 70/10 or 80/12 needle.
- Heavyweight fabrics (denim, canvas): Need a stronger needle, size 90/14 or even larger, depending on the fabric’s thickness.
Think of it like this: a tiny needle for delicate fabrics, a medium-sized needle for everyday materials, and a robust needle for tough ones. Always check the needle size recommendations on your sewing machine’s manual for added assurance.
Q 23. How does the fabric type influence the choice of seam allowance for a French seam?
Fabric type significantly impacts seam allowance choice in French seams. The goal is to create a seam that’s both neat and strong, without bulkiness.
- Lightweight fabrics: Can tolerate a smaller seam allowance (1/4 inch or even less) as they won’t create excessive bulk when the seam is enclosed.
- Medium-weight fabrics: A standard 5/8 inch seam allowance is generally suitable.
- Heavyweight fabrics: Might benefit from a slightly larger seam allowance (up to ¾ inch), but ensure it doesn’t add unnecessary weight or stiffness to the garment.
For instance, a silk blouse would use a smaller seam allowance to avoid a heavy, noticeable seam, whereas a sturdy denim jacket can handle a slightly larger one. The key is to maintain balance between structural integrity and a smooth silhouette.
Q 24. Explain the importance of accurate cutting and marking when creating a French seam.
Accurate cutting and marking are foundational to a successful French seam. Inaccurate cutting leads to uneven seams and a sloppy final product. Precise marking ensures that the seam allowances are consistent, resulting in a professional, balanced finish.
- Precise Cutting: Use sharp shears, cut on a flat surface, and ensure fabric layers are aligned to avoid skewed edges.
- Clear Marking: Use tailor’s chalk, disappearing ink pens, or other marking tools to clearly indicate seam allowances before cutting. Accurate markings will guide the sewing process, helping avoid errors and ensuring even seams.
Imagine building a house – if the foundation isn’t level, the entire structure will be compromised. Similarly, in French seams, precise cutting and marking form the solid base for a beautifully finished garment.
Q 25. How do you ensure the seam is strong and durable after completing a French seam?
The strength and durability of a French seam depend on several factors. The most important is choosing the right stitch and ensuring proper stitching technique.
- Stitch Selection: A straight stitch is usually best for French seams because it offers strength and evenness. Avoid overly loose or tight stitches.
- Consistent Stitch Length: Maintain a consistent stitch length throughout the process for even tension and durability.
- Pressing: Press the seams open at each stage to ensure they lie flat and prevent bulk. A well-pressed seam is less likely to unravel.
- High-Quality Thread: Use high-quality thread that’s appropriate for the fabric weight.
By following these steps, the finished seam is neat, strong, and highly resistant to unraveling – a crucial characteristic in a garment exposed to daily wear and tear.
Q 26. Describe your experience with different types of sewing machines and their suitability for French seams.
My experience spans a range of sewing machines, from vintage mechanical models to modern computerized machines. Each has its strengths and weaknesses when creating French seams.
- Mechanical Machines: Offer excellent control over stitch tension and needle position. They require more hands-on adjustment but often produce very strong and durable seams.
- Computerized Machines: Provide a range of stitch options and automated features, like stitch length adjustments. They might simplify the process, but precise settings are still important to avoid issues.
- Sergers (Overlock Machines): While not ideal for the initial seam, a serger can be employed to finish the raw edges of the enclosed seam, providing a professional finish and preventing fraying.
For example, a well-maintained mechanical machine is perfect for consistent stitch quality, especially with challenging fabrics. A computerized machine can be efficient but requires careful tension settings to avoid puckering.
Q 27. How would you determine the correct tension settings for your sewing machine when sewing a French seam?
Correct tension settings are vital for a balanced French seam. Incorrect tension can lead to puckering, uneven stitches, or broken threads.
Determining the right tension involves a trial-and-error process. Begin with your machine’s default setting. Sew a small test seam on a scrap of the same fabric, observing the stitch quality.
- Too tight: The stitches will be very close together, possibly causing puckering and breakage. Adjust the tension dial slightly lower.
- Too loose: Stitches will be loose and uneven, making the seam vulnerable. Adjust the tension dial slightly higher.
Continue adjusting until you achieve evenly spaced stitches on both sides of the fabric without puckering. This might take a few attempts, but the result is worth the effort for a flawless French seam.
Q 28. Describe a situation where a French seam might not be the ideal choice and why.
While a French seam offers exceptional durability and a clean finish, it’s not always the ideal choice. It’s best suited for garments where the seam allowance needs to be completely enclosed and invisible. There are certain circumstances where other seam finishes might be more appropriate:
- Very bulky fabrics: Multiple layers of heavy fabric can create excessive bulk with a French seam.
- Time constraints: French seams require more steps than other seam finishes, so if time is a significant factor, a simpler seam finish might be preferable.
- Garments with many seams: The extra time required for each French seam could make this finish impractical for a garment with numerous seams.
For example, in a heavy winter coat, a simple double-stitched seam might be stronger and less bulky than a French seam. Ultimately, the best seam choice depends on the specific project and its requirements.
Key Topics to Learn for French Seam Interview
- Definition and Purpose: Understand the fundamental principles of a French seam, its advantages over other seam finishes, and its suitability for different fabric types.
- Construction Techniques: Master the step-by-step process of creating a French seam, including accurate fabric preparation, precise stitching, and neat trimming techniques. Practice on various fabric weights and types.
- Seam Allowance Management: Learn how to accurately determine and maintain consistent seam allowances throughout the process for a professional finish. Understand the impact of varying seam allowances on the final garment.
- Fabric Selection and Suitability: Discuss which fabrics are best suited for French seams and why. Understand the challenges presented by different fabric types (e.g., slippery silks, bulky wools) and how to overcome them.
- Applications in Garment Construction: Identify specific garments or apparel where French seams are commonly used and why they are a preferred choice in those applications. Explain the advantages gained in these contexts.
- Troubleshooting and Problem-Solving: Be prepared to discuss common issues encountered during French seam construction (e.g., uneven stitching, fabric puckering) and how to prevent or correct them.
- Advanced Techniques: Explore variations in French seam construction, such as using different stitch types or adapting the technique for specific design elements.
Next Steps
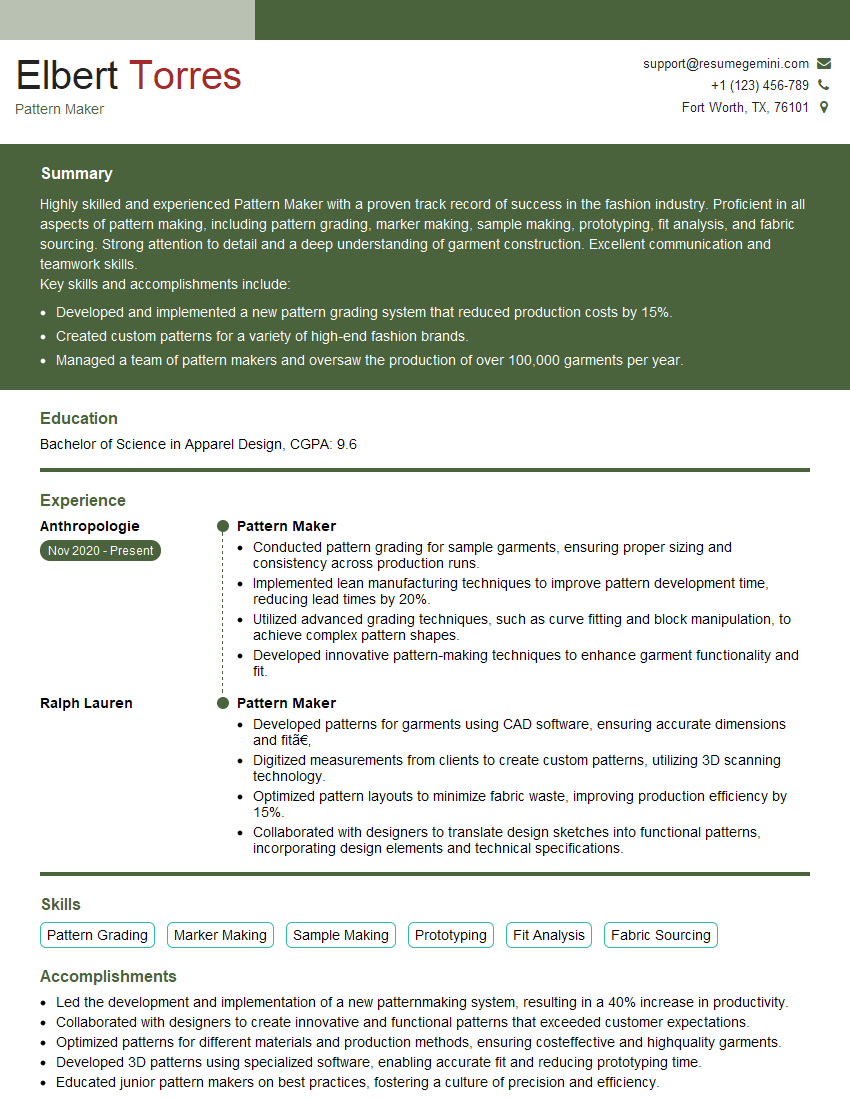
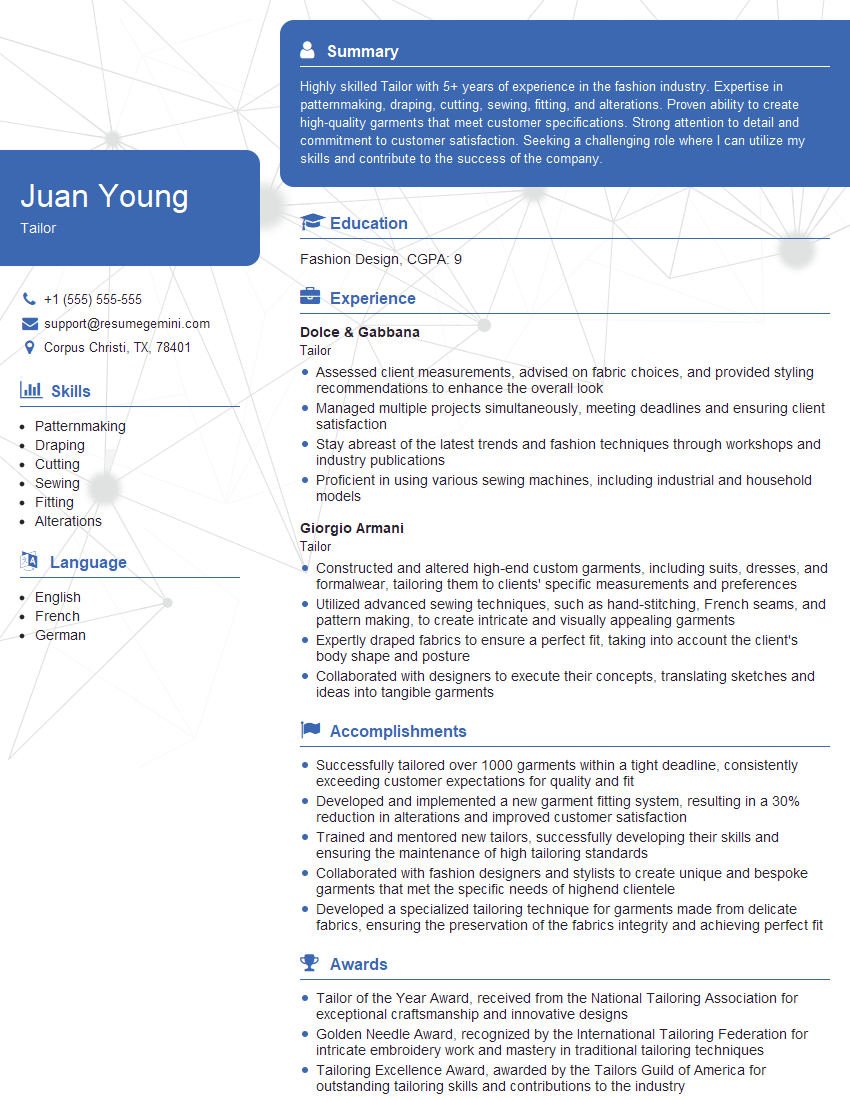
Mastering French seam techniques significantly enhances your skills as a garment maker, showcasing precision and attention to detail highly valued in the industry. This skill can open doors to more advanced roles and higher-paying opportunities. To maximize your job prospects, creating a strong, ATS-friendly resume is crucial. ResumeGemini is a trusted resource that can help you build a professional and impactful resume tailored to your specific skills and experience. Examples of resumes tailored to showcasing French Seam expertise are available within ResumeGemini. Take the next step towards your dream career today!
Explore more articles
Users Rating of Our Blogs
Share Your Experience
We value your feedback! Please rate our content and share your thoughts (optional).
What Readers Say About Our Blog
Hello,
We found issues with your domain’s email setup that may be sending your messages to spam or blocking them completely. InboxShield Mini shows you how to fix it in minutes — no tech skills required.
Scan your domain now for details: https://inboxshield-mini.com/
— Adam @ InboxShield Mini
Reply STOP to unsubscribe
Hi, are you owner of interviewgemini.com? What if I told you I could help you find extra time in your schedule, reconnect with leads you didn’t even realize you missed, and bring in more “I want to work with you” conversations, without increasing your ad spend or hiring a full-time employee?
All with a flexible, budget-friendly service that could easily pay for itself. Sounds good?
Would it be nice to jump on a quick 10-minute call so I can show you exactly how we make this work?
Best,
Hapei
Marketing Director
Hey, I know you’re the owner of interviewgemini.com. I’ll be quick.
Fundraising for your business is tough and time-consuming. We make it easier by guaranteeing two private investor meetings each month, for six months. No demos, no pitch events – just direct introductions to active investors matched to your startup.
If youR17;re raising, this could help you build real momentum. Want me to send more info?
Hi, I represent an SEO company that specialises in getting you AI citations and higher rankings on Google. I’d like to offer you a 100% free SEO audit for your website. Would you be interested?
Hi, I represent an SEO company that specialises in getting you AI citations and higher rankings on Google. I’d like to offer you a 100% free SEO audit for your website. Would you be interested?
good

