The thought of an interview can be nerve-wracking, but the right preparation can make all the difference. Explore this comprehensive guide to IV Cannulation interview questions and gain the confidence you need to showcase your abilities and secure the role.
Questions Asked in IV Cannulation Interview
Q 1. Describe the proper procedure for selecting an appropriate IV cannulation site.
Selecting the appropriate IV cannulation site is crucial for successful IV therapy and patient comfort. We prioritize veins that are easily accessible, large enough to accommodate the cannula, and relatively immobile to minimize dislodgement.
- Vein Selection: We typically assess the veins in the following order of preference: the metacarpal veins of the non-dominant hand, followed by the cephalic, basilic, and median cubital veins of the forearm and then the veins of the hand. The antecubital fossa is a common site but we avoid it if possible due to increased risk of infiltration and patient discomfort.
- Vein Assessment: We palpate the vein to assess its size, depth, and firmness. A palpable, distensible vein is ideal. We avoid veins that feel hard, cord-like (indicating previous thrombosis), or are excessively fragile. We also consider the patient’s medical history and any pre-existing conditions of the extremities.
- Patient Factors: Age, medical history (e.g., diabetes, peripheral vascular disease), and current condition all influence our site selection. For instance, fragile veins in the elderly may necessitate alternative approaches. A patient with a history of deep vein thrombosis would prompt avoidance of the affected limb entirely.
Imagine choosing a sturdy, easily accessible road for your vehicle (the intravenous fluid). You wouldn’t pick a narrow, winding, or damaged road, would you? Similarly, a well-chosen vein ensures smooth delivery of fluids.
Q 2. What are the contraindications for IV cannulation in a particular vein?
Several contraindications exist for IV cannulation in a particular vein. These can be local or systemic factors that increase the risk of complications or prevent successful cannulation.
- Local Contraindications: These include areas of inflammation, infection, cellulitis, previous thrombosis, scarring, burns, or areas with compromised circulation. Cannulating in such areas increases infection risk and can cause significant pain or complications.
- Systemic Contraindications: Conditions affecting the circulatory system, such as severe peripheral vascular disease, can make vein cannulation difficult or impossible. Severe edema can also obscure veins and make access challenging. Hematoma at the site also poses a contraindication. Additionally, patient refusal or inability to cooperate should always be respected.
In essence, we avoid any sites that could lead to increased pain, infection risk, failed placement, or harm to the patient. It’s all about patient safety and procedure success.
Q 3. Explain the different sizes of IV cannulae and when each would be appropriate.
IV cannulae come in various sizes, usually expressed in gauge (G). The gauge number inversely correlates with the cannula diameter—a smaller gauge number indicates a larger diameter.
- 14G-16G (Large): Used for rapid fluid administration, blood transfusions, or administering viscous medications. These larger bore catheters are generally placed in more robust veins capable of handling high volume flow. Often used in emergency situations.
- 18G-20G (Medium): The most commonly used sizes for routine IV therapy, suitable for most infusion needs. These offer a good balance between flow rate and vein protection.
- 22G-24G (Small): Used in patients with fragile veins or for pediatric patients. The smaller bore size minimizes trauma but can also limit flow rates. These are ideal for low-volume infusions and for patients at risk of vein damage.
Choosing the appropriate size depends on the patient’s condition and treatment plan. Think of it like selecting the right pipe for a specific task; a larger pipe (larger gauge) for transporting larger volumes of liquid and a smaller pipe (smaller gauge) for delicate processes.
Q 4. How do you assess the patency of an IV line?
Assessing IV line patency is critical to ensure effective fluid delivery and prevent complications. We employ several methods:
- Visual Inspection: We observe the IV site for any signs of swelling, redness, or leakage. We check the catheter hub and tubing for any kinks or blockages.
- Palpation: Gentle palpation around the insertion site can detect any infiltration or inflammation. Feel for any firmness or tenderness, which could suggest complications.
- Flush Test: We gently flush the IV line with a small amount of saline solution. Easy, smooth flushing indicates patency. Resistance or backflow suggests blockage. A blood return confirms patency.
- Monitoring Infusion Rate: A consistently slow or stopped infusion rate, despite adequate pressure, often indicates a problem with line patency.
Regular patency checks are crucial – much like checking your car’s tire pressure for a safe journey. Detecting blockages early helps prevent potential complications.
Q 5. What are the signs and symptoms of infiltration and extravasation?
Infiltration and extravasation are common complications of IV therapy, both resulting in the leakage of fluid outside the vein. However, they differ in the type of fluid leaking.
- Infiltration: This is the unintentional leakage of non-vesicant (non-blistering) intravenous fluids into the surrounding subcutaneous tissue. It usually results in mild discomfort, swelling, and coolness at the IV site. Pain is generally mild to moderate and localized.
- Extravasation: This refers to the leakage of vesicant (blistering) fluids into the surrounding tissue. Vesicant fluids can cause significant tissue damage, pain, blistering, necrosis (tissue death), and discoloration. The pain is usually more severe and could involve an extensive area around the insertion site.
Infiltration is akin to a minor water spill, while extravasation is more like a corrosive chemical spill. Prompt recognition and management are essential.
Q 6. Describe your technique for managing an IV site with infiltration or extravasation.
Managing infiltration or extravasation requires a prompt and methodical approach. The key is to minimize tissue damage and provide patient comfort.
- Stop the Infusion: Immediately discontinue the IV infusion to prevent further fluid leakage.
- Remove the Catheter: Gently remove the IV cannula. In the case of extravasation, consider consulting with a physician before removal.
- Elevate the Extremity: Elevating the affected limb helps to reduce swelling.
- Apply Warm or Cold Compress: For infiltration, warm compresses are often helpful in promoting absorption of the fluid. For extravasation, a physician might prescribe cold compresses initially to reduce inflammation.
- Document the Incident: Meticulous documentation of the event, including the type of fluid, the patient’s response, and interventions taken, is crucial.
- Consider Further Treatment: In cases of extravasation with vesicant fluids, further interventions such as specific antidotes, hyaluronidase injection, or surgical intervention might be necessary under a doctor’s supervision.
Think of this as damage control. Swift action is essential in minimizing the extent of any tissue damage.
Q 7. What steps do you take to prevent infection during IV cannulation?
Preventing infection during IV cannulation is paramount. We adhere strictly to aseptic techniques throughout the procedure.
- Hand Hygiene: Thorough handwashing with soap and water or the use of an alcohol-based handrub before and after the procedure is fundamental.
- Aseptic Preparation of the Site: We clean the intended venipuncture site with an appropriate antiseptic solution, such as chlorhexidine or povidone-iodine, using a circular motion moving outwards from the center. Allow the antiseptic to air dry before cannulation.
- Sterile Gloves: Wearing sterile gloves protects both the patient and the healthcare provider.
- Sterile Cannulation Equipment: Using sterile needles, catheters, and other equipment is essential to maintaining sterility.
- Proper Cannulation Technique: Employing the appropriate technique minimizes the risk of introducing microorganisms at the insertion site.
- Dressing the Site: Applying a sterile dressing over the catheter insertion site after the procedure helps prevent contamination.
- Regular Monitoring: Closely observing the IV site for any signs of infection, such as redness, swelling, pain, or purulent discharge.
Preventing infection is akin to preventing a fire – preparation and careful adherence to protocols are critical to maintaining safety.
Q 8. How do you maintain the sterility of the IV insertion site?
Maintaining sterility at the IV insertion site is paramount to prevent infection. Think of it like preparing a surgical field – meticulous attention to detail is crucial. We begin with thorough hand hygiene, using an alcohol-based hand rub for at least 30 seconds. Then, we cleanse the chosen site with an antiseptic solution, such as chlorhexidine or povidone-iodine, using a circular motion, moving outwards from the center to avoid recontamination. This process should be repeated multiple times, allowing the solution to dry completely before insertion. We maintain a sterile field by only touching sterile surfaces and avoiding unnecessary touching of the insertion site. The use of sterile gloves, drapes, and equipment are fundamental. We carefully monitor the insertion site post-insertion for any signs of infection, such as redness, swelling, warmth, or purulent drainage.
Q 9. What are the different types of IV fluids and their uses?
IV fluids are categorized based on their composition and intended use. Common types include:
- Crystalloids: These are solutions containing water, electrolytes, and small molecules. They distribute throughout the body’s fluid compartments. Examples include Normal Saline (0.9% NaCl), Lactated Ringer’s (contains sodium, potassium, calcium, chloride, and lactate), and D5W (5% dextrose in water).
- Colloids: These contain larger molecules that stay within the vascular space, expanding blood volume more effectively than crystalloids. Examples include albumin and dextran.
- Blood products: These are used to replace blood loss, improve oxygen-carrying capacity, or provide specific clotting factors. Examples include packed red blood cells, fresh frozen plasma, and platelets.
The choice of fluid depends on the patient’s specific needs. For example, Normal Saline is frequently used for fluid resuscitation in hypovolemic shock, while Lactated Ringer’s is often preferred for patients with ongoing fluid losses due to its balanced electrolyte composition. Blood products are reserved for situations involving significant blood loss or specific clotting factor deficiencies.
Q 10. How do you calculate IV fluid drip rates?
Calculating IV drip rates is essential to ensure the patient receives the correct amount of fluid over the prescribed time. The formula is:
Drip Rate (gtts/min) = (Volume (mL) x Drop Factor (gtts/mL)) / Time (min)The ‘drop factor’ is specific to the IV tubing used and is usually printed on the tubing packaging (e.g., 10 gtts/mL, 15 gtts/mL, 20 gtts/mL, 60 gtts/mL (micro-drip)). For example: To administer 1000 mL of Normal Saline over 8 hours (480 minutes) using tubing with a drop factor of 15 gtts/mL, the calculation would be:
Drip Rate = (1000 mL x 15 gtts/mL) / 480 min = 31.25 gtts/minWe would round this to 31 gtts/min in a practical setting. It’s crucial to regularly monitor the infusion to ensure it’s running at the correct rate and that the patient is tolerating the fluids well.
Q 11. Explain the process of flushing an IV catheter.
Flushing an IV catheter is crucial for maintaining patency (keeping the line open) and preventing complications like clotting or thrombus formation. This is performed using a sterile saline flush, typically 3-5 mL of normal saline, using aseptic technique and gently pushing the fluid. The technique varies depending on the type of catheter and the clinical setting, but the key is to prevent the introduction of air into the catheter. A positive pressure technique should be used, meaning the flush should be administered while maintaining a pressure that prevents backflow. We ensure that there are no clots or kinks that interfere with the flow. The frequency of flushing will also be dictated by the type of catheter and the clinical setting, ranging from every 8 to 12 hours for intermittent infusions to during and after medication administration in continuous infusions. It’s important to visually check the fluid that returns from the catheter in case there is any blood.
Q 12. What are the potential complications of IV cannulation?
IV cannulation, while a common procedure, carries potential risks. These include:
- Hematoma: Bleeding at the insertion site due to puncture of a blood vessel.
- Infection: Contamination of the insertion site leading to cellulitis or phlebitis (inflammation of the vein).
- Thrombophlebitis: Inflammation of the vein with clot formation.
- Infiltration: Leakage of fluids into the surrounding tissue, causing swelling and pain.
- Extravasation: Leakage of vesicant (irritant) fluids into the surrounding tissue, causing significant tissue damage.
- Nerve damage: Accidental injury to a nerve during insertion.
- Arterial puncture: Accidental puncture of an artery, leading to significant bleeding.
Careful technique, proper site selection, and vigilant post-insertion monitoring are essential to minimize these risks. Early recognition and prompt management of complications are crucial for a positive outcome.
Q 13. Describe your approach to a patient who is difficult to cannulate.
Patients who are difficult to cannulate might be due to multiple factors, including fragile veins, dehydration, obesity, or previous vein damage. My approach involves a systematic and patient-centered strategy. This includes:
- Careful patient assessment: Assessing hydration status, vein palpability, and any medical conditions or previous cannulation attempts.
- Multiple site attempts: Exploring different sites, prioritizing easily accessible veins in the non-dominant arm. Sometimes the back of the hand is an optimal location.
- Smaller gauge catheters: Using smaller gauge needles which minimize trauma to delicate veins.
- Vein dilation techniques: Employing techniques to improve vein visibility and accessibility, such as applying a warm compress or using a tourniquet. But maintaining appropriate pressure and time are key to avoid compromising the veins.
- Ultrasound guidance: In challenging cases, ultrasound guidance can significantly improve success rates.
- Seeking assistance: If difficulties persist, seeking assistance from a senior colleague or specialist is essential to prevent further complications.
Throughout the process, maintaining calm and open communication with the patient is critical. Patient education and support can significantly improve the experience and outcome.
Q 14. How do you document IV cannulation procedures?
Accurate and comprehensive documentation of IV cannulation procedures is crucial for patient safety and legal purposes. The documentation should include:
- Date and time of insertion: Precise time of procedure.
- Site of insertion: Specific vein and location (e.g., right antecubital fossa).
- Gauge of catheter: Size of the catheter inserted (e.g., 22G).
- Type of catheter: Material and characteristics of the catheter.
- Type of dressing: Description of the dressing applied.
- Initial fluid infusion: Details of fluid initiated.
- Patient assessment: Note on the condition of the veins and any difficulties encountered.
- Post-insertion assessment: Observe for any early signs of complications.
- Initials of the practitioner: Initials of personnel involved.
Clear, concise, and accurate documentation ensures continuity of care, prevents medical errors, and provides a legal record of the procedure.
Q 15. What are your preferred methods for securing an IV catheter?
Securing an IV catheter is crucial to prevent dislodgement and infiltration. My preferred method involves using a transparent, hypoallergenic dressing that allows for easy visualization of the insertion site. I always ensure the catheter is properly taped to the skin, avoiding excessive tension to minimize patient discomfort. I use a technique called the ‘anchor and loop’ method where I initially secure the catheter hub with tape, creating a stable base, then loop the remaining tubing and secure it with further tape, creating a more secure hold. For patients at higher risk of dislodgement (e.g., active children, restless patients), I might use additional securing methods such as tegaderm film or a commercially available IV securement device. The choice of method depends greatly on the patient’s individual circumstances and the location of the IV insertion site.
For example, for an elderly patient with fragile skin, I’d opt for a gentler, less adhesive dressing to prevent skin tears. Conversely, for a child who is very active, I’d make sure to use a securement device to provide extra support and prevent accidental removal. The key is to balance security with patient comfort and skin integrity.
Career Expert Tips:
- Ace those interviews! Prepare effectively by reviewing the Top 50 Most Common Interview Questions on ResumeGemini.
- Navigate your job search with confidence! Explore a wide range of Career Tips on ResumeGemini. Learn about common challenges and recommendations to overcome them.
- Craft the perfect resume! Master the Art of Resume Writing with ResumeGemini’s guide. Showcase your unique qualifications and achievements effectively.
- Don’t miss out on holiday savings! Build your dream resume with ResumeGemini’s ATS optimized templates.
Q 16. How do you handle a patient with fragile veins?
Patients with fragile veins require a very delicate and careful approach. My strategy starts with thorough assessment – identifying suitable veins through careful palpation and possibly utilizing a Doppler ultrasound to visualize the veins. Smaller gauge catheters (24G or even 26G) are often preferred to minimize trauma. I select insertion sites where veins are relatively larger and less prone to rolling. I often use a smaller, less aggressive bevel needle to reduce the risk of puncturing the vessel wall. The insertion technique must be very gentle and slow, and I would avoid multiple attempts at a single site. If a suitable vein is challenging to find, I’ll consider using alternative vascular access methods like an implanted port or a PICC line after consultation with the physician.
For instance, I recall a patient with severe dehydration who had incredibly fragile veins. Using a 26G catheter and a specialized insertion technique with minimal manipulation, I successfully secured an IV line after several unsuccessful attempts by another medical professional. Using a smaller needle significantly reduced the trauma to the vein and allowed us to successfully administer fluids.
Q 17. What is your knowledge of various IV insertion devices?
There’s a range of IV insertion devices available, each with its own advantages and disadvantages. These include over-the-needle catheters (ONC), which are the most commonly used, as well as winged infusion sets (butterfly needles), which are often used for short-term access or blood draws, and midline catheters, which are inserted into a more proximal vein in the arm and provide longer-term access. Intraosseous catheters (IO) are also an option during emergencies where vascular access is challenging, though they are not a standard practice outside of critical care settings. The choice depends on the patient’s clinical needs and the duration of required IV access. There are also various catheter materials, like polyurethane and Teflon, each having distinct biocompatibility and durability properties.
For example, an ONC is ideal for longer-term intravenous therapy, while a butterfly needle is suitable for short-term procedures. The selection of the appropriate insertion device is crucial, and it’s guided by the patient’s needs and condition. Proper training and experience are essential to skillfully and safely use all the available devices.
Q 18. What is your understanding of the different types of IV solutions?
IV solutions are categorized based on their tonicity (isotonic, hypotonic, hypertonic), composition (crystalloids, colloids), and intended use. Isotonic solutions, like normal saline (0.9% NaCl) and lactated Ringer’s solution, have the same osmolality as blood and are used for fluid resuscitation and maintenance. Hypotonic solutions have a lower osmolality than blood and are used to treat cellular dehydration, while hypertonic solutions have a higher osmolality and are used to draw fluid from the tissues into the bloodstream. Crystalloid solutions contain electrolytes and water, while colloid solutions contain larger molecules, such as proteins, that increase blood volume. Each solution has its specific applications and potential side effects, and the choice is made based on the patient’s individual needs and under the guidance of a physician.
For instance, normal saline is frequently used for fluid replacement, whereas D5W (5% dextrose in water) is used for carbohydrate supply. Understanding the nuances of different solutions is paramount for safe and effective IV therapy.
Q 19. What are the safety measures you follow to avoid complications during IV cannulation?
Safety is paramount in IV cannulation. My approach begins with strict adherence to infection control protocols—hand hygiene, using sterile gloves and equipment, and maintaining a sterile field during the procedure. I always confirm patient identity using two identifiers before starting. Thorough assessment of the vein is crucial to prevent multiple puncture attempts and subsequent complications. I explain the procedure to the patient, address their concerns, and obtain informed consent. Post-insertion, I regularly assess the IV site for any signs of infiltration, inflammation, or infection. I use aseptic techniques and careful handling to minimize the risk of complications. Proper documentation of the procedure, including catheter size, insertion site, and time, is also a critical safety measure.
For example, if I encounter resistance during insertion, I would immediately stop and reassess the situation before proceeding to prevent damage to the vein or surrounding tissues. Regular monitoring post insertion is crucial for early detection of complications, allowing for timely intervention.
Q 20. Explain the importance of patient education related to IV therapy.
Patient education is critical for successful IV therapy. It improves compliance, helps patients recognize potential complications, and empowers them to take an active role in their care. Before the procedure, I clearly explain the reason for the IV, its purpose, and the expected duration. I discuss potential risks and complications, such as infiltration and infection, and how to recognize and report them. I demonstrate proper care of the IV site and explain the importance of maintaining its integrity. After the procedure, I provide clear instructions on what to expect and answer any questions.
For instance, I make sure to explain to patients why they should report any pain, swelling, or redness at the IV site. This proactive approach enhances patient safety and ensures a smoother experience.
Q 21. How do you address patient anxieties concerning IV cannulation?
Addressing patient anxieties about IV cannulation is a crucial part of my practice. I begin by actively listening to the patient’s concerns and validating their feelings. I explain the procedure in simple, understandable terms, avoiding medical jargon. I offer reassurance by highlighting the benefits of the IV therapy, emphasizing its crucial role in their treatment. I demonstrate a gentle and calm demeanor throughout the process, utilizing distraction techniques like conversation or focusing on their breathing. I always allow the patient time to ask questions and provide honest answers. If the patient remains anxious, I would explore the possibility of using topical anesthetic creams or anxiety-reducing measures.
For example, for a child apprehensive about the IV, I may allow them to choose the color of the bandage or bring a favorite toy to help distract them during the process. Building a rapport and establishing trust helps to alleviate their anxieties.
Q 22. What do you do if you experience difficulty inserting an IV catheter?
Experiencing difficulty inserting an IV catheter is common. It highlights the importance of proper technique and patient assessment. My first step is to reassess the chosen site. Is the vein sufficiently visible and palpable? Is the patient dehydrated, leading to collapsed veins? I’d then try different techniques:
- Change of site: Selecting an alternative vein in a different location often solves the problem. The antecubital fossa (inner elbow) is a common choice, but if that proves difficult, I’d consider the dorsal hand veins or the forearm.
- Different catheter size/type: If the vein is small or fragile, I’d try a smaller gauge catheter (e.g., 24G instead of 22G). Similarly, different catheter types (e.g., winged infusion sets or over-the-needle catheters) might be better suited to certain situations.
- Improved vein visualization: Techniques like applying a tourniquet (not overly tight), using a blood pressure cuff, or applying a warm compress can make veins more prominent.
- Change of angle of insertion: The angle of insertion is crucial. Slightly adjusting the angle can significantly improve success. Be mindful to stay within the anatomical boundaries of the chosen vein.
- Use of ultrasound guidance: In challenging cases, ultrasound guidance can provide clear visualization of the vein, greatly improving accuracy and reducing complications.
If despite these efforts I’m still unsuccessful, I’ll seek assistance from a more experienced colleague. Patient safety is paramount, and avoiding multiple attempts at insertion reduces the risk of hematoma and other complications.
Q 23. How often should an IV site be assessed and documented?
IV site assessment and documentation are critical components of safe IV therapy. Ideally, an IV site should be assessed and documented at least every 4 hours, and more frequently if there are any concerns such as inflammation, infiltration, or phlebitis. My assessment includes:
- Inspection: Looking for signs of redness, swelling, warmth, or pain at the insertion site.
- Palpation: Gently feeling for tenderness, hardness, or swelling.
- Assessing the IV line: Checking for patency (whether fluid flows freely), ensuring the dressing is intact and clean.
- Checking IV infusion rate: Confirming that the fluids are infusing at the prescribed rate.
Documentation should be thorough and include the date and time of assessment, the location of the IV site, a description of the site (e.g., no signs of inflammation), and any interventions taken. Clear, concise documentation protects both the patient and the healthcare professional.
Q 24. Describe the process of discontinuing an IV line.
Discontinuing an IV line is a simple procedure, but requires meticulous attention to detail to prevent complications. My steps are:
- Turn off the IV infusion: Ensure that the infusion pump is switched off and the fluid bag is clamped.
- Remove the tape and dressing: Carefully remove the tape and dressing securing the catheter, maintaining sterile technique.
- Apply pressure to the site: Gently withdraw the catheter while applying firm pressure to the insertion site using a sterile gauze pad. This helps prevent bleeding and hematoma formation. The pressure should be maintained for at least 2-3 minutes, and potentially longer depending on the patient and the size of the vein.
- Inspect the catheter tip: Inspect the removed catheter to ensure its integrity.
- Apply a new sterile dressing: Apply a new sterile dressing to the insertion site.
- Document the procedure: Record the date, time, and reason for discontinuation, along with any observations made.
The length of time the pressure needs to be held depends on several factors like the patient’s coagulation profile, the size of the vein punctured, and whether any bleeding is observed. In patients at higher risk of bleeding, longer pressure time is necessary.
Q 25. How do you respond to an allergic reaction to an IV solution?
An allergic reaction to an IV solution can range from mild to severe. My response is immediate and prioritized based on the severity of the reaction:
- Mild reactions: These may include mild rash or itching. I would immediately discontinue the IV infusion, notify the physician, and closely monitor the patient’s condition. Administering antihistamines as prescribed by a physician might be appropriate.
- Severe reactions (anaphylaxis): This life-threatening condition presents with symptoms such as difficulty breathing, swelling of the face and throat, hypotension, and tachycardia. My immediate actions would be to discontinue the infusion, initiate CPR if necessary, call for emergency assistance, administer oxygen, and prepare for epinephrine administration according to established protocols.
Accurate and detailed documentation of the reaction and the interventions taken is essential. Follow-up monitoring and communication with the medical team are crucial to manage the allergic reaction and prevent recurrence.
Q 26. Describe your experience with different types of IV access devices (e.g., PICC lines, midline catheters).
My experience includes working with various IV access devices. While peripheral IVs are the most common, I have experience inserting and managing central venous catheters (CVCs), including PICC lines and midline catheters.
- Peripheral IV catheters: These are inserted into peripheral veins and are suitable for short-term infusions.
- PICC lines (Peripherally Inserted Central Catheters): These are longer catheters inserted into peripheral veins but extend to a central vein. They are ideal for long-term infusions and administration of multiple medications or fluids. I’m proficient in PICC line insertion and care, including flushing, dressing changes, and complication management.
- Midline catheters: These catheters are inserted into more proximal veins in the arm and are used for longer-term therapy than peripheral IVs, but generally for shorter durations than PICC lines. They offer a good balance between convenience and reduced risk of central line-associated bloodstream infections (CLABSIs) compared to PICCs.
Each device presents unique challenges and benefits, and selecting the appropriate access depends on the patient’s clinical needs, infusion duration, and individual risk factors. Proper training and adherence to strict protocols are crucial for the safe and effective use of all IV access devices.
Q 27. What are your strategies for managing pain and discomfort during IV cannulation?
Managing pain and discomfort during IV cannulation is essential for a positive patient experience and can improve the success of the procedure. My strategies include:
- Patient education and reassurance: Explaining the procedure clearly and answering any questions can significantly reduce anxiety.
- Proper vein selection: Choosing a vein that is visible, palpable, and easily accessible minimizes trauma and discomfort.
- Use of topical anesthetic: Applying a topical anesthetic cream or spray before insertion can numb the skin and reduce pain during the procedure. Eutectic mixture of local anesthetics (EMLA) is a common example.
- Slow insertion technique: Inserting the catheter slowly and carefully helps minimize pain and discomfort.
- Distraction techniques: Engaging the patient in conversation or other distractions during the insertion can help reduce their awareness of the procedure.
- Post-insertion care: Ensuring that the IV site is well-dressed and comfortable reduces post-insertion discomfort.
Remember, a positive and empathetic approach can go a long way in alleviating patient anxiety and pain. Pain management is a critical aspect of providing quality care.
Key Topics to Learn for IV Cannulation Interview
- Anatomy and Physiology of Veins: Understanding vein selection criteria, location, and variations is crucial for successful cannulation. This includes knowledge of superficial versus deep veins and anatomical landmarks.
- Equipment and Supplies: Demonstrate familiarity with different cannula sizes, types (e.g., winged, over-the-needle), and associated equipment (e.g., tourniquets, antiseptic solutions). Be prepared to discuss proper handling and sterilization techniques.
- Technique and Procedure: Mastering the step-by-step process, including patient preparation, vein selection, insertion technique, and securing the cannula. Practice explaining the procedure clearly and concisely.
- Complications and Management: Discuss potential complications like hematoma formation, infiltration, thrombophlebitis, and nerve damage. Explain how to recognize, prevent, and manage these complications effectively.
- Fluid Compatibility and Administration: Understand the different types of intravenous fluids and medications, their compatibility, and safe administration practices. Be ready to discuss infusion rates and monitoring techniques.
- Patient Assessment and Communication: Highlight the importance of assessing patient suitability for IV cannulation, obtaining informed consent, and communicating effectively with patients throughout the procedure. Stress the importance of patient comfort and safety.
- Troubleshooting and Problem-Solving: Prepare to discuss common challenges encountered during IV cannulation (e.g., difficult veins, failed attempts) and your approach to resolving these issues.
Next Steps
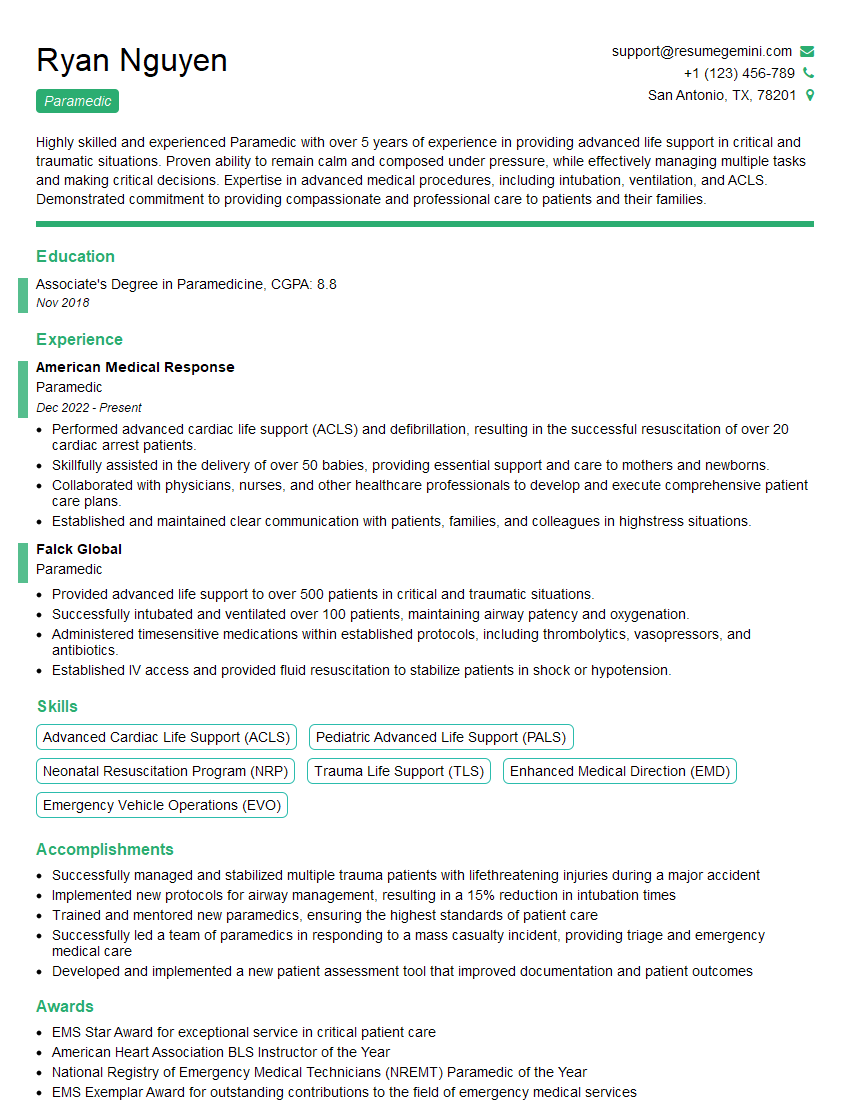
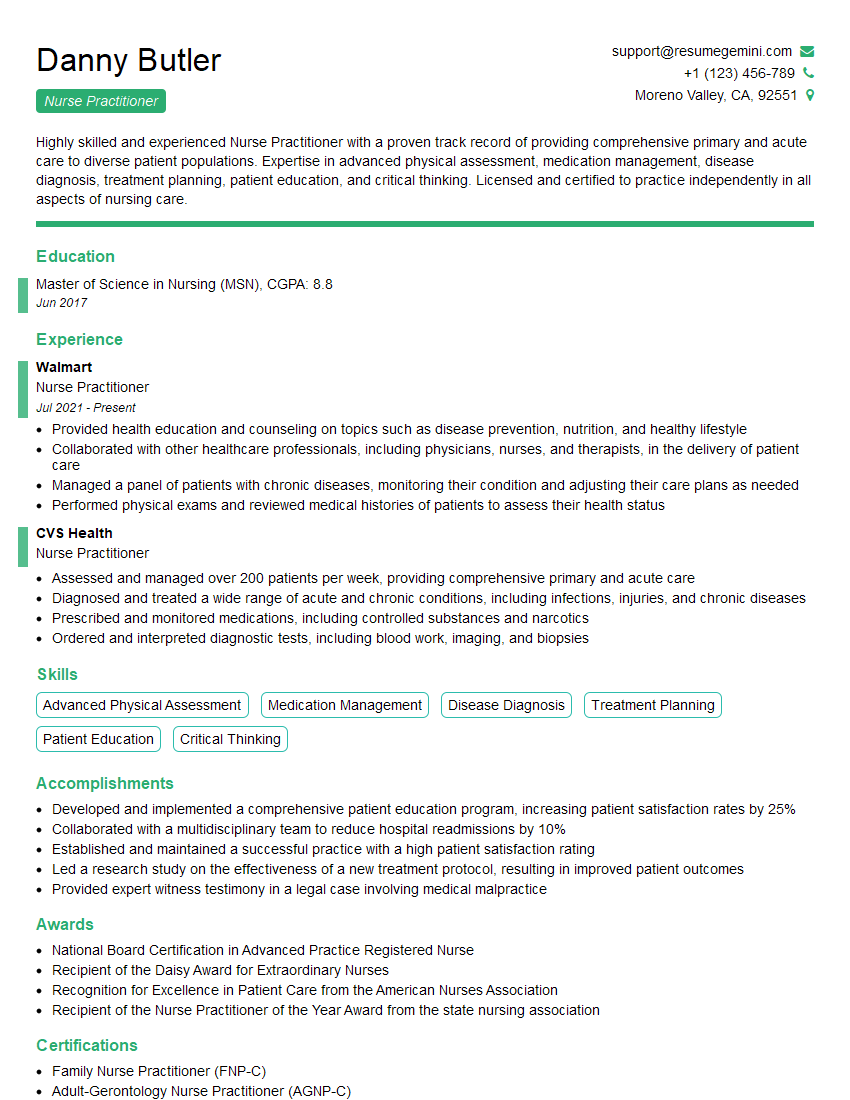
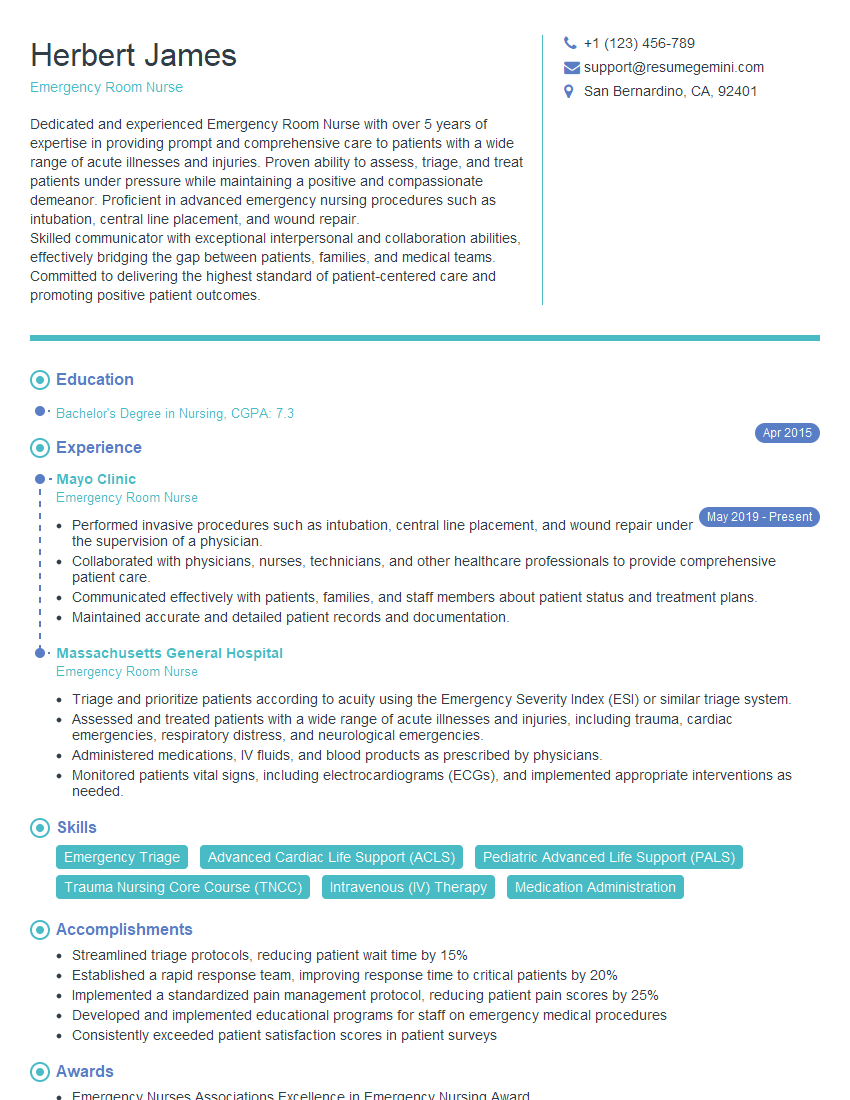
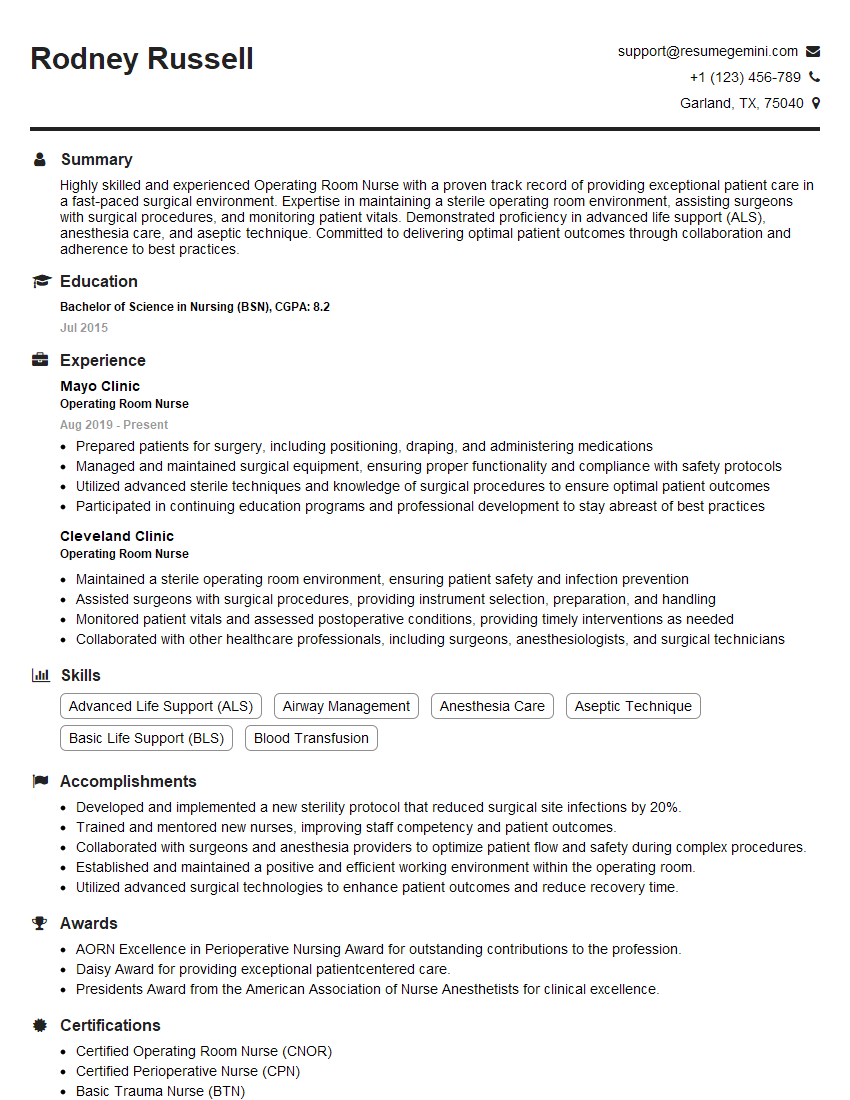
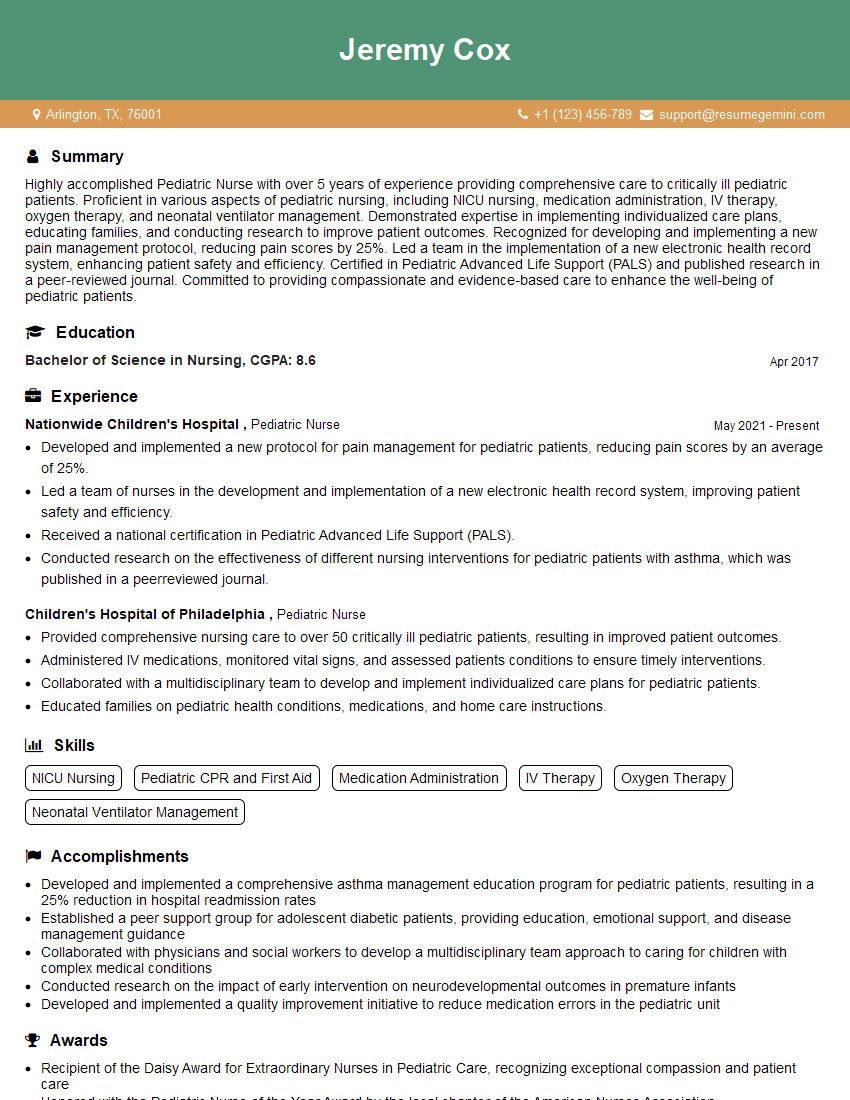
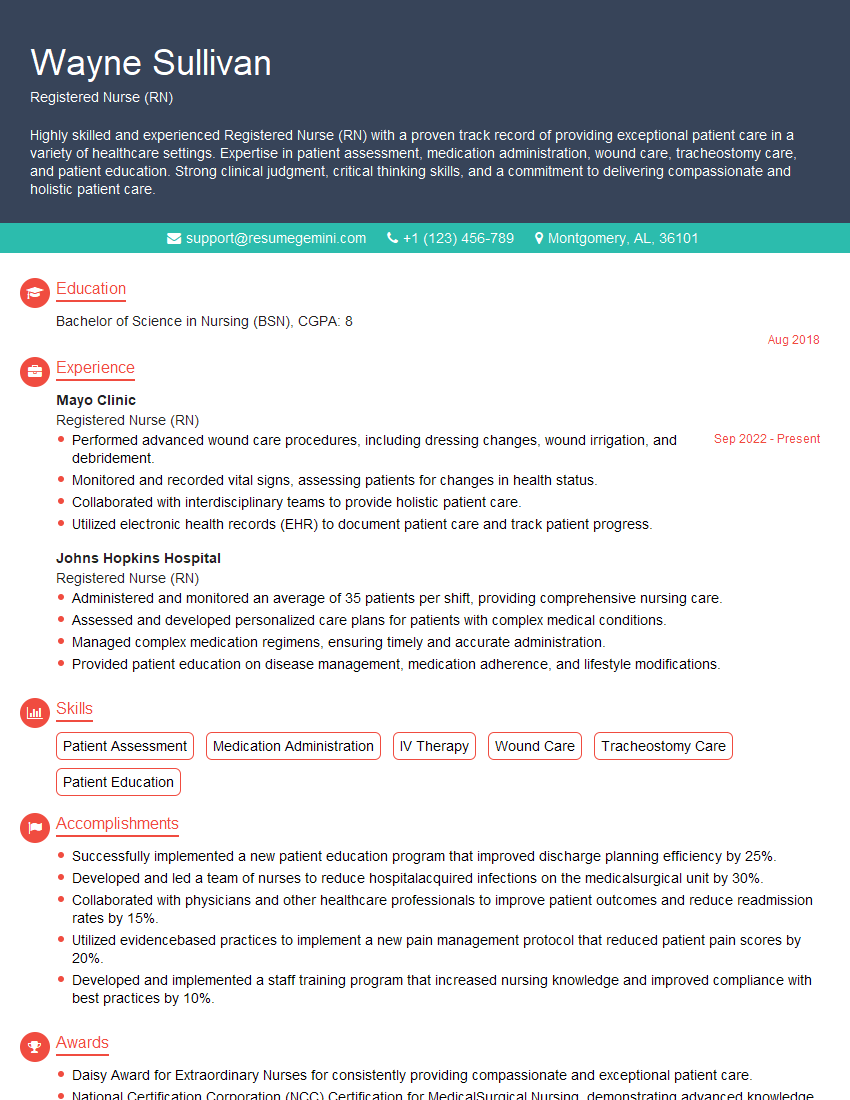
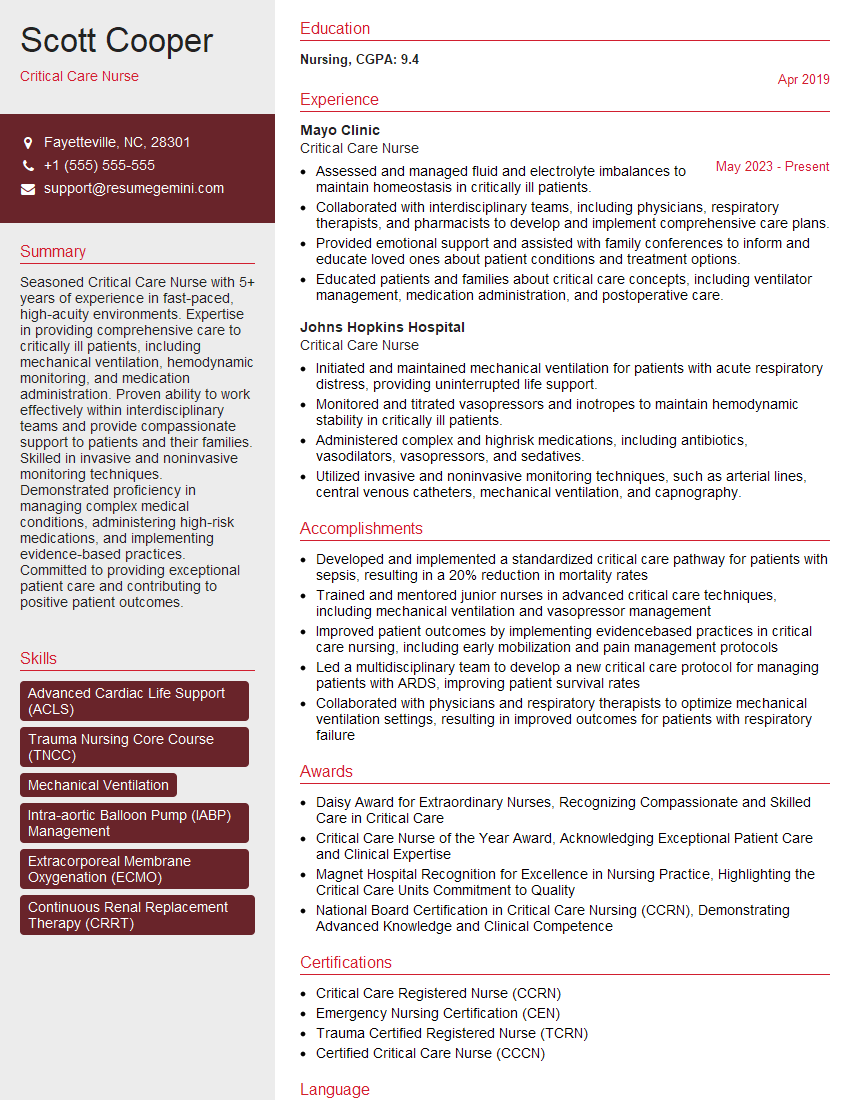
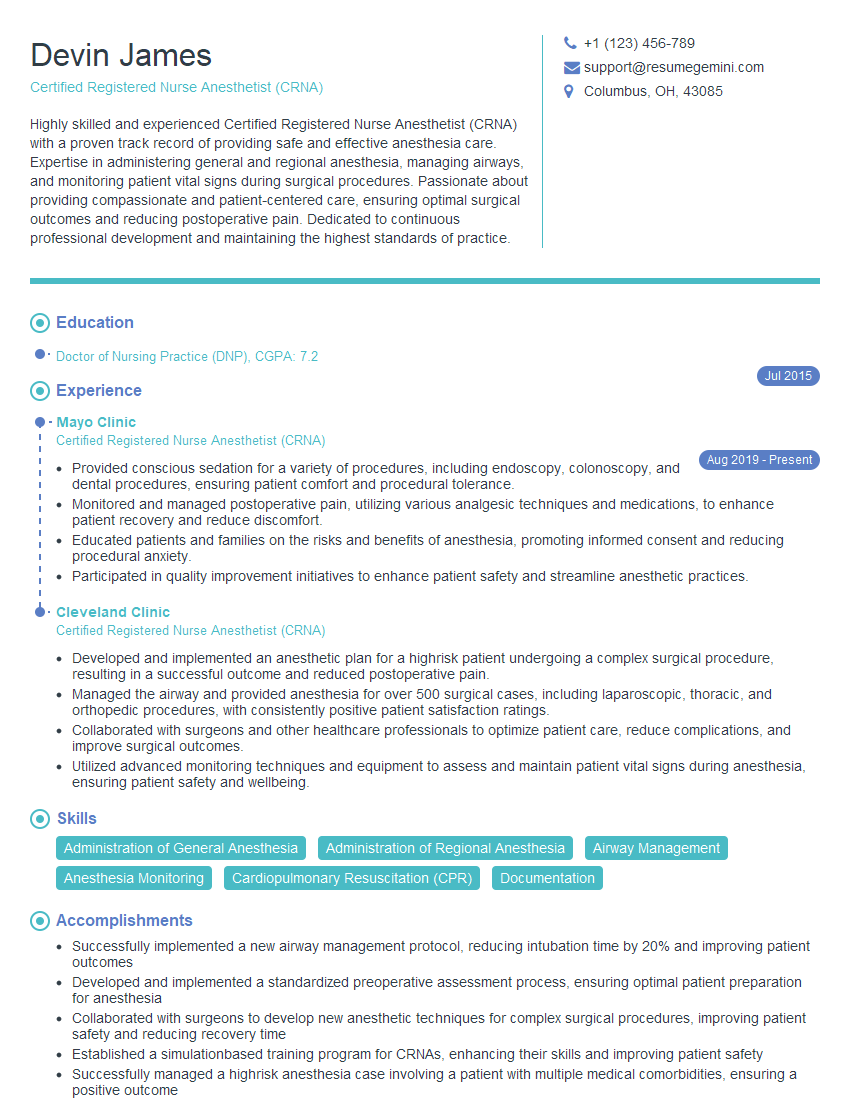
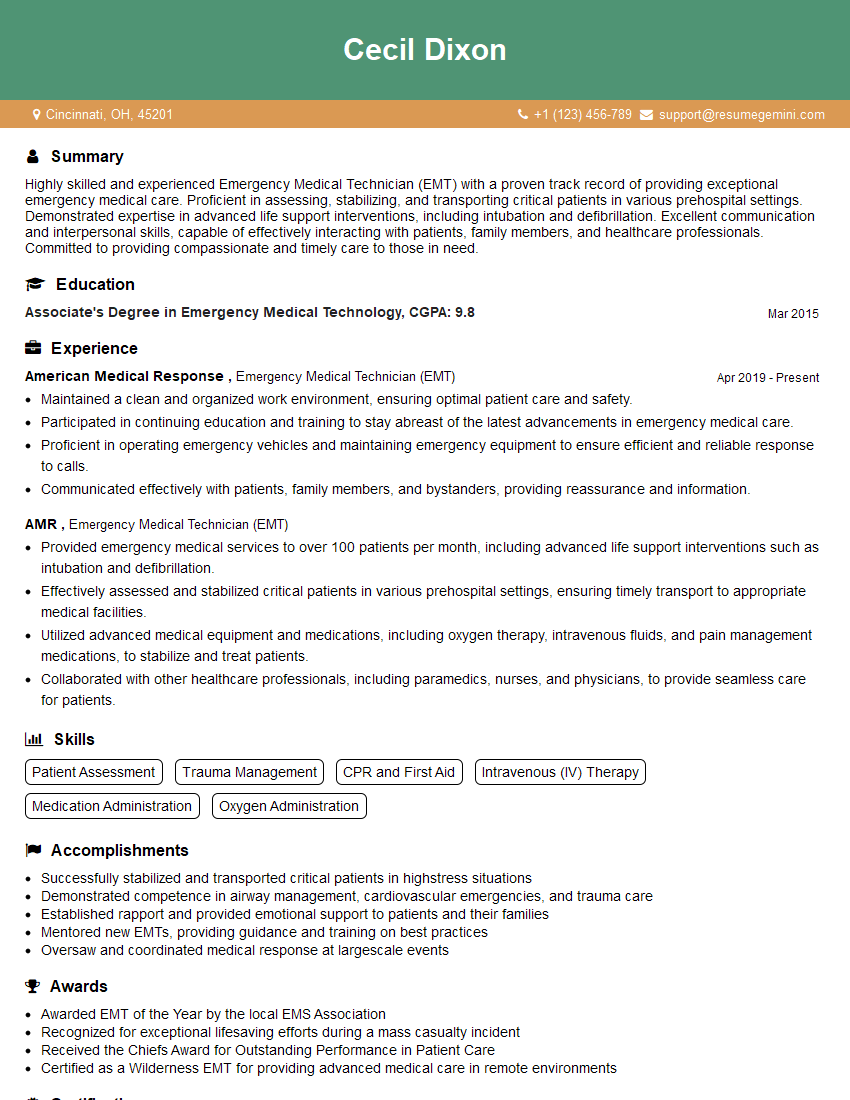
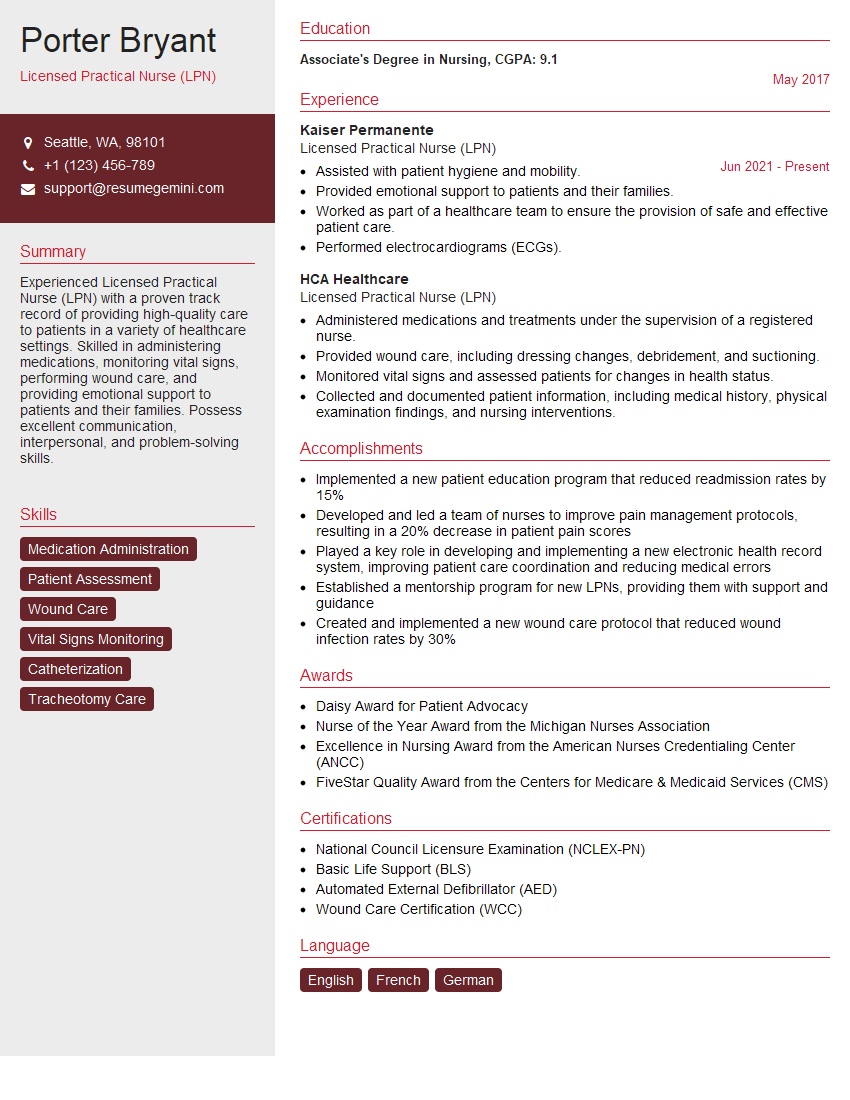
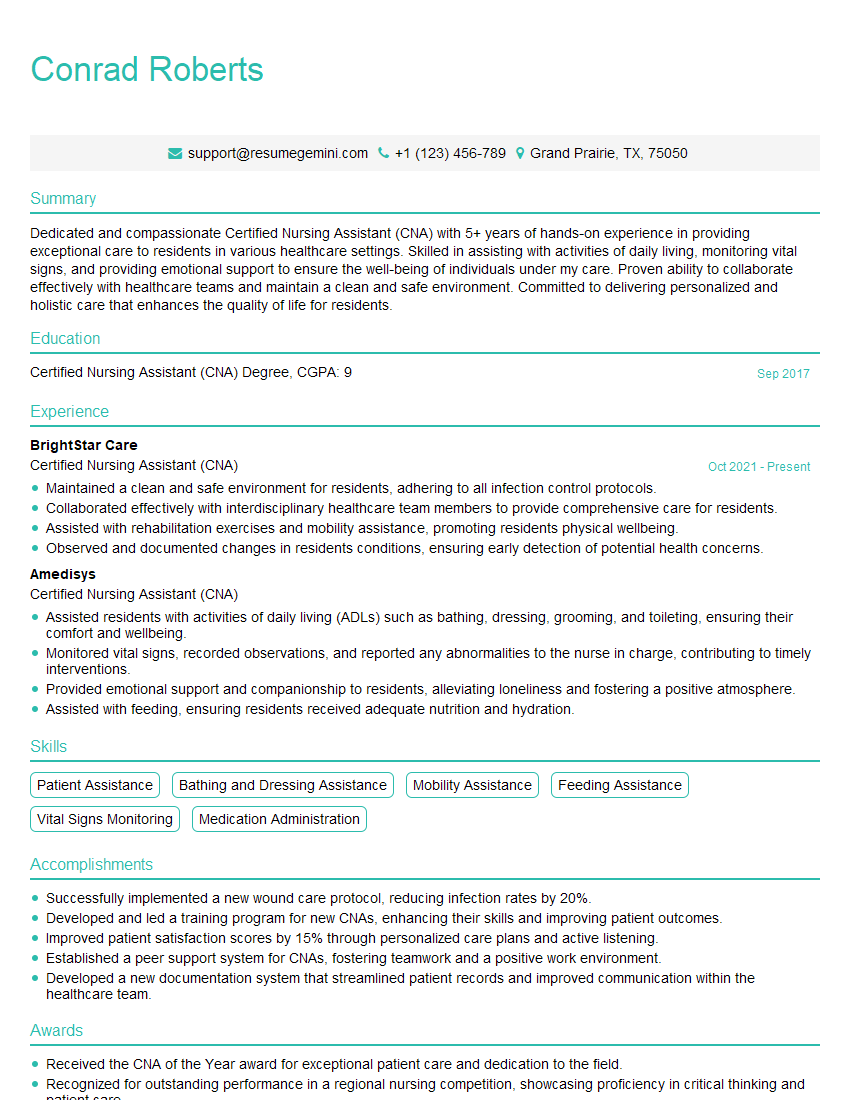
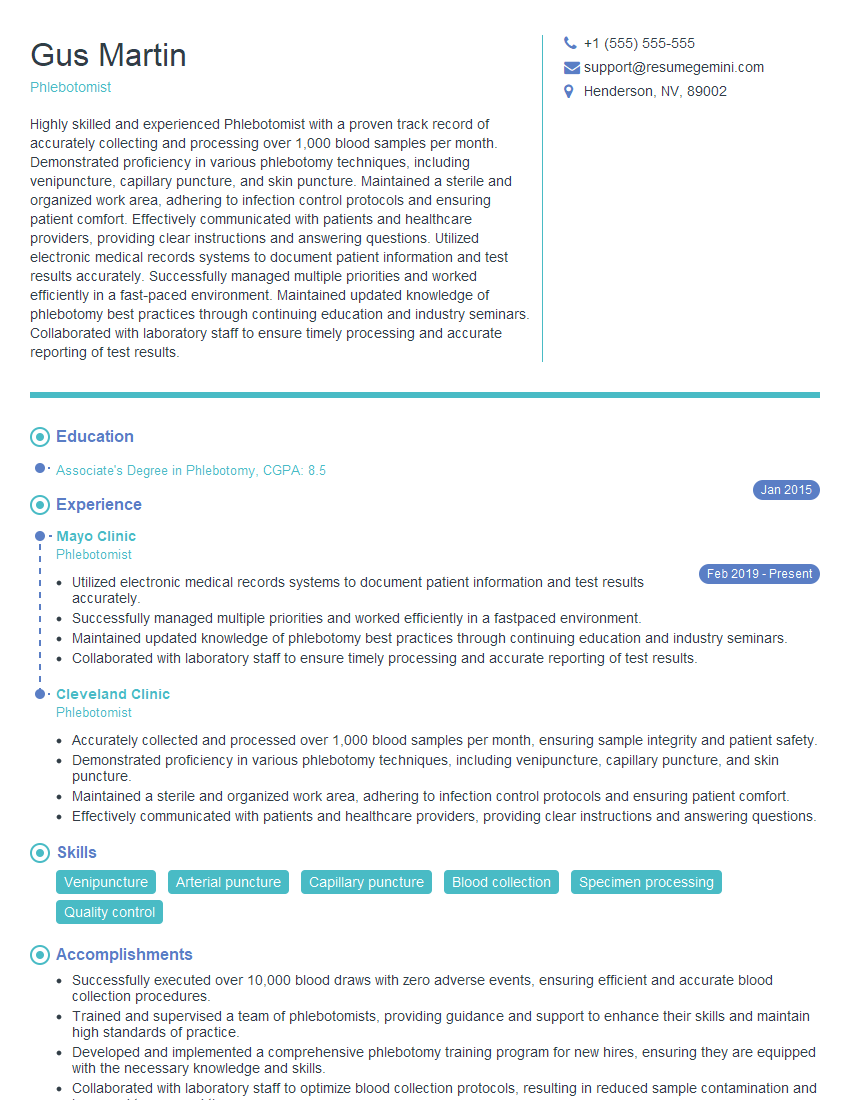
Mastering IV cannulation is essential for career advancement in healthcare, opening doors to a wide range of opportunities and demonstrating a high level of clinical skill. To increase your job prospects, invest time in crafting a strong, ATS-friendly resume that showcases your abilities. ResumeGemini is a trusted resource to help you build a professional and impactful resume tailored to the healthcare industry. Examples of resumes specifically designed for IV Cannulation professionals are available to guide you.
Explore more articles
Users Rating of Our Blogs
Share Your Experience
We value your feedback! Please rate our content and share your thoughts (optional).
What Readers Say About Our Blog
Hello,
We found issues with your domain’s email setup that may be sending your messages to spam or blocking them completely. InboxShield Mini shows you how to fix it in minutes — no tech skills required.
Scan your domain now for details: https://inboxshield-mini.com/
— Adam @ InboxShield Mini
Reply STOP to unsubscribe
Hi, are you owner of interviewgemini.com? What if I told you I could help you find extra time in your schedule, reconnect with leads you didn’t even realize you missed, and bring in more “I want to work with you” conversations, without increasing your ad spend or hiring a full-time employee?
All with a flexible, budget-friendly service that could easily pay for itself. Sounds good?
Would it be nice to jump on a quick 10-minute call so I can show you exactly how we make this work?
Best,
Hapei
Marketing Director
Hey, I know you’re the owner of interviewgemini.com. I’ll be quick.
Fundraising for your business is tough and time-consuming. We make it easier by guaranteeing two private investor meetings each month, for six months. No demos, no pitch events – just direct introductions to active investors matched to your startup.
If youR17;re raising, this could help you build real momentum. Want me to send more info?
Hi, I represent an SEO company that specialises in getting you AI citations and higher rankings on Google. I’d like to offer you a 100% free SEO audit for your website. Would you be interested?
Hi, I represent an SEO company that specialises in getting you AI citations and higher rankings on Google. I’d like to offer you a 100% free SEO audit for your website. Would you be interested?
good
