The thought of an interview can be nerve-wracking, but the right preparation can make all the difference. Explore this comprehensive guide to Microphone Techniques and Vocal Projection interview questions and gain the confidence you need to showcase your abilities and secure the role.
Questions Asked in Microphone Techniques and Vocal Projection Interview
Q 1. Explain the difference between dynamic and condenser microphones.
Dynamic and condenser microphones are the two primary types used for audio recording, each with distinct characteristics impacting their sound and application. The core difference lies in how they convert sound waves into electrical signals.
Dynamic microphones use a moving coil within a magnetic field. Sound waves vibrate the coil, generating an electrical signal. This makes them robust, resistant to feedback, and relatively inexpensive. They’re ideal for loud sound sources like live concerts or recording drums because they can handle high sound pressure levels (SPLs) without distortion. Think of them as tough workhorses.
Condenser microphones, on the other hand, use a capacitor—two charged plates—to convert sound. Sound waves change the distance between the plates, altering the capacitance and producing a signal. They’re generally more sensitive than dynamic mics, capturing quieter nuances and offering a wider frequency response. This results in a clearer, more detailed sound, often preferred for vocals and acoustic instruments in studio settings. However, they are more fragile and typically require phantom power (48V) to operate.
In short: Dynamic mics are rugged and handle loud sounds; condenser mics are sensitive and capture detail, but are more delicate.
Q 2. Describe the proximity effect and how it impacts recording quality.
The proximity effect is a bass boost that occurs when a sound source is placed very close to a microphone, typically within a few inches. It’s more pronounced with directional microphones (like cardioid or hypercardioid patterns). This bass boost is caused by the microphone’s diaphragm responding more to the low frequencies as the sound source gets closer. It’s like the sound waves have less room to spread out and are concentrated near the mic.
Impact on recording quality: The proximity effect can be beneficial or detrimental depending on the desired sound. A slight boost in bass can add warmth and fullness to vocals or instruments, particularly for male voices or instruments with naturally lower frequencies. However, excessive proximity effect can lead to a muddy, boomy sound, masking details and clarity. This is especially problematic if you’re already working with a bass-heavy room or instrument.
Management: Careful microphone placement is key. Experiment with distance to find the sweet spot where you get the desired warmth without excessive muddiness. EQ (equalization) can also be used in post-production to tame unwanted low frequencies caused by the proximity effect.
Q 3. How do you adjust microphone placement for optimal vocal clarity?
Optimal microphone placement for vocal clarity involves considering several factors: distance, angle, and microphone type.
- Distance: Generally, a distance of 6-12 inches from the mouth to the microphone capsule is a good starting point. Too close results in the proximity effect; too far can lead to a weak signal and less intimate sound.
- Angle: A slightly off-axis angle (aiming slightly away from the direct line of the mouth) can help reduce plosives (hard ‘p’ and ‘b’ sounds) and sibilance (hissing ‘s’ sounds). Experiment to find the best angle for your specific voice and microphone.
- Microphone Type: Cardioid microphones are the most common for vocals due to their good rejection of off-axis sounds. Hypercardioid mics offer even more off-axis rejection but are more sensitive to proximity effect. Large-diaphragm condenser microphones are often preferred for their warmth and detail.
Practical Example: When recording a vocalist, I’d start by placing the mic about 8 inches from their mouth, slightly off-axis, and listen for any harshness or muddiness. Adjustments are made incrementally until the optimal balance of proximity and clarity is achieved. I’ll also consider using a pop filter to reduce plosives.
Q 4. What techniques do you use to achieve consistent vocal projection?
Consistent vocal projection involves a combination of physical and technical techniques:
- Posture: Standing tall with relaxed shoulders and a slightly open chest allows for optimal breath support and resonance.
- Breath Control: Deep, controlled breaths from the diaphragm provide a steady stream of air for sustained vocalization.
- Resonance: Focusing the sound by utilizing the natural resonating chambers in the head and chest (think of singing from your ‘mask’ which is around your nasal and cheek cavities) helps project the voice without strain.
- Articulation and Enunciation: Clear pronunciation of words and sounds ensures the message is easily understood.
- Vocal Warm-ups: Regularly warming up the vocal cords before extended speaking or singing is crucial to prevent strain and fatigue.
Example: I always encourage singers to practice diaphragmatic breathing exercises – inhaling deeply into the belly – and to visualize the sound travelling outwards. Using a mirror to observe mouth movement helps refine articulation.
Q 5. How do you manage breath support for extended speaking or singing?
Managing breath support for extended speaking or singing requires focused practice and technique. The key is to utilize the diaphragm, not just the chest, for breathing. Think of it like filling a balloon from the bottom, not the top.
Techniques:
- Diaphragmatic Breathing: Practice inhaling deeply, expanding the belly and lower ribs, and then exhaling slowly and steadily. Visualizing a balloon or feeling your lower abdomen rise and fall can help.
- Controlled Exhalation: Avoid forceful exhalation, instead practice a steady and controlled release of air throughout the phrase. This ensures consistent sound projection without running out of breath mid-sentence or note.
- Strategic Breathing Breaks: Incorporating short pauses and breaths during extended performances is crucial to avoid strain and maintain vocal stamina.
- Hydration: Keeping the body well-hydrated is essential for proper vocal fold lubrication.
Example: A singer performing an aria needs to manage their breath throughout long phrases. They’ll take deep diaphragmatic breaths between phrases, using controlled exhalation to sustain notes and project the voice clearly without getting short of breath.
Q 6. Explain the importance of vocal articulation and enunciation.
Vocal articulation and enunciation are paramount for clear communication, whether speaking or singing. Articulation refers to the clarity and precision of individual sounds, while enunciation refers to how well the sounds are connected to form words and phrases. Think of them as the building blocks and sentence structure of speech.
Importance: Poor articulation and enunciation can lead to mumbled speech, unclear singing, and difficulty in understanding the message being conveyed. In professional settings, this can be detrimental. A presenter with unclear speech might lose their audience’s attention, a singer with poor enunciation can’t effectively convey the emotion in their song, and an actor might compromise their performance.
Improving Articulation and Enunciation:
- Tongue and Lip Exercises: Practice exercises that focus on the mobility and flexibility of the tongue, lips, and jaw. Tongue twisters are a good, fun way to improve these aspects.
- Mirror Practice: Observe your mouth and tongue movements while speaking or singing. This helps identify and correct areas needing improvement.
- Record and Listen: Recording yourself and listening back critically allows you to identify areas of unclear articulation or enunciation.
Q 7. Describe different microphone polar patterns and their applications.
Microphone polar patterns describe the microphone’s sensitivity to sound from different directions. Understanding these patterns is crucial for optimal recording techniques.
- Omnidirectional: Picks up sound equally from all directions. Useful for recording ambient sounds or situations where precise placement is difficult. Think of a 360° radius of sensitivity.
- Cardioid: Most common pattern, highly sensitive to sound from the front and less sensitive to the sides and rear. Excellent for vocals and instruments where you want to minimize background noise. Think of a heart-shaped pattern.
- Supercardioid: Even more directional than cardioid, with a narrower pickup area in the front and greater rejection of off-axis sounds. Useful in noisy environments or situations where extreme precision is needed. But it has a more pronounced rear lobe sensitivity.
- Hypercardioid: More directional than supercardioid, offering the highest rejection of off-axis sound but with increased sensitivity at the rear. Usually only suitable for specific applications where high rejection is required.
- Figure-8 (Bidirectional): Picks up sound equally from the front and rear, rejecting sound from the sides. Often used in stereo recording techniques or for capturing specific sounds from opposite directions.
Applications: A cardioid mic is perfect for recording a solo vocalist. An omnidirectional mic is ideal for recording a meeting. A hypercardioid might be used on a stage where ambient noise needs to be minimised for the lead vocal.
Q 8. How do you troubleshoot feedback issues during a live performance or recording?
Feedback, that ear-splitting squeal, is the bane of any live performance or recording. It happens when the sound from your speakers or monitors is picked up by your microphone, amplified, and then fed back into the system, creating a loop. Troubleshooting involves a systematic approach.
- Reduce Gain: The first step is always to lower the gain on your mixer or preamp. Think of gain as the volume knob for your microphone – less gain means less signal being sent to the speakers.
- Microphone Placement: Position your microphone carefully. Keep it away from speakers and monitors. Pointing it directly at a sound source will often reduce feedback, as will using directional microphones (like cardioids which are less sensitive to sounds from the sides and rear).
- Speaker Placement: If possible, reposition your speakers to minimize their projection towards the microphone. Angle them away or further apart.
- EQ (Equalization): A notch filter on your mixer’s EQ can be highly effective. Identify the offending frequency causing the feedback (usually a low or mid-range hum) and subtly cut it using the EQ. It’s like using a sound-canceling headphone, precisely targeting and eliminating the problematic frequency.
- Room Acoustics: Room acoustics play a significant role. Excessive reverberation can amplify feedback. Try using sound-absorbing materials like acoustic panels to dampen reflections.
- Phase Alignment: If you’re using multiple microphones, phase cancellation might be the culprit. Experiment with phase switches on your mixer to see if the feedback diminishes.
For instance, I once had a gig where feedback plagued us. By systematically reducing the gain, subtly adjusting the microphone’s angle, and then applying a notch filter at 2kHz (a common feedback frequency), we swiftly eliminated the problem, allowing for a smooth performance.
Q 9. What are the common causes of vocal fatigue and how can they be prevented?
Vocal fatigue is a common issue, particularly among singers and voice actors. It’s often caused by improper vocal technique and overuse.
- Strain: Singing or speaking too loudly, for too long, or with incorrect posture puts undue stress on your vocal cords, leading to fatigue and even damage.
- Dehydration: Your vocal cords need moisture to function properly. Dehydration makes them dry and prone to irritation, resulting in fatigue.
- Incorrect Breathing: Using your chest muscles for breathing instead of your diaphragm restricts your breath support and strains your vocal cords.
- Poor Vocal Technique: Inappropriate vocal placement (e.g., straining the throat or using too much tension) contributes significantly to vocal fatigue.
- Illness: Any upper respiratory infection can affect vocal cord function, leading to increased fatigue.
Prevention involves a holistic approach:
- Hydration: Drink plenty of water throughout the day.
- Proper Breathing: Practice diaphragmatic breathing techniques.
- Vocal Warm-ups: Always warm up your voice before any extended use.
- Vocal Technique: Work with a vocal coach to improve your technique and minimize strain.
- Rest: Give your voice adequate rest. Avoid excessive talking or singing, especially when fatigued.
Think of your voice like a finely tuned instrument – it requires care, practice, and respect to perform optimally and avoid damage.
Q 10. How would you address vocal pitch problems during a recording session?
Addressing vocal pitch problems during recording often involves a combination of techniques before, during, and after the recording process.
- Pre-Recording: Ensure the singer is well-rested and hydrated. Vocal warm-ups are crucial. Discuss the desired pitch range and any specific notes that need attention.
- During Recording: Use clear communication with the singer, providing real-time feedback. A visual pitch monitor can be invaluable, allowing the singer to see their pitch in relation to the desired note. The use of a tuner can help maintain consistency. Multiple takes allow for the selection of the best performance.
- Post-Recording: Pitch correction software (Auto-Tune) can be used to subtly adjust pitch inaccuracies, but overuse can sound unnatural. It’s best used sparingly, to correct minor inconsistencies rather than as a crutch for poor intonation.
In one session, a singer struggled to maintain pitch consistency on high notes. We used a combination of encouragement, suggesting slight adjustments in breathing, and employing a visual pitch meter which helped her greatly in maintaining the desired vocal range. Even with minor adjustments made during and after, her performances remained remarkably natural.
Q 11. Explain the concept of EQ and its role in microphone signal processing.
EQ, or equalization, is a crucial signal processing tool that allows you to adjust the balance of different frequencies in an audio signal. Think of it as a sound sculptor, allowing you to shape the tonal character of a microphone signal.
A graphic equalizer shows the frequencies visually and allows adjustments. A parametric equalizer offers more precise control over specific frequencies, allowing control over center frequency, gain, and Q (bandwidth).
Role in Microphone Signal Processing:
- Shaping Tone: EQ can enhance or reduce specific frequencies to improve the overall sound. For example, boosting the presence frequencies (around 4-6kHz) can make vocals sound clearer and more defined, while cutting muddiness in the low mids (around 250-500Hz) can clean up a muddy sound.
- Feedback Control: As mentioned earlier, EQ can be used to create notch filters that specifically target and reduce frequencies prone to causing feedback.
- Room Correction: EQ can help compensate for room acoustics. If a room has excessive bass, cutting some of the low frequencies can improve the overall sound.
- Microphone Character Modification: Different microphones have different frequency responses. EQ can be used to fine-tune the sound to better suit your needs.
For example, I might use a high-pass filter (cutting low frequencies) to eliminate rumble from a vocal microphone placed near a bass drum.
Q 12. Describe different types of microphone stands and their uses.
Microphone stands come in various types, each designed for specific needs:
- Straight Boom Stands: These are the most common type, offering a simple and stable platform. The boom arm allows for flexible positioning.
- Desk Stands: Small, compact stands designed for desktop use, ideal for podcasts or close-miking situations.
- Microphone Suspension Systems (Shock Mounts): These isolate the microphone from vibrations, reducing unwanted noise and rumble. Essential for studio recordings where any unwanted vibration is problematic.
- Heavy-Duty Stands: Robust stands capable of supporting heavier microphones and withstanding more wear and tear, perfect for live performances and larger venues.
- Floor Stands: Used in professional settings that require a more stable, elevated mic stand.
- Gooseneck Stands: Flexible goosenecks allow for precise positioning in tight spaces.
The choice depends on the recording environment and the microphone’s weight and type. A heavy-duty stand is essential for live gigs, while a shock mount is crucial for studio recordings needing a clean signal.
Q 13. How do you adjust microphone gain to avoid distortion?
Microphone gain, or preamp gain, controls the input signal level of your microphone. Adjusting it correctly is crucial to avoid distortion.
Avoiding Distortion:
- Start Low: Begin with the gain at its lowest setting. Gradually increase it until you achieve a suitable signal level.
- Monitor Levels: Always monitor your signal levels on your mixer or audio interface. Watch out for peak indicators – these lights indicate when the signal is clipping (exceeding the maximum capacity), resulting in distortion.
- Headroom: Leave some headroom. Aim for signal levels that peak around -6 to -12dBFS (decibels relative to full scale). This allows for dynamic range and prevents clipping even with unexpected signal increases.
- Signal Path: Check your entire signal chain for potential gain staging issues. If you are excessively increasing the gain in one part, then the signal may be distorting before it reaches the mixer.
Think of gain as a delicate balance: too low and you’ll have a weak, quiet signal; too high and your sound will be distorted and unpleasant. A good technique is using an input signal that sits at approximately -18dBFS on a meter, that way you have plenty of headroom for increases in volume. A common mistake many beginners make is pushing the gain too high.
Q 14. What are the common types of microphone cables and connectors?
Microphone cables and connectors are crucial for transmitting audio signals. Common types include:
- XLR Cables: These are the industry standard for professional audio, known for their robustness and balanced signal transmission, minimizing noise and interference. They are typically used for microphones and other professional audio equipment.
- TRS (Tip-Ring-Sleeve) Cables: These are commonly used for instruments, headphones, and some microphones, offering balanced or unbalanced signal transmission depending on the cable and equipment. They are more susceptible to interference than XLR cables.
- TS (Tip-Sleeve) Cables: These are simpler unbalanced cables typically used for instruments (guitars, basses) and sometimes microphones. The unbalanced nature makes them more susceptible to noise and interference.
- USB Cables: Some microphones have built-in USB interfaces allowing for direct connection to computers, simplifying setup. Their balanced and digital nature allow for a clean signal that’s easy to capture.
Connector types frequently match the cable type: XLR connectors are used with XLR cables, TRS and TS with their respective cables, and USB connectors for USB microphones. Choosing the right cable type is essential for ensuring a clean, reliable signal. You don’t want a guitar cable causing impedance issues when used on a microphone. XLR cables are typically preferred for professional audio due to their low susceptibility to signal degradation.
Q 15. Explain the importance of using pop filters and windshields.
Pop filters and windshields are essential tools for minimizing unwanted plosive sounds and breath noises during recording. Plosives are harsh consonant sounds like ‘p’ and ‘b’ that can create loud, distorted peaks in your audio. Windshields, also known as pop shields, are typically made of foam or a fine mesh fabric and are placed in front of the microphone. They act as a barrier, reducing the impact of air pressure from these explosive sounds. Pop filters, often more structured and consisting of a nylon mesh stretched over a metal frame, offer more precise plosive reduction. They’re especially crucial for close-miking techniques where the microphone is very near the sound source.
Imagine singing a song with a strong ‘p’ sound in a word like ‘pop’. Without a pop filter, the sudden burst of air hitting the microphone’s diaphragm could create an unpleasant ‘popping’ noise in the recording, overwhelming the rest of the audio. A pop filter or windshield significantly reduces this, ensuring cleaner and more professional-sounding recordings. For vocal recordings, using a combination of both a pop filter and a windshield often produces the best results, providing a layered defense against plosives and breath sounds.
Career Expert Tips:
- Ace those interviews! Prepare effectively by reviewing the Top 50 Most Common Interview Questions on ResumeGemini.
- Navigate your job search with confidence! Explore a wide range of Career Tips on ResumeGemini. Learn about common challenges and recommendations to overcome them.
- Craft the perfect resume! Master the Art of Resume Writing with ResumeGemini’s guide. Showcase your unique qualifications and achievements effectively.
- Don’t miss out on holiday savings! Build your dream resume with ResumeGemini’s ATS optimized templates.
Q 16. Describe your experience with different digital audio workstations (DAWs).
My experience with Digital Audio Workstations (DAWs) spans several years and multiple platforms. I’m proficient in Pro Tools, Logic Pro X, and Ableton Live. Each DAW offers a unique workflow, but my expertise lies in utilizing their respective features for vocal processing and editing. In Pro Tools, I’m adept at utilizing its comprehensive editing tools and plugins for precise vocal tuning, noise reduction, and dynamic processing. Logic Pro X’s intuitive interface and extensive library of virtual instruments make it ideal for creative vocal arrangements and layering. Ableton Live’s strength lies in its non-linear workflow, perfect for creating unique vocal effects and experimental soundscapes.
Beyond specific software, my expertise extends to mastering the fundamentals of recording and mixing techniques. This includes understanding equalization (EQ), compression, and reverb, and applying these techniques to achieve a polished and professional sound. For example, in Pro Tools, I might use a multiband compressor to control dynamics across different frequency ranges of a vocal track. In Logic Pro X, I can leverage its advanced automation capabilities to create dynamic changes in effects throughout a song. In all DAWs, the key is understanding the interplay between different processing techniques to achieve the desired sonic quality.
Q 17. How do you ensure your voice is audible and clear in a noisy environment?
Ensuring vocal audibility in noisy environments requires a multi-faceted approach focusing on both vocal technique and microphone technique. The first crucial step is to utilize appropriate microphone techniques, such as choosing a directional microphone (like a cardioid or supercardioid) to reject background noise. These microphones are far more sensitive to sound sources directly in front of them, effectively reducing unwanted sounds from the sides and rear.
Furthermore, vocal projection plays a significant role. To achieve this, it’s important to use proper breathing techniques, supporting your voice from your diaphragm to produce a powerful and focused sound. Articulation is equally important, ensuring crisp and clear pronunciation that cuts through the background noise. In practice, this means emphasizing consonant sounds and maintaining even energy across the vocal range. This combination of microphone selection, precise vocal technique, and post-production processing, such as noise reduction in a DAW, allows for a clean and clear vocal recording even in less-than-ideal environments.
Q 18. Explain techniques for maintaining consistent vocal energy throughout a long performance.
Maintaining consistent vocal energy throughout a long performance necessitates a holistic approach encompassing physical and mental preparation. Before the performance, proper hydration and vocal warm-ups are vital. Think of your vocal cords like muscles—they need to be prepared for extended use. Warm-ups should incorporate exercises that gradually increase the range and intensity of your voice, preventing strain.
During the performance, pacing is key. Avoid overexertion during the early parts of the performance, saving your energy for the most demanding sections. Strategic breathing techniques, taking regular, deep breaths, are crucial for maintaining breath support. Regular hydration is also essential to keep your vocal cords lubricated. Finally, mental stamina is equally important. Visualizing success and staying focused on the performance, rather than worrying about fatigue, can significantly enhance endurance.
Q 19. How do you adapt your vocal projection to different room acoustics?
Adapting vocal projection to different room acoustics involves careful listening and adjustment. Rooms vary greatly in their reverberation characteristics – the way sound reflects off surfaces and fills the space. A highly reverberant space will naturally amplify and prolong your voice, potentially leading to muddiness or a lack of clarity. A dry, non-reverberant space, on the other hand, might cause your voice to sound thin or weak.
To adapt, I first assess the room’s acoustics by listening to how sound behaves in it. In highly reverberant spaces, I’ll adjust my projection to be less forceful, focusing on articulation and precise vocal placement to maintain clarity. In dry rooms, I might project more forcefully, ensuring my voice fills the space effectively. Additionally, the placement of the microphone relative to the performer and the room’s surfaces will drastically impact the sound’s capture. Sometimes, strategic microphone placement can compensate for challenging acoustics, minimizing undesirable reflections and enhancing the vocal recording’s clarity and richness.
Q 20. How do you manage vocal resonance and projection?
Managing vocal resonance and projection is a complex interplay of physical technique and mindful awareness. Resonance refers to the amplification of specific frequencies within your vocal tract, shaping the timbre (tone quality) of your voice. Projection involves using breath support and body posture to send your voice further with power and clarity. Think of it as controlling the ‘amplifier’ (resonance) and the ‘speaker’ (projection).
Techniques for managing resonance include focusing on different parts of your vocal tract, such as the chest, mask (around the nasal cavity), or head. By consciously directing sound energy to different resonant spaces, you can alter the tone and richness of your voice. For projection, it’s crucial to use diaphragmatic breathing, supporting your voice from your core rather than your throat. Good posture is also essential, as it promotes optimal airflow and resonance. Regular practice and feedback from experienced vocal coaches can be incredibly beneficial in refining these techniques and maximizing your vocal potential.
Q 21. Describe your process for preparing for a voice-over or broadcasting session.
My preparation for a voice-over or broadcasting session is methodical and thorough. It begins with a careful review of the script or briefing, noting nuances in tone, style, and pacing. This often includes identifying keywords or phrases that require particular emphasis or inflection. Next, I dedicate time to vocal warm-ups, ensuring my voice is flexible, clear, and well-supported. Hydration plays a crucial role, as maintaining vocal health is paramount for a smooth session.
Technical preparation is also vital. I’ll verify all recording equipment – microphones, audio interface, headphones – ensuring proper functionality and optimal settings. Testing the audio levels and acoustic environment is critical, minimizing potential issues during the session. For voice-over work, I’ll familiarize myself with the visual elements, if any, that accompany the audio to better understand the overall context and emotion. Finally, I create a comfortable and distraction-free recording environment. This meticulous approach allows me to deliver professional and high-quality results consistently.
Q 22. Explain your understanding of signal-to-noise ratio (SNR).
Signal-to-noise ratio (SNR) is a crucial concept in audio engineering, representing the relative power difference between a desired signal (like a voice recording) and unwanted background noise. It’s essentially a measure of how ‘clean’ your recording is. A higher SNR means a clearer, more pristine recording with minimal interference.
Imagine trying to hear someone whisper in a crowded room. The whisper is your signal, and the chatter of the crowd is the noise. A low SNR would represent this scenario where the noise (crowd) significantly masks the signal (whisper), making it difficult to understand. A high SNR would be like hearing that same whisper in a quiet library; the signal is easily distinguishable from the minimal background noise.
In professional audio, we aim for a high SNR – typically above 60dB for professional-grade recordings. This is achieved through various techniques: using high-quality microphones that are less sensitive to background noise, carefully controlling the recording environment (minimizing noise sources), and employing noise reduction software during post-production.
Q 23. How do you handle vocal inflections to maintain audience engagement?
Maintaining audience engagement through vocal inflections involves dynamic changes in pitch, rhythm, and intensity to create a more natural and expressive vocal delivery. Monotone speech can quickly bore an audience, so skillful manipulation of these elements is key.
For instance, I use variations in pitch to emphasize key words or phrases, creating emphasis and excitement. Think of a question – the pitch naturally rises at the end. Similarly, I use pauses strategically to give the audience time to process information or build anticipation. Varying the rhythm, perhaps slowing down for impactful statements and speeding up for less crucial details, also adds dynamism. Finally, adjustments in volume – speaking softly for intimate moments and louder for powerful statements – can heighten the overall impact.
One effective technique is mirroring the energy of the audience. If they’re highly engaged, I might increase my own energy; if they seem tired, I might slow down and use a more calming tone. It’s a continuous calibration to maintain a connection.
Q 24. What software or hardware do you use for audio editing or mixing?
My workflow often involves a combination of hardware and software. For recording, I frequently use high-quality audio interfaces like the Universal Audio Apollo, providing excellent preamps and A/D conversion. These interfaces connect to my computer where I utilize Digital Audio Workstations (DAWs) for editing and mixing.
My preferred DAWs include Pro Tools and Logic Pro X. These provide extensive tools for editing audio, applying effects (like EQ, compression, and reverb), and meticulously mixing multiple tracks. Beyond the DAWs, I use specialized plug-ins – software effects – from companies like Waves and FabFilter to fine-tune the sound, often using noise reduction, de-essing, and dynamic processing tools to achieve a polished result.
Q 25. Describe your experience with different audio monitoring techniques.
I have extensive experience with various audio monitoring techniques, understanding that accurate and comfortable monitoring is essential for quality control. This starts with choosing the right headphones or studio monitors, considering their frequency response and accuracy.
I regularly use both near-field studio monitors (placed close to my ears) for critical listening and headphones for mixing on the go or in less controlled environments. Headphones, however, can sometimes mask certain frequencies, so I always cross-reference with my monitors. Furthermore, I frequently employ techniques like room treatment (acoustic panels and bass traps) to minimize unwanted room reflections and resonances that can color the sound. Accurate monitoring prevents introducing issues in the mixing process that are otherwise difficult to fix.
Regular calibration of the monitors and headphones using standardized calibration software is also vital to maintaining consistency across different setups.
Q 26. How do you identify and correct vocal inconsistencies during recording?
Identifying and correcting vocal inconsistencies during recording requires a keen ear and a methodical approach. I start by carefully listening to the entire recording for any obvious issues: pops, clicks, breaths, or inconsistencies in tone or volume.
For minor issues, I might use tools like audio editing software’s compression to even out the dynamics. For larger problems, I might have to re-record sections. Editing tools allow me to cut out unwanted sounds, seamlessly splicing together better takes. Tools like de-esser plugins can help tame harsh sibilance (s sounds). Sometimes, even subtle pitch correction is needed using tools like Melodyne to smooth out inconsistencies.
Ultimately, it’s a combination of careful recording techniques – like ensuring consistent distance from the microphone and maintaining a consistent vocal level – and skillful post-production to achieve a seamless final product.
Q 27. What is your experience with using different types of microphone preamps?
My experience with microphone preamps is extensive, understanding their significant impact on the overall sound quality. A preamp is the first stage of amplification, shaping the signal before it reaches the audio interface or recording device. Different preamps have distinct characteristics – some are known for their warmth, others for their clarity, and still others for their high gain.
I’ve worked with both solid-state and tube preamps. Solid-state preamps are generally clean and transparent, ideal for capturing precise details. Tube preamps, on the other hand, often add harmonic richness and warmth, sometimes described as a ‘vintage’ sound. The choice depends on the desired outcome; for example, a crisp, modern vocal sound might benefit from a solid-state preamp, while a warmer, more intimate sound might prefer a tube preamp.
I’ve worked with various brands, including API, Neve, and Universal Audio, each with its signature sound. The selection often depends on the specific microphone and desired outcome; some microphone/preamp pairings have synergy that creates a particularly desirable sonic profile.
Key Topics to Learn for Microphone Techniques and Vocal Projection Interview
- Microphone Types and Placement: Understanding different microphone types (dynamic, condenser, ribbon) and their optimal placement for various recording scenarios. Practical application includes knowing how proximity effect influences sound and choosing the right mic for different vocal characteristics and environments.
- Vocal Projection and Breath Control: Mastering techniques for projecting your voice clearly and effectively, including breath support exercises and vocal warm-ups. Practical application involves demonstrating control and consistency in vocal delivery across varying distances and audio environments.
- EQ and Compression Techniques: Familiarity with basic audio engineering principles related to equalization (EQ) and compression, and how they impact vocal clarity and presence. Practical application includes understanding how to adjust these parameters to optimize vocal recordings for different listening contexts.
- Articulation and Diction: Improving clarity and precision of speech through focused articulation and proper diction. Practical application includes exercises to improve consonant and vowel sounds and minimize vocal impediments.
- Monitoring and Feedback: Understanding how to effectively monitor your own voice during recording and presentations, and how to address and mitigate feedback issues. Practical application includes identifying and troubleshooting common audio problems related to microphone feedback and monitoring levels.
- Audio Troubleshooting and Problem-Solving: Developing the ability to identify and solve common audio problems, such as pops, hisses, and unwanted noise. Practical application includes demonstrating a systematic approach to diagnosing and resolving audio issues.
Next Steps
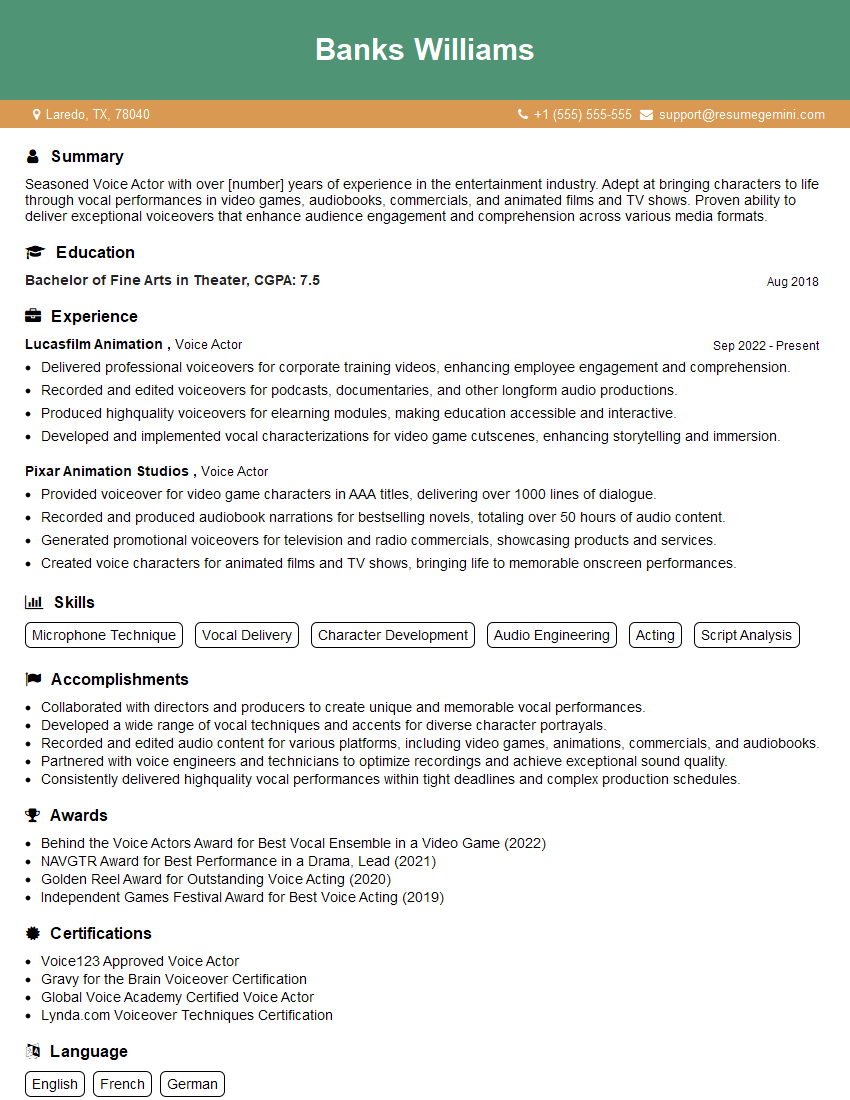
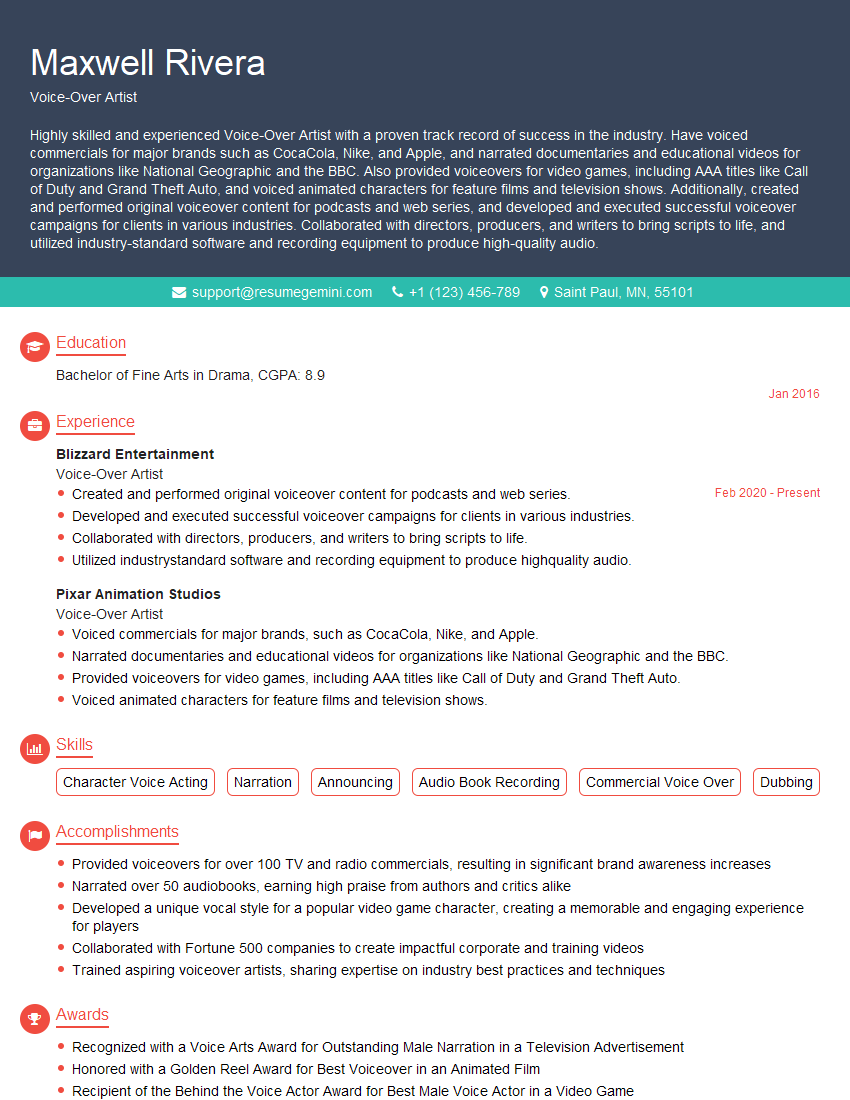
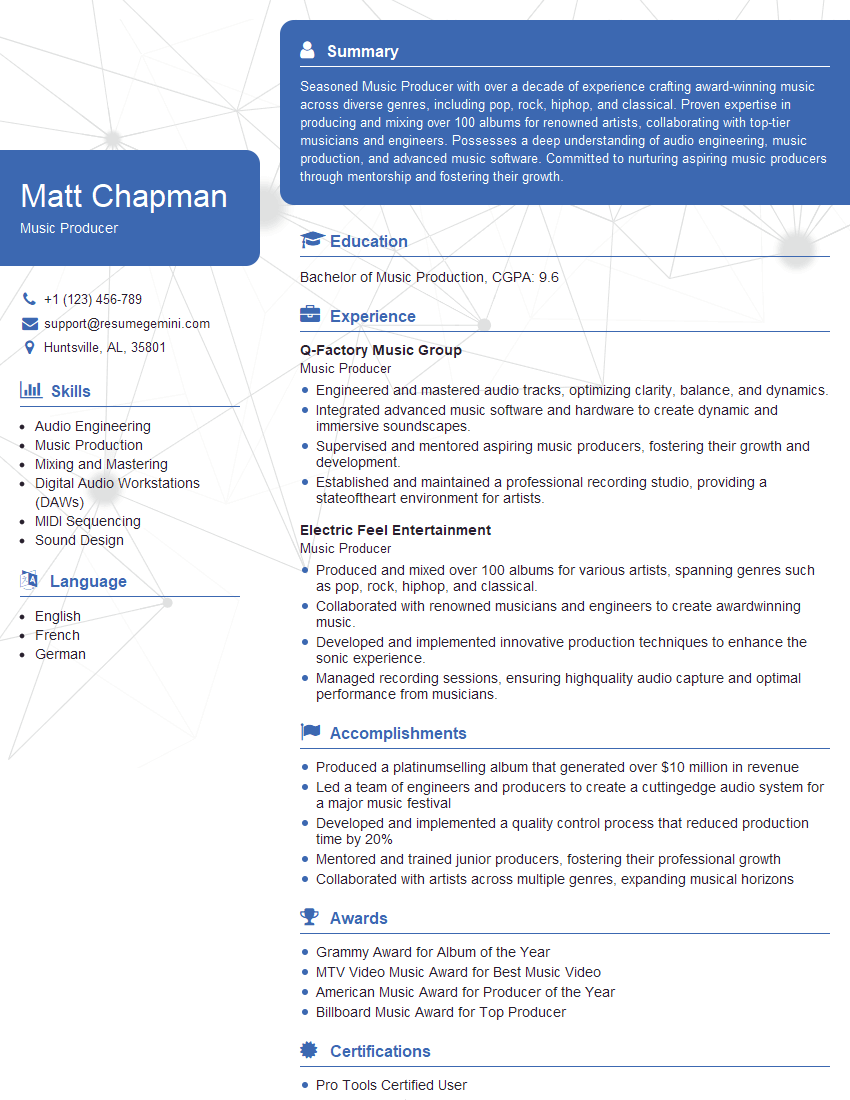
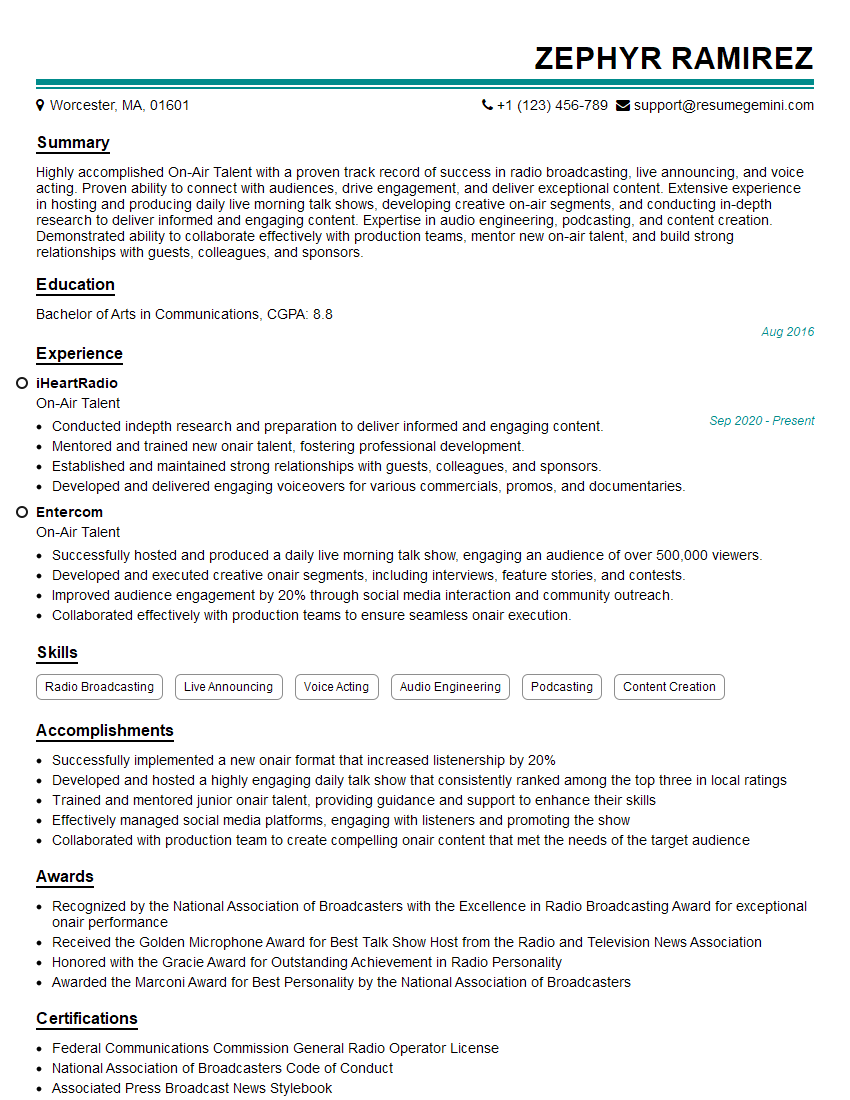
Mastering microphone techniques and vocal projection is crucial for success in many audio-related fields, opening doors to exciting career opportunities and enhancing your professional image. A strong resume is your first step towards landing your dream job. To maximize your chances, focus on creating an ATS-friendly resume that highlights your skills and experience effectively. ResumeGemini is a trusted resource to help you build a professional and impactful resume that stands out. We offer examples of resumes tailored to Microphone Techniques and Vocal Projection to guide you in creating your own. Let ResumeGemini help you make a powerful first impression!
Explore more articles
Users Rating of Our Blogs
Share Your Experience
We value your feedback! Please rate our content and share your thoughts (optional).
What Readers Say About Our Blog
Hello,
We found issues with your domain’s email setup that may be sending your messages to spam or blocking them completely. InboxShield Mini shows you how to fix it in minutes — no tech skills required.
Scan your domain now for details: https://inboxshield-mini.com/
— Adam @ InboxShield Mini
Reply STOP to unsubscribe
Hi, are you owner of interviewgemini.com? What if I told you I could help you find extra time in your schedule, reconnect with leads you didn’t even realize you missed, and bring in more “I want to work with you” conversations, without increasing your ad spend or hiring a full-time employee?
All with a flexible, budget-friendly service that could easily pay for itself. Sounds good?
Would it be nice to jump on a quick 10-minute call so I can show you exactly how we make this work?
Best,
Hapei
Marketing Director
Hey, I know you’re the owner of interviewgemini.com. I’ll be quick.
Fundraising for your business is tough and time-consuming. We make it easier by guaranteeing two private investor meetings each month, for six months. No demos, no pitch events – just direct introductions to active investors matched to your startup.
If youR17;re raising, this could help you build real momentum. Want me to send more info?
Hi, I represent an SEO company that specialises in getting you AI citations and higher rankings on Google. I’d like to offer you a 100% free SEO audit for your website. Would you be interested?
Hi, I represent an SEO company that specialises in getting you AI citations and higher rankings on Google. I’d like to offer you a 100% free SEO audit for your website. Would you be interested?
good
