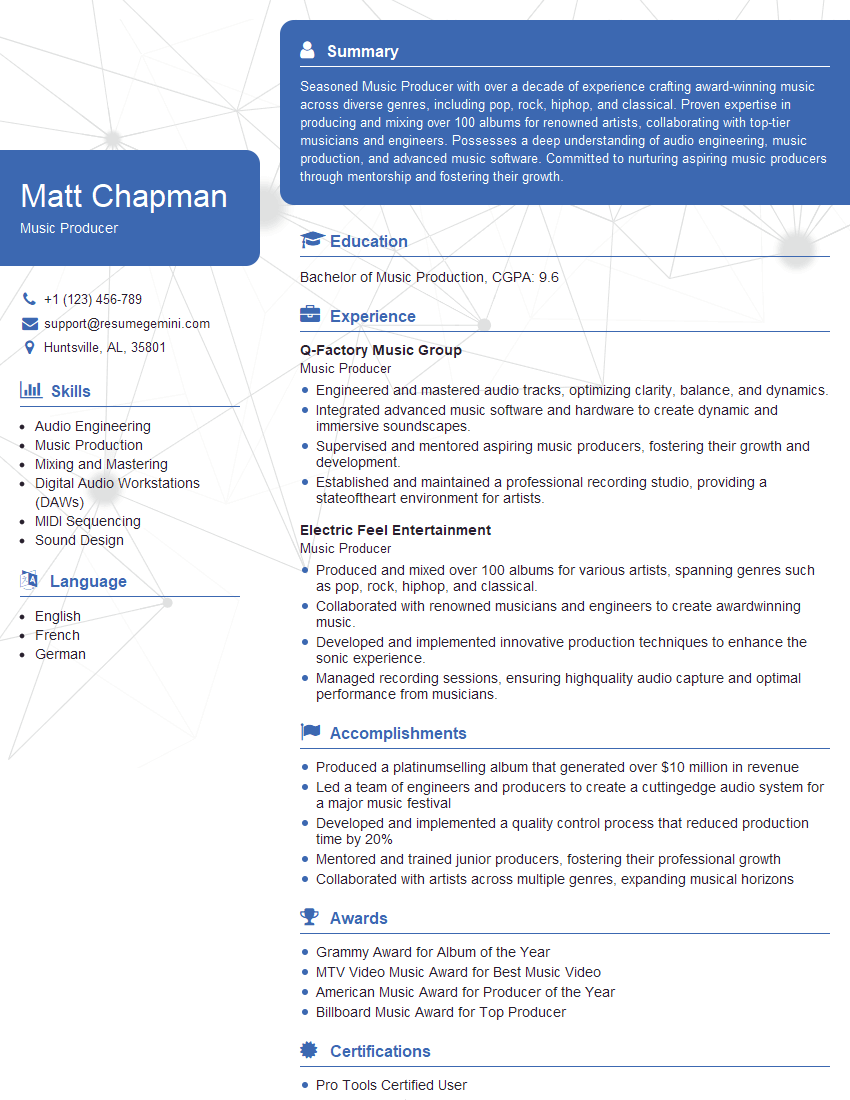
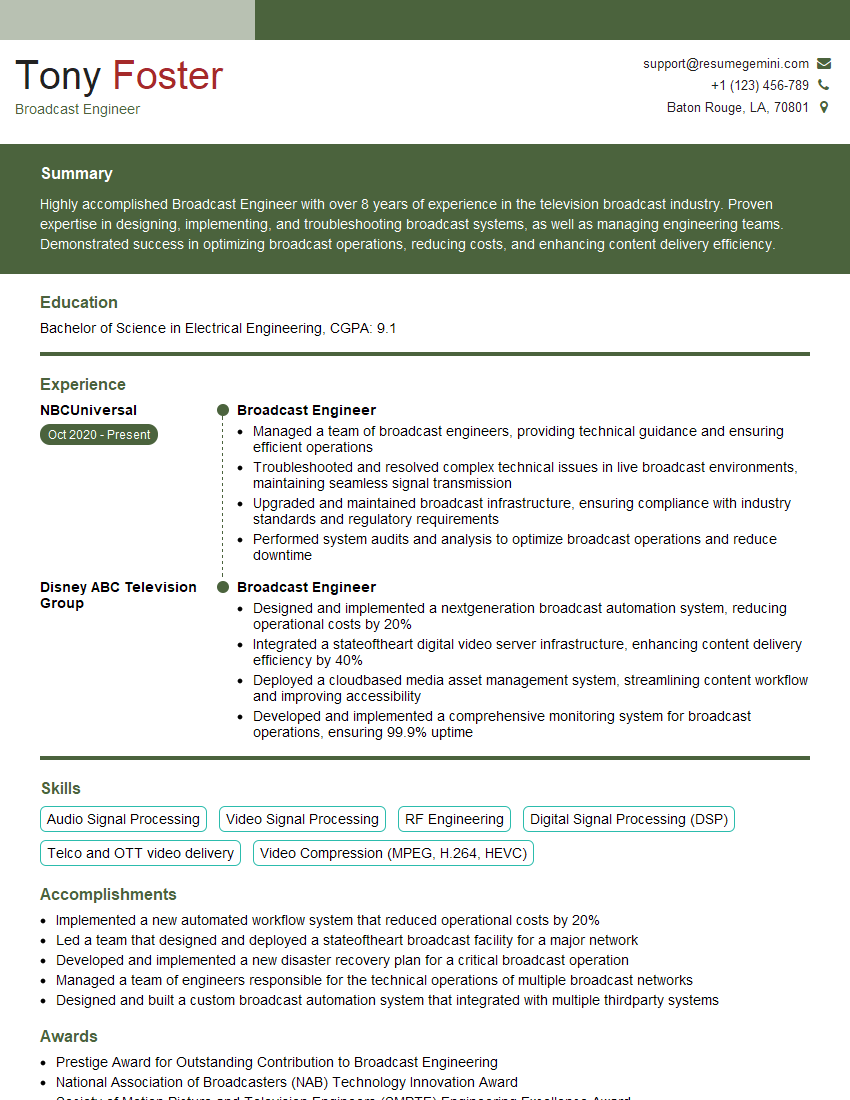
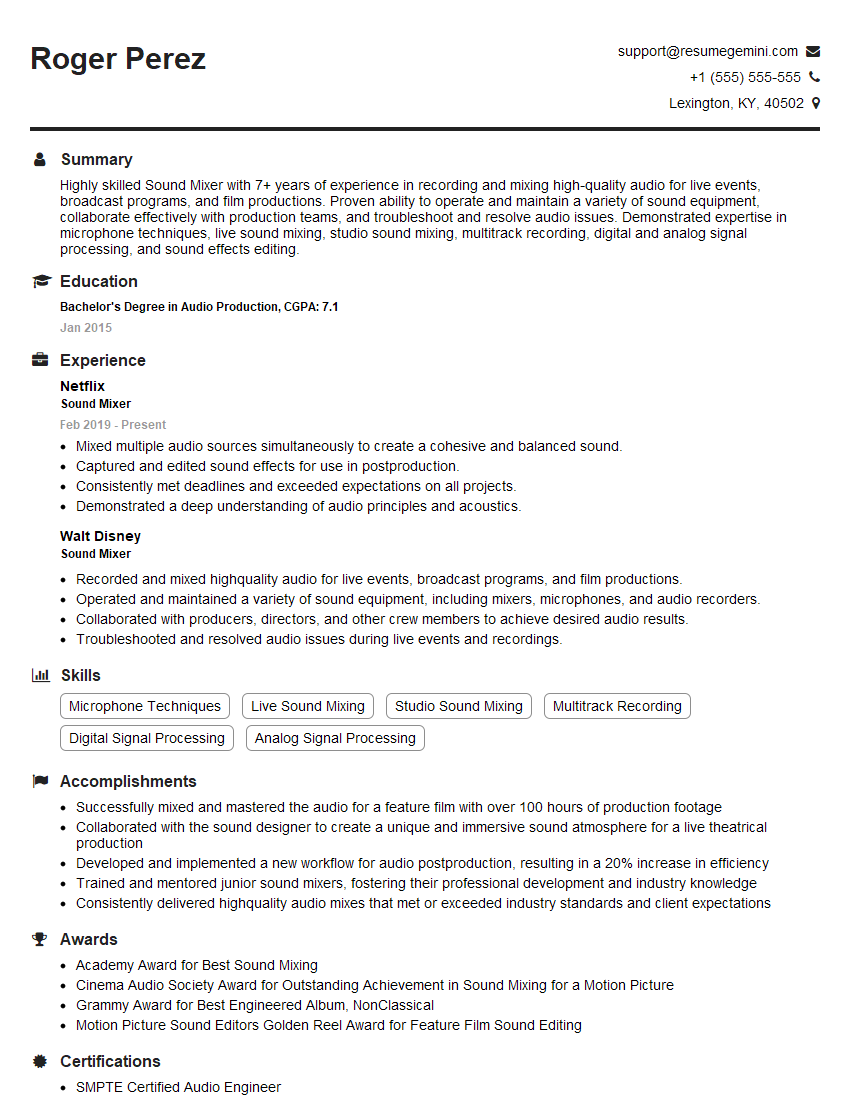
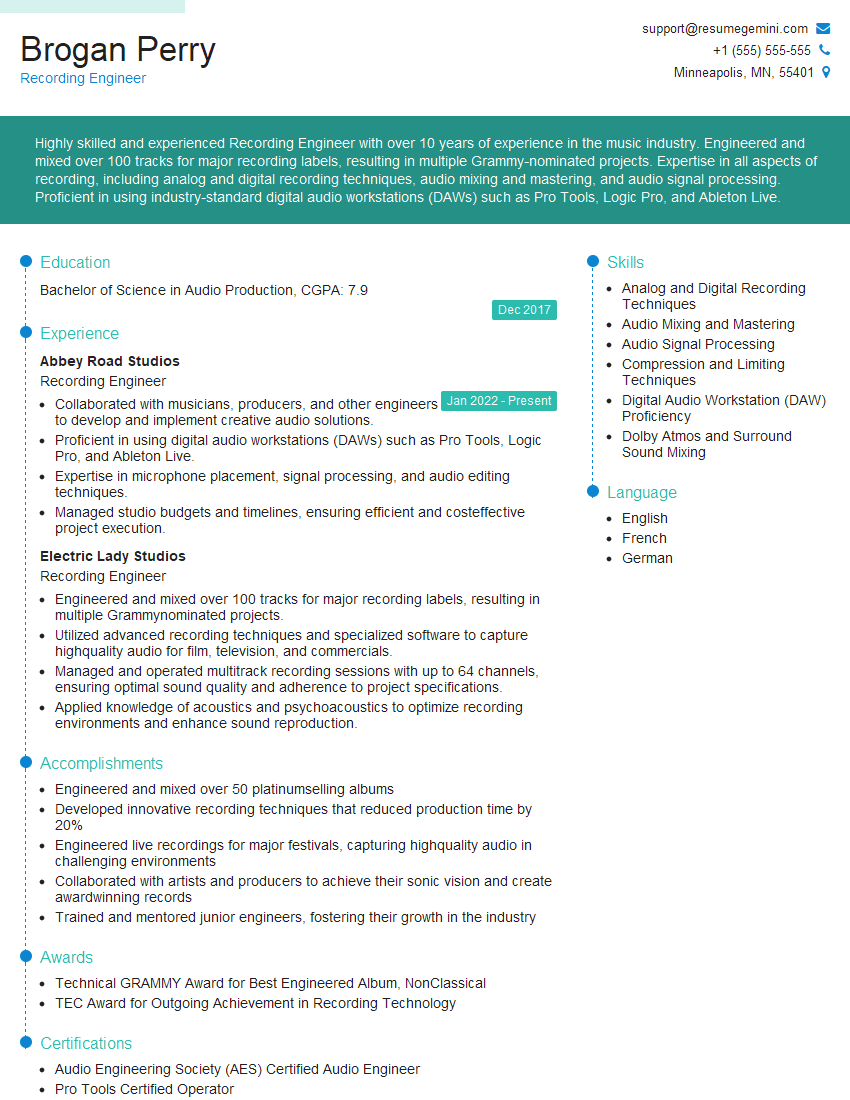
Are you ready to stand out in your next interview? Understanding and preparing for Technical Knowledge of Microphone Techniques interview questions is a game-changer. In this blog, we’ve compiled key questions and expert advice to help you showcase your skills with confidence and precision. Let’s get started on your journey to acing the interview.
Questions Asked in Technical Knowledge of Microphone Techniques Interview
Q 1. Explain the difference between dynamic and condenser microphones.
Dynamic and condenser microphones are the two primary types, differing fundamentally in their transduction method – how they convert sound waves into electrical signals. Dynamic mics use a diaphragm attached to a coil of wire within a magnetic field. Sound waves vibrate the diaphragm, moving the coil within the magnetic field, thus inducing an electrical current. This process is robust, simple, and requires no external power. Condenser mics, on the other hand, use a capacitor – two charged plates – where one plate is a thin, flexible diaphragm. Sound waves cause the diaphragm to vibrate, changing the distance between the plates, and thus altering the capacitance, which is then converted into an electrical signal. Condenser mics generally offer a wider frequency response and higher sensitivity, but require external power (phantom power).
Think of it like this: a dynamic mic is like a sturdy, reliable workhorse – less sensitive but highly durable. A condenser mic is more like a finely tuned instrument – capable of capturing subtleties but more delicate.
Q 2. Describe the polar patterns of microphones (cardioid, omnidirectional, figure-8).
Polar patterns describe a microphone’s sensitivity to sound from different directions. Three common patterns are:
- Cardioid: Most sensitive to sound from the front, rejecting sound from the rear. This is the most versatile pattern, often used for vocals and instruments to reduce unwanted background noise. Imagine a heart shape.
- Omnidirectional: Equally sensitive to sound from all directions. Useful for capturing ambient sounds or a ‘room’ sound. Think of a sphere.
- Figure-8: Equally sensitive to sound from the front and rear, rejecting sound from the sides. This is less common, but useful for stereo recording techniques or specific applications needing a very directional response. Imagine an infinity symbol.
Understanding polar patterns is crucial for microphone placement and minimizing unwanted sounds in a recording.
Q 3. What is proximity effect and how can it be controlled?
Proximity effect is the bass boost that occurs when a sound source is placed very close to a directional microphone (like a cardioid). This is because the low frequencies are less directional, creating a low-frequency buildup. It can be a desirable effect (e.g., adding warmth to a vocal), but excessive proximity effect can muddy the sound. It is caused by the microphone’s directional response and the physical phenomenon of sound waves.
Control techniques include:
- Distance: Increase the distance between the microphone and the source. The further away, the less pronounced the proximity effect.
- EQ: Use an equalizer (EQ) to cut some low frequencies after recording to reduce the bass boost. This is a common post-production technique.
- Microphone Choice: Use a microphone with a less pronounced proximity effect or a different polar pattern, such as an omni-directional microphone.
Q 4. How do you choose the right microphone for a specific recording scenario?
Choosing the right microphone involves considering several factors:
- Sound source: Vocals require a different mic than acoustic guitar or drums.
- Desired sound: Do you want a warm, smooth sound, or a bright, crisp sound?
- Recording environment: A noisy environment necessitates a microphone with good noise rejection (cardioid or hypercardioid).
- Budget: Microphones range in price from affordable to very expensive.
- Technical specifications: Frequency response, sensitivity, impedance, and polar pattern must be considered in relation to the sound source and recording equipment.
For example, a condenser microphone would be ideal for recording delicate acoustic instruments in a quiet studio due to its sensitivity and wide frequency response. A dynamic microphone is better suited for loud sources like drums or amplified guitar cabinets because of their durability and high SPL handling.
Q 5. Explain the concept of impedance matching in microphone selection.
Impedance matching refers to the relationship between the output impedance of the microphone and the input impedance of the preamplifier or audio interface. Ideally, the impedance of the microphone should be significantly lower than the input impedance of the preamp. This prevents signal loss and ensures a clear, strong signal. If the impedances are mismatched, you can experience signal loss, noise, and distortion, particularly with longer cable runs.
Think of it like trying to fill a small bucket from a large water source – if the bucket is very small (low impedance mic) and the source is large (high impedance preamp), it will fill up quickly and efficiently. But if the bucket is large and the source is small, the process is slow and inefficient. Low-impedance mics (typically 50-600 ohms) are preferred because they’re less susceptible to noise and signal loss compared to high-impedance microphones (though less common today).
Q 6. What is phantom power and how does it work?
Phantom power is a standardized 48-volt DC power supply delivered through the microphone cable to power condenser microphones. It’s sent along the audio signal wires, not requiring a separate power cable. The preamplifier supplies this power, and it’s usually switched on or off via a button or switch on the mixing console or interface.
It’s important to note that not all microphones need phantom power (dynamic mics don’t), and using phantom power with a microphone not designed for it can damage it. Always check your microphone’s specifications before using phantom power.
Q 7. Describe different microphone mounting techniques (e.g., boom pole, shock mount).
Proper microphone mounting is essential for minimizing noise and achieving the best possible sound. Some common techniques include:
- Boom Pole: A long pole used to position a microphone above a sound source, providing flexibility and distance. They’re essential for filming and recording outdoors.
- Shock Mount: An elastic suspension system that isolates the microphone from vibrations and handling noise. This is critical for reducing unwanted rumble and mechanical noise, especially in recording studios.
- Microphone Stands: Provide stability and support for the microphone, usually with a weighted base. Essential for any recording setup.
- Mic Clips: Attach the microphone to a stand securely.
- Windscreen (Deadcat): Reduces wind noise, crucial for outdoor recordings.
Choosing the right mounting technique depends on the recording environment and the desired sound quality. For example, a boom pole and shock mount are crucial for capturing dialogue on a film set, while a sturdy stand and shock mount may suffice in a recording studio.
Q 8. How do you handle microphone placement for voice recording?
Microphone placement for voice recording is crucial for achieving a clear, natural sound. The goal is to capture the voice without unwanted room reflections or background noise. A common technique is the ‘close-miking’ approach, placing the microphone 6 to 12 inches from the mouth, slightly off-axis (not directly in front). This minimizes plosives (hard ‘p’ and ‘b’ sounds) and proximity effect (a bass boost as the mic gets closer). For a more natural, less intimate sound, you can increase the distance, but this will require more gain and might capture more room ambience.
The type of microphone also plays a role; cardioid microphones are preferred for their ability to reject sound from the sides and rear, minimizing background noise. Experimentation is key! Different positions can significantly affect the tonal quality. Imagine trying to capture the subtle nuances of a singer’s voice—slightly shifting the microphone can reveal or hide aspects of their performance.
Consider using a pop filter to reduce plosives, a common issue in close-miking. Think of it as a shield protecting your recording from those harsh bursts of air. Also, consider the recording environment; a quiet, treated room will dramatically improve the quality of your recording.
Q 9. How do you handle microphone placement for instrument recording (e.g., acoustic guitar, drums)?
Microphone placement for instruments is highly dependent on the instrument itself and the desired sound. Acoustic guitar recording, for instance, often involves multiple microphones to capture different aspects of the instrument’s sound. You might use one microphone close to the soundhole to capture a rich, detailed tone, and another further away to capture more room ambience and a wider stereo image.
For drums, you’d generally use a ‘drum kit mic’ing’ setup, employing multiple microphones for each drum and cymbal. The kick drum often uses a dynamic microphone inside the drum for a powerful, punchy sound, while condenser mics are usually used for the overheads and snare for a brighter, more detailed sound. The placement of each microphone significantly impacts its contribution to the overall drum sound. Close micing, for example, will isolate individual drums and offer tight sound and detailed attack whereas, distant micing will give a more natural, spacious and less isolated sound.
The principle is to carefully consider which aspects of the instrument’s sound you want to emphasize. It’s a balance between isolating individual sounds and creating a cohesive, well-balanced mix. Think of it like a painter carefully choosing which brushstrokes to highlight a subject. The right microphone placement is essential to the final sonic portrait.
Q 10. What techniques do you use to minimize noise and interference during recording?
Minimizing noise and interference requires a multi-pronged approach. First, choose a quiet recording environment. This means minimizing external sounds like traffic, HVAC systems, and computer fans. Sound treatment, such as acoustic panels or bass traps, can absorb unwanted reflections and reduce room reverberation. If the location is compromised, consider isolating the recording environment using temporary barriers to eliminate noise sources.
Next, use appropriate microphone techniques. Cardioid or hypercardioid microphones are excellent for rejecting off-axis sound. Proper gain staging (explained in the next question) prevents noise from being amplified. Always use appropriate cables and connectors, ensuring they are properly shielded to avoid interference. During the recording itself, remain mindful of sounds such as breathing or handling noises.
Finally, utilize post-production techniques. Noise reduction plugins can help attenuate unwanted background noise, although it’s always better to get a clean recording in the first place. Imagine trying to clean mud from a finished painting – it’s far easier to work on a clean canvas.
Q 11. Explain the importance of proper microphone gain staging.
Proper microphone gain staging is crucial for maximizing the signal-to-noise ratio and preventing distortion. It involves setting the input gain of your recording device appropriately to capture a strong signal while leaving enough headroom to avoid clipping. Clipping, where the signal exceeds the maximum amplitude, results in harsh distortion and data loss.
Think of it as adjusting the volume on a mixing board. You want the signal to be loud enough to be heard but not so loud it overloads the system. Too low of a gain will amplify background noise, while too high will cause distortion and reduce dynamic range. Good gain staging aims for a level where the signal is strong, but there is sufficient space before clipping occurs. Using a VU or Peak Meter is extremely helpful to monitor signal levels during recording.
The ideal gain level will vary depending on the microphone and the recording source. It’s a good practice to start with a low gain and gradually increase it until you reach a suitable level. Checking the recording device’s meter will help guide you and ensure you avoid clipping. This is crucial for maintaining the integrity of the sound for post-production.
Q 12. How do you troubleshoot common microphone problems (e.g., feedback, low signal)?
Troubleshooting microphone problems requires systematic steps. Feedback, a high-pitched squeal, usually results from a positive feedback loop—the amplified sound from the speakers entering the microphone and being amplified again. This can be resolved by lowering the microphone gain, moving the microphone further away from the speaker, using directional microphones (cardioids or hypercardioids), and employing EQ to cut problem frequencies.
Low signal could be due to several factors: a faulty microphone, low microphone gain, or a problem with the cables or connections. Check the microphone’s connection and ensure that the cable is correctly connected and that there’s no damage. Inspect the input level and adjust the gain to an appropriate level. If the issue persists, check the cable’s integrity and try replacing it if necessary. It’s also worth checking the phantom power supply if the microphone needs it, and checking the gain of the microphone pre-amp.
Always follow a process of elimination. Start with simple checks like inspecting cables and connections and work your way up to more complex issues. Consider that the issue could be outside the mic, such as a failing audio interface.
Q 13. What are the advantages and disadvantages of using multiple microphones?
Using multiple microphones offers several advantages, primarily enhanced control and realism. With multiple microphones, you can isolate individual instruments or voices, creating a more detailed and balanced mix. This allows for greater flexibility in post-production, for example, to easily adjust individual volumes without affecting others. The ability to create a more spacious and realistic stereo image is also key.
However, employing multiple microphones also introduces challenges. It increases the complexity of the recording process, requiring more time and technical expertise for setup, cable management, and monitoring. Phase cancellation (discussed next) becomes a greater concern, and a mix needs to be carefully balanced to prevent certain instruments or voices from becoming muddled or masked by others. Cost is another consideration; more mics mean a greater investment.
The decision to use multiple microphones involves weighing the increased control and realism against the added complexity and cost.
Q 14. Explain the concept of phase cancellation and how to avoid it.
Phase cancellation occurs when two or more sound waves arriving at a microphone are out of phase. This means their peaks and troughs don’t align, leading to destructive interference and a reduction in the overall signal level. In extreme cases, this can result in certain frequencies being completely canceled out, causing a ‘thin’ or ‘hollow’ sound.
Imagine two waves on the ocean. If their peaks coincide, they reinforce each other, creating a larger wave. But if a peak meets a trough, they cancel each other out, resulting in calmer waters. Similarly, out-of-phase sound waves cancel each other out, reducing the overall volume of the audio. This is common when using multiple microphones to record the same sound source.
To avoid phase cancellation, maintain consistent microphone placement relative to the source. Avoid positioning microphones too close to each other, especially when recording the same sound source. Using different microphone polar patterns to reduce the effect of a potentially problematic overlap can also help. Careful monitoring and post-production adjustments can also help correct minor phasing issues. While completely eliminating phase issues is impossible, a careful, methodical approach to mic placement will result in reduced issues.
Q 15. How do you use EQ and compression to improve microphone recordings?
EQ (Equalization) and compression are crucial tools for shaping the sound of microphone recordings. EQ allows you to adjust the balance of frequencies, boosting desirable frequencies and attenuating undesirable ones, while compression controls the dynamic range, reducing the difference between the loudest and quietest parts of a signal.
EQ in Practice: Imagine recording a vocalist with a slightly muddy midrange. Using a parametric EQ, I’d identify the problematic frequency range (e.g., 250-500Hz) and apply a narrow cut to reduce the muddiness, bringing clarity to the voice. Conversely, I might boost the high frequencies (e.g., 8kHz) to add brilliance and presence. This is a subtle art; excessive EQ can sound unnatural.
Compression in Practice: Let’s say a drummer’s snare hits are wildly inconsistent in volume. Compression reduces the dynamic range, making the quiet hits louder and the loud hits quieter. This results in a more even and controlled sound. I’d carefully choose a compression ratio (e.g., 4:1 or 6:1) and threshold to achieve the desired effect, avoiding over-compression which can sound lifeless.
The interplay between EQ and compression is vital. Often, I’ll use EQ to address specific frequency issues *before* compression, preparing the audio for a smoother compression process. The goal is a balanced, polished recording that sounds natural yet impactful.
Career Expert Tips:
- Ace those interviews! Prepare effectively by reviewing the Top 50 Most Common Interview Questions on ResumeGemini.
- Navigate your job search with confidence! Explore a wide range of Career Tips on ResumeGemini. Learn about common challenges and recommendations to overcome them.
- Craft the perfect resume! Master the Art of Resume Writing with ResumeGemini’s guide. Showcase your unique qualifications and achievements effectively.
- Don’t miss out on holiday savings! Build your dream resume with ResumeGemini’s ATS optimized templates.
Q 16. Describe your experience with different types of microphone preamps.
My experience with microphone preamps spans a range of technologies and price points. I’ve worked with everything from vintage tube preamps known for their warm, harmonic saturation, to modern solid-state preamps prized for their transparency and clean gain.
Tube Preamps: These offer a unique sonic character, introducing pleasing harmonic distortion at higher gain levels. They tend to be more expensive and require more maintenance but offer a classic, often desired sound in recordings, particularly for vocals and instruments needing character. A Neve 1073 is a classic example of the sound many engineers aim for.
Solid-State Preamps: These are generally cleaner, more precise, and less expensive than tube preamps. They’re often found in smaller interfaces and mixers, and excel in situations requiring high fidelity and minimal coloration. Many modern high-end designs deliver exceptional sound quality.
API Preamps: Known for their smooth, powerful sound, often selected for their ‘punch’ when recording bass, drums and electric guitars.
Choosing the right preamp is crucial. It significantly impacts the overall tone and character of the recorded signal. The decision often involves considering the microphone being used, the desired sound, and the budget. For instance, a crisp, detailed condenser mic might pair well with a clean solid-state preamp, while a ribbon mic could benefit from the warmth of a tube preamp.
Q 17. What are your preferred methods for testing microphone performance?
Testing microphone performance is crucial to ensure quality recordings. My methods encompass both subjective and objective assessments.
Subjective Testing: I’ll record a variety of sources, such as speech, acoustic instruments, and percussion, while meticulously listening for clarity, frequency response, and noise. This approach helps to ascertain the mic’s character and suitability for different applications. A/B comparisons against known good microphones are invaluable.
Objective Testing: I use specialized tools like audio analyzers to measure the frequency response, signal-to-noise ratio (SNR), and total harmonic distortion (THD). This provides quantitative data to verify the mic’s performance specifications.
Polar Pattern Verification: I’ll use a sound source positioned at various angles relative to the microphone to verify the accuracy of the microphone’s stated polar pattern. This helps ensure the microphone is performing as designed and aids in optimal mic placement.
A comprehensive testing approach combines both subjective listening and objective measurements. This approach helps identify problems and verify that the microphone is functioning optimally before recording a valuable session.
Q 18. How do you choose the appropriate cable for a microphone?
Choosing the right microphone cable is critical for maintaining signal integrity. The key factors are the cable’s length, shielding, and connector type.
Length: Use the shortest cable necessary to minimize signal loss and noise pickup. Longer cables increase the chance of interference.
Shielding: Properly shielded cables, such as those with twisted pairs and good grounding, are essential to minimize electromagnetic interference (EMI) and radio frequency interference (RFI) which can cause hum and noise.
Connector Type: Ensure compatibility between the microphone and the input device. XLR connectors are most common for professional microphones, but other connectors exist. Always check to confirm correct connector type before purchasing.
Quality Matters: Avoid cheap cables, as they can introduce noise and signal degradation. Investing in high-quality, low-capacitance cables is crucial for optimal performance, especially with longer runs. For instance, high quality balanced cables, such as Mogami or Canare, are known for minimal interference.
Q 19. Explain the importance of proper microphone maintenance and care.
Proper microphone maintenance is vital for ensuring longevity and optimal performance. This includes:
Cleaning: Regularly clean the microphone’s exterior using a soft, dry cloth or air blower. For delicate microphones, use a specialized cleaning solution.
Storage: Store microphones in their protective cases to prevent damage and dust accumulation. Avoid exposing them to extreme temperatures or humidity.
Handling: Handle microphones carefully. Avoid dropping them or subjecting them to harsh physical impacts.
Regular Inspection: Periodically inspect the microphone’s connections and cables for damage or wear. Replace worn-out cables promptly.
Professional Servicing: For more complex issues, such as internal component failure, it’s best to seek professional servicing.
Neglecting microphone maintenance can result in decreased performance, damage to the components, or even complete failure. Regular care significantly extends the life and improves the reliability of your microphones.
Q 20. What are the common causes of microphone distortion?
Microphone distortion can stem from several sources:
- Overload: Exceeding the microphone’s maximum input level results in clipping, a harsh and unpleasant distortion. This can be avoided by setting appropriate gain levels.
- High Sound Pressure Levels (SPL): Extremely loud sounds can overload the microphone, even with properly set gain. Using a microphone appropriate for the SPL is critical.
- Inadequate Preamplification: Insufficient gain from the preamp can result in a weak signal with high noise levels.
- Cable Problems: Damaged cables, improper grounding, or poor shielding can introduce noise and distortion.
- Internal Microphone Issues: Mechanical problems or internal component failure within the microphone itself can lead to distortion. This often requires professional repair.
- Digital clipping: In the digital domain, signals are clipped if they exceed the maximum digital level, resulting in a harsh distortion. This needs to be addressed through level management within the DAW.
Troubleshooting distortion involves systematically checking each potential source, starting with the simplest ones, such as gain settings and cable integrity.
Q 21. Describe your experience with digital audio workstations (DAWs) and their integration with microphones.
Digital Audio Workstations (DAWs) are essential for recording, editing, and mixing audio from microphones. My experience includes using various DAWs such as Pro Tools, Logic Pro X, and Ableton Live. They provide tools for managing the microphone signal chain in a digital environment.
Integration: DAWs act as the central hub for managing the signal flow from the microphone through the preamp, potentially through other effects processing, to the final recording. This includes setting appropriate input levels, applying EQ and compression, and utilizing other plugins to enhance the audio.
Workflow: My typical workflow involves setting up the microphone and preamp, monitoring the input levels in the DAW, recording the audio, then using the DAW’s tools to edit, process, and mix the recordings.
Plugin Integration: I heavily leverage the wide array of plugins (virtual effects and signal processors) available within DAWs. These plugins allow me to fine-tune the sound of the microphones far beyond the capabilities of traditional hardware alone. This versatility allows for highly creative and specific sound design.
The integration of microphones and DAWs represents a powerful workflow for modern audio production. The choice of DAW often depends on personal preference and the specific project requirements. Each DAW offers a unique set of features and tools.
Q 22. How familiar are you with different microphone accessories (e.g., windscreens, pop filters)?
Microphone accessories are crucial for achieving high-quality recordings. My familiarity encompasses a wide range, including:
- Windscreens (or pop filters): These are essential for mitigating plosives (hard consonant sounds like ‘p’ and ‘b’) and wind noise. I’m experienced with various types, from simple foam windscreens for less critical recordings to professional, high-density foam windscreens and Rycote Lyre shock mounts for outdoor filming. The choice depends on the environment and microphone type. For instance, a large, fluffy windscreen is best for outdoor use on a shotgun mic, while a smaller pop filter is sufficient for a vocal mic in a controlled studio environment.
- Shock Mounts: These isolate the microphone from vibrations, reducing unwanted noise. I’m proficient in using various shock mounts, including those with elastic suspensions and those that utilize a more rigid design for precise isolation. I understand the importance of choosing a shock mount compatible with the microphone’s size and weight.
- Microphone Clips and Stands: Proper mounting is crucial. I have extensive experience with boom poles, table stands, and specialized mounts for different microphone types. Understanding the right clamping force to avoid damage yet secure the microphone is vital.
My experience allows me to select the most appropriate accessories for any recording situation, optimizing audio quality and minimizing unwanted artifacts.
Q 23. Explain your experience with different types of recording environments (e.g., studio, field recording)?
I’ve worked extensively in diverse recording environments. My studio experience involves meticulous control over acoustics, using sound treatment like bass traps and diffusers to minimize reflections and achieve a pristine sound. I’m familiar with various studio setups, from small project studios to large professional recording spaces.
Field recording presents different challenges. I’ve recorded in locations ranging from bustling city streets to quiet natural settings. This necessitates adaptability. I understand the importance of pre-recording site surveys to assess background noise levels and plan accordingly. For example, recording dialogue outdoors might require using a highly directional microphone like a shotgun microphone to isolate the desired sounds and minimize environmental noise. I’m adept at using techniques like ambient sound recording to capture the atmosphere of a location. In a noisy environment, I might use a technique called ‘boom swinging’ to position the microphone to capture the sound source while simultaneously avoiding noisy background elements.
Q 24. How do you manage multiple microphone inputs during a recording session?
Managing multiple microphone inputs efficiently requires a structured approach. This usually begins with a thorough pre-production plan that defines the purpose and placement of each microphone. I typically use a digital audio workstation (DAW) with multiple inputs and channels. I’m experienced with various mixers, both analog and digital, capable of routing signals, adjusting levels, and applying equalization (EQ) and compression to individual inputs. Proper gain staging is critical – setting the input level correctly to avoid clipping (distortion) while maximizing the signal-to-noise ratio. I also utilize techniques like phase alignment if necessary to prevent destructive interference, especially when using multiple microphones on the same sound source.
For instance, when recording a band, I might use separate microphones for each instrument (drums, vocals, guitars, bass), routing these through a mixing console or directly into the DAW. This allows for independent control over each sound source during mixing and mastering.
Q 25. What software do you use for microphone calibration and testing?
For microphone calibration and testing, I primarily use a combination of software and hardware tools. Software solutions like Smaart, Room EQ Wizard (REW), and even the built-in calibration tools in professional DAWs (such as Pro Tools or Logic Pro X) are regularly employed. These tools help me analyze the frequency response of the microphone and the acoustic characteristics of the room. I might use a test tone (e.g., a sine wave) to generate a measurement signal and analyze the resulting waveform for anomalies. Hardware tools, such as a sound level meter (SLM) and tone generators, can provide valuable supplemental information.
The exact method depends on the situation. For example, a quick check before a live performance might only involve using the DAW’s built-in meters to check levels, whereas a more comprehensive studio session could involve extensive measurements using Smaart or REW to tailor the room acoustics and microphone placement for optimal results.
Q 26. What safety precautions do you take when handling microphones?
Safety when handling microphones is paramount. I always prioritize:
- Careful handling: Microphones are delicate instruments. I avoid dropping them or subjecting them to harsh impacts. I use appropriate cases and protective accessories during transport.
- Avoiding excessive force: When connecting or disconnecting cables, I avoid pulling on the connectors themselves, instead gripping the cable firmly.
- Environmental protection: I protect microphones from extreme temperatures, humidity, and dust. This might involve using desiccant packs in cases for storage and using protective covers in challenging environments.
- Electrical safety: I always ensure that the microphone and its associated equipment are properly grounded to prevent electrical shock.
Regular cleaning with a soft cloth is also important to remove dust and debris, helping to maintain optimal performance and extending the microphone’s lifespan.
Q 27. Describe your experience working with wireless microphones.
My experience with wireless microphones is extensive. I’m familiar with various systems, from UHF to 2.4 GHz, understanding their strengths and weaknesses. Selecting the right system depends on the application. For instance, UHF systems offer a wider frequency range and better immunity to interference, making them suitable for large venues and challenging RF environments. 2.4 GHz systems, while susceptible to more interference, can be more affordable and offer a higher data rate for digital wireless systems.
Frequency coordination is key. I use spectrum analyzers to identify available frequencies and avoid interference. Understanding the limitations of wireless systems, such as range and susceptibility to interference from other electronic devices, is vital. I also know how to use multiple wireless systems simultaneously without causing interference, a common situation in large events or film productions.
Q 28. How do you determine the appropriate distance between the sound source and microphone?
Determining the appropriate distance between a sound source and microphone is crucial for achieving the desired sound. The distance is highly dependent on several factors:
- Microphone type: Close-miking (placing the microphone very close to the sound source) is often used for instruments to capture detail, whereas a greater distance may be needed for a wider, more ambient sound. Omnidirectional microphones are less sensitive to distance than cardioid or hypercardioid mics.
- Sound source: Loud sound sources (like drums) may require a greater distance to avoid overloading the microphone, while quieter sources might need close-miking to minimize background noise.
- Desired sound character: A closer mic placement generally provides a more intimate sound, while a greater distance creates a more spacious, room-filled tone. The proximity effect (bass boost at close distances) is a key consideration, particularly for vocal mics. This effect can be undesirable in some contexts.
Often, I use a combination of listening tests and measurement tools to fine-tune the distance. Experience plays a crucial role; a trained ear can detect subtle differences and optimize the mic placement for the most desirable sonic characteristics.
Key Topics to Learn for Technical Knowledge of Microphone Techniques Interview
- Microphone Types and Polar Patterns: Understanding cardioid, omnidirectional, bidirectional, and figure-eight patterns; their applications in different recording scenarios and the impact on sound capture.
- Microphone Placement and Technique: Practical application of microphone techniques for various instruments and voice recordings; optimizing proximity effect, minimizing noise, and achieving desired sonic characteristics.
- Frequency Response and EQ: Analyzing microphone frequency responses; using equalization to compensate for deficiencies or enhance specific frequencies in recordings.
- Microphone Sensitivity and Gain Staging: Understanding the importance of appropriate gain settings to prevent clipping and maximize dynamic range; managing input levels for optimal signal quality.
- Troubleshooting Common Issues: Identifying and resolving problems such as hum, feedback, and unwanted noise; practical solutions for improving signal-to-noise ratio.
- Digital vs. Analog Microphones: Comparing and contrasting the benefits and limitations of digital and analog microphone technologies; understanding their respective applications.
- Acoustic Treatment and Room Considerations: Understanding the impact of room acoustics on microphone recordings; strategies for minimizing reflections and achieving a controlled sonic environment.
- Microphone Cables and Connectors: Knowledge of different cable types, connectors (XLR, TRS), and their proper handling to avoid signal degradation or damage.
Next Steps
Mastering technical knowledge of microphone techniques is crucial for career advancement in audio engineering, sound design, broadcasting, and many other fields. A strong understanding of these principles translates directly into superior recording quality and problem-solving abilities, making you a highly valuable asset to any team. To showcase your expertise effectively, it’s essential to have a professional and ATS-friendly resume. ResumeGemini is a trusted resource to help you build a compelling resume that highlights your skills and experience. ResumeGemini provides examples of resumes tailored to Technical Knowledge of Microphone Techniques to guide you in creating a standout application. Take the next step towards your dream job – build your best resume with ResumeGemini today!
Explore more articles
Users Rating of Our Blogs
Share Your Experience
We value your feedback! Please rate our content and share your thoughts (optional).
What Readers Say About Our Blog
Hello,
We found issues with your domain’s email setup that may be sending your messages to spam or blocking them completely. InboxShield Mini shows you how to fix it in minutes — no tech skills required.
Scan your domain now for details: https://inboxshield-mini.com/
— Adam @ InboxShield Mini
Reply STOP to unsubscribe
Hi, are you owner of interviewgemini.com? What if I told you I could help you find extra time in your schedule, reconnect with leads you didn’t even realize you missed, and bring in more “I want to work with you” conversations, without increasing your ad spend or hiring a full-time employee?
All with a flexible, budget-friendly service that could easily pay for itself. Sounds good?
Would it be nice to jump on a quick 10-minute call so I can show you exactly how we make this work?
Best,
Hapei
Marketing Director
Hey, I know you’re the owner of interviewgemini.com. I’ll be quick.
Fundraising for your business is tough and time-consuming. We make it easier by guaranteeing two private investor meetings each month, for six months. No demos, no pitch events – just direct introductions to active investors matched to your startup.
If youR17;re raising, this could help you build real momentum. Want me to send more info?
Hi, I represent an SEO company that specialises in getting you AI citations and higher rankings on Google. I’d like to offer you a 100% free SEO audit for your website. Would you be interested?
Hi, I represent an SEO company that specialises in getting you AI citations and higher rankings on Google. I’d like to offer you a 100% free SEO audit for your website. Would you be interested?
good
