Are you ready to stand out in your next interview? Understanding and preparing for Performing quality control inspections interview questions is a game-changer. In this blog, we’ve compiled key questions and expert advice to help you showcase your skills with confidence and precision. Let’s get started on your journey to acing the interview.
Questions Asked in Performing quality control inspections Interview
Q 1. Describe your experience with different quality control methodologies.
Throughout my career, I’ve employed a variety of quality control methodologies, adapting my approach based on the specific project and industry. These include:
- Acceptance Sampling: This involves randomly inspecting a subset of a batch to infer the quality of the entire lot. For example, in a manufacturing setting, we might inspect 10% of a shipment of screws to ensure they meet the specified diameter and tensile strength. If the sample meets the acceptance criteria, the entire lot is accepted; otherwise, it’s rejected or further inspected.
- Statistical Process Control (SPC): This data-driven approach uses statistical methods to monitor and control the variation in a process. I’ll elaborate more on this in the next answer.
- Total Quality Management (TQM): This holistic approach integrates quality into every aspect of an organization. It emphasizes continuous improvement and employee empowerment, ensuring everyone takes responsibility for quality.
- Six Sigma: A data-driven methodology focusing on reducing defects and improving process efficiency. This involves defining critical quality characteristics, measuring current performance, analyzing the data, improving the process, and controlling the improvements to maintain consistent results.
- Failure Mode and Effects Analysis (FMEA): A proactive technique for identifying potential failure modes in a process and assessing their impact. This helps prioritize preventative measures and mitigate risks before they cause defects.
My experience spans diverse industries, allowing me to tailor my QC methodology for optimal effectiveness. For instance, in the pharmaceutical industry, stringent regulations necessitate a highly rigorous approach with extensive documentation, unlike a smaller-scale manufacturing process.
Q 2. Explain your understanding of statistical process control (SPC).
Statistical Process Control (SPC) is a powerful technique for monitoring and controlling the variability inherent in any process. It relies on the collection and analysis of data to identify trends and patterns that indicate when a process is drifting out of control, allowing for timely intervention to prevent defects.
Think of it like this: Imagine you’re baking cookies. Even with the same recipe and ingredients, each cookie will be slightly different in size and color. SPC helps you understand the natural variation in your cookie-baking process and identify when something goes wrong, like your oven temperature drifting too high or your dough becoming too dry.
Key tools used in SPC include:
- Control Charts: These graphically represent data over time, showing the process mean and variation. Common types include X-bar and R charts (for mean and range), p-charts (for proportion of defects), and c-charts (for the number of defects).
- Process Capability Analysis: This determines whether a process is capable of meeting the required specifications. It assesses the relationship between the process variation and the tolerance limits.
In practice, I’ve used SPC to monitor parameters like dimensions, weights, and chemical compositions, triggering corrective actions when data points fall outside control limits. This proactive approach prevents widespread defects and minimizes waste.
Q 3. How do you identify and document quality defects?
Identifying and documenting quality defects is crucial for continuous improvement. My process involves a structured approach:
- Visual Inspection: I begin by carefully examining the product or process for any visible defects. This might involve checking for scratches, cracks, discoloration, or misalignments.
- Dimensional Measurement: For precise measurements, I utilize tools such as calipers, micrometers, and coordinate measuring machines (CMMs) to ensure dimensions are within specified tolerances. Any deviation is meticulously documented.
- Functional Testing: Depending on the product, I conduct functional tests to verify that it operates as intended. This may involve checking electrical circuits, mechanical functions, or software performance.
- Data Recording: I maintain detailed records of all defects identified, including the type of defect, location, severity, and any associated root causes. This data is essential for trend analysis and corrective actions.
- Defect Classification: I use a standardized defect classification system to categorize defects consistently, facilitating data analysis and reporting. This often involves assigning codes or categories to different types of defects, aiding in statistical analysis.
The documentation is crucial. I utilize standardized forms and digital tools to ensure accurate and complete records, which are then reviewed by supervisors to ensure consistency and compliance.
For example, during an inspection of circuit boards, I’d document the location of any solder bridges, open circuits, or component misplacements along with pictures and measurements.
Q 4. What are your experience with root cause analysis techniques?
Root cause analysis is critical for preventing recurring defects. I’m proficient in several techniques:
- 5 Whys: This simple yet effective technique involves repeatedly asking ‘Why?’ to uncover the underlying causes of a problem. For instance, if a machine malfunctions, we’d ask ‘Why did it malfunction?’, ‘Why did that component fail?’, and so on, until we identify the root cause.
- Fishbone Diagram (Ishikawa Diagram): This visual tool helps brainstorm potential causes categorized by categories like materials, methods, manpower, machinery, environment, and measurement. This systematic approach helps capture a broad range of potential causes.
- Pareto Analysis: This technique identifies the ‘vital few’ causes that contribute to the majority of defects. By focusing on these critical causes, we can achieve significant improvement with targeted actions.
My experience with these techniques has allowed me to effectively solve complex quality issues. For example, using 5 Whys, I once discovered a recurring defect in a manufacturing process was caused by a worn-out tool not being replaced according to the scheduled maintenance.
Q 5. Describe your experience using quality control tools (e.g., calipers, micrometers).
I have extensive experience using a variety of quality control tools, including calipers, micrometers, and other precision measuring instruments. My proficiency extends to understanding their limitations and ensuring accurate readings. Calipers are commonly used for measuring external and internal dimensions, while micrometers offer greater precision for very small measurements.
Beyond these basic tools, I’m also experienced with more advanced instruments such as:
- Coordinate Measuring Machines (CMMs): These are used for highly precise 3D measurements of complex parts. I’ve used CMMs to inspect critical dimensions on intricate components, ensuring dimensional accuracy is maintained.
- Optical Comparators: These tools allow for detailed comparison of a part to a master template, identifying deviations in shape and contour. I’ve applied this for inspecting intricate parts that would be challenging to measure precisely with simpler tools.
- Thickness Gauges: Used to measure the thickness of materials with great accuracy. This is vital when dealing with coatings, films, and other materials where precise thickness is essential.
I understand the importance of proper calibration and maintenance of these instruments to ensure accurate and reliable measurements. I regularly check calibration certificates and follow established procedures for instrument handling and care. Accurate measurements are fundamental for effective quality control.
Q 6. How do you prioritize quality control tasks in a high-pressure environment?
Prioritizing quality control tasks in a high-pressure environment requires a strategic approach that balances speed and accuracy. My strategy involves:
- Risk Assessment: I first identify the tasks with the highest potential impact on product quality and safety. This might involve prioritizing inspections of critical components or processes with a higher defect rate.
- Urgency Assessment: I then assess the urgency of each task, considering deadlines and potential consequences of delays. Critical tasks that need immediate attention are prioritized.
- Resource Allocation: I efficiently allocate resources (time, personnel, and equipment) to the highest-priority tasks, potentially assigning additional personnel to expedite critical inspections.
- Clear Communication: I maintain open communication with team members and management to ensure everyone understands the priorities and potential challenges. This transparency is crucial for effective teamwork.
- Flexible Adaptability: I’m prepared to adjust priorities based on emerging issues or changing circumstances. Maintaining flexibility ensures efficient response to unexpected challenges.
For instance, if a critical component shows a high defect rate, I would immediately prioritize its inspection, potentially rearranging other tasks to address this issue promptly.
Q 7. Explain your understanding of ISO 9001 or other relevant quality standards.
ISO 9001 is an internationally recognized quality management system standard that outlines requirements for establishing, implementing, maintaining, and continually improving a quality management system. It focuses on customer satisfaction, continual improvement, and the prevention of defects.
My understanding of ISO 9001 encompasses its key principles, including:
- Customer Focus: Understanding and meeting customer requirements is paramount.
- Leadership: Management demonstrates commitment to quality and provides resources.
- Engagement of People: Employees at all levels are engaged in achieving quality goals.
- Process Approach: Processes are defined, managed, and improved.
- Improvement: Continuous improvement is a core principle, focusing on identifying and correcting defects and improving overall efficiency.
- Evidence-based Decision Making: Decisions are based on data analysis and documented evidence.
- Relationship Management: Maintaining positive relationships with suppliers and customers is essential for quality.
In my previous roles, I’ve actively participated in implementing and maintaining ISO 9001-compliant quality management systems, ensuring documentation, internal audits, and corrective actions are consistently performed. This framework provides a structured approach to quality management, leading to improved efficiency and customer satisfaction.
Q 8. How do you handle disagreements with production teams regarding quality issues?
Disagreements with production teams about quality are inevitable, but addressing them professionally is crucial. My approach prioritizes collaboration and data-driven discussions. I always start by calmly reviewing the specific issue, presenting the objective findings from my inspection report, including clear visual evidence (photos, videos) and precise measurements if applicable. Then, I focus on understanding the production team’s perspective, listening to their explanations and considering any contributing factors.
Instead of pointing fingers, I frame the discussion as a problem-solving exercise. We might brainstorm together to identify the root cause, perhaps a machine malfunction, a process flaw, or even a misunderstanding of specifications. Once we’ve collaboratively identified the root cause, we work together to define and implement corrective actions. This collaborative approach fosters a shared commitment to quality and helps build stronger working relationships. For example, in a previous role, a disagreement arose over the acceptable level of surface imperfections on a machined part. By presenting clear visual comparisons against the specification document and engaging in open dialogue, we agreed on a revised inspection criterion that satisfied both quality and production targets.
Q 9. Describe your experience with creating and maintaining quality control documentation.
Maintaining comprehensive and accurate quality control documentation is essential. My experience spans the entire lifecycle, from initial document creation to ongoing updates and version control. I’m proficient in creating various QC documents such as inspection plans, checklists, procedures, and reports. These documents typically outline inspection methods, acceptance criteria, and data recording formats. I’m particularly experienced in using standard templates to maintain consistency and compliance with industry regulations and internal requirements.
I utilize a document management system (DMS) to store and manage these documents electronically, ensuring version control, access control, and easy retrieval. This facilitates seamless collaboration within the QC team and with other departments. In addition to the technical documents, I’m adept at creating concise, user-friendly summaries and presentations that clearly communicate inspection results and key findings to stakeholders with varying technical backgrounds. This ensures that everyone is on the same page regarding the quality status of the product. For example, I once created a detailed training manual incorporating both written procedures and visual aids to ensure consistency in applying a new inspection method across multiple production lines.
Q 10. How familiar are you with different types of inspection techniques (visual, dimensional, etc.)?
I’m highly familiar with various inspection techniques, employing the most appropriate methods depending on the product and the specific quality characteristics being evaluated. Visual inspection, perhaps the most common, is crucial for detecting surface flaws, color inconsistencies, or other immediately apparent defects. I’m skilled in using various magnification tools and lighting techniques to enhance the accuracy of visual inspections. Dimensional inspection, often involving the use of measuring instruments like calipers, micrometers, and coordinate measuring machines (CMMs), ensures that the product meets precise size and shape specifications.
Beyond visual and dimensional techniques, I’m also experienced in:
- Functional testing: Verifying that components or systems work as intended.
- Destructive testing: Utilizing methods like tensile testing or impact testing to determine material properties.
- Non-destructive testing (NDT): Employing techniques such as ultrasonic testing or X-ray inspection to assess internal flaws without damaging the product.
Selecting the right techniques is crucial. For instance, while visual inspection is sufficient for assessing the surface finish of a painted part, dimensional inspection using a CMM would be necessary for a precision-machined component.
Q 11. What software or systems have you used for quality control data management?
Throughout my career, I’ve utilized various software and systems for quality control data management. I’m proficient in using statistical process control (SPC) software, such as Minitab, to analyze inspection data, identify trends, and detect potential quality problems early on. This helps in proactively preventing defects rather than just reacting to them. I’ve also used enterprise resource planning (ERP) systems, such as SAP, to integrate quality data with other business processes, including production scheduling and inventory management.
Furthermore, I have experience working with dedicated quality management systems (QMS) software, which allows for streamlined data entry, analysis, and reporting. These systems often include features like audit trails, document control, and corrective action request (CAR) management, helping ensure traceability and accountability. In a previous role, we utilized a customized database solution to track inspection results, linking them directly to specific batches and production orders. This proved invaluable for conducting root cause analyses and implementing effective CAPA strategies.
Q 12. How do you ensure that quality control procedures are followed consistently?
Consistency in following quality control procedures is paramount. To ensure this, I implement a multi-pronged approach that combines training, clear documentation, regular audits, and data analysis. Initially, I invest in thorough training for all inspectors, ensuring everyone understands and adheres to the established procedures. This often involves both classroom training and hands-on practical sessions. Clear and concise SOPs (Standard Operating Procedures) provide a standardized framework, minimizing ambiguity and reducing errors.
Regular audits, both internal and potentially external, are critical for identifying any deviations from established procedures. I actively participate in these audits, providing feedback and suggesting improvements where necessary. Data analysis plays a key role; by monitoring key quality metrics and analyzing inspection data, we can quickly identify trends and anomalies that indicate potential problems with procedural adherence. For example, a sudden increase in non-conforming parts might highlight a weakness in a specific procedure or the need for retraining. Using this approach, we can ensure consistent compliance and prevent quality issues from escalating.
Q 13. Explain your experience with implementing corrective and preventive actions (CAPA).
Implementing Corrective and Preventive Actions (CAPA) is a cornerstone of my approach to quality control. When a quality issue is identified, I follow a structured process to investigate the root cause, implement corrective actions to address the immediate problem, and preventive actions to prevent similar issues from recurring. This typically involves a thorough investigation to understand the ‘why’ behind a failure or defect.
My approach includes:
- Root cause analysis (RCA): Employing techniques like the 5 Whys or Fishbone diagrams to identify the fundamental cause of the problem.
- Corrective action: Defining immediate actions to rectify the current nonconformity, such as rework or scrap of affected items.
- Preventive action: Implementing longer-term solutions to prevent the problem from happening again. This might involve process improvements, equipment upgrades, or changes to training programs.
- Verification: Following the implementation of corrective and preventive actions, verification steps are essential to ensure effectiveness and prevent recurrence.
I document all CAPA activities meticulously, including investigation findings, implemented actions, and verification results. This ensures traceability and allows us to continuously improve our processes. In a previous role, we successfully implemented a CAPA process that reduced defect rates by 40% within six months.
Q 14. How do you maintain accurate records and traceability throughout the inspection process?
Maintaining accurate records and traceability is crucial for effective quality control and regulatory compliance. I use a combination of manual and digital methods to achieve this. Inspection reports, including detailed observations, measurements, and any non-conformances identified, are meticulously documented. Unique identification numbers or barcodes are assigned to each inspected item or batch to facilitate accurate tracking throughout the process. This ensures that every inspected item can be clearly traced back to its origin and any relevant documentation.
Data entry is carefully performed, using appropriate software systems and databases to eliminate manual errors. Digital documentation and data management systems provide an easily auditable trail of the entire inspection process. For example, a digital signature function can help verify the authenticity and integrity of the inspection records. Furthermore, a robust system of version control helps avoid confusion arising from multiple revisions. Regular backups and security measures are implemented to protect the integrity of the data. This meticulous approach to record keeping enables efficient root cause analysis, supports regulatory compliance, and builds customer confidence.
Q 15. How do you interpret and analyze quality control data to identify trends?
Interpreting and analyzing quality control data involves more than just looking at numbers; it’s about uncovering hidden trends and patterns that indicate potential problems or areas for improvement. I typically start by using statistical process control (SPC) charts, such as control charts (X-bar and R charts, p-charts, c-charts etc.), to visualize the data. These charts allow me to identify variations from the expected values and pinpoint potential special cause variations.
For example, if I’m monitoring the diameter of manufactured parts, an X-bar and R chart will show me the average diameter and the range of diameters over time. If I see a consistent shift in the average diameter above or below the control limits, or an increase in the range of variation, this suggests a process drift or instability that needs investigation. I then use further analytical techniques like regression analysis, to explore the relationships between different quality characteristics and identify potential root causes of these trends.
Beyond charting, I delve into data mining techniques to uncover more complex relationships. This might involve exploring correlations between different variables (e.g., temperature and defect rate) or using more advanced statistical modeling to predict future quality outcomes. This proactive approach allows for timely interventions and prevents major issues from escalating.
Career Expert Tips:
- Ace those interviews! Prepare effectively by reviewing the Top 50 Most Common Interview Questions on ResumeGemini.
- Navigate your job search with confidence! Explore a wide range of Career Tips on ResumeGemini. Learn about common challenges and recommendations to overcome them.
- Craft the perfect resume! Master the Art of Resume Writing with ResumeGemini’s guide. Showcase your unique qualifications and achievements effectively.
- Don’t miss out on holiday savings! Build your dream resume with ResumeGemini’s ATS optimized templates.
Q 16. Describe a time you had to deal with a critical quality issue. How did you resolve it?
During a project involving the assembly of precision instruments, we experienced a significant increase in failure rates within a specific component. Initial inspection data showed inconsistent torque values on a critical screw, leading to malfunction. My first step was to meticulously document all instances of failure, gathering data on the affected components, the assembly lines involved, and the associated torque readings. I then used Pareto charts to identify the most frequent causes of failure, showing that around 80% of the problems stemmed from this incorrect torque.
Next, I collaborated with the assembly line supervisors and engineers. We reviewed the assembly procedures, operator training, and calibration of the torque wrenches. We discovered that a recent batch of wrenches had a slight calibration error. We immediately recalibrated all the wrenches and implemented a more rigorous verification system, requiring double-checking torque values. We further enhanced operator training with visual aids and more hands-on practice. After implementing these changes, we tracked the failure rate and found a significant reduction in defects within a week, demonstrating the effectiveness of our problem-solving approach. This experience underscored the importance of thorough data analysis, cross-functional collaboration, and proactive corrective actions.
Q 17. What are some common quality control challenges in your industry?
Common quality control challenges in manufacturing include maintaining consistent product quality across multiple production lines, ensuring accurate measurement and inspection methods, and managing supplier quality. The increasing complexity of products, the need for faster turnaround times, and managing human error in quality inspections all contribute to this.
- Maintaining consistency across multiple lines: Variations in equipment, environmental conditions, or operator skill can lead to inconsistencies. A solution is to implement standardized operating procedures (SOPs) and utilize statistical process control (SPC) to monitor and address variations.
- Accurate measurement and inspection: Inaccurate or inconsistent measurement techniques lead to flawed conclusions. Solutions include regularly calibrating equipment, standardizing measurement techniques, and using advanced inspection technologies.
- Managing supplier quality: Poor quality components from suppliers can negatively impact the final product. Solutions include thorough supplier audits, robust quality agreements, and collaborative partnerships.
- Balancing speed and accuracy: The demand for faster production often clashes with the need for thorough quality control. This requires careful optimization of inspection processes and leveraging automation where possible.
Q 18. How do you stay updated on the latest quality control techniques and standards?
Staying current in the dynamic field of quality control requires a multi-faceted approach. I regularly attend industry conferences and workshops, such as those organized by ASQ (American Society for Quality) or similar organizations, to network with peers and learn about new advancements. I actively participate in online forums and professional communities dedicated to quality control, engaging in discussions and sharing best practices. Furthermore, I subscribe to relevant industry journals and publications, staying abreast of the latest research and regulations.
Crucially, I dedicate time to self-directed learning through online courses and webinars. Platforms like Coursera, edX, and LinkedIn Learning offer a wealth of resources covering various aspects of quality control, including advanced statistical methods, new inspection technologies, and emerging quality management systems. This continuous learning ensures that I remain proficient in the most effective and up-to-date quality control techniques and standards.
Q 19. How do you balance speed and accuracy in your quality control inspections?
Balancing speed and accuracy in quality control is a crucial skill. It’s not about sacrificing one for the other, but about optimizing the inspection process for efficiency without compromising quality. I achieve this by utilizing a risk-based approach. This involves prioritizing inspections based on the criticality of the quality characteristics. For instance, aspects that directly impact safety or functionality will receive more detailed and thorough inspections.
Automation plays a significant role. Where possible, I implement automated inspection systems for high-volume, repetitive tasks, freeing up time for more complex or critical inspections that require human expertise. Finally, I continuously evaluate and refine my inspection methods, seeking ways to improve efficiency without jeopardizing accuracy. This might involve streamlining procedures, optimizing the use of inspection tools, and regularly training inspectors on best practices.
Q 20. Explain your understanding of tolerance and specifications.
Tolerances and specifications are fundamental to quality control. Specifications define the ideal characteristics of a product or component. For example, a specification might state that a bolt should have a diameter of 10 mm. Tolerances, on the other hand, define the acceptable range of variation from those ideal specifications. Returning to the bolt example, a tolerance might specify that the diameter can vary by ±0.1 mm (meaning the acceptable range is 9.9 mm to 10.1 mm).
Understanding tolerances is crucial because it allows for some level of variability in manufacturing processes. It’s practically impossible to manufacture every part to be exactly the same; tolerances account for this inherent variability. However, if a product falls outside the specified tolerances, it is considered a defect and may not meet required functionality or safety standards. Specifications and tolerances are usually documented within engineering drawings and quality control plans. They form the basis for acceptance criteria during inspection.
Q 21. How do you handle situations where quality standards are not met?
When quality standards aren’t met, my response is systematic and multi-faceted. First, I thoroughly investigate the root cause of the non-conformity. This may involve reviewing inspection data, examining the manufacturing process, interviewing operators, and analyzing any available historical data. This helps avoid future occurrences.
Next, I implement immediate corrective actions to prevent further production of non-conforming items. This could involve halting production, isolating defective items, or adjusting process parameters. Then, corrective actions are taken. This focuses on eliminating the root cause and preventing recurrence. For example, this could include retraining staff, upgrading equipment, or modifying production processes. Finally, I document all findings, actions taken, and any preventative measures put in place. This ensures accountability and provides a record for future reference and continuous improvement efforts.
Depending on the severity of the non-conformity, I might also have to initiate a non-conformance report (NCR) and engage upper management to determine appropriate actions, including potential recalls or customer notifications.
Q 22. Describe your experience with auditing quality control procedures.
Auditing quality control procedures involves a systematic review and evaluation of the processes and systems in place to ensure product or service quality meets predetermined standards. My experience encompasses a range of audits, from internal audits focusing on process adherence to external audits validating compliance with industry regulations like ISO 9001. I’ve used various audit methodologies, including checklists, sampling techniques, and data analysis, to identify areas of strength and weakness. For instance, during an audit of a manufacturing facility, I discovered a discrepancy in the calibration schedule for critical measuring equipment, which could have led to inconsistencies in product dimensions. This was rectified by implementing a stricter calibration program and employee training on the importance of adherence.
I am proficient in identifying gaps in documentation, analyzing root causes of non-conformances, and recommending corrective and preventive actions (CAPAs). The ultimate goal is to improve efficiency, reduce defects, and enhance overall quality management.
Q 23. What are some key performance indicators (KPIs) you track in quality control?
Key Performance Indicators (KPIs) in quality control are metrics that measure the effectiveness of our quality system. The specific KPIs used depend on the industry and the nature of the product or service. However, some common KPIs I track include:
- Defect Rate: The percentage of defective products or services produced. A lower defect rate indicates improved quality.
- Yield Rate: The percentage of acceptable products or services produced relative to the total number of units processed. A high yield rate is desirable.
- Customer Complaints: The number of complaints received from customers about product or service quality. Fewer complaints signify improved customer satisfaction.
- Process Capability (Cp/Cpk): Measures how well a process performs relative to its specifications. Values above 1.33 indicate a capable process.
- Cycle Time: The time it takes to complete a process from start to finish. Reduced cycle time, without compromising quality, improves efficiency.
- First Pass Yield: The percentage of units passing inspection the first time. A higher first pass yield indicates improved process control and reduced rework.
I regularly analyze these KPIs to monitor trends, identify improvement opportunities, and make data-driven decisions to enhance quality control efforts. For example, a sudden increase in the defect rate might signal a problem with a particular stage of the manufacturing process, prompting further investigation and corrective actions.
Q 24. How do you communicate quality control findings to different stakeholders?
Communicating quality control findings effectively is crucial for driving improvements and ensuring alignment across various stakeholders. My approach is tailored to the audience and the nature of the findings. I utilize various methods, including:
- Formal Reports: For senior management and regulatory bodies, I create detailed reports outlining findings, root cause analyses, and recommended actions. These reports include statistical data and visual representations to facilitate understanding.
- Presentations: For team meetings and departmental updates, I use presentations to summarize findings, highlight key issues, and engage the audience in discussions about solutions.
- Informal Meetings: For immediate corrective actions or quick clarifications, I prefer face-to-face or virtual meetings to quickly address issues and prevent escalation.
- Dashboards: Key performance indicators (KPIs) are continuously monitored and reported on interactive dashboards to give all stakeholders real-time visibility of quality performance.
Regardless of the method used, the focus is always on clarity, conciseness, and actionability. I ensure that the message is easily understood and promotes collaborative problem-solving. For instance, when presenting findings to shop-floor workers, I make sure to use simple, non-technical language and involve them in brainstorming solutions.
Q 25. Explain your approach to continuous improvement in quality control.
My approach to continuous improvement in quality control is rooted in the Plan-Do-Check-Act (PDCA) cycle, a structured approach to iterative improvement. It involves:
- Plan: Identifying areas for improvement, setting objectives, and developing strategies for change.
- Do: Implementing the changes and collecting data.
- Check: Analyzing the data to determine the effectiveness of the changes.
- Act: Standardizing the successful changes and repeating the cycle.
Beyond PDCA, I also leverage tools like root cause analysis (e.g., 5 Whys, fishbone diagrams) to pinpoint the underlying causes of quality issues. I encourage the use of Six Sigma methodologies or Lean principles to systematically identify and eliminate waste within the process. Regular review meetings and feedback sessions are integral components of this process, ensuring that everyone is aware of ongoing improvements and potential challenges.
For instance, noticing a recurring issue with a specific type of defect, I would initiate a root cause analysis and implement targeted corrective measures. Then, through monitoring the KPIs, I’d assess the effectiveness of these measures, and make adjustments as needed, continuously refining our process.
Q 26. How do you adapt your quality control approach based on different product types or manufacturing processes?
Adapting the quality control approach based on different product types or manufacturing processes is crucial for effective quality management. The specific methods and techniques employed will differ based on factors such as:
- Product Complexity: More complex products necessitate more rigorous testing and inspection procedures.
- Manufacturing Process: Automated processes may require different control measures compared to manual processes.
- Industry Regulations: Compliance requirements vary significantly across industries, impacting the scope and intensity of quality control.
- Material Properties: The characteristics of materials used determine the appropriate inspection methods.
For example, the quality control procedures for a simple plastic component would be different from those for a complex electronic device. Similarly, a food processing facility will have stringent hygiene and safety protocols, while a software development team might focus on software testing and code reviews. My adaptability comes from my comprehensive understanding of various quality control tools and methodologies, allowing me to select the most effective approach for each situation.
Q 27. Describe your experience with training others on quality control procedures.
I have extensive experience in training others on quality control procedures. My training methodology focuses on both theoretical understanding and practical application. I typically utilize:
- On-the-job training: Hands-on guidance and mentorship, allowing trainees to learn through practical experience.
- Classroom training: Formal lectures and presentations on quality control principles, methodologies, and best practices.
- Interactive workshops: Engaging exercises and simulations to strengthen understanding and build problem-solving skills.
- Documentation and reference materials: Providing clear and comprehensive documentation, including checklists, flowcharts, and SOPs (Standard Operating Procedures).
I tailor the training to the audience’s skill level and the specific tasks they perform. I emphasize the importance of continuous learning and encourage questions throughout the training process. Regular assessments and feedback sessions are used to track progress and identify areas needing further attention. For example, when training new inspectors, I would start with basic concepts like measurement techniques, then progressively introduce more advanced concepts like statistical process control.
Q 28. How do you ensure the accuracy and reliability of your quality control measurements?
Ensuring the accuracy and reliability of quality control measurements is paramount. This involves a multi-faceted approach:
- Calibration of measuring equipment: Regular calibration against traceable standards ensures that measuring instruments are accurate and provide consistent results. Calibration schedules are established and strictly adhered to.
- Use of appropriate measurement techniques: Selecting the correct measurement methods for specific parameters ensures reliable and consistent data collection.
- Operator training: Proper training on the use of measuring equipment and techniques is essential to avoid human error.
- Statistical process control (SPC): Using statistical methods to monitor and control process variability helps identify potential issues before they become significant problems. Control charts are employed to track key parameters and alert us to deviations from the norm.
- Regular audits and checks: Internal audits and cross-checks ensure the accuracy and reliability of measurements. This includes validating data and investigating inconsistencies.
For instance, in a pharmaceutical setting, where accuracy is crucial, we would use calibrated analytical balances and follow strict procedures for sample preparation and testing. Regular audits ensure compliance with good manufacturing practices (GMP) and provide confidence in the reliability of our quality control results.
Key Topics to Learn for Performing Quality Control Inspections Interview
- Understanding Quality Standards: Learn about different quality standards (e.g., ISO 9001, Six Sigma) and their practical application in your field. Consider how these standards translate into specific inspection procedures.
- Inspection Methods and Techniques: Familiarize yourself with various inspection methods, including visual inspection, dimensional measurement, functional testing, and destructive testing. Be ready to discuss the advantages and limitations of each method.
- Data Collection and Analysis: Practice collecting accurate and consistent data during inspections. Understand how to use statistical methods (e.g., control charts) to analyze inspection data and identify trends or potential issues.
- Defect Identification and Classification: Develop your ability to accurately identify and classify defects according to severity and type. Understand the implications of different defect classifications on the overall product quality.
- Root Cause Analysis: Learn techniques for identifying the root causes of defects. This includes problem-solving methodologies such as the 5 Whys and fishbone diagrams. Be prepared to discuss your approach to problem-solving in a quality control context.
- Reporting and Documentation: Master the art of clear and concise reporting. Understand the importance of accurate documentation of inspection findings and corrective actions.
- Quality Control Systems and Processes: Understand how quality control fits into the broader context of a company’s overall quality management system. Be ready to discuss different quality control methodologies and their implementation.
- Continuous Improvement: Demonstrate an understanding of continuous improvement methodologies (e.g., Kaizen) and how they can be applied to improve quality control processes. Showcase your proactive approach to identifying areas for improvement.
Next Steps
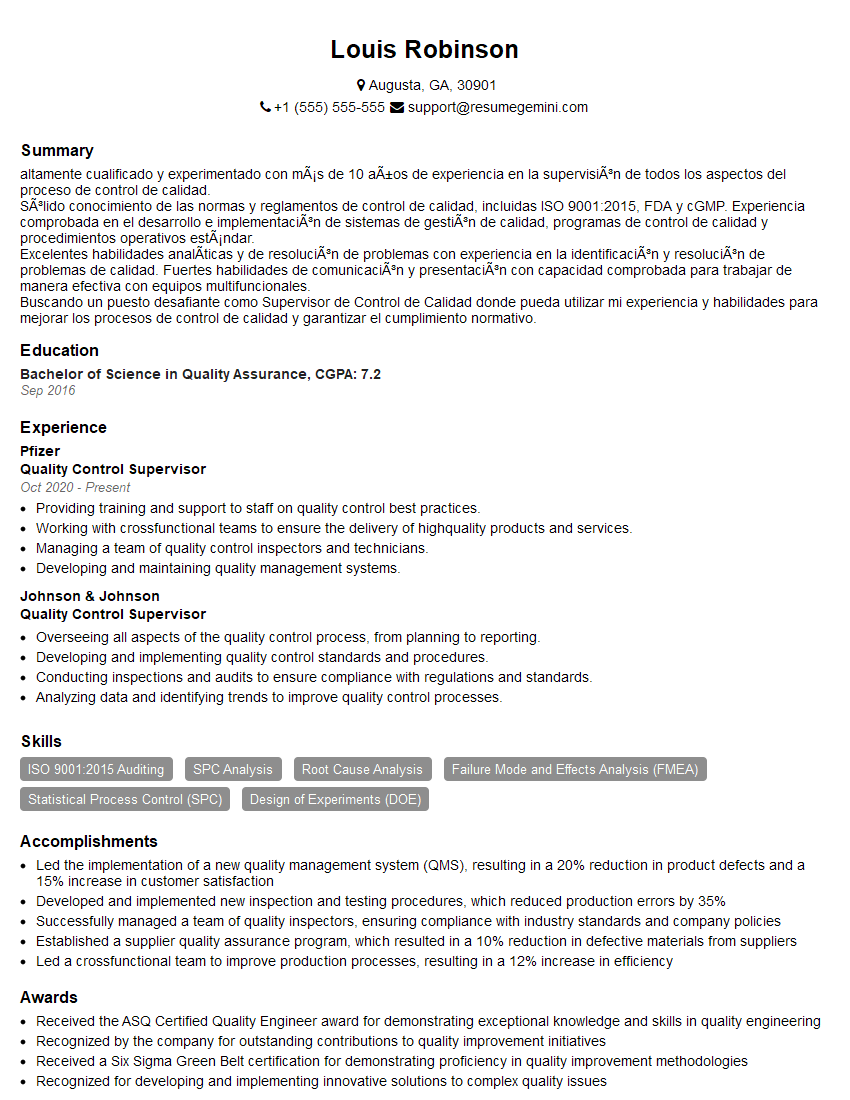
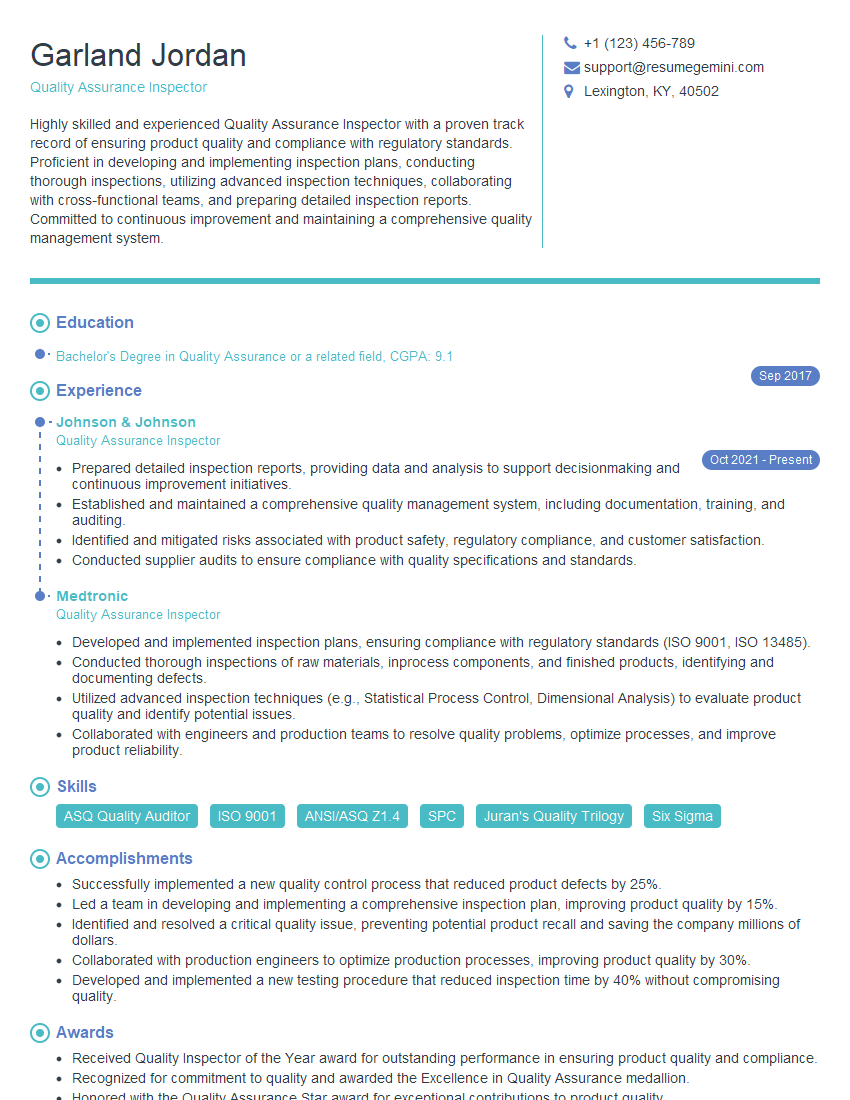
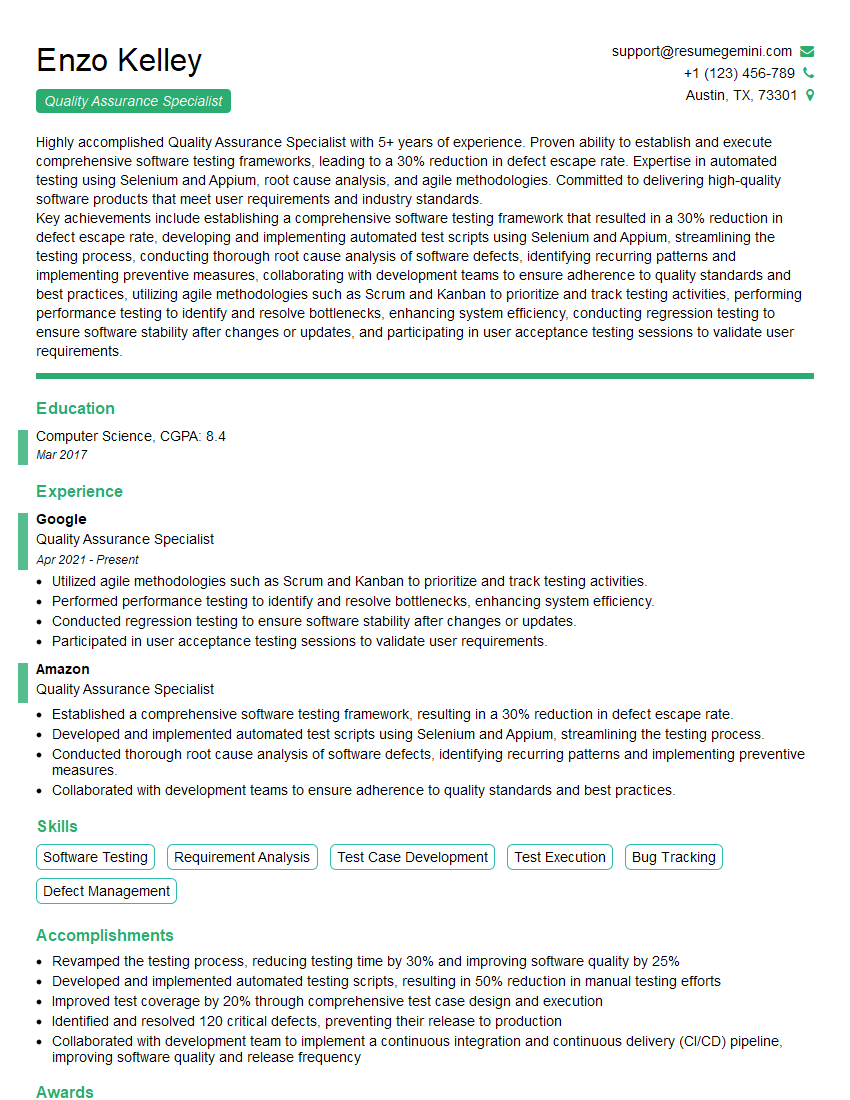
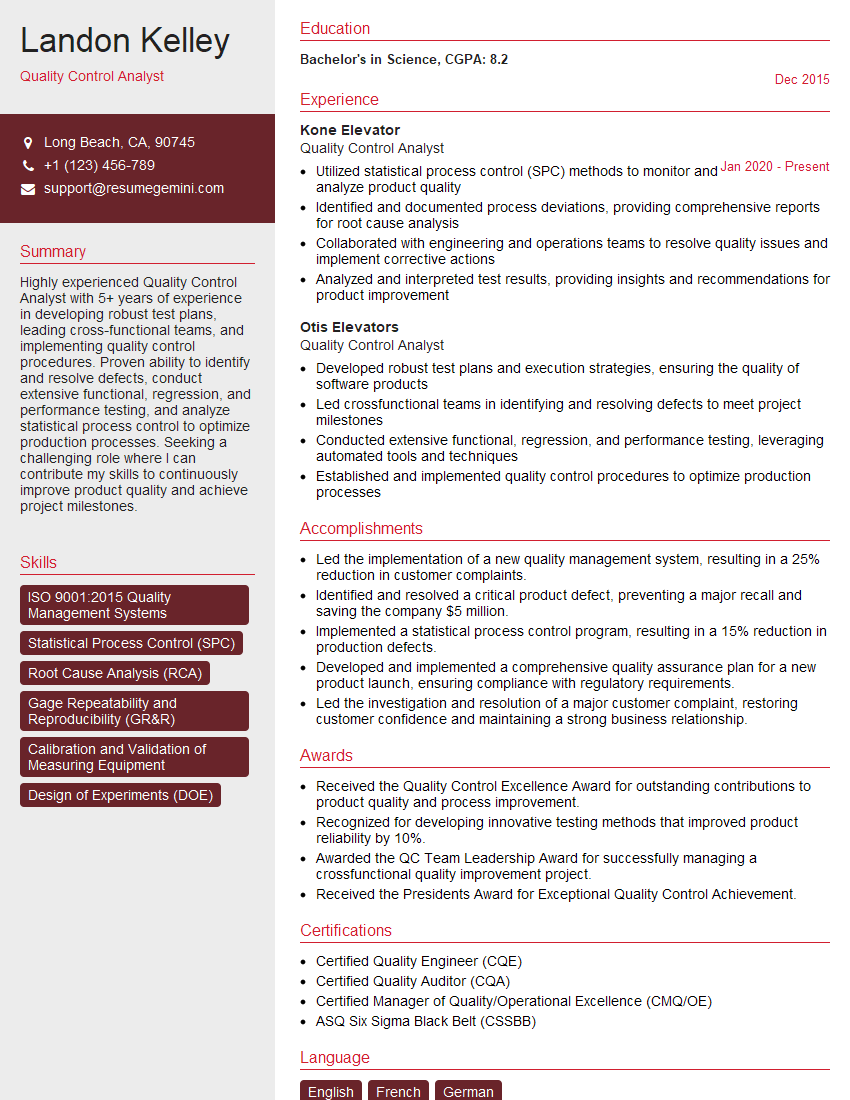
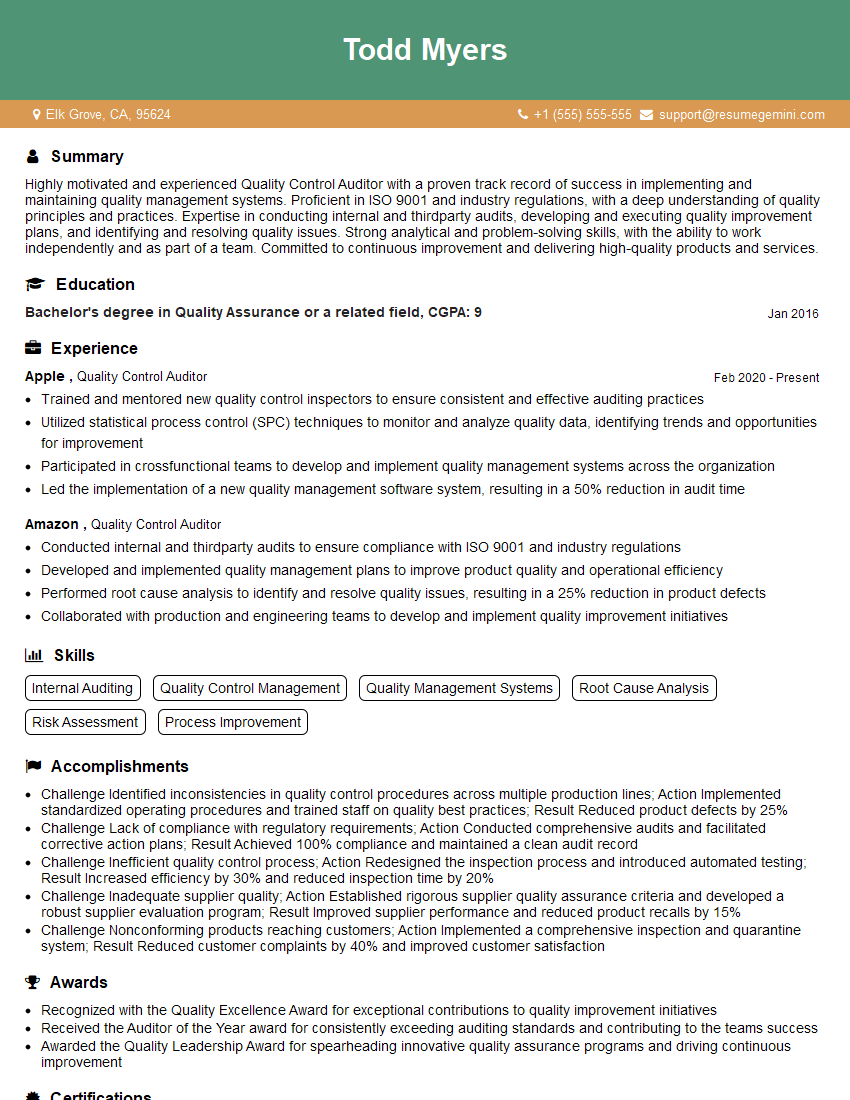
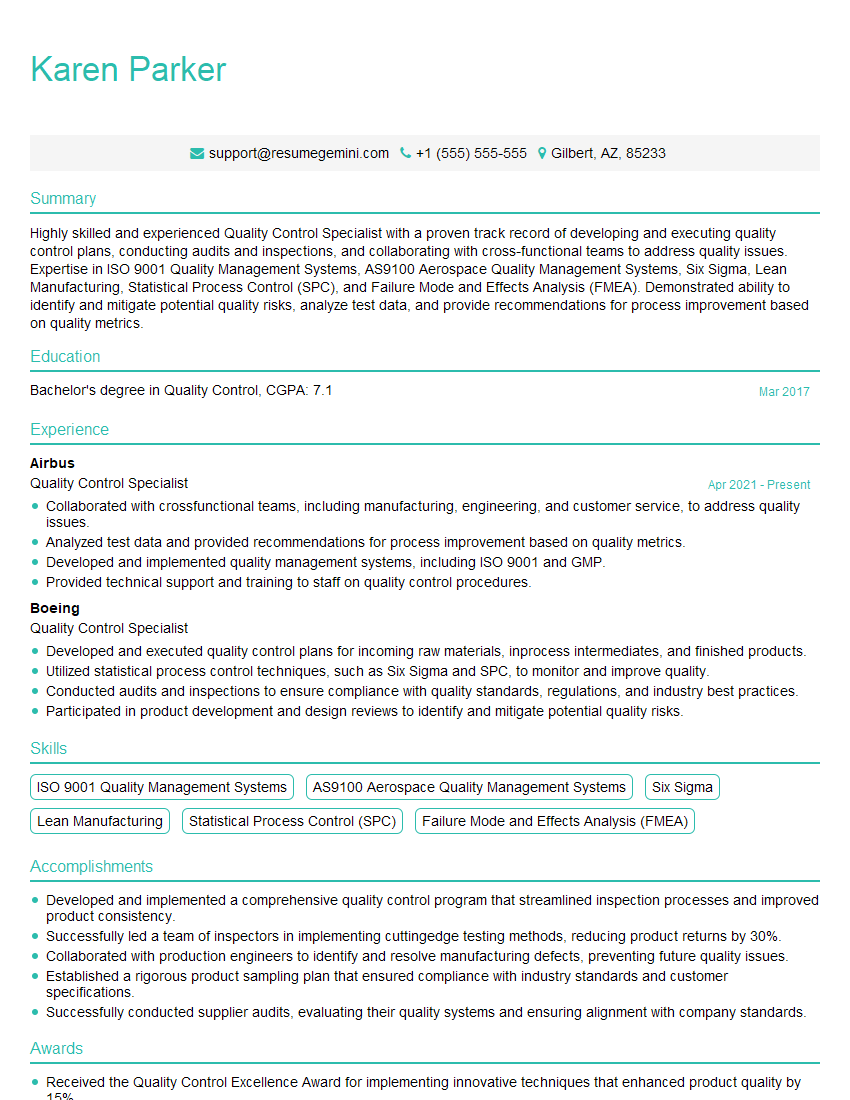
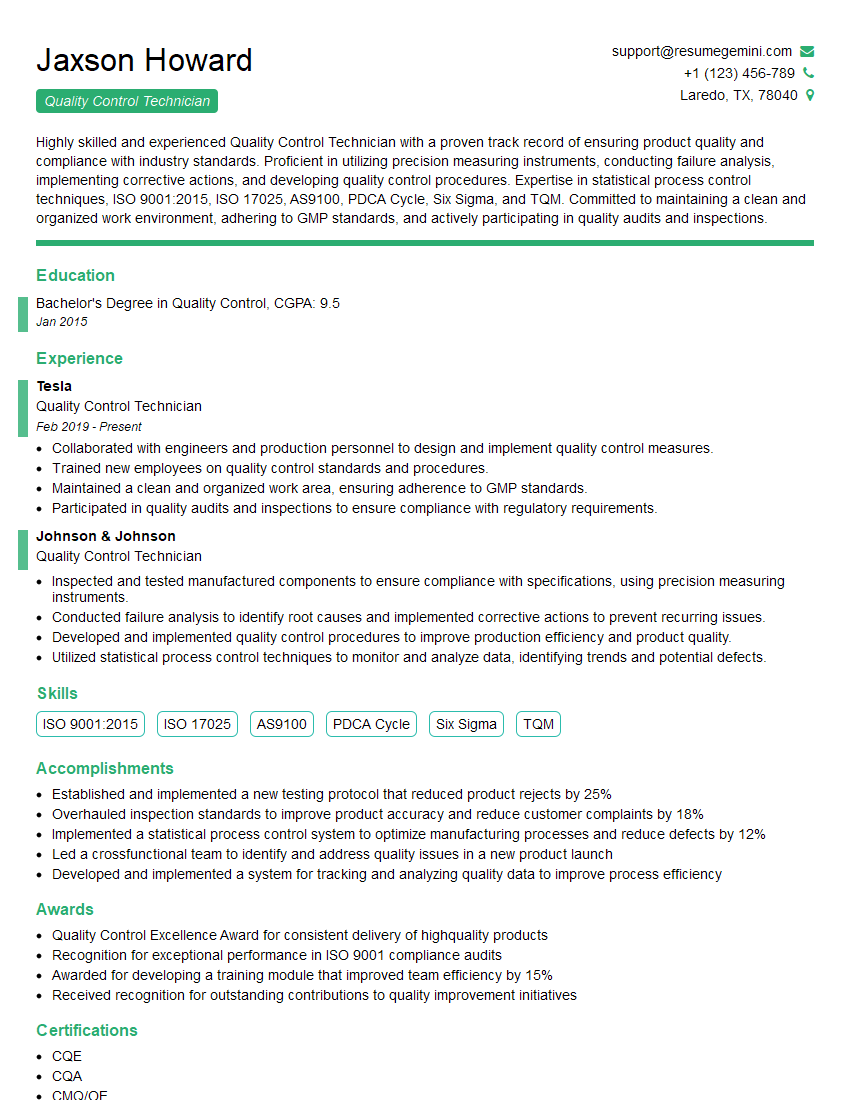
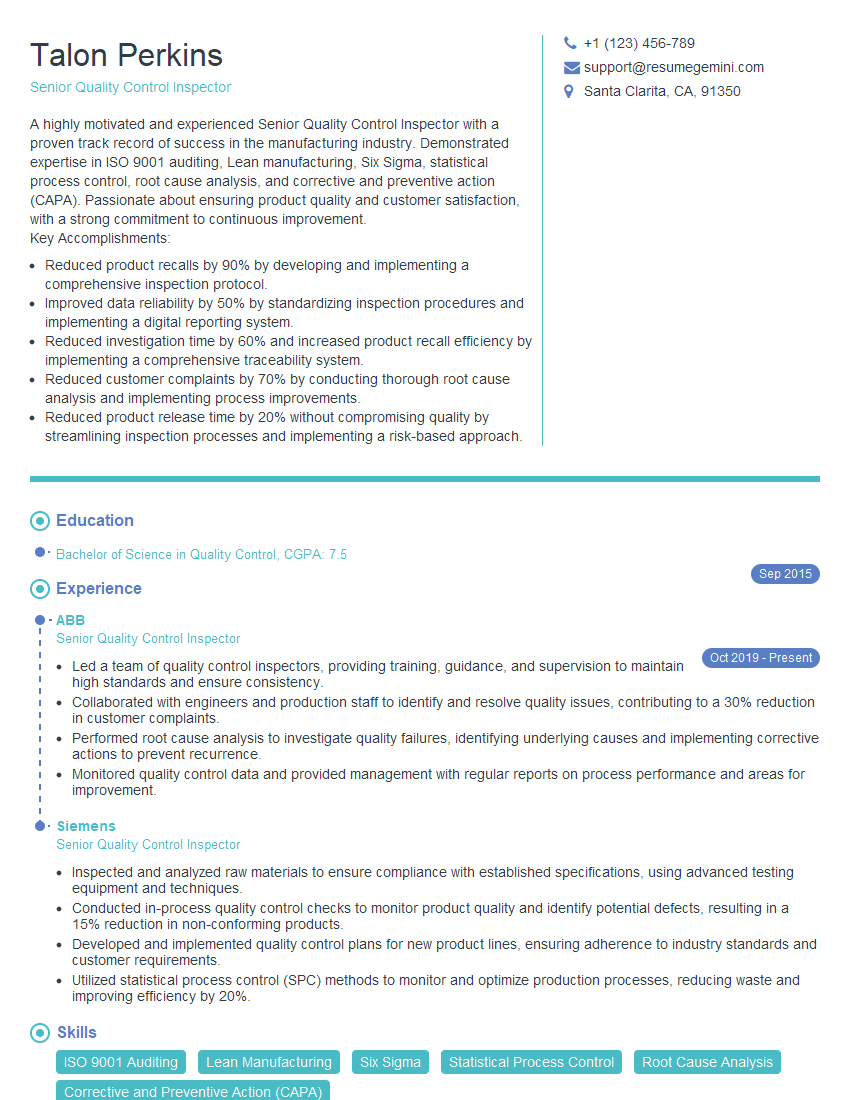
Mastering quality control inspections is crucial for career advancement in many industries. It demonstrates attention to detail, problem-solving skills, and a commitment to excellence – highly valued attributes in today’s competitive job market. To significantly enhance your job prospects, create a compelling, ATS-friendly resume that highlights your skills and experience. ResumeGemini is a trusted resource that can help you build a professional resume that stands out. Examples of resumes tailored to Performing quality control inspections are available to guide you. Invest the time in crafting a strong resume – it’s your first impression with potential employers.
Explore more articles
Users Rating of Our Blogs
Share Your Experience
We value your feedback! Please rate our content and share your thoughts (optional).
What Readers Say About Our Blog
Hello,
We found issues with your domain’s email setup that may be sending your messages to spam or blocking them completely. InboxShield Mini shows you how to fix it in minutes — no tech skills required.
Scan your domain now for details: https://inboxshield-mini.com/
— Adam @ InboxShield Mini
Reply STOP to unsubscribe
Hi, are you owner of interviewgemini.com? What if I told you I could help you find extra time in your schedule, reconnect with leads you didn’t even realize you missed, and bring in more “I want to work with you” conversations, without increasing your ad spend or hiring a full-time employee?
All with a flexible, budget-friendly service that could easily pay for itself. Sounds good?
Would it be nice to jump on a quick 10-minute call so I can show you exactly how we make this work?
Best,
Hapei
Marketing Director
Hey, I know you’re the owner of interviewgemini.com. I’ll be quick.
Fundraising for your business is tough and time-consuming. We make it easier by guaranteeing two private investor meetings each month, for six months. No demos, no pitch events – just direct introductions to active investors matched to your startup.
If youR17;re raising, this could help you build real momentum. Want me to send more info?
Hi, I represent an SEO company that specialises in getting you AI citations and higher rankings on Google. I’d like to offer you a 100% free SEO audit for your website. Would you be interested?
Hi, I represent an SEO company that specialises in getting you AI citations and higher rankings on Google. I’d like to offer you a 100% free SEO audit for your website. Would you be interested?
good

