Interviews are more than just a Q&A session—they’re a chance to prove your worth. This blog dives into essential Restoration and Conservation of Antiques interview questions and expert tips to help you align your answers with what hiring managers are looking for. Start preparing to shine!
Questions Asked in Restoration and Conservation of Antiques Interview
Q 1. Explain the difference between restoration and conservation.
Restoration and conservation, while both aiming to preserve antiques, differ significantly in their approach. Conservation focuses on stabilizing the object and minimizing further deterioration. It prioritizes retaining the object’s original material and its history, even if it means leaving some damage visible. Think of it as providing first aid to an antique. Restoration, on the other hand, aims to return the antique to a specific point in its history, often its original state. This can involve replacing missing parts or significantly altering the existing material. Restoration is like a complete overhaul, a cosmetic surgery for the antique.
For example, if a painting has a small area of flaking paint, conservation would focus on stabilizing that flaking paint to prevent further loss. Restoration might involve repainting the damaged area to make it look as if the damage never happened. The ethical implications of this difference are crucial, often favoring a conservation approach to preserve authenticity.
Q 2. Describe your experience with various wood types used in antique furniture.
My experience with antique furniture encompasses a wide range of wood types, each presenting unique challenges and rewards. Mahogany, prized for its rich color and durability, requires careful attention to its often-delicate finish. Walnut, known for its beautiful grain and strength, can be challenging to repair due to its density. Oak, a very robust wood, often shows signs of significant wear and tear, demanding expertise in techniques like wood filling and patching. Cherry, renowned for its reddish hue, necessitates specific treatments to prevent darkening or fading. Each wood requires a tailored approach; understanding its inherent properties, including susceptibility to insect damage or environmental changes, is paramount for successful treatment.
I’ve worked with furniture from various periods, including pieces featuring inlaid woods like ebony and boxwood, which require particularly delicate handling during cleaning and repair.
Q 3. What are the common challenges in conserving textiles?
Conserving textiles presents a unique set of challenges due to their fragility and susceptibility to a variety of degrading factors. Light exposure causes fading and weakening of fibers. Humidity and temperature fluctuations encourage mold and mildew growth, as well as weakening of fibers. Insect infestations can cause irreparable damage. Previous repairs, particularly those using inappropriate materials, can complicate conservation efforts. Handling the textile improperly can also cause damage. Lastly, identifying and removing stains requires specific knowledge to prevent further damage to delicate fibres.
For example, a delicate silk tapestry might require specialized cleaning solutions and controlled environmental conditions to prevent damage. Proper support and mounting are also critical to prevent further stress and strain on the weak fibers.
Q 4. How do you assess the condition of an antique before beginning restoration?
Assessing the condition of an antique before restoration involves a meticulous and systematic approach. I begin with a visual inspection, noting any damage, including cracks, chips, losses, stains, insect damage, and previous repairs. I then use magnification to examine finer details, such as the condition of the wood grain or textile fibers. Non-invasive testing might be employed, such as ultraviolet light to reveal hidden damage or previous repairs. Detailed photography and documentation are crucial for creating a thorough record of the initial condition. This ensures that I can create a plan based on the materials and methods that are most appropriate for the object’s specific needs.
For instance, I might use a microscope to examine the structure of a wood joint to assess its stability. This allows me to determine the most appropriate approach—repair, consolidation, or replacement—while preserving its historical integrity.
Q 5. Explain your approach to cleaning delicate antique surfaces.
Cleaning delicate antique surfaces demands a gentle, informed approach. I avoid harsh chemicals and abrasive materials, opting instead for soft brushes, cotton swabs, and specialized cleaning solutions tailored to the specific material. For example, I might use a soft brush and distilled water for a piece of wooden furniture, or a specialized cleaning solution for a delicate textile. Testing the cleaning solution in an inconspicuous area is crucial to avoid unexpected reactions. The cleaning process itself should be slow and methodical, with meticulous attention to detail. If a cleaning solution needs to be applied, it must be applied in small amounts.
Working in a controlled environment helps minimize the risk of further damage from dust or humidity. I always carefully assess the condition of the antique before embarking on any form of cleaning.
Q 6. What are the ethical considerations in antique restoration?
Ethical considerations are paramount in antique restoration. The most important principle is to maintain the object’s historical integrity. This means minimizing interventions, using reversible techniques whenever possible, and clearly documenting all procedures. It is also essential to avoid misrepresentation, ensuring any restoration work doesn’t falsely enhance the value or provenance of the object. Transparency with the owner about the limitations and implications of any intervention is crucial. For example, it is unethical to fill in missing parts without clearly indicating that these parts have been replaced.
Using materials that are not historically appropriate is another ethical concern. The goal is to preserve the antique, not to create a new one, so only materials that are consistent with the original construction should be used if possible.
Q 7. Describe your experience with different types of wood finishes and their restoration.
My experience covers a variety of wood finishes, each demanding specific techniques for restoration. Shellac, a traditional finish, requires delicate cleaning and possible touch-ups with shellac that matches the existing finish as closely as possible. Lacquer, while durable, can crack and craze over time, often needing careful cleaning and repairs. Varnish can yellow with age, requiring specialized techniques to remove yellowing without damaging the underlying wood. Oil finishes often require cleaning and replenishing, focusing on restoring the luster and protection. Each finish has a unique response to cleaning agents, and different aging patterns that require specific approaches. Identifying the type of finish is often the first step to successful restoration.
For instance, I recently restored a piece with a French polish finish. This delicate finish required a painstaking approach to remove a thick layer of accumulated grime without disturbing the underlying finish. This was done by using specialized chemicals and methods that ensured the removal of only the grime and not the original French polish.
Q 8. How do you identify and address woodworm infestation in antique furniture?
Identifying woodworm infestation in antique furniture requires a keen eye and methodical approach. Woodworm, the larval stage of various beetle species, leave tell-tale signs. These include small, round exit holes (often 1-3mm in diameter), fine bore dust (frass) which resembles powder, and sometimes active larvae themselves. The location of these signs is also crucial – infestations often start in less-visible areas like the underside of a piece or within joints.
Addressing the infestation is a multi-step process. Firstly, a thorough inspection is necessary to determine the extent of the damage. This includes checking for active infestation (the presence of larvae or fresh frass) versus past infestation (only old exit holes). Treatment options vary depending on the severity and the piece’s value.
- Mild infestations: In cases of only a few exit holes and no active signs, carefully cleaning the area and applying a preventative treatment might suffice. This could involve using a consolidant to strengthen weakened wood followed by a woodworm preventative solution.
- Severe infestations: For extensive infestations, professional intervention is usually necessary. This might involve a combination of treatments such as fumigation (for large pieces or entire collections) or localized application of insecticides. The choice of insecticide is critical. It should be conservation-grade, meaning it won’t harm the furniture’s finish or structure in the long run.
After treatment, the exit holes are often filled using carefully selected wood fillers matched to the original wood’s colour and texture. The repair should be inconspicuous, respecting the object’s history. I’ve dealt with numerous cases, for example, a Chippendale bureau where we had to carefully treat the infestation in the back, then repair and re-finish the wood to match the original finish.
Q 9. Explain the process of repairing cracks and fractures in ceramics.
Repairing cracks and fractures in ceramics demands precision and patience. The process involves several steps, starting with careful cleaning and documentation of the damage. Understanding the type of ceramic (porcelain, earthenware, stoneware) is vital as it affects the adhesive choice and repair technique.
The first step is to carefully clean the broken pieces. Removing any loose fragments or dirt is essential for a strong bond. Once cleaned, the broken edges are then aligned, often using clamps, jigs or even specialized ceramic clamps. The surfaces must be thoroughly cleaned and the appropriate adhesive carefully applied.
Several adhesives are suitable, but epoxy resins are often preferred for their strength and durability. The adhesive is applied thinly and evenly, ensuring proper adhesion to both surfaces. Excess adhesive is carefully removed, often using a cotton swab or fine brush.
Once the adhesive is cured, the repair might be further consolidated. This could involve applying a consolidant to strengthen the area around the repair or filling any small gaps with a suitable filler matched to the ceramic. Lastly, surface retouching might be necessary to minimize the visibility of the repair. This requires colour matching and careful blending of the restoration material to seamlessly integrate it with the existing ceramic.
For example, I once repaired a delicate porcelain doll’s head. The fracture was hairline, and I used a very low viscosity epoxy to bond the pieces. After curing, I gently consolidated the area around the repair and used tiny amounts of carefully-mixed pigments to re-create the glaze’s texture and colour.
Q 10. What are the different methods of consolidating fragile artifacts?
Consolidating fragile artifacts involves strengthening weakened or deteriorated materials without altering their appearance or structure excessively. The approach depends on the artifact’s material (e.g., stone, metal, textiles). Several methods exist:
- Parlodion and other consolidants: These are applied as solutions. They penetrate the porous material, filling microscopic voids and binding loose particles together. Careful control over the application process prevents excessive build-up or alteration of the surface.
- Resin consolidation: Resins, such as acrylic resins, can be injected into cracks or applied to the surface. This is often used for objects with significant internal damage. The resin solidifies, strengthening the object.
- In-situ consolidation: This technique involves the application of consolidants directly to the artifact in its location, often used for large or immovable artifacts (like murals).
- Support structures: For extremely fragile items, a support structure (like a custom-made cradle or backing) is created to provide physical support and prevent further damage during handling and display. This is crucial for maintaining structural integrity.
The selection of the method and materials is crucial, as different materials respond differently to various consolidants. Incorrect techniques might lead to undesired effects like darkening or brittleness of the original material. For example, I used a carefully controlled application of Paraloid B-72 to consolidate a crumbling section of a medieval tapestry, subtly strengthening its structure while maintaining its original character.
Q 11. How do you choose appropriate adhesives and consolidants for various materials?
Choosing appropriate adhesives and consolidants is paramount in conservation. It depends on several factors, including the material’s composition, its level of degradation, and the environmental conditions. The adhesive or consolidant must be reversible or at least easily removable in case future treatments are needed.
For wood: Animal glues (hide glue) are traditionally used for their reversibility and compatibility with wood. Modern synthetic adhesives like polyvinyl acetate (PVA) are also suitable, but their reversibility is less certain.
For ceramics: Epoxy resins are often a good choice due to their strength and stability. However, they should be carefully chosen based on their compatibility with the specific type of ceramic.
For textiles: Water-based adhesives or consolidants are often preferred, minimizing the risk of damaging the delicate fibers. Examples include methyl cellulose or PVA.
For metals: Depending on the type of metal, specific epoxies or acrylic resins may be chosen. For extremely fragile items, specialized consolidants are employed.
For paint: Retouching typically involves using acrylic paints that match the original colours and are formulated for compatibility with the existing paint layer.
Testing is always recommended before applying any adhesive or consolidant to the entire artifact. A small test on an inconspicuous area assesses the material’s response to the chosen product, ensuring that there will be no detrimental reactions before proceeding with the full treatment.
Q 12. What are the common signs of paint degradation, and how do you address them?
Paint degradation manifests in various ways. Common signs include:
- Cracking (craquelure): This appears as a network of fine cracks on the paint surface, often due to age, exposure to fluctuating temperatures or humidity, or the use of incompatible materials.
- Flaking: Paint layers separate from the substrate, resulting in losses and potential damage. This often happens due to poor adhesion between paint layers or the paint and the surface.
- Discoloration: Changes in color due to light exposure, chemical reactions, or the growth of microorganisms are possible.
- Blistering: The paint forms bubbles, due to trapped moisture or other internal pressures.
Addressing these issues requires a cautious, nuanced approach. Cleaning and consolidation are often initial steps to stabilize the paint layer, followed by retouching to restore missing paint if deemed appropriate and ethical. If craquelure is significant and unstable, consolidants can be carefully applied to bind the loose paint, but it’s crucial to preserve the visual character of the original degradation. Flaking requires careful removal of loose paint and consolidation of remaining areas. Retouching, when necessary, involves using artists’ materials meticulously matched to the original colours and technique, aiming to be minimally invasive and clearly distinguishable from original work.
Q 13. Explain your experience with gilding and its restoration.
Gilding, the application of thin gold leaf or gold-based materials, requires specialized skills. Restoration involves careful cleaning to remove dirt and grime, often using soft brushes and appropriate solvents. Loose or damaged gilding requires stabilization and repair; this might involve consolidation techniques or the careful replacement of missing sections of gold leaf using matching materials and traditional methods.
The choice of cleaning methods depends on the type of gilding (e.g., oil gilding, water gilding) and the substrate. I’ve worked extensively on restoring gilt frames and decorative elements where careful removal of old varnish, cleaning and the cautious repair of small losses using very thin gold leaf was essential to maintaining the object’s integrity and aesthetic. This frequently requires the use of a variety of tools, including magnifying glasses, scalpels, and fine brushes. Accurate colour matching is crucial when there are losses in the gilt surface. It’s important to ensure the new gilding is applied seamlessly and indistinguishably from the original work.
Q 14. Describe your experience in the conservation of leather or parchment.
Leather and parchment conservation is challenging due to their sensitivity to environmental factors. My experience includes cleaning, consolidating, and repairing damaged areas. Cleaning methods vary from gentle dry cleaning with soft brushes to the use of carefully selected solvents for specific types of soiling. Consolidation is crucial for fragile materials, involving the application of suitable consolidants – often aqueous solutions – that penetrate the material and strengthen it without altering its texture or colour.
Damaged areas may require careful repair using techniques like patching or infilling. Leather tears, for example, often require careful stitching and patching with similarly aged and toned leather. Parchment tears can be mended using Japanese tissue and wheat starch paste, careful to avoid damaging the surrounding areas. In addition, it is important to maintain proper environmental conditions such as temperature and humidity control to protect the leather and parchment from further damage.
One project I remember involved a collection of 18th-century legal documents. Several were extremely brittle, and we used a very delicate approach to cleaning and consolidation followed by careful repair of small tears and losses.
Q 15. How do you prevent further deterioration after restoration?
Preventing further deterioration after restoration is paramount and involves a multi-pronged approach focusing on environmental control and material stabilization. Think of it like preserving a delicate painting – you wouldn’t hang it in direct sunlight!
Environmental Control: This is crucial. Fluctuations in temperature and humidity are the enemy of antiques. Maintaining a stable environment, ideally with climate control, minimizes stress on materials, preventing cracking, warping, and further degradation. For example, wooden furniture is particularly susceptible to changes in humidity, expanding and contracting, potentially leading to splits or loosening joints.
Material Stabilization: This involves treating the materials themselves to increase their resistance to further damage. For example, consolidating weakened wood with consolidants, applying UV-protective coatings to prevent fading in textiles, or using corrosion inhibitors on metals. This ensures that the materials are as stable as possible, preventing further deterioration.
Proper Storage and Handling: Once restored, proper storage is vital. This includes using acid-free materials for packaging and display, avoiding direct contact with other objects, and using appropriate supports to prevent stress on fragile areas. Think of it like carefully placing a precious vase – it needs a stable and protected environment.
Career Expert Tips:
- Ace those interviews! Prepare effectively by reviewing the Top 50 Most Common Interview Questions on ResumeGemini.
- Navigate your job search with confidence! Explore a wide range of Career Tips on ResumeGemini. Learn about common challenges and recommendations to overcome them.
- Craft the perfect resume! Master the Art of Resume Writing with ResumeGemini’s guide. Showcase your unique qualifications and achievements effectively.
- Don’t miss out on holiday savings! Build your dream resume with ResumeGemini’s ATS optimized templates.
Q 16. Describe your experience with the use of specialized tools and equipment.
My experience with specialized tools and equipment is extensive. Restoration is not just about artistic skill; it requires the precise application of technology. I’m proficient in the use of tools ranging from microscopic instruments to more heavy-duty machinery.
Microscopic tools: For delicate work on small objects like porcelain figurines, I utilize micro-spatulas, micro-brushes, and micro-tweezers for precise cleaning and repair. The detail needed is often akin to that of a surgeon.
Mechanical tools: For furniture restoration, I’m experienced with woodworking machinery such as jointers, planers, and mortise machines, ensuring accuracy and efficiency in repairs. This is where knowledge of traditional joinery methods intersects with modern technology.
Specialized equipment: My experience also includes the use of specialized equipment like environmental chambers for controlled cleaning and drying, and imaging technologies like X-ray fluorescence (XRF) for material analysis. This helps me to understand the composition of materials and make informed decisions about treatment. For instance, I may use XRF to identify the metals used in a piece of silverware prior to cleaning, to select the appropriate method for avoiding corrosion.
Q 17. What is your experience with documentation procedures for conservation projects?
Comprehensive documentation is essential. It’s not just about recording the ‘before and after’; it’s about creating a complete record of the entire process for future reference and ethical practice. Imagine it as a scientific experiment – you need to document every step.
Photography: High-resolution photography documents the artifact’s condition before, during, and after treatment. This allows for detailed observation and tracking of changes.
Written reports: Detailed written reports describe the object, its condition, the methods used, materials employed, and the results. This ensures transparency and traceability.
Sampling and analysis: Sometimes, samples are taken for analysis to identify materials and understand the causes of deterioration. This documentation is crucial for informed decision-making.
Digital archiving: Digital archiving ensures the preservation of the documentation itself, preventing loss or degradation.
Q 18. How do you manage risks associated with the use of chemicals in conservation?
Chemical use in conservation requires extreme caution. It’s like working with potent medicine; the wrong dose can be harmful. Risk management involves careful planning, using appropriate personal protective equipment (PPE), and adhering to strict safety protocols.
Risk assessment: Before using any chemical, I conduct a thorough risk assessment identifying potential hazards and developing mitigation strategies.
PPE: Appropriate PPE, including gloves, respirators, and eye protection, is always used, minimizing exposure to hazardous substances. It’s not just a precaution; it’s a necessity.
Controlled environment: Chemicals are often used in well-ventilated areas or under controlled environmental conditions to minimize exposure to both the artifact and the conservator.
Waste disposal: Proper disposal of chemical waste is crucial, adhering to all relevant environmental regulations. This ensures the safety of both the environment and the public.
Q 19. What are your knowledge and experience with different types of metal corrosion?
Metal corrosion is a complex area, and my knowledge spans various types. Understanding the type of corrosion is crucial to selecting the appropriate treatment method.
Oxidation: This is the most common type, where metals react with oxygen, forming oxides. For example, iron rusting is a classic case of oxidation. Treatments vary depending on the severity; sometimes gentle cleaning suffices, other times more involved electrochemical methods may be required.
Chlorination: Chloride ions accelerate corrosion, particularly in marine environments. This can cause pitting and rapid deterioration. Removing chloride ions from the corroded surface is crucial, and this often requires careful and specialized cleaning techniques.
Sulfidation: Exposure to sulfur compounds leads to sulfidation, often resulting in dark discoloration and weakening of the metal. Again, understanding the specific type of corrosion is crucial in choosing a treatment that will not further damage the artefact.
I have extensive experience diagnosing the specific type of corrosion and applying appropriate treatments to mitigate further damage and, where possible, restore the original finish or color of the metal.
Q 20. How do you handle the ethical dilemma of completing repairs vs preserving the original artifact?
The ethical dilemma of repair versus preservation is central to conservation ethics. It’s about balancing the desire for visual completeness with the preservation of historical integrity. The guiding principle is always to prioritize the long-term preservation of the artifact.
Imagine a cracked antique porcelain doll. Repairing the crack might enhance its visual appeal, but using inappropriate materials could ultimately cause more harm in the long run. Therefore, we must use only historically appropriate materials and methods. Sometimes, ‘preserving the original artifact’ means carefully documenting and conserving the crack itself, accompanied by a detailed explanation of the damage. Minimal intervention is often the best strategy to ensure longevity, while the documentation can help future conservators to make informed decisions based on our previous work.
Transparency is key. Decisions made about repairs are meticulously documented and justified, allowing future generations to understand the rationale behind each decision.
Q 21. Describe your experience with different types of joinery in antique furniture.
Antique furniture showcases a remarkable variety of joinery techniques. Understanding these techniques is fundamental to both restoration and conservation. Each type presents unique challenges and requires specific approaches during repair.
Dovetail joints: These are strong and aesthetically pleasing, involving interlocking ‘tails’ and ‘pins’. Repairing a damaged dovetail joint requires precise woodworking skills, often involving creating new pieces to replace damaged parts.
Mortise and tenon joints: These are commonly found in chairs and tables, involving a ‘tenon’ that fits into a ‘mortise’. Repairing these joints might involve strengthening the existing tenon and mortise or carefully crafting new ones to match the original.
Dowel joints: These use wooden dowels for stability. Repair might involve replacing damaged dowels with new ones or reinforcing the existing joint using consolidants.
My experience includes the precise replication of these joints, which demands a deep understanding of traditional woodworking techniques and an appreciation for the historical craftsmanship involved. It’s important to not only repair the joint but also to maintain the structural integrity of the piece in the long term.
Q 22. How do you determine the appropriate level of intervention for a given artifact?
Determining the appropriate level of intervention for an artifact is a crucial decision in conservation, balancing preservation with the object’s integrity. It’s like deciding how much to repair a historical building – you wouldn’t replace original stonework unless absolutely necessary. We employ a holistic approach, considering several factors:
- Artifact’s Condition: A thorough assessment is first conducted, documenting damage, deterioration, and the object’s overall stability. This includes visual inspection, material analysis (e.g., using microscopy or spectroscopy), and potentially destructive testing in small, inconspicuous areas if necessary.
- Significance and Value: The artifact’s historical, artistic, or cultural importance greatly influences treatment decisions. A minor imperfection on a mass-produced object might be left untouched, while a significant crack on a rare painting would require careful intervention.
- Treatment Objectives: We establish clear goals for the treatment. Are we aiming for stabilization, minimal intervention, or complete restoration? The level of intervention directly correlates with these objectives. For example, a fragile textile might only require environmental control and minimal surface cleaning, while a severely damaged sculpture may require more extensive consolidation and reconstruction.
- Reversibility and Ethics: Ideally, conservation treatments should be reversible or at least easily identifiable as interventions. We always prioritize ethical practices, respecting the object’s history and avoiding any irreversible alterations unless absolutely vital.
For instance, I once worked on a 17th-century map with significant foxing (brown spots caused by fungal growth). Minimal intervention was selected. Instead of aggressively removing the foxing, which could damage the delicate paper, we focused on careful cleaning and environmental control to prevent further deterioration. The foxing remained visible, adding to the map’s history.
Q 23. What is your experience with environmental controls for preservation?
Environmental controls are fundamental to long-term preservation. Think of it as creating a stable, comfortable ‘climate’ for the artifact to inhabit, slowing down deterioration. My experience spans various approaches:
- Temperature and Humidity Control: Maintaining stable temperatures (ideally around 68-72°F) and relative humidity (around 45-55%) is crucial. Fluctuations can cause expansion and contraction of materials, leading to cracking and warping. I’ve worked with climate-controlled storage facilities and museum display cases equipped with precise environmental monitoring systems.
- Light Management: UV and visible light can cause fading, embrittlement, and other damage to many materials. Controlling light exposure through UV filtering, low-level illumination, and minimizing light duration is essential. I have extensive experience in specifying appropriate lighting systems for display cases and storage areas.
- Air Quality Control: Pollutants in the air, such as sulfur dioxide and ozone, can accelerate deterioration. Proper ventilation and air filtration systems help to minimize exposure to harmful pollutants. I’ve specified and implemented air filtration systems for archival storage facilities.
- Pest Control: Insects and rodents can cause irreparable damage. Regular monitoring, preventative measures, and, when necessary, controlled pest control are important aspects of environmental control. I’ve worked with integrated pest management plans in various museum settings.
For example, in one project, we implemented a sophisticated environmental monitoring system in a historic house museum, alerting staff to any significant deviations from ideal conditions, enabling immediate corrective actions.
Q 24. Explain your knowledge of various photographic conservation techniques.
Photographic conservation techniques are indispensable for documenting the artifact’s condition, treatment processes, and overall changes over time. They are vital for research, communication, and tracking progress. My experience includes:
- High-Resolution Digital Photography: This is the cornerstone, offering detailed visual records of the artifact before, during, and after treatment. I ensure appropriate lighting, focus, and image scaling for detailed analysis. I also use specialized software for image stitching and enhancement.
- Infrared and Ultraviolet Photography: These techniques reveal hidden details not visible to the naked eye, such as underlying paint layers (IR) or areas of damage that have been repaired (UV). This information informs treatment decisions and aids in the authentication process.
- Macro and Microphotography: Provides highly magnified images for detailed examination of material characteristics, allowing for the identification of specific deterioration processes or the analysis of fibers in textiles or paint cross-sections.
- Time-Lapse Photography: Useful for monitoring slow processes such as drying or consolidation, providing valuable information about the effectiveness of various treatments.
For example, while working on a damaged tapestry, I used infrared photography to reveal the original weaving structure beneath layers of discoloration and repairs, guiding the conservation approach and allowing for more effective cleaning.
Q 25. Describe your process for creating a conservation treatment plan.
Creating a conservation treatment plan is a multi-stage process that requires careful consideration and documentation. It’s like a detailed blueprint for a surgical procedure, ensuring a successful and controlled outcome.
- Initial Assessment and Documentation: This involves a thorough examination of the artifact, documenting its condition, materials, and any existing damage. This is often supported by photographic documentation and material analysis.
- Treatment Objectives: Defining clear, achievable goals for the treatment is essential. This might include stabilizing the artifact, cleaning surface dirt, consolidating weakened areas, or repairing damage.
- Methodology Selection: Choosing the most appropriate treatment methods based on the artifact’s materials, condition, and treatment objectives. This often involves researching best practices and consulting with other specialists.
- Testing and Trial Treatments: Testing the chosen methods on a small, inconspicuous area of the artifact is critical to ensure compatibility and effectiveness, preventing unexpected negative consequences.
- Treatment Implementation: This stage involves the careful and meticulous execution of the chosen treatment methods, following all safety protocols and carefully documenting each step.
- Post-Treatment Evaluation: A final assessment of the treatment’s success, documenting any changes and evaluating the long-term stability of the artifact. This often includes additional photographic documentation.
For instance, when preparing a treatment plan for a waterlogged wooden sculpture, I started by identifying the species of wood and assessing its condition through a combination of visual inspection, X-ray imaging, and sampling. Based on this, we chose a series of treatments, including controlled drying, consolidation, and infilling of missing sections, meticulously documented in the treatment plan and subsequent reports.
Q 26. What is your experience with the use of imaging techniques in conservation assessments?
Imaging techniques are invaluable tools in conservation assessments, providing non-invasive ways to investigate an artifact’s internal structure and hidden features. My experience encompasses various modalities:
- X-radiography: Penetrates materials to reveal internal structures, such as the presence of hidden repairs, internal damage, or metal supports. It’s invaluable for assessing wooden objects, sculptures, and paintings.
- Infrared Reflectography (IRR): Detects paint layers beneath the surface, revealing underdrawings or pentimenti (changes made by the artist during the creation process). This is particularly crucial in the analysis of paintings.
- Ultraviolet Fluorescence (UVF): Highlights areas of restoration, revealing previous repairs or the presence of certain pigments that fluoresce under UV light.
- Multispectral Imaging: Combines images from different wavelengths of light to reveal information not visible in visible light, expanding our understanding of the artifact’s composition and history.
- Computed Tomography (CT): Creates detailed three-dimensional images of the object’s internal structure, useful for objects with complex internal features or hidden damage, for example, the examination of mummies.
For example, when evaluating a 19th-century painting, we used IRR to reveal preparatory drawings and pentimenti, improving our understanding of the artist’s creative process and informing how to best approach any conservation intervention.
Q 27. How do you deal with unstable or hazardous materials?
Handling unstable or hazardous materials requires a high level of expertise and adherence to strict safety protocols. It’s about protecting both the artifact and the conservator. My experience includes:
- Risk Assessment: A thorough risk assessment is crucial, identifying potential hazards and developing safety procedures to minimize risks. This involves understanding the properties of the hazardous materials, including their toxicity, flammability, and reactivity.
- Protective Equipment: Using appropriate personal protective equipment (PPE) is paramount. This may include gloves, respirators, eye protection, and specialized clothing, depending on the nature of the hazard.
- Controlled Environment: Working in a well-ventilated area, under controlled conditions, and using appropriate containment measures is crucial to prevent exposure. This may include using fume hoods or glove boxes for highly toxic materials.
- Specialized Techniques: Employing specific techniques to handle hazardous materials safely, such as encapsulation, stabilization, or controlled removal. For example, asbestos requires specific removal techniques to prevent the release of harmful fibers.
- Waste Disposal: Following all guidelines for proper disposal of hazardous waste, ensuring compliance with all relevant environmental regulations.
For example, when dealing with a piece of furniture containing lead-based paint, we used appropriate respirators, protective clothing, and careful containment measures to minimize the risk of lead poisoning during cleaning and repair. All waste was disposed of according to safety regulations.
Q 28. What are your professional development plans in the field of conservation?
My professional development plans focus on staying at the forefront of conservation science and techniques. This includes:
- Continuing Education: Attending workshops, conferences, and advanced training courses on emerging technologies and conservation methodologies. This keeps my skills updated and allows me to apply the latest advancements in practice.
- Research and Publication: Engaging in research projects, publishing findings in peer-reviewed journals, and presenting at professional conferences to contribute to the field’s knowledge base.
- Mentorship and Collaboration: Mentoring junior conservators and collaborating with colleagues to share knowledge and expertise, fostering a collaborative and learning-oriented environment.
- Networking: Actively participating in professional organizations and attending networking events to stay informed about advancements in the field and collaborate with experts across diverse specializations.
- Technological Advancement: Continuously learning and adopting new imaging technologies, analytical techniques, and digital tools to enhance conservation practices and optimize treatment decisions.
Specifically, I’m currently focusing on expanding my knowledge of advanced material analysis techniques and their applications in conservation, with a particular interest in the use of hyperspectral imaging for the analysis of paintings.
Key Topics to Learn for Your Restoration and Conservation of Antiques Interview
- Materials Science & Analysis: Understanding the properties of various materials used in antique creation (wood, metal, textiles, etc.) and employing appropriate analytical techniques (e.g., microscopy, spectroscopy) to assess their condition and inform treatment decisions.
- Conservation Ethics & Principles: Applying the core principles of minimum intervention, reversibility, and documentation to ensure the long-term preservation of the artifact while respecting its historical integrity. Practical application involves justifying treatment choices based on established ethical guidelines.
- Structural Stabilization Techniques: Mastering methods for strengthening weakened structures, including consolidation, repair, and joining techniques tailored to specific materials and damage types. This includes understanding the limitations of each technique and potential risks.
- Surface Cleaning & Treatment: Knowing various cleaning methods for different materials and the potential risks associated with each. This includes understanding the importance of testing and appropriate solvent selection. Practical application involves describing specific cleaning protocols for various materials.
- Preservation & Storage: Understanding appropriate environmental controls (temperature, humidity, light) to prevent deterioration and outlining best practices for the safe storage and handling of antiques. Practical application involves designing a storage plan for a specific collection of artifacts.
- Documentation & Reporting: Thorough documentation of the condition assessment, treatment process, and results. This includes photographic records, detailed written reports, and the ability to communicate findings clearly and concisely to clients or colleagues.
- Pest Control & Prevention: Identifying common threats to antique artifacts (e.g., insects, mold) and implementing preventative and curative measures. Practical application includes describing specific pest control strategies and their rationale.
- Historical Context & Research: Understanding the historical background and context of the artifacts you might treat to inform your conservation approach and ensure authenticity is maintained. This includes researching appropriate techniques for specific periods and styles.
Next Steps
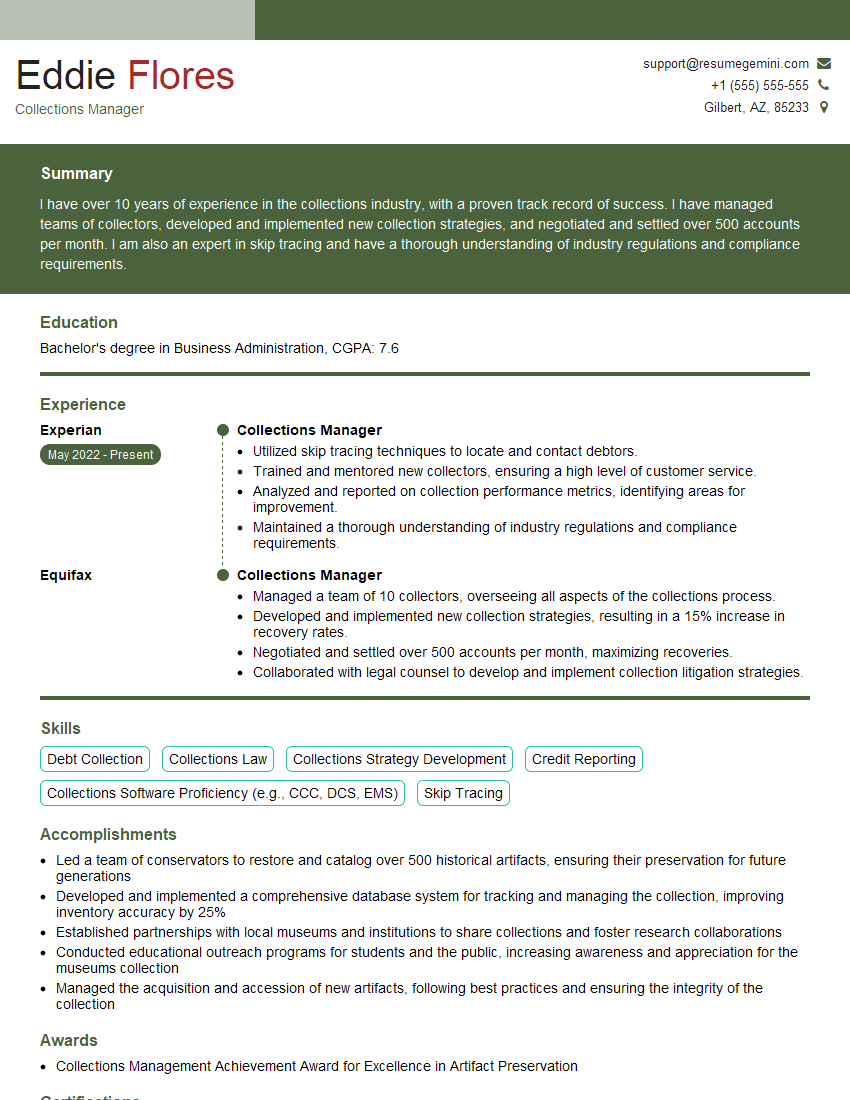
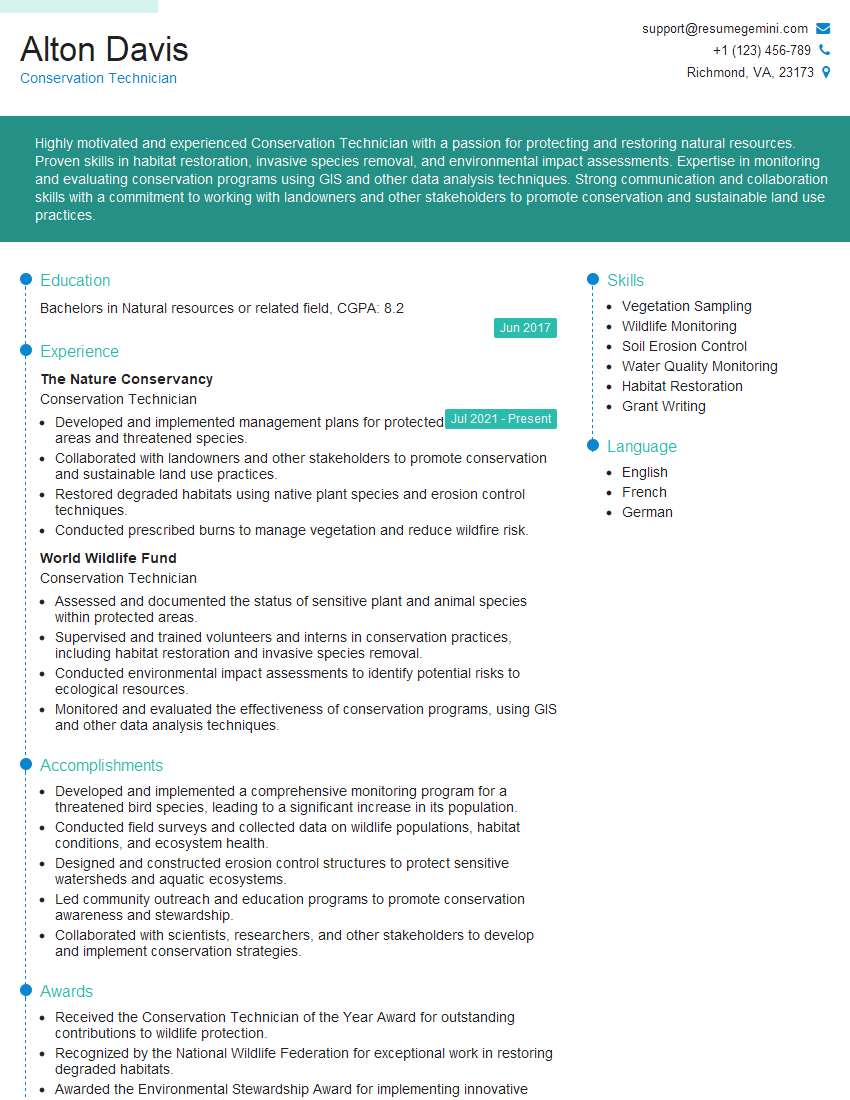
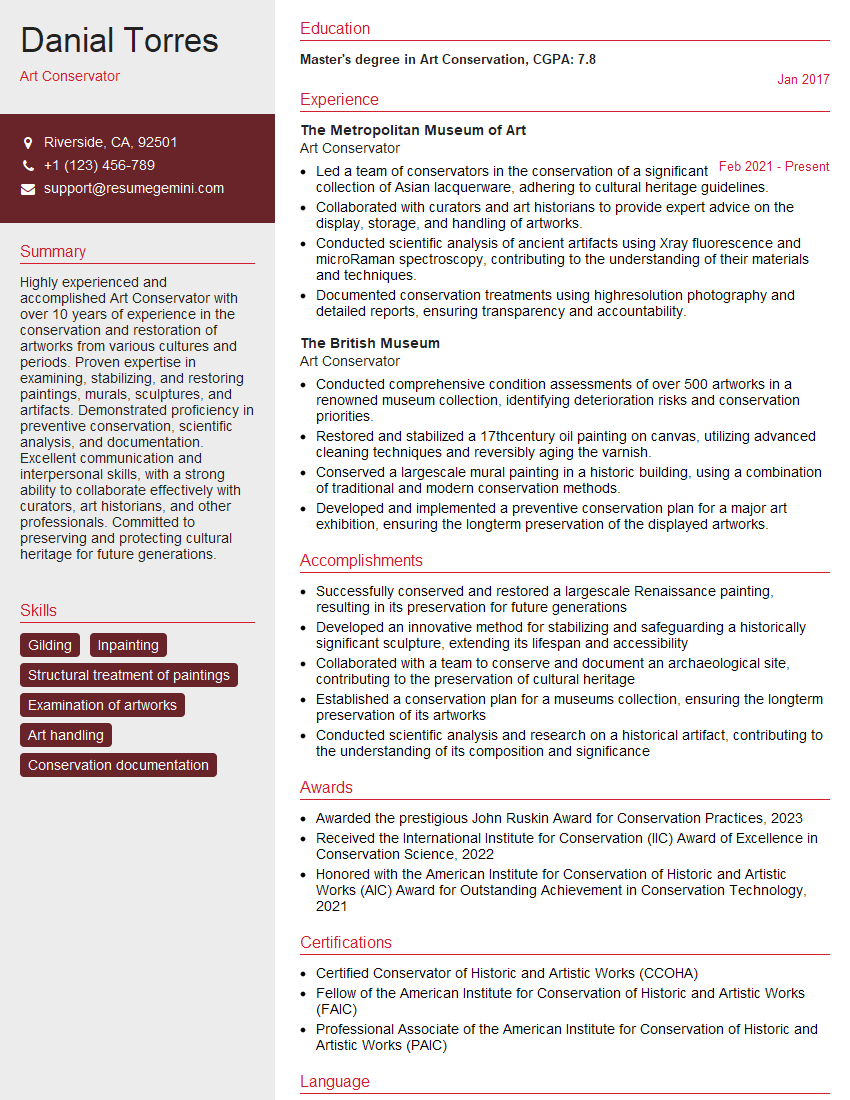
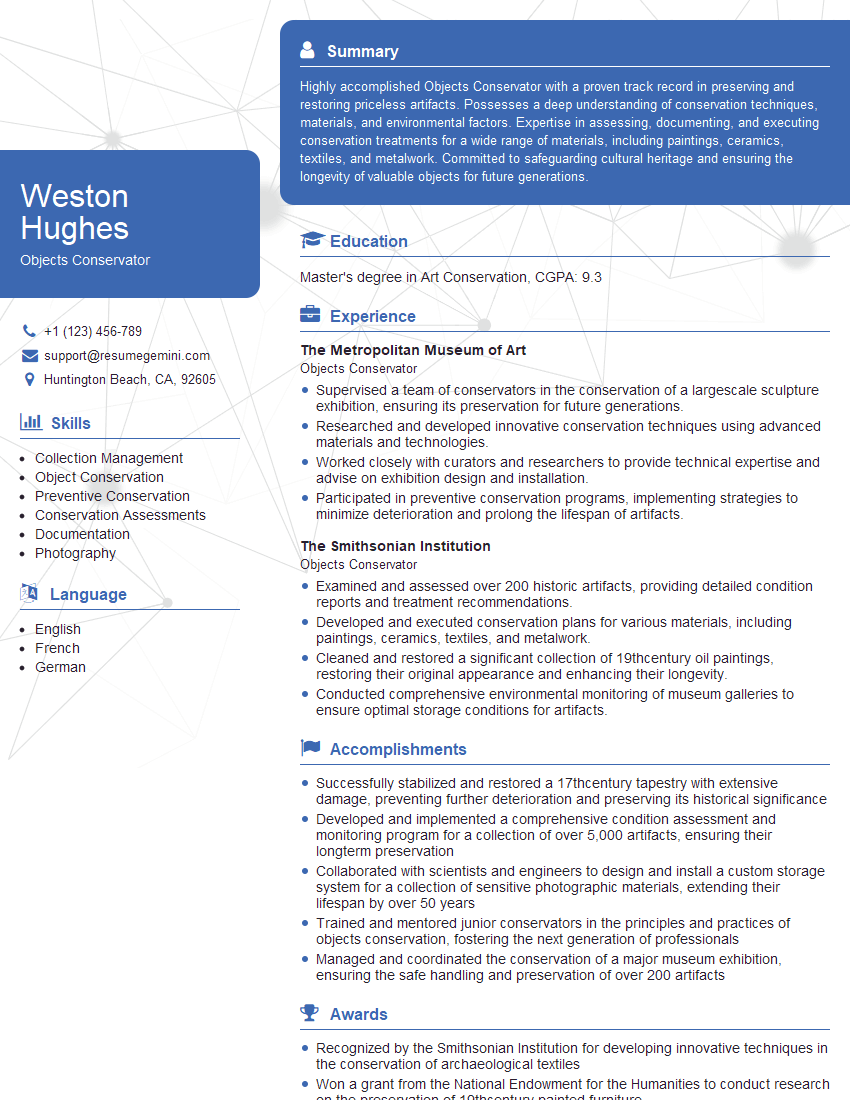
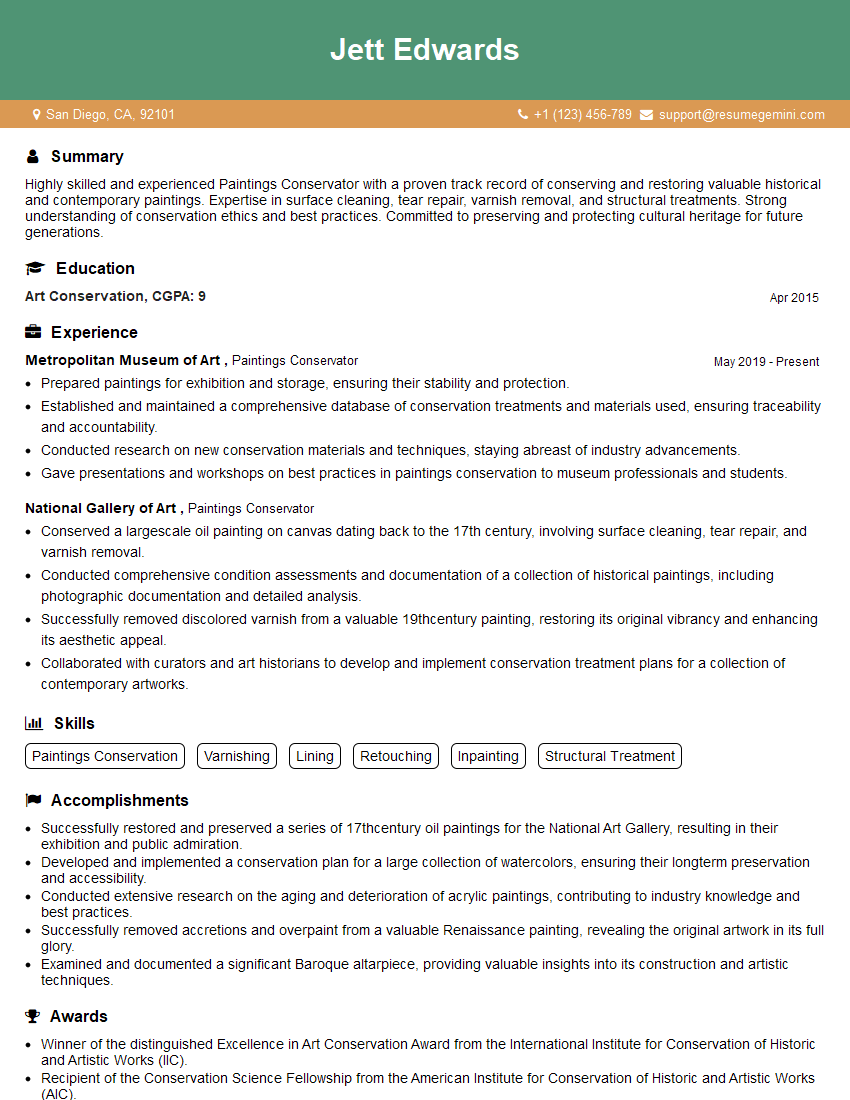
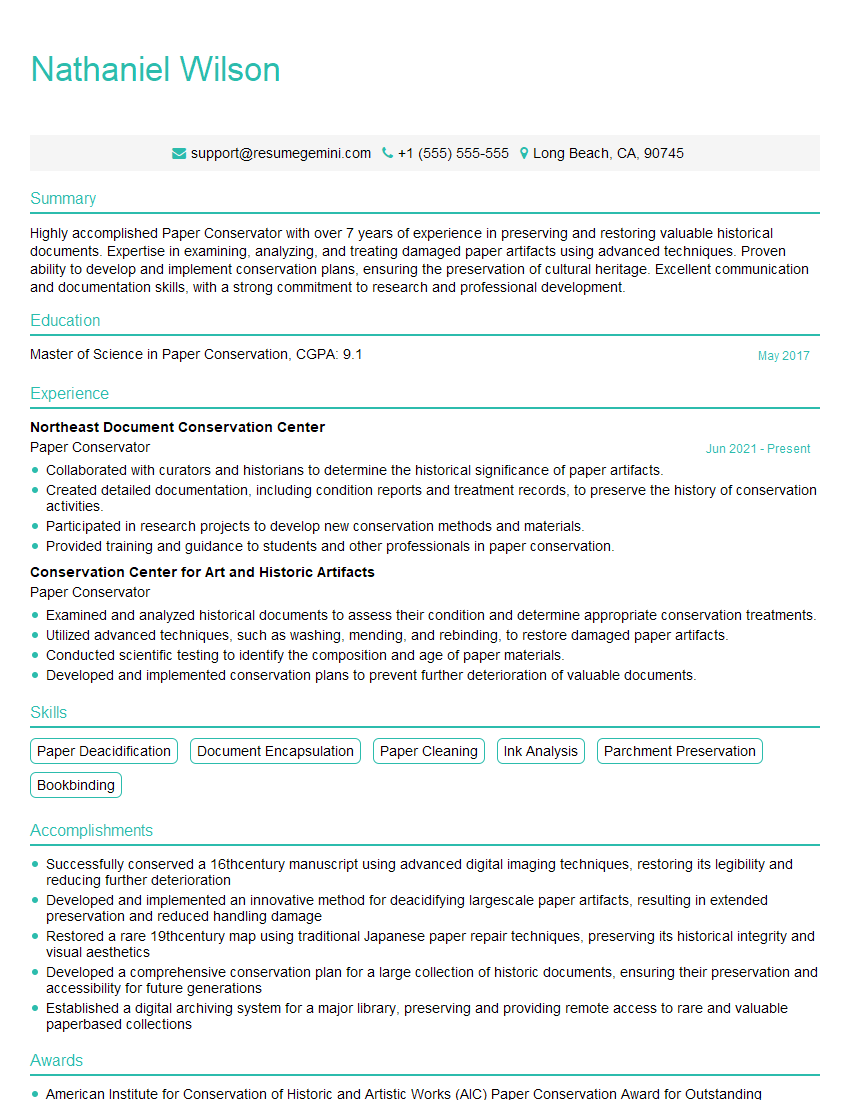
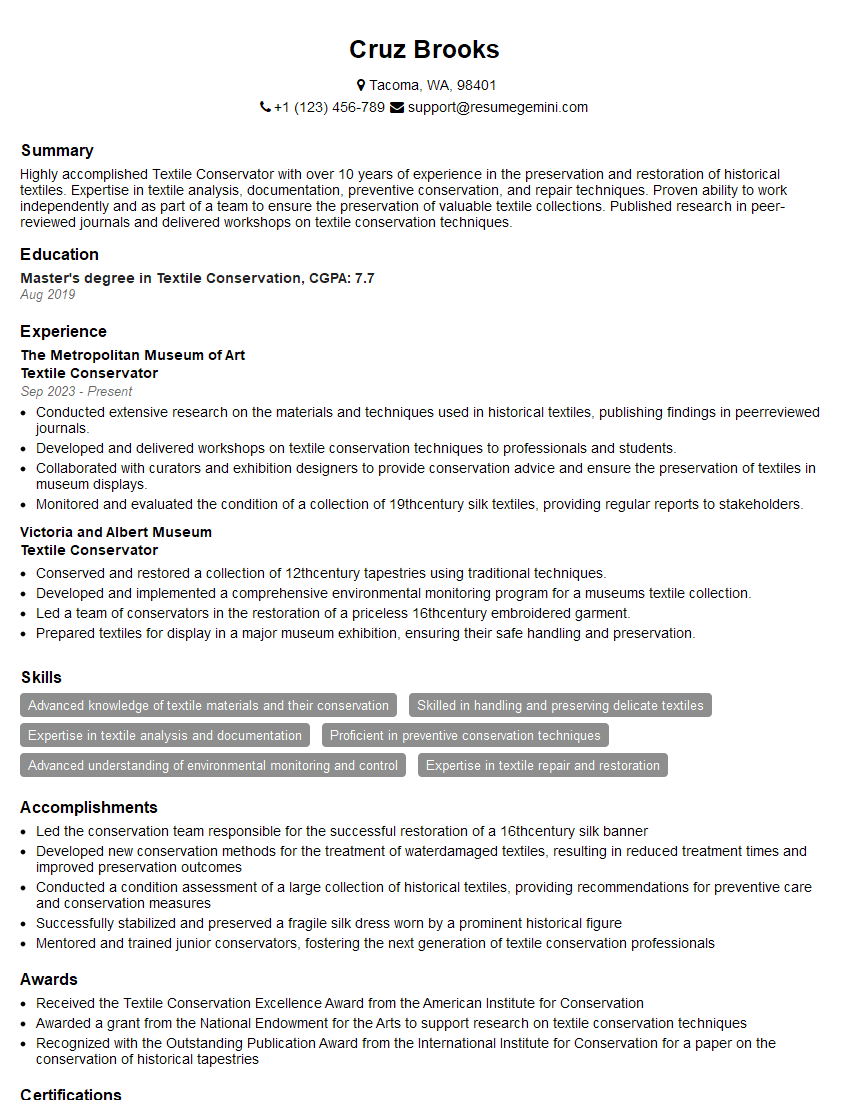
Mastering the art of Restoration and Conservation of Antiques opens doors to a rewarding career with diverse opportunities in museums, auction houses, private collections, and conservation studios. To maximize your job prospects, crafting a strong, ATS-friendly resume is crucial. ResumeGemini is a trusted resource that can help you build a professional resume that highlights your skills and experience effectively. Examples of resumes tailored to the Restoration and Conservation of Antiques field are available to help guide you.
Explore more articles
Users Rating of Our Blogs
Share Your Experience
We value your feedback! Please rate our content and share your thoughts (optional).
What Readers Say About Our Blog
Hello,
We found issues with your domain’s email setup that may be sending your messages to spam or blocking them completely. InboxShield Mini shows you how to fix it in minutes — no tech skills required.
Scan your domain now for details: https://inboxshield-mini.com/
— Adam @ InboxShield Mini
Reply STOP to unsubscribe
Hi, are you owner of interviewgemini.com? What if I told you I could help you find extra time in your schedule, reconnect with leads you didn’t even realize you missed, and bring in more “I want to work with you” conversations, without increasing your ad spend or hiring a full-time employee?
All with a flexible, budget-friendly service that could easily pay for itself. Sounds good?
Would it be nice to jump on a quick 10-minute call so I can show you exactly how we make this work?
Best,
Hapei
Marketing Director
Hey, I know you’re the owner of interviewgemini.com. I’ll be quick.
Fundraising for your business is tough and time-consuming. We make it easier by guaranteeing two private investor meetings each month, for six months. No demos, no pitch events – just direct introductions to active investors matched to your startup.
If youR17;re raising, this could help you build real momentum. Want me to send more info?
Hi, I represent an SEO company that specialises in getting you AI citations and higher rankings on Google. I’d like to offer you a 100% free SEO audit for your website. Would you be interested?
Hi, I represent an SEO company that specialises in getting you AI citations and higher rankings on Google. I’d like to offer you a 100% free SEO audit for your website. Would you be interested?
good
