The thought of an interview can be nerve-wracking, but the right preparation can make all the difference. Explore this comprehensive guide to Digital Audio Workstations (DAWs) (Pro Tools, Logic Pro, Ableton Live, etc.) interview questions and gain the confidence you need to showcase your abilities and secure the role.
Questions Asked in Digital Audio Workstations (DAWs) (Pro Tools, Logic Pro, Ableton Live, etc.) Interview
Q 1. Explain the difference between destructive and non-destructive editing in a DAW.
Destructive editing permanently alters the original audio file, while non-destructive editing makes changes without modifying the original. Think of it like writing in pen versus pencil: pen is destructive (you can’t erase it), pencil is non-destructive (you can erase and correct). In a DAW, destructive edits might involve directly trimming or normalizing a waveform, permanently changing its data. Non-destructive edits use techniques like automation, plugins, and virtual tracks. These create changes that can be easily undone or modified later. For instance, applying a compressor as a plugin is non-destructive – the original audio remains untouched, and you can adjust the compressor’s settings or even remove it entirely. This is crucial for flexibility during the creative process and for avoiding irreversible mistakes.
Example: Trimming an audio file directly in an editor is destructive. Using the ‘fade’ function to reduce the volume at the beginning and end is generally non-destructive in most DAWs because it creates a copy of the audio with the fade applied, leaving the original unaltered.
Q 2. Describe your experience with MIDI editing and sequencing.
I have extensive experience with MIDI editing and sequencing across various DAWs, including Pro Tools, Logic Pro X, and Ableton Live. My workflow often involves using MIDI to create and edit melodies, harmonies, and rhythms. I’m proficient in using MIDI controllers, such as keyboards and drum pads, to input data directly. I understand the intricacies of MIDI editing, including quantizing, velocity editing, and manipulating note parameters like pitch bend and modulation. I’m comfortable working with various MIDI effects like arpeggiators and step sequencers to add texture and complexity to arrangements.
For example, during a recent project where I was working with a complex orchestral score, I heavily used Logic Pro X’s MIDI editing capabilities to create intricate rhythmic variations in the percussion parts, creating subtle nuances that were hard to achieve by manual recording. In another project, involving electronic music, I utilized Ableton Live’s powerful MIDI clip manipulation and warping tools to craft complex evolving textures using MIDI data from a modular synthesizer.
Beyond basic note entry, I am adept at advanced techniques such as manipulating MIDI CC data for automated control over parameters like synth filters, panning, and effects, adding another layer of creativity and expression.
Q 3. How do you handle latency issues in your DAW?
Latency, the delay between input and output, is a common challenge in DAWs, especially when using external hardware like audio interfaces or instruments. My approach to managing latency is multifaceted. First, I ensure I have a low-latency audio driver installed. Second, I use buffer sizes appropriately, striking a balance between low latency and performance stability. Smaller buffer sizes reduce latency but can increase CPU load, potentially leading to dropouts or glitches. I carefully monitor CPU usage throughout my workflow, increasing buffer sizes if needed. Third, I compensate for any remaining latency through DAW features like input monitoring delay or adjusting hardware settings, if possible. In some cases, hardware latency compensation is necessary. Finally, pre-recording critical tracks to minimize the reliance on real-time latency-affected input is a smart technique for complex projects or low-resource setups.
For example, when working with virtual instruments requiring large samples, I’ll adjust the buffer size according to system performance. If the project involves a lot of real-time processing, I’ll opt for a larger buffer size to ensure stable performance, even if it introduces a little extra latency that can be easily compensated with software delay functions.
Q 4. What are your preferred methods for noise reduction and audio restoration?
My preferred methods for noise reduction and audio restoration depend on the type and severity of the issue. I utilize a combination of spectral editing, plugins, and sometimes even manual cleaning depending on what is best for the particular audio. For typical noise reduction, such as removing hum or hiss, I rely heavily on plugins like Izotope RX, which offers sophisticated tools like spectral repair and de-noise algorithms. For more nuanced problems, such as clicks and pops, I might use specialized restoration plugins that allow for surgical editing of individual artifacts.
In cases involving more significant damage, like tape hiss or vinyl crackle, I might employ a multi-step approach. This would often involve initial noise reduction with a spectral-based plugin followed by careful manual cleanup using spectral editing tools within the DAW or a dedicated audio editor. I always prioritize preserving the original audio’s character while addressing the noise or artifacts. This often involves A/B comparisons and careful listening to ensure the processing is subtle and effective, never intrusive.
Q 5. Explain your workflow for mixing a song in your chosen DAW.
My mixing workflow is iterative and typically follows these stages:
- Preparation: I start by organizing tracks, creating aux sends, and setting up a basic routing structure.
- Gain Staging: I carefully adjust the gain levels of individual tracks to ensure an appropriate dynamic range and prevent clipping. This prevents unwanted distortion during later processing.
- EQing: I shape the tonal balance of each track using equalization, addressing problematic frequencies and carving space within the mix.
- Compression: I use compression to control dynamics, glue elements together, and enhance the punch and impact of the sounds.
- Panning and Stereo Imaging: I position sounds in the stereo field to create width, depth, and clarity. This helps make each instrument distinct.
- Effects Processing: I use reverb, delay, and other effects sparingly to add ambience, texture, and interest. Effects are always carefully applied to avoid muddiness or phasing issues.
- Automation: I often utilize automation to dynamically adjust parameters (volume, EQ, panning, etc.) over time, providing subtle shifts and adding variation to the mix.
- Mixing Balance: This is the core of my workflow. I constantly listen and adjust everything, moving back and forth between different frequency ranges and instrumental groups, ensuring the balance is cohesive and pleasant to listen to. This often requires a significant amount of time and iteration.
- Final Checks and Export: I perform a final listening session in several different playback systems (headphones, nearfield monitors, and far-field monitors if available). Finally, I bounce the project down to the desired format with dithering applied.
Q 6. How do you approach mastering a track?
Mastering is the final stage of audio production, where I refine the overall sound of a mix to optimize it for various playback systems. It involves tasks like:
- Gain Staging: Setting the optimal level to avoid clipping.
- EQing: Subtly adjusting the frequency balance for a cohesive sound across the entire frequency spectrum.
- Compression: Applying gentle compression to control dynamics and increase loudness.
- Stereo Imaging: Widening or narrowing the stereo field to achieve the desired balance.
- Limiting: Applying limiting to control the peak levels and maximize loudness without distortion. This is done carefully to preserve dynamic range.
- Dithering: Adding noise to the audio signal to minimize the distortion introduced during quantization of the digital audio files.
My approach to mastering is to be extremely subtle and transparent; maintaining the integrity of the mix is my primary concern. I aim for a polished final product that sounds great on a variety of playback systems without any harshness or artifacts.
Q 7. What are your go-to plugins for equalization, compression, and reverb?
My go-to plugins are often determined by the specific context of a project and the sonic outcome I’m aiming for. However, I do have some reliable favorites:
- EQ: I often start with FabFilter Pro-Q 3 for its surgical precision and clarity or the Waves Q10 for its intuitive interface and effective processing. Sometimes, I’ll choose an API 550A emulation plugin for that classic warmth.
- Compression: Waves CLA-76 for a smooth and natural compression, or UAD plugins like the LA-2A or 1176 for their distinct characters. Universal Audio plugins often require specialized hardware (an interface), but the emulations are very accurate. I often use FabFilter Pro-C for its versatility and dynamic control.
- Reverb: Valhalla Room is a go-to choice for its ease of use and beautiful sound. I also use Lexicon reverbs for their classic character and sound; sometimes I use convolution reverbs for specific spaces such as a concert hall.
Ultimately, the best plugins are those that sound best and fit the project. I frequently experiment with new plugins and constantly evaluate my preferences.
Q 8. Describe your experience with automation in a DAW.
Automation in a DAW is like having a tireless assistant that precisely executes your instructions, repeatedly and consistently, without fatigue. It allows you to control almost any parameter of a plugin, instrument, or track over time. This includes volume, pan, effects sends, filter cutoff, and much more. Think of it as programming your session to change dynamically.
I use automation extensively. For instance, in a pop song, I might automate the volume of a vocal track to create a subtle build-up during the chorus, or sweep a reverb send level to enhance the sense of space at certain points. In a more complex scenario, perhaps automating multiple parameters simultaneously on a synth patch to create a dynamic, evolving soundscape. I commonly employ both envelope automation (drawing curves directly on tracks) and writing automation using the DAW’s scripting capabilities for more complex tasks.
DAWs offer different ways to implement automation. Some use draw automation curves, others use automation clips or lanes. Regardless of the method, understanding the automation’s read/write modes is crucial to avoid unwanted overwrites or unexpected behavior. I always ensure that automation is written to the correct track and that I understand the ramifications of my automation choices before committing to them.
Q 9. How do you manage large projects within your DAW to prevent crashes or slowdowns?
Managing large projects to avoid crashes or slowdowns requires a proactive and organized approach. It’s like building a skyscraper – you need a strong foundation and efficient structural design.
- Freezing Tracks: Freezing renders the processed audio of a track, freeing up CPU resources. This is my go-to for heavily processed tracks or complex instrument patches. Think of it as creating a pre-built section of the skyscraper.
- Consolidation/Bounce-in-Place: Combining multiple audio clips or tracks into a single file reduces the number of individual files the DAW needs to manage. It’s like merging several smaller buildings into a single, more manageable structure.
- Regular Saves and Archiving: Frequent autosaves are a must, but I also create manual backups of my project at regular intervals and archive older project files to external storage. This is essential insurance against data loss.
- RAM Management: Ensuring sufficient RAM is allocated to your DAW is crucial. My DAWs are always configured to use the maximum amount of RAM my system allows. Adding more RAM is often a more affordable and effective solution than upgrading your CPU or switching DAWs.
- Offloading Samples: If working with a vast number of samples, organizing them efficiently on a fast drive and using sample libraries that allow streaming instead of loading all samples into RAM is beneficial.
- Project File Organization: Using a clear and consistent folder structure for my project’s audio files and presets is critical for reducing the load on the DAW.
By consistently employing these strategies, I maintain system stability even when working on very large and complex projects.
Q 10. What are some common issues you encounter when working with audio files of different sample rates and bit depths?
Mixing audio files with differing sample rates and bit depths can lead to problems, much like trying to fit square pegs into round holes. It’s a crucial aspect of audio production to address early on to avoid unwanted artifacts.
- Sample Rate Conversion Artifacts: Converting between different sample rates (e.g., 44.1 kHz to 48 kHz) can introduce unwanted noise and distortion, especially during downsampling (going from a higher to a lower sample rate). The higher the quality of the converter, the less noticeable the artifacts.
- Bit Depth Issues: Mixing files with different bit depths (e.g., 16-bit and 24-bit) can lead to a loss of dynamic range or introduce noise. 24-bit generally offers more headroom and reduces quantization noise, but can also require more storage space.
- Inconsistent Playback and Timing Issues: When different sample rates are used, the timing of the audio can be off, leading to noticeable clicks or phasing issues, especially in dense mixes. There will be a difference in the number of samples played each second, leading to problems if not handled properly.
The solution is to ensure all audio files are at the same sample rate and bit depth before mixing. My workflow always begins with converting all audio files to a consistent rate (usually 48 kHz) and bit depth (typically 24-bit) using high-quality sample rate conversion algorithms within my DAW. This ensures a clean and consistent mix.
Q 11. How do you troubleshoot audio dropouts or glitches during playback?
Audio dropouts or glitches during playback are like unexpected potholes on a smooth road, disrupting the flow of your project. Troubleshooting them requires a systematic approach.
- Buffer Size: A low buffer size can cause glitches due to the computer not having enough time to process the audio. Increasing the buffer size often solves this, but at the expense of latency (delay between playing a note and hearing it).
- Driver Issues: Outdated or corrupted audio interface drivers can lead to dropouts. Updating or reinstalling them is crucial. Checking the device manager for conflicting devices or driver issues is crucial.
- Disk I/O Bottlenecks: A slow or overloaded hard drive can cause glitches, especially when working with large projects. Using SSDs and checking disk activity is essential. Using a dedicated drive for the operating system and another one for audio projects is a standard professional practice.
- CPU Overload: Too many plugins or high CPU demands can result in dropouts. Freezing tracks, reducing the number of plugins, or optimizing plugin settings can help.
- Hardware Failures: In rare cases, hardware failure like a malfunctioning audio interface or RAM issues can cause dropouts. Replacing faulty hardware may be necessary.
I use a process of elimination to diagnose the problem. I’ll start with the simplest solutions (increasing buffer size) and progress to more complex ones (checking hardware). Monitoring CPU and disk usage is crucial throughout the troubleshooting process.
Q 12. What is your preferred method for organizing and naming audio files and project folders?
Organizing audio files and project folders is like maintaining a well-stocked and easily searchable library. A well-defined system saves countless hours and prevents frustration. My system utilizes a hierarchical structure.
Project Folders: Each project lives in its own folder, named YYYYMMDD_ProjectName (e.g., 20240308_PopSongDemo). Inside, I have subfolders for Audio, MIDI, Presets, and Images. This allows easy backups and archival.
Audio File Naming: My naming convention is descriptive and consistent. I use the following format: TrackNumber_Source_TakeNumber.wav (e.g., 01_Vocals_A01.wav). This ensures quick identification of files. Additional metadata (like artist, date, and notes) are also included whenever relevant using tags within the file itself.
Consistency is key; this system helps me locate specific files quickly, especially in large projects. This is easily replicated across different projects.
Q 13. Explain your understanding of different audio file formats (WAV, AIFF, MP3).
Understanding audio file formats is like understanding different types of containers. Each format has its strengths and weaknesses.
- WAV (Waveform Audio File Format): A lossless format commonly used for professional audio editing. It retains all the original audio data, making it ideal for mastering and archiving. It’s like a perfectly preserved original painting.
- AIFF (Audio Interchange File Format): Another lossless format, similar to WAV, but primarily used on macOS systems. It’s practically identical to WAV in terms of quality and application.
- MP3 (MPEG Audio Layer III): A lossy compressed format that reduces file size by discarding some audio data. It’s suitable for sharing and streaming but sacrifices some audio quality. It’s like making a smaller copy of the painting, but with some details lost in the process. The level of quality loss can be adjusted with different bitrates.
For professional work, I typically use WAV or AIFF for the highest audio quality. MP3s are used only for distribution or sharing purposes where file size is critical.
Q 14. How do you utilize routing and bussing within your DAW?
Routing and bussing are like the plumbing and wiring of a studio. They allow you to efficiently manage and process multiple audio signals.
Bussing: I frequently use busses to group similar tracks together for easy processing. For example, I might create a drum bus to apply compression and EQ to all the drums simultaneously. This simplifies mixing and allows for global adjustments.
Routing: Routing involves sending audio signals from one point to another, often to an aux track or effect plugin. For instance, I might send the vocals to a reverb aux track to add ambience. This keeps the main vocal track clean while providing desired effects.
Example: In a typical mix, I’d have separate busses for drums, vocals, guitars, and bass. Each of these busses would send to the main stereo output, and individual tracks are routed to the corresponding busses. This allows for overall control over each instrumental group.
Effective routing and bussing are crucial for a clean and organized mix, making it easier to make subtle adjustments and achieve a balanced sound. It’s like designing a carefully crafted network to optimize signal flow, reducing clutter and maintaining a cohesive sound.
Q 15. Explain the concept of gain staging.
Gain staging is the process of optimizing the signal level at each stage of your audio chain, from the microphone preamp to the final output. Think of it like controlling the water flow in a plumbing system – you need the right amount of pressure at each point to avoid weak signals (too little water) or distortion (too much water). In audio, weak signals are prone to noise, while overly strong signals clip, causing harsh distortion.
Effective gain staging involves setting levels so that each component in your signal chain is working at its optimal level without clipping or excessive noise. This starts with your microphone preamp, ensuring the input level is appropriate without overloading. Then, you manage levels through compressors, EQs, and other plugins, always aiming for a healthy signal without pushing anything too hard. The final output should be properly normalized for your chosen format.
For example, if you’re recording vocals, you’ll want to adjust the gain on your preamp to get a strong signal without exceeding 0dBFS (digital zero). You can then use a compressor to control dynamics and prevent peaks from clipping.
Career Expert Tips:
- Ace those interviews! Prepare effectively by reviewing the Top 50 Most Common Interview Questions on ResumeGemini.
- Navigate your job search with confidence! Explore a wide range of Career Tips on ResumeGemini. Learn about common challenges and recommendations to overcome them.
- Craft the perfect resume! Master the Art of Resume Writing with ResumeGemini’s guide. Showcase your unique qualifications and achievements effectively.
- Don’t miss out on holiday savings! Build your dream resume with ResumeGemini’s ATS optimized templates.
Q 16. What are your experiences with different types of microphones and their applications?
My experience encompasses a wide range of microphone types, each suited for different applications. Large-diaphragm condenser microphones (LDCs) like the Neumann U 87 or AKG C 414 excel at capturing warm, detailed vocals and acoustic instruments. Their sensitivity makes them ideal for capturing subtle nuances, but they require careful gain staging to avoid overload.
Small-diaphragm condenser microphones (SMDs), such as the Neumann KM 184 or Schoeps CMC 6, are versatile for both acoustic instruments and recording in challenging environments due to their rejection of off-axis sound. Dynamic microphones like the Shure SM57 or SM7B are incredibly robust and handle high sound pressure levels with ease, making them perfect for loud instruments like guitar amps or drums. Ribbon microphones, known for their smooth, vintage sound, are often used for capturing delicate instruments or adding a unique character to vocals.
The choice depends heavily on the source. For instance, I’d use an SM57 to mic a snare drum, an LDC for vocals, and perhaps an array of SMDs for orchestral overheads. Understanding the microphone’s polar pattern (cardioid, omnidirectional, figure-8) is crucial for controlling bleed and focusing on the desired sound source.
Q 17. Describe your understanding of signal flow in audio production.
Signal flow describes the path an audio signal takes from its source to the final output. Understanding this is fundamental. It typically begins with the input, whether it’s a microphone, instrument, or a digital audio file. The signal then passes through a preamp, which amplifies the signal to a usable level. From there, it often goes to a compressor, EQ, or other effects processors to shape the sound.
After processing, the signal may be routed to a digital audio workstation (DAW) for recording, editing, and mixing. Within the DAW, the signal might pass through more plugins (virtual instruments, effects, etc.) before reaching a summing mixer, which combines all the tracks into a stereo mix. Finally, the mixed signal undergoes mastering to prepare it for distribution.
For example: Microphone -> Preamp -> Compressor -> EQ -> DAW -> Plugins -> Mixer -> Mastering. A clear understanding of this chain is vital for troubleshooting issues and crafting the desired sound. A problem in any stage can affect the entire signal.
Q 18. What are your preferred techniques for creating and editing loops?
My approach to loop creation and editing hinges on a combination of techniques that prioritize both creativity and efficiency. I often start by recording a musical phrase or rhythmic pattern, then use the DAW’s slicing tools (like Logic’s Flex Time or Ableton’s Warp mode) to align the audio to the grid. This allows for precise manipulation and easy quantization.
For more complex loops, I might employ sophisticated editing techniques, such as time-stretching and pitch-shifting to adjust the loop’s length and tempo without altering its pitch or vice-versa. I also frequently use MIDI sequencing to create loops, which offers unparalleled control and flexibility. If using samples, I meticulously edit out any unwanted artifacts or clicks using tools like crossfades and fades.
In Ableton Live, specifically, using the ‘Warp’ function allows me to creatively manipulate loops in many ways, including changing their length, tempo and creating unique rhythmic variations from a single source. In Logic Pro X, the powerful Flex Pitch allows for the pitch correction and manipulation of loops. The choice of techniques always depends on the style of music and the desired outcome.
Q 19. How do you use time-stretching and pitch-shifting tools effectively?
Time-stretching and pitch-shifting are powerful tools, but they must be used carefully to avoid artifacts and maintain sonic integrity. Time-stretching alters the length of audio without affecting the pitch, while pitch-shifting changes the pitch without affecting the length. Both processes can introduce artifacts, especially if overused or applied to already processed audio.
I prefer algorithms that minimize artifacts, such as élastique Pro (used in many DAWs) or other high-quality time-stretching algorithms that use phase vocoding techniques. When stretching, I always listen critically to avoid unnatural sounds. Similarly, when pitch-shifting, I prefer algorithms that preserve the timbre of the audio, avoiding metallic or robotic sounds. Moderation is key, with subtle adjustments being far more effective than drastic changes.
For example, I might use time-stretching to fit a vocal sample to a different tempo, or pitch-shifting to transpose a melody to a more suitable key. But I always preview the results carefully and often use multiple passes with smaller changes for better quality.
Q 20. What is your experience with using virtual instruments and synthesizers?
Virtual instruments (VIs) and synthesizers are indispensable tools in my workflow. My experience spans a wide range of software synths, from classic emulations like Arturia V Collection and Native Instruments Kontakt to cutting-edge synthesizers like Serum and Massive. I’m proficient in designing sounds from scratch, utilizing oscillators, filters, envelopes, LFOs, and effects to create unique soundscapes and textures.
I also use VIs to emulate acoustic instruments like pianos, drums, and strings, and benefit from their versatility and ability to easily adjust parameters. I often use them in combination with sampled instruments, creating hybrid sounds that blend the best aspects of both. For example, I might layer a sampled acoustic guitar with a processed synth pad for a rich, layered texture.
Understanding synthesis techniques is crucial for creating compelling sounds. This includes knowledge of subtractive synthesis (shaping sounds by removing frequencies), additive synthesis (building sounds from multiple sine waves), and FM synthesis (using frequency modulation to create complex timbres). The right VI depends entirely on the context – a delicate pad sound might require a completely different approach compared to the design of a punchy bassline.
Q 21. How do you work with session templates to maintain consistency?
Session templates are crucial for maintaining consistency and workflow efficiency. I design my templates meticulously, including track setups, routing, busses, and default plugins that I frequently use, ensuring a consistent sonic identity across all my projects. This means I don’t have to recreate the same settings repeatedly, speeding up the initial setup phase.
For instance, a standard template might include dedicated tracks for drums, bass, guitars, vocals, and various effects sends, with each track already equipped with a set of plugins tailored to the instrument or track function. It also includes color-coded tracks and clear naming conventions to streamline my workflow.
Furthermore, I use session templates for different genres or styles of music. A template for electronic music would have different settings compared to a template for a recording project with acoustic instruments. Consistency in these settings allows for a more efficient, organized, and polished final product.
Q 22. Describe your experience using external hardware with your DAW (e.g., interfaces, controllers).
Integrating external hardware with my DAW is crucial for expanding its capabilities and achieving a professional workflow. I’ve extensively used audio interfaces from brands like Focusrite and Universal Audio, along with MIDI controllers such as Akai MPK and Native Instruments Komplete Kontrol. These interfaces provide high-quality analog-to-digital conversion, crucial for capturing clean audio from microphones and instruments. They also offer multiple inputs and outputs, allowing me to connect various devices simultaneously. MIDI controllers, on the other hand, provide a hands-on approach to music creation, enabling me to play virtual instruments, manipulate parameters in real-time, and automate various tasks within the DAW. For example, using a Focusrite Scarlett interface ensures pristine audio recording from my condenser microphones, minimizing noise and maximizing clarity. With my Akai MPK, I can easily program drum beats and melodies, streamlining my composition process. The setup and configuration are straightforward, generally involving selecting the correct sample rate and bit depth, assigning inputs and outputs, and configuring MIDI mappings within the DAW. I constantly monitor latency, adjusting buffer sizes as needed to maintain real-time responsiveness.
Q 23. How do you collaborate effectively with other producers or engineers using a DAW?
Effective collaboration hinges on efficient file sharing and version control. I primarily use cloud-based platforms like Dropbox or Google Drive to share projects. This allows multiple users to access and modify the same project simultaneously without overwriting each other’s work. For instance, a producer might work on the song’s arrangement while an engineer focuses on mixing a specific section. To avoid conflicts, we establish clear communication protocols, using platforms like Slack or Discord to discuss workflow and assign tasks. We use session templates which ensures everyone understands the structure and naming conventions for tracks and files. Importantly, frequent backups are essential, and we regularly check-in on each other’s progress, ensuring everyone is on the same page and addressing any arising issues promptly. Version control is critical; we regularly save different versions of the project, named appropriately (e.g., ‘Mix 1,’ ‘Master 1’), allowing us to easily revert to earlier stages if needed. This collaborative approach fosters transparency and enables everyone to contribute effectively to the final product.
Q 24. Explain your understanding of different metering techniques (e.g., LUFS, RMS).
Metering is crucial for ensuring your audio is appropriately loud and doesn’t clip. LUFS (Loudness Units relative to Full Scale) is a relative measurement of perceived loudness, crucial for broadcast and streaming platforms which have specific LUFS targets to ensure consistency across different content. RMS (Root Mean Square) is a measurement of the average power of an audio signal over time, representing the overall loudness level. While LUFS focuses on perceived loudness, accounting for human hearing perception, RMS provides a more objective measurement of the average signal level. For example, a streaming platform might require your audio to have a target LUFS of -14 LUFS to prevent it from sounding too loud or too quiet compared to other content. I use both LUFS and RMS meters in my DAW. LUFS meters help me meet broadcasting standards, while RMS meters help me monitor peak levels to prevent clipping. Understanding both allows for a balanced approach, ensuring the audio sounds good and meets the technical requirements of the intended platform.
Q 25. What are some tips for optimizing your DAW’s performance?
Optimizing DAW performance is critical for smooth workflow. This starts with ensuring your computer meets the minimum system requirements and preferably exceeds them. Having sufficient RAM (Random Access Memory) is vital. The more RAM you have, the more audio tracks and plugins you can run concurrently without performance degradation. Keeping your audio files organized, utilizing efficient sample rates (44.1kHz or 48kHz are generally sufficient), and consolidating tracks can drastically reduce CPU load. Freezing or rendering tracks transforms them into audio files, freeing up processing power for other elements. Consolidating tracks combines multiple tracks into one, streamlining the project. Also, avoid using unnecessary plugins. Each plugin adds processing load. Regularly removing unused files from your hard drive, especially temporary files created by the DAW, improves responsiveness and stability. Lastly, I regularly defragment my hard drives (for HDDs, not SSDs) to optimize file access. The combination of these practices ensures a fluid and efficient workflow, preventing frustrating interruptions.
Q 26. How do you deal with creative blocks during audio production?
Creative blocks are inevitable in audio production. My strategies for overcoming them include stepping away from the project for a while. A change of scenery, a walk, or engaging in a completely unrelated activity can often refresh my perspective. Sometimes, revisiting older projects, listening to music from different genres, or collaborating with another artist can spark new ideas. I also actively experiment with different sounds and techniques, even if they seem unrelated to my initial concept. This experimentation can lead to unexpected discoveries and solutions. If the block persists, I might simplify the project by focusing on a single element, like a melody or a drum beat, to overcome the initial hurdle. Forcing myself to work through it isn’t always effective; instead, a more relaxed approach, focusing on exploration rather than immediate results, often helps overcome the creative hurdle.
Q 27. Describe a time you encountered a challenging technical problem while using a DAW, and how you solved it.
Once, I encountered significant audio crackling during playback in a complex project. I’d tried numerous plugins and virtual instruments, and the crackling only increased as I added more tracks. My initial troubleshooting focused on the obvious suspects: buffer size adjustments, hard drive space, and RAM usage. However, the problem persisted. I then systematically disabled plugins one by one, carefully listening after each change. Finally, I discovered that a specific reverb plugin, although seemingly compatible, was the culprit. This plugin was causing a high CPU load, exceeding my system’s processing capabilities. By replacing it with a lighter alternative, the crackling disappeared. This experience reinforced the importance of systematic troubleshooting, emphasizing that meticulously checking every component, one by one, is often the most effective way to isolate and resolve even the most cryptic technical issues.
Q 28. What are your strategies for backing up your work and protecting against data loss?
Data loss is a producer’s worst nightmare. My backup strategy involves a multi-layered approach. I use a combination of local and cloud backups. Locally, I use external hard drives (RAID for redundancy is preferred), creating regular image backups of my entire project drive using specialized software. In the cloud, I utilize services like Backblaze or Crashplan to automatically back up my entire hard drive, including the project files and my DAW’s installation files. This ensures that even if my computer or external hard drive fails, I have copies of my work securely stored elsewhere. I employ a version control system within my DAW, regularly saving different versions of my project (named appropriately), allowing me to revert to previous states. My backups are scheduled on a daily basis, with additional backups made after completing major milestones in a project. This robust approach minimizes the risk of data loss and provides peace of mind, knowing that my work is protected.
Key Topics to Learn for Digital Audio Workstations (DAWs) (Pro Tools, Logic Pro, Ableton Live, etc.) Interview
- Audio Interface and Hardware Understanding: Understanding different audio interfaces, their connectivity (ADAT, Thunderbolt, USB), and their impact on audio quality and latency. Practical application: Troubleshooting audio issues stemming from hardware configuration.
- Digital Signal Processing (DSP): Fundamental concepts of signal flow, gain staging, EQ, compression, and other effects processing within the DAW environment. Practical application: Mixing and mastering techniques to achieve a polished final product. Problem-solving: Identifying and resolving audio artifacts caused by incorrect DSP settings.
- MIDI Sequencing and Workflow: Proficiency in MIDI editing, creating and editing MIDI tracks, using virtual instruments (VSTs/AU), and understanding MIDI controllers. Practical application: Composing and arranging music using MIDI, integrating external hardware controllers effectively.
- Session Management and Organization: Best practices for organizing projects, naming conventions, track management, and efficient workflow within the specific DAW. Practical application: Maintaining a clean and easily navigable project, ensuring efficient collaboration if necessary.
- Audio Editing and Manipulation: Advanced techniques in editing audio, including time stretching, pitch correction, noise reduction, and using various editing tools available in the DAW. Practical application: Cleanly editing and preparing audio for mixing and mastering. Problem-solving: Effectively addressing audio imperfections or inconsistencies.
- Mixing and Mastering Techniques: Understanding fundamental mixing principles (gain staging, panning, EQ, compression, reverb, delay), and basic mastering concepts (loudness, dynamic range, stereo imaging). Practical application: Achieving a balanced and polished final mix ready for distribution.
- DAW-Specific Features: Demonstrate a thorough understanding of the unique features and capabilities of the specific DAWs mentioned (Pro Tools, Logic Pro, Ableton Live). For example, Logic’s automation features or Ableton’s session view compared to Pro Tools’ track-based workflow.
- Troubleshooting and Problem Solving: Ability to diagnose and resolve common audio and DAW-related technical issues. This includes dealing with latency, dropouts, and other potential problems.
Next Steps
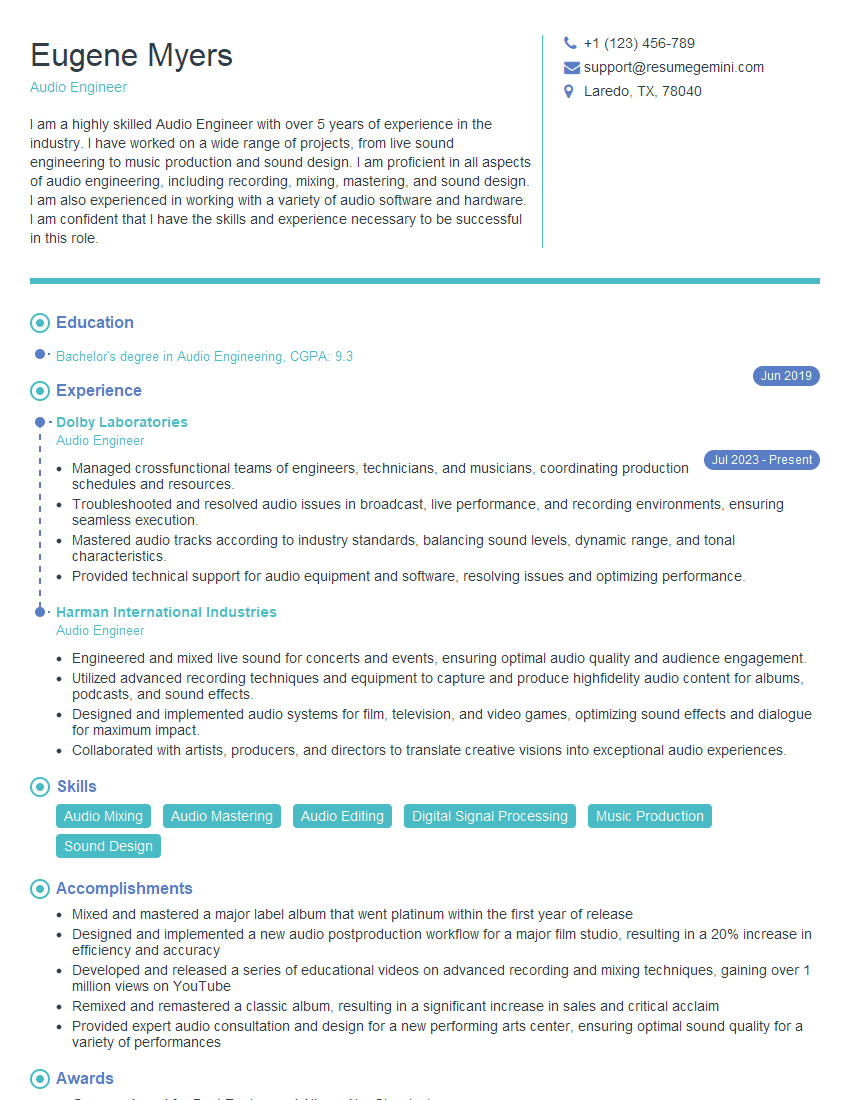
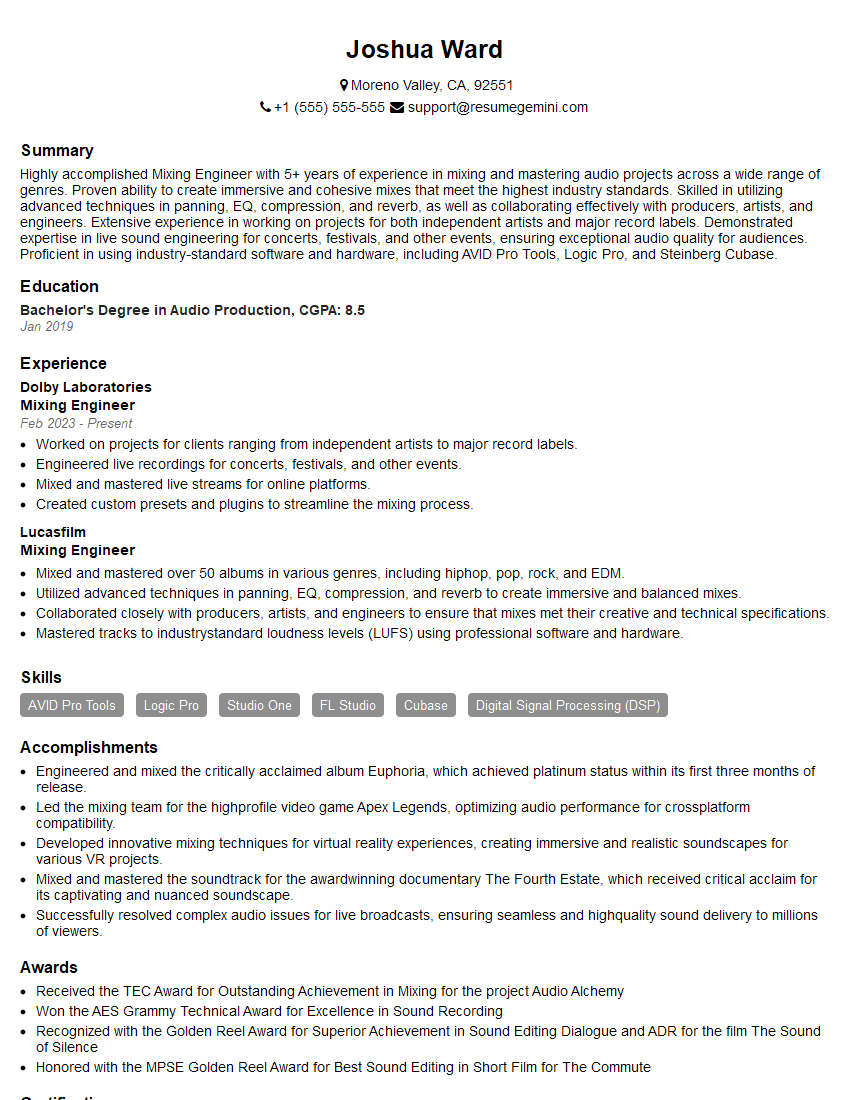
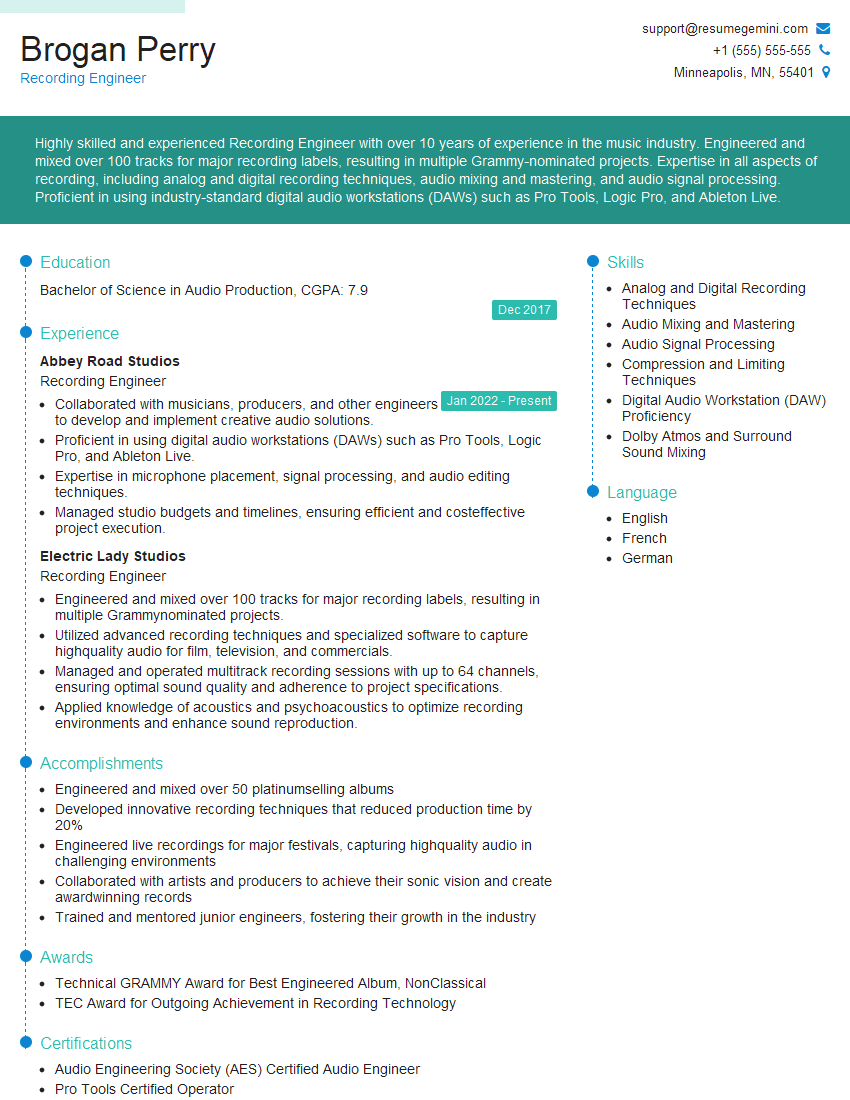
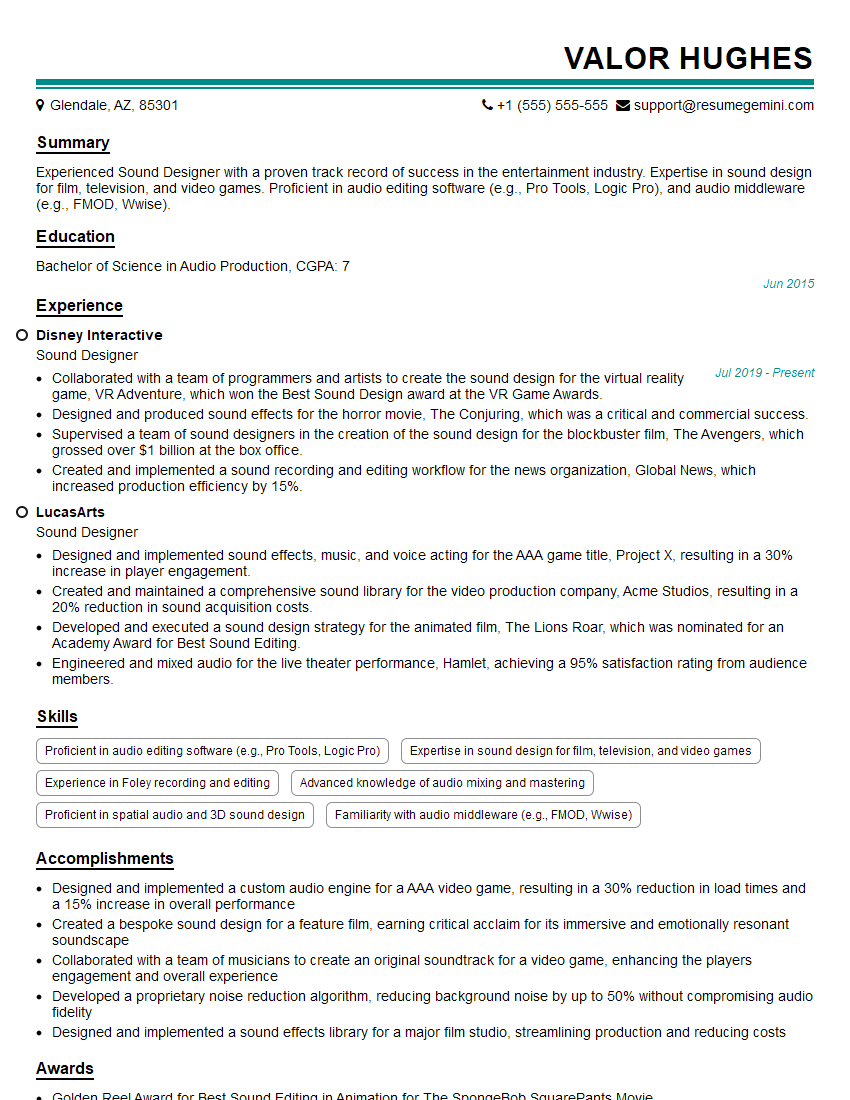
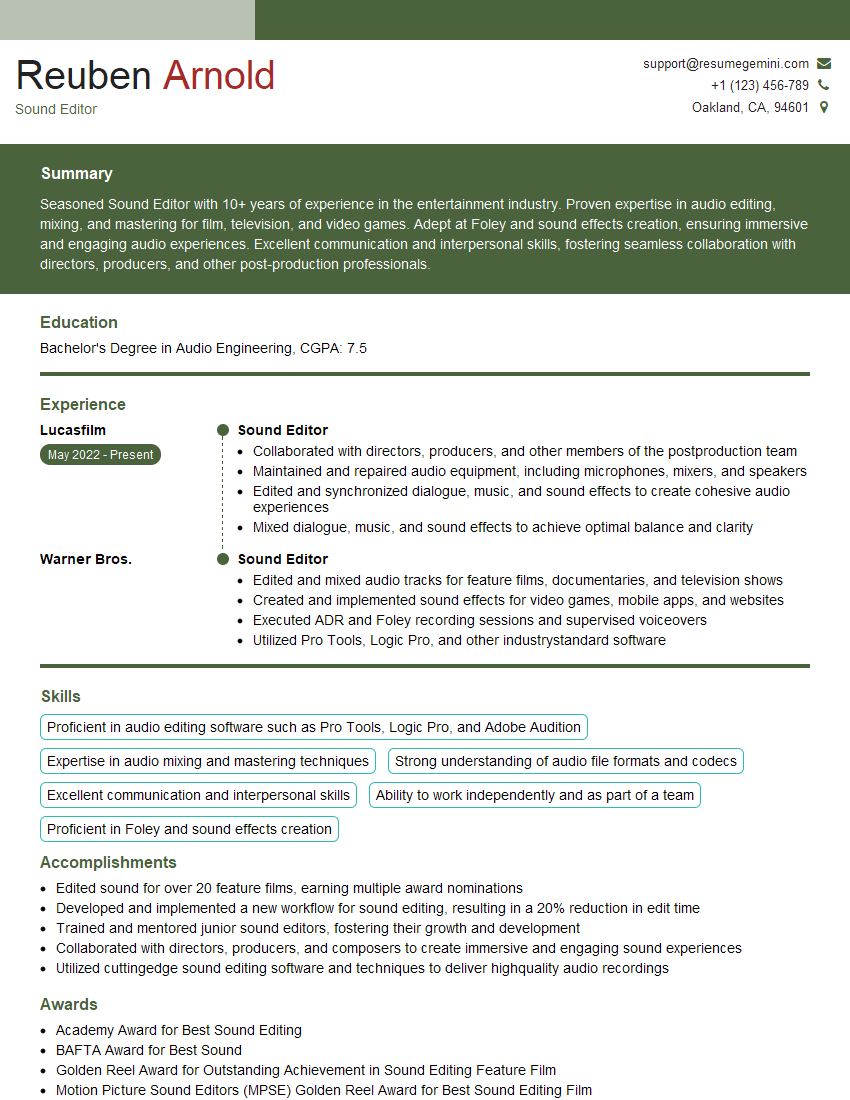
Mastering Digital Audio Workstations is crucial for a successful career in audio engineering, music production, and related fields. A strong understanding of these tools opens doors to exciting opportunities and allows you to showcase your creativity and technical skills. To maximize your job prospects, create an ATS-friendly resume that highlights your DAW proficiency and relevant experience. ResumeGemini is a trusted resource that can help you build a professional resume tailored to the industry. Examples of resumes specifically designed for candidates with Digital Audio Workstation expertise are available to guide you.
Explore more articles
Users Rating of Our Blogs
Share Your Experience
We value your feedback! Please rate our content and share your thoughts (optional).
What Readers Say About Our Blog
Hello,
We found issues with your domain’s email setup that may be sending your messages to spam or blocking them completely. InboxShield Mini shows you how to fix it in minutes — no tech skills required.
Scan your domain now for details: https://inboxshield-mini.com/
— Adam @ InboxShield Mini
Reply STOP to unsubscribe
Hi, are you owner of interviewgemini.com? What if I told you I could help you find extra time in your schedule, reconnect with leads you didn’t even realize you missed, and bring in more “I want to work with you” conversations, without increasing your ad spend or hiring a full-time employee?
All with a flexible, budget-friendly service that could easily pay for itself. Sounds good?
Would it be nice to jump on a quick 10-minute call so I can show you exactly how we make this work?
Best,
Hapei
Marketing Director
Hey, I know you’re the owner of interviewgemini.com. I’ll be quick.
Fundraising for your business is tough and time-consuming. We make it easier by guaranteeing two private investor meetings each month, for six months. No demos, no pitch events – just direct introductions to active investors matched to your startup.
If youR17;re raising, this could help you build real momentum. Want me to send more info?
Hi, I represent an SEO company that specialises in getting you AI citations and higher rankings on Google. I’d like to offer you a 100% free SEO audit for your website. Would you be interested?
Hi, I represent an SEO company that specialises in getting you AI citations and higher rankings on Google. I’d like to offer you a 100% free SEO audit for your website. Would you be interested?
good
