Interviews are more than just a Q&A session—they’re a chance to prove your worth. This blog dives into essential Electronic Systems Troubleshooting interview questions and expert tips to help you align your answers with what hiring managers are looking for. Start preparing to shine!
Questions Asked in Electronic Systems Troubleshooting Interview
Q 1. Explain the troubleshooting methodology you typically follow.
My troubleshooting methodology follows a systematic approach, often described as a “five-why” analysis combined with a structured process. It begins with clearly defining the problem: What exactly isn’t working? What are the observable symptoms? I then proceed to:
- Gather Information: This involves carefully observing the system’s behavior, documenting the symptoms, and gathering any relevant information such as error messages, logs, or previous maintenance records. For example, if a circuit is malfunctioning, I’d note the specific components affected, any unusual sounds or smells, and the exact conditions under which the failure occurs.
- Formulate a Hypothesis: Based on the information gathered, I develop one or more hypotheses about the root cause of the problem. This often involves considering common failure modes for the specific components and system architecture. For instance, a computer not booting could be due to a faulty power supply, RAM issue, or motherboard problem.
- Test the Hypothesis: I then design and conduct tests to verify or refute my hypotheses. This may involve using diagnostic tools like oscilloscopes, multimeters, or specialized software. For example, I might use a multimeter to check for voltage at different points in a circuit or an oscilloscope to analyze signal waveforms.
- Isolate the Fault: Once the faulty component or section is identified, I carefully isolate it to prevent further damage or unintended interactions. This might involve disconnecting the suspect part, temporarily replacing it with a known good component, or using a bypass to route signals around the problematic section.
- Repair or Replace: After isolating the fault, the appropriate repair or replacement is made. This could range from simple soldering to replacing a complex integrated circuit. Documentation is crucial at this stage, and the system is thoroughly tested before reintegration.
- Verify and Document: Finally, I thoroughly test the system to ensure the problem is resolved and document all findings, including the initial symptoms, testing procedures, and corrective actions taken. This documentation is essential for future troubleshooting and preventative maintenance.
This structured approach allows me to efficiently and effectively diagnose and resolve even complex electronic system issues.
Q 2. Describe your experience with oscilloscopes and multimeters.
I have extensive experience using oscilloscopes and multimeters. Oscilloscopes are invaluable for analyzing analog signals, visualizing waveforms, and identifying timing issues. I’m proficient in using various oscilloscope features, including triggering, measurement cursors, and different display modes (e.g., XY mode). For example, I’ve used an oscilloscope to identify signal noise, measure pulse widths, and analyze frequency response in high-speed digital circuits. Multimeters are essential for measuring voltage, current, resistance, and other electrical parameters. I routinely use them to check for shorts, open circuits, and verify component values. I’m comfortable using both analog and digital multimeters, understanding the limitations and capabilities of each. For example, in troubleshooting a power supply, I’d use a multimeter to measure the output voltage and current to ensure it’s within specifications.
Q 3. How do you diagnose intermittent faults in electronic systems?
Diagnosing intermittent faults is challenging because they are inconsistent and unpredictable. My approach involves a combination of techniques aimed at making the fault more reproducible:
- Stress Testing: I subject the system to various stresses like temperature variations (using thermal chambers), vibrations, or varying loads to try and trigger the fault consistently. This can expose weaknesses in the design or components.
- Logging and Monitoring: Using sophisticated diagnostic software and data loggers, I monitor system parameters (temperature, voltage, current, etc.) while the system is in operation. This can reveal patterns related to the occurrence of the fault, even if subtle.
- Signal Injection: If I suspect a specific part of the circuitry is prone to intermittent faults, I may inject signals (e.g. noise or pulse trains) to see if I can induce the failure more consistently. This is commonly used in high-frequency circuits.
- Component Level Analysis: Intermittent faults often stem from cold solder joints, loose connectors, or failing components, so a thorough visual inspection under magnification and testing individual components is often crucial.
For instance, an intermittent computer screen flicker might be due to a loose connection in the monitor cable or a failing capacitor on the motherboard. By systematically applying these methods, I can often isolate the cause of the intermittent fault and implement a permanent solution.
Q 4. What are common causes of power supply failures?
Power supply failures are common in electronic systems, and their causes are diverse. Some of the most frequent culprits include:
- Component Failure: Capacitors, diodes, transistors, and integrated circuits within the power supply can fail due to age, overheating, or voltage spikes. Bulging capacitors are a classic sign of failure.
- Overload: Drawing more current than the power supply is rated for will cause it to overheat and potentially fail. This is especially true for older, less efficient power supplies.
- Short Circuits: A short circuit anywhere in the system downstream of the power supply can overload it, leading to failure. This could be a faulty component, a shorted wire, or a connector problem.
- Overvoltage or Undervoltage: Applying a voltage that is either too high or too low can damage components within the power supply, ultimately leading to failure. This may be caused by external factors or problems in the power regulation circuitry.
- Poor Cooling: Inadequate cooling can cause components within the power supply to overheat and fail prematurely. This is particularly important for high-power applications.
Diagnosing power supply failures often involves checking input and output voltages, currents, and monitoring for overheating.
Q 5. How would you troubleshoot a system with no power?
Troubleshooting a system with no power is a methodical process that starts with the most basic checks and progresses to more involved diagnostics. My approach is:
- Check the Power Source: The first step is always to verify that the power source itself (wall outlet, battery, etc.) is functioning correctly. This may involve checking the breaker box or using a different outlet or battery.
- Inspect the Power Cord and Connectors: Carefully examine the power cord and all connectors for any signs of damage, loose connections, or debris. A visual inspection and sometimes a continuity check with a multimeter may be necessary.
- Check the Power Supply: If the power source is okay, then I check the power supply itself. This could involve visually inspecting for any obvious signs of damage, such as burned components or unusual smells. Using a multimeter, I’d test the input and output voltages to ensure they are within acceptable ranges.
- Check for Fuses: If the system incorporates fuses, these should be checked for blown fuses. Replacing blown fuses will require investigating the reason for the fuse’s failure – finding the short circuit, overloaded circuit or failed component that caused the fuse to blow.
- Check the Main Power Switch: Verify that the system’s main power switch is turned on and functioning properly.
- System-Level Tests: If the above steps fail to resolve the issue, more advanced diagnostics are needed. This may involve using a known good power supply to rule out issues within the system itself. It could also mean looking for any shorts on the main power rails using a multimeter and/or checking the main system power components like switches or relays.
It’s important to be methodical and systematic in this process, working from the simplest potential causes to more complex ones.
Q 6. Explain your experience with schematic diagrams and datasheets.
Schematic diagrams and datasheets are essential for effective electronic system troubleshooting. Schematic diagrams provide a visual representation of the circuit’s design, showing the interconnection of components. I’m adept at reading and interpreting schematic diagrams, tracing signal paths, and identifying potential points of failure. For example, a schematic helps pinpoint the specific nodes where voltage levels should be checked during troubleshooting.
Datasheets provide detailed information about individual components, including their specifications, operating parameters, and potential failure modes. I regularly consult datasheets to verify component values, check for compatibility, and understand the expected behavior of components under different operating conditions. This is crucial to determine if a component is operating within its specifications or is likely the cause of a failure. For instance, if a resistor has burned, its datasheet will show its correct value, power rating and other properties to compare against measurements during troubleshooting.
Q 7. Describe your experience using diagnostic software.
My experience with diagnostic software varies depending on the system being troubleshooted. I’ve worked with various types of diagnostic software, including:
- Built-in diagnostic utilities: Many electronic systems have built-in diagnostic tools that provide information about system status, error codes, and performance metrics. I have experience using these utilities to identify hardware and software problems.
- Specialized diagnostic software: Specific applications are often used to troubleshoot particular types of electronic systems, such as automotive systems or industrial control systems. I’m comfortable learning and using such specific software tools for targeted diagnostics.
- Logic analyzers and protocol analyzers: These sophisticated tools capture and display digital signals and communication protocols (e.g., SPI, I2C, CAN bus). These are invaluable when troubleshooting communication issues between different parts of a system.
Using diagnostic software allows me to gain a deeper understanding of system behaviour, identify subtle problems, and gather data that is essential to effective troubleshooting. For example, a diagnostic tool might reveal intermittent data corruption which would point toward a RAM problem or a failing hard drive in a computer system.
Q 8. How do you identify and isolate faulty components?
Identifying and isolating faulty components is a systematic process. It starts with a thorough understanding of the system’s functionality and expected behavior. Then, we use a combination of techniques to pinpoint the problem.
- Visual Inspection: This is the first step. I carefully examine the circuit board for any obvious signs of damage, such as burnt components, broken traces, or loose connections. Often, a simple visual check can reveal the culprit.
- Testing with Multimeter: A multimeter is my indispensable tool. I use it to measure voltage, current, and resistance at various points in the circuit. By comparing these readings to the expected values (usually found in schematics or datasheets), I can identify components that are not operating within their specified ranges. For example, if a resistor is supposed to be 1kΩ and measures open circuit, it’s likely faulty.
- Signal Tracing: Using an oscilloscope or logic analyzer, I trace signals through the circuit. This helps me determine if a signal is reaching a component correctly or if there’s a break in the signal path. This is particularly helpful in complex circuits with multiple stages.
- Component-Level Testing: In some cases, I might need to remove a suspected component and test it independently using a component tester or by measuring its characteristics directly.
For instance, once I had a system where the power supply was failing intermittently. A visual inspection showed nothing, but using a multimeter, I noticed fluctuating voltages and ultimately traced the problem to a failing capacitor causing these fluctuations. Replacing the capacitor solved the issue.
Q 9. What are some common soldering techniques and when would you use each?
Soldering is a crucial skill in electronics repair. Several techniques exist, each best suited for specific applications:
- Through-Hole Soldering: This is used for components with leads that go through holes in the PCB (printed circuit board). I use a soldering iron with the appropriate tip size and apply solder to the connection, ensuring a strong and shiny connection. Too much solder creates a cold solder joint (weak connection), while too little can result in a poor connection. I always clean up excess solder with solder wick.
- Surface Mount Soldering (SMT): SMT components are much smaller and require more precision. I typically use a finer tipped iron or even a hot air rework station for reflowing solder paste. This involves applying solder paste to the pads, placing the component, and then carefully heating it to melt the solder and create a secure connection.
- Soldering Wires: This technique involves joining two or more wires together, often using a heat shrink tube for insulation and strain relief. This is frequently used for prototyping or making temporary repairs.
Choosing the right technique depends on the type of components and the complexity of the circuit. For example, I would use a hot air station for surface mount components while a standard iron works well for through-hole components. Proper flux application is always crucial for good solder flow.
Q 10. How do you document troubleshooting steps and findings?
Documentation is paramount for effective troubleshooting. I meticulously record every step, ensuring that the process is reproducible and allowing for future reference. This includes:
- Detailed descriptions of the problem: Including symptoms, error messages, and any unusual behavior observed.
- Steps taken: A chronological record of each test performed, measurements taken, and observations made, like “Tested voltage at pin 3 of IC1; measured 0V instead of expected 5V”.
- Results of each step: This includes all measurements (voltage, current, resistance), observations, and any changes made to the circuit.
- Diagrams or photos: These provide visual context and can greatly assist in understanding the circuit’s state at various points during the troubleshooting.
- Component replacements: A list of any components replaced, including their part numbers and values.
- Final diagnosis and solution: A clear and concise statement of the root cause and how the problem was resolved.
I prefer to use a digital log, often integrating screenshots of circuit diagrams or images from the oscilloscope, to create a detailed and comprehensive record. This documentation is invaluable for resolving future issues or for collaboration within a team.
Q 11. Describe your experience working with different types of electronic components (e.g., resistors, capacitors, integrated circuits).
My experience encompasses a broad range of electronic components. I’m proficient in working with:
- Passive Components: Resistors (various types and tolerances), capacitors (ceramic, electrolytic, film), inductors, transformers. I understand their characteristics and how to test their values using a multimeter.
- Active Components: Transistors (BJT, FET), operational amplifiers (op-amps), integrated circuits (ICs) ranging from simple logic gates to complex microcontrollers. I understand datasheets and can utilize them to troubleshoot and diagnose their behavior.
- Other Components: Crystals, diodes, LEDs, connectors, and various sensors. I understand their function and the tools to test them appropriately.
For example, I recently worked on a project involving a microcontroller-based system. Through careful examination of the datasheet and signal tracing with a logic analyzer, I identified a faulty output pin on the microcontroller causing erratic behavior in a connected motor driver. Replacing the microcontroller immediately fixed the problem.
Q 12. How do you test the functionality of a circuit board?
Testing a circuit board involves a multi-stage approach. The exact methods depend on the complexity of the board and the functionality being tested.
- Visual Inspection: Begin with a thorough visual inspection to identify any obvious problems (broken traces, shorts, burnt components).
- Power-on Self-Test (POST): If the board has a built-in POST, run it and observe the results. This often gives initial clues about the problem area.
- In-Circuit Testing (ICT): Dedicated ICT equipment can test the board’s components and connections automatically. While expensive, this method provides comprehensive testing.
- Functional Testing: This involves applying inputs to the board and observing the outputs. I use tools like multimeters, oscilloscopes, and logic analyzers to measure voltage, current, and signals at various points. For example, to test the functionality of a motor driver, I would apply a control signal and measure the motor’s speed and current.
- Software Testing (if applicable): For boards with embedded systems, software testing is crucial to confirm the overall system functionality.
Remember to always follow safety procedures when testing circuit boards, working with appropriate power levels and ESD precautions.
Q 13. How do you determine the root cause of a system failure?
Determining the root cause of a system failure requires a systematic and analytical approach. I often follow these steps:
- Gather Information: Collect detailed information about the failure, including symptoms, error messages, and the system’s operating conditions prior to the failure.
- Reproduce the Failure (if possible): Attempting to reproduce the failure can provide valuable insight into the conditions that trigger it.
- Isolating the Faulty Section: Use various diagnostic techniques (as discussed in answer 1) to pinpoint the section of the circuit where the problem lies.
- Component-level Testing: Once a faulty section is isolated, thoroughly test individual components in that section to identify the faulty component.
- Analyzing Data: Review all collected data (measurements, observations, logs) to identify patterns and relationships that suggest the root cause. Consider things like environmental factors or stress on specific components.
- Root Cause Analysis Techniques: Techniques such as the 5 Whys or Fishbone diagrams can be useful for systematically investigating the underlying causes of the problem.
For instance, in a recent system failure, the initial symptoms seemed to point to a power supply issue. However, through careful analysis and signal tracing, I found the real cause to be a short circuit caused by a faulty capacitor in a different part of the board. Replacing the capacitor resolved the original power supply issue.
Q 14. Explain your experience with circuit simulation software.
Circuit simulation software is an invaluable tool for electronic design and troubleshooting. My experience includes using software packages such as LTSpice, Multisim, and Proteus.
I use these tools to:
- Verify circuit designs: Simulations help me confirm that my design will behave as intended before I build a prototype, saving time and materials.
- Analyze circuit behavior: Simulating different scenarios allows me to observe how the circuit responds under various conditions and identify potential problems early in the design process.
- Troubleshoot existing circuits: By creating a circuit model in the simulation software, I can test different scenarios and identify potential causes for malfunctions without directly altering the physical circuit.
- Test components: I can simulate the behavior of components with varying specifications to see how it might impact the overall circuit performance.
For example, while designing a new power supply, I used LTSpice to simulate different component values and topologies to achieve the desired voltage regulation and efficiency. This allowed me to optimize the design before building the actual hardware.
Q 15. How do you prioritize multiple troubleshooting tasks?
Prioritizing troubleshooting tasks involves a systematic approach that balances urgency, impact, and available resources. I use a method that combines urgency and impact analysis. I first identify tasks based on their criticality—how severely the malfunction affects the overall system. For example, a complete system shutdown takes precedence over a minor display glitch. Then, I consider the impact: How many users or processes are affected? A problem impacting a critical production line gets higher priority than an issue on a test system. Finally, I assess the available resources. If a task requires specialized expertise or tools that are currently unavailable, its priority might shift. I often use a simple matrix, plotting urgency (high, medium, low) against impact (high, medium, low) to quickly visualize the priority of each task. This helps ensure that the most critical issues are addressed promptly and efficiently.
Career Expert Tips:
- Ace those interviews! Prepare effectively by reviewing the Top 50 Most Common Interview Questions on ResumeGemini.
- Navigate your job search with confidence! Explore a wide range of Career Tips on ResumeGemini. Learn about common challenges and recommendations to overcome them.
- Craft the perfect resume! Master the Art of Resume Writing with ResumeGemini’s guide. Showcase your unique qualifications and achievements effectively.
- Don’t miss out on holiday savings! Build your dream resume with ResumeGemini’s ATS optimized templates.
Q 16. Describe your experience working with safety regulations in electronics.
Safety is paramount in electronics work. Throughout my career, I’ve strictly adhered to relevant safety standards like UL, IEC, and OSHA regulations. This includes following procedures for working with high-voltage systems (ensuring proper lockout/tagout procedures), handling potentially hazardous materials (observing appropriate personal protective equipment (PPE) requirements like safety glasses, gloves, and anti-static wrist straps), and performing thorough risk assessments before commencing any task. For instance, when dealing with laser systems, I’ve always ensured that appropriate safety interlocks and laser safety eyewear are in place and functional before initiating testing or repair. In one project, we discovered a design flaw that could have led to potential high-voltage shocks, which I immediately reported and assisted in rectifying with the design team ensuring the updated design met all relevant safety standards before deployment.
Q 17. Explain your experience troubleshooting analog and digital circuits.
I have extensive experience troubleshooting both analog and digital circuits. Analog troubleshooting often involves using multimeters, oscilloscopes, and signal generators to measure voltages, currents, and waveforms, looking for deviations from expected values. For example, finding a faulty component in an analog amplifier might involve checking for correct bias voltages, examining the output waveform for distortion, or measuring the gain to identify a component causing attenuation. Digital troubleshooting frequently utilizes logic analyzers, digital multimeters, and in-circuit emulators to examine logic levels, timing diagrams, and data flow. Identifying an issue in a microcontroller-based system, for instance, might involve analyzing bus signals, examining memory contents, or using debugging tools to step through the code to pinpoint the source of a software or hardware malfunction. My approach is always systematic, starting from a general overview of the circuit and progressively narrowing down to the specific faulty component.
Q 18. How do you handle situations where you cannot identify the problem?
When I cannot immediately identify a problem, I follow a structured approach: First, I meticulously re-examine my initial observations and measurements, looking for anything I might have overlooked. I then consult schematics, datasheets, and any available documentation. Next, I expand the scope of my investigation. This might involve checking connections, power supplies, and other related circuits. If the problem remains elusive, I might employ more advanced techniques like signal tracing, isolating sections of the circuit, or using specialized test equipment. In complex cases, collaboration is key. I consult with colleagues or seek support from manufacturers to find the root cause. Finally, proper documentation throughout the troubleshooting process is critical, allowing me to retrace my steps and avoid redundant efforts. Often, the solution appears after systematically ruling out possibilities.
Q 19. What are some common causes of signal degradation?
Signal degradation is a common issue in electronic systems. Several factors can contribute to this:
- Noise: Electromagnetic interference (EMI) from external sources or noise generated within the circuit itself can corrupt signals. This can manifest as random fluctuations, spikes, or overall signal distortion.
- Attenuation: Signals weaken over long transmission lines or due to losses in components. This is particularly relevant in high-frequency applications.
- Crosstalk: Signals can leak between adjacent conductors, causing interference. This is often exacerbated by poor shielding or routing of signal traces.
- Impedance Mismatch: A mismatch between the source and load impedance can lead to signal reflections and power loss, reducing the signal’s integrity.
- Component Degradation: Faulty or aging components can introduce noise or distort signals. Capacitors losing capacitance or resistors drifting from their nominal values are common culprits.
Q 20. How do you troubleshoot communication issues in electronic systems?
Troubleshooting communication issues requires a systematic approach. First, I verify the physical layer—checking cables, connectors, and physical interfaces for proper connections and signal integrity. I use tools like oscilloscopes and protocol analyzers to inspect the signals. Next, I move to the data link layer—checking for proper framing, error detection codes, and synchronization. Protocol analyzers are invaluable here, allowing me to capture and analyze the communication packets. The network layer is addressed by checking addressing schemes, routing tables (if applicable), and network connectivity. Finally, the application layer involves checking application-specific protocols and data integrity. For example, troubleshooting a failing serial communication link might involve first checking for voltage levels and continuity at the connector, then using a logic analyzer to examine the serial data stream for errors, and finally inspecting the communication protocol used by the application to identify any discrepancies or errors in the data transfer. Careful observation of error messages is also essential.
Q 21. Explain your experience with microcontrollers and embedded systems.
I have extensive experience with microcontrollers and embedded systems, encompassing aspects from hardware design to firmware development and testing. I’m proficient in programming various microcontrollers (e.g., ARM Cortex-M, AVR) using languages like C and assembly. My experience includes developing firmware for diverse applications, including motor control, sensor integration, and data acquisition. In one project, I developed firmware for a system controlling multiple sensors on a remote robotic arm. This involved writing interrupt handlers for efficient data acquisition, managing communication protocols for data transmission, and implementing error handling and fault recovery mechanisms. Debugging embedded systems involves using techniques such as in-circuit debugging (ICD), logic analyzers, and oscilloscopes to understand program execution, hardware interaction, and signal integrity. My skills also encompass real-time operating system (RTOS) integration and low-level hardware manipulation, enabling me to build robust and efficient embedded systems.
Q 22. How do you test and verify repairs?
Verifying repairs is crucial; it’s not just about fixing something, but ensuring it’s fixed correctly and will continue to function reliably. My approach involves a multi-stage process. First, I perform a visual inspection, checking for any obvious issues like loose connections or damaged components. Then, I use appropriate test equipment – oscilloscopes, multimeters, logic analyzers – to measure key parameters like voltage, current, and signal integrity, comparing them to specifications. For example, if I’ve repaired a power supply, I’ll verify its output voltage and ripple are within acceptable tolerances using a multimeter and oscilloscope. If it’s a digital circuit, I might use a logic analyzer to observe data signals and confirm their timing. Finally, I run functional tests to simulate real-world operation. This could involve running diagnostic software, testing the device under various loads or input conditions, or simply powering it on and observing its behavior. This comprehensive approach ensures the repair’s quality and long-term stability.
Q 23. How do you stay up-to-date with the latest technologies and troubleshooting techniques?
The field of electronics is constantly evolving, so continuous learning is essential. I leverage several methods to stay current. I actively participate in online communities and forums, engaging in discussions and sharing knowledge with other professionals. Attending industry conferences and webinars provides valuable insights into the latest advancements and troubleshooting techniques. Reading industry publications and technical journals keeps me abreast of new technologies and best practices. I also regularly review datasheets and application notes for components, refreshing my understanding and staying informed about any potential quirks or updates. Finally, I’m a firm believer in hands-on practice; experimenting with new tools and technologies reinforces my learning.
Q 24. Describe your experience working with different types of electronic equipment.
My experience spans a wide range of electronic equipment. I’ve worked extensively with embedded systems, troubleshooting issues ranging from firmware glitches to hardware failures. I have a strong background in repairing consumer electronics, from smartphones and laptops to televisions and audio equipment. My expertise extends to industrial control systems, including programmable logic controllers (PLCs) and industrial sensors. I’m also proficient in working with medical devices, which demands a high level of precision and attention to detail due to safety regulations. Each device presents unique challenges, but the fundamental troubleshooting principles remain the same – methodical analysis, careful testing, and a thorough understanding of the device’s functionality.
Q 25. How do you ensure the safety of yourself and others during troubleshooting?
Safety is paramount. Before starting any troubleshooting, I always assess the risks. This includes checking for potential hazards like high voltages, dangerous chemicals, or moving parts. I always disconnect the power supply before working on any live equipment. I use appropriate personal protective equipment (PPE), including insulated tools, safety glasses, and anti-static wrist straps to prevent electrostatic discharge (ESD) damage. I never work alone on high-voltage systems; a second person is crucial for safety. I meticulously document my work, including safety precautions taken, to ensure a safe working environment for myself and others. Furthermore, I strictly adhere to all relevant safety regulations and company procedures.
Q 26. What are some common troubleshooting tools and techniques?
Troubleshooting relies on a combination of tools and techniques. Essential tools include multimeters for measuring voltage, current, and resistance; oscilloscopes for analyzing waveforms; logic analyzers for examining digital signals; and signal generators for injecting test signals. Techniques include visual inspection (checking for obvious damage), systematic testing (following a logical sequence of checks), and using documentation (schematics, datasheets). I also use specialized tools such as a soldering station for PCB repair, and a thermal imaging camera to spot overheating components. Beyond these, effective troubleshooting utilizes methods like the ‘divide and conquer’ approach (isolating faulty sections), the ‘top-down’ approach (starting with the most likely causes), and the ‘bottom-up’ approach (working from simple components to complex ones). The specific tools and techniques employed depend on the nature of the equipment and the suspected fault.
Q 27. Explain your experience with PCB repair and rework.
PCB repair and rework is a significant part of my expertise. I’m proficient in using various techniques for replacing surface-mount components using a hot air rework station and a soldering iron. I understand the importance of minimizing heat damage to surrounding components and use appropriate thermal profiles. I can effectively repair trace breaks using conductive epoxy or jumper wires. My experience also includes using advanced techniques like laser repair for very fine traces or micro-soldering. Quality is my priority; I meticulously inspect my work under a microscope to ensure the integrity of the repairs. I am also experienced in desoldering and re-soldering components which is an essential skill for PCB repair.
Q 28. Describe a challenging troubleshooting situation you faced and how you overcame it.
One challenging situation involved a complex industrial PLC that unexpectedly shut down. Initial diagnostics pointed to a faulty power supply, but after replacing it, the problem persisted. The PLC’s extensive I/O system made pinpointing the issue difficult. I systematically checked each I/O module using a multimeter and logic analyzer. I discovered a subtle intermittent short circuit within a remote sensor cable, which was causing a surge current that triggered the PLC’s safety shutdown mechanism. This wasn’t immediately obvious, as the short wasn’t consistently present. I used a combination of voltage monitoring and signal tracing to eventually pinpoint the faulty cable section. Once repaired, the PLC functioned flawlessly. This reinforced the importance of methodical troubleshooting and thorough investigation, especially in complex systems where the problem isn’t always immediately apparent. The successful resolution demonstrated my ability to persevere and adapt my approach until the root cause is identified and fixed.
Key Topics to Learn for Electronic Systems Troubleshooting Interview
- Digital Logic and Circuit Analysis: Understanding Boolean algebra, logic gates, and circuit analysis techniques is fundamental. Practical application includes diagnosing faulty logic circuits in embedded systems.
- Analog Circuit Analysis: Mastering concepts like Ohm’s Law, Kirchhoff’s Laws, and amplifier circuits is crucial. Practical application includes troubleshooting signal degradation in audio or sensor systems.
- Microcontrollers and Embedded Systems: Familiarity with microcontroller architectures, programming (e.g., C/C++), and debugging techniques is essential. Practical application includes resolving firmware issues in industrial control systems.
- Troubleshooting Methodologies: Learn systematic approaches like the 5 Whys, fault trees, and root cause analysis. Practical application includes efficiently identifying the source of a system malfunction.
- Signal Integrity and Noise Reduction: Understanding signal propagation, impedance matching, and noise sources is vital. Practical application includes resolving interference problems in high-speed data transmission systems.
- Testing and Measurement Equipment: Proficiency with oscilloscopes, multimeters, logic analyzers, and spectrum analyzers is crucial. Practical application includes accurately measuring signals and identifying faults in electronic circuits.
- Schematic Reading and Interpretation: Ability to understand and interpret electronic schematics is a cornerstone skill. Practical application includes tracing signals and identifying components on a circuit board.
- Power Systems and Power Supply Troubleshooting: Understanding power electronics, voltage regulation, and power supply design is important. Practical application includes resolving power-related issues in electronic systems.
Next Steps
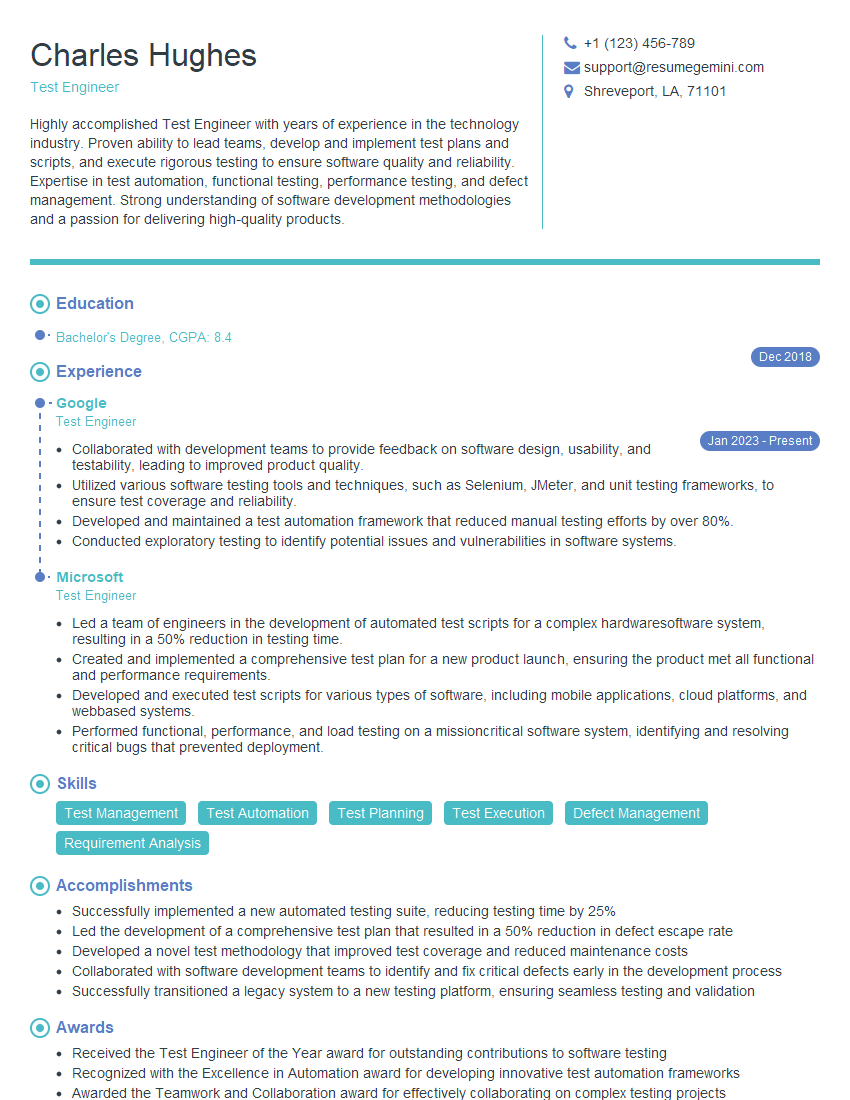
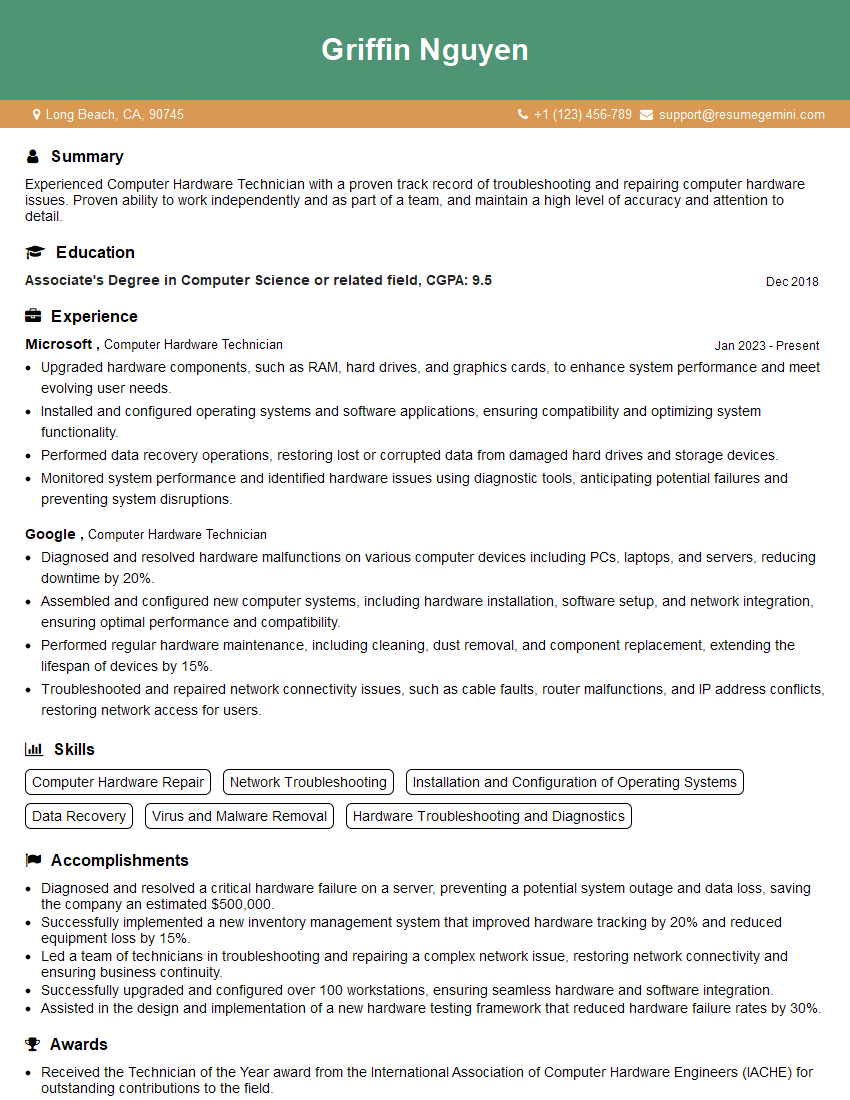
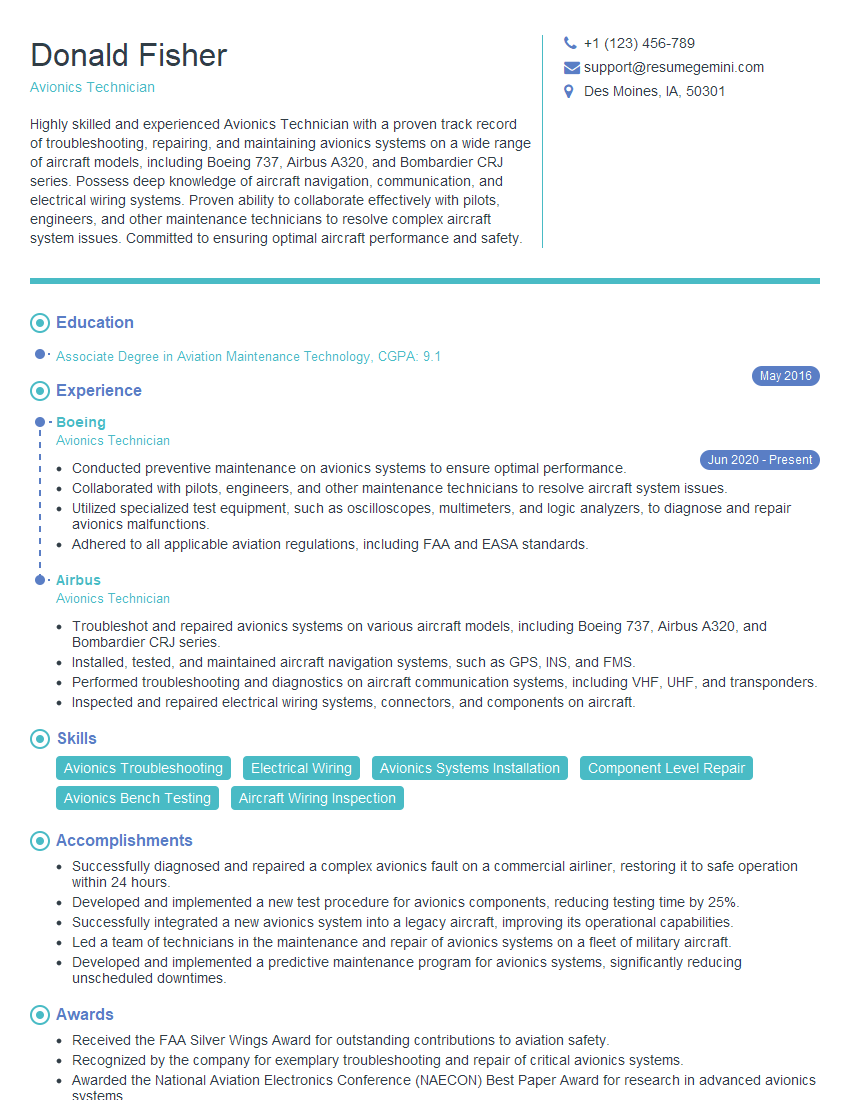
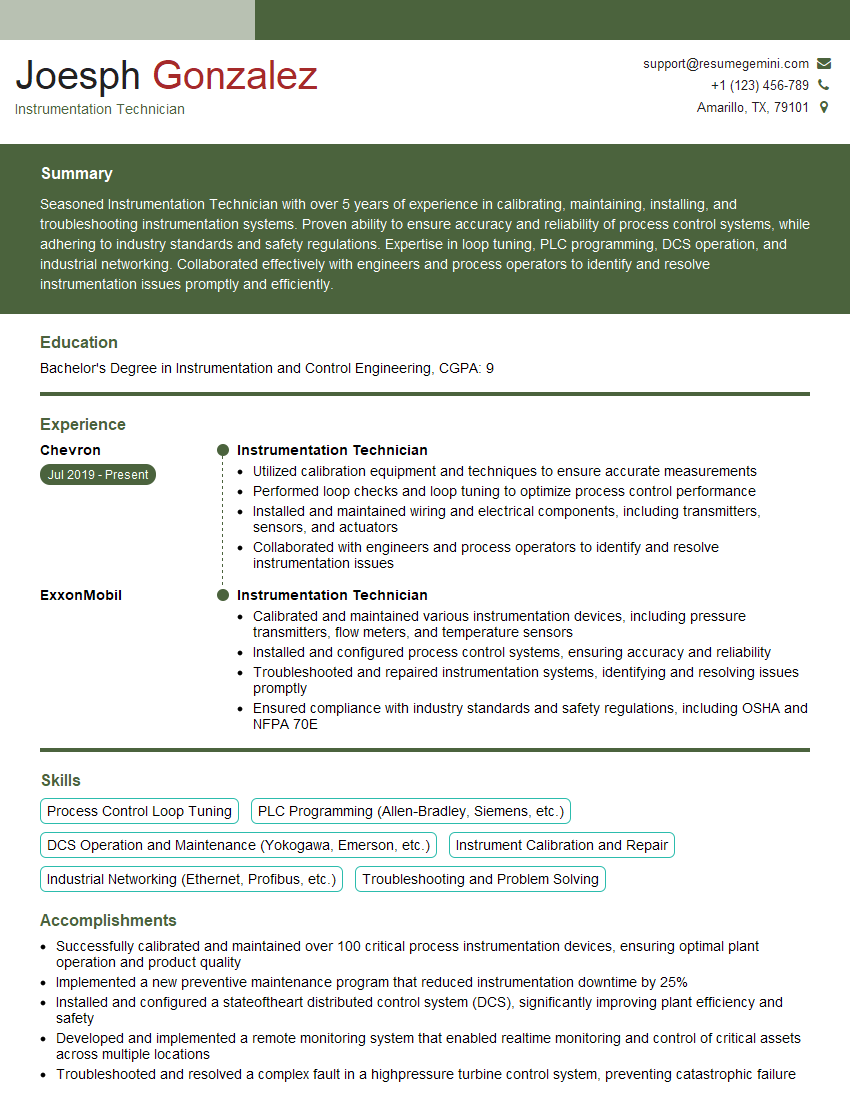
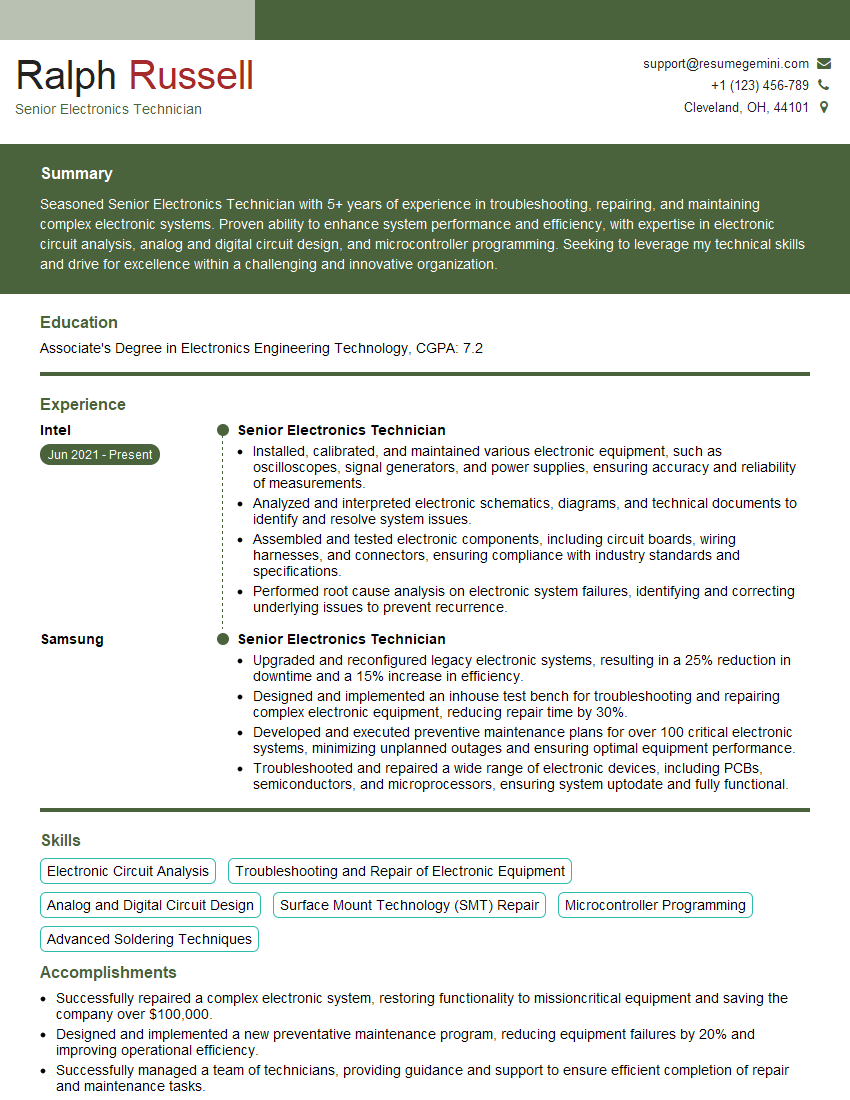
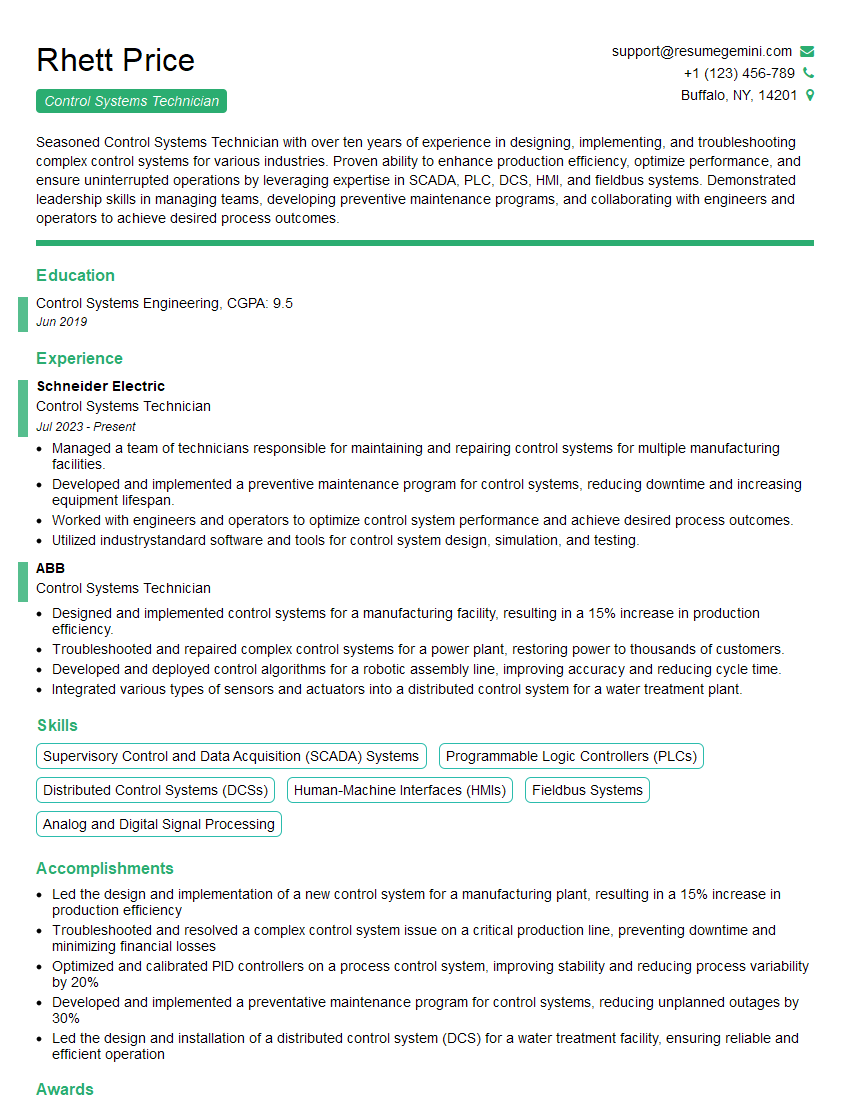
Mastering Electronic Systems Troubleshooting opens doors to exciting career opportunities in diverse fields, offering excellent growth potential and competitive salaries. To maximize your job prospects, create an ATS-friendly resume that highlights your skills and experience effectively. ResumeGemini is a trusted resource that can help you build a professional and impactful resume. Examples of resumes tailored to Electronic Systems Troubleshooting are available to guide you through the process.
Explore more articles
Users Rating of Our Blogs
Share Your Experience
We value your feedback! Please rate our content and share your thoughts (optional).
What Readers Say About Our Blog
Hello,
We found issues with your domain’s email setup that may be sending your messages to spam or blocking them completely. InboxShield Mini shows you how to fix it in minutes — no tech skills required.
Scan your domain now for details: https://inboxshield-mini.com/
— Adam @ InboxShield Mini
Reply STOP to unsubscribe
Hi, are you owner of interviewgemini.com? What if I told you I could help you find extra time in your schedule, reconnect with leads you didn’t even realize you missed, and bring in more “I want to work with you” conversations, without increasing your ad spend or hiring a full-time employee?
All with a flexible, budget-friendly service that could easily pay for itself. Sounds good?
Would it be nice to jump on a quick 10-minute call so I can show you exactly how we make this work?
Best,
Hapei
Marketing Director
Hey, I know you’re the owner of interviewgemini.com. I’ll be quick.
Fundraising for your business is tough and time-consuming. We make it easier by guaranteeing two private investor meetings each month, for six months. No demos, no pitch events – just direct introductions to active investors matched to your startup.
If youR17;re raising, this could help you build real momentum. Want me to send more info?
Hi, I represent an SEO company that specialises in getting you AI citations and higher rankings on Google. I’d like to offer you a 100% free SEO audit for your website. Would you be interested?
Hi, I represent an SEO company that specialises in getting you AI citations and higher rankings on Google. I’d like to offer you a 100% free SEO audit for your website. Would you be interested?
good
