Preparation is the key to success in any interview. In this post, we’ll explore crucial Microphone Handling interview questions and equip you with strategies to craft impactful answers. Whether you’re a beginner or a pro, these tips will elevate your preparation.
Questions Asked in Microphone Handling Interview
Q 1. Explain the difference between dynamic and condenser microphones.
Dynamic and condenser microphones are the two primary types, differing fundamentally in how they convert sound waves into electrical signals. Dynamic mics use a diaphragm attached to a coil of wire within a magnetic field. Sound waves vibrate the diaphragm, moving the coil within the magnetic field, inducing an electrical current. This process is robust, simple, and relatively inexpensive. Condenser mics, on the other hand, use a capacitor—a pair of charged plates—where one plate is a thin, flexible diaphragm. Sound waves cause this diaphragm to move, changing the capacitance, which is converted into an electrical signal. This design offers greater sensitivity and a wider frequency response, but requires external power (phantom power) and tends to be more fragile and expensive.
Think of it like this: a dynamic mic is like a sturdy workhorse, reliable and ready for anything, while a condenser mic is a more refined instrument, capable of capturing subtle nuances but requiring more careful handling.
- Dynamic: Rugged, less sensitive, handles high sound pressure levels (SPL) well, requires no external power. Good for loud instruments like drums or vocals in a live setting.
- Condenser: More sensitive, wider frequency response, needs phantom power, more fragile. Ideal for quiet sounds like acoustic instruments or voiceovers.
Q 2. Describe the polar patterns of microphones (cardioid, omnidirectional, figure-8).
A microphone’s polar pattern describes its sensitivity to sound from different directions. Three common polar patterns are:
- Omnidirectional: Equally sensitive to sound from all directions, like a sphere. Useful for capturing ambient sounds or situations where the sound source’s position might change frequently.
- Cardioid: Most sensitive to sound from the front, with reduced sensitivity from the sides and rear. This is the most common pattern, offering good isolation from unwanted sounds and a natural sound. Imagine a heart shape.
- Figure-8: Equally sensitive to sound from the front and rear, but rejects sound from the sides. Useful for stereo recording techniques or specific situations needing isolation from surrounding noise.
Understanding polar patterns is crucial for microphone placement. A cardioid mic placed close to a vocal will minimize background noise; an omnidirectional mic might be used to capture a conversation in a room.
Q 3. What is proximity effect and how can it be mitigated?
Proximity effect is the bass boost that occurs when a microphone is placed very close to a sound source. The sound waves don’t have time to fully diffract around the capsule, resulting in a boosted low-frequency response. This can be a desirable effect for adding warmth to vocals, but excessive proximity effect can lead to a muddy or boomy sound.
Mitigation strategies include:
- Increase distance: Moving the mic further away from the source will reduce the proximity effect.
- Use a high-pass filter (HPF): An HPF attenuates low frequencies, effectively reducing the muddy bass buildup.
- EQ: Careful use of an equalizer can cut back on excessive low frequencies.
- Microphone choice: Some microphones are less prone to proximity effect than others. Consult specifications carefully.
For instance, if a vocalist sounds too boomy during recording, try backing the microphone off slightly or engaging the HPF on the recording console or DAW.
Q 4. How do you choose the right microphone for a given application (e.g., vocals, instruments, ambient sound)?
Selecting the right microphone depends entirely on the application. There’s no one-size-fits-all solution. Consider these factors:
- Sound source: A delicate acoustic guitar needs a sensitive condenser mic, while a screaming rock vocal might benefit from a robust dynamic mic.
- Desired sound: Do you need a warm, intimate sound or a bright, clear sound? Different mic types and polar patterns contribute to various sonic characteristics.
- Environment: A noisy environment requires a mic with good rejection of ambient sound (cardioid or hypercardioid). A quieter space might allow for an omnidirectional mic.
- Budget: Microphones range widely in price. Determine your budget before starting your search.
For example, for recording vocals, I’d typically favor a large-diaphragm condenser for studio work or a dynamic microphone for live performance, depending on the genre and desired sound. For acoustic instruments, a small-diaphragm condenser is often a good choice, while a dynamic microphone might be better suited for amplifying an electric guitar.
Q 5. Explain the importance of microphone placement and technique.
Microphone placement and technique are crucial for achieving high-quality recordings. Improper placement can result in poor sound quality, feedback, and unwanted noise. Key considerations include:
- Distance: Consider the proximity effect and the desired level of bass. Experiment to find the sweet spot.
- Angle: Aim the mic directly at the sound source or slightly off-axis depending on the desired character. Experiment to find what gives the best sound.
- Isolation: Position the mic to minimize interference from unwanted sounds, utilizing polar patterns to your advantage.
- Height: The height influences sound quality and the level of background noise captured. Consider the sound source’s natural resonance.
I often tell my students, ‘A great microphone in a poor position sounds worse than an adequate microphone in a good position.’ Even with high-end equipment, careful placement is paramount for good recording.
Q 6. How do you handle microphone feedback?
Microphone feedback is a high-pitched squeal caused by a positive feedback loop between the microphone, amplifier, and loudspeaker. It’s a major problem in live sound reinforcement.
Here’s how to handle it:
- Reduce gain: Lowering the input gain on the mixer will significantly reduce the likelihood of feedback.
- EQ: Use a graphic or parametric equalizer to cut frequencies that are prone to feedback.
- Microphone placement: Moving the microphone slightly can often eliminate feedback by minimizing direct signal paths.
- Pointing speakers away from mics: Directing speakers away from microphones reduces the chance of a feedback loop.
- Use feedback suppressors: Some mixers and signal processors have built-in feedback suppressors which actively combat feedback.
A systematic approach is key; start with reducing the gain and then address other parameters as needed.
Q 7. Describe your experience with different microphone types (e.g., lavalier, shotgun, handheld).
My experience spans a wide range of microphone types, each tailored to specific applications:
- Lavalier microphones: Small, clip-on mics ideal for discreet recording of speech, such as in film or television. I’ve used these extensively for interviews and presentations, appreciating their versatility and ease of use, although careful placement is essential to avoid unwanted clothing noise.
- Shotgun microphones: Highly directional mics with a long, narrow pickup pattern, perfect for isolating distant sounds, often used in film and video to capture dialogue or sound effects. The directional nature is key to picking up sound from far away while rejecting nearby sounds.
- Handheld microphones: Used extensively in live performance and broadcast. I’ve worked with numerous dynamic and condenser handheld microphones for vocals and instruments, always mindful of the differences in their handling and sonic characteristics. Dynamic handheld mics are particularly durable and robust for stage use.
Each microphone type presents unique challenges and benefits. Understanding these nuances is critical for choosing the right tool for the job and delivering high-quality audio.
Q 8. What are some common microphone troubleshooting techniques?
Microphone troubleshooting often involves a systematic approach. First, you need to identify the symptom – is there no sound, distorted sound, low volume, feedback, or noise? Then, we isolate the problem by checking each component in the signal chain.
- Check the microphone itself: Inspect the cable for damage, ensure it’s firmly connected, and test with a known good cable and device. Try the mic on a different input to rule out a faulty channel. With wireless mics, check batteries and transmitter/receiver connection.
- Examine the cable: Look for kinks, breaks, or damaged connectors. XLR cables are especially susceptible to pin bending. A simple visual inspection often reveals the culprit.
- Inspect the inputs: Make sure the gain is set appropriately (not too high or too low) and that the phantom power (if required by the microphone) is enabled. A visual inspection of the input jacks can sometimes reveal physical problems.
- Test the signal chain: If using a mixer, check the signal routing and levels. If using a sound card, ensure the correct input is selected and the drivers are up-to-date. You can use a test tone to trace the signal path.
For example, I once encountered a situation where a seemingly dead microphone was actually caused by a tiny piece of dust lodged in the XLR connector. A simple cleaning solved the problem!
Q 9. How do you ensure proper gain staging?
Proper gain staging involves setting the input level of your microphone so that it’s loud enough to be clearly heard, but not so loud that it causes clipping or distortion. It’s a balancing act between signal strength and avoiding unwanted artifacts. Think of it like this: you want a strong but not overwhelming voice.
- Start with a low gain: Begin with the preamp gain at its minimum setting. Slowly increase the gain while monitoring the signal carefully using a meter or visual representation of the level.
- Use a meter: Always rely on a meter (either analog or digital) to visually gauge your levels. This eliminates guesswork. Aim for a peak level around -18dBFS to -12dBFS in digital recording, leaving headroom to avoid clipping (distortion). Analog meters are often calibrated differently.
- Adjust the source level: If the gain is maxed out and you still have insufficient level, check the microphone position or try moving closer to the sound source.
- Listen critically: Don’t just rely on meters. Listen attentively for any distortion or unwanted noise.
In a live sound setting, I regularly adjust gain staging to adapt to fluctuating vocal levels of the performers. I carefully watch the VU meters and use ear to adjust microphone levels, ensuring both clarity and preventing feedback.
Q 10. Explain the concept of impedance matching.
Impedance matching is the process of ensuring that the output impedance of a device (like a microphone) is compatible with the input impedance of the next device in the signal chain (like a preamp). Mismatched impedance can lead to signal loss, noise, and distortion. It’s like trying to fit a square peg into a round hole.
Think of impedance as resistance to the flow of electricity. The goal is to have an optimal impedance ratio. A microphone typically has a low output impedance (e.g., 150-600 ohms), while a preamplifier typically has a high input impedance (e.g., 10k-1M ohms). A significant impedance mismatch can result in a loss of signal strength and introduce unwanted noise. Ideally the input impedance is ten times or greater than the output impedance of the device sending it signal
For instance, connecting a low-impedance microphone to a low-impedance input could result in a significant attenuation (reduction) of signal.
Q 11. Describe your experience with wireless microphones and their limitations.
I have extensive experience with wireless microphones, ranging from UHF to digital systems. They offer significant advantages in mobility and flexibility, especially in live performances and film productions. However, they also have limitations:
- Frequency Interference: Wireless mics operate on radio frequencies, which can be susceptible to interference from other wireless devices (like cell phones, WiFi routers, and other wireless mics). This can lead to dropouts or noise in the audio signal. Frequency coordination and selection are key for managing this, which I routinely do by scanning available frequencies.
- Range Limitations: The distance between the transmitter and receiver is limited. Obstacles like walls and large metal objects can significantly reduce the range and quality of the signal. Careful placement of transmitters and receivers is essential.
- Battery Life: Wireless microphones rely on batteries, which need regular monitoring and replacement. Battery life can vary depending on the type of battery and the usage conditions. I always carry spare batteries for unexpected situations.
- Latency: Wireless systems can sometimes introduce a slight delay (latency) in the audio signal, which can be noticeable in critical applications. However, modern digital wireless systems have minimized this delay considerably.
In one event, we experienced significant interference during a live concert due to a nearby broadcast station operating on the same frequency. Quick problem-solving involved switching to backup frequencies and coordinating with other teams using wireless equipment.
Q 12. What are some common problems with XLR cables and connectors?
XLR cables and connectors are crucial for professional audio. Common problems include:
- Pin Bending: The pins inside the XLR connector can bend or break due to rough handling or improper insertion/removal. This leads to intermittent or no signal.
- Cable Damage: Cables can be damaged by crushing, twisting, or being stepped on. This results in broken wires or damaged shielding, causing signal loss or noise.
- Corrosion: Oxidation can build up on the pins, leading to poor connections and signal degradation. Regular cleaning of connectors is essential.
- Improper Wiring: Incorrect wiring of cables can result in no sound, phase cancellation, or hum.
A visual inspection of connectors and cables is a crucial step in my workflow before each event or session. I regularly clean the contacts to prevent issues, and always test the connections to verify proper operation.
Q 13. How do you manage multiple microphones in a recording or live sound environment?
Managing multiple microphones requires careful planning and execution. Key considerations include:
- Proximity Effect: Microphones placed close to a sound source will emphasize bass frequencies (proximity effect). This needs to be balanced to avoid muddiness.
- Phase Cancellation: Two microphones picking up the same sound source but with different phase relationships can lead to sound cancellation. Placement and careful monitoring are crucial to mitigate this.
- Feedback: Multiple microphones increase the risk of acoustic feedback (a high-pitched squeal). Gain staging, microphone placement, and EQ adjustments are key to minimizing feedback.
- Microphone Type Selection: Using the right microphone for the source is critical. Different mics are better suited for different instruments or vocals.
- Mixer Usage: A mixing console provides independent control over each microphone’s level, EQ, and routing.
In a recent recording session with a band, I strategically positioned microphones to capture individual instruments without causing phase cancellation or excessive proximity effect. By using a combination of dynamic and condenser microphones, I was able to achieve a well-balanced and nuanced recording.
Q 14. What software or hardware do you use for microphone monitoring?
Microphone monitoring can be done using a variety of hardware and software tools.
- Hardware Monitoring: Mixing consoles usually provide headphone outputs for monitoring individual microphone inputs and the overall mix. Dedicated headphone amplifiers can improve sound quality and provide greater headroom. Many audio interfaces also provide direct monitoring options.
- Software Monitoring: Digital audio workstations (DAWs) like Pro Tools, Logic Pro, Ableton Live, and Cubase provide comprehensive monitoring capabilities, including metering, visualization, and real-time effects processing. These DAWs offer precise control over monitoring levels and routing.
For smaller projects, I might use simple hardware monitoring provided by my audio interface. For larger sessions, I typically use a DAW for comprehensive monitoring and signal routing – this allows for more precise control over headphone mixes for each performer and technician involved.
Q 15. Explain the process of calibrating a microphone.
Microphone calibration ensures accurate signal representation. It involves adjusting the microphone’s output to match a known reference level. Think of it like calibrating a kitchen scale – you need a known weight to ensure accurate measurements. Calibration methods vary depending on the microphone type and the equipment used.
For instance, with a measurement microphone and a sound level calibrator (a device emitting a precise sound level), you’d expose the mic to the calibrator’s output, then adjust the microphone’s gain or settings until the measured level matches the calibrator’s known output. Software calibration within a digital audio workstation (DAW) might involve recording a known signal (e.g., a test tone at a specific level) and then applying a gain adjustment to match it to a target value within the software. This ensures consistency and accuracy across different recordings.
- Method 1: Using a sound level calibrator and measurement microphone: This is the most accurate method for professional applications.
- Method 2: Using calibration software within a DAW: This is convenient for many applications, but relies on the accuracy of the software and soundcard.
Career Expert Tips:
- Ace those interviews! Prepare effectively by reviewing the Top 50 Most Common Interview Questions on ResumeGemini.
- Navigate your job search with confidence! Explore a wide range of Career Tips on ResumeGemini. Learn about common challenges and recommendations to overcome them.
- Craft the perfect resume! Master the Art of Resume Writing with ResumeGemini’s guide. Showcase your unique qualifications and achievements effectively.
- Don’t miss out on holiday savings! Build your dream resume with ResumeGemini’s ATS optimized templates.
Q 16. How do you address microphone noise and interference?
Microphone noise and interference are common challenges. Noise can stem from various sources: electrical hum (often 60Hz), handling noise (physical vibrations transmitted to the microphone), background sounds (like air conditioning or traffic), or even inherent noise in the microphone’s electronics. Interference is usually caused by electromagnetic fields from nearby devices.
Addressing these issues involves a multi-pronged approach:
- Minimize Physical Noise: Use microphone shock mounts to isolate the microphone from vibrations. Handle the microphone gently. Choose a quiet recording environment.
- Reduce Electrical Hum: Use balanced cables to reject common-mode noise. Ensure proper grounding. Check for ground loops (multiple ground paths). Use a hum eliminator if necessary. If the hum is at 60Hz, a notch filter in your audio processing can help.
- Control Background Noise: Use sound-absorbing materials in your recording space to reduce reflections and reverberation. Consider using a directional microphone to focus on the sound source and minimize background noise capture.
- Reduce Electromagnetic Interference (EMI): Keep the microphone away from electronic devices, especially those emitting strong electromagnetic fields (computers, power supplies). Use shielded cables.
For example, I once worked on a recording where a significant 60Hz hum was present. By using balanced cables, properly grounding the equipment, and strategically placing the microphone further away from a nearby computer, we eliminated most of the hum. In post-processing, a subtle notch filter at 60Hz further improved the audio quality.
Q 17. Describe your experience with phantom power and its applications.
Phantom power is a method of providing DC voltage (typically 48V) to condenser microphones through the audio cable. Condenser microphones require this power to operate their internal pre-amplifiers. They cannot function without it.
My experience spans numerous applications: studio recordings (vocal, instrument, ambient), live sound reinforcement (for vocals and instruments on stage), and even location recording (using portable recorders with phantom power capabilities).
It’s crucial to understand that not all microphones require or accept phantom power. Dynamic microphones, for example, do not need it and can be damaged if phantom power is applied. Always check the microphone’s specifications before enabling phantom power on your mixer or audio interface. Incorrect use can lead to microphone damage or equipment failure.
A practical example: I once encountered a situation where a condenser microphone wasn’t working. A quick check revealed that the phantom power switch on the mixer was off. Simply enabling phantom power instantly resolved the issue.
Q 18. What is the difference between balanced and unbalanced audio signals?
The difference between balanced and unbalanced audio signals lies in how they handle noise and interference. Imagine two people whispering a secret – one shouts it out (unbalanced), while the other uses a code only they can understand (balanced).
Unbalanced signals use a single wire to transmit the audio signal and a ground wire for the return path. This makes them susceptible to picking up noise and interference from the environment along the cable’s length. Think of it like a single, vulnerable line of communication.
Balanced signals use three wires: two carrying the audio signal (one inverted), and a ground. This allows the receiver to subtract the noise that’s picked up along the way, resulting in a cleaner signal. It’s like having a redundant system – if one line gets corrupted, the other one can provide the correct information.
Balanced cables are essential for longer cable runs and in noisy environments. They’re common in professional audio applications to ensure signal integrity.
Q 19. How do you determine the appropriate microphone distance for various sound sources?
Microphone distance significantly impacts sound quality. The optimal distance depends on the sound source and desired sound character. It’s a balance of proximity effect, sound quality and unwanted noise.
Close Mic’ing: Placing the microphone very close to the sound source (e.g., a few centimeters for vocals) enhances bass frequencies (proximity effect), resulting in a warmer, more intimate sound. However, it also increases the risk of plosives and breath noise.
Mid-Range Mic’ing: A moderate distance (e.g., 30-60 cm) provides a balanced sound, capturing more of the room ambience and reducing proximity effect.
Distant Mic’ing: Using a greater distance (e.g., several meters) is suitable for capturing a broader soundscape, such as a full orchestra or a large ensemble. It minimizes proximity effect but reduces clarity and signal strength.
For example, I often use close mic’ing for vocals in studio recordings to capture a full, rich tone. For recording a piano, I might use a combination of close and mid-range mic’ing to capture both the detailed sounds of individual strings and the overall ambience of the instrument.
Q 20. Explain the impact of room acoustics on microphone recording quality.
Room acoustics drastically affect recording quality. Reflections from walls, floors, and ceilings can create unwanted reverberation, muddying the sound. This is similar to shouting in a canyon – the sound echoes and becomes unclear. A good recording environment minimizes reflections and provides a cleaner, more controlled sound.
The size, shape, and materials used in the room all play a role. Hard surfaces like concrete reflect sound more strongly than softer surfaces like fabric or carpet.
Solutions include:
- Treat the room acoustically: Using sound-absorbing materials (bass traps, acoustic panels) on walls and ceilings minimizes reflections and controls reverberation.
- Record in acoustically treated rooms: Dedicated recording studios are designed with acoustics in mind.
- Use directional microphones: Directional microphones are less sensitive to ambient sounds and reflections.
- Post-processing techniques: Software can be used to reduce reverberation (e.g., reverb reduction plugins) and enhance clarity.
In a poorly treated room, a recording might sound muddy and unclear, while in a well-treated room, the sound will be cleaner, more focused, and easier to mix.
Q 21. How do you prevent pops and plosives during recording?
Pops and plosives (pronounced bursts of air) are caused by the sudden pressure changes created by consonants like ‘p’, ‘b’, ‘t’, and ‘k’. These sounds can cause unwanted distortion in recordings.
Here’s how to prevent them:
- Use a pop filter: A pop filter (a mesh screen placed between the microphone and sound source) effectively diffuses the air pressure, significantly reducing pops and plosives.
- Microphone technique: Slightly offsetting the microphone from the sound source’s direct path can help reduce the impact of plosives.
- Adjust microphone distance: Increasing the distance between the microphone and the sound source reduces the intensity of plosives, but at the cost of some proximity effect.
- Use a directional microphone: Some directional microphones are less sensitive to plosives than others.
- Post-processing: De-essing plugins can be used in post-production to reduce the harshness of sibilance and plosives.
In a studio setting, a pop filter is almost essential for vocal recordings. Proper microphone technique and distance management also play vital roles. Post-processing provides a final safety net to address any remaining issues.
Q 22. What are the best practices for maintaining and storing microphones?
Proper microphone maintenance and storage are crucial for extending their lifespan and ensuring optimal performance. Think of it like caring for a precision instrument – a little TLC goes a long way.
Cleaning: Gently wipe the microphone body with a soft, dry cloth after each use. For more stubborn dirt, use a slightly damp (not wet!) cloth. Avoid harsh chemicals or abrasive materials. For delicate condenser microphones, compressed air can be used to remove dust from the grille.
Storage: Store microphones in their original cases or protective pouches when not in use. This prevents accidental damage and protects them from dust and moisture. Avoid storing them in extreme temperatures or humid environments.
Cable Management: Keep microphone cables neatly coiled and stored to prevent damage and tangling. Velcro straps are your friend here!
Regular Inspection: Periodically inspect the microphone for any signs of damage, such as cracks, loose connections, or damaged grills. Address any issues promptly.
Specific Considerations: Condenser microphones, especially those with delicate diaphragms, require extra care. Always handle them gently and avoid dropping them. Dynamic microphones are generally more robust but still benefit from proper cleaning and storage.
Q 23. Describe your experience with different microphone preamps.
My experience with microphone preamps is extensive, encompassing a wide range of models from various manufacturers. The choice of preamp significantly impacts the sound quality, from subtle nuances to dramatic alterations. I’ve worked with everything from vintage tube preamps, known for their warm and rich character, to modern solid-state preamps that offer pristine clarity and versatility. For instance, I’ve had great success using the Neve 1073-style preamps for their ability to add harmonic richness and weight to vocals, while API preamps provide a more transparent and punchy sound that works well with drums. The choice often depends on the desired sound and the characteristics of the microphone being used.
I find that understanding the impedance matching between the microphone and the preamp is critical. A mismatch can lead to a loss of high frequencies or a muddy sound. I regularly consult datasheets and rely on my experience to find the optimal combination for the best results. Recently, I explored the benefits of using digital preamps with remote control capabilities, greatly enhancing workflow efficiency and flexibility during recording sessions.
Q 24. How do you manage EQ and compression on microphone signals?
EQ and compression are powerful tools for shaping microphone signals, but they should be used judiciously. Think of EQ as sculpting, and compression as controlling dynamics. My approach always prioritizes a natural sound as a foundation. I usually start with minimal processing, focusing on fixing any immediate issues, like unwanted rumble or harsh frequencies. For instance, a high-pass filter can remove low-frequency rumble from a vocal track.
EQ: I typically use parametric EQ to target specific frequencies. For vocals, I might subtly cut muddiness in the low mids (around 250-500 Hz) and boost clarity in the high mids (around 2-4kHz). For drums, I might use broader sweeps to shape the overall tone. The key is subtle adjustments; excessive EQ can sound unnatural and harsh.
Compression: Compression reduces the dynamic range of a signal, making quieter parts louder and louder parts quieter. I generally prefer gentle compression, using a ratio of 2:1 to 4:1 to control peaks and add sustain without significantly altering the character of the sound. I pay close attention to attack and release times to ensure the compression is transparent and musical. A fast attack might be suitable for taming harsh transients on drums, whereas a slower attack might be better for a smoother vocal sound. Always listen critically and adjust as needed.
Q 25. Explain the concept of phase cancellation and how to avoid it.
Phase cancellation is a common issue where two identical signals are out of phase, leading to destructive interference and a loss of signal. Imagine two waves colliding – if their peaks and troughs align perfectly, they reinforce each other. However, if one wave is inverted (peaks align with troughs), they cancel each other out, resulting in silence or a drastically reduced signal.
This often happens when using multiple microphones to record the same source, especially if they’re positioned close together. To avoid this, I use these strategies:
Polar Pattern Considerations: If using two mics, select patterns that minimize the possibility of overlapping sound waves. For example, using cardioid patterns and positioning microphones at an appropriate angle can reduce phase issues.
Spatial Separation: Maintain sufficient distance between microphones recording the same sound source, allowing each to capture a unique acoustic space. This reduces phase cancellation and keeps the sounds separated and distinguishable.
Phase Alignment Tools: Some DAWs (Digital Audio Workstations) offer tools to check and adjust the phase alignment between tracks. Listening carefully for a loss of low frequencies can be a clue, and visually examining the waveforms can help pinpoint phase cancellation.
Experimentation & Monitoring: Sometimes, subtle adjustments in microphone placement, even a few inches, can make a significant difference in mitigating phase issues. Always monitor carefully and trust your ears. Experimentation is key!
Q 26. How do you handle audio signal routing and splitting?
Audio signal routing and splitting are fundamental aspects of professional audio. My approach is highly organized, focusing on clear signal paths to prevent unwanted noise and interference. I often use a combination of patchbays, splitters, and mixers to achieve this. A patchbay acts as a central connection point, allowing for easy reconfiguration of signal routing. Splitters enable sending a single signal to multiple destinations, such as a recording interface and a monitor amplifier. Mixers combine multiple signals, allowing for adjustment of levels and panning before recording or output.
For instance, I might route a microphone signal from the patchbay to a preamp, then split the preamp’s output to send one copy to my recording interface and another to a monitor amplifier for real-time monitoring. This allows precise control over the signal flow and avoids signal degradation. Proper cable management is vital in preventing accidental disconnections and unwanted noise.
Q 27. Describe your experience using audio metering and level control.
Audio metering and level control are essential for ensuring optimal signal quality and preventing distortion. Think of it as the pilot’s instruments in an aircraft – they guide you to safe and effective operation. I rely heavily on visual metering tools in my DAW and on hardware devices to monitor levels throughout the recording and mixing process. Peak meters indicate the maximum level of the signal, ensuring I stay below the threshold to prevent clipping. RMS (Root Mean Square) meters show the average signal level, helping to maintain a consistent volume throughout a performance.
I regularly use gain staging, which involves setting appropriate levels at each stage of the signal path, to maximize the signal-to-noise ratio. This ensures optimal headroom and prevents unintended distortion. It’s important to account for the characteristics of the different devices in the signal chain and the dynamics of the performance itself. For instance, a vocal performance may require more headroom to accommodate dynamic changes in volume than a steady instrumental part.
Q 28. What are your preferred methods for testing microphone functionality?
Testing microphone functionality is critical for ensuring that each is performing optimally and free from any faults. My approach is methodical, and it begins with visual inspection. I check for any physical damage, loose connections, and cleanliness of the microphone and its cable. Then, I proceed with functional tests:
Acoustic Test: I’ll use a simple, consistent sound source, like a sine wave generator or a hand clap, at a consistent distance to check for any inconsistencies in output level and frequency response. I monitor the signal carefully for any anomalies.
Polar Pattern Verification: For directional microphones, I’ll test the polar pattern by moving the sound source around the microphone and observing the changes in output level, which should correlate to the advertised polar pattern (cardioid, omnidirectional, etc.).
Spectral Analysis: This involves checking the frequency response of the microphone using a spectrum analyzer. This ensures that the frequency response remains flat or aligns with its specification. Any significant peaks or dips indicate possible issues.
Listening Test: Ultimately, the human ear provides the most reliable form of testing. I always listen carefully for any unnatural sounds such as unwanted noise, distortion, or changes in frequency response.
By combining these methods, I can ensure that every microphone is in peak condition and ready for optimal performance.
Key Topics to Learn for Microphone Handling Interview
- Microphone Types and Their Applications: Understanding the differences between dynamic, condenser, and ribbon microphones and their suitability for various recording environments and applications (e.g., live sound, studio recording, broadcast).
- Microphone Techniques: Mastering proper microphone placement (e.g., proximity effect, off-axis coloration), handling noise reduction techniques, and achieving optimal sound quality through appropriate technique.
- Audio Signal Flow and Gain Staging: Understanding the path of an audio signal from the microphone to the recording device, including concepts like gain staging, impedance matching, and signal-to-noise ratio. Practical application includes troubleshooting common audio problems.
- Troubleshooting Common Issues: Identifying and resolving problems like feedback, distortion, hum, and low signal levels. This includes practical problem-solving approaches and preventative measures.
- Health and Safety: Understanding safe handling procedures for microphones, particularly in live environments, and awareness of potential health risks associated with prolonged exposure to high sound levels.
- Wireless Microphone Systems: Familiarity with wireless microphone technology, including frequency selection, interference avoidance, and battery management.
Next Steps
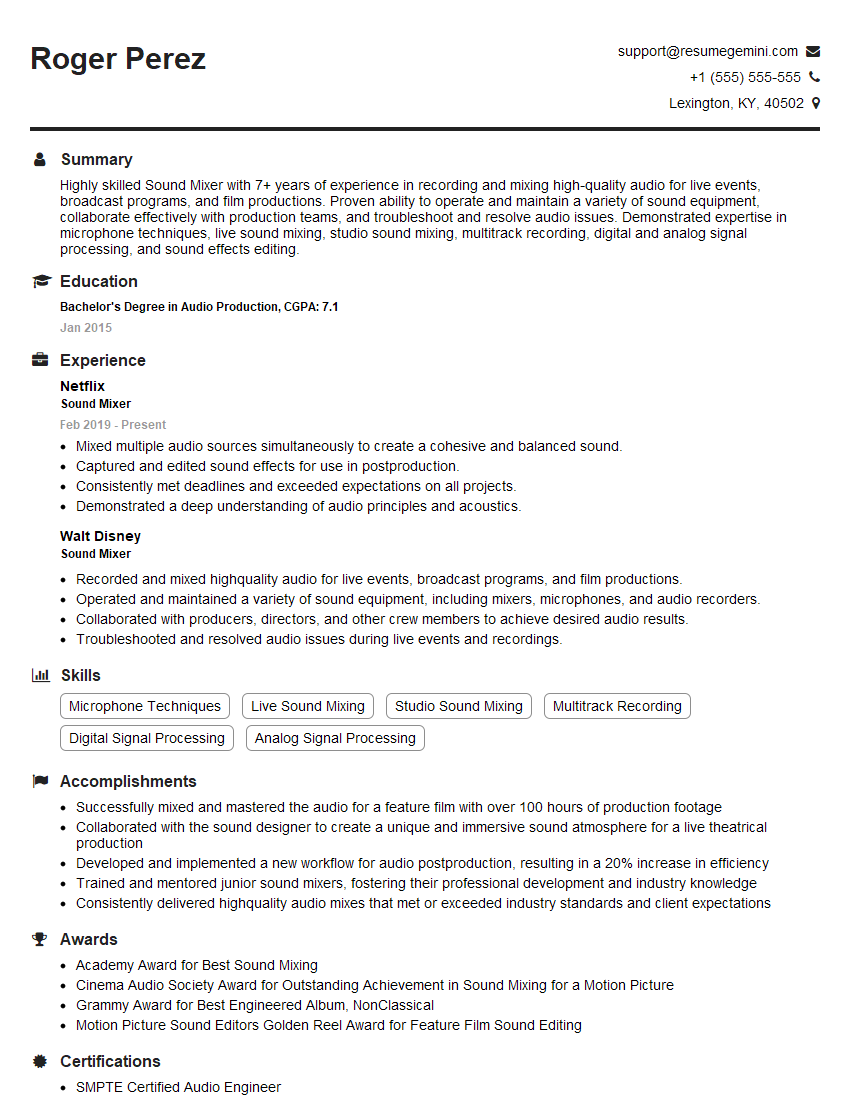
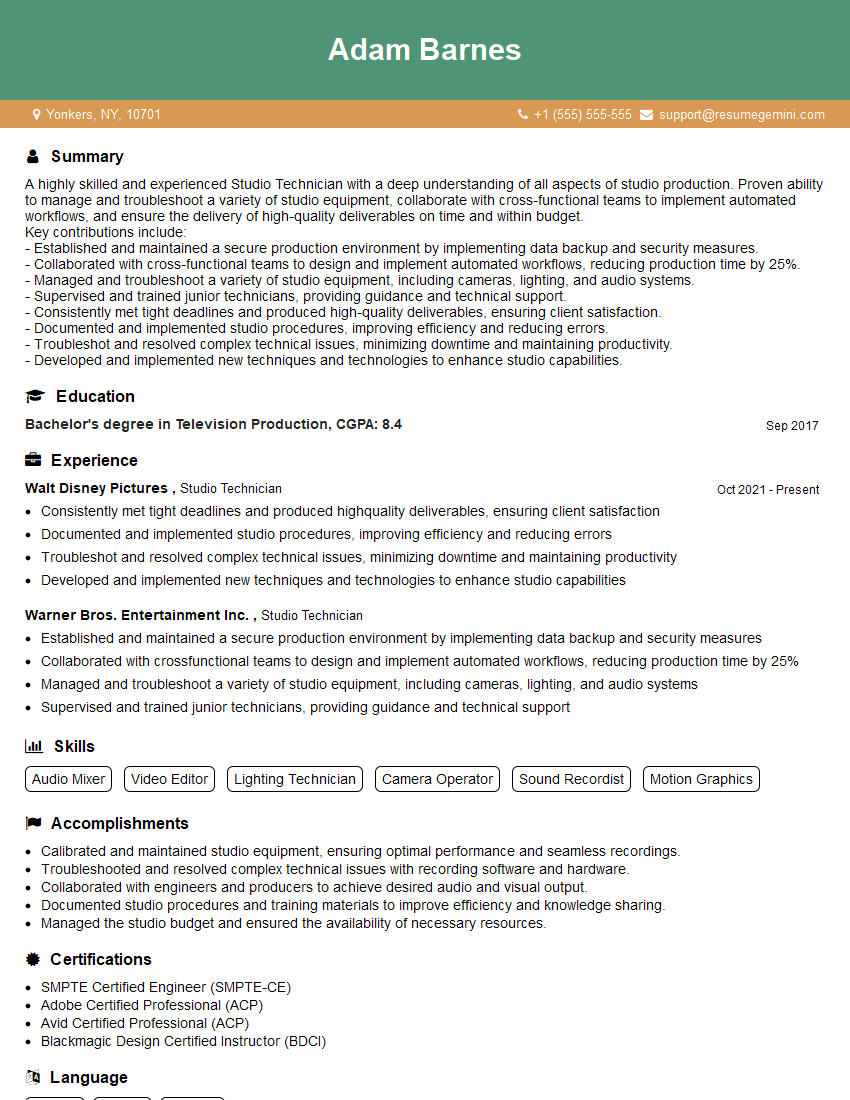
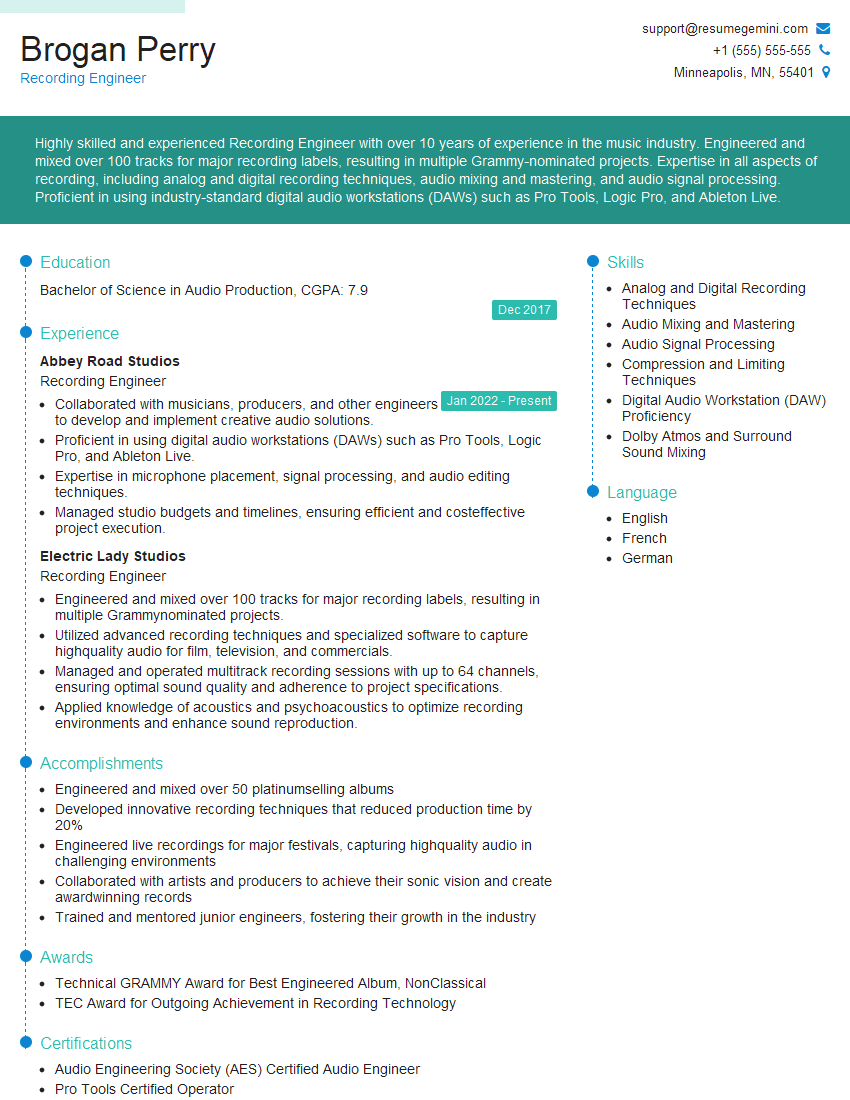
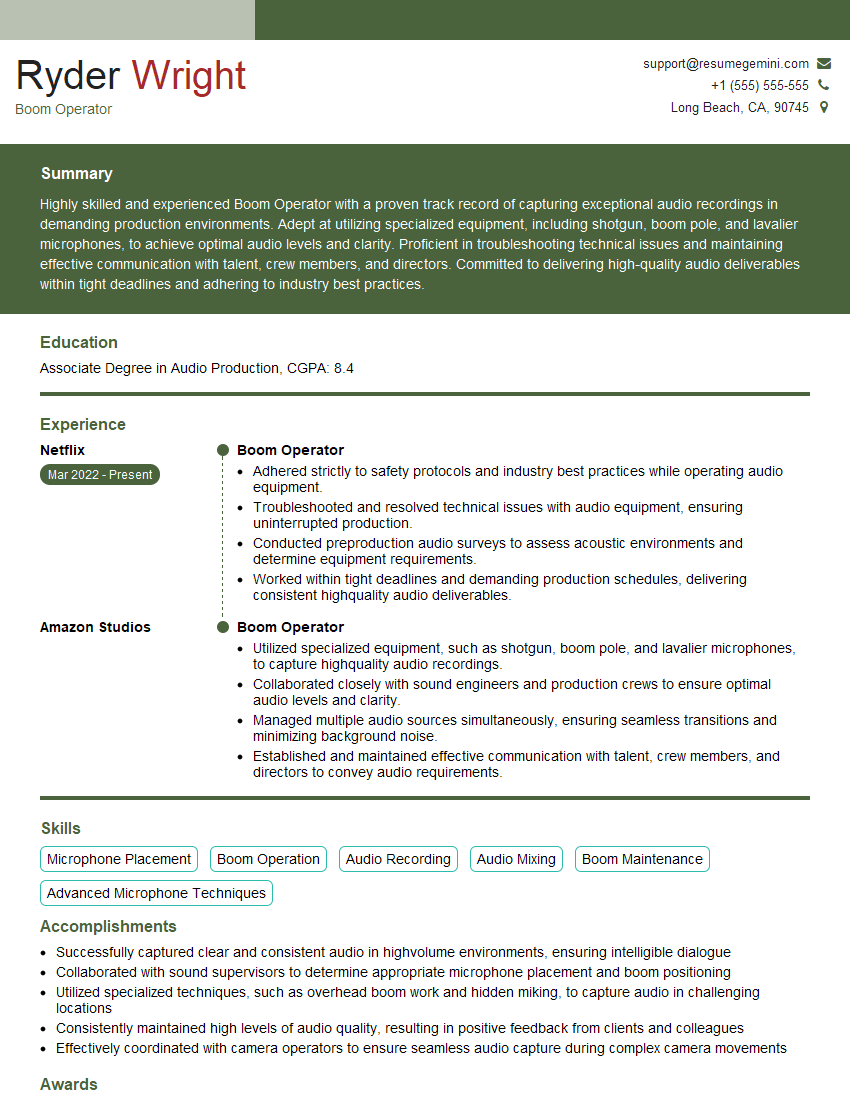
Mastering microphone handling is crucial for career advancement in audio engineering, broadcasting, live sound, and many other fields. A strong understanding of these techniques demonstrates professionalism and technical competence, making you a highly desirable candidate. To boost your job prospects, create an ATS-friendly resume that highlights your skills and experience effectively. ResumeGemini is a trusted resource that can help you build a professional and impactful resume. Examples of resumes tailored to Microphone Handling are available to help guide you. Take the next step toward your dream career today!
Explore more articles
Users Rating of Our Blogs
Share Your Experience
We value your feedback! Please rate our content and share your thoughts (optional).
What Readers Say About Our Blog
Hello,
We found issues with your domain’s email setup that may be sending your messages to spam or blocking them completely. InboxShield Mini shows you how to fix it in minutes — no tech skills required.
Scan your domain now for details: https://inboxshield-mini.com/
— Adam @ InboxShield Mini
Reply STOP to unsubscribe
Hi, are you owner of interviewgemini.com? What if I told you I could help you find extra time in your schedule, reconnect with leads you didn’t even realize you missed, and bring in more “I want to work with you” conversations, without increasing your ad spend or hiring a full-time employee?
All with a flexible, budget-friendly service that could easily pay for itself. Sounds good?
Would it be nice to jump on a quick 10-minute call so I can show you exactly how we make this work?
Best,
Hapei
Marketing Director
Hey, I know you’re the owner of interviewgemini.com. I’ll be quick.
Fundraising for your business is tough and time-consuming. We make it easier by guaranteeing two private investor meetings each month, for six months. No demos, no pitch events – just direct introductions to active investors matched to your startup.
If youR17;re raising, this could help you build real momentum. Want me to send more info?
Hi, I represent an SEO company that specialises in getting you AI citations and higher rankings on Google. I’d like to offer you a 100% free SEO audit for your website. Would you be interested?
Hi, I represent an SEO company that specialises in getting you AI citations and higher rankings on Google. I’d like to offer you a 100% free SEO audit for your website. Would you be interested?
good


