Unlock your full potential by mastering the most common 2D and 3D Modeling interview questions. This blog offers a deep dive into the critical topics, ensuring you’re not only prepared to answer but to excel. With these insights, you’ll approach your interview with clarity and confidence.
Questions Asked in 2D and 3D Modeling Interview
Q 1. Explain the difference between NURBS and polygon modeling.
NURBS (Non-Uniform Rational B-Splines) and polygon modeling are two fundamental approaches to creating 3D models, each with its strengths and weaknesses. Think of it like sculpting with clay versus building with LEGOs.
NURBS modeling uses mathematical equations to define smooth, curved surfaces. This allows for precise control over curves and provides high-quality renders, making it ideal for architectural visualization, product design, and animation where smooth, organic shapes are crucial. Imagine designing a sleek, modern car; NURBS would be perfect for accurately representing its curves. Software like Maya and Rhino heavily utilize NURBS.
Polygon modeling, on the other hand, builds surfaces by connecting points (vertices) to form polygons (usually triangles or quadrilaterals). It’s a more flexible and intuitive method, particularly for hard-surface modeling like buildings or mechanical parts. Think of creating a low-poly game character; polygon modeling is faster and more efficient. Software like Blender and 3ds Max excel at polygon modeling.
The key difference lies in how surfaces are represented: mathematically (NURBS) or geometrically (polygons). NURBS models are generally smoother and more adaptable but can be computationally more expensive, whereas polygon models are more versatile for complex designs but may require more polygons to achieve the same level of smoothness.
Q 2. What are the advantages and disadvantages of using different 3D modeling software packages (e.g., Maya, Blender, 3ds Max)?
Each 3D modeling software package offers unique strengths and weaknesses. The best choice depends on the project’s specific needs and the artist’s preferences.
- Maya: Known for its powerful animation tools and industry-standard workflow, Maya is prevalent in film and animation. It excels in NURBS modeling and high-end rendering, but it has a steeper learning curve and can be resource-intensive.
- Blender: A free and open-source software, Blender offers a comprehensive suite of tools, including modeling, animation, sculpting, simulation, and rendering. Its versatile and intuitive interface makes it accessible to beginners, while its powerful features cater to professionals. However, its vast feature set can feel overwhelming at first.
- 3ds Max: This software is widely used in architectural visualization, game development, and motion graphics. It’s known for its robust polygon modeling capabilities and excellent integration with other Autodesk software. Its interface, while powerful, can be considered less intuitive than Blender’s.
For example, if I’m working on a short animated film requiring complex character rigs and realistic rendering, I might choose Maya. For a personal project creating a stylized game environment, Blender’s free and powerful tools would be perfect. For architectural visualization, 3ds Max’s strengths in polygon modeling and rendering would be ideal.
Q 3. Describe your experience with UV unwrapping and texturing.
UV unwrapping and texturing are crucial steps in creating realistic 3D models. UV unwrapping is like flattening a 3D object’s surface onto a 2D plane so that textures can be applied seamlessly. Imagine peeling an orange; you’re essentially unwrapping its surface.
My experience involves various techniques, from simple planar mapping for basic objects to more complex methods like cylindrical, spherical, and LSCM (Least Squares Conformal Mapping) unwrapping for more intricate geometries. I’m proficient in using tools in various software packages to optimize UV layouts, minimizing distortion and seam placement. For example, in Maya, I utilize the automatic unwrapping tools, followed by manual adjustments to refine the UV layout and avoid stretching or distortion in critical areas.
Texturing involves creating or applying 2D images (textures) to the unwrapped UV maps to add detail, color, and realism to the model. My experience covers a wide range of texturing techniques, including procedural texturing, using Substance Painter or Designer, and hand-painting textures in Photoshop. I understand the importance of optimizing texture resolutions to balance quality and performance, especially for real-time applications such as games.
Q 4. How do you optimize 3D models for game engines?
Optimizing 3D models for game engines requires a focus on minimizing polygon count, optimizing textures, and using efficient materials. The goal is to create visually appealing models that perform well within the engine’s constraints.
- Reduce Polygon Count: Use techniques like decimation, retopology, and level of detail (LOD) to decrease the number of polygons without sacrificing visual fidelity. LOD involves creating multiple versions of the same model with varying polygon counts; the engine uses the appropriate LOD based on the model’s distance from the camera.
- Optimize Textures: Use appropriately sized textures (power of two dimensions like 1024×1024, 2048×2048, etc.), compressed texture formats like DXT or ETC, and normal maps to add detail without significantly increasing texture size. Avoid excessive texture detail where it’s not noticeable.
- Efficient Materials: Use efficient shaders and material setups optimized for the specific game engine. Avoid unnecessary effects or complex shaders that might negatively impact performance. Often, less is more in game development.
For example, a high-poly character model might be retopologized into a lower-poly version for the game, while the original high-poly model is used for baking normal maps and other details to maintain visual quality in the game’s final version.
Q 5. Explain your workflow for creating a realistic human character model.
Creating a realistic human character model involves a multi-stage process. My workflow typically includes:
- Concept and Reference Gathering: Begin by defining the character’s appearance, style, and overall look. Collecting high-quality reference images is crucial for achieving accuracy.
- Base Mesh Creation: I typically start with a basic human model (either sculpted or from a 3D scanning resource) as a foundation to sculpt upon. Or, I might begin with a simple box and use edge loops and extrude functions to construct a base mesh.
- Sculpting (ZBrush or similar): Refining the model using sculpting software like ZBrush to add details such as wrinkles, pores, muscle definition, and other fine details.
- Retopology: Creating a clean, low-poly mesh based on the high-poly sculpted model. This provides an optimized mesh for texturing, rigging, and animation.
- UV Unwrapping and Texturing: Carefully unwrapping the low-poly mesh and applying high-resolution textures to add realism.
- Rigging and Animation (optional): If the model is for animation, setting up a skeletal rig and animating the character.
For instance, when creating a character for a historical movie, I’d spend a considerable amount of time researching historical clothing and anatomical features. I would also consult historical images and potentially even anatomical references to ensure accuracy.
Q 6. How do you handle complex geometry in your modeling process?
Handling complex geometry effectively requires a combination of techniques and planning. It’s crucial to manage the model’s complexity to prevent performance issues and maintain workflow efficiency.
- Modular Design: Breaking down complex models into smaller, manageable components that can be assembled later. This simplifies the editing process and allows for easier modification and reuse of parts.
- Boolean Operations: Using Boolean operations (union, subtraction, intersection) to combine or subtract shapes, generating complex forms from simpler primitives.
- Instance and Grouping: Instancing allows efficient repetition of parts in a scene, reducing file size and increasing efficiency. Grouping helps organize and select complex assemblies.
- Level of Detail (LOD): Employing multiple versions of the model with different polygon counts to optimize rendering performance based on distance from the camera.
- Proxy Modeling: Using simple placeholder models to represent complex parts during the initial design phase, replacing them later with higher-resolution models.
For example, when modeling a complex building, I might model each floor separately as a module, and then combine them using Boolean operations to create the complete building. I would also use instancing to repeat architectural elements such as windows or decorative elements across the building.
Q 7. What is your experience with sculpting software (e.g., ZBrush)?
My experience with sculpting software, primarily ZBrush, is extensive. ZBrush’s powerful sculpting tools allow for creating highly detailed and organic models, offering a highly intuitive and dynamic workflow. I frequently use ZBrush for character sculpting, creating high-poly models for games, films, or visual effects. I’m proficient in various sculpting brushes, techniques like masking, and utilizing ZBrush’s various features such as polygroups, subdivisions, and fibermesh for creating realistic hair and fur.
I’ve used ZBrush in tandem with other software like Maya or Blender. ZBrush is typically used to create the high-poly sculpt, while a lower-poly model is created in Maya or Blender for game development or animation due to performance constraints. This workflow enables the detailed artistry of ZBrush while maintaining efficiency in the final application. For example, I recently used ZBrush to create a highly detailed dragon model for a fantasy game, then retopologized the model in Maya to create a game-ready version.
Q 8. Describe your experience with rigging and animation.
Rigging and animation are fundamental to bringing 3D models to life. Rigging involves creating a skeleton or armature inside a 3D model, defining its joints and how they move. This skeleton acts as a control system for the model’s animation. Animation then involves manipulating this rig to create movement, from subtle facial expressions to complex character actions.
My experience spans several software packages, including Autodesk Maya and Blender. I’ve worked on various projects, including character animation for short films, environmental animation for interactive experiences, and even rigging complex mechanical devices for product visualizations. For example, on a recent short film, I rigged and animated a character with over 100 bones, meticulously creating secondary animation like skin deformation and subtle muscle movements to enhance realism. The process involved using inverse kinematics (IK) and forward kinematics (FK) to effectively control the character’s pose and movement.
I’m also proficient in skinning, which involves connecting the model’s geometry to the underlying rig. This crucial step ensures that the model’s surface moves realistically as the rig is animated. A key aspect of my work involves problem-solving. For instance, troubleshooting issues like skinning artifacts and weight painting inconsistencies to achieve a smooth, natural-looking animation.
Q 9. How do you troubleshoot issues with polygon modeling, such as N-gons or overlapping faces?
N-gons (polygons with more than four sides) and overlapping faces are common issues in polygon modeling that can cause rendering problems, animation glitches, and even crashes. N-gons are generally undesirable because they can lead to unpredictable shading and normal behavior, while overlapping faces create geometrical inconsistencies and can impact UV unwrapping.
Troubleshooting these issues typically involves a combination of visual inspection and software tools. I start by carefully examining the model in my modeling software using different view modes (wireframe, shaded, etc.) to identify problematic areas visually. Software often has tools to highlight N-gons or overlapping faces – these are invaluable.
For N-gons, the solution is to subdivide the polygon into quads (four-sided polygons) or triangles. This can be done manually using edge loops and extrude tools, or by using automated tools provided by many modeling packages. For overlapping faces, I use tools like the ‘Merge by Distance’ function to eliminate overlapping vertices, or the ‘Clean Up’ functions that detect and remove overlapping geometries.
In more complex scenarios, I might need to use more advanced techniques, such as retopology, where I rebuild the problematic section of the mesh from scratch, ensuring a clean and efficient topology. Regularly employing tools like ‘Check for errors’ and ‘Analyze’ features in modeling software helps maintain model integrity and proactively avoid issues during the modeling process.
Q 10. What are some best practices for creating efficient and clean 3D models?
Creating efficient and clean 3D models is paramount for optimizing rendering times, reducing file sizes, and improving overall workflow. Best practices generally involve focusing on topology (the arrangement of polygons), polygon count, and organizational structure.
- Clean Topology: Aim for quad-based topology, avoiding N-gons and triangles whenever possible. Evenly distributed polygons improve the model’s smoothness and prevent distortion during animation and deformation.
- Optimized Polygon Count: Use the right number of polygons. High-poly models look better but can severely impact performance. The ideal polygon count depends on the project’s requirements and the model’s intended use. It’s better to have a well-sculpted, optimized model than a high-poly mess.
- Effective Naming Conventions: Naming every component logically is incredibly important. Consistent and descriptive names make selection easier and allow for better organization in large scenes.
- Organized Scene Structure: Grouping similar objects together in layers or groups greatly improves organization and reduces clutter. Using layers helps to organize different parts of your model and manage visibility.
- Efficient UV Unwrapping: Proper UV unwrapping ensures even texture distribution across the model’s surface, reducing texture stretching and artifacts.
Consider this analogy: Imagine building a house. A messy, haphazard construction would be inefficient and unstable. A well-planned structure with organized components is strong, efficient, and scalable. The same applies to 3D models.
Q 11. Describe your experience with different rendering engines (e.g., Arnold, V-Ray, Octane Render).
My experience encompasses several industry-standard rendering engines, including Arnold, V-Ray, and Octane Render. Each has its strengths and weaknesses.
Arnold is known for its physically accurate and high-quality rendering, particularly good for realistic materials and lighting. It’s a good choice for projects needing cinematic realism. I’ve used it extensively for architectural visualizations and product renders, leveraging its ability to handle complex scenes and materials effectively.
V-Ray is another powerful rendering engine, widely used for its versatility and wide range of features. It offers a good balance between speed and quality, and its integration with 3ds Max makes it a popular choice. I’ve used V-Ray extensively in projects requiring both photorealistic and stylized rendering.
Octane Render is a GPU-accelerated renderer known for its speed. Its real-time rendering capabilities are useful during iteration and allow for faster turnaround on projects. I have used Octane primarily for projects where speed was a critical factor, for example, interactive visualizations or animation where fast render times are crucial.
My choice of renderer often depends on the project’s specific needs and budget. If photorealism and fidelity are paramount, I might choose Arnold. If speed is a higher priority, Octane would be a better fit. V-Ray’s versatility makes it a go-to for a wide variety of projects.
Q 12. How do you create realistic lighting and shadows in a 3D scene?
Realistic lighting and shadows are crucial for creating believable 3D scenes. This involves understanding light sources, their properties, and how they interact with objects in the scene.
I typically start by establishing key light sources – typically a main light, fill light, and rim light (back light). These create a foundation for the scene’s lighting. The main light is usually the strongest and sets the scene’s overall mood. The fill light softens harsh shadows cast by the main light, and the rim light adds depth and separation to the model. The position, intensity, and color of each light can significantly impact the final look.
Next, I incorporate global illumination techniques, such as ray tracing or path tracing, to simulate indirect lighting. This accounts for light bouncing off surfaces and creates a more realistic and nuanced lighting effect. Shadows are equally important and their properties, such as softness and intensity, are controlled by the light source’s size and distance.
Environmental lighting also plays a crucial role. I often use HDRI images (High Dynamic Range Images) as environment maps to create realistic skyboxes and ambient lighting, adding realism and richness to the scene. Finally, I would use techniques like subsurface scattering to simulate the way light passes through translucent materials such as skin and wax.
Q 13. Explain your understanding of normal maps and their use in 3D modeling.
Normal maps are crucial tools for adding surface detail to 3D models without increasing the polygon count. A normal map is a grayscale image that stores information about the surface normals (the direction of the surface at each point). It tells the renderer how light should interact with the surface, creating the illusion of bumps, grooves, and other details that aren’t actually present in the 3D geometry itself.
Think of it like this: you can create a low-poly model of a brick wall, but the individual bricks might not be represented as separate polygons. Instead, you can use a normal map containing the detail of the bricks, and the renderer will interpret this information to simulate the appearance of a brick wall with much higher detail than the underlying mesh can provide.
The normal map essentially tricks the renderer into believing that the model has more intricate geometry than it actually has. This is particularly useful for optimizing game assets and creating visually complex details without the performance cost of high-poly modeling. I routinely use normal maps in my workflow, especially when dealing with game assets or scenes where performance is critical.
Q 14. How do you manage large 3D scenes effectively?
Managing large 3D scenes effectively is crucial for maintaining performance and a productive workflow. My approach involves several strategies:
- Level of Detail (LOD): Using LODs is a must. LODs allow you to use lower-poly versions of models at larger distances from the camera. This significantly reduces the rendering load and enhances performance without impacting the visuals significantly up close.
- Proxies: Using proxies is an important method. Proxies replace high-poly models with simpler placeholders during the modeling and animation process. This significantly speeds up navigation and manipulation within the scene. The high-poly models are swapped back in only during the final rendering stage.
- Instance and Referencing: Instancing helps reduce file size by reusing the same object multiple times. References allow you to link assets from other files, reducing redundancy in the scene and simplifying asset management.
- Optimized Assets: Ensuring all assets (models, textures, etc.) are optimized in terms of file size and resolution is essential. Using lossless compression where possible helps reduce file sizes without sacrificing quality.
- Organized Scene Structure: A well-organized scene hierarchy is crucial. This includes using groups and layers to organize objects logically and efficiently, reducing render times and making scene navigation much easier.
By combining these techniques, I can effectively manage even the most complex 3D scenes and maintain optimal performance throughout the entire production pipeline.
Q 15. What is your experience with version control systems for 3D models (e.g., Perforce, Git)?
Version control is crucial for collaborative 3D modeling projects, preventing conflicts and ensuring everyone works with the latest version. I have extensive experience using both Perforce and Git, adapting my approach based on project needs. Perforce excels in managing large binary files like 3D models, offering robust branching and merging capabilities, essential for complex projects with many artists working simultaneously. I’ve used it extensively on AAA game projects where efficient asset management is paramount. Git, while primarily designed for text-based files, can be effectively used for smaller projects or for managing associated text files such as scene descriptions or shader code alongside 3D assets, leveraging its distributed nature for easier collaboration among smaller teams. I’m proficient in utilizing Git LFS (Large File Storage) to handle the large file sizes of 3D models efficiently.
For example, on a recent project using Perforce, we utilized its branching system to allow different artists to work on separate sections of the same model without overwriting each other’s progress. This allowed for parallel development and streamlined the review process.
Career Expert Tips:
- Ace those interviews! Prepare effectively by reviewing the Top 50 Most Common Interview Questions on ResumeGemini.
- Navigate your job search with confidence! Explore a wide range of Career Tips on ResumeGemini. Learn about common challenges and recommendations to overcome them.
- Craft the perfect resume! Master the Art of Resume Writing with ResumeGemini’s guide. Showcase your unique qualifications and achievements effectively.
- Don’t miss out on holiday savings! Build your dream resume with ResumeGemini’s ATS optimized templates.
Q 16. Describe your process for creating believable textures.
Creating believable textures is a multi-step process combining artistic skill with technical knowledge. It begins with understanding the material’s properties – its roughness, reflectivity, and how it interacts with light. I start by gathering reference images, often photographing real-world objects or using high-quality online resources. I then utilize software like Substance Painter or Mari to create the texture, paying close attention to detail.
My process typically involves:
- Creating a base color map: This defines the overall color of the material.
- Adding normal maps: These maps add surface detail, giving the illusion of bumps and grooves without increasing polygon count.
- Creating roughness maps: These maps control how rough or smooth a surface is, impacting how light reflects.
- Adding metallic and specular maps: These maps determine how much light reflects metallically or specularly.
- Baking textures: For complex models, I bake high-resolution details onto lower-resolution meshes to optimize performance. This involves using tools to project high-poly details onto low-poly models.
- Adding procedural textures: To add variation and realism, I often incorporate procedural textures, which generate patterns algorithmically, creating natural-looking variations that avoid repetition.
For instance, to texture a wooden crate, I might use a combination of photographs of real wood for the base color and roughness, create a normal map to suggest the wood grain, and add a subtle dirt map to increase realism.
Q 17. What are some common file formats used in 2D and 3D modeling, and what are their advantages and disadvantages?
Many file formats exist for 2D and 3D models, each with its strengths and weaknesses.
- FBX: A versatile, widely supported format for interoperability between different 3D software packages. It supports animation, materials, and textures, but can sometimes result in larger file sizes.
- OBJ: A simple, widely supported format that primarily stores geometry data. It lacks support for materials and textures, making it unsuitable for complex scenes requiring material definitions. However, its simplicity makes it suitable for basic geometry exchange.
- DAE (Collada): An XML-based format designed for scene description and exchange. It supports materials and animations but can be less efficient than binary formats like FBX.
- 3DS: An older format, still used by some legacy software but generally avoided for new projects due to limited features and compatibility issues.
- PSD (Photoshop): The native format of Adobe Photoshop, widely used for 2D image editing, including textures and concept art.
- PNG: A lossless image format used for textures and other visual assets, offering good quality and support for transparency.
- JPG/JPEG: A lossy image format widely used for textures and image files. It provides good compression but loses some image information in the process.
The choice of format depends largely on the project’s requirements and the software used. For example, FBX is often preferred for game development due to its broad compatibility, while OBJ might be suitable for exporting simple geometry for 3D printing.
Q 18. Explain your experience with creating realistic materials.
Creating realistic materials is a process that draws heavily on understanding physics and the way light interacts with different surfaces. I leverage software such as Substance Painter, Mari, and Blender’s material nodes to achieve this. It’s not just about applying a texture; it’s about defining the material’s behavior – its reflectivity, roughness, subsurface scattering, and more.
My approach involves:
- Reference Gathering: I begin by collecting reference images and videos of the material I’m trying to recreate. This helps me understand the nuances of its appearance and behavior.
- Parameter Adjustment: Using software, I fine-tune parameters such as roughness, metallicness, specular, and subsurface scattering to match the reference. I pay close attention to how the material appears under different lighting conditions.
- Procedural Techniques: I frequently use procedural techniques to create variations and imperfections, avoiding repetitive patterns. For instance, using noise functions to create subtle variations in color or roughness.
- Shader Creation: In more complex situations, I might write custom shaders (using languages like HLSL or GLSL) to achieve highly specific material behaviors. This allows for more precise control over the rendering process.
For example, to create a realistic marble material, I’d use a combination of procedural noise to create the veining, adjust the subsurface scattering parameters to mimic the translucent quality of marble, and fine-tune the reflectivity to get the right glossiness.
Q 19. How do you approach creating different styles of 2D and 3D art (e.g., realistic, stylized, cartoon)?
Adapting to different art styles requires a flexible approach and a strong understanding of fundamental art principles. The core techniques remain similar, but the emphasis and execution change significantly.
- Realistic Style: Focuses on accurate representation of form, light, and material. High polygon counts and detailed textures are essential. Reference images and photographic realism are key.
- Stylized Style: Emphasizes artistic interpretation over photorealism. It might involve simplifying shapes, exaggerating features, or applying a consistent color palette. A strong understanding of color theory and composition is important.
- Cartoon Style: Characterized by bold outlines, simplified forms, and exaggerated features. Cell-shading techniques might be used to create a distinct cartoon look. Focus is on clear silhouettes and strong readability.
My approach involves studying examples of the desired style, experimenting with different techniques, and adjusting my workflow to suit the style’s requirements. For example, for a cartoon style, I might use a simpler base mesh with less detailed textures and add bold outlines in post-processing.
Q 20. Describe your experience with creating animations using keyframes.
Keyframe animation is the foundation of much character and object animation. I am proficient in creating animations using keyframes in various software packages, including Maya, Blender, and 3ds Max. The process involves defining the pose of an object or character at specific points in time (keyframes) and letting the software interpolate the movement between those points.
My workflow generally includes:
- Planning: Before starting, I carefully plan the animation, often creating storyboards or animatics to visualize the sequence.
- Keyframe Placement: I strategically place keyframes to define the major poses and actions, ensuring smooth transitions between them.
- Easing and Timing: I use easing functions to control the speed and acceleration of the animation, making it more natural and engaging. Careful timing is crucial to convey emotion and intent.
- Refinement and Polishing: After creating a basic animation, I refine it by adjusting individual keyframes, adding secondary animation (such as subtle movements of clothing or hair), and making other adjustments to improve smoothness and realism.
For instance, animating a character walking requires placing keyframes to define the positions of the feet and legs at various points in the gait cycle. Proper easing ensures a natural walking motion rather than a jerky one.
Q 21. What are your strengths and weaknesses as a 2D/3D modeler?
My strengths lie in my versatility across various styles and software, coupled with a strong problem-solving approach. I can quickly adapt to new challenges and am adept at finding creative solutions to technical limitations. I’m also proficient in optimizing models for performance, ensuring assets are suitable for their intended use.
However, like any artist, I constantly strive to improve. One area I’m continually developing is my proficiency in creating complex, realistic simulations, such as cloth or hair, although I have a functional understanding already. I actively seek opportunities to enhance these skills through further training and practice.
Q 22. How do you handle constructive criticism of your work?
Constructive criticism is vital for growth in any creative field. I approach it as an opportunity for learning and improvement, not as a personal attack. My process involves:
- Active Listening: I carefully listen to the feedback, asking clarifying questions to fully understand the points raised.
- Objective Evaluation: I assess the criticism objectively, separating valid points from subjective opinions. I consider whether the feedback aligns with the project’s goals and target audience.
- Implementation and Iteration: Based on the valid feedback, I implement necessary changes. This may involve adjusting modeling techniques, refining textures, or even rethinking the overall design. I iterate on the model until I achieve the desired outcome.
- Reflection and Learning: After the project is completed, I reflect on the feedback received and identify areas where I can improve my skills and workflow for future projects. This continuous learning cycle helps me become a more efficient and effective modeler.
For instance, on a recent project involving a complex 3D character model, feedback on the proportions being slightly off was received. I carefully reviewed reference images and adjusted the model’s proportions, resulting in a more accurate and visually appealing character.
Q 23. Describe a time you had to overcome a technical challenge in your modeling work.
During a project creating a realistic 3D environment for a video game, I faced a significant challenge optimizing the polygon count while maintaining a high level of detail. The initial model was far too complex for real-time rendering, leading to performance issues. To overcome this, I employed several techniques:
- Level of Detail (LOD): I created multiple versions of the environment with varying polygon counts. The game engine would switch between these LODs based on the camera distance, ensuring performance without sacrificing visual quality up close.
- Mesh Simplification: I utilized automated mesh simplification tools to reduce the polygon count while preserving the overall shape and details. I carefully monitored the results, making manual adjustments where necessary to avoid losing crucial details.
- Texture Optimization: I optimized textures by reducing their resolution and file size without significantly impacting visual quality. I used normal maps and other techniques to add surface detail without increasing the polygon count.
- Baking: I baked high-poly details onto low-poly meshes, effectively transferring the intricate surface details onto lower-resolution models, improving performance.
Through a combination of these methods, I successfully reduced the polygon count by over 70% while maintaining acceptable visual fidelity, ensuring the game ran smoothly without compromising the overall aesthetic.
Q 24. How do you stay up-to-date with the latest trends and technologies in 2D and 3D modeling?
Staying current in the rapidly evolving fields of 2D and 3D modeling requires a proactive approach. My strategies include:
- Following Industry Blogs and Websites: I regularly read blogs, articles, and online publications dedicated to 3D modeling, animation, and game development. This keeps me informed about new software releases, modeling techniques, and industry trends.
- Participating in Online Communities: I actively engage in online forums, communities, and social media groups dedicated to 3D modeling. This provides opportunities for knowledge sharing, networking, and learning from experienced professionals.
- Attending Workshops and Webinars: I seek out and attend online and in-person workshops, webinars, and conferences focusing on advanced modeling techniques and new software updates. These events often feature presentations from leading experts in the field.
- Experimenting with New Software and Techniques: I dedicate time to experimenting with new software and modeling techniques, pushing my creative boundaries and expanding my skillset.
- Following Industry Leaders: I follow prominent artists and studios on social media and subscribe to their newsletters. This allows me to learn about their latest projects and stay updated on cutting-edge modeling approaches.
Q 25. What are your salary expectations?
My salary expectations are in the range of [Insert Salary Range] annually, commensurate with my experience and the responsibilities of this position. I am open to discussing this further based on a comprehensive understanding of the role and benefits package.
Q 26. What are your long-term career goals?
My long-term career goals center around becoming a highly skilled and respected senior 3D modeler specializing in [Mention Specialization, e.g., character modeling or environmental design]. I aim to contribute to high-profile projects, possibly leading a small team and mentoring junior artists. I am also interested in exploring opportunities in developing and applying advanced modeling techniques such as procedural generation and real-time rendering.
Q 27. Why are you interested in this position?
I am highly interested in this position because [Company Name]’s reputation for innovative and high-quality work aligns perfectly with my professional aspirations. The opportunity to work on [Mention Specific Projects or Aspects of the Role] is particularly exciting, and I believe my skills and experience would be a valuable asset to your team. The company culture of [Mention Specific Positive Aspects of the Company Culture] also resonates strongly with my work style.
Q 28. Why should we hire you?
You should hire me because I possess a proven track record of successfully completing complex 2D and 3D modeling projects, demonstrating a deep understanding of industry-standard software and techniques. My ability to adapt to new challenges, collaborate effectively within a team, and consistently deliver high-quality work makes me a valuable asset. My passion for detail, my commitment to continuous learning, and my proven ability to solve technical challenges make me confident in my capacity to exceed expectations in this role.
Key Topics to Learn for 2D and 3D Modeling Interview
- Fundamental 2D Principles: Understanding line weight, perspective, composition, and the use of various 2D software tools (e.g., Adobe Illustrator, Photoshop).
- 3D Modeling Software Proficiency: Demonstrate expertise in at least one major 3D modeling package (e.g., Maya, 3ds Max, Blender, Cinema 4D) – showcasing skills in modeling, texturing, and lighting.
- Workflow and Pipeline: Explain your understanding of the typical workflow from concept to final render, including asset creation, scene assembly, and rendering techniques.
- Practical Application in Different Industries: Be prepared to discuss how 2D and 3D modeling is applied in game development, animation, architecture, product design, or your chosen field.
- Poly Modeling vs. NURBS Modeling: Understand the strengths and weaknesses of each approach and when to apply them.
- UV Mapping and Texturing: Explain the process of unwrapping models and applying textures effectively for realistic results.
- Lighting and Rendering Techniques: Discuss different lighting setups, shaders, and rendering methods, and their impact on the final visual outcome.
- Problem-Solving and Troubleshooting: Be prepared to discuss how you approach technical challenges and solve problems during the modeling process.
- Version Control and Collaboration: Demonstrate understanding of version control systems (like Git) and collaborative workflows in a team environment.
- Digital Asset Management: Discuss strategies for organizing and managing your digital assets efficiently.
Next Steps
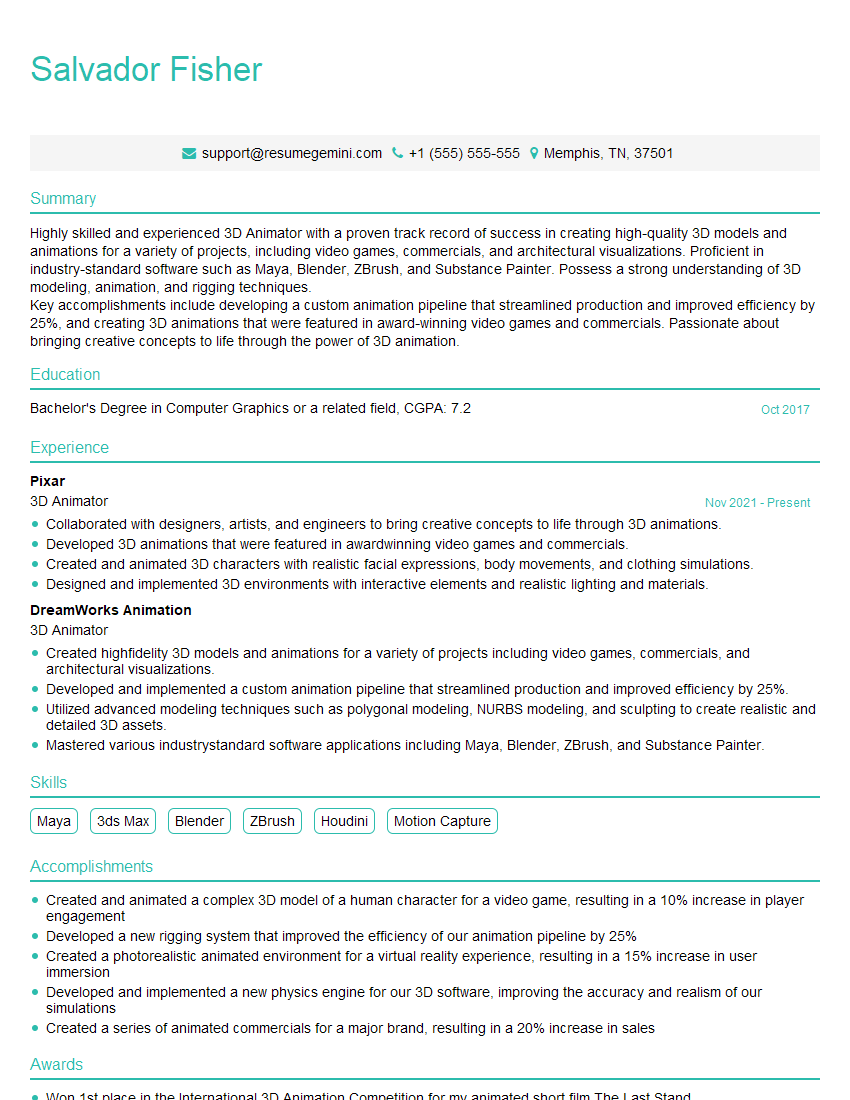
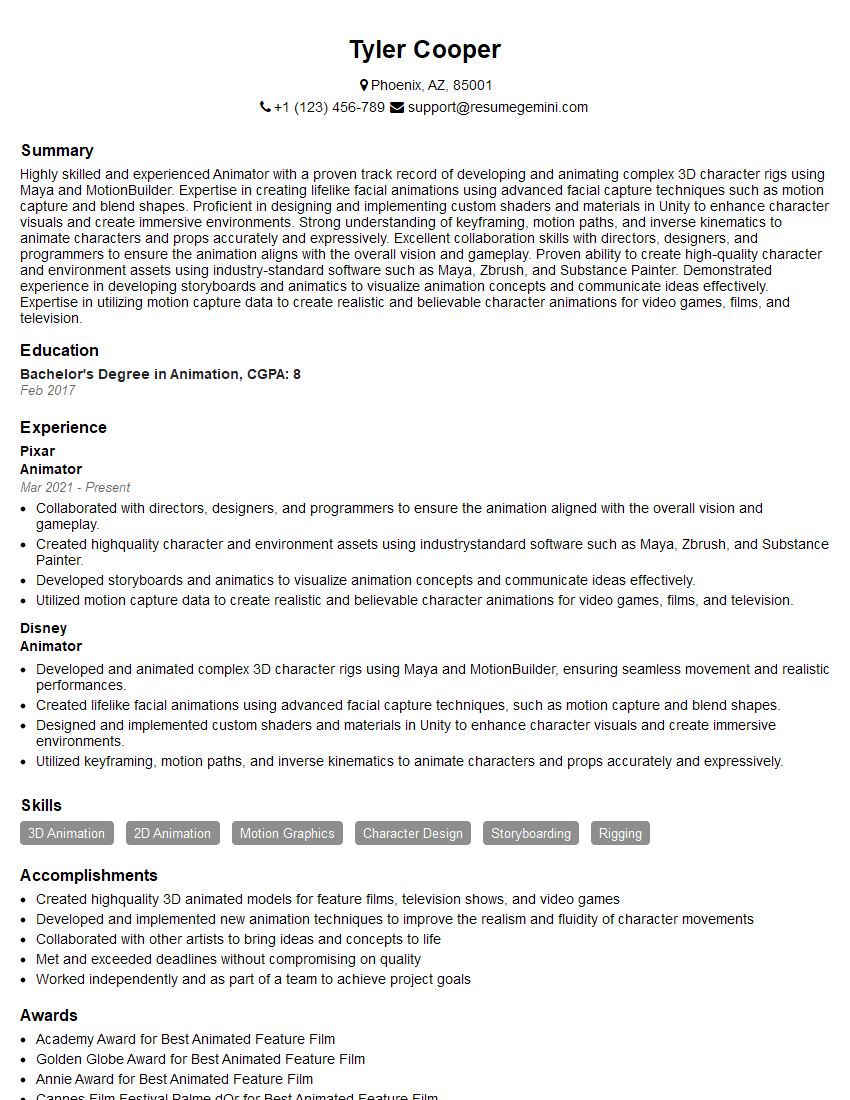
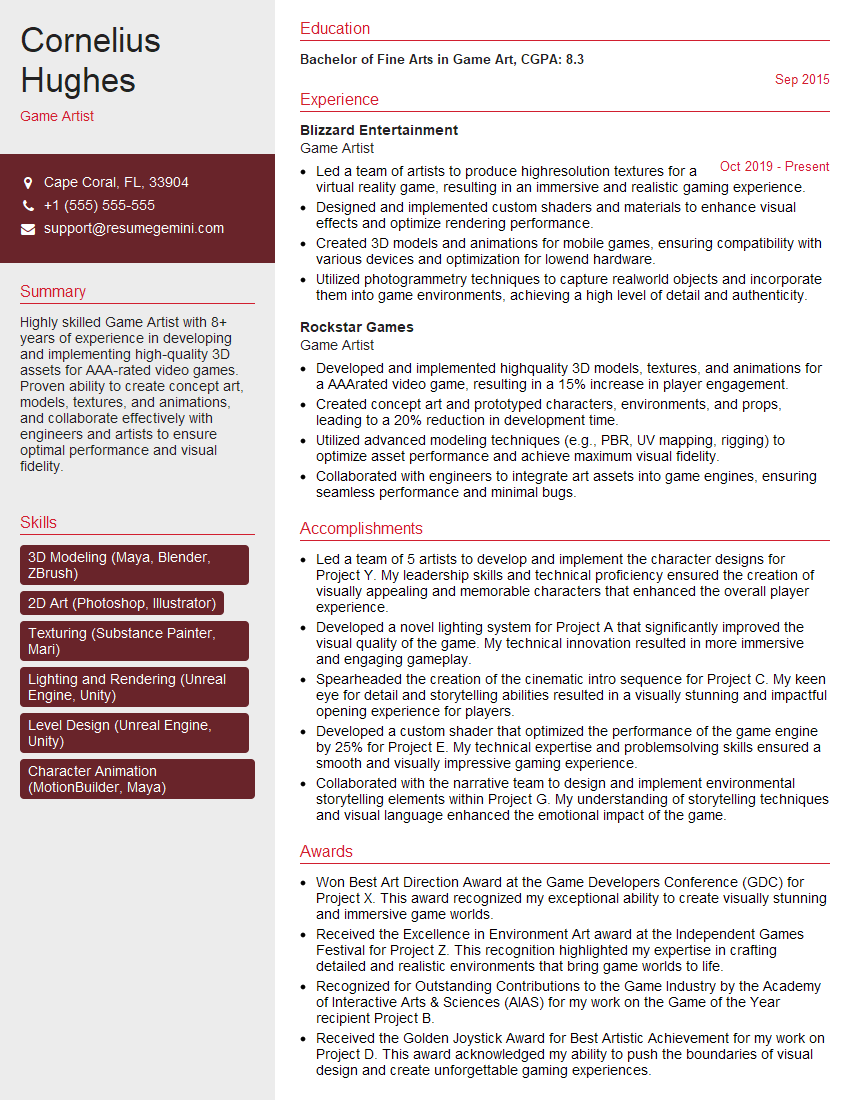
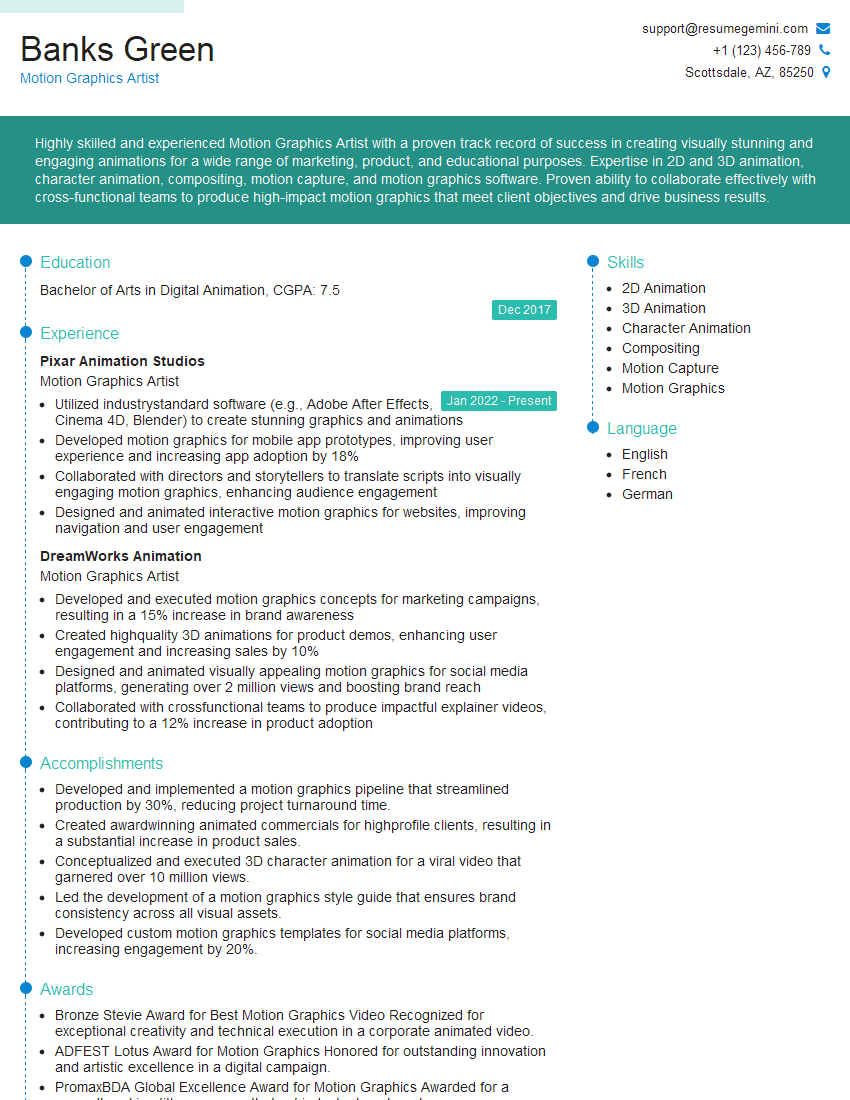
Mastering 2D and 3D modeling opens doors to exciting and rewarding careers across diverse industries. To maximize your job prospects, creating a strong, ATS-friendly resume is crucial. ResumeGemini can help you build a professional resume that highlights your skills and experience effectively. ResumeGemini offers examples of resumes tailored specifically to 2D and 3D modeling roles, providing you with a head start in your job search. Invest time in crafting a compelling resume—it’s your first impression on potential employers.
Explore more articles
Users Rating of Our Blogs
Share Your Experience
We value your feedback! Please rate our content and share your thoughts (optional).
What Readers Say About Our Blog
good
