Feeling uncertain about what to expect in your upcoming interview? We’ve got you covered! This blog highlights the most important Band Recording Session interview questions and provides actionable advice to help you stand out as the ideal candidate. Let’s pave the way for your success.
Questions Asked in Band Recording Session Interview
Q 1. What experience do you have with various microphone techniques for recording different instruments?
Microphone technique is paramount in capturing the best sound from each instrument. My experience spans a wide range of techniques, tailored to the specific sonic characteristics of each instrument. For example, with acoustic guitars, I often favor a combination of a condenser microphone for a detailed and airy sound (like a Neumann U87 or AKG C414) placed about 12 inches from the soundhole, and a dynamic microphone (like a Shure SM57) closer to the bridge for a more intimate, punchy tone. This technique allows for a balanced, full-bodied sound. For electric guitars, I often use a Shure SM57 close-miked to the amplifier, capturing the speaker’s natural breakup and dynamics. For drums, a multi-microphone approach is crucial. I typically use a combination of dynamic and condenser mics to capture the various drum elements—kick, snare, toms, cymbals—individually. The precise placement and microphone selection will depend heavily on the drum kit’s size and the desired sound. For example, I might use a dynamic mic inside the kick drum for a powerful punch, while using an overhead condenser pair for capturing the entire kit’s ambience. For vocals, I frequently employ large-diaphragm condenser microphones like the Neumann U 87 or a Telefunken ELA M 251 for their smooth and detailed high-frequency response. Experimenting with microphone distance and proximity effect is key in finding the optimal sonic character for each instrument.
Q 2. Describe your workflow for setting up a drum kit for recording.
Setting up a drum kit for recording is a methodical process. It begins with choosing the right recording space—a space that’s acoustically treated to minimize unwanted reflections and resonances. Next, I visually inspect the kit; I consider the drummer’s playing style and the desired sound. The kit is then meticulously tuned to ensure consistency and proper pitch. Following this, I carefully select and place microphones according to the desired sound and the acoustic space. I begin with the kick drum, using a dynamic microphone like a Shure Beta 52A inside the drum for low-end punch. I might also add an external mic, a condenser, for capturing more of the resonance. The snare drum receives careful attention; I usually use a Shure SM57, positioned just slightly off-center to capture its full sonic characteristics. Tom placement usually employs a mix of dynamic and condenser mics, depending on the desired tonal balance. Overhead microphones—often condenser mics—capture the overall ambience and stereo image of the kit. Finally, I carefully check the microphone levels to avoid clipping while leaving enough headroom. Throughout this process, careful listening is critical; I make adjustments based on the sound of each individual drum and the overall balance of the kit. For example, I might need to adjust the snare mic’s placement if the sound is too harsh or thin.
Q 3. How do you address bleed between instruments during a recording session?
Bleed—the unwanted capture of sounds from other instruments on a single microphone track—is a common challenge in multi-instrument recording. Addressing it requires a combination of techniques. Careful microphone placement is paramount; using isolation shields between instruments can significantly reduce bleed. Directional microphones, such as cardioid mics, which are less sensitive to sounds from the sides and rear, are helpful in minimizing bleed. Additionally, strategic positioning of instruments—placing louder instruments further away from quieter ones—reduces the chances of excessive bleed. In post-production, I may use noise reduction plugins and carefully phase-aligned tracks to further reduce unwanted noise. However, a well-planned recording session, with attention to microphone placement and instrument arrangement, is always the most effective way to mitigate bleed in the first place.
Q 4. What are your preferred methods for handling vocal recording challenges?
Vocal recording presents unique challenges. I start by creating a comfortable and relaxed atmosphere for the vocalist. This ensures the best performance. Microphone selection is critical; a large-diaphragm condenser microphone, positioned appropriately, captures the nuances of the vocalist’s performance. I use a pop filter to reduce plosives (harsh bursts of air). Room acoustics are considered; treatment to minimize unwanted reflections is important. Proper gain staging avoids clipping, and sufficient headroom is crucial. I pay close attention to the vocalist’s dynamic range and adjust compression to control volume fluctuations. A good recording usually requires several takes to achieve the best vocal performance. Throughout the recording, maintaining open communication with the vocalist is vital, offering guidance and feedback to achieve the desired sound.
Q 5. Explain your process for editing and comping vocal tracks.
Editing and comping vocal tracks involves selecting the best parts from multiple takes. I start by listening to all takes, identifying the best sections of each. In Pro Tools, for example, I would use the ‘Edit’ and ‘Comp’ tools to piece together the best vocal performance, creating a single, seamless track. This process often involves minor pitch corrections and timing adjustments, using tools such as Melodyne or élastique. Once the vocal track is compiled, I move on to further processing—EQ, compression, and reverb—to refine the sound and ensure it sits well within the mix. Careful attention to detail is crucial; small adjustments can significantly impact the overall sound and feel of the final product. For example, I might use de-essing to control harsh sibilance.
Q 6. How familiar are you with different types of signal processing (EQ, compression, reverb, delay)?
I am very familiar with various signal processing techniques—EQ, compression, reverb, and delay. EQ (Equalization) allows me to shape the tonal balance of a track, boosting or cutting specific frequencies. Compression controls the dynamic range, making quieter parts louder and louder parts softer, resulting in a more consistent level. Reverb simulates the acoustic properties of a space, adding ambience and depth. Delay adds echoes, creating rhythmic and textural effects. I use these tools skillfully and strategically. For example, I might use EQ to remove muddiness from the low frequencies of a bass guitar or add warmth to a dull vocal track. Compression could be used to make a snare drum punchier or tame overly loud vocals. Reverb might add spaciousness to a vocal or ambient texture to a guitar part, and delay could create rhythmic interest. Understanding how each of these processes interacts is vital in achieving the best possible sonic result; mastering these techniques allows for subtle and effective sound shaping.
Q 7. Describe your experience with Pro Tools (or other relevant DAW).
Pro Tools is my primary Digital Audio Workstation (DAW). I have extensive experience using it for all aspects of music production, from recording and editing to mixing and mastering. My proficiency includes editing and comping audio, using virtual instruments and effects, creating and editing MIDI data, mixing and mastering projects, and utilizing automation and other advanced features. I’m comfortable working with various plugins and extensions, tailoring my workflow to the specific needs of each project. My experience extends beyond simple recording; I’m adept at using Pro Tools for advanced tasks such as complex editing, sound design, and automation. This includes efficiently managing large projects, employing advanced routing techniques, and utilizing various plug-ins for precise control over every aspect of the sound. I find Pro Tools’ flexibility and versatility incredibly valuable in handling the diverse demands of contemporary band recording sessions.
Q 8. How do you troubleshoot technical issues during a recording session?
Troubleshooting technical issues during a recording session is crucial for a smooth workflow. My approach involves a systematic process: first, I identify the problem – is it a hardware issue (microphone malfunction, faulty cable), software glitch (plugin crash, DAW freeze), or a more subtle problem (unwanted noise, phase cancellation)? I always start by checking the most obvious things first: are all cables securely connected? Is the power on to all equipment? Is the audio interface properly configured?
If the issue is hardware-related, I’ll swap out components to isolate the problem. For example, if a microphone isn’t working, I’ll try a different microphone on the same channel. If the problem persists, I move on to checking the audio interface, then the cables, and finally, the DAW itself.
Software issues are typically addressed by restarting the DAW, checking for updates, and ensuring sufficient system resources (RAM and CPU). If a plugin is causing a crash, I’ll disable it or try a different one. Noisy signals might require adjusting gain staging, using noise gates, or identifying the source of the noise (e.g., hum from faulty power supply).
Throughout the process, I keep detailed notes and communicate clearly with the band to keep them informed and maintain a calm, productive atmosphere. Experience teaches you to anticipate potential problems and have backup plans in place; for instance, always having spare cables on hand or knowing which plugins are most likely to cause trouble on a specific system.
Q 9. What is your experience with MIDI and virtual instruments?
I have extensive experience with MIDI and virtual instruments, having used them extensively in countless recording sessions. My proficiency spans across various DAWs (Pro Tools, Logic Pro X, Ableton Live) and a wide range of virtual instruments from companies like Native Instruments, Spitfire Audio, and Spectrasonics. I’m comfortable programming MIDI data, creating complex MIDI sequences, and using virtual instruments to achieve specific sonic textures and soundscapes.
For example, I’ve used Kontakt to create realistic orchestral arrangements, and Massive to design unique synth sounds for electronic music. I also understand the importance of MIDI editing techniques such as quantization, velocity adjustments, and automation to shape the performance of virtual instruments. I can use MIDI controllers effectively to manipulate and control both software and hardware synthesizers and drum machines, providing the artist with the tools to be creative and expressive.
Beyond the technical aspects, I understand the artistic considerations involved in using virtual instruments. I collaborate closely with artists to understand their vision and help them translate their musical ideas into reality using the appropriate virtual instruments and MIDI techniques. This includes selecting appropriate sounds, adjusting parameters, and layering instruments to achieve the desired sonic result.
Q 10. Explain your approach to mixing a song with multiple instruments and vocals.
Mixing a song with multiple instruments and vocals requires a strategic approach, focusing on balance, clarity, and overall sonic cohesion. My process involves several key steps:
- Gain Staging: I begin by setting appropriate input and output gains to optimize the dynamic range of each track and prevent clipping. This is arguably the most important step.
- EQ: Next, I carefully use equalization to shape the frequency response of each instrument and vocal, addressing issues like muddiness, harshness, and masking. For example, I might use a high-pass filter to remove low-frequency rumble from a vocal track, or a subtle boost in the mid-range to give a guitar more presence.
- Compression: I use compression to control dynamics and even out the levels of each track. This can add punch to drums, smoothness to vocals, or glue to a mix of instruments.
- Panning: I use panning to create a stereo image and improve the spatial separation of instruments. Placing instruments appropriately in the stereo field adds depth and interest.
- Effects: Reverb, delay, chorus, and other effects are carefully applied to add depth, width, and ambience to the mix, but sparingly to avoid muddying the sound.
- Automation: Automation is used to create movement and interest in the mix, and refine things as the mix progresses.
- Final Checks & Balance: Finally, I use reference tracks to compare my mix to professionally produced songs to ensure a balanced and competitive mix. I pay close attention to the low-end, the mid-range clarity, and the overall cohesiveness of the mix.
Throughout this process, I maintain a detailed mix session, taking notes on changes made and frequently saving my work to avoid catastrophic loss.
Q 11. What are your strategies for achieving a balanced and well-defined mix?
Achieving a balanced and well-defined mix involves a combination of technical skills and artistic judgment. My strategies include:
- Frequency Balancing: Careful EQing is key to avoiding frequency clashes. I focus on creating space between instruments in the frequency spectrum to allow each instrument to breathe and be clearly heard. This involves careful attention to detail in removing unnecessary frequencies and boosting those essential to the instruments character.
- Dynamic Range Control: Appropriate use of compression and limiting helps to create a consistent dynamic range, preventing any part of the mix from overpowering the other.
- Stereo Imaging: Proper panning of instruments creates a wide and engaging stereo image, while maintaining a strong center image.
- Phase Alignment: Checking for phase cancellations between instruments or tracks is crucial for maintaining clarity and preventing muddiness.
- Headroom: Maintaining sufficient headroom throughout the mixing process prevents clipping and allows for greater flexibility during mastering.
- Reference Tracks: I constantly reference professionally mixed tracks with similar genres and instrumentation to compare and ensure the mix maintains a competitive standard.
It’s important to remember that the goal isn’t just to create a technically perfect mix, but one that is artistically compelling and emotionally engaging.
Q 12. How familiar are you with mastering techniques and processes?
My familiarity with mastering techniques and processes is quite extensive. Mastering is the final stage of audio production, where a mix is polished to meet industry standards and prepare it for distribution. I understand the subtle but crucial differences between mixing and mastering, and I know that mastering should never be considered a ‘fix’ for a bad mix.
I’m proficient in using mastering-grade plugins like Ozone and FabFilter Pro-L, understanding how to apply subtle EQ, compression, limiting, and other processing techniques to optimize loudness, clarity, and dynamic range while maintaining the artistic integrity of the mix. My understanding includes the importance of preparing a stereo mix for mastering with appropriate headroom, avoiding clipping and ensuring the mix is properly balanced.
I also understand the importance of dithering and the various formats involved in preparing a master. I’m familiar with different standards (Loudness War considerations, etc.) and know how to prepare a track for optimal broadcast or streaming services.
Q 13. Describe your understanding of different audio file formats and their applications.
Understanding different audio file formats and their applications is essential for any audio professional. Here are some key formats and their uses:
- WAV (Waveform Audio File Format): A lossless format that preserves the original audio data, ideal for archiving, mixing, and mastering. It’s the industry standard for high-quality audio.
- AIFF (Audio Interchange File Format): Similar to WAV, another lossless format commonly used on Apple platforms.
- MP3 (MPEG Audio Layer III): A lossy compressed format that reduces file size by discarding some audio data. Suitable for streaming and distribution where file size is important but ideal for distribution. Different bit rates control the level of compression.
- AAC (Advanced Audio Coding): Another lossy format, often used in iTunes and other digital music services. Generally considered to be higher quality than MP3 at similar bitrates.
- FLAC (Free Lossless Audio Codec): A lossless compressed format that offers a balance between file size and audio quality. A good choice for archiving and high-quality downloads.
The choice of format depends on the intended use. For archiving and professional work, lossless formats like WAV or FLAC are preferred. For distribution and streaming, lossy formats like MP3 or AAC are more practical due to their smaller file sizes. I always strive to understand the client’s needs and choose the appropriate format accordingly.
Q 14. How do you maintain a professional and productive environment during a recording session?
Maintaining a professional and productive environment during a recording session is vital for achieving high-quality results and ensuring a positive experience for everyone involved. My approach focuses on several key areas:
- Clear Communication: Open and honest communication with the band is paramount. I make sure everyone understands the schedule, the goals for the session, and their roles. Regular check-ins help to keep things on track.
- Organized Setup: A well-organized studio space promotes efficiency and reduces wasted time searching for equipment or files. Everything has its place and cables are neatly managed.
- Respectful Environment: I foster a collaborative and respectful atmosphere where everyone feels comfortable expressing their ideas and concerns. Constructive feedback is encouraged, and disagreements are handled professionally.
- Technical Proficiency: My technical expertise ensures that technical issues are addressed quickly and efficiently, minimizing downtime and frustration. Prepping the session before the musicians arrive is crucial.
- Breaks and Downtime: Scheduling regular breaks allows the band to relax and recharge, improving their performance and focus.
- Positive Attitude: A positive attitude can go a long way in creating a productive environment. I aim to be enthusiastic, encouraging, and supportive.
Ultimately, my goal is to create a space where the band can focus on their music and express their creativity freely.
Q 15. How do you handle difficult or demanding clients or musicians?
Handling demanding clients and musicians requires a blend of empathy, professionalism, and clear communication. It’s crucial to remember that everyone is under pressure during a recording session – creative pressures, time constraints, and performance anxieties all play a role. My approach starts with establishing clear expectations upfront. This includes a detailed pre-production meeting to discuss the project goals, timeline, and individual roles. I create a collaborative environment where everyone feels heard and valued. If conflicts arise, I act as a mediator, focusing on finding solutions that respect everyone’s artistic vision. For example, if a musician is unhappy with a particular take, I’ll patiently work with them to explore alternative approaches, perhaps suggesting different instrumentation or a slight change in tempo. Sometimes, simply acknowledging their frustration and offering reassurance can diffuse a tense situation. Ultimately, maintaining a calm, professional demeanor and focusing on the shared goal of creating great music is key.
Career Expert Tips:
- Ace those interviews! Prepare effectively by reviewing the Top 50 Most Common Interview Questions on ResumeGemini.
- Navigate your job search with confidence! Explore a wide range of Career Tips on ResumeGemini. Learn about common challenges and recommendations to overcome them.
- Craft the perfect resume! Master the Art of Resume Writing with ResumeGemini’s guide. Showcase your unique qualifications and achievements effectively.
- Don’t miss out on holiday savings! Build your dream resume with ResumeGemini’s ATS optimized templates.
Q 16. What are your strategies for effective communication with musicians during recording?
Effective communication during recording is paramount. It’s not just about technical instructions; it’s about building trust and understanding. Before starting, I establish a clear communication protocol. This could involve using hand signals to indicate issues with the performance or using a simple verbal system for feedback. Active listening is essential. I make sure to fully understand the artist’s vision and intentions before offering any suggestions. I use clear, concise language, avoiding technical jargon unless necessary and always explaining any unfamiliar terms. Regular check-ins are vital, offering opportunities to address any concerns or adjust the process as needed. For example, instead of saying ‘That EQ is muddy,’ I’d say ‘The low-end feels a bit congested. Let’s try cutting around 100-250Hz and see if that helps.’ This allows for a collaborative and positive discussion. Positive reinforcement is just as crucial as constructive criticism. Celebrating successful takes and acknowledging effort boosts morale and fosters a more productive atmosphere.
Q 17. How do you organize and manage session files and projects efficiently?
Efficient file and project management is critical for smooth workflow and preventing chaos. I utilize a hierarchical folder structure, clearly labeling each session with the project name, date, and relevant details. This allows for easy retrieval and avoids confusion. Within each session, I organize audio files by instrument or vocal track, using standardized naming conventions (e.g., ‘Drums_01_Take3.wav’). I employ a Digital Audio Workstation (DAW) that allows for efficient session archiving and backup, ideally using cloud storage for redundancy. Furthermore, I maintain detailed session notes, documenting any specific settings, equipment used, and relevant decision-making processes. For larger projects, I might employ a project management software to manage tasks, deadlines, and communication with the artists and team.
Q 18. Describe your experience with different recording techniques (e.g., close miking, ambient miking).
My experience encompasses a wide range of recording techniques, tailored to achieve specific sonic goals. Close miking, for example, emphasizes detail and isolation, ideal for capturing the nuances of individual instruments. I often use close miking for drums, placing microphones directly on the snare, toms, and cymbals. Conversely, ambient miking aims to capture the overall sound of a room, incorporating reflections and natural reverb, creating a more spacious and immersive sonic landscape. This technique is frequently employed in recording acoustic instruments like guitars or vocals in a treated room. I also utilize techniques like stereo miking, spaced pair miking, and coincident pair miking to capture stereo images. My choice of technique is always driven by the specific needs of the project and the desired sonic aesthetic. I might blend close and ambient miking to achieve a balance between clarity and spaciousness.
Q 19. What is your familiarity with various outboard gear (compressors, EQs, preamps)?
I have extensive experience with a wide array of outboard gear. My familiarity with compressors encompasses various types – from optical compressors (like the LA-2A) known for their smooth and transparent compression, to FET compressors (like the 1176) known for their aggressive and punchy character. I understand how to use EQs to shape the tonal balance of instruments, employing both parametric and graphic EQs to sculpt frequencies precisely. Regarding preamps, I’m proficient with both tube and solid-state designs, understanding their respective sonic characteristics and how to pair them optimally with different microphones and instruments. My knowledge extends to other outboard processing such as gates, reverbs, and delays. Choosing the right piece of gear depends significantly on the source material, musical genre, and desired sonic outcome. For example, I’d likely use a warm tube preamp for vocals and a clean, transparent preamp for acoustic guitars.
Q 20. How do you deal with feedback issues during a recording or live session?
Dealing with feedback effectively requires a proactive approach. Firstly, I carefully consider microphone placement, ensuring proper isolation and avoiding direct pathways between speakers and microphones. I often use acoustic treatment, such as strategically placed bass traps and sound-absorbing panels, to mitigate reflections and reduce the potential for feedback. During live sessions, I may use a feedback destroyer or a notch filter in my mixing console to surgically remove the offending frequencies. In the recording studio, I usually address feedback issues during the tracking stage itself by fine-tuning microphone placement and adjusting levels carefully. When the feedback is subtle, careful EQ adjustments might be all that’s needed to resolve the issue. If the feedback is severe, moving the microphone or using a directional microphone could be effective. Understanding the principles of acoustic feedback helps to proactively prevent these issues before they impact the recording.
Q 21. Explain your understanding of acoustic treatment and its importance in recording spaces.
Acoustic treatment is crucial in any recording space. It significantly impacts the sound quality by controlling unwanted reflections and resonances. Proper acoustic treatment creates a more controlled and natural-sounding environment, reducing unwanted coloration and making it easier to achieve a balanced and consistent mix. The goal is to achieve a neutral acoustic space where the sound of the instruments and vocals is accurately reproduced. This involves strategically placing various acoustic treatment materials such as bass traps (to absorb low-frequency energy), diffusion panels (to scatter sound energy), and absorption panels (to absorb sound reflections). The specific treatment required depends on the room’s size, shape, and construction. Improper acoustic treatment can lead to muddy bass, harsh treble, and unpredictable room modes, significantly compromising the quality of the recordings. Investing in professional acoustic treatment design is usually recommended for optimal results.
Q 22. How do you work with session musicians to achieve the desired performance?
Working with session musicians requires a blend of clear communication, musical understanding, and a collaborative spirit. It’s not just about getting the notes right; it’s about capturing a performance that embodies the song’s emotion and energy.
My approach starts with detailed pre-production. I provide musicians with meticulously prepared charts including click tracks, tempo markings, detailed arrangement notes, and any specific stylistic requests. This gives them a solid foundation to work from. Then, during the session, I prioritize creating a comfortable and encouraging atmosphere. I’ll often run through the song several times, offering constructive feedback while focusing on building their confidence and fostering improvisation within the established framework. I’ll listen intently to their individual takes, providing encouragement and suggestions to help them nail the desired performance, even subtly guiding their phrasing or dynamics if needed. For example, if a guitarist is struggling with a tricky riff, I might suggest breaking it down into smaller sections or focusing on the emotional arc of the phrase rather than just technical accuracy. Ultimately, the goal is a collaborative process that results in a fantastic performance, not a rigid, mechanical one.
Q 23. Describe your experience with different types of microphones (dynamic, condenser, ribbon).
My experience spans a wide range of microphones, each with its unique sonic characteristics. Dynamic mics, like the Shure SM57, are workhorses known for their durability, high SPL handling, and proximity effect, making them ideal for capturing powerful guitar amps or snare drums. I often use them when I need a rugged microphone that can handle a lot of volume. Condenser mics, such as the Neumann U 87, offer incredibly detailed and nuanced sound, capturing subtle nuances and a wider frequency range, perfect for capturing vocals or delicate acoustic instruments. I often employ these when aiming for pristine clarity and detail. Ribbon mics, such as the Royer R-121, exhibit a warm, smooth sound with a distinctive figure-8 polar pattern. This warmth helps add richness to the recording, which makes them excellent for capturing vintage-sounding guitars or overhead drum mics. The choice of mic depends heavily on the source, the desired tone, and the overall sonic landscape of the project. For instance, on a project with a classic rock aesthetic, I might favor ribbon mics on guitars for a vintage feel, while a pop project could heavily rely on condenser mics for pristine vocals.
Q 24. What are your preferred methods for pre-production and planning a recording session?
Thorough pre-production is paramount to a successful recording session. It streamlines the process, saves time, and ensures everyone is on the same page. My process typically involves several key steps:
- Detailed Song Arrangement: I collaborate with the band to finalize the song’s arrangement, including sections, dynamics, instrumentation, and overall feel.
- Click Track & Tempo Mapping: I create a meticulous click track to maintain consistent timing throughout the recording. This is especially vital for complex arrangements.
- Part-writing & Mockups: If needed, I’ll create mock-up tracks to visualize the intended instrumentation and arrangements, helping musicians understand the sonic direction.
- Pro Tools Session Setup: I prepare the Pro Tools session with tracks, routing, and any necessary plug-ins ahead of time.
- Communication with Musicians: I ensure that all musicians have access to all necessary materials well in advance of the session to allow ample time to learn and prepare.
This careful planning minimizes wasted time in the studio and allows us to focus on creative expression and capturing great performances.
Q 25. How do you ensure the quality and consistency of sound throughout a recording project?
Maintaining consistent sound quality across a project requires a multi-faceted approach that begins even before the first note is played.
- Consistent Microphone Placement & Techniques: I establish consistent microphone placement and techniques for each instrument throughout the project. This minimizes unwanted variation in sound from take to take or even between sessions.
- Careful Gain Staging: I pay close attention to gain staging during recording, aiming for optimal signal levels to minimize noise and distortion, avoiding the need for drastic level adjustments later.
- Precise Editing & Mixing: During the editing and mixing phases, I utilize various techniques such as EQ, compression, and limiting to match tones and levels across different tracks and ensure a cohesive soundscape. This involves closely listening for discrepancies and making subtle adjustments to maintain consistency.
- Reference Tracks: I use reference tracks to guide my choices and ensure that the overall mix adheres to a specific sonic character. This constant comparison ensures consistency.
By maintaining a meticulous approach throughout the workflow, I can ensure that the project maintains a high-quality, and consistent sound from beginning to end.
Q 26. What is your experience with automation and track automation techniques in your chosen DAW?
Pro Tools is my DAW of choice, and I’m highly proficient in its automation capabilities. Automation allows for dynamic and expressive mixing and processing. I utilize it extensively for a variety of purposes:
- Volume Automation: This is crucial for shaping the dynamics of individual tracks and the overall mix, creating a more engaging and less fatiguing listening experience. For example, I might automate the volume of a lead vocal to emphasize certain phrases while subtly reducing the volume during less important sections.
- EQ Automation: I’ll automate EQ to adjust the tonal balance of a track throughout the song. For instance, I might subtly boost the high frequencies of a vocal during choruses to make it stand out more prominently.
- Panning Automation: This creates movement and depth in the stereo field. For example, I might automate the pan of a guitar to create a wide stereo image during certain sections.
- Plugin Parameter Automation: I also automate various plugin parameters like reverb send levels, delay times, or compressor thresholds, allowing for dynamic and creative effects that evolve naturally over time.
Careful automation helps create nuanced tracks with energy and vitality, adding much more subtlety and life to what could otherwise be a static mix.
Q 27. Describe your approach to collaborating with other engineers or producers on a project.
Collaboration is key in music production. My approach involves open communication, mutual respect, and a shared vision. I begin by establishing clear roles and responsibilities and ensure everyone understands the project’s goals. During sessions, I’m comfortable sharing my technical expertise and creative input while actively seeking feedback from other engineers and producers. Constructive criticism is essential; it leads to better results. If there are differences of opinion, I’ll facilitate a discussion to find common ground, ultimately prioritizing the best creative solution for the music. For instance, if a producer has a strong vision for the overall sound, I would ensure our mixing approach aligns with that vision, while also contributing my technical know-how to assist with execution.
Q 28. What are some of the common challenges you encounter during band recording sessions, and how do you overcome them?
Band recording sessions present unique challenges. One common issue is time constraints, especially with busy schedules. To mitigate this, meticulous pre-production is vital. Another challenge is managing artistic differences within the band. This requires clear communication, open discussion, and a collaborative approach to finding solutions that honor everyone’s creative input. Sometimes, individual musicians struggle to meet the technical demands of recording; in these cases, patience, constructive feedback, and encouragement are key to helping them deliver their best performances. Finally, technical issues can always arise, such as equipment malfunctions or unexpected noise issues. To resolve such issues, having backup equipment, a thorough knowledge of troubleshooting, and a quick-thinking approach are critical. Addressing challenges proactively and embracing flexibility helps ensure a smooth and successful recording process.
Key Topics to Learn for Band Recording Session Interview
- Pre-Production Planning: Understanding the importance of meticulous preparation, including song arrangement, instrument selection, and session goals. Practical application: Discuss your experience in collaborating with a band to define a clear recording plan.
- Microphone Techniques & Placement: Mastering various microphone types (dynamic, condenser, ribbon) and their optimal placement for different instruments to achieve desired sound characteristics. Practical application: Explain your approach to miking a drum kit or a vocal booth, considering bleed and proximity effect.
- Signal Flow & Routing: Understanding the path of audio from instrument to recording interface, including preamps, EQ, compression, and effects processing. Practical application: Describe your experience setting up and troubleshooting a multi-track recording session.
- Mixing & Editing Techniques: Proficiency in DAW software (Pro Tools, Logic Pro X, Ableton Live, etc.) for editing, arranging, mixing, and mastering audio tracks. Practical application: Describe your process for achieving a balanced and polished mix, addressing issues like phasing and bleed.
- Troubleshooting & Problem-Solving: Identifying and resolving common technical issues during a recording session (e.g., feedback, latency, noise). Practical application: Share an example of a technical challenge you encountered during a recording session and how you successfully overcame it.
- Communication & Collaboration: Effective communication with band members, producers, and engineers to create a productive and creative environment. Practical application: Describe your approach to facilitating communication and collaboration within a recording session.
- Session Workflow & Efficiency: Optimizing the recording process to ensure efficient time management and high-quality results. Practical application: Discuss your strategies for maintaining a productive workflow during a long recording session.
Next Steps
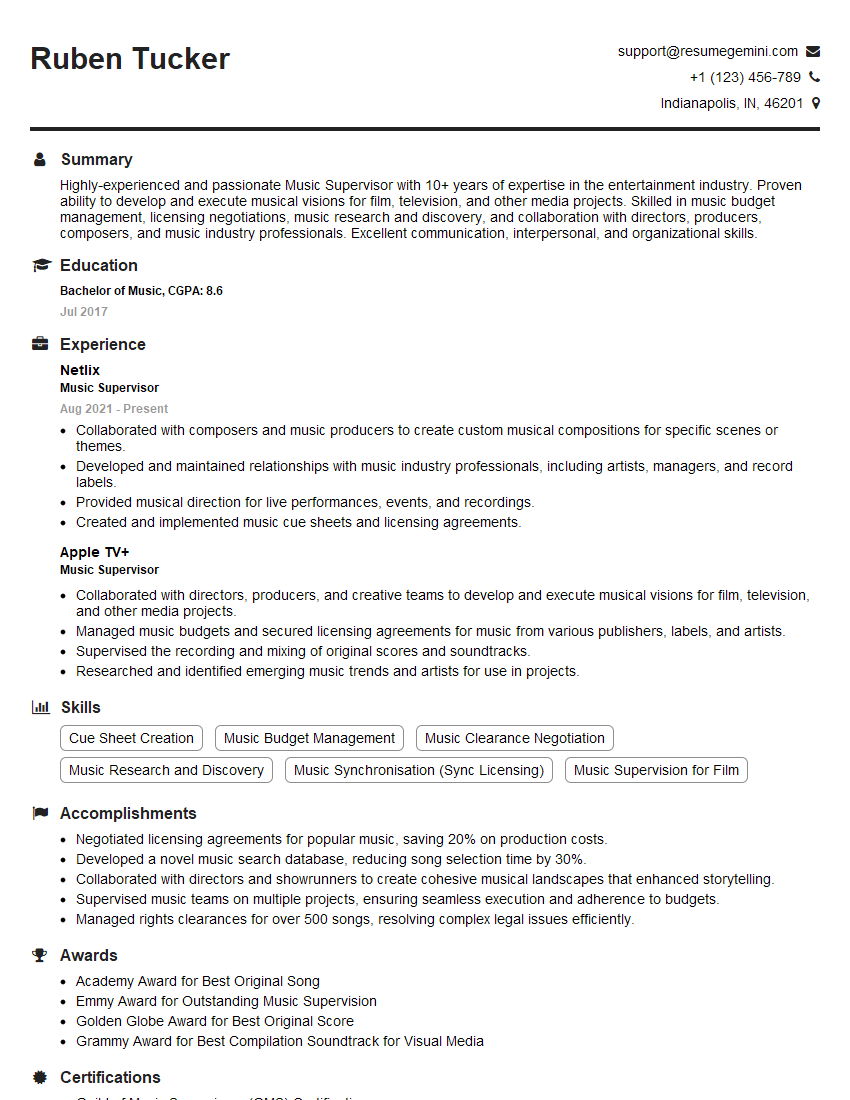
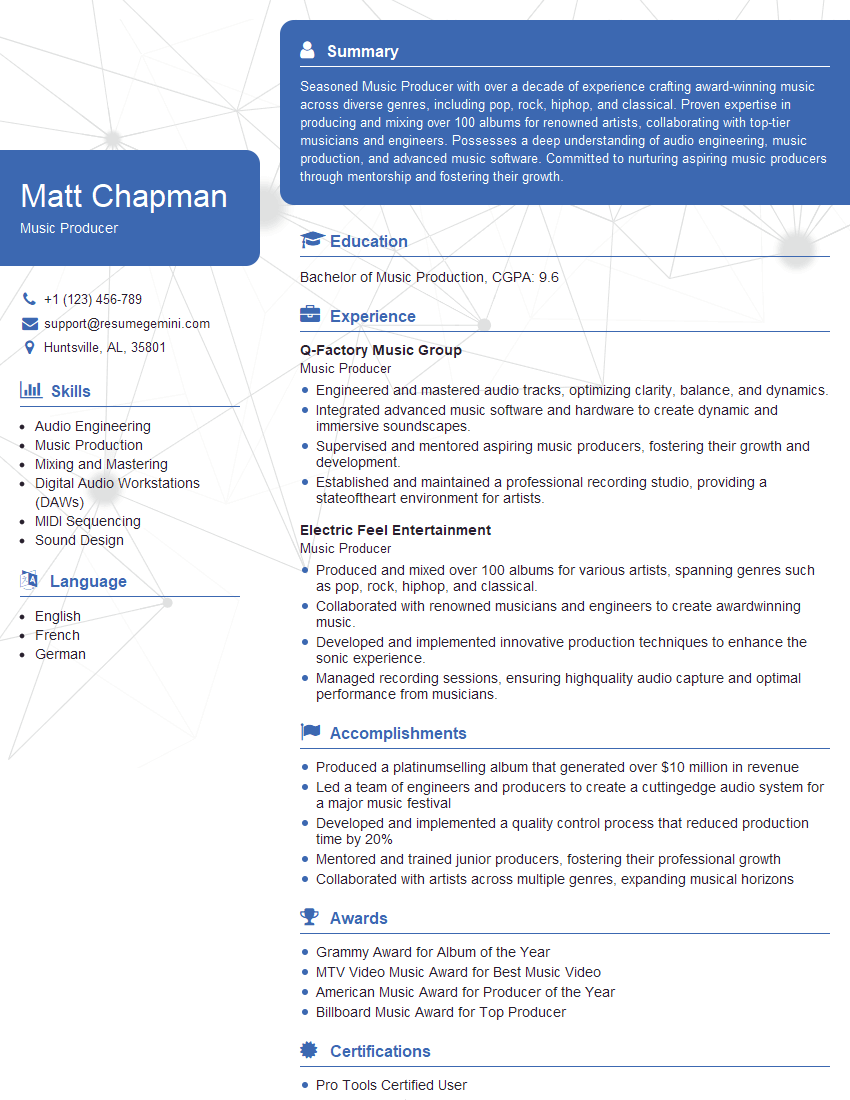
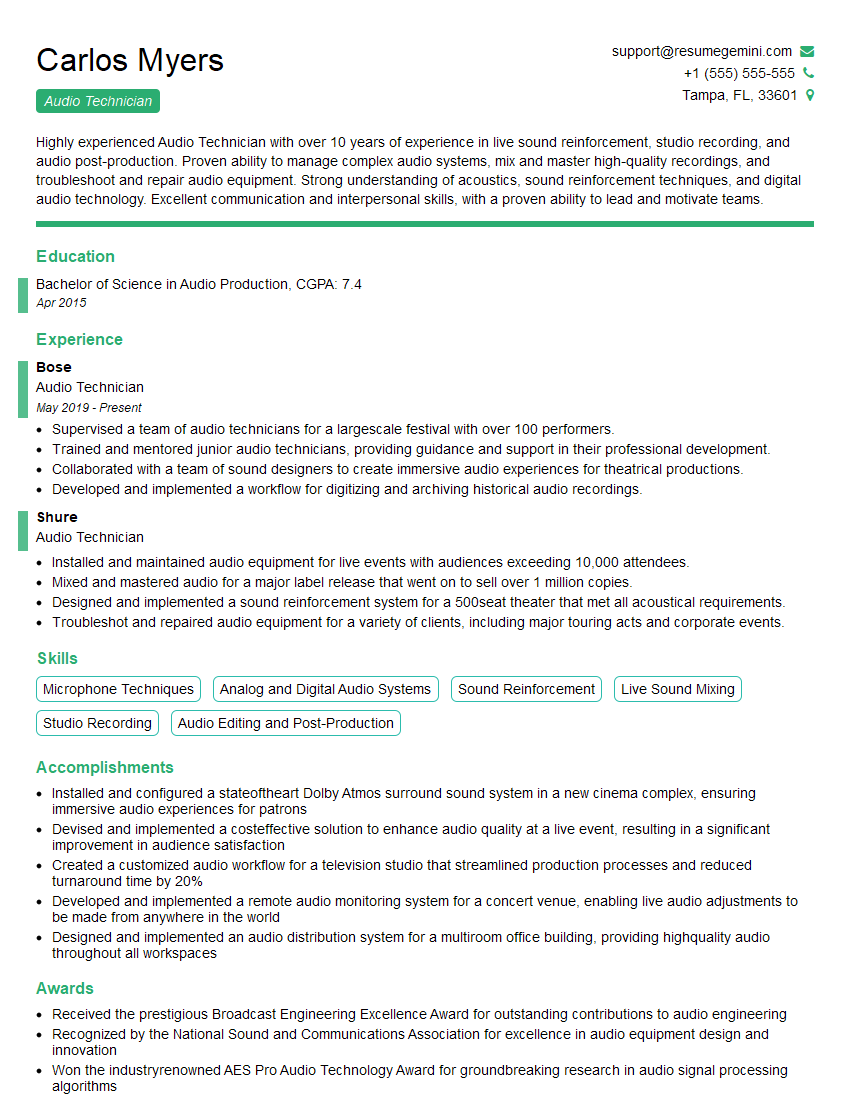
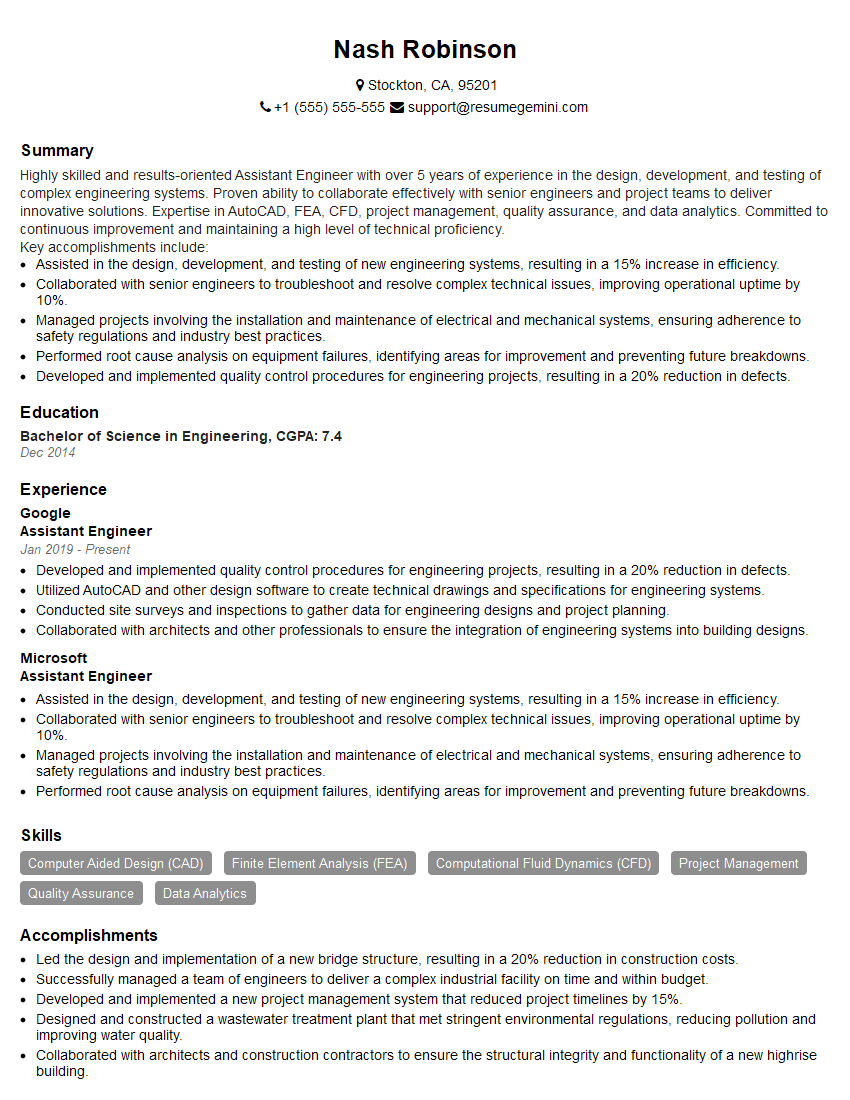
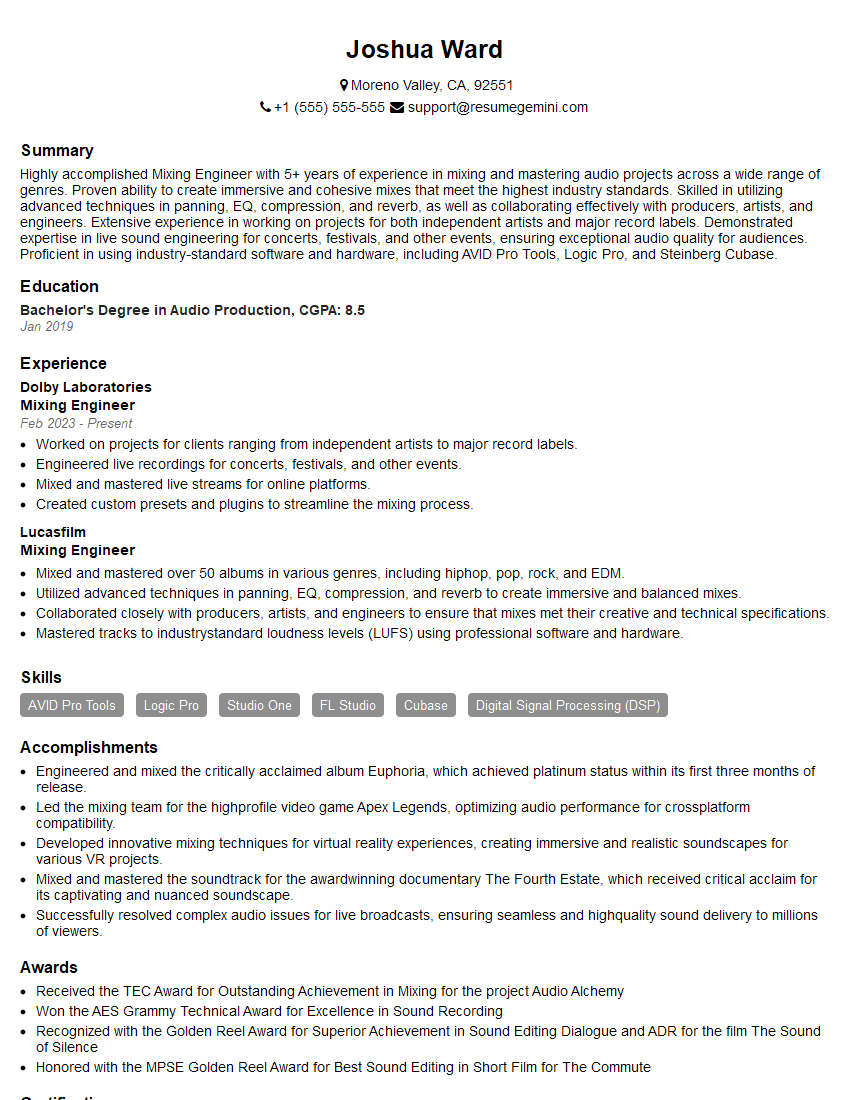
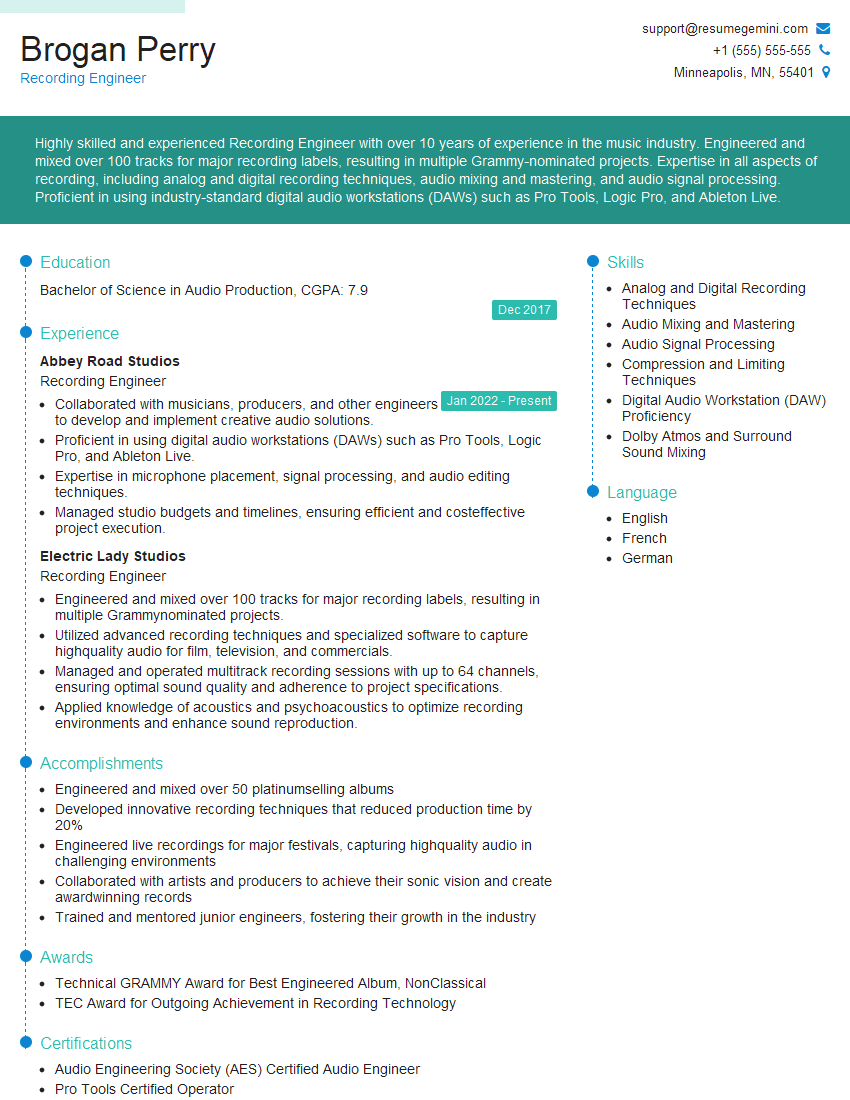
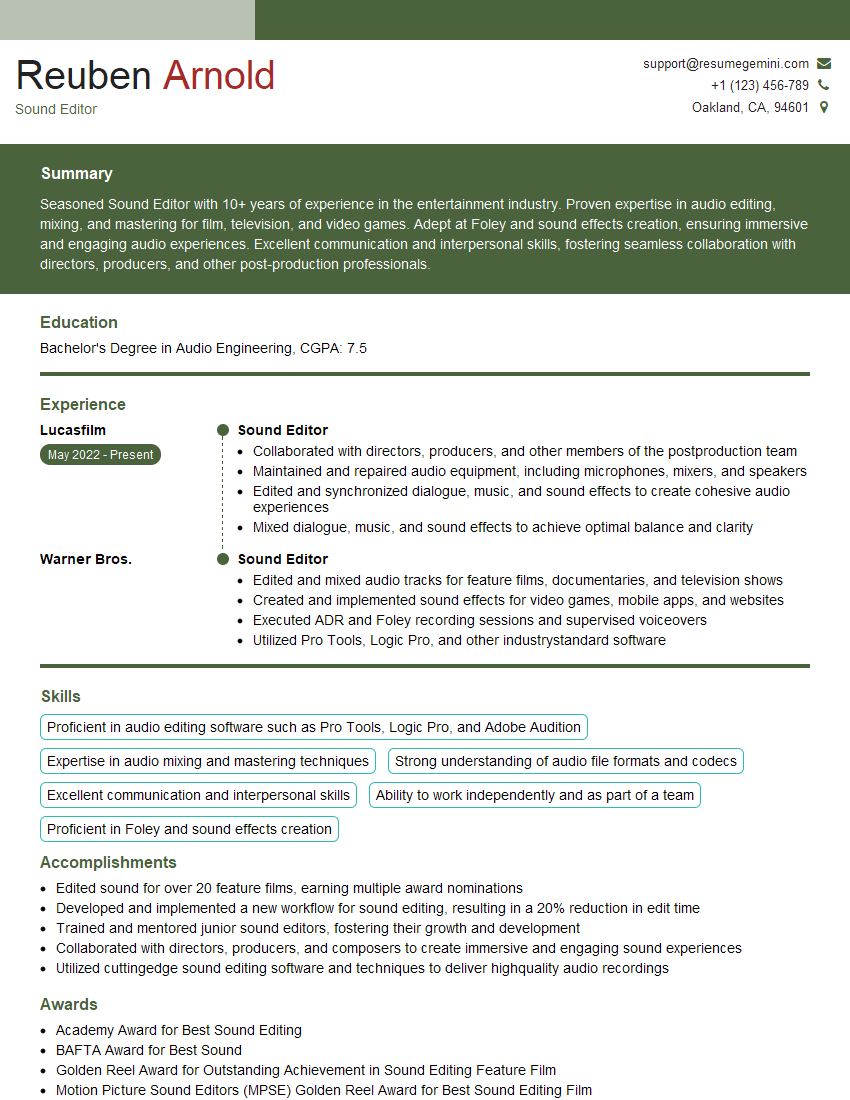
Mastering the skills involved in a band recording session is crucial for career advancement in the music industry, opening doors to diverse roles and collaborations. To maximize your job prospects, focus on crafting an ATS-friendly resume that highlights your technical expertise and soft skills. ResumeGemini is a trusted resource that can help you build a compelling and professional resume that stands out. Examples of resumes tailored to Band Recording Session roles are available to help guide your process.
Explore more articles
Users Rating of Our Blogs
Share Your Experience
We value your feedback! Please rate our content and share your thoughts (optional).
What Readers Say About Our Blog
Hello,
We found issues with your domain’s email setup that may be sending your messages to spam or blocking them completely. InboxShield Mini shows you how to fix it in minutes — no tech skills required.
Scan your domain now for details: https://inboxshield-mini.com/
— Adam @ InboxShield Mini
Reply STOP to unsubscribe
Hi, are you owner of interviewgemini.com? What if I told you I could help you find extra time in your schedule, reconnect with leads you didn’t even realize you missed, and bring in more “I want to work with you” conversations, without increasing your ad spend or hiring a full-time employee?
All with a flexible, budget-friendly service that could easily pay for itself. Sounds good?
Would it be nice to jump on a quick 10-minute call so I can show you exactly how we make this work?
Best,
Hapei
Marketing Director
Hey, I know you’re the owner of interviewgemini.com. I’ll be quick.
Fundraising for your business is tough and time-consuming. We make it easier by guaranteeing two private investor meetings each month, for six months. No demos, no pitch events – just direct introductions to active investors matched to your startup.
If youR17;re raising, this could help you build real momentum. Want me to send more info?
Hi, I represent an SEO company that specialises in getting you AI citations and higher rankings on Google. I’d like to offer you a 100% free SEO audit for your website. Would you be interested?
Hi, I represent an SEO company that specialises in getting you AI citations and higher rankings on Google. I’d like to offer you a 100% free SEO audit for your website. Would you be interested?
good
