Are you ready to stand out in your next interview? Understanding and preparing for Camera Setup and Alignment interview questions is a game-changer. In this blog, we’ve compiled key questions and expert advice to help you showcase your skills with confidence and precision. Let’s get started on your journey to acing the interview.
Questions Asked in Camera Setup and Alignment Interview
Q 1. Explain the process of setting up a DSLR camera for professional video recording.
Setting up a DSLR for professional video recording involves more than just pointing and shooting. It’s about optimizing settings for high-quality footage. First, you’ll want to switch your camera to video mode. Then, consider these crucial steps:
Shooting Mode: Select Manual (M) mode for complete control over aperture, shutter speed, and ISO. This allows for consistent exposure across your scenes.
Aperture: Choose a wide aperture (low f-number like f/2.8 or f/4) for shallow depth of field, blurring the background and focusing attention on your subject. A narrower aperture (higher f-number) will give you greater depth of field, keeping everything in focus.
Shutter Speed: The general rule is to double your frame rate (for 24fps, use 1/50th of a second, for 60fps use 1/120th of a second). This helps prevent motion blur. Adjust as needed to balance exposure.
ISO: Keep ISO as low as possible (e.g., ISO 100 or 200) to minimize noise and grain in your footage. Increase ISO only if necessary in low-light situations.
White Balance: Set the white balance according to your lighting conditions (daylight, shade, tungsten, fluorescent). This ensures accurate color reproduction.
Focus: Use manual focus for precise control or autofocus with a continuous autofocus setting to keep moving subjects sharp. Consider using focus peaking to aid manual focus.
Frame Rate: Choose a frame rate (24fps, 25fps, 30fps, 50fps, 60fps) based on your project’s requirements and the desired cinematic look.
Recording Format: Opt for high-quality formats like MOV or MP4 with a high bitrate for detailed footage.
For example, when shooting a corporate video in a well-lit office, I might use an aperture of f/4, a shutter speed of 1/50th of a second (for 24fps), and a low ISO like 200. If shooting a low-light interview, I’d increase the ISO, but potentially widen the aperture to maintain a good shutter speed and avoid motion blur.
Q 2. Describe different camera mounting techniques and their applications.
Camera mounting techniques are crucial for stability and creative shots. The choice depends on the desired outcome and shooting environment.
Tripods: Essential for steady shots, especially in low light or with long lenses. Different tripods offer varying levels of stability and features like pan and tilt heads.
Slider: Creates smooth camera movements, ideal for cinematic shots. They can range from simple manual sliders to motorized versions with precise control.
Gimbal: Provides smooth, stabilized footage, especially when moving. Handheld gimbals are excellent for run-and-gun shooting, while larger gimbals are used for heavier cameras.
Crane/Jib: Offers dynamic shots from high or low angles. They provide a range of motion not possible with other mounts.
Steadicam: A body-mounted stabilization system that delivers incredibly smooth footage while walking or moving. Requires specialized training and is more expensive.
Vehicle Mounts: Suited for shooting from vehicles. These mounts need to be robust to handle the vibrations and movement of the vehicle.
For example, I might use a tripod for a static shot of a landscape, a gimbal for smooth walking shots during an interview, and a slider for a slow, deliberate camera movement across a product display.
Q 3. How do you ensure proper white balance in various lighting conditions?
White balance ensures accurate color reproduction. Incorrect white balance results in a color cast (e.g., too warm or too cool). Here’s how to ensure proper white balance in different lighting conditions:
Auto White Balance (AWB): Most cameras have an AWB setting, which automatically adjusts white balance. While convenient, it’s not always perfect and can struggle in mixed lighting.
Presets: Use preset white balance options (daylight, shade, cloudy, tungsten, fluorescent) to match the dominant light source. This provides more consistent results than AWB in predictable lighting conditions.
Custom White Balance: For the most accurate results, use a custom white balance. This involves pointing the camera at a neutral gray or white card under the same lighting conditions as your shoot, and then setting this as your white balance. This method ensures perfect color accuracy.
For instance, when filming outdoors on a sunny day, I’d use the ‘daylight’ preset or, for ultimate precision, a custom white balance using a gray card. In a room lit by tungsten lights, I’d select the ‘tungsten’ preset. Regularly checking the white balance throughout the shoot and adjusting as needed is a crucial part of ensuring consistent color.
Q 4. What are the key factors to consider when aligning a camera for optimal focus and image sharpness?
Aligning a camera for optimal focus and image sharpness is critical for professional results. Several key factors must be considered:
Lens Focus: Manually focus your lens using the focus ring or autofocus system, ensuring the subject is perfectly sharp. For critical focus, use live view and zoom in to check for sharpness.
Camera Alignment: Ensure the camera is level and stable on its mount to avoid tilted horizons or blurry images. Use a level to check camera alignment.
Subject Distance: Determine the appropriate distance from your subject based on your desired depth of field and lens focal length. Accurate distance helps to establish the correct focus.
Hyperfocal Distance: For landscapes or wide shots where maximum depth of field is needed, consider using the hyperfocal distance. This technique ensures sharpness from the near focus point to infinity.
Image Stabilization: Utilize image stabilization features (in-lens or in-camera) to reduce camera shake and blur, especially with longer lenses or in low-light situations.
For example, when shooting a portrait, I’d focus precisely on the subject’s eyes. Using a tripod and a level prevents camera shake and ensures a straight horizon line. To capture a wide landscape, I’d set the focus to the hyperfocal distance to maximize sharpness across the entire scene.
Q 5. Explain the concept of depth of field and how it relates to camera setup.
Depth of field (DOF) refers to the area of an image that appears acceptably sharp. It’s controlled primarily by the lens aperture, focal length, and the distance to the subject. A wide aperture (low f-number) results in a shallow DOF, blurring the background and emphasizing the subject. A narrow aperture (high f-number) produces a deep DOF, keeping more of the scene in sharp focus.
Aperture: The most significant factor influencing DOF. A wider aperture (like f/1.4) gives a shallow DOF, while a narrower aperture (like f/16) gives a deep DOF.
Focal Length: Longer lenses (e.g., 200mm) tend to produce shallower DOFs than shorter lenses (e.g., 24mm).
Subject Distance: The closer your subject is to the camera, the shallower the DOF will be.
In portrait photography, a shallow DOF helps isolate the subject from the background. In landscape photography, a deep DOF keeps the entire landscape in focus. Understanding and manipulating DOF is essential to control the visual storytelling within an image.
Q 6. How do you troubleshoot common camera issues such as focus problems or image distortion?
Troubleshooting camera issues requires a systematic approach. Here are some common issues and their solutions:
Focus Problems:
- Check lens focus: Ensure the lens is properly focused by examining the image through the viewfinder or on the LCD screen. Use live view and zoom to help with critical focus.
- Clean the lens: Dust or smudges on the lens can affect focus. Gently clean the lens with a microfiber cloth.
- Check autofocus settings: Make sure your autofocus mode is appropriate for the subject’s movement (continuous autofocus for moving subjects, single-point autofocus for static subjects).
- Calibrate the lens: If autofocus problems persist, you might need to calibrate the lens using the camera’s calibration tools.
Image Distortion:
- Lens distortion: Wide-angle lenses are prone to barrel distortion (lines bowing outward) and telephoto lenses can exhibit pincushion distortion (lines bowing inward). Correct this in post-processing using software tools like Adobe Lightroom or Photoshop.
- Camera sensor alignment: Misalignment of the camera sensor might cause more extreme distortion. This would usually require professional camera service.
Low Light Performance:
- Increase ISO: Higher ISO values improve low-light performance but can introduce noise. Adjust ISO according to the ambient lighting conditions.
- Use a faster lens: Lenses with wider maximum apertures (lower f-numbers) will allow more light to enter the camera.
- Use additional lighting: External lighting sources, such as LED panels, can significantly improve low-light performance.
When faced with an issue, I begin with the simplest solutions, progressively moving to more complex troubleshooting steps. I also regularly clean my equipment and keep my camera firmware updated to prevent and minimize problems.
Q 7. Describe your experience with different types of camera lenses and their suitability for various applications.
My experience spans a wide range of camera lenses, each with unique characteristics and applications:
Prime Lenses: These lenses have a fixed focal length (e.g., 35mm, 50mm, 85mm). They typically offer superior image quality and faster maximum apertures compared to zoom lenses. I frequently use a 50mm prime lens for portraits due to its pleasing compression and shallow depth of field.
Zoom Lenses: Offer variable focal lengths, providing flexibility for different shooting situations. Zoom lenses are convenient but sometimes compromise image quality compared to primes. I often use zoom lenses for documentary work, as they allow me to change focal lengths without changing lenses.
Wide-Angle Lenses: Ideal for capturing expansive landscapes or creating a sense of space. These lenses (typically below 35mm) can produce distortion, which might need correction in post-processing.
Telephoto Lenses: Used for compressing perspective, isolating subjects, and shooting wildlife or sports. These lenses (typically above 70mm) require image stabilization to combat camera shake.
Macro Lenses: Specifically designed for close-up photography, allowing for extreme magnification of small subjects.
The choice of lens always depends on the specific project. For a tight, intimate portrait, a fast 85mm prime lens is ideal. For a wide shot of a landscape, I’d choose a wide-angle lens, while for a wildlife shoot, a telephoto lens with image stabilization would be essential.
Q 8. What is the significance of camera calibration and how is it performed?
Camera calibration is the process of determining the intrinsic and extrinsic parameters of a camera. Intrinsic parameters describe the internal geometry of the camera (focal length, principal point, lens distortion), while extrinsic parameters define the camera’s position and orientation in 3D space (rotation and translation). Think of it like finding the perfect settings for your camera’s ‘eyes’ to accurately see and interpret the world.
Calibration is performed using a calibration target, typically a checkerboard pattern, photographed from multiple angles. Specialized software then analyzes these images to compute the camera parameters. Accurate calibration is crucial for tasks like 3D reconstruction, object recognition, and accurate visual measurements. Inaccurate calibration leads to distortions and errors in the final output.
For example, if you’re building a robot that relies on camera vision to navigate, an improperly calibrated camera could cause the robot to misjudge distances and objects, resulting in collisions or inaccurate movements. The process usually involves taking multiple pictures of the calibration target, ensuring it’s fully in view and well-lit. The software then uses these images to calculate the camera’s parameters, creating a calibration file that can be used with various applications.
Q 9. How do you ensure the stability of a camera during long shots or in challenging environments?
Camera stability is paramount, especially during long shots or in challenging environments. Methods include using sturdy camera support equipment, employing proper camera techniques, and even implementing stabilization software. Tripods are essential for static shots; their stability prevents unwanted camera shake. For moving shots, a dolly or a gimbal provides smooth, controlled movement. In challenging environments, such as windy conditions, weights can be added to the tripod to increase stability.
For long shots in remote locations or extreme weather, I often use a combination of techniques. For instance, I’d use a robust tripod with a counterweight, securing it firmly to the ground. A remote shutter release prevents vibrations from touching the camera. In post-production, stabilization software can further enhance the footage, but this shouldn’t replace the importance of in-camera stability.
Consider this: Imagine filming a time-lapse of the stars. The slightest vibration would ruin the image quality. Therefore, a rock-solid tripod and precise leveling are critical for achieving a smooth, sharp time-lapse.
Q 10. Explain the difference between manual and autofocus and when you would use each.
Manual focus gives you complete control over the focus point, allowing for precise control over depth of field and creative focus techniques. Autofocus, on the other hand, automatically adjusts the focus, making it faster and easier, especially in dynamic situations. The choice depends largely on the specific shooting scenario.
I’d use manual focus when I need pinpoint accuracy, such as in macro photography or when creating shallow depth of field effects in cinematic shots. This allows me to intentionally blur the background and draw attention to the subject. Conversely, autofocus is better suited for quickly changing scenes, like sports events or wildlife photography, where speed and adaptability are essential. The autofocus system will rapidly adjust focus as the subject moves.
Think of it like driving: Manual focus is like driving a stick shift—more control but requiring more skill and attention. Autofocus is like driving an automatic—easier and faster but with less precise control.
Q 11. What are the steps to properly focus and expose a camera before filming?
Proper focus and exposure are foundational to good filmmaking. The process typically involves several steps:
- Choose your focus point: Decide what element needs to be sharpest in your frame.
- Set your focus mode: Select manual or autofocus depending on the situation.
- Adjust focus: Using the focus ring (manual) or the autofocus system (autofocus), ensure your subject is sharp. Zoom in to check for critical sharpness.
- Check your exposure: Use your camera’s meter to assess the brightness of the scene. Adjust aperture, shutter speed, and ISO to achieve the desired exposure. Consider the histogram to avoid overexposure or underexposure.
- Use exposure compensation: If needed, adjust exposure based on the scene’s characteristics and your creative vision.
- Evaluate your image: Review the image on your monitor or camera’s LCD to ensure the focus and exposure are correct before you begin filming.
Remember that lighting plays a significant role here. Poor lighting will impact both focus and exposure, leading to blurry images or underexposed/overexposed shots. Always check your exposure settings.
Q 12. How do you work with different aspect ratios and resolutions?
Aspect ratios and resolutions dictate the shape and clarity of your image. Aspect ratios (e.g., 16:9, 4:3) describe the width-to-height relationship, while resolution (e.g., 1920×1080, 4K) specifies the number of pixels. Most cameras offer multiple options. Changing these involves selecting the desired setting in your camera’s menu.
For example, if I’m shooting a widescreen cinematic piece, I’d choose a 16:9 aspect ratio. For a more traditional look or a specific platform’s requirements, I might opt for 4:3. Regarding resolution, higher resolutions (like 4K or even higher) allow for greater detail and flexibility in post-production, but require more storage space and processing power. Lower resolutions are useful when storage space is limited or when a lower resolution is suitable for the project’s final output (e.g. web video).
When working with different aspect ratios, I consider the composition of my shots. A wider aspect ratio like 2.39:1 provides a more expansive feeling, whereas a more square aspect ratio (like 1:1) can create a different visual mood. I always plan for the final output, ensuring that I capture enough information to support the target aspect ratio and resolution without compromising image quality.
Q 13. How do you manage camera settings for various shooting scenarios (e.g., low light, fast action)?
Camera settings are adjusted dynamically depending on the shooting scenario. In low-light conditions, I increase the ISO (sensitivity to light), but this can introduce noise. To minimize noise, I might also use a wider aperture (lower f-stop number) and a longer shutter speed (which can lead to motion blur if the subject is moving). A good understanding of the camera’s limitations and the creative tradeoffs is crucial here.
For fast action, a faster shutter speed is essential to freeze the motion, but this reduces the amount of light entering the sensor, requiring a wider aperture and possibly a higher ISO. I often use continuous autofocus to track moving subjects in such situations.
For example, filming a sporting event requires a fast shutter speed to avoid motion blur, a wider aperture to allow enough light in, and perhaps a higher ISO. In contrast, a night scene requires a slower shutter speed, potentially a wider aperture, and a high ISO, accepting the risk of introducing some image noise to get sufficient exposure. Careful balancing of these settings is key to achieving optimal results in diverse shooting scenarios. The knowledge of these trade-offs comes with experience.
Q 14. Describe your experience using camera support equipment (tripods, dollies, jibs).
I have extensive experience using various camera support equipment. Tripods are my everyday tool, providing stability for static shots and serving as a base for other equipment. I’m proficient in selecting the right tripod based on weight, height, and stability requirements, and I’m comfortable leveling them precisely. Dollies are used for smooth camera movements along a track, adding a professional touch to shots and facilitating creative camerawork. I am familiar with different types of dollies and their capabilities, from simple wheeled platforms to motorized systems.
Jibs are powerful tools offering dynamic overhead shots. My experience includes operating jibs of varying sizes and understanding their limitations, such as weight capacity and stability at different extensions. I’ve used jibs to create dramatic camera movements, showcasing landscapes or adding a unique perspective to scenes. I always prioritize safety and use appropriate counterweights and locking mechanisms. Beyond these, I have experience using sliders, Steadicams, and even drones for varied shots, allowing for maximum creative flexibility in filming. Proper use of these tools is critical in executing various complex shots in multiple shooting environments.
Q 15. How do you troubleshoot problems with camera connections and cabling?
Troubleshooting camera connections and cabling involves a systematic approach. First, I visually inspect all cables for physical damage – bends, kinks, or broken connectors. Loose connections are a common culprit, so I meticulously check each end, ensuring they’re firmly seated. I then verify the cables are correctly routed and not subject to undue stress or pressure.
Next, I move on to the devices themselves. I check that the camera is powered on and that the output settings (e.g., SDI, HDMI) match the input on the receiving device. If using multiple cables or a chain, I test each segment individually to isolate the problem. For example, if the signal fails between the camera and a switch, I’ll bypass the switch to see if the problem originates there.
Finally, if the problem persists, I’ll examine the device settings for any conflicts or incorrect configurations. Some devices have signal strength indicators that can be useful in pinpointing a weak link. I might also try different cables and connectors as a test. Documentation is key; I carefully record every step and observation to aid in future troubleshooting.
Career Expert Tips:
- Ace those interviews! Prepare effectively by reviewing the Top 50 Most Common Interview Questions on ResumeGemini.
- Navigate your job search with confidence! Explore a wide range of Career Tips on ResumeGemini. Learn about common challenges and recommendations to overcome them.
- Craft the perfect resume! Master the Art of Resume Writing with ResumeGemini’s guide. Showcase your unique qualifications and achievements effectively.
- Don’t miss out on holiday savings! Build your dream resume with ResumeGemini’s ATS optimized templates.
Q 16. What software or tools are you familiar with for camera control and monitoring?
My experience encompasses a wide array of software and tools for camera control and monitoring. On the professional side, I’m proficient in industry-standard control systems like VLC, OBS Studio for live streaming and recording, and various manufacturer-specific control software packages. For instance, I’ve worked extensively with the software provided by Sony, Blackmagic Design, and Canon, which offer comprehensive features like remote camera control, parameter adjustment (focus, iris, zoom), and image monitoring.
For specific tasks like calibration or advanced image analysis, I’m familiar with tools like MATLAB and ImageJ. My experience extends to network-based camera control using protocols such as ONVIF, which allows integration with a variety of systems and devices. Think of it like having a remote control for your camera system that allows you to fine-tune every aspect of your camera settings remotely. I also utilize dedicated monitoring and recording software for large scale setups.
Q 17. Explain your understanding of color temperature and its impact on image quality.
Color temperature, measured in Kelvin (K), refers to the warmth or coolness of light. Lower Kelvin values (e.g., 2700K) represent warmer, more orange-hued light like that of an incandescent bulb, while higher values (e.g., 6500K) represent cooler, bluer light like daylight. The impact on image quality is significant because inconsistent color temperature leads to color casts that make your images look unnatural and unprofessional.
For example, filming indoors under tungsten lighting (warm) and then outdoors under direct sunlight (cool) without adjusting the camera’s white balance will result in images with either an orange or a blue tint. Accurate white balance is crucial for faithful color reproduction. I use white balance tools either in-camera or in post-processing to correct for these inconsistencies, ensuring that white appears white and colors are accurately represented. The result? Consistent and pleasing visuals that truly reflect the scene’s original colors.
Q 18. How do you use exposure compensation to correct for challenging lighting conditions?
Exposure compensation is a valuable tool for adjusting the overall brightness of an image, particularly in challenging lighting conditions. It’s used to override the camera’s automatic exposure metering when the scene is either too bright or too dark for the camera to properly expose. This feature is essentially a fine-tuning knob for exposure.
Imagine a backlit scene, with a brightly lit sky behind the subject. The camera’s automatic metering might underexpose the subject to avoid overexposing the sky, resulting in a dark subject. I would use positive exposure compensation to increase the exposure, brightening the subject and bringing it within an acceptable range. Conversely, if shooting a scene with a very bright subject against a dark background, I might use negative exposure compensation to prevent overexposure, maintaining detail in the brighter areas. I carefully monitor the histogram to make sure I’m not clipping highlights or crushing shadows.
Q 19. Describe your experience with different camera control protocols (e.g., SDI, HDMI).
I have extensive experience with various camera control protocols, including SDI (Serial Digital Interface) and HDMI (High-Definition Multimedia Interface). SDI is a professional standard favored for its high bandwidth, long-distance transmission capabilities, and resistance to interference, making it ideal for critical applications requiring high-quality signal transmission. It’s prevalent in broadcast and professional video production.
HDMI, on the other hand, is more commonly found in consumer electronics and is widely used for its simplicity and ease of use. Its bandwidth is lower than SDI and it is more susceptible to signal degradation over longer distances. My knowledge extends to understanding the strengths and limitations of each protocol and selecting the appropriate one for the specific production needs. For instance, I would use SDI for a high-quality broadcast production where signal integrity is paramount, and HDMI for a smaller-scale shoot where simplicity is favored. The selection depends entirely on the context and requirements of the project.
Q 20. What safety measures do you take when handling and operating camera equipment?
Safety is paramount when handling and operating camera equipment. I always prioritize safe handling practices. This includes carefully inspecting equipment before use for any signs of damage and ensuring all cables are neatly organized to avoid tripping hazards. I am particularly mindful of power cords and electrical connections, always ensuring they are secure and not overloaded.
When working with heavy equipment like tripods and lighting rigs, I prioritize stability to prevent equipment damage and injuries. I am also careful to protect equipment from the elements, such as rain or extreme temperatures, and I always follow manufacturer instructions for proper use and storage. In environments with potential hazards (e.g., wet surfaces, strong winds), I implement additional safety measures, such as using sandbags to secure equipment and adjusting tripod height to ensure stability.
Q 21. How do you maintain and clean camera equipment to ensure optimal performance?
Maintaining and cleaning camera equipment is crucial for optimal performance and longevity. Regular cleaning is essential, and I always start with a gentle lens cleaning process, using a microfiber cloth and lens cleaning solution to remove dust and smudges. I avoid harsh chemicals or abrasive materials.
For the camera body, I use a blower brush to remove loose dust particles, followed by a lightly dampened microfiber cloth for more stubborn dirt. I always power down the camera before cleaning it to avoid accidental damage. Regular sensor cleaning is critical for digital cameras, and I use specialized tools and techniques based on the camera’s design, following manufacturer recommendations meticulously to prevent damage. Proper storage in a climate-controlled environment, free from dust and moisture, contributes significantly to maintaining the equipment’s optimal condition. Regular calibration and checks of functionality are also part of my maintenance routine to ensure peak performance.
Q 22. Explain your experience with remote camera operation.
Remote camera operation is a crucial skill in many professional settings, from wildlife documentaries to live event broadcasting. My experience encompasses controlling cameras via various methods, including wired and wireless connections, using software like vMix, OBS Studio, and dedicated camera control protocols like VISCA. This involves not only adjusting settings like zoom, focus, and iris remotely but also ensuring reliable communication and managing potential latency issues. For instance, during a wildlife documentary shoot, I successfully utilized a PTZ (Pan-Tilt-Zoom) camera system controlled from a remote location, allowing us to capture crucial footage without disturbing the animals. The system used a secure wireless connection to transmit the video signal and control commands, minimizing interference and maximizing image quality.
I’m proficient in troubleshooting connectivity problems, optimizing network configurations for low-latency streaming, and using backup systems to ensure uninterrupted control. The key is preventative measures, a robust network plan, and a solid understanding of the hardware and software involved.
Q 23. How familiar are you with camera sensor technology and its impact on image quality?
Camera sensor technology is fundamental to image quality. Understanding sensor size, resolution, pixel pitch, dynamic range, and color depth is critical for choosing the right camera for a specific application. A larger sensor generally captures more light, resulting in better low-light performance and shallower depth of field. Higher resolution means more detail, but it also impacts file size. Dynamic range refers to the camera’s ability to capture detail in both bright and dark areas of the scene, while color depth dictates the richness and accuracy of colors.
For example, a full-frame sensor (like those found in many professional cameras) will have superior image quality in low light compared to a smaller APS-C sensor. However, the choice depends on the project’s needs; a smaller sensor might be preferable for portability and affordability in certain contexts. I often need to carefully consider the sensor’s characteristics when selecting equipment for a shoot, balancing image quality with other factors such as size, weight, and budget.
Q 24. How would you diagnose and solve an issue with camera rolling shutter?
Rolling shutter is a phenomenon where a camera’s sensor doesn’t capture an entire image simultaneously, leading to distorted images when capturing fast-moving subjects. The effect is akin to a camera ‘scanning’ the scene line by line.
Diagnosing a rolling shutter issue usually involves observing the video footage. Obvious signs include skewed lines or a ‘jello effect’ during panning shots of fast-moving objects.
Solving the problem depends on the cause. It might be an inherent characteristic of the camera sensor (some CMOS sensors are more susceptible to rolling shutter than others), in which case upgrading to a camera with a global shutter sensor might be necessary. Sometimes, the issue is related to camera settings. For example, adjusting the shutter speed may help reduce the effect, although this impacts exposure. In other cases, the problem could be related to other factors like faulty connections, though less common.
Troubleshooting steps:
- Inspect the video for characteristic rolling shutter artifacts.
- Check the camera’s specifications to see if it’s known for rolling shutter.
- Adjust shutter speed to a faster setting (this might impact lighting and require compensation).
- If none of the above fixes the problem, consider if sensor replacement or upgrading the camera is an appropriate solution.
Q 25. Describe your experience with time-lapse photography or video.
I have extensive experience with time-lapse photography and videography, both in planning and execution. This involves careful consideration of the subject, shooting interval, total duration, and lighting conditions. I’m proficient in using various time-lapse controllers and software, including those that allow for intervalometer control and post-processing features for smoothing and stabilizing the final output.
For example, I was involved in a project documenting the growth of a plant over several months. This required meticulous planning: precise positioning of the camera, a robust intervalometer to ensure consistent intervals, and a weatherproof housing to protect the equipment. The post-processing involved stabilizing the footage and creating a visually engaging time-lapse video. The final result effectively communicated the plant’s growth and development in a visually impactful way.
Q 26. Explain how you would set up a multi-camera shoot and synchronize the footage.
Setting up a multi-camera shoot and synchronizing the footage requires careful planning and the use of various synchronization methods. The most common approach involves using a dedicated video sync generator or a timecode system (like SMPTE timecode). These devices transmit a timecode signal to each camera, embedding a precise timestamp onto each frame of the video. This allows for precise synchronization during post-production.
Alternatively, if a sync generator or timecode system isn’t available, you can use a ‘clap’ method as a visual cue or create a trigger event across all cameras, but this is less precise and requires careful editing.
The process involves:
- Planning camera positions and angles.
- Selecting appropriate cameras and lenses.
- Connecting cameras to a video switcher, recorder, or directly to computers for recording (depending on the setup).
- Setting up the sync generator or timecode system, ensuring each camera receives the signal.
- Testing the setup and recording a test segment to ensure proper synchronization.
- Monitoring signal strength for wireless sync to mitigate dropouts.
In post-production, editing software can use the embedded timecode to align footage from different cameras seamlessly.
Q 27. How would you address a situation where you encounter incompatible equipment during a shoot?
Encountering incompatible equipment is a common challenge in filmmaking. My approach involves a combination of problem-solving skills, resourcefulness, and a deep understanding of equipment specifications. The first step is identifying the incompatibility. Is it a simple connector issue? A voltage mismatch? Or a fundamental difference in protocols?
I carry a toolkit of adapters, converters, and cables to address common incompatibility issues. If a simple solution isn’t available, I explore alternative methods. This could involve using a different piece of equipment from my kit, renting compatible equipment, or creatively adapting the shoot to work within the constraints of what is available. Thorough pre-production planning minimizes this risk; ensuring all equipment is compatible and creating a comprehensive equipment list greatly reduces on-site issues.
For example, during a shoot, we discovered that the external hard drive used for recording wasn’t compatible with the camera’s output format. Instead of delaying the shoot, I quickly accessed the camera’s internal storage and made changes to allow for continued filming using internal recording.
Q 28. Describe a time when you had to troubleshoot a complex camera issue under pressure. What was the outcome?
During a live broadcast of a major sporting event, the primary camera’s control unit malfunctioned just minutes before the event started. This meant we had lost control of our primary shot – a critical issue. Under immense pressure, I immediately switched to our backup camera, which fortunately had a similar configuration, but with different remote control protocols.
I had to quickly adapt and reconfigure the remote control settings on the backup camera using its manual controls and a remote control system that required a different setup. We had practiced this scenario during rehearsals, and that practice saved us. Within a matter of minutes, we were back on air, avoiding any noticeable disruption to the broadcast. The event ended successfully, thanks to the quick thinking, the backup equipment, and the rehearsal practices. The outcome underscored the importance of thorough planning and the necessity of having a reliable backup system.
Key Topics to Learn for Camera Setup and Alignment Interview
- Understanding Camera Types and Functionality: Explore different camera types (e.g., PTZ, DSLR, broadcast cameras), their features, and limitations. Be prepared to discuss their suitability for various applications.
- Lens Selection and Usage: Discuss the importance of focal length, aperture, and depth of field in achieving the desired image. Practice explaining how lens choices affect image quality and composition.
- Image Sensor and Resolution: Understand the relationship between image sensor size, resolution, and image quality. Be prepared to discuss the trade-offs involved in choosing different resolutions for specific projects.
- Colorimetry and White Balance: Master the concepts of color temperature, white balance adjustments, and color correction techniques. Be ready to demonstrate your understanding of achieving accurate color reproduction.
- Focus and Sharpness Techniques: Discuss various focusing methods (manual, autofocus), depth of field control, and techniques for achieving optimal image sharpness. Be prepared to troubleshoot common focusing issues.
- Camera Mounting and Support Systems: Discuss different camera mounting options (tripods, jibs, sliders) and their suitability for various setups. Explain how to ensure camera stability and safety.
- Signal Flow and Connectivity: Understand the path of the video signal from the camera to the output device. Be familiar with different video interfaces (HDMI, SDI, etc.) and their capabilities.
- Troubleshooting and Problem Solving: Develop your ability to diagnose and solve common camera setup and alignment problems, such as image distortion, poor focus, and connectivity issues. Practice outlining a systematic troubleshooting process.
- Camera Control Protocols: Familiarize yourself with commonly used camera control protocols (e.g., VISCA, Pelco) and their applications in automated camera systems.
- Health and Safety Procedures: Understand and be able to discuss safe handling procedures for cameras and associated equipment.
Next Steps
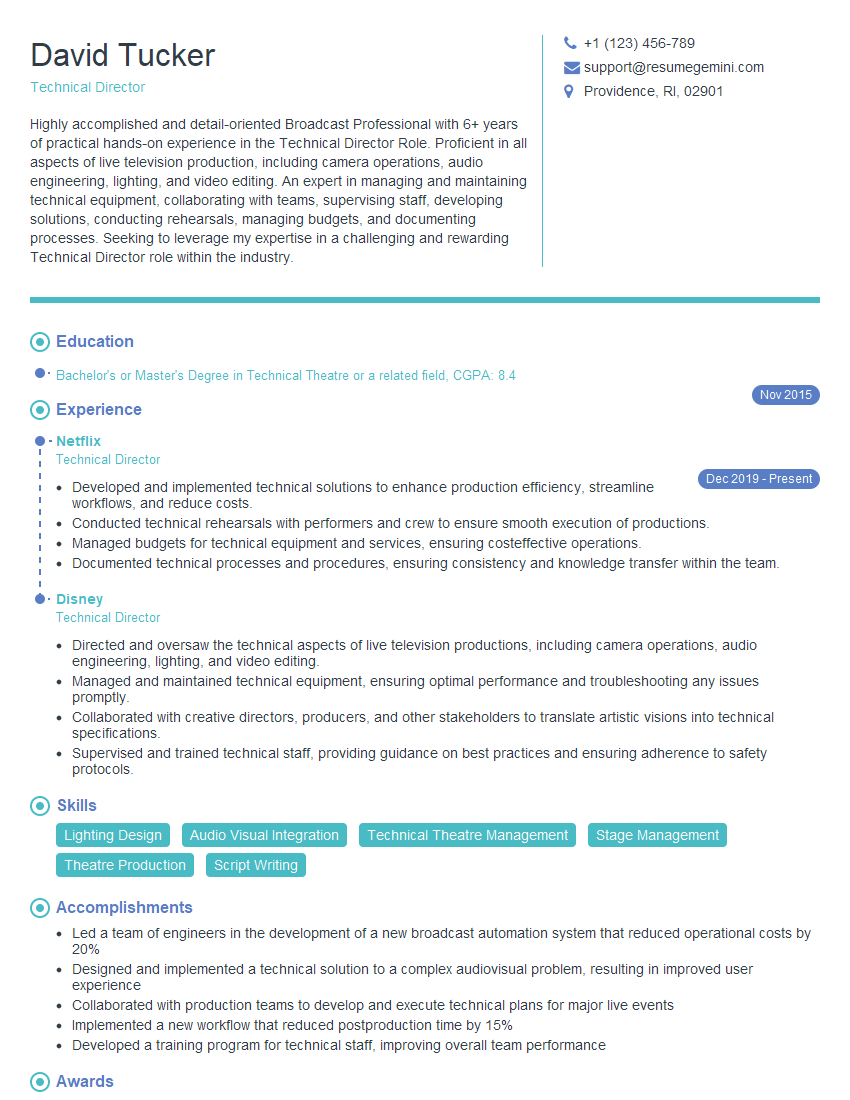
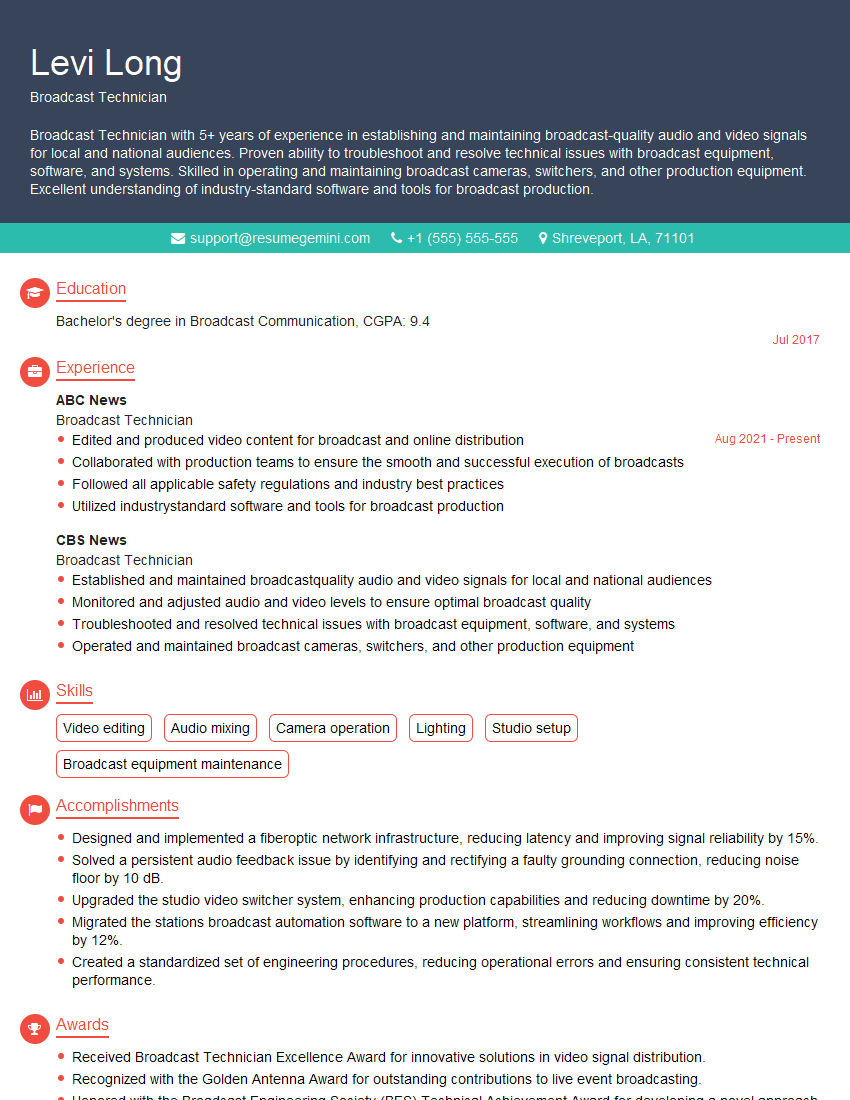
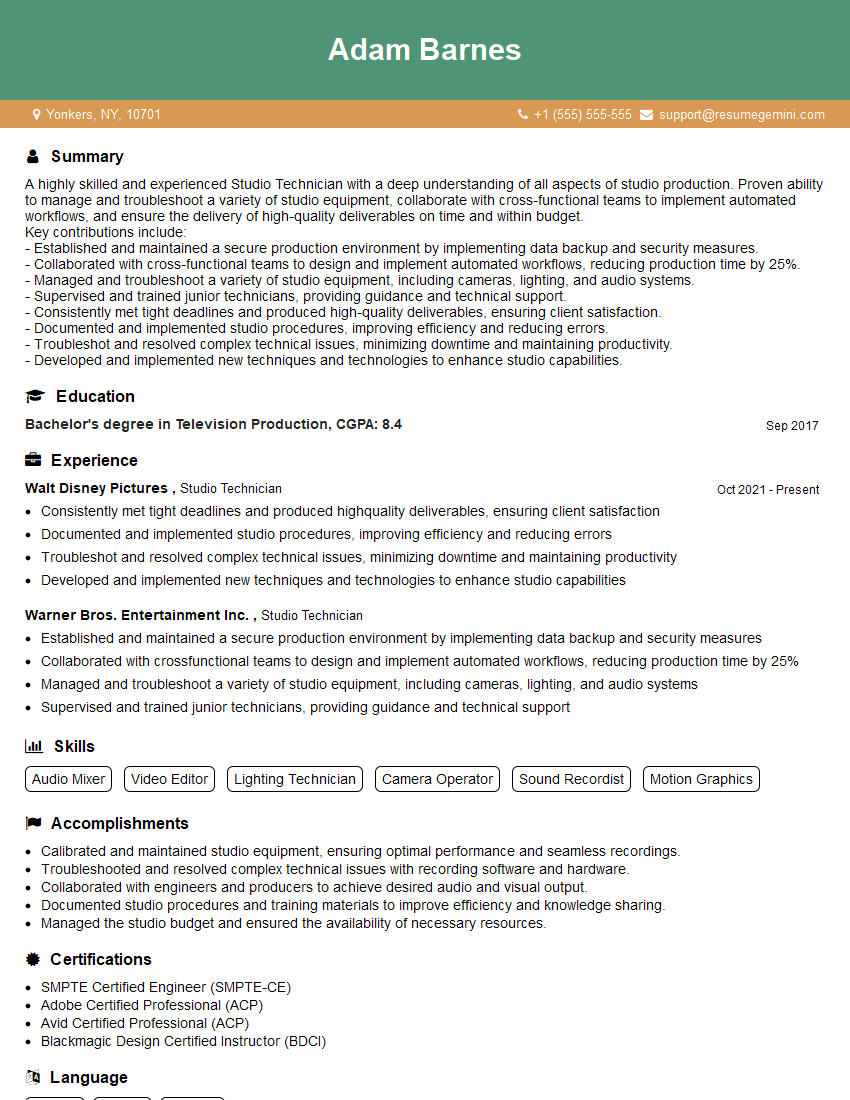
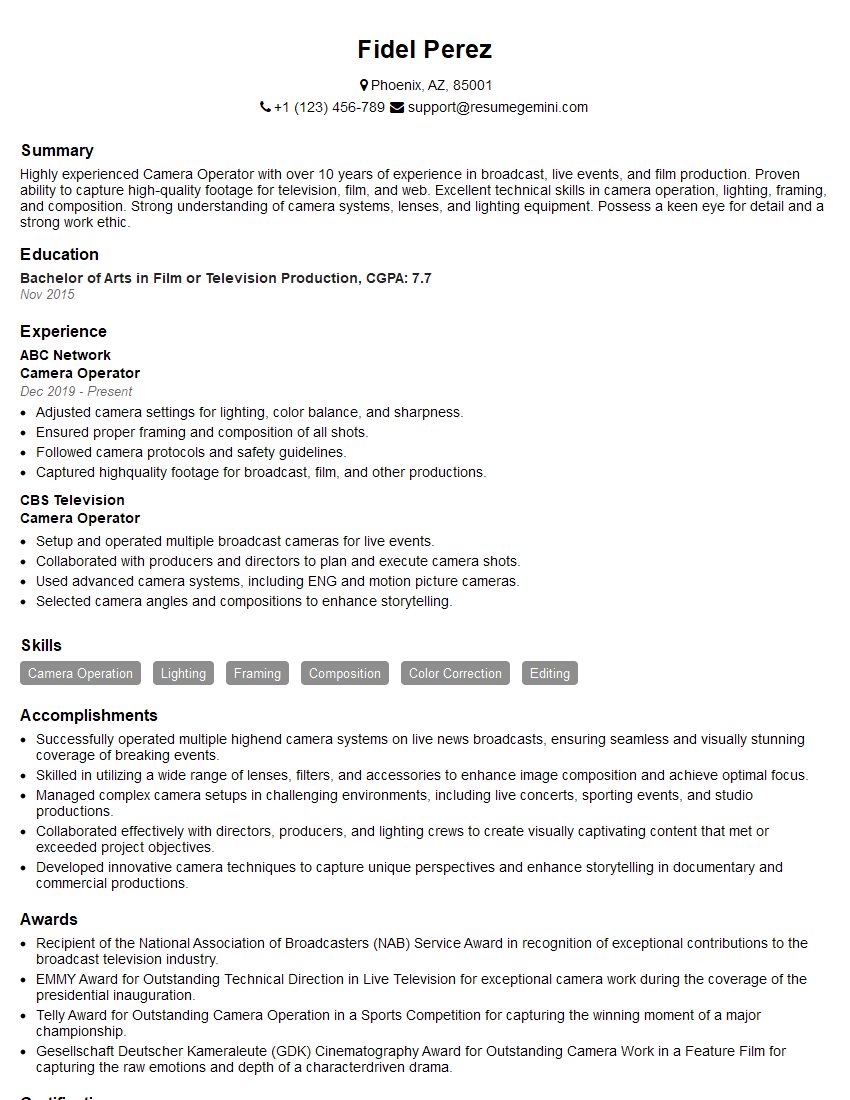
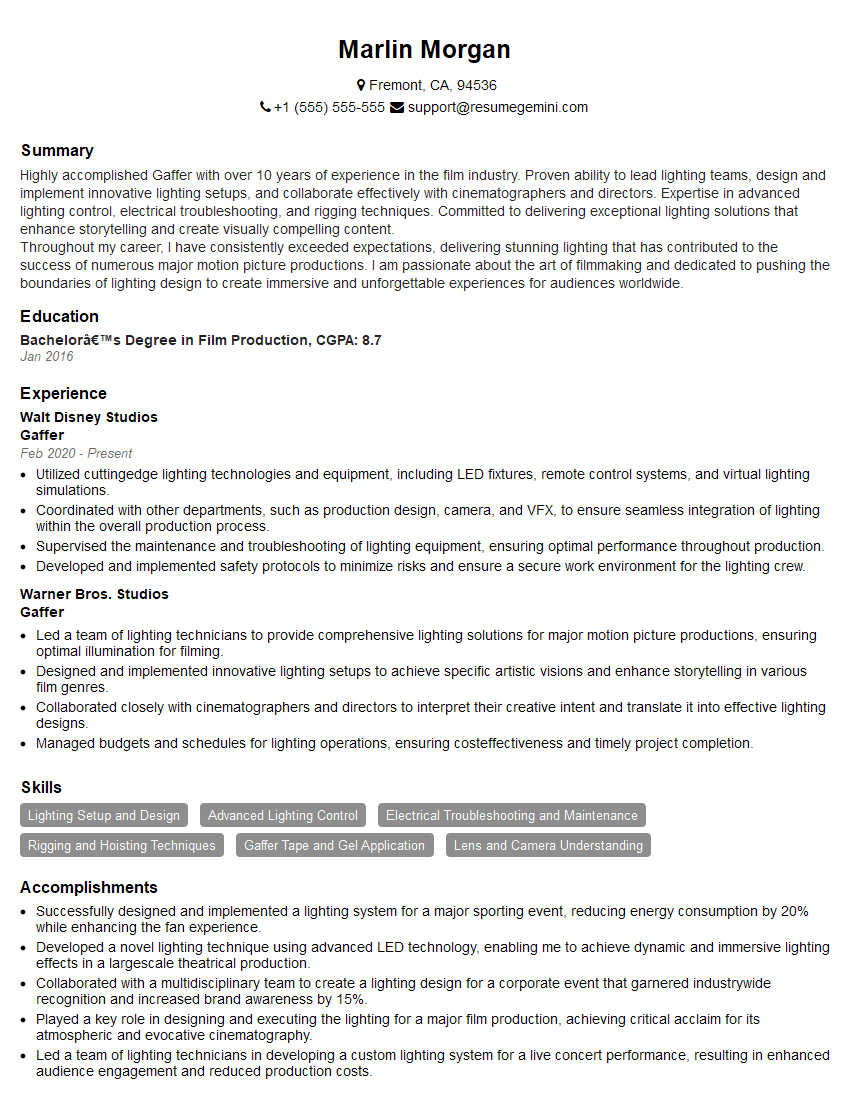
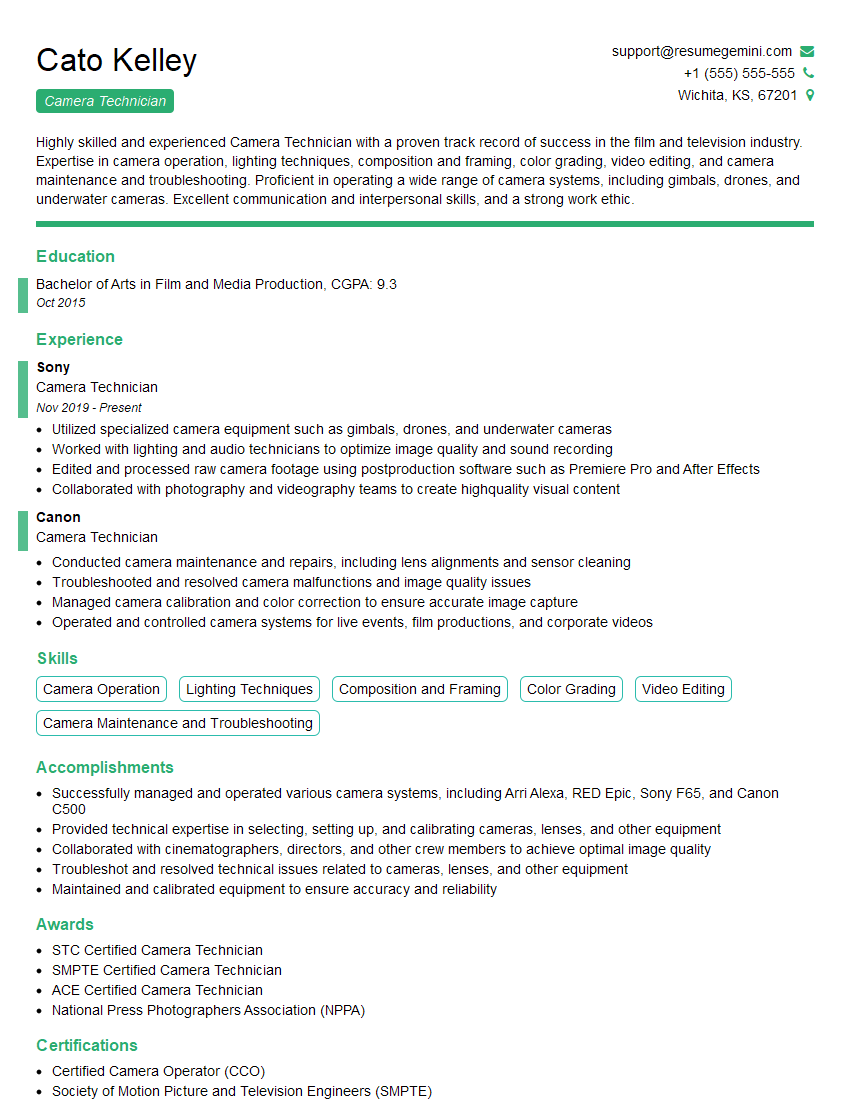
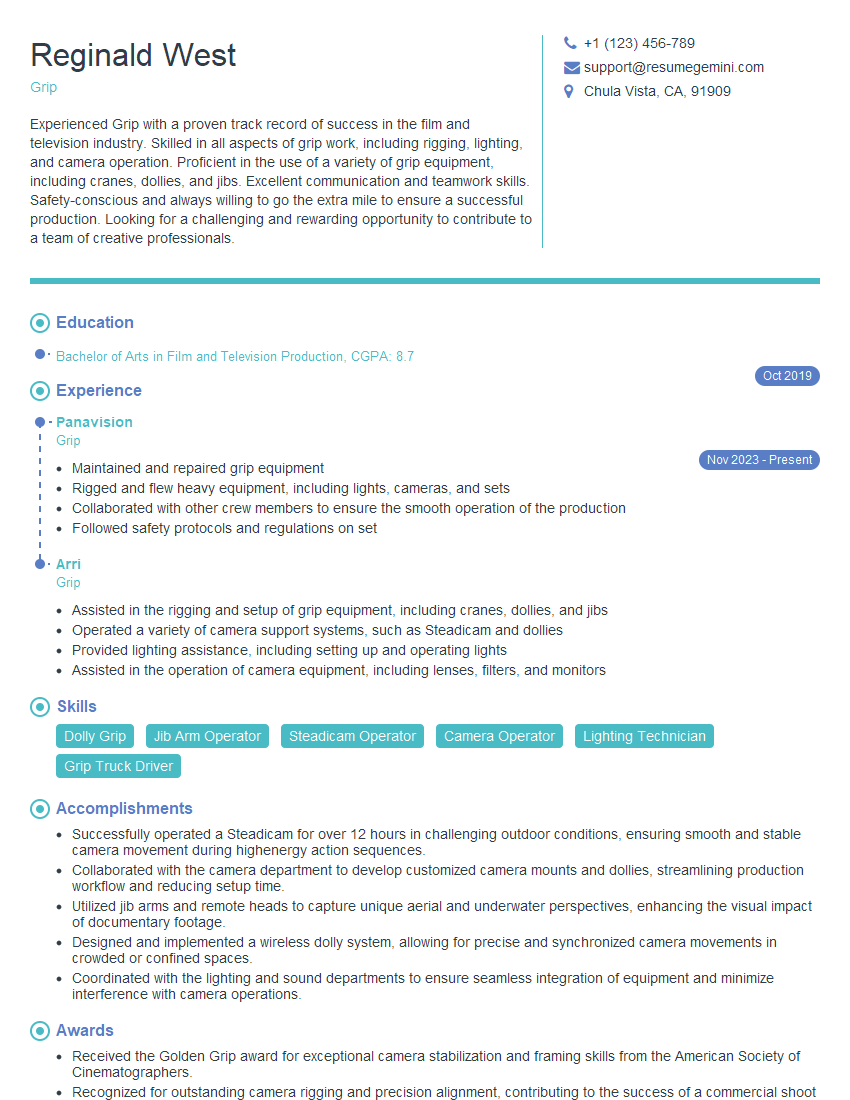
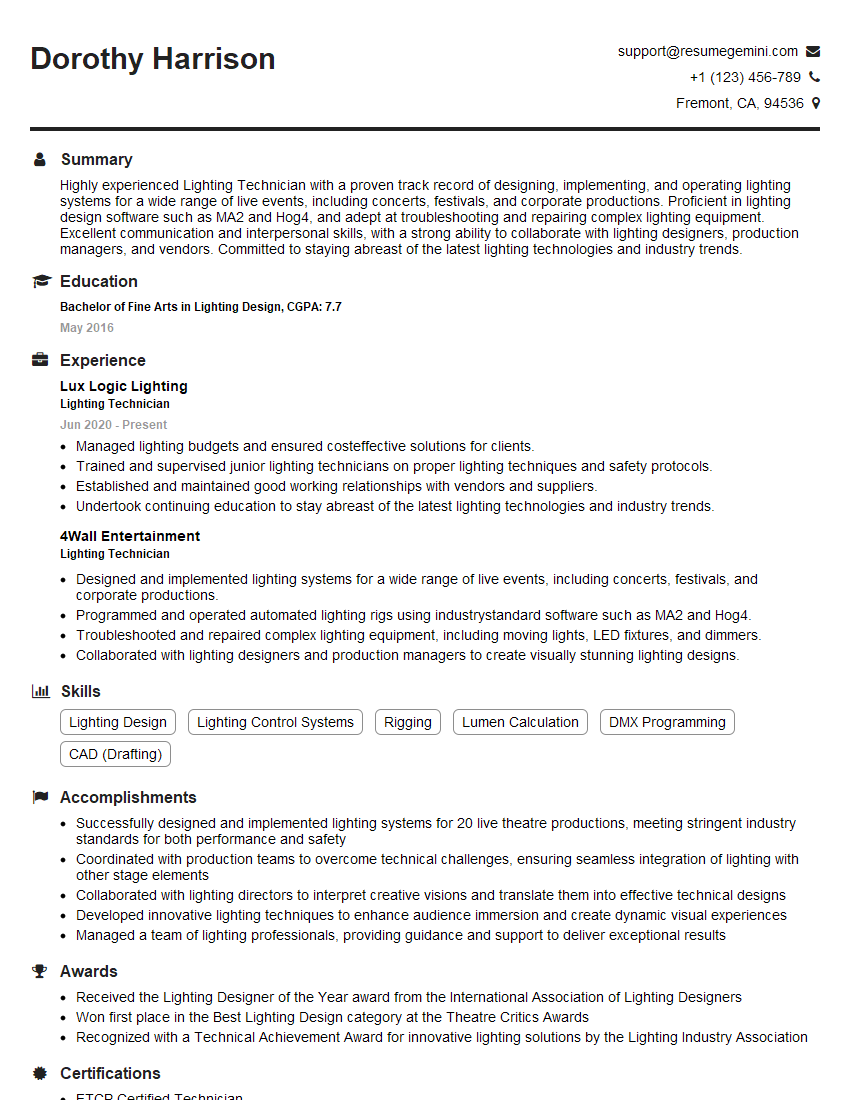
Mastering camera setup and alignment is crucial for career advancement in many visual-centric industries. A strong understanding of these skills will significantly increase your employability and open doors to more challenging and rewarding roles. To maximize your job prospects, creating an ATS-friendly resume is essential. ResumeGemini is a trusted resource to help you build a professional and impactful resume that highlights your skills effectively. Examples of resumes tailored to Camera Setup and Alignment are available to help you craft a compelling application.
Explore more articles
Users Rating of Our Blogs
Share Your Experience
We value your feedback! Please rate our content and share your thoughts (optional).
What Readers Say About Our Blog
Hello,
We found issues with your domain’s email setup that may be sending your messages to spam or blocking them completely. InboxShield Mini shows you how to fix it in minutes — no tech skills required.
Scan your domain now for details: https://inboxshield-mini.com/
— Adam @ InboxShield Mini
Reply STOP to unsubscribe
Hi, are you owner of interviewgemini.com? What if I told you I could help you find extra time in your schedule, reconnect with leads you didn’t even realize you missed, and bring in more “I want to work with you” conversations, without increasing your ad spend or hiring a full-time employee?
All with a flexible, budget-friendly service that could easily pay for itself. Sounds good?
Would it be nice to jump on a quick 10-minute call so I can show you exactly how we make this work?
Best,
Hapei
Marketing Director
Hey, I know you’re the owner of interviewgemini.com. I’ll be quick.
Fundraising for your business is tough and time-consuming. We make it easier by guaranteeing two private investor meetings each month, for six months. No demos, no pitch events – just direct introductions to active investors matched to your startup.
If youR17;re raising, this could help you build real momentum. Want me to send more info?
Hi, I represent an SEO company that specialises in getting you AI citations and higher rankings on Google. I’d like to offer you a 100% free SEO audit for your website. Would you be interested?
Hi, I represent an SEO company that specialises in getting you AI citations and higher rankings on Google. I’d like to offer you a 100% free SEO audit for your website. Would you be interested?
good
