Preparation is the key to success in any interview. In this post, we’ll explore crucial Central Line Placement interview questions and equip you with strategies to craft impactful answers. Whether you’re a beginner or a pro, these tips will elevate your preparation.
Questions Asked in Central Line Placement Interview
Q 1. Describe the anatomical landmarks used for internal jugular vein central line placement.
Internal jugular vein (IJV) central line placement relies on precise anatomical landmarks to ensure safe and successful catheter insertion. The most commonly used landmarks are the sternocleidomastoid muscle (SCM), the clavicle, and the head of the clavicle.
- Sternocleidomastoid Muscle (SCM): This muscle forms a readily palpable boundary. We aim to enter the IJV medial to the SCM to avoid puncturing the carotid artery.
- Clavicle: The clavicle provides a crucial inferior landmark. The IJV lies superior and slightly medial to the clavicle.
- Head of the Clavicle: The junction of the SCM and the clavicle forms a useful triangle where the IJV is often easily accessed.
Imagine a triangle formed by these landmarks. The IJV typically lies within this triangle, making it easier to locate and cannulate. Ultrasound guidance is frequently used to confirm vessel location and minimize complications, especially in challenging cases or with obese patients.
Q 2. What are the contraindications for femoral vein central line placement?
Femoral vein central line placement, while relatively easy to access, carries a higher risk of complications compared to other sites like the internal jugular or subclavian veins. Therefore, it’s generally reserved for situations where other options are unsuitable. Contraindications include:
- Local infection: An infection at the insertion site increases the risk of bloodstream infection.
- Femoral artery aneurysm or pseudoaneurysm: These vascular abnormalities increase the risk of inadvertent arterial puncture.
- Severe coagulopathy: Patients with impaired clotting ability have a higher risk of bleeding complications.
- Severe peripheral vascular disease: Compromised peripheral circulation in the legs increases the risk of thrombosis or impaired healing at the insertion site.
- Obesity: Significant subcutaneous fat can make landmark identification and insertion challenging.
In essence, any condition that increases the risk of infection, bleeding, or difficulty with cannulation would be a relative contraindication. The decision to use the femoral vein approach should always involve careful consideration of the risks and benefits for each individual patient.
Q 3. Explain the Seldinger technique for central line insertion.
The Seldinger technique is the gold standard for central venous catheter insertion. It’s a minimally invasive approach that reduces the risk of complications. Here’s a breakdown:
- Skin preparation and draping: The insertion site is meticulously cleaned and draped to maintain sterility.
- Local anesthesia: Local anesthetic is injected to numb the insertion site, minimizing patient discomfort.
- Needle insertion and vessel puncture: A needle is advanced into the vein under appropriate anatomical landmark guidance or ultrasound, often using a modified Seldinger technique with a short needle.
- Guidewire insertion: Once venous access is confirmed (blood return), a guidewire is advanced through the needle into the vein.
- Needle removal: The needle is removed, leaving the guidewire in place.
- Dilator insertion (if needed): A dilator may be advanced over the guidewire to create a larger tract for the catheter.
- Catheter insertion: The catheter is advanced over the guidewire into the desired location within the central vein.
- Guidewire removal: The guidewire is then carefully withdrawn.
- Catheter fixation and dressing application: The catheter is secured in place with sutures or tape, and a sterile dressing is applied.
Think of it like threading a needle and then using the thread to pull a larger piece of string (the catheter) through. The Seldinger technique allows for precise placement while minimizing trauma to the vessel.
Q 4. What are the complications associated with central line placement?
Central line placement, while essential for many medical procedures, carries potential complications. These include:
- Pneumothorax: Air entering the pleural space during insertion, particularly with subclavian vein access.
- Hemothorax: Blood in the pleural space due to vessel injury.
- Arterial puncture: Accidental puncture of an artery, leading to bleeding or hematoma.
- Catheter-related bloodstream infection (CRBSI): A serious infection originating from the catheter.
- Thrombosis: Blood clot formation within the vein or the catheter.
- Air embolism: Air entering the bloodstream during insertion.
- Cardiac perforation: Rare but potentially fatal complication.
- Nerve damage: Injury to nearby nerves during insertion.
Careful attention to technique, sterile procedures, and post-insertion monitoring are crucial to minimizing these risks. Patient selection, based on risk factors, is a key component of preventative strategies.
Q 5. How do you prevent catheter-related bloodstream infections (CRBSIs)?
Preventing catheter-related bloodstream infections (CRBSIs) is paramount. Strategies include:
- Strict adherence to sterile technique during insertion: Meticulous hand hygiene, appropriate skin disinfection, and sterile drapes are essential.
- Choosing the optimal insertion site: Internal jugular or subclavian veins are preferred over the femoral vein to reduce CRBSI risk.
- Using chlorhexidine gluconate for skin disinfection: Chlorhexidine is more effective than other antiseptics in reducing CRBSI rates.
- Optimal catheter care: Regular inspection of the insertion site, dressing changes according to protocols, and meticulous hand hygiene by healthcare providers.
- Appropriate antibiotic prophylaxis: In some cases, antibiotic prophylaxis might be considered during high-risk procedures.
- Catheter removal when no longer needed: The shorter the dwell time of the catheter, the lower the risk of infection.
Remember, a multi-pronged approach combining meticulous technique and infection control measures is critical to minimize CRBSI occurrences.
Q 6. Describe the steps involved in confirming central line placement.
Confirming central line placement is crucial to ensure the catheter is in the correct location and to avoid potentially life-threatening complications. Multiple methods are used to verify placement:
- Chest X-ray: A chest X-ray is the gold standard for confirming the catheter tip’s position within the superior vena cava. It helps identify complications like pneumothorax or incorrect placement.
- Blood sampling for blood gas analysis: A sample is drawn through the catheter and sent to the lab for analysis of oxygen and carbon dioxide levels. This ensures the sample is venous blood. A positive result would be a venous blood gas rather than an arterial one.
- Waveform analysis: Pressure and flow waveforms can be monitored through a pressure transducer to determine the position of the catheter. A central venous pressure measurement is typically performed as well.
- Ultrasound guidance during placement: Real-time ultrasound guidance allows visualization of the vessel and the catheter tip during insertion, which is extremely helpful in reducing the risks of a malpositioned catheter.
It’s crucial to utilize multiple methods to confirm placement for the highest degree of certainty. Relying on a single method may lead to complications.
Q 7. What are the different types of central venous catheters?
Several types of central venous catheters exist, each with its own characteristics and applications:
- Peripherally inserted central catheters (PICCs): These catheters are inserted into a peripheral vein and advanced to the central venous system. They are typically used for longer-term access.
- Tunneled catheters: These catheters have a subcutaneous tunnel that helps reduce infection risk. They are often used for long-term access.
- Implantable ports: These consist of a catheter with a subcutaneous port that allows medication administration without repeated needle sticks. Ideal for long-term chemotherapy or regular medication administration.
- Hickman catheters: A type of tunneled catheter with multiple lumens for administering various fluids or medications. Used for long-term venous access and frequently for home therapies.
The choice of catheter depends on factors like the duration of required access, the patient’s clinical condition, and the frequency and type of infusions needed. The characteristics and indications of each catheter type should be meticulously assessed prior to deployment. The choice is best made with a multi-disciplinary approach.
Q 8. How do you manage a pneumothorax following central line placement?
Managing a pneumothorax, a collapsed lung caused by air leaking into the pleural space, following central line placement is a critical emergency. It requires immediate action and often involves a multidisciplinary approach.
Immediate Actions: The first step is to confirm the diagnosis through clinical signs (respiratory distress, decreased breath sounds, chest asymmetry) and chest X-ray. Oxygen supplementation is crucial to improve oxygenation. The patient should be positioned to facilitate better lung expansion, often semi-sitting.
Treatment: A pneumothorax resulting from central line placement usually needs needle decompression. This involves inserting a large-bore needle into the pleural space to relieve the pressure. This is often a bedside procedure performed by a physician or advanced practice provider experienced in this intervention. After needle decompression, a chest tube is typically inserted to allow continuous drainage of air and re-expansion of the lung. Close monitoring of vital signs, respiratory status, and chest tube output are essential. Analgesia should be provided for pain management.
Prevention: Proper insertion technique, including careful aspiration of air prior to catheter advancement, is key to preventing pneumothorax. Use of ultrasound guidance significantly reduces the risk of complications like pneumothorax.
Example: I once had a patient develop a small pneumothorax during a subclavian central line insertion despite using ultrasound. Prompt needle decompression and subsequent chest tube insertion led to complete resolution without lasting complications. This reinforced the importance of immediate recognition and aggressive treatment of this potentially life-threatening complication.
Q 9. What are the indications for central line placement?
Central line placement, the insertion of a catheter into a large central vein, is indicated when peripheral intravenous access is inadequate or impossible for delivering fluids, medications, or performing hemodynamic monitoring. Here are some key indications:
- Administering highly irritating medications: Certain medications can damage peripheral veins, necessitating central venous access.
- Providing large volumes of fluids: In situations of severe dehydration or hypovolemic shock, central lines allow for rapid fluid resuscitation.
- Total Parenteral Nutrition (TPN): TPN is a specialized nutrition solution administered through a central vein due to its high osmolarity.
- Long-term intravenous therapy: Patients requiring prolonged intravenous medication, like antibiotics or chemotherapy, benefit from central line access.
- Hemodynamic monitoring: Central lines allow for the continuous monitoring of central venous pressure (CVP), a valuable indicator of fluid status.
- Blood sampling: Obtaining blood samples for blood gas analysis or other specialized testing.
The specific indications are determined on a case-by-case basis, considering the patient’s overall clinical condition and treatment needs.
Q 10. How do you assess a patient’s suitability for central line placement?
Assessing a patient’s suitability for central line placement involves a thorough evaluation of their clinical status, considering both the benefits and risks. Here’s a structured approach:
- Review the indication: Is central venous access truly necessary? Are there less invasive alternatives?
- Assess coagulation status: Patients with coagulopathies (bleeding disorders) are at increased risk of bleeding complications. INR, PTT, platelet count should be reviewed.
- Evaluate anatomical landmarks: Assess the patient’s anatomy to identify the best insertion site and potential challenges (e.g., obesity, previous surgery).
- Assess the patient’s overall health: Conditions such as severe respiratory compromise or unstable hemodynamics may influence the risk-benefit analysis.
- Consider patient-specific factors: Age, comorbidities, and previous experiences with central lines should be taken into account.
A comprehensive assessment helps determine the feasibility and safety of central line placement for each individual patient.
Q 11. Describe the process of obtaining informed consent for central line placement.
Obtaining informed consent for central line placement is a crucial ethical and legal requirement. It’s a process, not a simple signature. Here’s how it’s done:
- Identify the patient: Ensure you’re speaking to the right person who has the capacity to make decisions.
- Explain the procedure: Describe the procedure in plain language, avoiding medical jargon. Explain the purpose, benefits, and risks (including complications like pneumothorax, infection, bleeding, and thrombosis).
- Address questions and concerns: Allow ample time for questions and address concerns with honesty and empathy. Provide analogies or examples to improve comprehension.
- Document consent: The consent process should be clearly documented in the patient’s chart, including the date, time, who provided the explanation, the questions asked and answered, and the patient’s understanding of the procedure and its risks.
- Witness the signature: A qualified witness, preferably a nurse or other healthcare professional, should witness the patient’s signature.
Example: I always explain the central line procedure using simple language. I might say, ‘Think of it as a straw that helps us give you medication or fluids directly into a large vein.’ This simplifies understanding.
Q 12. What are the different types of dressing used for central line sites?
Several types of dressings are used for central line sites to maintain asepsis and prevent infection. The choice depends on institutional protocols and individual patient needs:
- Transparent semipermeable dressings: These allow for visualization of the insertion site without removing the dressing. They are commonly used and provide a good barrier against microorganisms.
- Gauze dressings: These provide a less expensive alternative. However, they require more frequent changes.
- Impregnated dressings: These are often used when there is drainage or excessive exudate.
- Hydrocolloid dressings: These dressings are beneficial in protecting the site from friction and trauma.
Regardless of the dressing type, meticulous hand hygiene is paramount before and after dressing changes.
Q 13. How do you troubleshoot a malfunctioning central line?
Troubleshooting a malfunctioning central line requires a systematic approach. The first step is to assess the nature of the malfunction:
- Occlusion: If the line is occluded, a gentle flush with saline solution may restore patency. If the occlusion persists, you may need to use a thrombolytic agent (under physician order) or replace the catheter.
- Dislodgement: If the line is dislodged, it must be removed immediately to prevent complications such as air embolism or bleeding. If there’s a significant portion remaining in the vein, surgical intervention may be required.
- Catheter breakage: If the catheter has broken, it must be removed by a physician. Depending on the location of the break, surgical retrieval might be needed.
- Infiltration/extravasation: If fluid is leaking into the surrounding tissue, stop the infusion immediately, elevate the affected limb, and potentially administer appropriate treatment to mitigate tissue damage.
Important Note: Always follow established protocols and seek guidance from senior colleagues when troubleshooting central line complications. Never attempt interventions outside your scope of practice.
Q 14. How often should central line dressings be changed?
The frequency of central line dressing changes depends on several factors, including institutional policies, the type of dressing used, and the patient’s clinical condition. However, general guidelines exist.
General Guidelines: Many institutions recommend changing central line dressings every 24-48 hours or as needed if the dressing becomes soiled, loose, or compromised. If the patient is at high risk for infection, more frequent changes might be necessary. Some institutions utilize a semi-permeable transparent dressing that may be changed less frequently, based on institutional policy and the condition of the dressing.
Emphasis on Aseptic Technique: Regardless of the frequency, each dressing change should be performed using meticulous aseptic technique to minimize the risk of infection. Hand hygiene, proper donning and doffing of personal protective equipment, and appropriate disinfection of the insertion site are crucial.
Q 15. Describe the procedure for removing a central line.
Removing a central line is a crucial procedure requiring meticulous attention to detail and aseptic technique. The process begins with confirming the correct catheter by checking the external markings and the x-ray report. The patient’s condition, including coagulation parameters, should be assessed. The area is cleaned with antiseptic solution, usually chlorhexidine. Then, using sterile gloves and drapes, the catheter is gently withdrawn in a smooth, controlled motion while maintaining traction on the catheter hub to prevent fragmentation. Once removed, the insertion site is inspected for bleeding. Pressure is applied to the site for at least 5-10 minutes, or longer if necessary, until hemostasis is achieved. A sterile dressing is then applied. Post-removal, the patient’s vital signs are closely monitored for any complications, such as bleeding or infection. The removed catheter should be inspected for length and intactness. Any deviation from the normal procedure should be documented meticulously.
Career Expert Tips:
- Ace those interviews! Prepare effectively by reviewing the Top 50 Most Common Interview Questions on ResumeGemini.
- Navigate your job search with confidence! Explore a wide range of Career Tips on ResumeGemini. Learn about common challenges and recommendations to overcome them.
- Craft the perfect resume! Master the Art of Resume Writing with ResumeGemini’s guide. Showcase your unique qualifications and achievements effectively.
- Don’t miss out on holiday savings! Build your dream resume with ResumeGemini’s ATS optimized templates.
Q 16. What are the signs and symptoms of central line-associated infections?
Central line-associated bloodstream infections (CLABSIs) are a serious complication. Signs and symptoms can be subtle or dramatic, depending on the pathogen and the patient’s immune status. Early signs can include fever, chills, and localized redness, swelling, or tenderness at the insertion site. More advanced symptoms may involve hypotension, tachycardia, and altered mental status. Purulent drainage from the insertion site is a clear sign of infection. Laboratory findings such as elevated white blood cell count and positive blood cultures are crucial for confirmation. It’s important to remember that a CLABSI may not always present with classic symptoms, therefore, proactive surveillance and meticulous care are vital.
Q 17. Explain the role of ultrasound in central line placement.
Ultrasound guidance has revolutionized central line placement. It provides real-time visualization of the vessel, enabling precise catheter insertion and significantly reducing the risk of complications such as pneumothorax (collapsed lung) or arterial puncture. The ultrasound probe allows the clinician to identify the target vein, assess its size and location, and avoid structures like arteries and nerves. The technique involves using the ultrasound to guide the needle into the vein, followed by the insertion of the guidewire and catheter under continuous visualization. This real-time feedback ensures accurate placement and minimizes blind sticking. Using ultrasound leads to fewer attempts, resulting in less patient discomfort and a lower risk of complications.
Q 18. How do you manage a central line occlusion?
Central line occlusion is a common problem. Management strategies depend on the cause and the duration of the occlusion. The first step involves attempting to flush the line with a prescribed solution, usually a saline or heparin flush. If this is unsuccessful, a thrombolytic agent like tissue plasminogen activator (tPA) may be used under strict guidelines. However, this requires careful consideration of the potential risks. If these measures fail, the line may need to be replaced. Prevention is crucial. Regular flushing with heparinized saline helps maintain patency. It’s imperative to carefully assess the cause of the occlusion—it may be due to thrombus formation, catheter kinking, or precipitate build up.
Q 19. Describe the different sizes of central venous catheters and their appropriate uses.
Central venous catheters come in various sizes, typically expressed in French gauge (Fr). Smaller sizes, like 4-6 Fr, are suitable for smaller veins and for administration of medications that require less flow rate. Larger sizes, like 8-14 Fr, are commonly used for administering fluids, blood products, or parenteral nutrition. The choice depends on the patient’s needs and the intended use of the catheter. For example, a smaller catheter might be used for long term access with lower risk of thrombosis while a larger catheter is suitable for patients needing high-volume fluid administration. Proper size selection is crucial to minimize complications and optimize therapy.
Q 20. What is the importance of maintaining sterility during central line placement?
Maintaining sterility during central line placement is paramount to prevent CLABSIs. This involves strict adherence to sterile technique throughout the procedure, including the use of sterile gloves, gowns, drapes, and equipment. The insertion site is thoroughly cleansed with an antiseptic solution. The entire process must be performed in a sterile field, minimizing contamination risk. Meticulous attention to detail is essential, and any breach of sterile technique must be addressed immediately. Prophylactic antibiotics are generally not recommended unless specific clinical indications exist due to risk of antibiotic resistance.
Q 21. How do you handle an accidental arterial puncture during central line insertion?
Accidental arterial puncture during central line insertion is a serious complication. Immediate pressure must be applied to the site for at least 10-15 minutes to achieve hemostasis and prevent hematoma formation. Close monitoring of the patient’s vital signs is crucial to detect any signs of hypovolemic shock. The patient should be assessed for distal pulses to check for signs of compromised blood flow to the limb. The puncture site must be carefully monitored for any bleeding or hematoma development. Documentation of the event is essential, along with reporting and further assessment as indicated. Depending on the size of the puncture and amount of bleeding, surgical repair might be required.
Q 22. Explain your understanding of the anatomical variations that can impact central line placement.
Anatomical variations significantly impact central line placement success and safety. Understanding these variations is crucial for minimizing complications. For instance, the internal jugular vein’s location can vary considerably depending on patient build and underlying anatomy. A shorter, more laterally positioned vein can make cannulation more challenging and increase the risk of pneumothorax (collapsed lung). Similarly, the subclavian vein’s relationship to the brachiocephalic artery and pleura is highly variable. A high or low-lying subclavian vein can lead to accidental arterial puncture or lung injury. Furthermore, variations in bony landmarks, such as the clavicle and the sternocleidomastoid muscle, can make landmark-based approaches less reliable. Thoracic inlet anatomy, including the presence of anomalous vessels, can also pose challenges. Finally, variations in patient size and body habitus affect the approach and technique needed, making precise understanding of anatomy crucial before initiating the procedure. Pre-procedural ultrasound guidance helps mitigate many of these risks by visualizing the target vessels and surrounding structures.
Q 23. What is the purpose of using a guidewire during central line insertion?
A guidewire is essential during central line insertion for several reasons. Primarily, it serves as a pathway for the catheter over which the dilator and then the central venous catheter are advanced. This reduces the risk of vessel perforation and trauma, especially in tortuous or narrow veins. The guidewire’s flexibility allows it to navigate through complex vessel anatomy, providing a safer route for the catheter. Furthermore, the guidewire facilitates the precise placement of the catheter tip in the desired location within the central venous system (typically the superior vena cava). After the guidewire is in place and its position is confirmed, a dilator is advanced over the guidewire to create a pathway for the catheter. Subsequently, the catheter is introduced over the guidewire. This ensures smooth and controlled catheter placement, minimizing the risk of complications. Without a guidewire, direct catheter insertion would be far more likely to result in vascular injury, hematoma formation, or even perforation.
Q 24. How do you verify the position of a central line using chest x-ray?
Chest X-ray verification is paramount after central line insertion to confirm the catheter’s position and rule out complications. The radiograph should show the catheter tip residing in the superior vena cava, ideally just above the right atrium, and clearly away from the lung parenchyma and other vital structures. We look for the following:
- Catheter tip location: The ideal position is in the superior vena cava, below the clavicle, and at least 1-2 cm from the cavoatrial junction. Placement in the right atrium or pulmonary artery is a serious complication requiring immediate action.
- Catheter trajectory: The path of the catheter should be smooth and straight. A kinked or coiled catheter suggests potential problems.
- Pneumothorax: We meticulously assess the lung fields for any evidence of pneumothorax (collapsed lung), manifested as a pleural line or increased lucency.
- Hemothorax: We look for any evidence of blood in the pleural space, suggestive of bleeding.
- Catheter length: We compare the visible length of the catheter on the X-ray to the pre-measured length before insertion to ensure the whole catheter is in the appropriate position.
Q 25. Describe your experience with different types of central line insertion kits.
My experience encompasses various central line insertion kits, each with its own advantages and disadvantages. I’ve used kits with different catheter materials (e.g., polyurethane, silicone), lumens (single, double, triple), and introducer sheaths. Some kits incorporate features like antimicrobial coatings or pre-attached connectors. Kits designed for specific veins (e.g., internal jugular, subclavian) differ in their needle design and guidewire properties to better accommodate the vein’s anatomy. For example, kits for internal jugular access may utilize a more shallow angle insertion needle. Subclavian kits may require more robust guidewires to navigate potential anatomical challenges. Selecting the appropriate kit depends on the chosen vein, the patient’s anatomy, and the clinical needs. The ease of use and the safety features provided by the kit are also considerations. In my practice, a smooth insertion with minimal trauma is prioritized, which depends on proper kit selection and technique.
Q 26. What are the limitations of using the external jugular vein for central line placement?
While the external jugular vein is accessible, it has limitations for central line placement. Its smaller diameter compared to other central veins (internal jugular, subclavian) makes catheter insertion more challenging and increases the risk of thrombosis (blood clot formation). The superficial location increases the risk of infection, and the vein’s mobility during insertion can make precise catheter placement difficult. Furthermore, the external jugular vein’s relatively short course limits the depth of catheter advancement and may not allow the catheter tip to reside in the ideal location in the superior vena cava. Its proximity to the skin can cause discomfort and increase the risk of dislodgement and bleeding. Therefore, it’s often not the preferred site unless other access points are unavailable, making it a less commonly used insertion point compared to internal jugular or subclavian approaches.
Q 27. What are some strategies for reducing patient discomfort during central line placement?
Reducing patient discomfort during central line placement involves a multi-faceted approach. Pre-procedure analgesia and anxiety reduction using appropriate medications are crucial. The use of topical anesthetic creams applied to the skin prior to the procedure significantly reduces pain during the insertion. Applying a sterile drape in a slow, mindful manner to avoid skin irritation is critical. Employing proper sterile technique and minimizing the number of needle sticks reduces trauma and discomfort. Throughout the procedure, continuous verbal reassurance and clear explanation of the steps help build trust and alleviate anxiety. Post-procedure analgesics manage any residual pain. Gentle handling of the tissues and precise technique minimize complications and hence discomfort. A calm and reassuring bedside manner can significantly reduce a patient’s perceived pain and anxiety. Maintaining patient comfort and minimizing discomfort is not just about technique, but also empathy and communication.
Q 28. How do you document the central line placement procedure?
Documentation of the central line placement procedure is thorough and meticulous. It includes the following:
- Patient identification: Confirming patient name, medical record number, and date of birth.
- Indications for central line placement: Clearly stating the medical reasons for the procedure.
- Site selection: Specifying the chosen vein (e.g., right internal jugular).
- Procedure details: Describing the technique used (e.g., Seldinger technique), including the type of catheter and kit used.
- Complications encountered: Documenting any difficulties during the procedure or any adverse events (e.g., bleeding, pneumothorax).
- Post-procedure assessment: Recording the patient’s vital signs and the catheter’s position and functionality (flushing, blood return).
- Radiographic findings: Describing the results of the post-procedure chest X-ray, including the catheter tip location.
- Dressing details: Recording the type of dressing applied and any specific instructions given to the patient.
- Physician signature and timestamp: Providing an accurate record of the procedure’s execution.
Key Topics to Learn for Central Line Placement Interview
- Anatomy and Physiology of Central Venous Access: Understand the vascular anatomy relevant to central line insertion, including potential complications related to vessel selection and placement.
- Insertion Techniques: Master the various techniques for central line placement (e.g., Seldinger technique), including the steps involved, appropriate equipment, and sterile procedures. Be prepared to discuss the advantages and disadvantages of each technique.
- Complications and Management: Thoroughly understand potential complications such as pneumothorax, arterial puncture, hematoma, infection, and thrombosis. Know how to recognize, prevent, and manage these complications.
- Catheter Selection and Care: Discuss the different types of central venous catheters (e.g., PICC lines, tunneled catheters) and their appropriate applications. Explain proper catheter maintenance and care to minimize infection risk.
- Radiographic Interpretation: Be prepared to interpret chest x-rays to confirm catheter placement and identify any potential complications.
- Patient Assessment and Monitoring: Explain the importance of pre-procedure patient assessment, including identifying contraindications. Discuss post-procedure monitoring techniques to ensure patient safety and catheter function.
- Infection Control and Prevention: Detail best practices for infection prevention and control during central line placement and maintenance. Discuss relevant guidelines and protocols.
- Legal and Ethical Considerations: Understand the legal and ethical implications surrounding central line placement, including informed consent and patient autonomy.
Next Steps
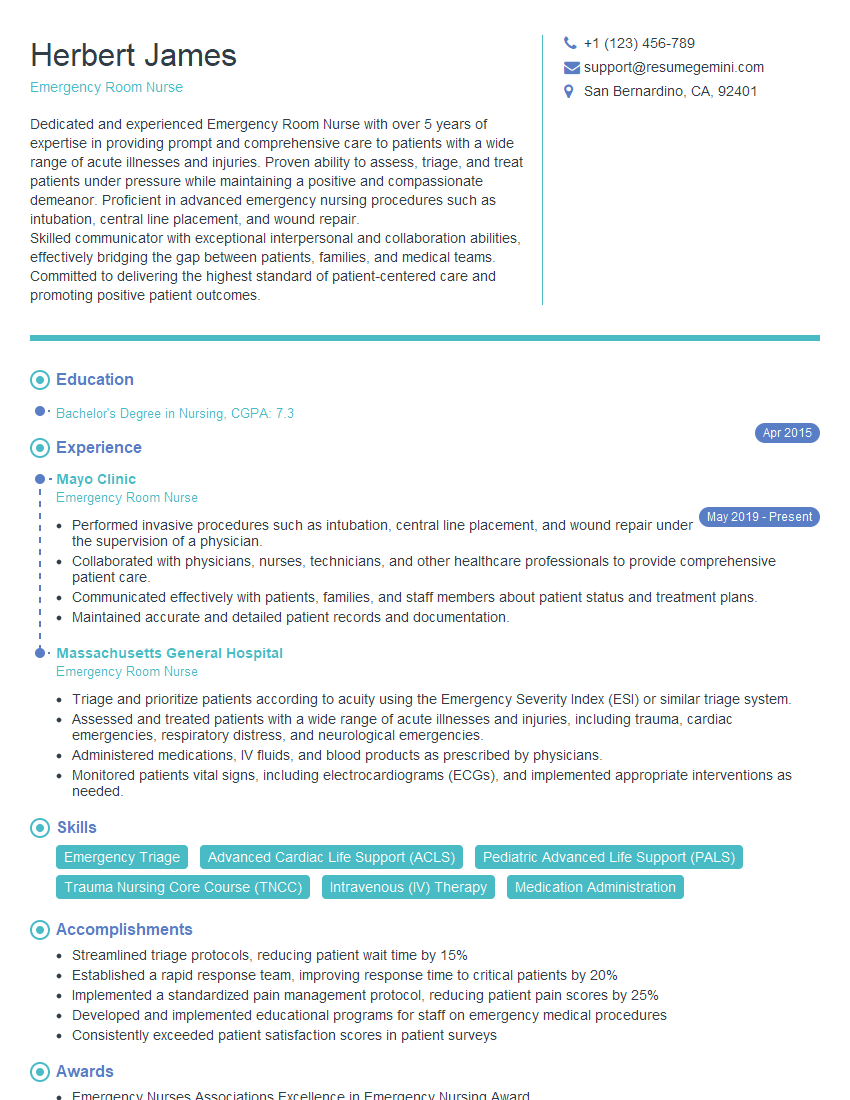
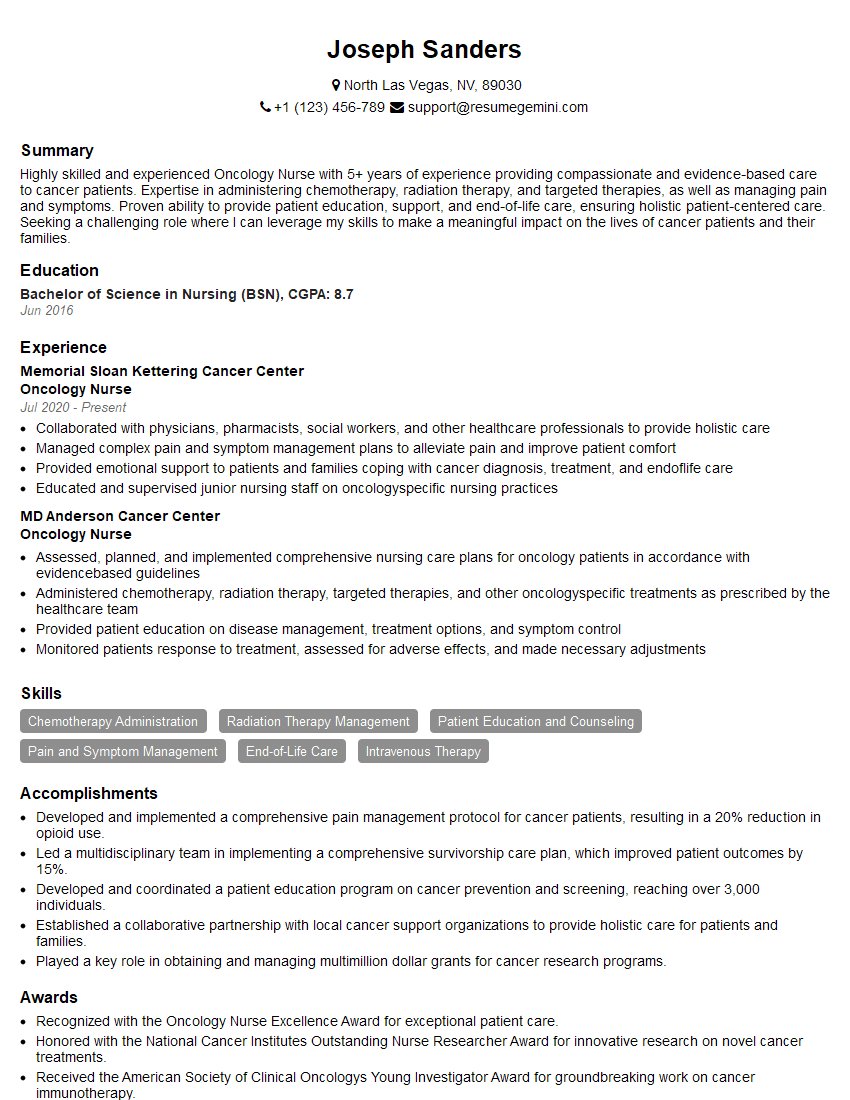
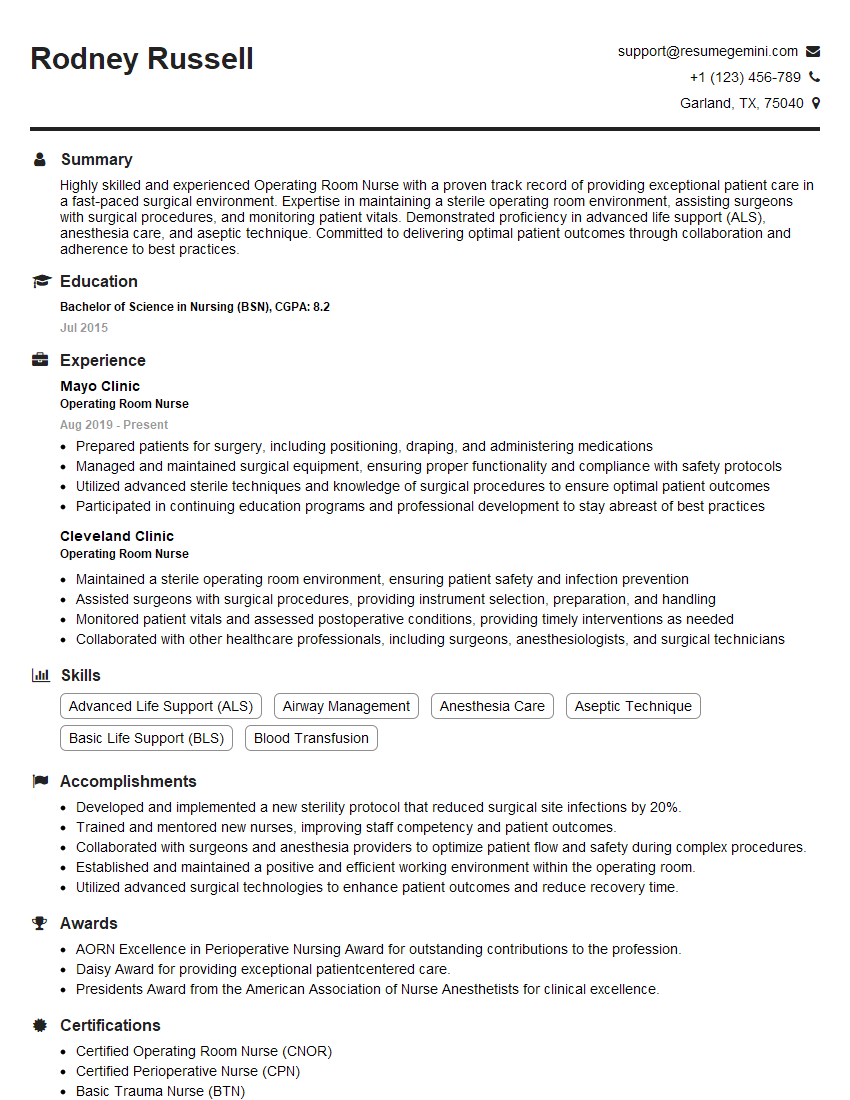
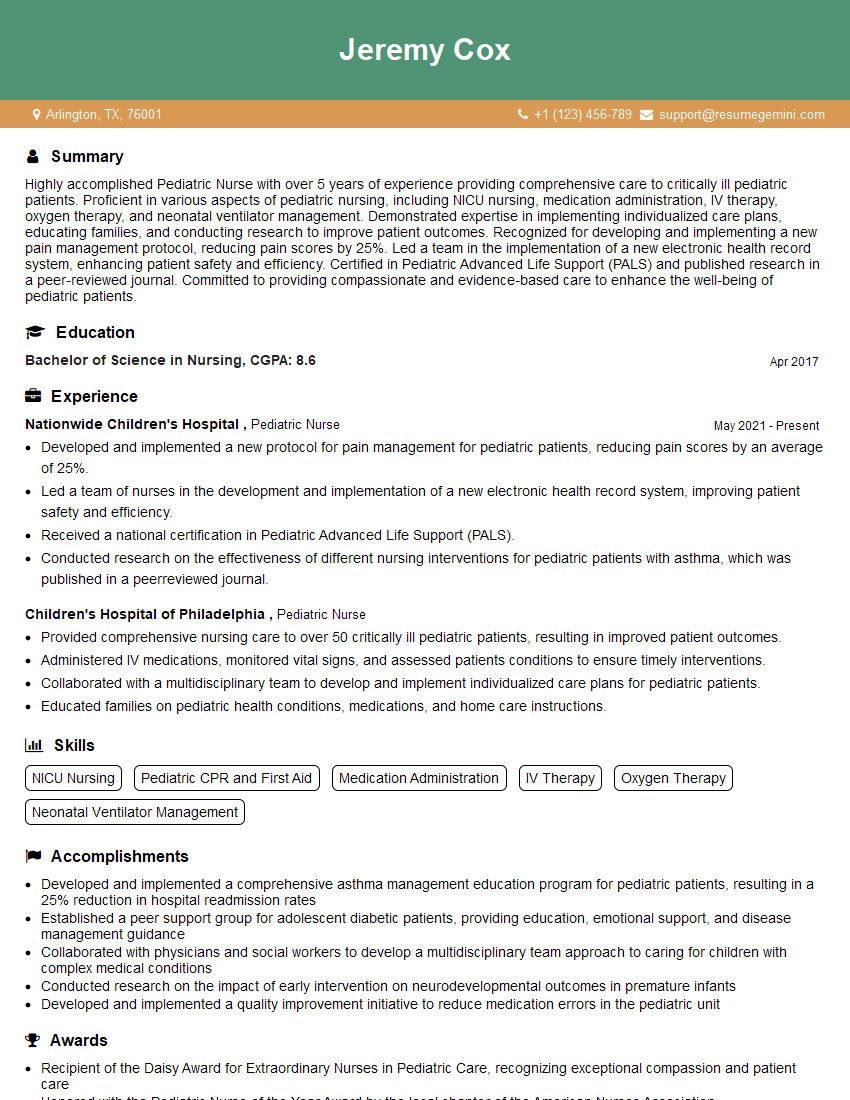
Mastering central line placement techniques is crucial for career advancement in many healthcare settings, demonstrating advanced skills and a commitment to patient safety. A strong resume is your first impression – make it count! Creating an ATS-friendly resume significantly increases your chances of getting noticed by recruiters. ResumeGemini is a trusted resource that can help you build a professional and effective resume tailored to highlight your expertise in central line placement. Examples of resumes tailored to this specialization are available to further guide your preparation.
Explore more articles
Users Rating of Our Blogs
Share Your Experience
We value your feedback! Please rate our content and share your thoughts (optional).
What Readers Say About Our Blog
Hello,
We found issues with your domain’s email setup that may be sending your messages to spam or blocking them completely. InboxShield Mini shows you how to fix it in minutes — no tech skills required.
Scan your domain now for details: https://inboxshield-mini.com/
— Adam @ InboxShield Mini
Reply STOP to unsubscribe
Hi, are you owner of interviewgemini.com? What if I told you I could help you find extra time in your schedule, reconnect with leads you didn’t even realize you missed, and bring in more “I want to work with you” conversations, without increasing your ad spend or hiring a full-time employee?
All with a flexible, budget-friendly service that could easily pay for itself. Sounds good?
Would it be nice to jump on a quick 10-minute call so I can show you exactly how we make this work?
Best,
Hapei
Marketing Director
Hey, I know you’re the owner of interviewgemini.com. I’ll be quick.
Fundraising for your business is tough and time-consuming. We make it easier by guaranteeing two private investor meetings each month, for six months. No demos, no pitch events – just direct introductions to active investors matched to your startup.
If youR17;re raising, this could help you build real momentum. Want me to send more info?
Hi, I represent an SEO company that specialises in getting you AI citations and higher rankings on Google. I’d like to offer you a 100% free SEO audit for your website. Would you be interested?
Hi, I represent an SEO company that specialises in getting you AI citations and higher rankings on Google. I’d like to offer you a 100% free SEO audit for your website. Would you be interested?
good
