Interviews are opportunities to demonstrate your expertise, and this guide is here to help you shine. Explore the essential Chalk Line Use interview questions that employers frequently ask, paired with strategies for crafting responses that set you apart from the competition.
Questions Asked in Chalk Line Use Interview
Q 1. What are the different types of chalk lines available?
Chalk lines come in a variety of types, primarily differentiated by their refill mechanism and the type of chalk they use. The most common are:
- Refillable Chalk Lines: These are the workhorses of the industry. They consist of a durable metal or plastic casing containing a reel of string coated in chalk. You can refill these with various chalk types as needed, extending their lifespan significantly. This is the most versatile and economical option for frequent use.
- Disposable Chalk Lines: These are pre-filled and less expensive, but once the chalk is gone, you dispose of the entire unit. They’re convenient for small projects or infrequent use.
- Self-Inking Chalk Lines: These offer a convenient, mess-free alternative. The chalk is contained within the line itself, eliminating the need for separate chalk refills. However, they can be more expensive and may not be as durable.
- Professional Grade Chalk Lines: These lines often feature stronger casings, higher quality string, and better chalk formulations, resulting in crisper lines and longer durability. They’re preferred for demanding professional jobs.
The choice depends on the scale of your project and your budget. For occasional DIY projects, a disposable chalk line might suffice. However, for frequent use or large projects, a refillable chalk line is a much more cost-effective and durable investment.
Q 2. Explain the process of snapping a chalk line accurately.
Snapping a crisp, accurate chalk line involves precision and a bit of technique. Here’s a step-by-step guide:
- Prepare the Line: Ensure the chalk line is fully wound and the chalk reservoir is full (if refillable). Gently pull out about 6-12 feet of line, depending on the distance you need to mark.
- Position the Line: Place the line at your desired starting point, firmly holding one end. Have a partner hold the other end at the desired finishing point, ensuring the line is taut and lies in a straight path between the two points. If working alone, use stakes or clamps to secure one or both ends.
- Ensure Tension: This step is crucial. Hold the line taut, pulling it with even tension throughout its length. Too little tension results in a faint, blurry line; too much can cause the line to snap or break.
- The Snap: Grasp the line firmly about 6-12 inches from one end, leaving a small loop. Using a quick, decisive motion, snap the line away from you toward the ground. The speed and force of the snap is crucial for a precise line.
- Inspect the Line: Check the line for clarity and accuracy. If it’s not sharp or straight enough, repeat the process.
Practice makes perfect! With experience, you’ll develop a feel for the ideal tension and snapping technique.
Q 3. How do you ensure a straight chalk line over long distances?
For long distances, snapping a perfectly straight chalk line requires careful planning and potentially some assistance. Here are some strategies:
- Use a Laser Level or Transit: These tools project a laser beam to precisely establish a straight line across significant distances. This creates the reference line, and you can then snap your chalk line closely following this laser line.
- Establish Intermediate Points: If tools like a laser level aren’t available, you can use intermediate points. Place stakes or markers at evenly spaced intervals along the desired line. Use a string line or measuring tape to ensure these points form a straight line. This will work well for lines up to around 30 feet before becoming error-prone. Once you have accurate points, snap a chalk line between each set of points.
- Work with a Partner: With a helper, one person can hold one end of the line and guide the positioning of the other, ensuring a straight line.
Remember, even with these techniques, minor deviations are possible over extremely long distances due to factors like ground undulation and string elasticity. Regular checks throughout the process help to minimize error accumulation.
Q 4. What are the best practices for maintaining a chalk line?
Proper maintenance prolongs the life of your chalk line and ensures accurate markings.
- Keep it Clean: After each use, brush off excess chalk dust and dirt from the line and the casing. A small brush or compressed air works well for this.
- Store it Properly: Keep the chalk line in a dry, cool place, away from extreme temperatures and moisture to prevent chalk from hardening or the line from warping or degrading.
- Regularly Inspect: Check for fraying or damage to the line itself and replace it if necessary. A damaged line will result in inaccurate, uneven markings.
- Refill as Needed: If using a refillable chalk line, replace the chalk before it runs out. The line will work better, and this prevents the risk of the line becoming stiff or gumming up.
- Protect the Casing: Keep the casing clean and prevent it from being damaged to extend the life of the entire tool.
Simple maintenance can save you the cost of replacing a chalk line prematurely. Investing a few moments after each use goes a long way towards ensuring your line’s optimal performance.
Q 5. How do you adjust chalk line tension for different materials?
Chalk line tension should be adjusted based on the material you’re working with and the length of the line.
- Hard surfaces (concrete, wood): Require slightly higher tension to create a sharp line. However, excessive tension is not necessary and could damage the line or lead to inaccurate snapping.
- Softer surfaces (dirt, sand): Need less tension to prevent the line from sinking into the material and creating a blurred or uneven line.
- Long distances: Need slightly more tension, especially if using thinner lines, to keep them straight and prevent sagging.
The best way to learn to adjust tension is through practice and experimentation. Begin with a moderate tension and adjust accordingly as needed. You’ll get a feel for the optimal amount of tension needed based on your materials and experience.
Q 6. Describe different techniques for snapping curved chalk lines.
Snapping curved lines requires more finesse than straight lines. Here are a few techniques:
- Freehand Snapping (for gentle curves): With practice, you can snap gentle curves freehand. This method is best for smaller, less precise curves.
- Using Templates/Guides: Create a template out of a flexible material, like a thin strip of wood or metal, to form the curve. Hold the template in place while snapping the chalk line along its edge.
- Multiple Snaps (for complex curves): Break down complex curves into smaller, manageable segments. Snap straight lines between strategically placed points along the curve. This results in a series of short straight lines that approximates the desired curve.
- Using a Flexible Line: Some chalk lines use a more flexible string that is easier to bend and snap into curved shapes, though it might not produce as crisp of a line compared to a more rigid string.
For complex curves, using a combination of techniques will likely yield the best results. The key is to plan your approach and take your time to create the desired shape.
Q 7. How do you handle snapping chalk lines on uneven surfaces?
Uneven surfaces pose a challenge for snapping straight chalk lines. Here are some ways to address this:
- Adjust Tension and Technique: Lower tension on uneven surfaces to prevent the chalk line from getting caught on bumps or dips. Use a smoother, more controlled snap.
- Use Intermediate Points: As mentioned before, for both straight and curved lines across uneven surfaces, create intermediate points along the line to help guide the chalk line. This may require using stakes, clamps, or weights to hold the line in place at strategic points before snapping.
- Leveling the Surface (When Possible): For smaller areas, you might be able to temporarily level the surface with sand, dirt, or other suitable material to create a smoother surface to snap your line on.
- Utilize a Flexible Line: A more flexible chalk line can better conform to uneven surfaces but might give a less precise line.
The goal is to find a balance between accuracy and practicality. Sometimes, minor imperfections are inevitable when working with uneven surfaces. Focus on creating a reasonably accurate line that meets the needs of your project.
Q 8. What safety precautions should be followed when using a chalk line?
Safety is paramount when using a chalk line. Think of it like handling any tool – a little precaution goes a long way. The primary concern is avoiding slips and falls. Always ensure the area is clear of obstructions and well-lit.
- Wear appropriate footwear: Avoid open-toed shoes or sandals to protect your feet from potential slips or accidental stepping on the line.
- Maintain a firm grip: Avoid jerking or sudden movements that could cause the line to snap or slip from your hand.
- Be mindful of others: If working near others, warn them before snapping the line to avoid startling them or causing injury.
- Use caution on uneven surfaces: Uneven ground increases the risk of tripping. Take extra care to maintain balance.
- Proper disposal of chalk dust: Chalk dust can be irritating to the lungs and skin. Ensure adequate ventilation and avoid inhaling dust by using a mask or working in a well-ventilated area. Clean up any excess chalk after use.
Q 9. How do you clean and store a chalk line properly?
Cleaning and storing your chalk line properly extends its lifespan and maintains its accuracy. Think of it like caring for a fine instrument; proper maintenance is key to its long-term performance.
- Cleaning: After each use, wipe down the reel and line with a damp cloth to remove excess chalk dust. For stubborn residue, a slightly damp cloth with mild soap can be used. Allow it to dry completely before storage.
- Storage: Store the chalk line in a dry, cool place away from direct sunlight or extreme temperatures. Keep it in its case or wrap it to avoid tangling. Ensure the line is fully rewound to prevent damage.
Remember, a clean and well-stored chalk line will be ready for use whenever you need it, saving you time and frustration on the job.
Q 10. What are the limitations of using a chalk line?
While chalk lines are incredibly versatile, they do have limitations. It’s important to understand their constraints before relying on them for every marking task.
- Erasability: Chalk lines are easily erased by rain, wind, or even foot traffic, making them unsuitable for long-term outdoor markings.
- Surface Suitability: Chalk lines work best on rough surfaces that have some texture to grab onto. Smooth, polished surfaces may not hold the line well.
- Accuracy: While generally accurate for many purposes, they lack the precision of laser levels or other sophisticated measuring tools.
- Visibility: Chalk line visibility depends on the type of chalk and the surface. Lines might be difficult to see in low light or on dark surfaces.
Recognizing these limitations helps you choose the right tool for the job and avoid frustration.
Q 11. When would you choose to use a chalk line over other marking tools?
Choosing between a chalk line and other marking tools depends on the task at hand. A chalk line excels in situations where speed, simplicity, and a temporary mark are required.
- Quick layout of large areas: For quickly marking out the foundation of a building or laying out a garden bed, nothing beats the speed and ease of a chalk line.
- Straight lines over long distances: Transferring long straight lines is simple and quick with a chalk line.
- Rough, textured surfaces: Chalk lines adhere well to uneven surfaces where other marking methods may struggle.
- Cost-effectiveness: Chalk lines are significantly cheaper than laser levels or other sophisticated marking tools.
However, for intricate detail work, or precise measurements, a different tool would be more appropriate. It’s about choosing the best tool for the task.
Q 12. How does the type of chalk affect the line’s visibility and durability?
The type of chalk significantly impacts the line’s visibility and durability. Just as different paints offer varying qualities, so do different types of chalk.
- Durability: High-quality chalk often produces bolder, more durable lines resistant to minor abrasion. Lower-quality chalk can fade quickly or be easily smudged.
- Visibility: Brightly colored chalks like red or blue generally offer better visibility on various surfaces compared to paler chalks. The surface material also plays a role; a chalk line on dark asphalt will be much more visible than on light concrete.
- Environmental Factors: Chalk lines are susceptible to weather. High-quality chalk may offer slightly better water resistance, but ultimately all chalk lines are temporary.
Experiment with different chalk types to find what works best for your specific needs and environment.
Q 13. How can you create a perfectly perpendicular line using a chalk line?
Creating a perfectly perpendicular line with a chalk line requires a bit of geometry and technique. Think of it like drawing a right angle using the Pythagorean theorem – only simpler.
- Use the 3-4-5 Method: This classic method utilizes the Pythagorean theorem (3² + 4² = 5²). Measure 3 units along one line, and 4 units along a perpendicular line using your tape measure. Then, measure the distance between those two points. If it’s 5 units, the angle is perfectly 90 degrees. If not, adjust until you get 5 units.
- Snap the Line: Once you have the points aligned, use your chalk line to snap a line connecting them, creating your perfectly perpendicular line.
- Square: Using a framing square is another reliable method for ensuring accuracy. Aligning the square’s right angle with your existing line, mark the perpendicular line with a pencil before snapping your chalk line.
Practice these techniques to achieve consistent and accurate 90-degree angles every time.
Q 14. How do you transfer measurements accurately using a chalk line?
Accurately transferring measurements using a chalk line involves precision and attention to detail. Imagine transferring a blueprint onto a floor; accuracy is crucial.
- Mark your starting point: Carefully mark the starting point for your measurement on the surface using a pencil or marking pen.
- Measure and mark: Using a measuring tape, accurately measure the required distance from your starting point and mark the endpoint with a pencil.
- Position the Chalk Line: Stretch the chalk line tautly, aligning it precisely between the two marked points. Ensure the line is straight and free of any kinks or sags.
- Snap the Line: Using a firm, smooth snap, create a clear, defined chalk line. Multiple snaps may be needed for highly visible lines.
- Verify Measurement: After snapping the line, double-check the measurement to confirm its accuracy.
Consistent accuracy in this process is essential for accurate construction and layout work.
Q 15. Describe how to create parallel lines using a chalk line.
Creating parallel lines with a chalk line relies on consistent distance maintenance. Imagine you’re drawing train tracks – they need to be perfectly spaced apart. There are two primary methods:
Using a Measuring Tape and Chalk Line: First, snap your initial chalk line. Then, measure the desired distance from that line using a tape measure. Mark this distance at multiple points along the initial line. Next, using these points as guides, snap the parallel line, ensuring the chalk line’s snap point is consistently aligned with each of your measured points. This ensures parallelism.
Using Two Chalk Lines and a Spacer: This is ideal for repetitive parallel lines. Snap the first line. Then, position a spacer (a precisely measured piece of wood, metal, or even a sturdy rope) along that line. The spacer’s edge will act as your guide for the subsequent parallel line. Keeping the spacer’s edge snug against the first line, snap the second line. Repeat for multiple parallel lines.
Consistent measurement and careful placement are key to creating perfectly parallel lines. In practice, I always double-check my measurements and make sure the chalk line is taut to avoid inaccuracies.
Career Expert Tips:
- Ace those interviews! Prepare effectively by reviewing the Top 50 Most Common Interview Questions on ResumeGemini.
- Navigate your job search with confidence! Explore a wide range of Career Tips on ResumeGemini. Learn about common challenges and recommendations to overcome them.
- Craft the perfect resume! Master the Art of Resume Writing with ResumeGemini’s guide. Showcase your unique qualifications and achievements effectively.
- Don’t miss out on holiday savings! Build your dream resume with ResumeGemini’s ATS optimized templates.
Q 16. How do you troubleshoot a chalk line that is not producing a clean line?
A chalk line failing to produce a clean line is usually due to one of several factors. Think of it like a pen running out of ink – you need to address the source of the problem.
Chalk Refills: The most common issue is a lack of chalk in the refill. Simply replace the refill with a fresh one. Make sure the chalk is properly seated and the mechanism isn’t jammed.
Chalk Line Tension: A poorly tensioned line will create a faint or broken line. Ensure the line is taut before snapping. Practice creates a good sense of the right amount of tension needed.
Line Condition: Over time, the chalk line can get damaged or frayed. Inspect the line for any fraying or damage. If necessary, replace the entire line.
Surface Condition: A porous or excessively rough surface might absorb the chalk before a clear line is formed. Try a different surface or use a slightly wetter chalk line.
Troubleshooting is a process of elimination. Start with the simplest solution (refilling the chalk) and work your way through the possibilities. Experience teaches you to quickly identify the typical causes.
Q 17. What are the common problems encountered when using a chalk line?
Common problems go beyond just a faint line. These issues can derail even experienced contractors.
Inconsistent Line Thickness: This could be from uneven chalk distribution, insufficient tension, or even variations in surface texture.
Snapping Issues: The mechanism might jam or fail to release the line effectively, leading to broken or incomplete lines. This often requires cleaning or replacing parts.
Chalk Line Breakage: Overuse, improper handling, or encountering sharp objects will cause the line to snap. Replacing the entire chalk line is usually necessary.
Environmental Factors: High winds or humidity can significantly affect accuracy. The chalk might not adhere well to a damp surface.
Careful selection of quality tools, along with regular maintenance, can help minimize these problems. On a recent project, a faulty chalk line almost cost us extra time and materials because we couldn’t accurately mark the foundation for a new wall. This reinforced my belief in preventive maintenance.
Q 18. How do you address challenges like wind or moisture affecting chalk line accuracy?
Wind and moisture are significant challenges in outdoor construction. Think of it like trying to write with a pen in a hurricane! Here’s how we mitigate the impact:
Wind: A strong wind can deflect the chalk line, causing inaccuracies. Work on calmer days whenever possible. If that’s not an option, find windbreaks (like tarps) or work with a partner to help hold the line steady.
Moisture: Damp surfaces prevent the chalk from adhering properly. Allow surfaces to dry before snapping lines. In extreme cases, a small amount of chalk dust can be applied first to improve adherence.
Proper planning and adaptation are crucial. Sometimes, delaying work until conditions improve is the most efficient strategy.
Q 19. What is the importance of precise chalk line usage in construction?
Precise chalk line usage is paramount in construction because it forms the foundation for accurate measurements and layout. It’s the first step in creating anything from a straight wall to a complex architectural design. Imagine building a house with crooked walls—a disaster waiting to happen!
Accurate chalk lines ensure that subsequent construction phases align perfectly, avoiding costly errors and rework. The initial lines dictate the positioning of everything from studs and joists to tiles and flooring. It is a cornerstone of consistent and efficient work.
Q 20. Explain the relationship between chalk line use and project accuracy.
The relationship is direct and proportional. The accuracy of your chalk lines directly translates to the overall project accuracy. A single inaccurate line can lead to a chain reaction of errors throughout the project, potentially requiring extensive rework. It’s like a domino effect; one inaccurate line can lead to many others.
By ensuring that our initial lines are precisely drawn, we establish a benchmark for the entire project. This reduces errors and material waste, thereby saving both time and money. This principle is fundamental to our workflow.
Q 21. How does your experience with chalk lines contribute to team efficiency?
My proficiency with chalk lines contributes significantly to team efficiency. A skilled chalk-liner can quickly and accurately mark out complex layouts, allowing other trades to proceed swiftly and confidently. It’s like a conductor leading an orchestra: the more accurate and efficient the conductor, the smoother the performance.
When I can consistently create accurate lines, the entire team avoids rework. This saves time, reduces conflict, and creates a smoother workflow. My goal isn’t just to draw a line; it’s to create a stable foundation for a team to collaborate and perform at its best.
Q 22. How do you ensure the accuracy of your chalk lines in diverse weather conditions?
Maintaining chalk line accuracy in diverse weather conditions is crucial for precise work. Extreme heat can cause the chalk to dry too quickly, resulting in a faint or broken line. High humidity can make the chalk clump and smear. Rain, obviously, washes it away completely. To combat these challenges, I adapt my technique based on the weather.
- Hot and Dry Conditions: I use a slightly wetter chalk line, applying a slower, more deliberate snap to prevent the chalk from drying too fast. I might also work in shaded areas to slow down the drying process.
- High Humidity: I use a chalk with a higher pigment concentration to ensure a bolder, more visible line. I also make sure the chalk line is thoroughly dry before using it, to prevent smearing.
- Rain: This requires careful planning. If rain is imminent, I’ll prioritize tasks that don’t rely on chalk lines. If that’s not possible, I consider using waterproof marking tools as a backup, or work under a sheltered area.
- Cold Temperatures: Cold weather can make the chalk brittle and difficult to dispense. I’ll keep the chalk reel indoors to prevent freezing, or consider using a chalk line with a built-in warming feature (if available).
Regularly checking the line’s visibility and reapplying it when necessary is key to maintaining precision in any weather.
Q 23. Describe a situation where your skill in using a chalk line was critical to a project’s success.
During a large-scale tile installation, accurate chalk lines were absolutely vital. The project involved laying thousands of tiles on a slightly uneven concrete floor. A single misplaced line could have resulted in misaligned tiles and a significant amount of rework.
Using a combination of laser levels and carefully snapped chalk lines, I created a perfectly square grid across the entire floor area. I meticulously checked and double-checked each line, ensuring their alignment and straightness. My skill in quickly and precisely marking these lines allowed the tiling crew to work efficiently and accurately, leading to a flawless finished product completed on time and within budget. The project manager specifically commended the quality of the chalk lines, highlighting their critical role in the overall project’s success.
Q 24. How do you adapt your chalk line technique to different materials (e.g., wood, concrete, drywall)?
Adapting my chalk line technique to different materials requires understanding each material’s properties.
- Wood: Chalk lines work perfectly on smooth, unfinished wood. For rougher surfaces, I may need to lightly dampen the surface to ensure better chalk adhesion.
- Concrete: Concrete is more porous and often dusty. To get a clear line, I usually dampen the surface slightly (but not excessively) or use a high-pigment chalk.
- Drywall: Drywall is relatively smooth but delicate. I use a light touch when snapping the line to avoid damaging the surface. If necessary, I might use a pencil line as a guide before snapping the chalk.
The key is to adjust the pressure, moisture level, and chalk type to ensure the line is visible and adheres properly to the specific surface.
Q 25. Explain how you ensure proper line visibility in different lighting conditions.
Ensuring line visibility in varied lighting is critical. I use several strategies.
- Bright Sunlight: I use bright colored chalk, preferably a highly pigmented red or yellow, which are easily visible even in direct sunlight. Sometimes I might even use spray paint to create more permanent marks.
- Low Light Conditions: In dimly lit areas, I use fluorescent or phosphorescent chalk. These special chalks remain visible for extended periods even after the light source is removed. Using a LED headlamp might also be helpful for better visibility.
- Background Contrast: Always consider the background color when choosing chalk. Use contrasting colors for optimal visibility. For example, a dark colored chalk on light colored surface.
It’s also important to maintain the cleanliness of the chalk reel and ensure the chalk is fresh and free from clumps that might obscure the line.
Q 26. Describe your experience using various chalk line reels and their differences.
My experience includes using various chalk line reels, from basic hand-held models to more advanced, self-winding options.
- Basic Reels: These are inexpensive and sufficient for smaller projects. However, they lack features like automatic rewind and often have a shorter chalk capacity.
- Self-Winding Reels: These reels significantly improve efficiency. The automatic rewind mechanism saves time and reduces the manual effort involved in rewinding the line after each use. They also tend to hold more chalk.
- Heavy-Duty Reels: These are built for professional use and can withstand harsher conditions. They typically feature reinforced casings, durable lines, and larger chalk capacities, suited for large-scale projects.
The choice of reel depends heavily on the project’s scale and the frequency of use. For everyday use, a self-winding reel offers the best balance of efficiency and convenience.
Q 27. How do you ensure chalk line accuracy when working with multiple team members?
When working with a team, clear communication and established protocols are crucial to ensure chalk line accuracy.
- Clear Instructions: Before starting, I make sure everyone understands the layout, the measurements, and the intended location of each chalk line.
- Designated Roles: We may assign specific tasks to each team member, such as measuring, snapping lines, and checking alignment, to avoid confusion and maintain efficiency.
- Regular Check-Ins: We frequently verify the alignment of lines, ensuring everyone is working from the same reference points. This prevents errors from accumulating and necessitates less rework.
- Consistent Methodology: Everyone should use the same chalk type and snapping technique for uniform line thickness and consistency.
A collaborative approach that emphasizes communication and teamwork is essential for accurate and efficient chalk line use in a team environment.
Q 28. How familiar are you with different types of chalk line refills?
I’m very familiar with different types of chalk line refills.
- Standard Chalk: This is the most common type and is readily available. It usually comes in various colors and provides decent visibility.
- High-Pigment Chalk: This chalk contains a higher concentration of pigment, resulting in bolder and longer-lasting lines, especially beneficial on dark or rough surfaces.
- Waterproof Chalk: Designed for outdoor use or applications where the lines need to withstand moisture. The lines created using these refills remain visible even after getting wet.
- Fluorescent Chalk: Offers excellent visibility in low-light conditions. These are especially useful in dimly lit spaces or at night.
- Phosphorescent Chalk: These chalks glow in the dark, providing outstanding visibility even after the light source has been removed.
The selection of chalk depends on the specific project requirements and the environment in which it’s being used. It’s crucial to select the appropriate chalk to maximize line visibility and longevity.
Key Topics to Learn for Chalk Line Use Interview
- Understanding Chalk Line Properties: Explore different types of chalk lines, their composition, and how these factors influence their application and longevity in various environments.
- Precision and Accuracy in Marking: Master techniques for creating straight, accurate lines, including proper snapping techniques and handling different surfaces (wood, concrete, drywall, etc.). Understand the impact of environmental factors on line accuracy.
- Line Application Methods: Learn various methods for applying chalk lines effectively and efficiently, considering the project’s scale and the required line thickness. This includes hand-snapping, automated systems (if applicable), and maintaining line consistency.
- Safety Procedures and Precautions: Understand safety protocols associated with using chalk lines, including proper handling of tools, disposal of waste, and awareness of potential hazards.
- Troubleshooting Common Issues: Learn how to diagnose and solve problems such as inconsistent line thickness, line breakage, and chalk line malfunctions. Understand the importance of preventative maintenance.
- Environmental Considerations: Discuss how weather conditions, temperature, and surface types influence the application and durability of chalk lines. This includes understanding the use of specialized chalk lines for different conditions.
- Integration with Other Tools and Techniques: Explore how chalk line use complements other construction or design processes. This could include its relationship with measuring tools, levelers, or other marking instruments.
Next Steps
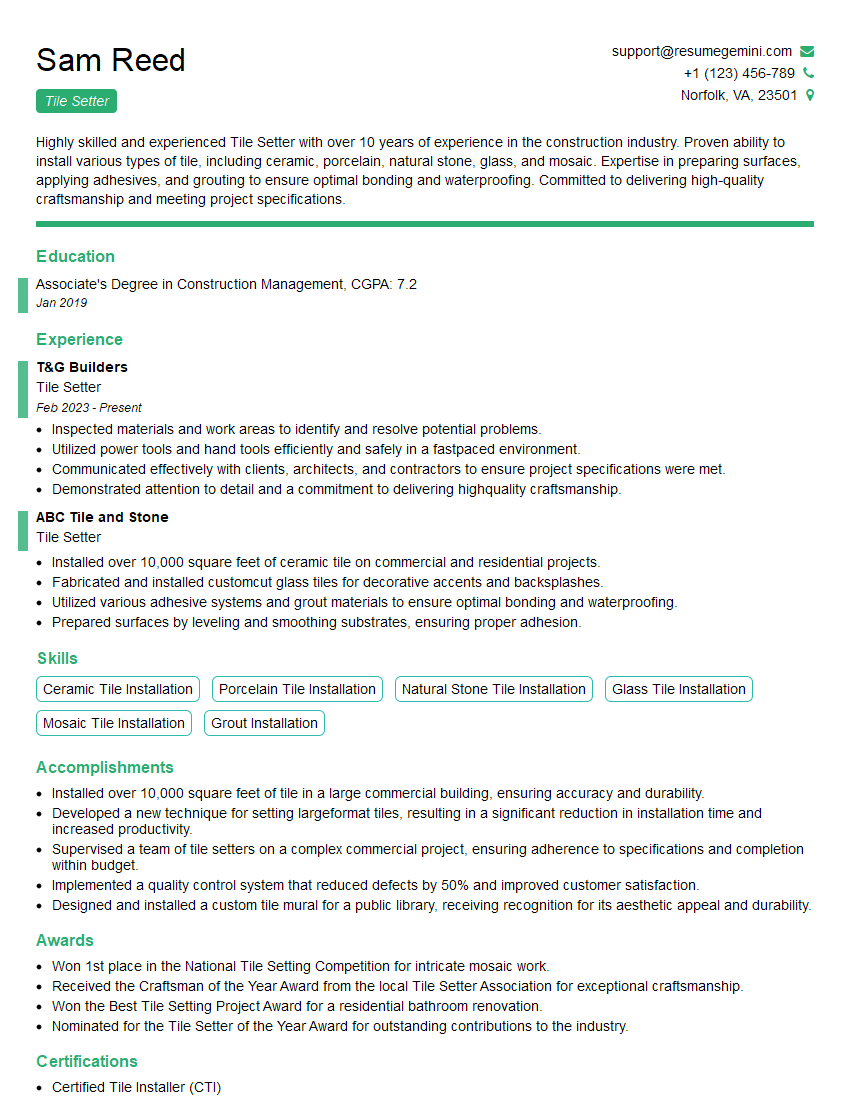
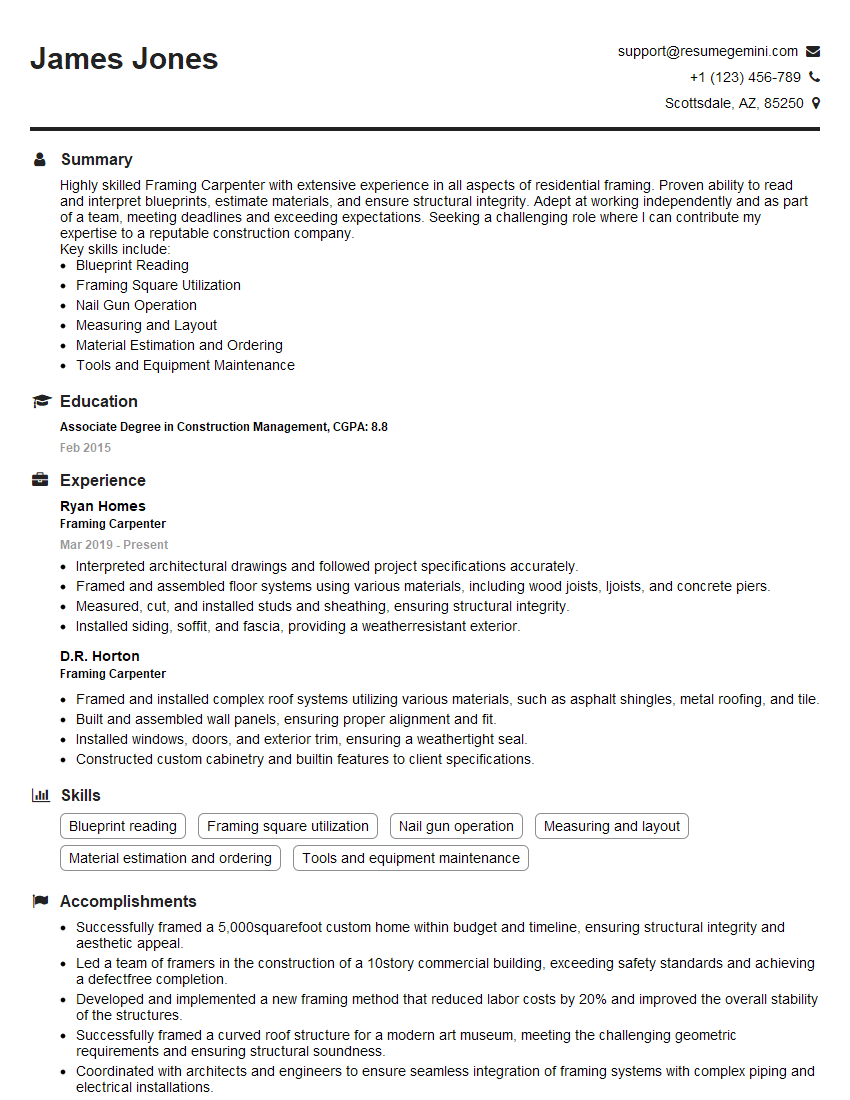
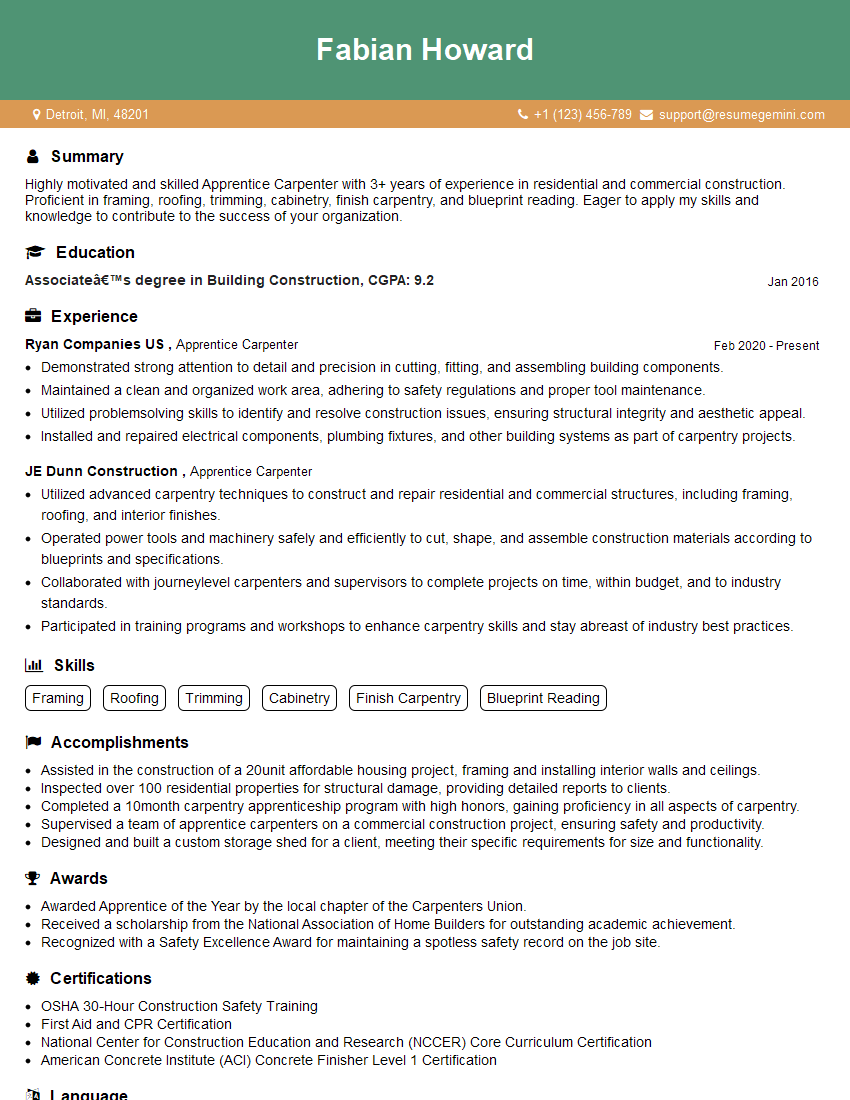
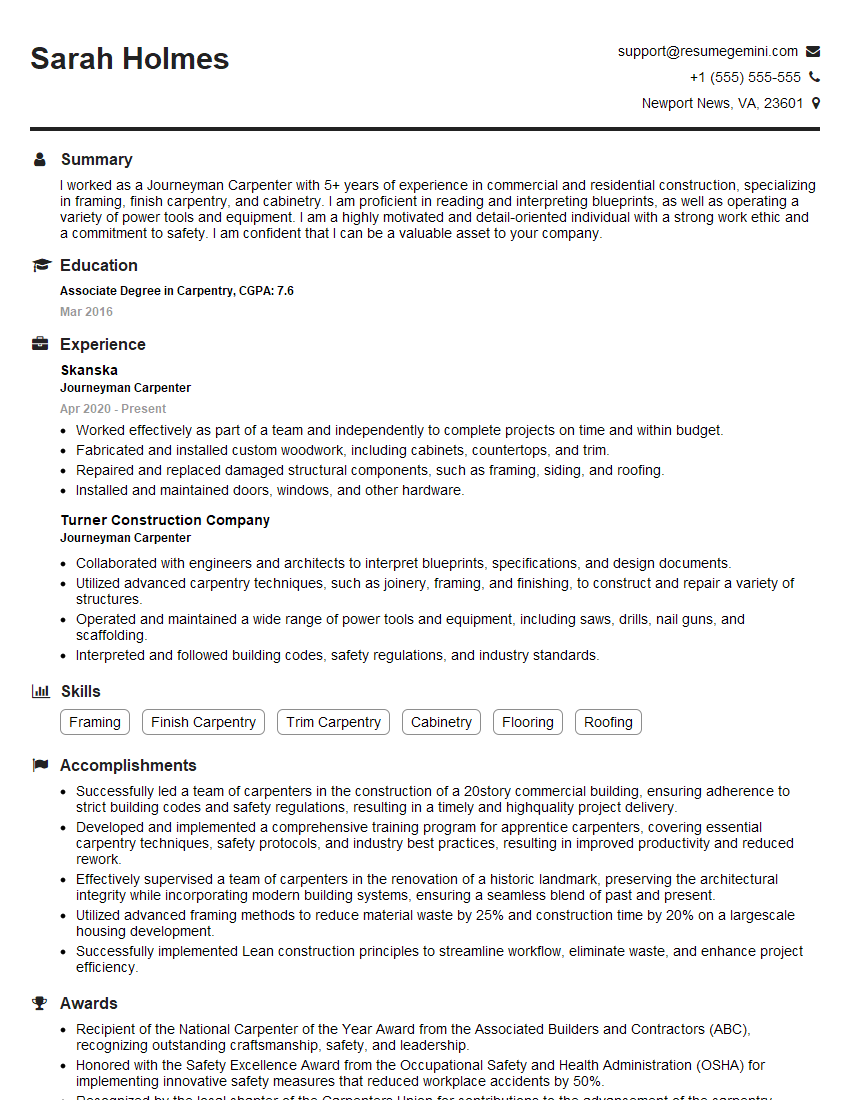
Mastering chalk line use is a fundamental skill that significantly enhances your value in various trades and industries. A strong understanding of its principles and practical applications demonstrates precision, attention to detail, and problem-solving abilities – qualities highly sought after by employers. To maximize your job prospects, create an ATS-friendly resume that highlights these skills effectively. ResumeGemini is a trusted resource to help you build a professional resume that showcases your abilities. Examples of resumes tailored to showcasing Chalk Line Use expertise are available to further guide your preparation.
Explore more articles
Users Rating of Our Blogs
Share Your Experience
We value your feedback! Please rate our content and share your thoughts (optional).
What Readers Say About Our Blog
Hello,
We found issues with your domain’s email setup that may be sending your messages to spam or blocking them completely. InboxShield Mini shows you how to fix it in minutes — no tech skills required.
Scan your domain now for details: https://inboxshield-mini.com/
— Adam @ InboxShield Mini
Reply STOP to unsubscribe
Hi, are you owner of interviewgemini.com? What if I told you I could help you find extra time in your schedule, reconnect with leads you didn’t even realize you missed, and bring in more “I want to work with you” conversations, without increasing your ad spend or hiring a full-time employee?
All with a flexible, budget-friendly service that could easily pay for itself. Sounds good?
Would it be nice to jump on a quick 10-minute call so I can show you exactly how we make this work?
Best,
Hapei
Marketing Director
Hey, I know you’re the owner of interviewgemini.com. I’ll be quick.
Fundraising for your business is tough and time-consuming. We make it easier by guaranteeing two private investor meetings each month, for six months. No demos, no pitch events – just direct introductions to active investors matched to your startup.
If youR17;re raising, this could help you build real momentum. Want me to send more info?
Hi, I represent an SEO company that specialises in getting you AI citations and higher rankings on Google. I’d like to offer you a 100% free SEO audit for your website. Would you be interested?
Hi, I represent an SEO company that specialises in getting you AI citations and higher rankings on Google. I’d like to offer you a 100% free SEO audit for your website. Would you be interested?
good
