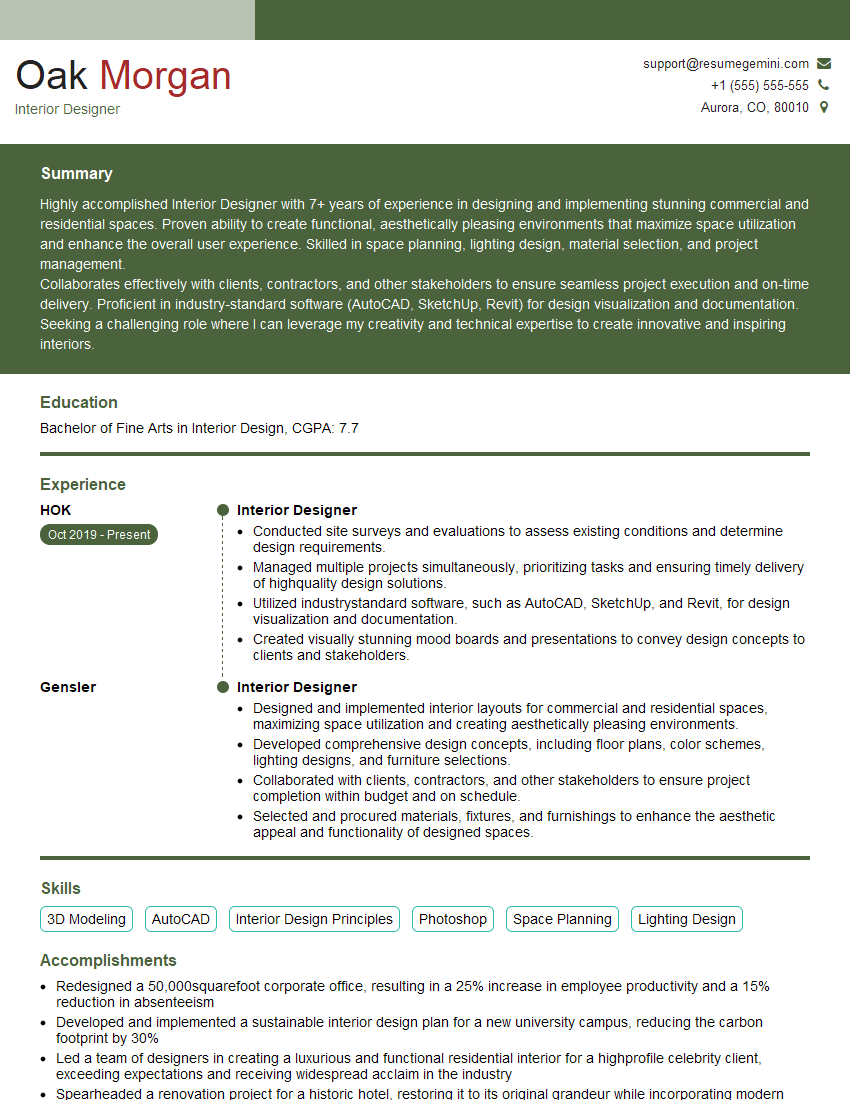
Interviews are opportunities to demonstrate your expertise, and this guide is here to help you shine. Explore the essential Design Drawing interview questions that employers frequently ask, paired with strategies for crafting responses that set you apart from the competition.
Questions Asked in Design Drawing Interview
Q 1. Explain your experience with various CAD software (AutoCAD, Revit, SketchUp, etc.).
My CAD software experience spans several leading platforms, each offering unique strengths for different design phases. I’m highly proficient in AutoCAD, primarily utilizing it for precise 2D drafting and detailed annotation. Its command-line interface and extensive libraries of blocks make it ideal for creating construction documents and detailed shop drawings. Revit, on the other hand, is my go-to for Building Information Modeling (BIM). Its parametric modeling capabilities allow for efficient design changes and collaborative workflows, crucial for large-scale projects. I’ve used Revit extensively for creating 3D models, generating construction documents, and coordinating various disciplines like structural, MEP, and architectural design. Finally, SketchUp’s intuitive interface makes it perfect for quick conceptualization and 3D visualization. I often use it for initial design exploration and client presentations, offering a user-friendly platform for exploring different design options before moving to more rigorous modeling in Revit or AutoCAD.
Q 2. Describe your proficiency in 2D and 3D modeling techniques.
My 2D and 3D modeling skills are deeply intertwined. In 2D, I excel at creating precise technical drawings using AutoCAD, ensuring dimensions, tolerances, and annotations are flawlessly executed. I employ various techniques, including orthographic projection, section drawings, and detailed components, to convey design intent clearly. In 3D, my proficiency in Revit and SketchUp allows me to build complex models, understanding the importance of accurate geometry and component relationships. I’m adept at creating both conceptual and detailed 3D models, leveraging features like parametric modeling in Revit to efficiently manage design iterations and ensure consistency. A recent project involved creating a detailed 3D model of a complex commercial building in Revit, incorporating structural, MEP, and architectural elements, then exporting 2D construction documents directly from the model, ensuring complete coordination. This integrated approach minimized errors and expedited the construction process.
Q 3. How do you ensure accuracy and precision in your drawings?
Accuracy and precision are paramount. I employ several strategies to ensure flawless drawings. First, I meticulously check all dimensions and tolerances against design specifications and relevant building codes. Second, I utilize CAD software’s built-in features like snap, grid, and object snaps to ensure precise alignment and placement of elements. Third, I regularly perform quality control checks, including visual inspections and dimensional analysis, to identify and correct any discrepancies. For complex projects, I employ model checking tools within Revit to detect clashes between different disciplines, ensuring a coordinated and constructible design. For instance, on a recent renovation project, the model checking feature identified a clash between the new ductwork and an existing structural beam. This early detection saved significant time and cost during construction.
Q 4. What are your preferred methods for creating detailed technical drawings?
My preferred method for detailed technical drawings begins with a clear understanding of the project’s requirements and the intended audience. I start with a conceptual 3D model (often in SketchUp) to explore design ideas. Then I move to a detailed 3D model in Revit, ensuring accuracy and coordination. From this 3D model, I generate 2D construction drawings in AutoCAD, leveraging Revit’s automated capabilities to minimize errors and ensure consistency. Finally, I rigorously review and annotate the drawings, including clear dimensioning, material specifications, and notes for clarity. I also incorporate industry-standard symbols and details to ensure consistency and readability for contractors and builders. This systematic approach ensures high-quality drawings that meet the needs of all stakeholders. For example, in designing a custom staircase, I created a precise 3D model in Revit to determine the exact dimensions and angles, then generated 2D detail drawings in AutoCAD showcasing intricate joinery details for the fabricator.
Q 5. Explain your understanding of different drawing scales and their applications.
Understanding drawing scales is crucial for creating understandable and practical designs. Different scales serve different purposes. For example, a large-scale drawing (e.g., 1:1 or 1:2) might be used for detailed components or shop drawings, allowing precise measurements for fabrication. A smaller scale (e.g., 1:50 or 1:100) is typically used for overall site plans and architectural plans, providing a general overview of the design. I select the appropriate scale based on the level of detail required and the size of the element being represented. Inaccurate scaling can lead to errors in construction, so precise attention to detail is essential. I’ve learned to select scales thoughtfully, matching them to the particular design challenge at hand. For example, a 1:20 scale is frequently used for floor plans, providing a balance between detail and overview.
Q 6. How do you manage revisions and updates to design drawings?
Managing revisions is critical. I use version control within my CAD software, typically using numbered revisions and clearly documented change logs. This ensures traceability and accountability for all changes. I also utilize cloud-based collaborative platforms to share drawings with stakeholders, enabling efficient review and approval processes. Each revision includes a date, description of changes, and the author’s initials. This detailed approach minimizes confusion and ensures everyone is working from the most up-to-date version. For instance, on a recent project, a client requested a change to a window placement. I created a new revision, documenting the change, and circulated it for approval before integrating it into the final drawings.
Q 7. Describe your experience with creating detailed construction drawings.
Creating detailed construction drawings requires a comprehensive understanding of construction methods and practices. My experience involves developing complete sets of construction drawings, including site plans, floor plans, sections, elevations, details, and schedules, in coordination with other disciplines (MEP, structural, etc.). I utilize Revit’s BIM capabilities to create coordinated models that eliminate clashes and ensure a smooth construction process. I pay close attention to detailing, specifying materials, and providing clear instructions for contractors. A recent project involved the construction of a multi-family residential building. I created a full set of construction documents including detailed plans for foundations, framing, MEP systems, and finishes. These drawings were instrumental in ensuring the successful and timely completion of the project.
Q 8. How familiar are you with industry standards and building codes related to design drawings?
My familiarity with industry standards and building codes is extensive. I’m proficient in interpreting and applying codes like IBC (International Building Code), NFPA (National Fire Protection Association) standards, and local jurisdictional requirements. This includes understanding requirements for things like accessibility (ADA compliance), fire safety, structural integrity, and energy efficiency. For example, I’ve consistently incorporated requirements for proper egress planning in my designs, ensuring sufficient exit routes and clear signage based on occupancy load calculations as mandated by the IBC. Furthermore, I’m adept at using reference manuals and online resources to stay updated on the latest code changes and best practices. This ensures my drawings are not only compliant but also reflect current design thinking. In a recent project, I had to revise a design to meet updated seismic requirements in a specific region, demonstrating my responsiveness to evolving code standards.
Q 9. Explain your process for creating effective technical illustrations.
My process for creating effective technical illustrations is iterative and detail-oriented. It starts with a thorough understanding of the project requirements and target audience. This involves close collaboration with engineers, architects, and other stakeholders to gather all necessary information. Next, I carefully plan the layout, selecting appropriate views, scales, and annotations. I prioritize clarity and accuracy, using precise measurements and consistent labeling. I prefer using vector-based software like AutoCAD and Adobe Illustrator for their scalability and precision. This allows for seamless scaling without compromising quality. For complex assemblies, I might create exploded views or sectional drawings to illustrate intricate details. Finally, I conduct thorough review and revisions, often using peer reviews and client feedback to improve the effectiveness of the illustrations. For example, in a recent mechanical design project, I created an exploded view of a pump assembly to clearly show all its components and their relationships, significantly improving the clarity for manufacturing and maintenance.
Q 10. How do you ensure your drawings are clear, concise, and easy to understand?
Ensuring drawings are clear, concise, and easy to understand involves adhering to established drawing conventions and employing effective communication techniques. I use a clear and consistent lineweight system to differentiate between different elements, applying standard symbols and notations. Proper labeling is crucial, including dimensions, material specifications, and notes as needed. I avoid clutter by organizing information logically and using callouts to highlight key features. I also make use of appropriate scales and views to present information effectively. For instance, a complex building layout is better presented using multiple scaled drawings focusing on specific areas rather than one overwhelming blueprint. Moreover, I leverage color-coding where appropriate to enhance visual clarity and distinction between different systems or components. A good example is using different colors for electrical, plumbing, and HVAC systems in architectural plans.
Q 11. Describe your experience with working with project teams and collaborating on design projects.
I have extensive experience working collaboratively on design projects. I thrive in team environments, valuing open communication and shared responsibility. My experience spans diverse project sizes and complexities, involving architects, engineers, contractors, and clients. I actively participate in design meetings, offering input and contributing to the overall project vision. I’m comfortable using various collaboration tools like cloud-based file sharing, design review software, and project management platforms. My collaborative approach ensures that all stakeholders have a clear understanding of the design and its progress. For example, on a recent large-scale renovation, I utilized online project management software to streamline communications and track progress with the construction team and client, guaranteeing seamless collaboration throughout the entire process. My ability to efficiently communicate and explain technical designs to a non-technical audience is invaluable in these collaborative settings.
Q 12. How do you handle conflicting design requirements or feedback from multiple stakeholders?
Handling conflicting design requirements or feedback often involves a structured approach to conflict resolution. I begin by documenting all requirements and feedback clearly, identifying areas of conflict and potential compromises. I facilitate open discussion among stakeholders, using visual aids like mock-ups or revised drawings to illustrate different options. This process helps in clarifying misunderstandings and finding common ground. When necessary, I present a range of solutions, outlining the advantages and disadvantages of each, allowing the stakeholders to make informed decisions based on project priorities and constraints. Finally, I document all agreed-upon changes and ensure everyone is aligned with the final decision. Prioritizing clear communication and a collaborative mindset has helped me effectively navigate diverse perspectives and reach mutually acceptable solutions.
Q 13. How do you prioritize tasks and manage time effectively during a design project?
Effective task prioritization and time management are critical in design projects. I typically start by breaking down a project into smaller, manageable tasks, establishing clear deadlines for each. I then use project management techniques like Kanban or Agile methodologies to track progress and identify potential bottlenecks. I prioritize tasks based on urgency, dependencies, and impact on the overall project timeline. I utilize tools like project management software to monitor deadlines and allocate resources efficiently. Regular progress meetings and communication with the project team are essential to keep everyone informed and address any issues promptly. Proactive planning, consistent monitoring, and flexible adaptation are key to successfully managing time constraints and delivering high-quality work on time.
Q 14. What is your experience with using BIM software (Building Information Modeling)?
My experience with BIM software is substantial. I’m proficient in using industry-leading software like Revit and ArchiCAD, utilizing their capabilities for 3D modeling, design coordination, and documentation. I’m adept at creating detailed building models, incorporating MEP (Mechanical, Electrical, and Plumbing) information, and producing construction documents directly from the model. I understand the benefits of BIM for collaborative design, clash detection, and quantity takeoff. For example, I’ve used Revit to identify potential clashes between MEP systems and structural elements, preventing costly rework during construction. My BIM skills enable me to create accurate, coordinated drawings that enhance project efficiency and reduce errors. Furthermore, I leverage BIM data for analysis and visualization, improving design decision-making and communication with clients and construction teams.
Q 15. How do you integrate design drawings with other project documents (specifications, schedules, etc.)?
Integrating design drawings with other project documents is crucial for a cohesive and efficient project workflow. It ensures everyone – from engineers and contractors to clients – is on the same page. This integration is typically achieved through a robust document management system and a clear referencing system within the drawings themselves.
- Version Control: Using a system like Autodesk Vault or similar allows for controlled revisions and ensures everyone works with the latest version. This avoids confusion and costly errors.
- Cross-Referencing: Design drawings should explicitly reference relevant specifications (e.g., material specifications, finish details) and schedules (e.g., construction schedules, material take-offs). This might involve callouts on the drawing itself or a detailed cross-reference table.
- BIM Integration: Building Information Modeling (BIM) software seamlessly integrates various project documents. Changes in one document automatically update related drawings and schedules, enhancing accuracy and reducing conflicts.
- Cloud Collaboration: Cloud-based platforms facilitate real-time collaboration, allowing multiple stakeholders to access and review design drawings and related documents simultaneously.
For example, in a residential project, a detail drawing showing a custom window would reference the specification sheet detailing the window’s material, glazing type, and manufacturer. The schedule might indicate the quantity and location of these windows within the building.
Career Expert Tips:
- Ace those interviews! Prepare effectively by reviewing the Top 50 Most Common Interview Questions on ResumeGemini.
- Navigate your job search with confidence! Explore a wide range of Career Tips on ResumeGemini. Learn about common challenges and recommendations to overcome them.
- Craft the perfect resume! Master the Art of Resume Writing with ResumeGemini’s guide. Showcase your unique qualifications and achievements effectively.
- Don’t miss out on holiday savings! Build your dream resume with ResumeGemini’s ATS optimized templates.
Q 16. Explain your problem-solving skills as applied to design challenges.
Problem-solving in design is a continuous process. I approach challenges systematically, employing a blend of creative thinking and technical expertise. My approach usually involves these steps:
- Clearly Define the Problem: Understanding the core issue is paramount. This might involve reviewing existing documentation, discussing the problem with stakeholders, and analyzing potential root causes.
- Brainstorm Solutions: I generate multiple potential solutions, even seemingly unconventional ones. This encourages out-of-the-box thinking.
- Analyze and Evaluate: I assess each solution’s feasibility, considering factors like cost, time constraints, technical limitations, and safety regulations. This often involves creating sketches or quick digital models.
- Prototype and Test: Whenever possible, I create prototypes to test the chosen solution. This could be a physical model, a digital simulation, or a small-scale test run.
- Iterate and Refine: Based on the results of testing, I refine the solution, iteratively improving its design until it meets all requirements.
For instance, while designing a complex structural element, I might encounter a clash between piping and ductwork. By employing iterative 3D modeling and analysis, I can adjust the design to resolve the conflict while maintaining structural integrity and functionality.
Q 17. How do you stay up-to-date with the latest trends and technologies in design drawing?
Staying current in design drawing requires a proactive and multi-faceted approach. I constantly seek new knowledge and skills through various avenues:
- Industry Publications: I subscribe to relevant journals and online resources to keep abreast of new software, techniques, and industry best practices.
- Online Courses and Webinars: Platforms like LinkedIn Learning, Coursera, and industry-specific websites offer continuous learning opportunities.
- Conferences and Workshops: Attending industry events allows for networking and learning from experts, gaining valuable insights into emerging trends.
- Software Updates and Tutorials: I regularly update my software and explore new features and functionalities through tutorials and online communities.
- Professional Networking: Engaging with colleagues and other professionals through online forums and professional organizations helps to share knowledge and stay informed.
For example, I recently completed an online course on Generative Design, a powerful new technique that uses AI to explore a vast range of design possibilities, potentially leading to more efficient and innovative solutions.
Q 18. Describe your experience with creating presentations and communicating your design ideas.
Communicating design ideas effectively is as important as the design itself. I create presentations that are visually engaging and easily understood by diverse audiences. My approach involves:
- Understanding the Audience: Tailoring the presentation’s content and complexity to the audience’s technical background is crucial. A client presentation will differ significantly from one for fellow engineers.
- Visual Storytelling: Using compelling visuals, including high-quality renderings, animations, and concise diagrams, makes complex concepts easily digestible.
- Clear and Concise Messaging: I avoid technical jargon whenever possible and focus on conveying the core message clearly and succinctly.
- Interactive Elements: Incorporating interactive elements, such as Q&A sessions or demonstrations, enhances audience engagement.
- Data Visualization: Where appropriate, using charts and graphs to visually represent key data makes complex information readily understandable.
Recently, I presented a design for a new museum exhibit using a combination of 3D renderings, physical models, and interactive visualizations. This multi-sensory approach helped convey the design’s intent and functionality to the client and stakeholders.
Q 19. What is your experience with creating design drawings for manufacturing and production processes?
I possess extensive experience in creating design drawings specifically for manufacturing and production processes. This involves a deep understanding of manufacturing techniques and constraints to ensure designs are both functional and producible.
- Detailed Dimensioning and Tolerancing: Precise dimensions and tolerances are crucial for manufacturing accuracy. I use GD&T (Geometric Dimensioning and Tolerancing) to clearly communicate manufacturing requirements.
- Material Specifications: The drawings clearly specify the required materials, including their properties and grades. This ensures the manufacturers use the correct materials.
- Manufacturing Processes: The drawings reflect the chosen manufacturing processes, such as casting, machining, or 3D printing. This ensures compatibility with the chosen method.
- Assembly Drawings: Where applicable, assembly drawings are provided to guide the assembly process, minimizing errors and ensuring efficient production.
- Bill of Materials (BOM): I create a comprehensive BOM, listing all components and their quantities, which is essential for purchasing and inventory management.
For example, while designing a custom-machined component for a robotics project, I ensured the drawings clearly specified material, tolerances, surface finishes, and machining operations to facilitate efficient and accurate manufacturing.
Q 20. How do you ensure the manufacturability of your designs?
Ensuring manufacturability is a critical aspect of design. It requires careful consideration of various factors throughout the design process. My approach includes:
- DFM (Design for Manufacturing): I apply DFM principles from the outset, considering manufacturing constraints and selecting materials and processes that are both feasible and cost-effective.
- Tolerance Analysis: I conduct tolerance analysis to ensure the design is robust and can accommodate variations in manufacturing processes. This prevents parts from being out of spec.
- Material Selection: Choosing appropriate materials that are readily available and suitable for the manufacturing process is crucial.
- Process Simulation: Using simulation software can help predict potential manufacturing challenges and optimize the design for efficient production.
- Collaboration with Manufacturers: Consulting with manufacturers early in the design process provides valuable insights into the feasibility and cost-effectiveness of different manufacturing approaches.
For instance, while designing a plastic injection-molded part, I would consider factors such as draft angles, wall thicknesses, and gate locations to minimize manufacturing defects and improve the part’s quality.
Q 21. Explain your understanding of orthographic and isometric projections.
Orthographic and isometric projections are fundamental methods of representing three-dimensional objects in two dimensions. They serve different purposes and provide different perspectives.
- Orthographic Projection: This method uses multiple views (typically front, top, and side) to show the object’s true shape and dimensions. Each view shows one face of the object, and the views are related to each other through their common edges and features. It’s excellent for detailed representation of dimensions and component features.
- Isometric Projection: This method shows a three-dimensional view of the object in a single drawing. While not showing true dimensions (angles are distorted), it provides a better visual representation of the object’s overall shape and spatial relationships. This is often used in conceptual design and presentations.
Imagine designing a simple box. An orthographic projection would show three separate views: a front view showing height and width, a top view showing length and width, and a side view showing height and length. An isometric projection would show all three dimensions simultaneously, albeit with slightly distorted angles, providing a single, readily understandable representation.
Q 22. How do you create detailed sections and elevations in your drawings?
Creating detailed sections and elevations involves precisely representing a building’s internal structure and external features. Think of a section drawing as slicing through a building to reveal its inner workings – walls, floors, ceilings, and services like plumbing and electrical. Elevations, on the other hand, show the building’s exterior faces from different viewpoints. Both require meticulous attention to detail and accurate dimensions.
My process typically begins with a 3D model, which allows for easy generation of accurate sections and elevations. I utilize software like AutoCAD or Revit to create these drawings. I carefully select the cutting planes for sections, ensuring they reveal the most critical design elements. For elevations, I ensure all significant features, such as windows, doors, and rooflines, are clearly depicted with accurate dimensions and annotations. I frequently use hatching to differentiate materials, and labeling to identify components clearly.
For example, when designing a complex staircase, I would create a section drawing showing the exact dimensions and arrangement of the steps, stringers, and handrails. This would be complemented by an elevation drawing showing the staircase’s exterior appearance and its relationship with the surrounding architectural elements. I always cross-reference the drawings to ensure consistency. A meticulous approach minimizes errors and guarantees accurate communication with contractors and other stakeholders.
Q 23. What is your experience with creating and managing drawing layers and templates?
Managing drawing layers and templates is crucial for organizing complex projects and ensuring consistency. Layers function like transparent sheets stacked on top of each other; each layer holds specific elements (e.g., walls on one layer, doors on another). Templates are pre-configured drawings with standardized settings, styles, and layers, accelerating the project start and ensuring uniform presentation.
I extensively use layer management to organize my drawings, employing a logical naming convention (e.g., Walls_Exterior, Plumbing_Pipes). This allows me to easily turn layers on or off, simplifying revisions and improving drawing readability. For example, while reviewing a section through a mechanical system, I can temporarily hide architectural layers for a clearer view. I create custom templates incorporating company standards for line weights, text styles, and layer organization; this consistency greatly improves the efficiency and overall quality of the project.
My experience includes using both AutoCAD and Revit, where layer management features are integrated into the software workflow. I often create layer templates for various disciplines (architectural, structural, MEP), and utilize nested layers for even greater organization. This structured approach enhances collaboration and reduces errors caused by conflicting layer information.
Q 24. How do you ensure the consistency and quality of your drawings throughout a project?
Maintaining consistency and quality is paramount. I achieve this through a multi-faceted approach incorporating standardized templates, rigorous quality control checks, and collaborative workflows.
Firstly, as mentioned previously, I utilize custom templates with pre-defined settings for line weights, text styles, and layer organization. This ensures uniformity across all drawings. Secondly, I conduct regular quality checks, reviewing drawings for accuracy, clarity, and adherence to project standards. This includes verifying dimensions, checking for conflicting lines or annotations, and ensuring the drawings are properly labeled and organized. This often involves peer reviews to capture discrepancies that I might miss.
Thirdly, clear communication and collaboration are critical. I regularly communicate with team members and stakeholders to ensure everyone is on the same page regarding design changes or updates. Regular project meetings allow for early problem detection and solution formulation, minimizing potential conflicts and errors down the line. Think of it like building with Lego bricks – using the same standardized bricks (templates) and assembling them carefully (quality control) makes for a consistent and stable structure.
Q 25. Describe your experience with using annotation and dimensioning techniques in your drawings.
Annotation and dimensioning are critical for conveying precise design information. Annotations provide textual descriptions, while dimensions specify sizes and distances. Both must be clear, accurate, and unambiguous.
I use a variety of annotation techniques, including leader lines connected to specific elements, callouts highlighting details, and detailed notes explaining construction methods or material specifications. My dimensioning is consistent, using appropriate units (metric or imperial), clearly indicating tolerance levels where necessary, and maintaining uniformity in style and placement. I always adhere to relevant drafting standards (e.g., ISO or ANSI) to ensure readability and industry compliance.
For example, in detailing a window, I would include dimensions for the frame, glass pane, and opening size. I would annotate the type of glass, the frame material, and any required sealant types. Accurate dimensioning prevents construction errors, while clear annotations facilitate material ordering and precise fabrication processes. I also prioritize using the built-in dimensioning tools offered by CAD software to maintain consistency and enhance accuracy.
Q 26. How do you use design drawing software to create realistic renderings or visualizations?
Creating realistic renderings and visualizations significantly enhances design communication. Software like Lumion, V-Ray, or Enscape, integrated with CAD software like Revit or SketchUp, are powerful tools for this purpose.
My process usually starts with a detailed 3D model. I then import this model into rendering software, where I adjust materials, lighting, and camera angles to create the desired visuals. I pay close attention to details like textures, shadows, and reflections to achieve realism. The choice of rendering engine depends on project requirements; for quick iterations, I might use Enscape, while for highly detailed photorealistic outputs, V-Ray is preferred.
For example, to showcase a residential project, I might create a series of renderings illustrating the exterior at different times of day, providing potential clients with a compelling visual representation of the design. These renderings can enhance client understanding and help secure project approval. Effective visualization is essential to bridge the gap between abstract design concepts and concrete reality.
Q 27. What are your strategies for troubleshooting errors and resolving conflicts in your drawings?
Troubleshooting errors and resolving conflicts are integral to design drawing. This involves a systematic approach combining thorough review, careful analysis, and effective communication.
My troubleshooting strategy begins with a careful review of the drawing, looking for discrepancies in dimensions, annotations, or layer conflicts. I utilize the software’s revision history to identify the point at which the error occurred. If a conflict arises, I’ll involve relevant team members to ensure a collaborative resolution. For example, if there is a clash between architectural and MEP elements, I coordinate with the respective designers to find a suitable compromise.
Software tools offer built-in functions that help identify errors, such as clash detection in Revit. I also rely on thorough documentation and version control systems to track changes and facilitate rollback if needed. Proactive communication and clear documentation are key to minimizing future conflicts and resolving current issues efficiently.
Q 28. Explain your experience with creating and managing design drawing revisions.
Managing design drawing revisions is critical for maintaining accurate and up-to-date documentation. I employ a structured approach using version control and detailed revision logs.
I use a numbered revision system (e.g., Rev A, Rev B) to track changes, noting the date, author, and description of each revision. This information is clearly documented within the drawings themselves and often included in a separate revision log. Software like AutoCAD and Revit support revision clouds, which highlight modifications made between versions. This facilitates a clear understanding of the design evolution and allows for efficient review.
For instance, if a client requests changes to the window placement, I’ll create a new revision, document the change in the revision log, and use revision clouds to indicate the updated window positions. This meticulous system ensures transparency, traceability, and reduces the risk of confusion or miscommunication. Proper revision management is crucial for efficient project delivery and legal compliance.
Key Topics to Learn for Your Design Drawing Interview
- Fundamentals of Sketching and Drafting: Mastering freehand sketching techniques, orthographic projection, isometric drawing, and dimensioning. Understanding the principles of line weight and visual communication.
- Design Principles and Elements: Applying principles like balance, proportion, emphasis, rhythm, and unity within your drawings. Demonstrate knowledge of the elements of design: line, shape, form, texture, space, color, and value.
- Technical Drawing Software Proficiency: Showcase your expertise in industry-standard software like AutoCAD, Revit, SketchUp, or other relevant programs. Be prepared to discuss your experience with 2D and 3D modeling, rendering, and presentation techniques.
- Material Selection and Representation: Understanding the properties of various materials and how to accurately represent them in your drawings. This includes knowing how to depict textures, finishes, and joinery details.
- Blueprint Reading and Interpretation: Demonstrate your ability to effectively read and interpret existing blueprints, understanding symbols, specifications, and construction details.
- Design Communication and Presentation: Practice clearly communicating your design ideas through drawings and presentations. Be prepared to discuss your design rationale and problem-solving approaches.
- Architectural/Engineering Drawing Standards: Familiarize yourself with relevant standards and conventions used in architectural or engineering drawings. This demonstrates attention to detail and professionalism.
- Problem-Solving and Critical Thinking: Be ready to discuss how you approach design challenges and how your drawing skills help solve practical problems. Showcase your analytical and creative thinking.
Next Steps
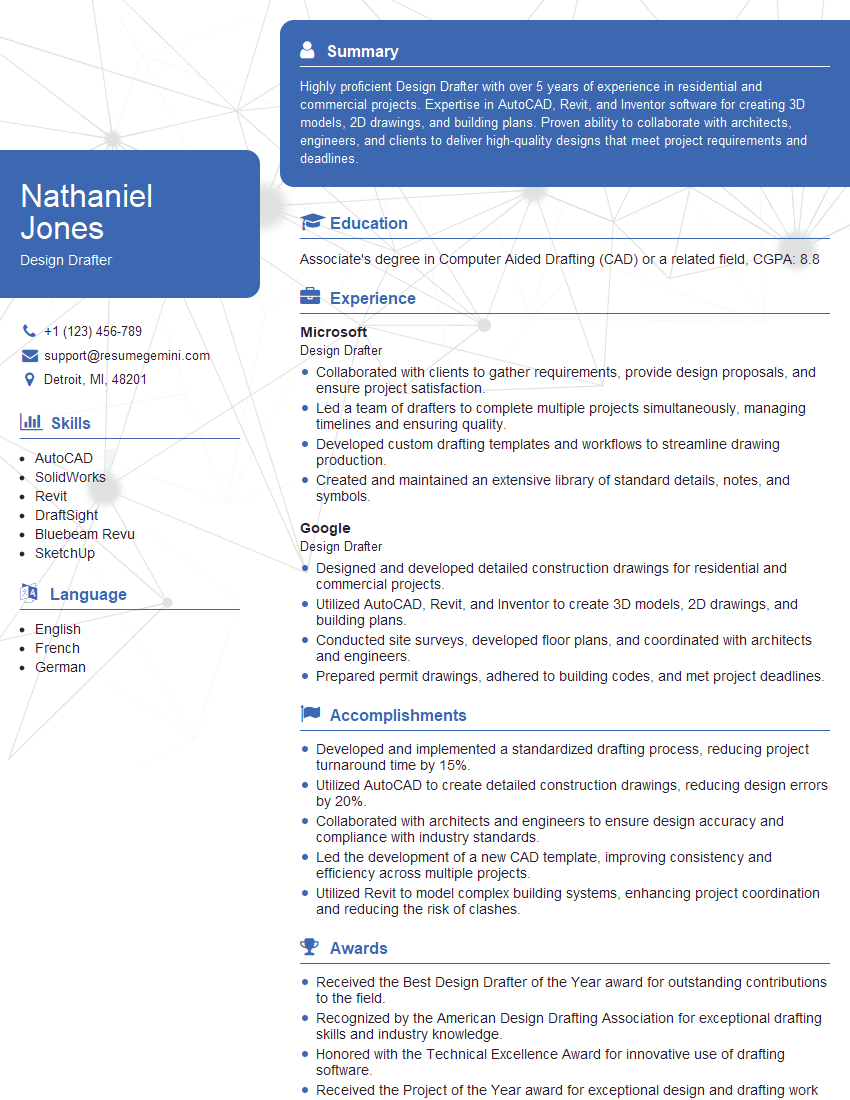
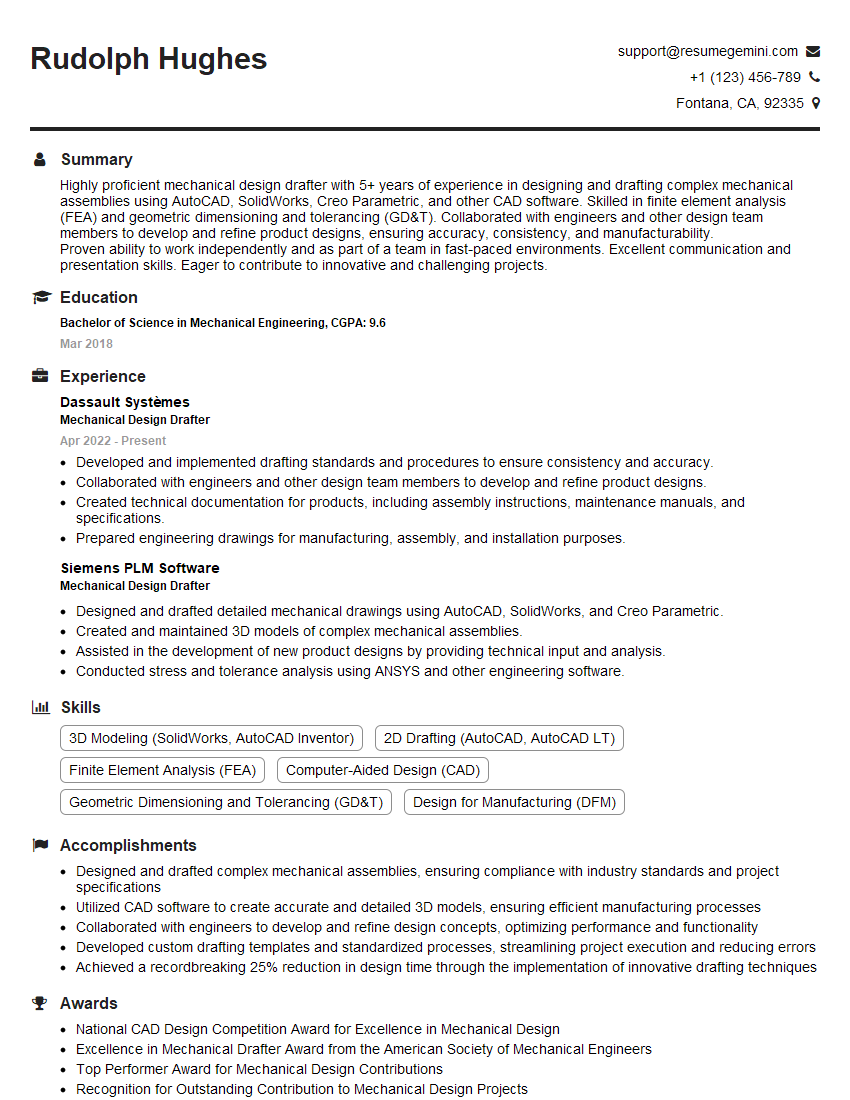
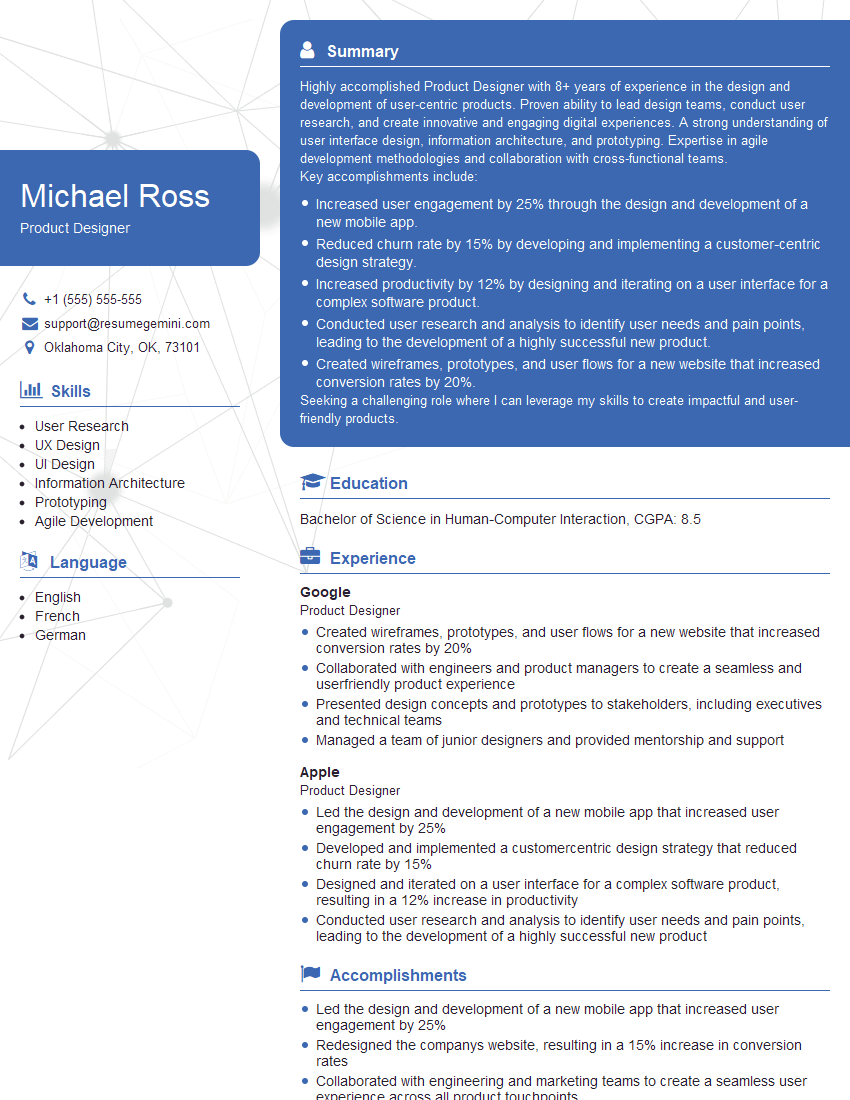
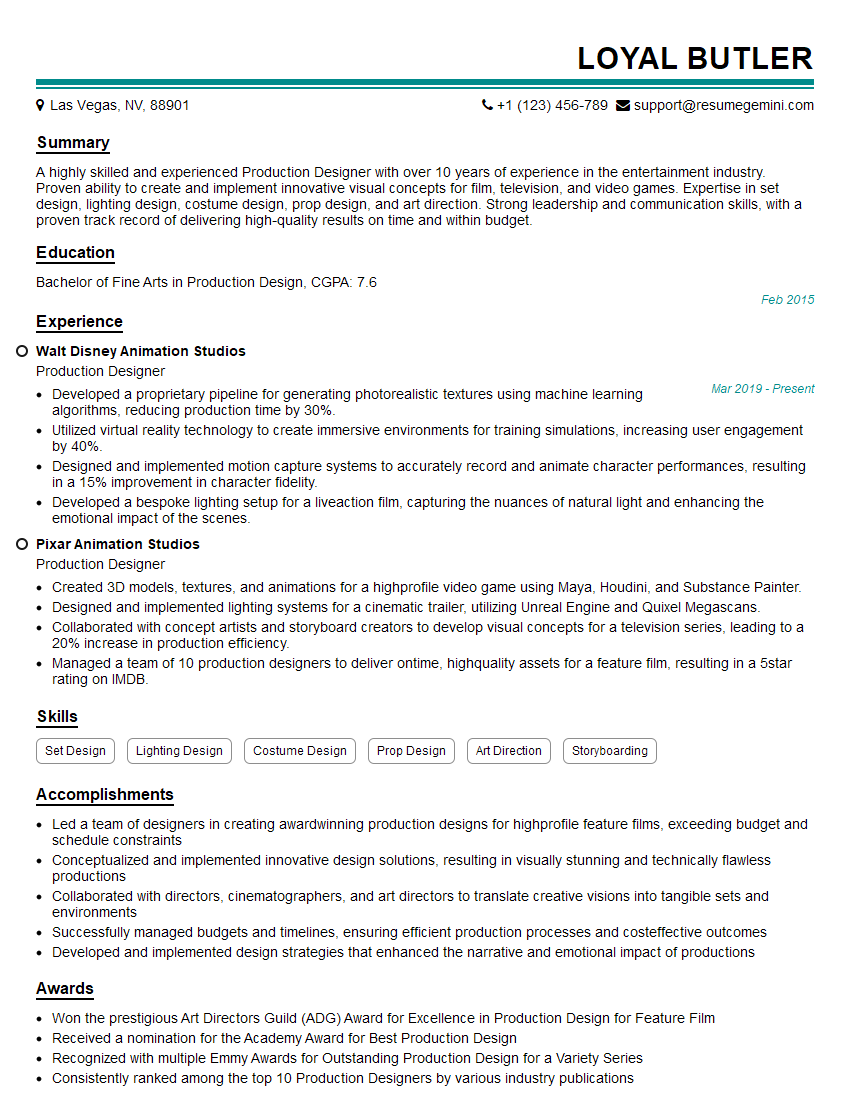
Mastering design drawing is crucial for a successful career in architecture, engineering, or related fields. It’s the foundation for effective communication and collaboration within design teams. To maximize your job prospects, creating an ATS-friendly resume is essential. ResumeGemini is a trusted resource that can help you build a professional and impactful resume, ensuring your qualifications stand out to potential employers. Examples of resumes tailored specifically to Design Drawing professionals are available to guide you.
Explore more articles
Users Rating of Our Blogs
Share Your Experience
We value your feedback! Please rate our content and share your thoughts (optional).
What Readers Say About Our Blog
Hello,
We found issues with your domain’s email setup that may be sending your messages to spam or blocking them completely. InboxShield Mini shows you how to fix it in minutes — no tech skills required.
Scan your domain now for details: https://inboxshield-mini.com/
— Adam @ InboxShield Mini
Reply STOP to unsubscribe
Hi, are you owner of interviewgemini.com? What if I told you I could help you find extra time in your schedule, reconnect with leads you didn’t even realize you missed, and bring in more “I want to work with you” conversations, without increasing your ad spend or hiring a full-time employee?
All with a flexible, budget-friendly service that could easily pay for itself. Sounds good?
Would it be nice to jump on a quick 10-minute call so I can show you exactly how we make this work?
Best,
Hapei
Marketing Director
Hey, I know you’re the owner of interviewgemini.com. I’ll be quick.
Fundraising for your business is tough and time-consuming. We make it easier by guaranteeing two private investor meetings each month, for six months. No demos, no pitch events – just direct introductions to active investors matched to your startup.
If youR17;re raising, this could help you build real momentum. Want me to send more info?
Hi, I represent an SEO company that specialises in getting you AI citations and higher rankings on Google. I’d like to offer you a 100% free SEO audit for your website. Would you be interested?
Hi, I represent an SEO company that specialises in getting you AI citations and higher rankings on Google. I’d like to offer you a 100% free SEO audit for your website. Would you be interested?
good

