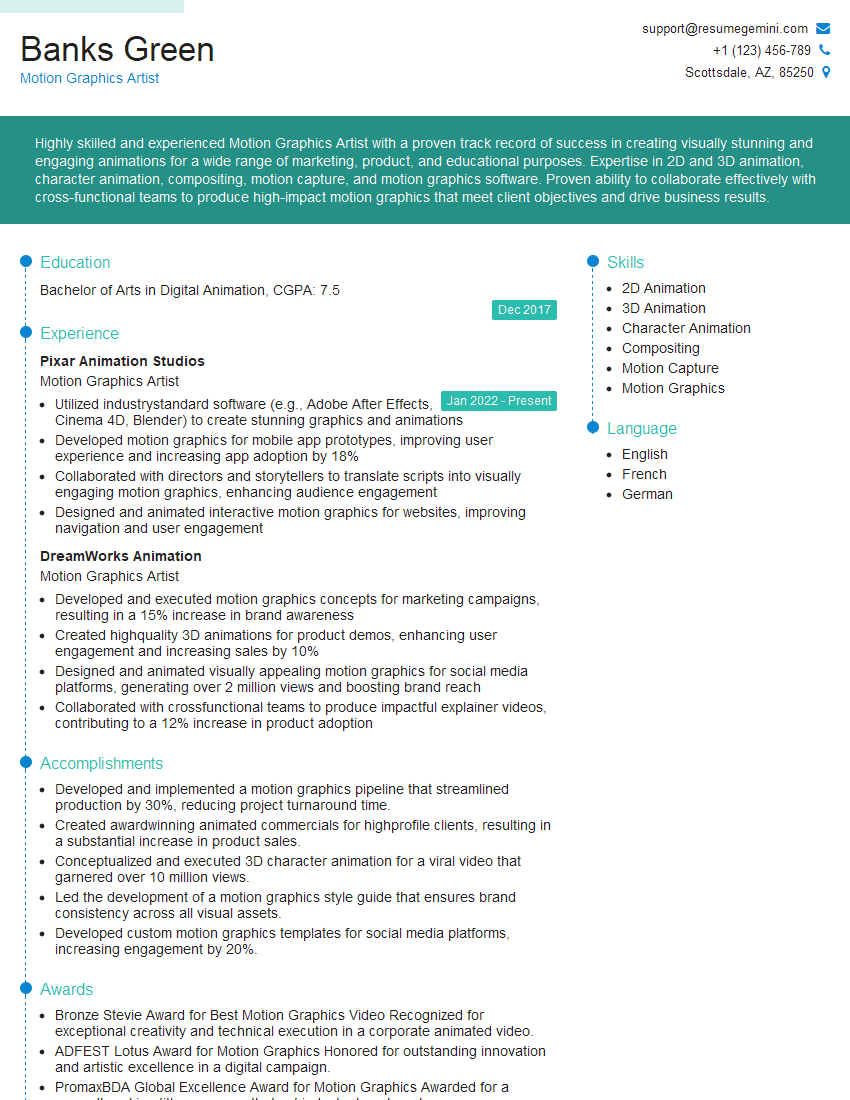
Preparation is the key to success in any interview. In this post, we’ll explore crucial Experience with 3ds Max interview questions and equip you with strategies to craft impactful answers. Whether you’re a beginner or a pro, these tips will elevate your preparation.
Questions Asked in Experience with 3ds Max Interview
Q 1. Explain your experience with 3ds Max modeling workflows.
My 3ds Max modeling workflow is highly adaptable depending on the project’s complexity and style, but generally follows a structured approach. I begin with concept sketching and gathering reference images to solidify the design. Then, I move to 3ds Max, starting with a basic shape using primitives like boxes, spheres, or cylinders, progressively refining it using tools like Extrude, Bevel, and Chamfer. For organic modeling, I often utilize Edit Poly or Sculpt modifiers, depending on the desired level of detail and control. I frequently employ non-destructive workflows, utilizing modifiers extensively to allow for easy adjustments later in the process. For complex models, I break them down into smaller, manageable sections, assembling them later. This modular approach simplifies the editing process and allows for efficient problem-solving. Finally, I always perform a thorough quality check, inspecting for any anomalies, inconsistencies in normals, or overlapping geometry, before proceeding to texturing and rigging.
For example, in a recent project modeling a futuristic spaceship, I started with simple box shapes to define the main hull, then used Edit Poly to sculpt and refine details such as panel lines and engine intakes. Smaller components, like antennas and landing gear, were modeled separately and then attached using Boolean operations. This allowed me to easily adjust each component independently without affecting the entire model.
Q 2. Describe your process for creating realistic textures in 3ds Max.
Creating realistic textures in 3ds Max involves a multi-stage process. I typically begin by gathering high-resolution reference images. I then use software like Substance Painter or Photoshop to create the actual textures. Substance Painter excels at creating procedural textures and allows for excellent control over material properties such as roughness, metallicness, and normal maps. Photoshop, on the other hand, is incredibly powerful for hand-painting details and creating intricate patterns. After creating the textures, I import them into 3ds Max, assigning them to the appropriate materials and adjusting their parameters as needed. I pay close attention to things like tiling, seams, and overall visual coherence. I often employ techniques like displacement mapping for adding subtle surface details that enhance realism. To add even more realism, I incorporate techniques such as Normal Maps, Specular Maps and Ambient Occlusion maps. These maps can add depth and detail that would be difficult or impossible to achieve manually using only diffuse maps.
For instance, when texturing a stone wall, I might use Substance Painter to create a base diffuse texture with variation in color and roughness. Then, in Photoshop, I’d hand-paint additional details like moss and weathering. I’d then use a normal map generated in Substance Painter to add depth and realism to the surface details, bringing the overall texture to a higher level of fidelity.
Q 3. How do you optimize 3ds Max scenes for rendering performance?
Optimizing 3ds Max scenes for rendering performance requires a multifaceted approach. I start by simplifying geometry wherever possible, using low-poly models and applying levels of detail (LODs) to objects that are far from the camera. I also reduce the number of polygons by optimizing my models. This involves removing unnecessary geometry, using edge loops to smooth surfaces and applying smoothing groups effectively to prevent excessive polygon counts. Unnecessary elements within the scene are deleted or hidden. High-resolution textures are avoided unless absolutely necessary, and I use image optimization techniques. I utilize proxy geometry for complex models that are far from the camera. Instancing is another powerful technique, where a single model is duplicated multiple times in a scene, sharing the same geometry data, which significantly reduces memory usage. Additionally, I pay close attention to lighting and shadows; using efficient light sources and shadow settings reduces processing load. Finally, I always test renders at various settings and refine the process iteratively until I achieve the desired balance between image quality and render time. This involves working closely with the chosen renderer and exploring options for optimizing the render settings based on the complexity of the scene.
Q 4. What are your preferred 3ds Max modeling techniques?
My preferred 3ds Max modeling techniques depend heavily on the project’s requirements, but I frequently use a combination of polygon modeling and sculpting. For hard-surface modeling, such as buildings or vehicles, I rely heavily on polygon modeling using the Edit Poly modifier, utilizing extrusion, beveling, and chamfering tools to create clean, precise shapes. For organic models, like characters or creatures, I often employ sculpting tools, utilizing the Sculpt modifier for organic shapes and details. I often combine these approaches, utilizing polygon modeling for the base mesh and then sculpting to add fine details. I often find myself making use of Boolean operations (Union, Subtract, and Intersect) for creating complex shapes and combining multiple simpler shapes. This is particularly useful when creating mechanical objects or complex environments. I am also proficient in using subdivision surface modeling, employing modifiers like TurboSmooth to create smooth, high-resolution models from low-poly base meshes.
Q 5. Explain your understanding of UV mapping and its importance in 3D modeling.
UV mapping is the process of projecting a 3D model’s surface onto a 2D plane. It’s crucial because it allows us to apply 2D textures to 3D models. Without UV mapping, textures would be distorted or stretched, leading to an unrealistic appearance. A well-executed UV map ensures that the texture is applied evenly and seamlessly across the 3D model’s surface. Poorly planned UV maps can result in stretched, distorted, or otherwise unrealistic textures, creating noticeable seams or artifacts. A good UV map minimizes distortion and efficiently utilizes the texture space. I utilize various UV unwrapping methods in 3ds Max depending on the model’s topology. For example, I may use planar mapping for simple shapes, cylindrical mapping for objects with cylindrical symmetry, or automatic unwrapping tools for more complex models. Manual unwrapping is sometimes necessary for complex organic models to achieve the best possible results. In cases where manual unwrapping is required I create clean and evenly distributed UV islands that minimize texture distortion. In addition to this, seams are placed strategically and out of sight of the camera.
Q 6. How do you manage complex scenes in 3ds Max efficiently?
Managing complex scenes in 3ds Max efficiently is a critical skill. I employ several strategies, including using layers to organize objects logically, grouping related objects into Xrefs (external references), and using layer-based visibility to manage the complexity of the scene. Xrefs allow me to manage large scene files more efficiently. This is because changes to the referenced files will automatically update the master scene. I extensively use the Layer feature to group objects logically, allowing me to hide or show different parts of the scene quickly, managing rendering times significantly, and preventing accidental modifications. This also speeds up navigation, particularly in intricate environments. I also frequently use selection sets to quickly select specific groups of objects within a complex scene. Furthermore, I regularly save incremental versions of my project, frequently utilizing version control systems, protecting against data loss and permitting the exploration of various design iterations.
Q 7. Describe your experience with 3ds Max animation tools and techniques.
My experience with 3ds Max animation tools and techniques is extensive. I’m proficient in using keyframing, constraints, and various animation modifiers to create realistic and compelling animations. I understand the importance of proper rigging for character animation, using bones and skin weights to create natural-looking movement. I’m familiar with different animation techniques like forward kinematics (FK) and inverse kinematics (IK), selecting the best approach depending on the specific needs of the animation. I’m also experienced in using particle systems and dynamics simulations for creating realistic effects like fire, smoke, or water, as well as cloth and hair simulations. For character animation, I’m comfortable with techniques like walk cycles, run cycles, and more complex actions, paying careful attention to timing, spacing, and posing to achieve believable results. I typically use a combination of keyframing and motion capture data for complex animations, taking advantage of the tools available in 3ds Max to create highly polished and realistic movement.
Q 8. How familiar are you with different rendering engines within 3ds Max?
My experience with 3ds Max rendering engines is extensive. I’m proficient in using both scanline renderers (like the legacy one built into 3ds Max) and physically based renderers (PBR). I’ve worked extensively with Arnold, V-Ray, and Corona Renderer. Each offers unique strengths. Scanline renderers are great for speed and simplicity, especially for quick tests, but lack the realism of PBR engines. PBR renderers like Arnold, V-Ray, and Corona, on the other hand, excel at physically accurate lighting, materials, and global illumination, resulting in stunningly realistic images. My choice of renderer depends on project demands—speed versus quality. For a quick client presentation, a scanline render might suffice; for a high-end architectural visualization, I’d opt for a PBR engine like Arnold or V-Ray. I also understand the importance of optimizing settings within each renderer to achieve the desired balance between render time and image quality.
Q 9. Describe your workflow for creating realistic lighting setups in 3ds Max.
Creating realistic lighting setups is crucial for any 3D scene. My workflow begins with understanding the scene’s context – time of day, weather conditions, and the desired mood. I then strategically place key lights: a key light (primary light source), fill light (softening shadows), and rim/back light (defining edges and creating depth). I leverage 3ds Max’s lighting tools extensively – I use photometric lights for accurate intensity and distribution, and area lights for softer, more realistic illumination. I often use HDRI (High Dynamic Range Image) maps as environment maps for realistic global illumination, reflecting real-world lighting conditions in the scene. For instance, for an interior scene, I might use an HDRI representing a sunny day to achieve natural daylighting. I carefully adjust light intensity, color temperature, and shadows to create a cohesive and believable lighting scheme, constantly refining the setup through test renders to fine-tune the visual appeal.
Post-processing also plays a role. I sometimes utilize tools within the renderer or external compositing software like Photoshop for color correction and subtle adjustments to achieve the perfect final look.
Q 10. Explain your knowledge of different 3ds Max modifiers and their applications.
3ds Max modifiers are powerful tools for non-destructive modeling. I regularly use a wide range, including:
- Edit Poly: For precise polygon editing, subdivision, and extrusion.
- TurboSmooth: For creating smooth surfaces from polygon meshes, ideal for rendering.
- MeshSmooth: Another subdivision surface modifier offering different smoothing algorithms.
- Bevel: For adding rounded edges to objects, creating more realistic geometry.
- Extrude: For extending faces along a specified axis, creating complex shapes.
- Mirror: For creating symmetrical models efficiently.
For example, I might use the Edit Poly modifier to create complex architectural details. Then, I’d apply TurboSmooth to create smooth surfaces, followed by a Bevel modifier to refine edges. Understanding the modifier stack and their order is critical for efficient and predictable results.
Q 11. How do you handle and resolve polygon issues in 3ds Max?
Polygon issues are common in 3D modeling. My approach involves a combination of preventative and corrective measures. Prevention includes careful modeling techniques, employing clean topology and avoiding unnecessary polygons. I frequently use tools like Edit Poly‘s polygon selection tools to identify and address problematic areas. For example, I’ll check for overlapping faces, ngons (polygons with more than four sides), and flipped normals (causing shading artifacts).
Corrective measures include using Edit Poly to delete or merge faces, using tools like Weld to fuse vertices, and using the Unwrap UVW modifier to correct texture mapping problems that might arise from polygon issues. Normals tools within the modifier are essential for fixing flipped normals. Regular checks during modeling using viewport display options such as face normals and edge display are key for preventing and early identification of these problems.
Q 12. Describe your experience with using 3ds Max for architectural visualization.
I have extensive experience using 3ds Max for architectural visualization. I’ve worked on numerous projects, from residential designs to large-scale commercial developments. My workflow involves importing architectural plans (often as DWG or DXF files), meticulously modeling the building’s geometry, creating realistic materials (using both standard materials and physically-based shaders), and then carefully crafting lighting schemes to accurately capture the atmosphere and highlight architectural details. I’m comfortable with creating high-resolution renders showing both exteriors and interiors. I’m also adept at incorporating elements like landscaping, people, and vehicles to add context and life to the scenes. For example, I recently worked on a project that involved visualizing a multi-story office building, which required a careful balance between accuracy and artistic interpretation to capture the building’s essence and appeal to potential buyers.
Q 13. Explain your experience with character rigging and animation in 3ds Max.
While my primary focus isn’t character animation, I possess a solid understanding of character rigging and animation within 3ds Max. I’ve worked on several projects requiring character modeling and basic animations. My approach starts with creating a clean base mesh for the character, followed by rigging using either CAT or a custom rigging setup depending on the complexity required. I use bone structures to control the character’s movement, paying close attention to the hierarchy and weighting to ensure smooth and natural animation. I use the 3ds Max animation tools to keyframe poses and movements, striving for realistic movement and timing. However, for complex projects, I might integrate with other tools like MotionBuilder for advanced animation and motion capture data integration. While not my area of expertise, I have sufficient background to confidently approach and handle these aspects in projects requiring character representation.
Q 14. How do you troubleshoot common rendering problems in 3ds Max?
Troubleshooting rendering problems in 3ds Max requires a systematic approach. I begin by identifying the nature of the problem—is it a rendering error, an artifact, or a performance issue? Common problems include missing textures, incorrect materials, lighting issues, and render errors.
My troubleshooting steps usually involve:
- Checking render settings: Ensuring correct output resolution, render engine settings, and anti-aliasing levels.
- Inspecting scene for errors: Looking for missing or corrupted files, incorrect material assignments, and problems with geometry.
- Analyzing the render log: The render log often provides valuable clues about errors.
- Testing individual components: Rendering small sections of the scene to isolate the problem area.
- Simplifying the scene: Removing unnecessary objects to see if it improves render performance or resolves the problem.
For example, if I encounter a texture-related problem, I’d carefully check the material editor and ensure the texture paths are correct. If a render crashes, I’d review the render log for specific error messages. A systematic approach, coupled with experience, allows me to effectively troubleshoot and resolve the vast majority of rendering issues.
Q 15. What are your experiences with different 3ds Max plugins and extensions?
My experience with 3ds Max plugins and extensions is extensive. I’ve worked with a wide range, from essential modeling tools like MeshSmooth and TurboSmooth for optimizing polygon counts for game engines, to advanced rendering plugins such as V-Ray and Arnold for achieving photorealistic results. For specific tasks, I’ve utilized plugins like Forest Pack for creating realistic foliage, RailClone for procedural modeling of repetitive elements like fences or railings, and RealFlow for simulating liquids and other dynamic effects. My familiarity extends to various workflow-enhancing extensions, including those that improve scene management and organization. The choice of plugin always depends on the project’s demands – a game requires optimized assets, while architectural visualization demands photorealism, hence the selection varies accordingly.
- Example: On a recent architectural visualization project, I used V-Ray’s advanced lighting and materials to create incredibly realistic renderings of a modern apartment complex, while simultaneously utilizing Forest Pack to add lush landscaping to the exterior.
- Example: For a game asset, I used MeshSmooth to reduce polygon count without significantly impacting visual fidelity, a crucial step for efficient performance in the game engine.
Career Expert Tips:
- Ace those interviews! Prepare effectively by reviewing the Top 50 Most Common Interview Questions on ResumeGemini.
- Navigate your job search with confidence! Explore a wide range of Career Tips on ResumeGemini. Learn about common challenges and recommendations to overcome them.
- Craft the perfect resume! Master the Art of Resume Writing with ResumeGemini’s guide. Showcase your unique qualifications and achievements effectively.
- Don’t miss out on holiday savings! Build your dream resume with ResumeGemini’s ATS optimized templates.
Q 16. Describe your approach to creating realistic materials in 3ds Max.
Creating realistic materials in 3ds Max is a multi-step process that hinges on understanding the physical properties of real-world materials. I start by identifying the material’s base characteristics: its roughness, reflectivity, color, and subsurface scattering. Then I meticulously recreate these properties within 3ds Max using appropriate shaders, often within V-Ray or Arnold. I rarely use the default materials. For example, a polished metal requires a high reflectivity and specular highlight, while rough wood shows diffuse reflection with little specular.
I heavily utilize maps – procedural or image-based – to add detail and realism. Normal maps add surface detail, bump maps simulate surface irregularities, and diffuse maps determine the color variations. I also use reflection and refraction maps to capture how light interacts with the material’s surface. I often use photos of real-world materials as reference images to ensure accuracy. Finally, I meticulously adjust settings to match the desired level of realism, carefully considering factors like ambient occlusion and light interaction.
Example: To create a realistic marble material, I’d use a procedural noise map for the base color variation, a normal map to add surface veining, and a glossiness map to control reflectivity. This ensures the final render looks convincingly like marble.
Q 17. Explain your process for creating game-ready assets in 3ds Max.
Creating game-ready assets in 3ds Max involves a rigorous optimization process. It’s not just about modeling; it’s about creating assets that perform well within the game engine’s constraints. My process begins with creating a high-poly model, capturing all the fine details. This model is then meticulously optimized, reducing polygon count while maintaining visual fidelity. This frequently involves using decimation modifiers and retopology.
Next, I create low-poly meshes that are significantly more efficient. UV unwrapping is crucial, ensuring efficient texture mapping. I then bake high-poly details like normal maps, ambient occlusion maps, and curvature maps onto the low-poly model, preserving the intricate details without the high polygon cost. This low-poly model is then exported in a format appropriate for the target game engine, often with accompanying textures and maps.
Throughout the process, I pay careful attention to the polygon count, texture resolution, and overall file size to ensure optimal performance within the game engine. Finally, I rigorously test the asset in the game engine to ensure it meets the required performance standards.
Example: When creating a character model, I might start with a high-poly model of over 1 million polygons, then reduce it to under 10,000 polygons for the in-game model while maintaining detail through normal maps.
Q 18. How do you collaborate with other artists using 3ds Max projects?
Collaboration is essential in 3ds Max projects. We primarily use version control systems like Perforce or Git LFS to manage project files and track changes. This allows multiple artists to work simultaneously without overwriting each other’s work. Clear communication is key – we use project management tools like Jira or Asana to track tasks and deadlines. We often utilize a shared network drive to allow team members to readily access project files. Furthermore, consistent file naming conventions and clear folder structures are crucial to ensure smooth collaboration. Regular team meetings are also held to discuss progress, identify challenges, and ensure everyone is on the same page.
Example: One team member might focus on modeling, another on texturing, and a third on animation. Version control prevents conflicts and ensures everyone is working from the latest version of the assets.
Q 19. Describe your experience with 3ds Max’s particle system.
3ds Max’s particle system is a powerful tool for simulating various dynamic effects. I have extensive experience in creating everything from simple rain or snow effects to complex simulations like explosions, fire, and flowing liquids. The process typically begins by defining the particle emitter’s properties – its shape, emission rate, and particle lifespan. Then, I use various particle modifiers to control their behavior, such as gravity, wind, and collisions. I also use different particle renderers to control the visual appearance of the particles. This is often a highly iterative process. I frequently experiment with different settings to achieve the desired visual effect.
Example: To create a realistic fire effect, I’d use a volume-based particle system with a combination of particle modifiers to control the movement and shape of the flames, and an appropriate renderer to give the particles the appearance of fire.
Q 20. How familiar are you with 3ds Max’s scripting capabilities?
My familiarity with 3ds Max’s scripting capabilities (primarily MaxScript) is intermediate. While I’m not a dedicated programmer, I use MaxScript frequently to automate repetitive tasks and customize workflows. This ranges from creating custom tools and scripts for automating material application to generating unique procedural geometry. I’m comfortable writing and debugging simple MaxScript code and can leverage online resources and documentation to enhance my scripting abilities. I also understand the basic concepts of the MAXScript API, which allows for deeper control over 3ds Max functionality.
Example: I’ve written scripts to automate the process of applying specific materials to large numbers of objects in a scene, saving significant time.
Q 21. Explain your understanding of normal maps and their use in 3ds Max.
Normal maps are crucial for adding surface detail to 3D models without significantly increasing polygon count. They are essentially grayscale images that represent the surface’s normals (the direction a surface faces) relative to a flat plane. In 3ds Max, this data is used by the renderer to create the illusion of surface details, simulating bumps, grooves, and other irregularities.
To use normal maps, you apply them to a low-poly model. The renderer interprets the grayscale values to calculate the lighting and shading of the surface as if it were a high-poly model. This is particularly important for game development, where high polygon counts can significantly impact performance. I often create normal maps by baking the details from a high-poly model onto a low-poly version using dedicated baking tools within 3ds Max or external software.
Example: A low-poly rock model might look smooth and lack detail. Applying a normal map baked from a high-poly version will add the illusion of cracks, crevices, and other textures, making the rock appear much more realistic and detailed, without increasing the model’s polygon count substantially.
Q 22. Describe your experience with using 3ds Max for creating motion graphics.
My experience with 3ds Max for motion graphics spans several years and numerous projects. I’ve used it extensively to create everything from short animated explainer videos to complex title sequences for television. My workflow typically involves using the 3ds Max animation tools to create keyframes for object movement, camera animation, and character animation. I’m proficient in utilizing various animation techniques, such as path animation, skeletal animation (using CAT or similar systems), and more advanced techniques like procedural animation with expressions. For example, on a recent project creating a logo animation, I leveraged 3ds Max’s particle systems to simulate a dynamic, energetic effect around the logo. This involved carefully setting up emitters, adjusting particle parameters (size, lifespan, speed), and applying modifiers to achieve the desired look. I also frequently utilize the ‘Track View’ to fine-tune animation curves and ensure smooth, realistic movement.
Beyond basic animation, I’m experienced in using the shape and morphing tools for creating transitions and subtle, nuanced animations. For example, I’ve used this to create smoothly animating text effects, where letter shapes shift and morph between different forms, rather than a simple scale and positioning of pre-made text.
Q 23. How do you manage file sizes and optimize them for different platforms in 3ds Max?
Managing file sizes and optimizing for different platforms is crucial in 3ds Max. My approach involves a multi-faceted strategy beginning from the asset creation stage. This starts with choosing appropriate polygon counts for models – unnecessarily high-poly models dramatically inflate file size. I routinely use decimation modifiers and other optimization tools to reduce polygon counts without sacrificing visual quality. For example, a high-detail car model might be created for close-up shots, but a lower-poly version, achieved using a ‘ProDecimate’ modifier, is used for background shots or distant views.
Another crucial aspect is texture optimization. I use image editing software to ensure textures are the correct resolution and file format (e.g., JPG, PNG) for their purpose and the target platform. High-resolution textures are only used where necessary. I also avoid unnecessary use of large maps (such as high-resolution bump or displacement maps when a lower resolution map would suffice). Finally, I’m meticulous about scene organization and the use of layers, keeping only the necessary objects in the scene during rendering. For example, I might use layer management to turn off background elements during the rendering of a close up shot and vice versa, reducing processing overhead.
Further optimization for different platforms might involve rendering out sequences at different resolutions and compression settings using the correct render settings. For web-based applications, compression is essential, while higher resolution may be needed for large-screen television outputs.
Q 24. What is your experience with using different cameras and camera settings within 3ds Max?
I’m highly proficient in using various cameras and their settings within 3ds Max. I understand the difference between perspective, orthographic, and target cameras, and choose the appropriate camera type based on the desired effect. Perspective cameras mimic the human eye, creating a sense of depth and perspective, while orthographic cameras produce parallel lines, useful for architectural renderings or technical illustrations. Target cameras provide easy control over camera orientation and movement through the scene.
Beyond camera type, I expertly adjust camera parameters like field of view (FOV), focal length, aperture, and depth of field (DOF) to achieve specific cinematic effects. A wider FOV can be used for establishing shots, while a narrower FOV can create a more intimate or focused effect. Mastering depth of field (DOF) is also critical for focusing attention on particular elements while blurring the background. For example, I’ve used a shallow depth of field (large aperture setting) to emphasize a subject while blurring the background, bringing a more professional, cinematic quality to my work.
Q 25. Explain your experience with the 3ds Max viewport and its customization options.
The 3ds Max viewport is my primary interface, and I’ve extensively customized it to enhance productivity and efficiency. I routinely use the viewport customization options to tailor my working environment. This includes adjusting the display of different visual aids such as object outlines, axes, and grid lines. I customize the color scheme for better contrast and clarity. For example, for intricate scenes, using a dark grey background enhances visibility of translucent objects.
I also frequently utilize viewport configurations like ‘wireframe,’ ‘shaded,’ ‘textured,’ and ‘realistic’ modes to quickly visualize different aspects of the scene, switching between modes as needed to check model details, lighting, and textures, without having to render a complete image. Efficient viewport management dramatically speeds up workflows by avoiding unnecessary renders. Furthermore, I am proficient in utilizing the different display configurations and sub-object selections within the viewport for detailed modeling and editing. I frequently use named views and utilize the ‘Perspective Match’ feature for aligning cameras and simplifying scene setup.
Q 26. How familiar are you with using 3ds Max for creating and editing NURBS surfaces?
My experience with NURBS surfaces in 3ds Max is extensive. I understand their mathematical basis and appreciate their ability to create smooth, precise curves and surfaces ideal for organic modeling, vehicle design, and architectural visualization. I’m comfortable using tools like the ‘Edit Spline’ and ‘Create NURBS Surface’ commands to build complex NURBS models from scratch or edit existing ones.
I’m also proficient in manipulating NURBS surface parameters, including degree, knots, and control points, to achieve precise surface control. For instance, I can adjust control points to sculpt the shape of a NURBS surface into the desired form – for example, refining the curves of a car body panel or the flow of lines in an architectural model. Using these techniques, I have worked on complex models, such as creating a realistic human skull model using NURBS and modifying its surface for a specific scientific visualization project. Furthermore, I’m familiar with using Boolean operations on NURBS surfaces to combine and subtract complex shapes.
Q 27. What is your experience with rendering different types of materials using 3ds Max?
I have extensive experience rendering different materials within 3ds Max, utilizing both standard and advanced material options. This includes proficiency with the standard Arch & Design materials and the more advanced capabilities of the VRay or Arnold renderers. I have worked with various material types, including physically-based materials (PBR), which provide a more realistic representation of material properties like diffuse, specular, roughness, and normal maps. I’m adept at understanding and using these properties to create believable textures. For example, when working on a project requiring a realistic wooden texture, I would use a diffuse map for the wood grain, a normal map for surface detail, and a roughness map to define the overall texture feel, creating a highly detailed and photorealistic wood material.
Beyond PBR, I can create custom materials using various shaders, utilizing maps for reflectivity, transparency, and self-illumination. This allows me to achieve a wider range of effects, from metallic surfaces to translucent glass and everything in between. For instance, I can create a realistic water effect using shaders that simulate subsurface scattering to replicate how light interacts with the water particles.
Q 28. How proficient are you in using 3ds Max to create and manage layers?
I am highly proficient in creating and managing layers in 3ds Max. I understand that effective layer management is paramount for efficient workflow, especially in complex scenes. I use layers to logically organize objects and groups of objects within my scenes, enhancing clarity and making scene management far more efficient. This aids significantly during complex tasks such as animating or adjusting materials for specific objects within a large scene. For instance, I might create separate layers for the main characters, background elements, and effects in an animation.
My layer management goes beyond simple organization; I use layer properties like visibility and renderability to control what is rendered in the final image or animation. This allows me to selectively render only the desired elements, improving render times and managing complexity. Furthermore, I am comfortable with naming conventions and color-coding layers for increased visibility. Proper layer management is essential for collaboration, simplifying version control and ensuring clear communication among team members when working on large-scale projects.
Key Topics to Learn for Your 3ds Max Interview
- Interface and Navigation: Mastering the 3ds Max workspace, including the viewport, command panel, and various toolbars. Be prepared to discuss efficient workflow techniques.
- Modeling Fundamentals: Demonstrate understanding of primitive shapes, Boolean operations, extrusion, and other modeling techniques. Practice creating complex models from simple shapes.
- UV Mapping and Texturing: Explain the process of unwrapping models, creating UV maps, and applying textures. Be ready to discuss different texturing techniques and workflows.
- Materials and Lighting: Discuss different material types (standard, VRay, Arnold, etc.), lighting principles (three-point lighting, ambient occlusion), and how they affect the final render.
- Animation Principles: Showcase your knowledge of keyframing, animation curves, constraints, and character animation techniques (if applicable to your experience).
- Rendering and Output: Explain different render engines (e.g., VRay, Arnold, Scanline), render settings optimization, and image output formats. Be prepared to discuss render times and optimization strategies.
- Plugins and Extensions: Discuss your experience with any relevant plugins or extensions (e.g., for specific rendering, modeling, or animation tasks). Highlight the benefits and how they improved your workflow.
- Problem-Solving and Troubleshooting: Be ready to discuss how you approach technical challenges in 3ds Max, such as resolving rendering errors or optimizing complex scenes.
Next Steps
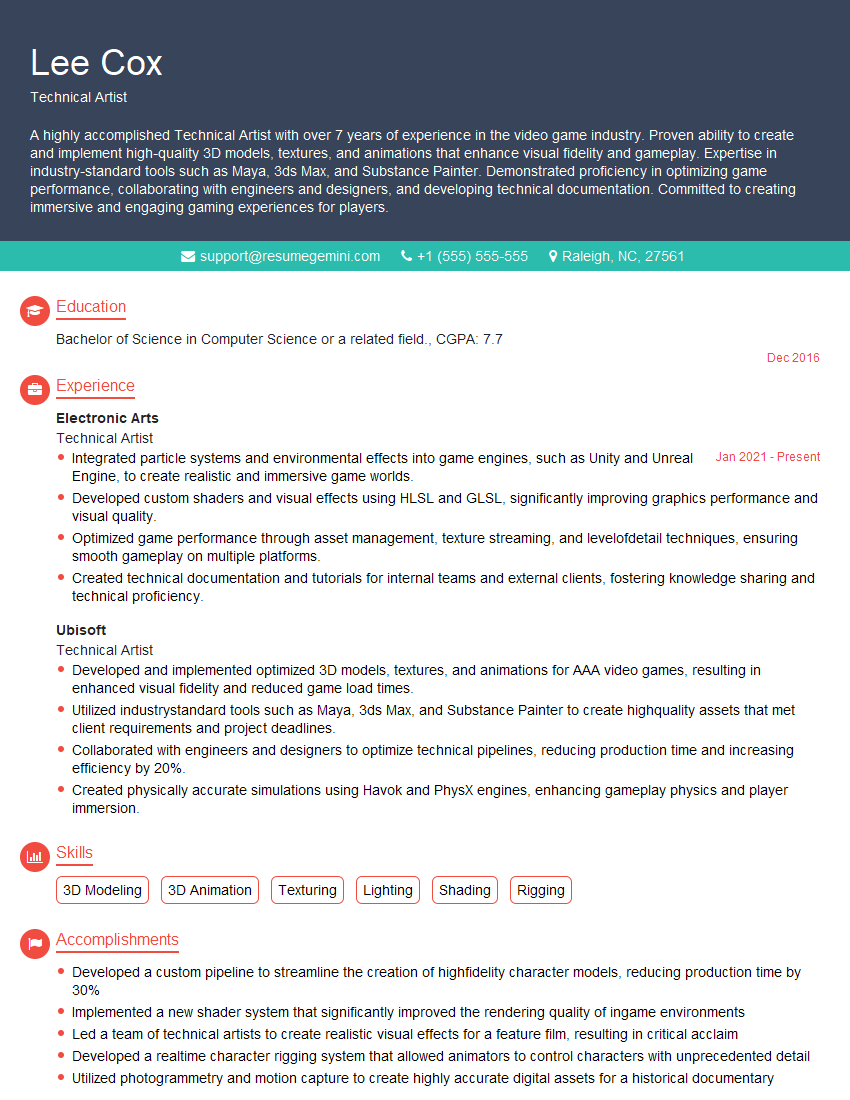
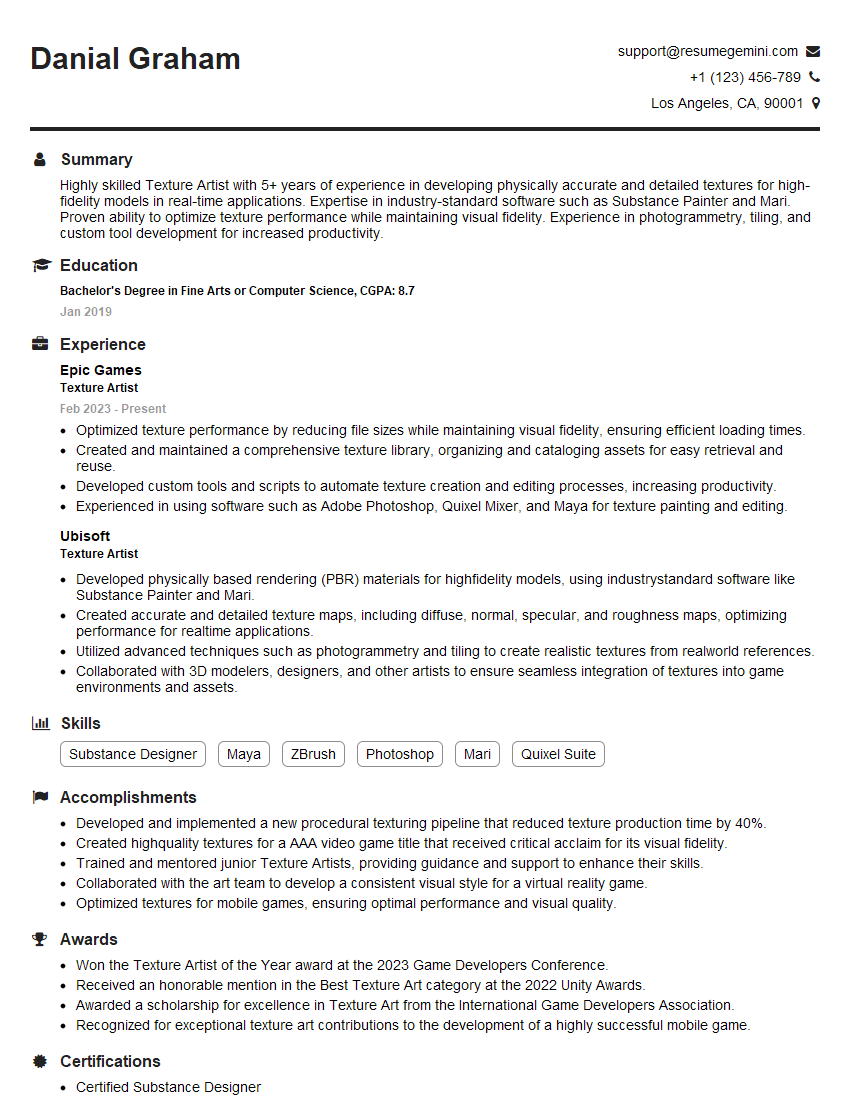
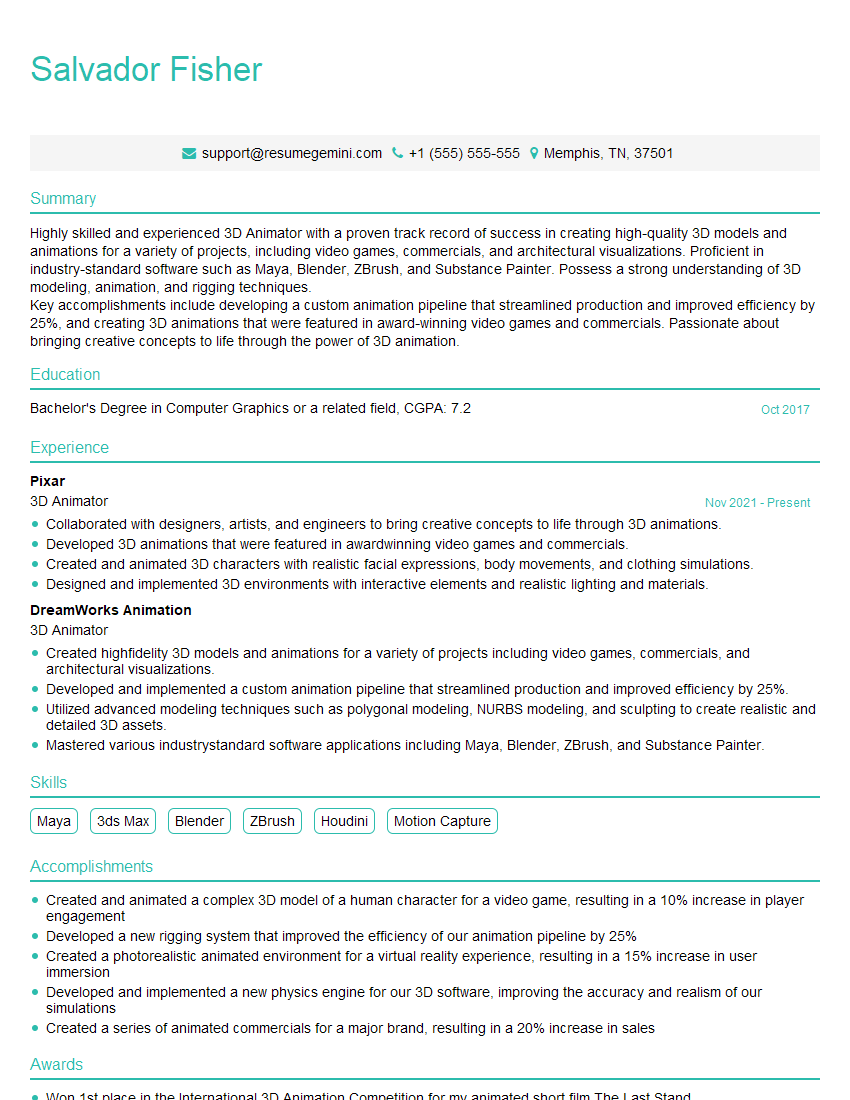
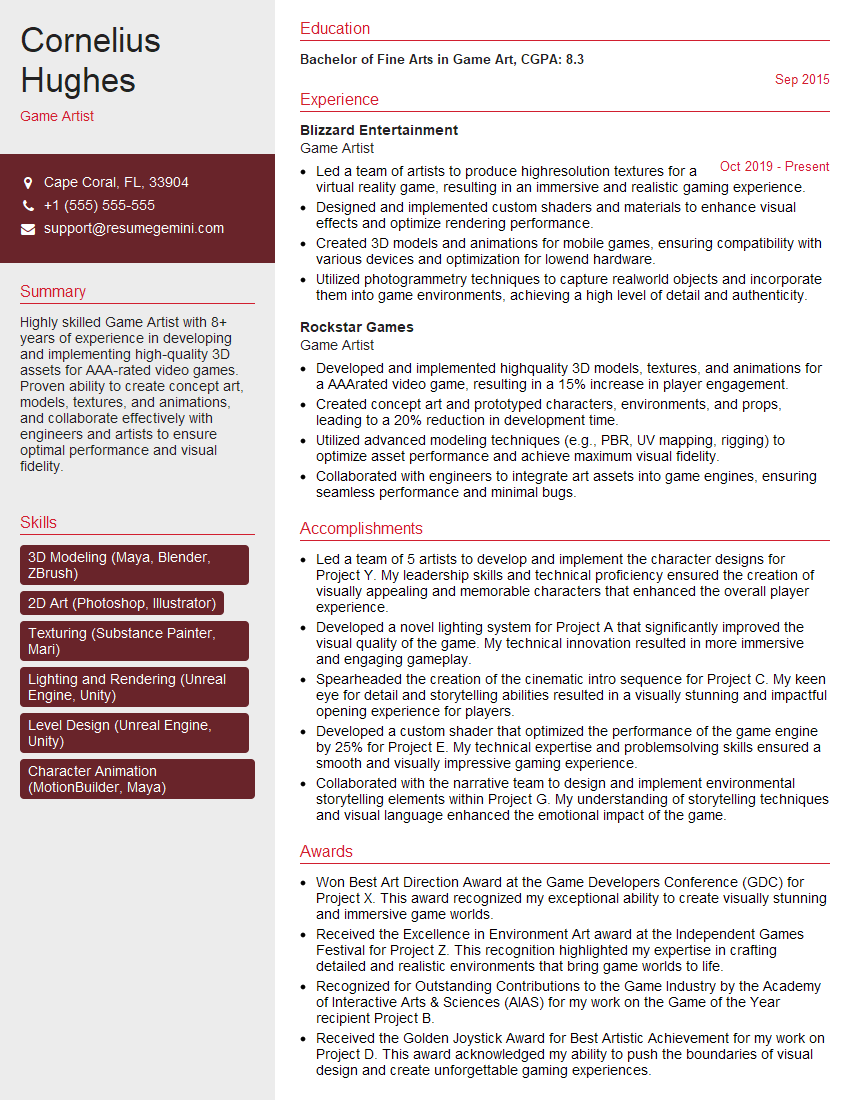
Mastering 3ds Max is crucial for career advancement in many creative fields. A strong portfolio showcasing your skills is essential, but a well-crafted resume is your first impression. Make sure your resume is ATS-friendly to maximize your chances of getting noticed by recruiters. ResumeGemini is a trusted resource for building professional, impactful resumes. They provide examples of resumes tailored to 3ds Max experience, helping you present your skills effectively and land your dream job.
Explore more articles
Users Rating of Our Blogs
Share Your Experience
We value your feedback! Please rate our content and share your thoughts (optional).
What Readers Say About Our Blog
Hello,
We found issues with your domain’s email setup that may be sending your messages to spam or blocking them completely. InboxShield Mini shows you how to fix it in minutes — no tech skills required.
Scan your domain now for details: https://inboxshield-mini.com/
— Adam @ InboxShield Mini
Reply STOP to unsubscribe
Hi, are you owner of interviewgemini.com? What if I told you I could help you find extra time in your schedule, reconnect with leads you didn’t even realize you missed, and bring in more “I want to work with you” conversations, without increasing your ad spend or hiring a full-time employee?
All with a flexible, budget-friendly service that could easily pay for itself. Sounds good?
Would it be nice to jump on a quick 10-minute call so I can show you exactly how we make this work?
Best,
Hapei
Marketing Director
Hey, I know you’re the owner of interviewgemini.com. I’ll be quick.
Fundraising for your business is tough and time-consuming. We make it easier by guaranteeing two private investor meetings each month, for six months. No demos, no pitch events – just direct introductions to active investors matched to your startup.
If youR17;re raising, this could help you build real momentum. Want me to send more info?
Hi, I represent an SEO company that specialises in getting you AI citations and higher rankings on Google. I’d like to offer you a 100% free SEO audit for your website. Would you be interested?
Hi, I represent an SEO company that specialises in getting you AI citations and higher rankings on Google. I’d like to offer you a 100% free SEO audit for your website. Would you be interested?
good
