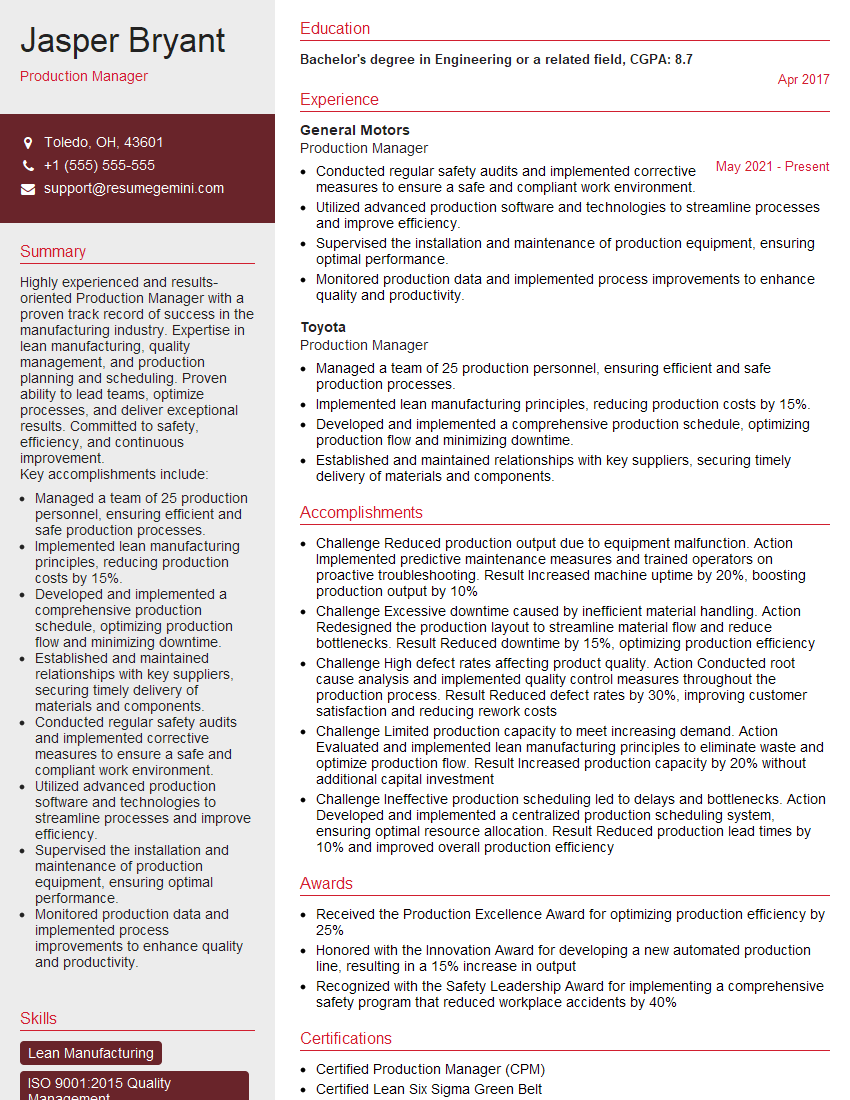
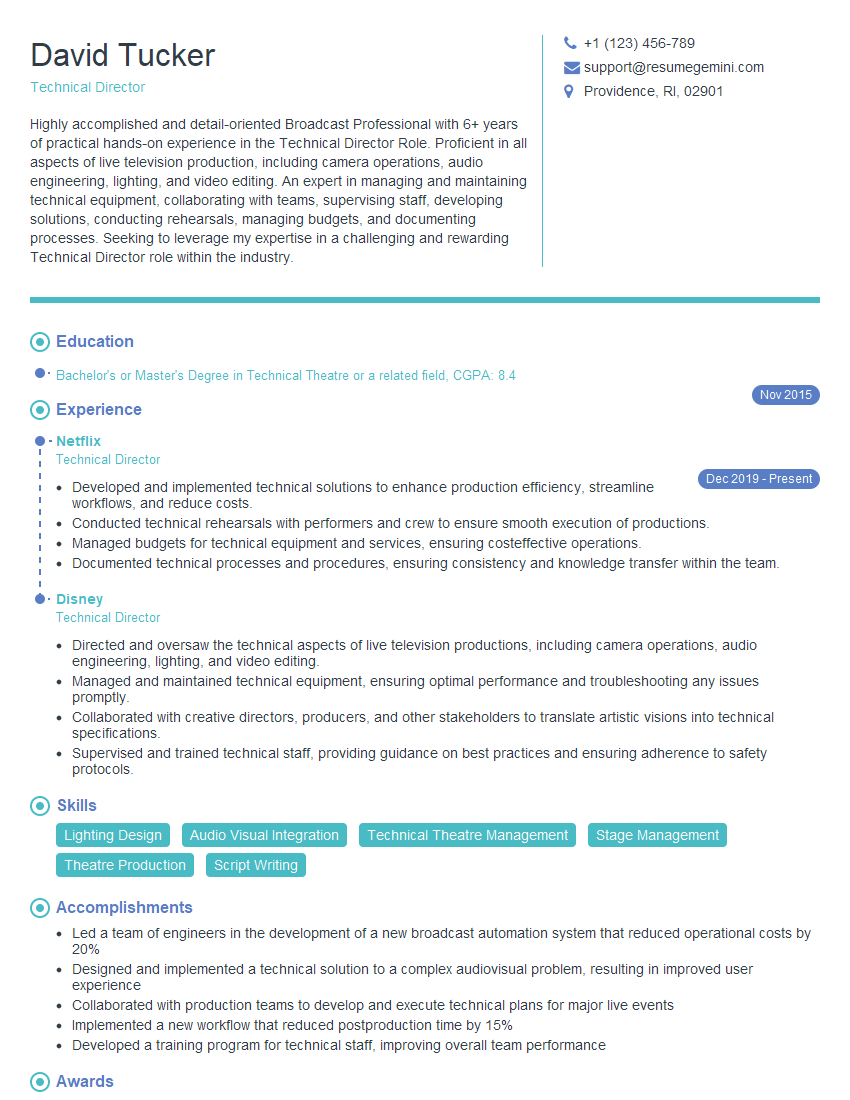
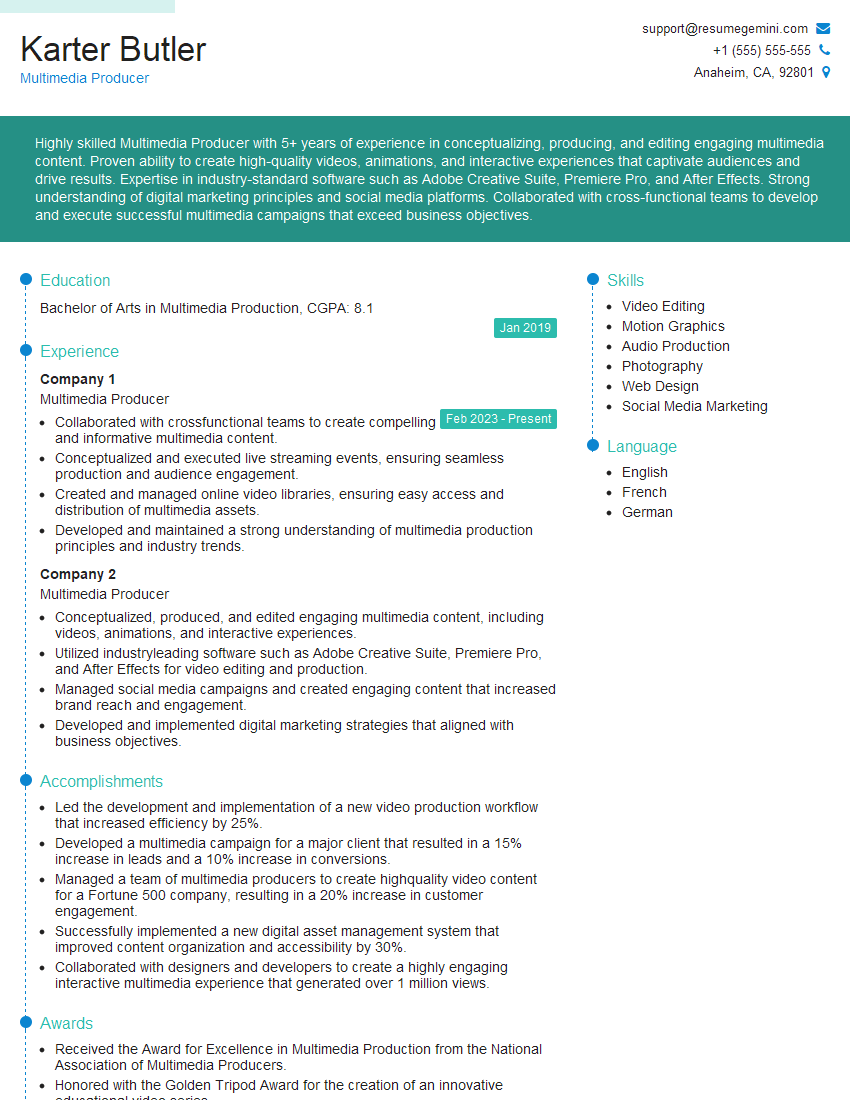
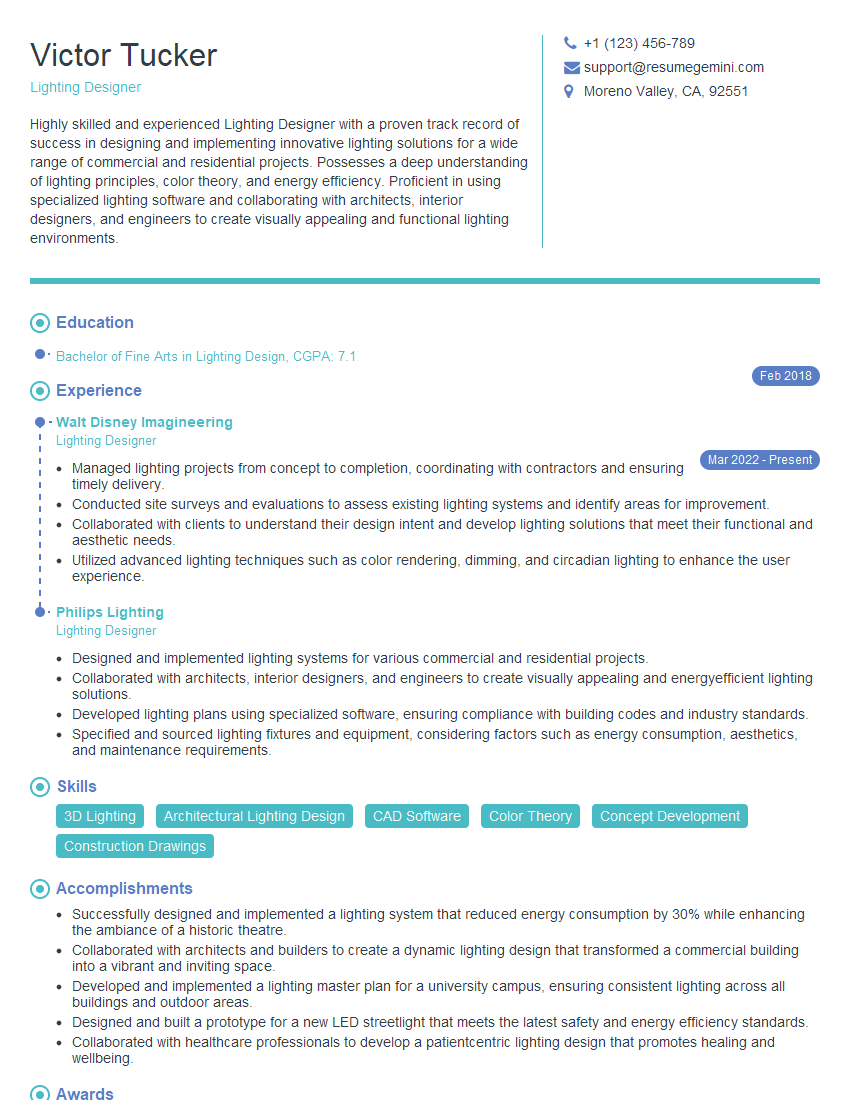
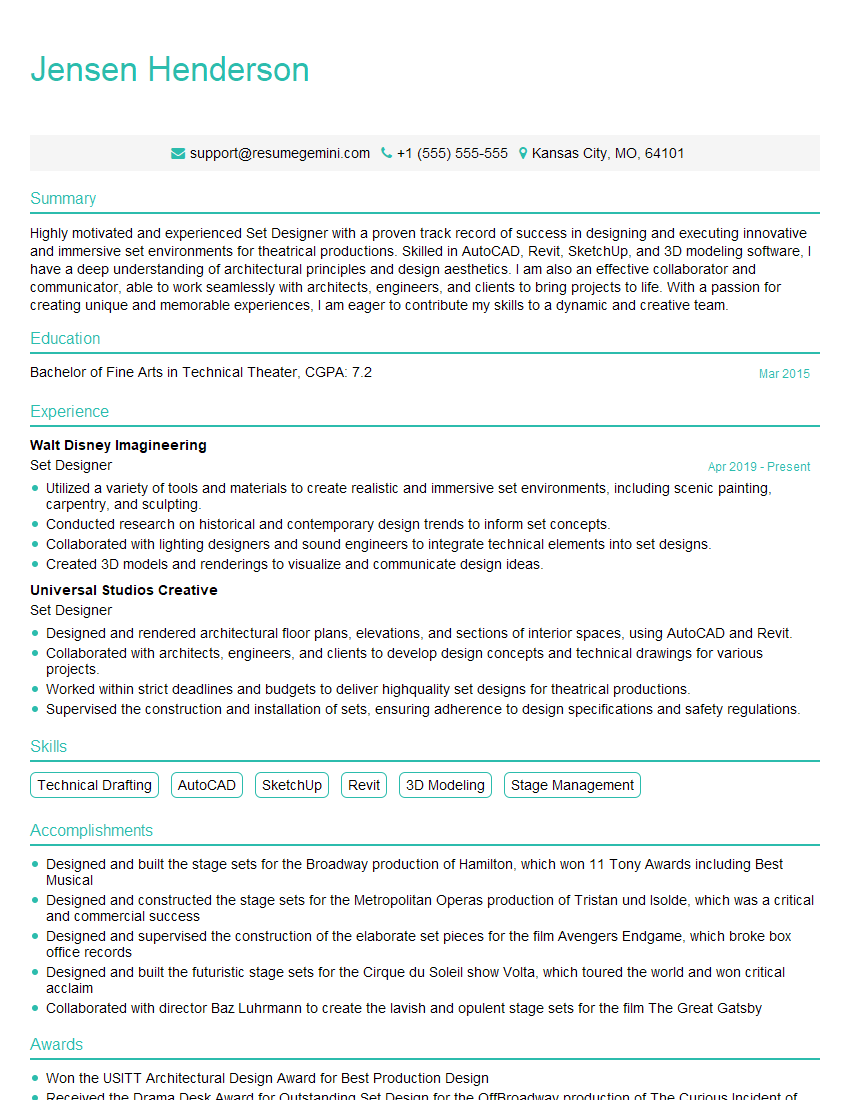
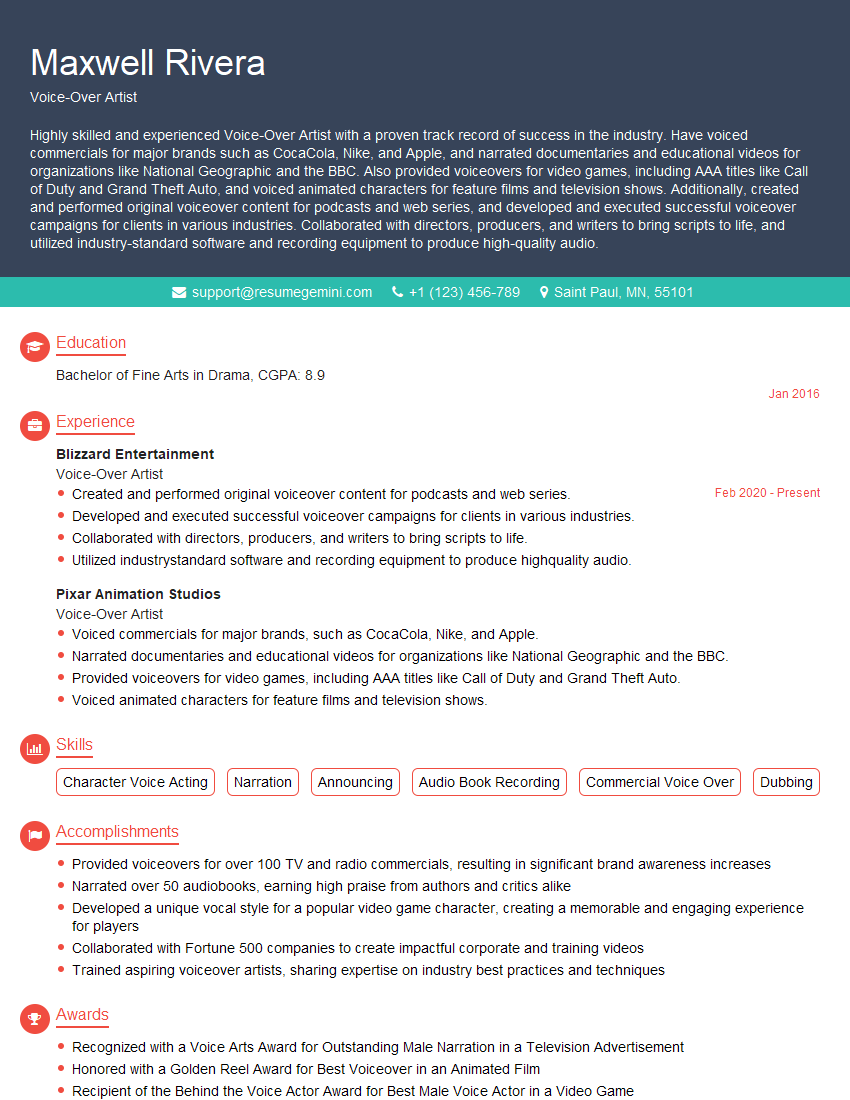
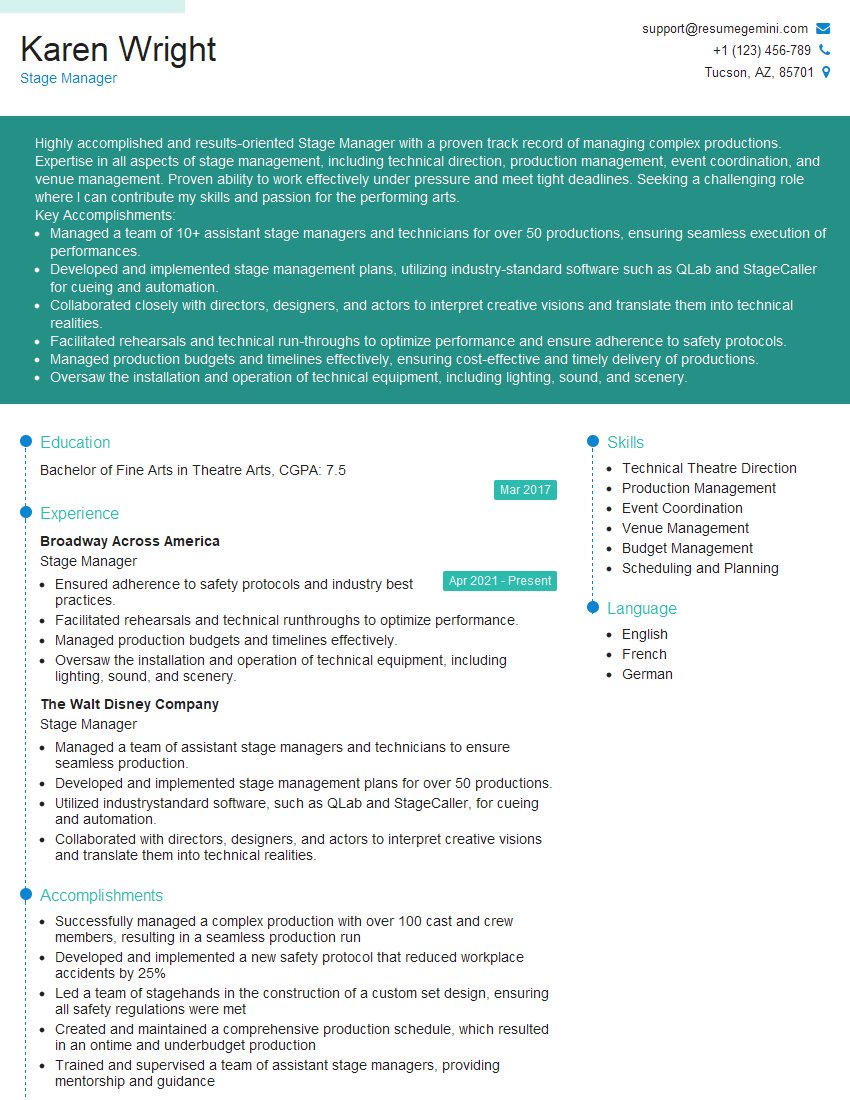
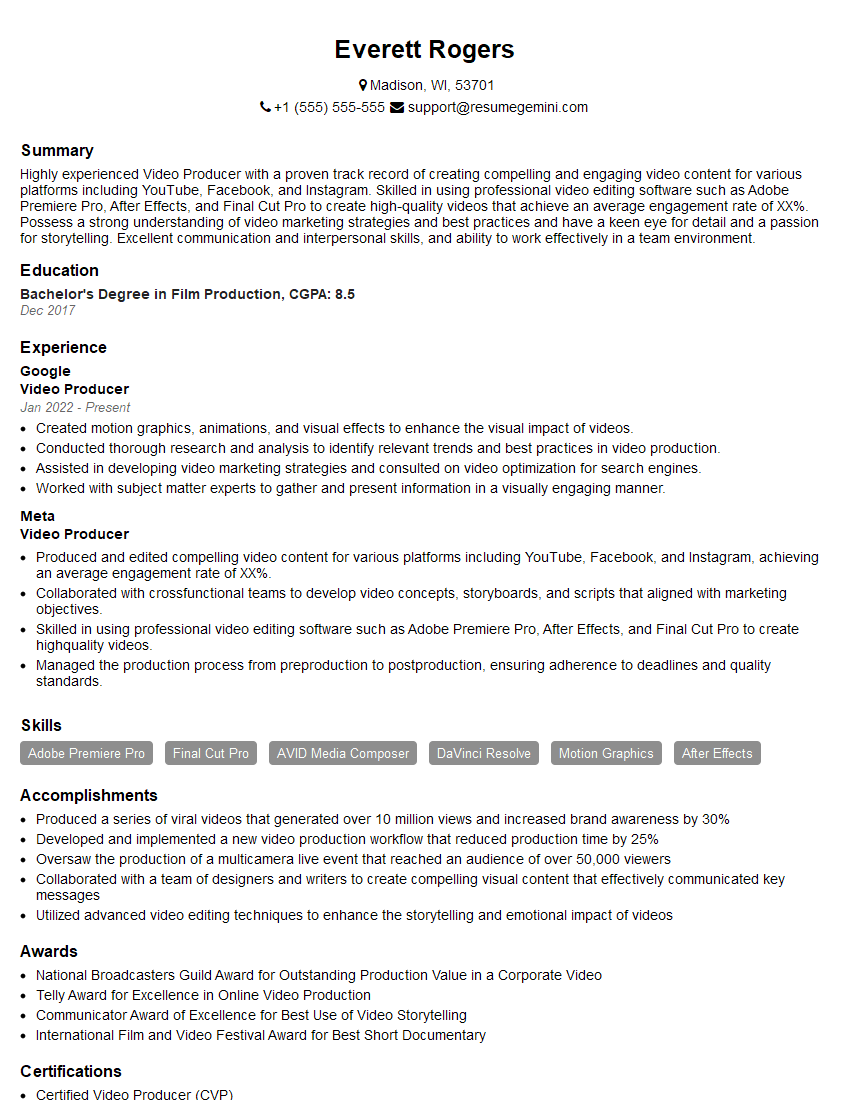
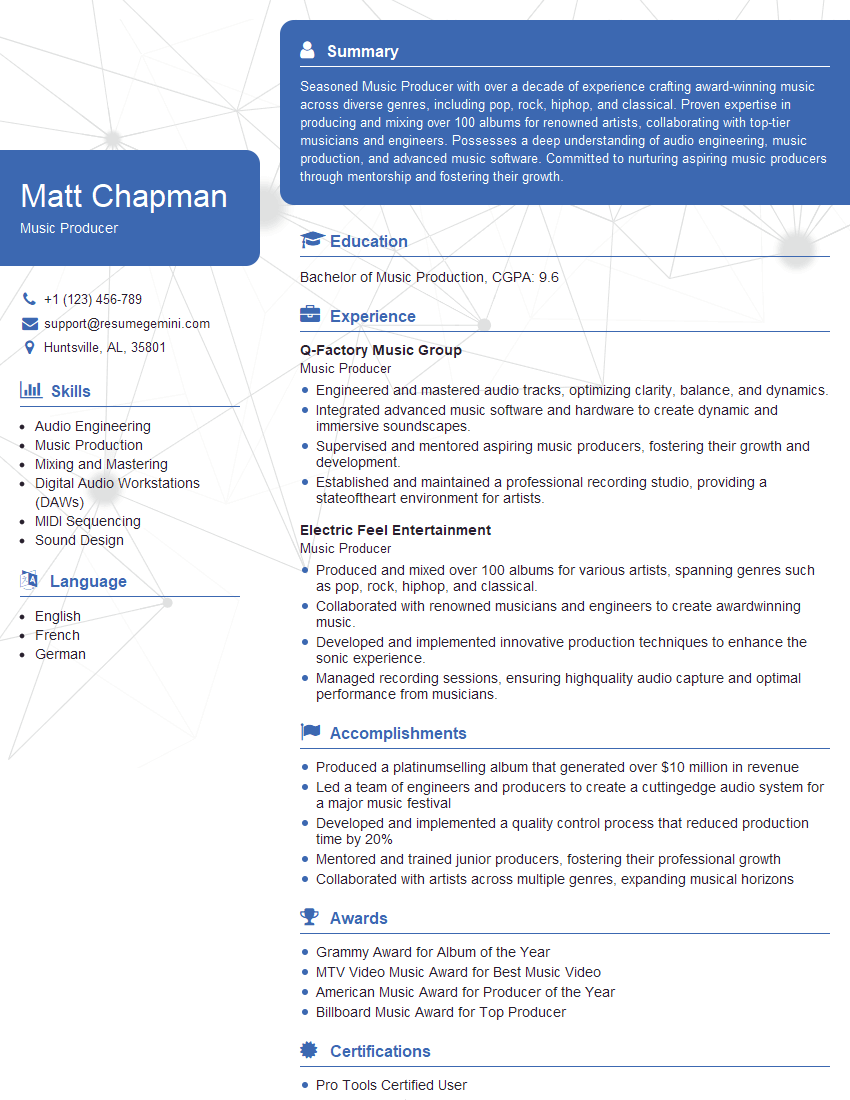
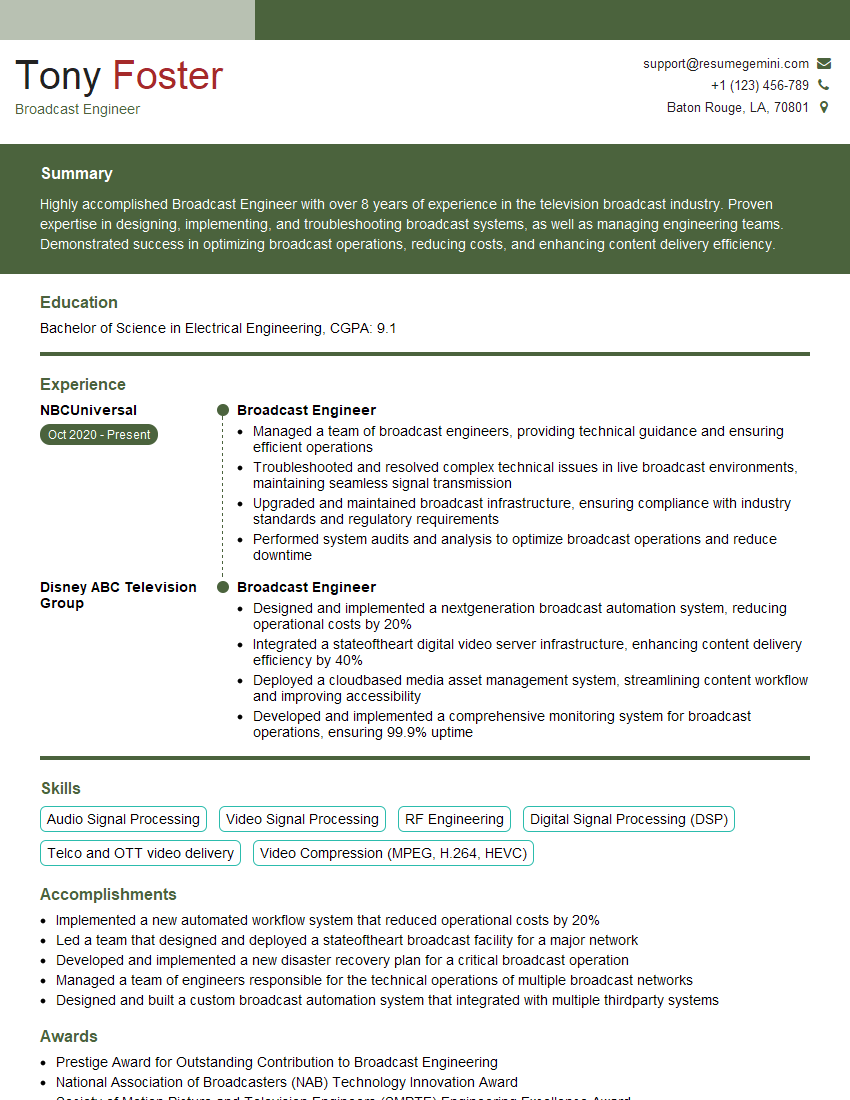
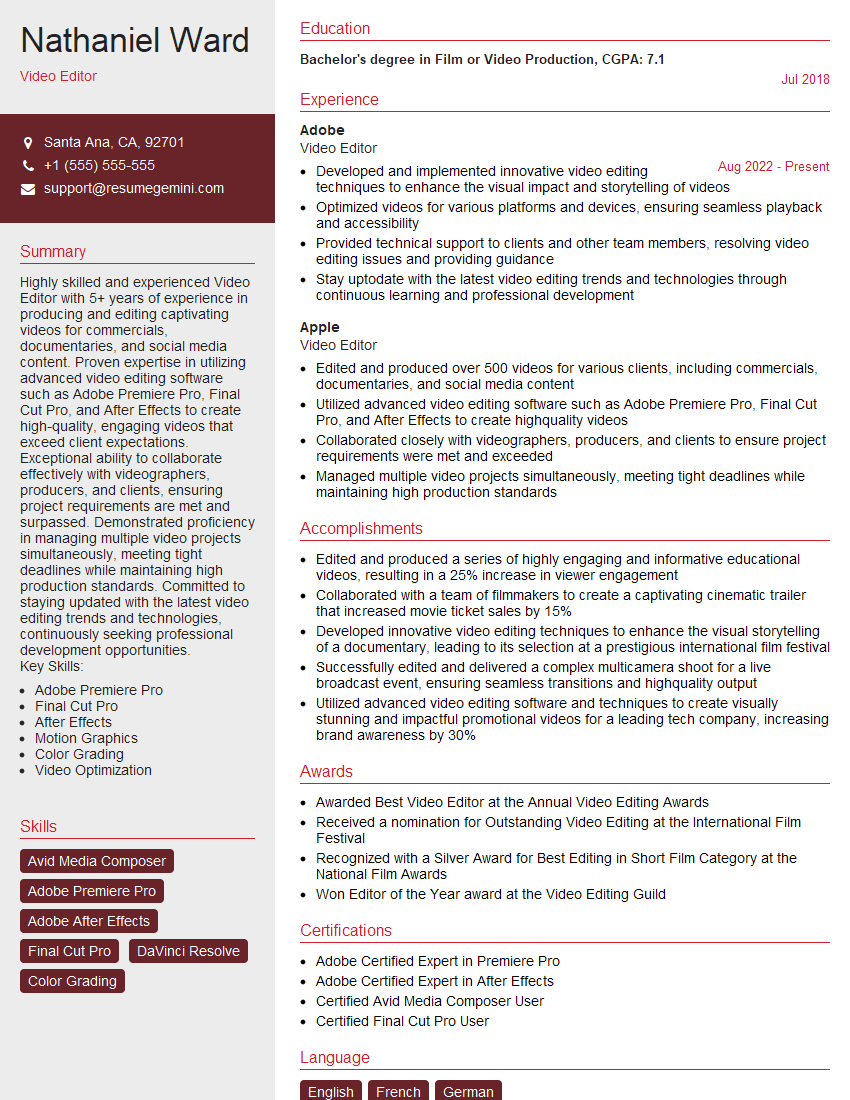
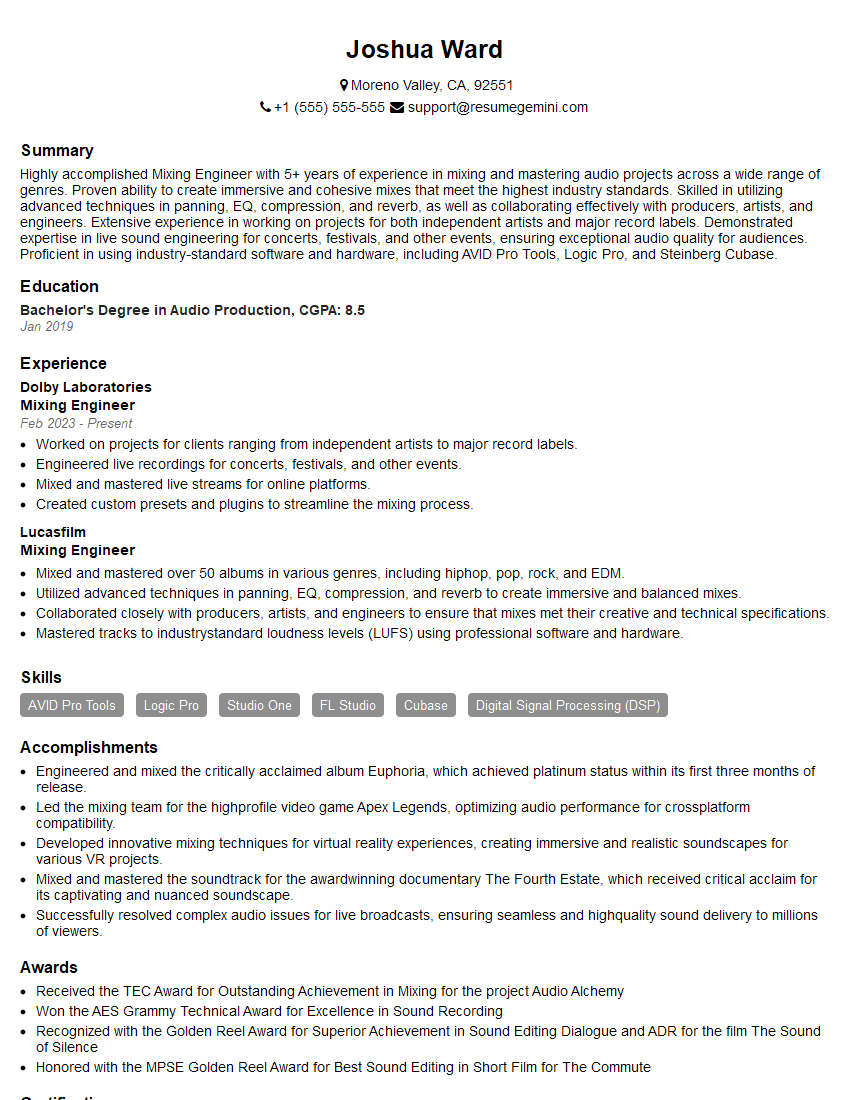
Every successful interview starts with knowing what to expect. In this blog, we’ll take you through the top Experience with both live and recorded performances interview questions, breaking them down with expert tips to help you deliver impactful answers. Step into your next interview fully prepared and ready to succeed.
Questions Asked in Experience with both live and recorded performances Interview
Q 1. Describe your experience with different microphone techniques for live performances.
Microphone technique is crucial for capturing high-quality audio in live performances. The choice of microphone type (dynamic, condenser, ribbon) and its placement relative to the sound source dramatically impacts the final sound. For vocals, I’ve extensively used both handheld dynamic mics like the Shure SM58 (robust and ideal for feedback rejection) and condenser mics like the Neumann U 87 (offering a detailed and nuanced sound, but more susceptible to feedback). For instruments, the approach varies greatly. For example, a close-miking technique (placing the mic very near the sound source) is commonly used for acoustic guitars to capture a detailed, intimate sound, whereas a distant miking technique might be preferred for a full drum kit to capture the overall ambience. I’ve also experimented with various stereo microphone techniques, like the XY and ORTF methods, for capturing a realistic and wide stereo image, often employed when recording acoustic ensembles.
One memorable experience involved a vocalist who preferred a very close-miking technique with a condenser mic. Initially, there was a significant amount of proximity effect (bass boost due to close proximity), which we addressed by subtly adjusting the EQ to roll off some of the low frequencies. This demonstrates the importance of understanding microphone characteristics and using equalization to sculpt the sound.
Q 2. Explain your workflow for editing recorded audio in a post-production setting.
My post-production workflow for recorded audio is highly organized and iterative. It typically begins with a meticulous review of the raw recordings, identifying any obvious issues such as noise, dropouts, or unwanted artifacts. Then, I move onto noise reduction and editing. I use tools like iZotope RX to effectively remove background noise, clicks, and pops without compromising the quality of the desired audio. Next comes editing – cutting out unwanted sections, aligning takes, and performing any necessary repairs. This is followed by mixing, where I adjust levels, EQ, compression, and reverb to achieve the desired sonic balance and clarity. Finally, mastering aims to optimize the overall loudness and dynamic range for the target medium (e.g., CD, streaming platforms). Throughout the process, I regularly listen on different playback systems to ensure the audio translates well across various listening environments. I constantly save versions of my project to avoid any irreversible changes.
Example: I might use a fade-in/fade-out to seamlessly transition between two sections of a recording.Q 3. How do you troubleshoot audio issues during a live performance?
Troubleshooting audio issues during a live performance requires quick thinking and a systematic approach. My first step is to identify the source of the problem: is it a faulty microphone, a bad cable connection, a problem with the mixer, or something else? I start by visually inspecting all connections, looking for loose cables or damaged equipment. If a microphone isn’t working, I’ll try a replacement to determine if the issue is with the mic itself or its connection. For feedback (a high-pitched squeal), I adjust the gain settings on the mixer, reposition the microphones, or use feedback-reducing techniques (notch filters on the mixer). If there’s a problem with the PA system, I might check the main power supply or check the signal path to see where it’s breaking down. Having backup equipment is also crucial – a spare microphone, cable, or even a mixer can save the day.
For example, during one performance, we suddenly experienced a significant drop in volume on one vocalist’s microphone. After quickly checking connections, we found a cable was partially disconnected. A swift reconnection resolved the issue, highlighting the importance of regular equipment checks and having backup cables readily available.
Q 4. What software are you proficient in for audio/video editing and mixing?
I’m proficient in a variety of audio and video editing and mixing software. My go-to DAW (Digital Audio Workstation) is Pro Tools, which offers unparalleled power and precision for audio editing and mixing. For video editing, I regularly use Adobe Premiere Pro, often incorporating audio post-production within the same workflow. I’m also experienced with Logic Pro X and Ableton Live, which offer different strengths depending on the project requirements. In addition to these, I’m familiar with specialized audio restoration tools like iZotope RX, and metering plugins for precise level control.
Q 5. Describe your experience with different audio mixing consoles.
My experience with audio mixing consoles spans a range of models and sizes, from small analog mixers ideal for smaller events to large digital consoles utilized in professional venues. I’m comfortable using both analog and digital consoles, understanding their strengths and limitations. Analog consoles offer a tactile and immediate experience, while digital consoles provide advanced features like recall of settings and extensive routing capabilities. I’ve worked extensively with Yamaha, Soundcraft, and Allen & Heath consoles. My familiarity extends to understanding the importance of routing, EQ, compression, and effects processing within these consoles, tailoring the sound to match the requirements of the performance.
For instance, in a recent event with multiple instruments and vocalists, the digital console’s extensive routing capabilities allowed us to send specific signals to different monitor mixes for each performer, ensuring optimal stage sound.
Q 6. How do you manage multiple audio inputs during a live event?
Managing multiple audio inputs during a live event requires careful planning and execution. Before the event, I meticulously prepare a detailed input list, assigning each input to a specific channel on the mixing console. This ensures efficient and organized management of the various audio sources. During the event, I utilize the mixer’s routing capabilities to send signals to various outputs (main PA, monitors, recordings). I might use subgroups or aux sends to group similar instruments or vocals, simplifying the mixing process and allowing for more precise control. Effective communication with performers and stage crew is essential for ensuring that all inputs are correctly connected and functioning optimally.
For example, in a large-scale concert, I might use subgroups to manage the various sections of the orchestra, sending each subgroup to a separate bus for further processing and control before sending to the main output.
Q 7. Explain your experience with signal flow and routing in live audio.
Signal flow and routing are fundamental aspects of live audio. Understanding signal flow is akin to understanding the path electricity takes in a circuit. In a live sound system, the signal travels from the microphone or instrument, through the mixer, to the amplification and speakers. Careful routing of signals within the mixer is crucial for effective mixing and monitoring. This involves understanding the functions of various components like inputs, outputs, aux sends, subgroups, and matrixes. For example, aux sends are commonly used to create monitor mixes for performers on stage, while subgroups can be used to manage the balance of multiple instruments within a section.
Improper signal routing can lead to various problems, including feedback, incorrect levels, and loss of signals. A clear understanding of signal flow allows for efficient troubleshooting and ensures a smooth and controlled performance.
Q 8. What are your strategies for achieving optimal audio quality in a live performance?
Achieving optimal audio quality in a live performance is a multifaceted process that begins long before the show. It involves meticulous planning, skilled execution, and a deep understanding of acoustics and sound reinforcement. My strategy focuses on three key areas: preparation, execution, and monitoring.
- Preparation: This includes careful microphone selection, appropriate placement based on the venue’s acoustics and instrument characteristics, and pre-show sound checks. I’ll always conduct thorough sound checks, experimenting with different microphone techniques and positions to optimize each instrument and vocal’s sound. For example, a close-miked snare drum might need a different EQ curve compared to a room-miked acoustic guitar.
- Execution: During the performance itself, maintaining gain staging is paramount. This prevents clipping (distortion caused by exceeding the maximum input level of a device) and ensures a healthy signal throughout the chain. I also use gain reduction techniques to control dynamic range (the difference between the loudest and quietest parts of a signal) to ensure clarity and avoid unwanted peaks. Careful monitoring helps adjust levels in real-time, compensating for unexpected volume shifts.
- Monitoring: Providing performers with appropriate stage monitors is crucial. A good monitor mix allows musicians to hear themselves and the rest of the band effectively, preventing them from playing too loudly or too softly, which impacts the overall mix.
Ultimately, preparation and vigilance are key. A detailed rider specifying equipment needs is critical to avoid last-minute problems, and a proactive approach to troubleshooting during the performance minimizes disruptions.
Q 9. How do you handle feedback issues during live sound reinforcement?
Feedback, that high-pitched squeal, is the bane of live sound. It happens when sound from a speaker is picked up by a microphone, amplified, and sent back through the system, creating a loop. My approach to handling feedback involves a combination of proactive measures and reactive solutions.
- Proactive Measures: This includes careful microphone placement, minimizing direct line-of-sight between speakers and microphones, and using directional microphones which pick up sound from a specific direction and reject sound from other directions. EQ is another important tool. Notching out the frequencies that are causing the feedback is very effective.
- Reactive Solutions: If feedback occurs, I’ll quickly identify the frequency causing the problem using a real-time analyzer (RTA) or by simply listening carefully. I’ll then use a parametric EQ to create a narrow cut at that specific frequency. This reduces the feedback without affecting the overall sound too drastically. Sometimes, subtly adjusting the microphone’s gain or position can also resolve the issue.
The key is to be quick and decisive. A delay in addressing feedback can ruin a performance. Having a good understanding of acoustic principles and quick reflexes on the mixing console is vital.
Q 10. What is your experience with different types of audio compression and limiting?
Audio compression and limiting are essential tools for controlling dynamic range and preventing clipping. They’re very different though. Compression reduces the difference between loud and soft sounds, while limiting prevents the signal from exceeding a certain threshold.
- Compression: I use various compression types depending on the application. For vocals, a gentle compression might be used to even out dynamics and make the performance more consistent. A ratio of 4:1 with a slow attack and release time might be appropriate. For drums, faster attack and release times can add punch and impact. I’ve often used parallel compression, where a compressed signal is mixed with the original signal, allowing the engineer to retain some dynamics while controlling the overall level.
- Limiting: Limiting is crucial for protecting speakers and ensuring consistent loudness, typically used as the final stage in the signal chain. A limiter prevents the signal from exceeding its maximum level. It’s essential for broadcasting, ensuring that the audio doesn’t cause distortion in transmission.
Choosing the right settings depends heavily on the source material and desired outcome. Experimentation and a good understanding of the audio’s characteristics is key.
Q 11. Describe your experience with equalization techniques for different instruments and vocals.
Equalization (EQ) is a fundamental skill in live sound reinforcement. It allows us to adjust the frequency balance of individual instruments and vocals, shaping their sound to be clear and balanced within the overall mix.
- Vocals: Vocals often benefit from a subtle presence boost in the high frequencies (around 5-8kHz) to add clarity and detail. Cutting muddiness in the low-mid frequencies (around 250-500Hz) can also help make them sound cleaner. I’ll frequently use de-essing to reduce harsh sibilance (the ‘s’ sounds).
- Instruments: The EQ requirements for instruments vary greatly. For example, an electric guitar might need a boost in the mid-range to make it cut through the mix, while an acoustic guitar might require some low-end cut to reduce muddiness. Drums require careful EQ sculpting on each individual piece. The kick drum might need a boost in the low frequencies (around 60-80Hz), the snare drum in the mid-range (around 2-4kHz), and the hi-hat in the high frequencies (around 8-12kHz).
It’s important to use EQ judiciously. Over-EQing can lead to a thin, unnatural sound. The goal is to enhance the instruments’ natural characteristics, not to drastically alter them.
Q 12. How do you ensure a smooth transition between different audio sources during a live broadcast?
Smooth transitions between audio sources during a live broadcast are essential for maintaining a professional and engaging listening experience. My approach focuses on employing crossfades and level automation.
- Crossfading: This technique gradually fades one audio source out while simultaneously fading another in. The duration of the crossfade is crucial; a too-short crossfade can sound abrupt, while a too-long one can sound drawn out. A 2-4 second crossfade is generally suitable for most situations.
- Level Automation: This method uses pre-programmed adjustments to audio levels, ensuring a controlled and seamless transition. I use automation to pre-set level changes for songs, segments or even specific cues, ensuring everything plays out smoothly and precisely.
- Cueing: Before the actual transition, I always pre-listen to the next audio source to check for potential level discrepancies or unwanted noises. This preventative measure is crucial for delivering a clean and professional sound.
The exact technique I employ depends on the context, but the main goal remains consistent: a smooth, seamless transition that is imperceptible to the listener.
Q 13. Explain your approach to video editing for consistency and coherence.
Consistency and coherence are paramount in video editing. My approach focuses on establishing a clear narrative, maintaining visual style, and applying consistent editing techniques.
- Storyboarding: Before I start editing, I often create a storyboard to visualize the flow of the video and ensure a logical sequence. This helps establish a clear narrative arc and prevents disjointedness.
- Visual Style: Maintaining a consistent visual style—including color grading, aspect ratio, and font choices—is critical. I use consistent transitions and avoid jarring cuts to improve flow and viewer experience. For example, maintaining a similar color palette and editing pace across different sections of the video fosters unity.
- Continuity: I meticulously check for continuity errors, such as changes in wardrobe or lighting, that can break the viewer’s immersion. Keeping track of shot details and taking notes helps maintain accuracy.
Ultimately, ensuring consistency throughout the editing process leads to a more professional and engaging final product, allowing the viewer to fully immerse themselves in the narrative.
Q 14. Describe your workflow for colour correction and grading in video editing.
Color correction and grading are crucial for enhancing the visual appeal and storytelling potential of a video. My workflow combines technical accuracy with artistic interpretation.
- Color Correction: This is the foundational step, aiming to fix technical imperfections and ensure a consistent look. I’ll usually start by balancing white balance to achieve accurate color reproduction. Then I address other issues such as exposure, contrast, and saturation to achieve a natural and realistic look, correcting any technical flaws in the footage.
- Color Grading: This is a more creative process, where I use color to enhance mood, atmosphere, and style. I might add a cool tone to create a suspenseful feel, or warm tones to create a more inviting atmosphere. Tools such as LUTs (Look-Up Tables) are often used to streamline the process and apply pre-designed color palettes.
- Software and Tools: I utilize industry-standard software like DaVinci Resolve or Adobe Premiere Pro, which offer powerful tools for both color correction and grading. Understanding the software’s features is crucial for efficient and creative workflows.
The balance between correction and grading depends heavily on the context of the video and the artistic vision. Color is a powerful storytelling tool, and mastering this workflow is crucial for impactful and polished videos.
Q 15. What is your experience with different camera angles and shot compositions?
Camera angles and shot compositions are fundamental to storytelling in video. My experience encompasses a wide range, from wide shots establishing context to extreme close-ups conveying emotion. I understand the power of different angles – a low angle can make a subject appear powerful, while a high angle can make them seem vulnerable. Similarly, shot composition using the rule of thirds, leading lines, and headroom/nose room significantly impacts the viewer’s experience.
For instance, in a recent concert recording, we used a combination of wide shots to capture the energy of the entire crowd, medium shots to focus on the band’s performance, and close-ups to highlight individual expressions. In a corporate video, I strategically used over-the-shoulder shots during interviews to maintain a conversational feel while also ensuring the subject remained central to the viewer’s attention.
I’m proficient in planning shots using storyboards to pre-visualize the desired effect and ensure seamless transitions between different angles and compositions. This pre-planning significantly reduces editing time and ensures a cohesive final product.
Career Expert Tips:
- Ace those interviews! Prepare effectively by reviewing the Top 50 Most Common Interview Questions on ResumeGemini.
- Navigate your job search with confidence! Explore a wide range of Career Tips on ResumeGemini. Learn about common challenges and recommendations to overcome them.
- Craft the perfect resume! Master the Art of Resume Writing with ResumeGemini’s guide. Showcase your unique qualifications and achievements effectively.
- Don’t miss out on holiday savings! Build your dream resume with ResumeGemini’s ATS optimized templates.
Q 16. How do you manage a large video project with multiple contributors?
Managing large video projects with multiple contributors requires meticulous organization and clear communication. I utilize project management software like Asana or Trello to assign tasks, set deadlines, and track progress. Regular check-ins and detailed documentation are crucial. I establish a centralized repository for all project assets – footage, scripts, music – using cloud storage services like Dropbox or Google Drive. This ensures everyone has access to the latest versions and prevents version control issues.
Communication is key; we employ regular team meetings, utilizing video conferencing tools to discuss progress, address challenges, and maintain alignment on the creative vision. A well-defined workflow, outlining the responsibilities of each contributor, minimizes confusion and ensures a smooth production process. For example, in a recent documentary, we had separate teams for filming, sound recording, and graphics. Each team had a lead who reported directly to me, facilitating effective management and coordination.
Q 17. Explain your experience with non-linear editing software.
I’m highly proficient in several non-linear editing (NLE) software packages, including Adobe Premiere Pro, Final Cut Pro, and DaVinci Resolve. NLE software allows for flexible editing, enabling me to rearrange clips, add effects, and refine the video’s pacing easily. I’m comfortable working with various media formats and integrating different types of content, including graphics, animations, and audio. My experience extends to advanced techniques like color correction, keyframing, and motion graphics.
For example, in a recent music video edit, I used Premiere Pro’s advanced masking and keyframing tools to create a unique visual effect. In another project, I leveraged DaVinci Resolve’s color grading capabilities to achieve a specific cinematic look, matching the mood of the narrative. I’m adept at optimizing projects for various platforms, considering factors such as resolution, aspect ratio, and compression.
Q 18. What techniques do you use to achieve a specific mood or tone in your video edits?
Achieving a specific mood or tone in video editing involves a multifaceted approach encompassing several techniques. Color grading plays a significant role; a cool color palette can evoke a feeling of sadness or mystery, while warm colors might create a sense of happiness or nostalgia. Music selection is equally crucial; the tempo and instrumentation of the soundtrack strongly influence the emotional impact. Pace and rhythm also contribute; fast cuts create energy and excitement, while slower, more deliberate cuts can convey a sense of calm or suspense.
For instance, in a dramatic scene, I might use dark, desaturated colors, slow-motion footage, and a somber musical score to emphasize the gravity of the situation. Conversely, a comedic scene might utilize bright, saturated colors, quick cuts, and upbeat music to create a lighthearted atmosphere. I also consider using visual effects and transitions to enhance the mood. Subtle camera movements, such as slow zooms or pans, can effectively build tension or emphasize specific details.
Q 19. How do you balance the creative vision with technical requirements in a video project?
Balancing creative vision with technical requirements is a constant juggling act in video production. The creative vision guides the overall aesthetic and narrative direction, while technical requirements ensure the project is feasible and meets industry standards. It’s about finding creative solutions within the constraints of budget, time, and available equipment. Open communication between the creative team and the technical team is key.
For instance, a director might envision a complex shot involving a drone. The technical team would then assess feasibility based on weather conditions, permits, and safety regulations. We might need to explore alternative approaches if the original vision proves too costly or time-consuming. This could involve substituting the drone shot with a similar effect achieved through CGI or creative camera angles. This collaborative process ensures the final product is both artistically fulfilling and technically sound.
Q 20. Explain your experience with different video codecs and formats.
I have extensive experience with various video codecs and formats, understanding their strengths and weaknesses in terms of compression, quality, and compatibility. Common codecs I use include H.264 (MP4), H.265 (HEVC), and ProRes. H.264 is widely compatible but can be less efficient in compression, whereas H.265 offers better compression ratios at similar quality levels. ProRes is a high-quality, lossless codec ideal for editing but results in larger file sizes. The choice of codec depends on the specific needs of the project, considering factors such as storage space, bandwidth, and target platform.
Understanding file formats is crucial. I work with various formats including MOV, MP4, AVI, and MXF, each with its own set of properties. Choosing the right format ensures compatibility across different platforms and software. In high-resolution projects, I might choose to work with RAW or uncompressed formats during editing to preserve maximum image quality before finally exporting in a compressed format optimized for the distribution platform.
Q 21. How do you handle video file management and organization in a large project?
Managing video file organization in large projects is vital for efficiency and preventing chaos. I utilize a hierarchical folder structure based on project names, date, and type of media (footage, audio, graphics). Clear and consistent naming conventions for files are crucial, avoiding ambiguity. We employ a version control system to track revisions and prevent accidental overwrites. Cloud-based storage and collaboration tools are instrumental in sharing large files among team members.
For example, a project folder might be structured as follows: `[Project Name]/[Date]/[Shot Type]/[Clip Name]_v[Version Number]`. This system provides a clear path for locating and managing various files. We also implement regular backups to avoid data loss. Database systems can further streamline the management of vast amounts of metadata associated with various video files. Proper file management not only streamlines workflow but also prevents costly mistakes and time loss.
Q 22. Describe your experience with different lighting techniques for video recordings.
My experience with lighting techniques for video recordings spans a wide range, from simple three-point lighting setups to more complex multi-light designs incorporating practical and special effects lighting. I understand the importance of mood and atmosphere, and how lighting can significantly impact the overall aesthetic and storytelling of a video.
- Three-Point Lighting: This foundational technique uses a key light (main light source), fill light (softening shadows), and back light (separating the subject from the background). I’ve used this extensively for interviews and talking-head shots, adjusting the intensity and position of each light to achieve the desired look. For example, I might use a softbox for the key light to create a flattering, even illumination.
- High-Key Lighting: This style creates bright, even illumination with minimal shadows, often used for comedic or upbeat scenes. I’ve employed this in music videos and promotional content to give a cheerful and energetic vibe.
- Low-Key Lighting: This involves using dramatic shadows and contrasts, often creating a more moody or suspenseful atmosphere. I’ve successfully utilized this in short films and documentaries where a darker, more intense mood was required.
- Color Grading and Correction: Beyond the initial lighting setup, post-production color correction and grading are crucial. I am proficient in using software like DaVinci Resolve to adjust white balance, color temperature, and overall tone to match the desired style and enhance the visual appeal. This often involves using LUTs (Look Up Tables) for consistent color grading across multiple shots.
I also have experience with specialized lighting equipment like LED panels, fresnels, and Kino Flo tubes, choosing the appropriate tool based on the project’s requirements and budget.
Q 23. How do you choose the appropriate camera and lenses for specific shooting conditions?
Selecting the right camera and lenses depends heavily on the shooting conditions and the desired aesthetic. My approach involves considering factors like lighting, subject movement, depth of field, and budget.
- Low Light Conditions: In dimly lit environments, I’d opt for a camera with a large sensor (like a full-frame or Super 35) and a fast lens (wide maximum aperture like f/1.4 or f/2.8) to maximize light gathering capabilities and minimize noise. For example, a Canon EOS C70 or Sony a7S III would be good choices.
- Fast Action: When capturing quick movements, a camera with a high frame rate is crucial to achieve smooth slow-motion effects. I’d also prefer a lens with a fast autofocus system to ensure sharp focus throughout the action.
- Shallow Depth of Field (Bokeh): For portraits or shots where I want to isolate the subject from the background, I’d use a lens with a longer focal length (e.g., 85mm or 135mm) and a wide maximum aperture. This creates a pleasing ‘bokeh’ effect, blurring the background.
- Wide Shots: For establishing shots or landscape photography, a wide-angle lens (e.g., 16mm-35mm) is necessary to capture a broader field of view.
Furthermore, I consider the camera’s dynamic range, which is its ability to capture detail in both the highlights and shadows. A camera with a high dynamic range is particularly useful in situations with high contrast. Lens choices also affect this; prime lenses often deliver superior image quality than zoom lenses.
Q 24. What is your experience with working under tight deadlines in a fast-paced environment?
I thrive in fast-paced environments and am adept at working under pressure. My experience includes multiple projects with extremely tight deadlines, demanding quick decision-making and efficient workflow. For instance, I once had to deliver a promotional video for a product launch within just three days. This required meticulous planning, prioritizing tasks, and seamless collaboration with the entire team.
My strategy for handling tight deadlines involves:
- Detailed Planning: Thorough pre-production planning, including detailed shot lists, storyboards, and schedules, helps in managing time efficiently.
- Prioritization: Identifying and focusing on the most critical tasks first helps in staying on track, even when unexpected challenges arise.
- Efficient Workflow: Streamlining the workflow process through effective communication and assigning tasks efficiently ensures the project stays on schedule.
- Adaptability: Remaining flexible and adaptable to changes is vital. Being able to quickly adjust the plan as needed is key to success in a fast-paced environment.
This experience has honed my ability to work swiftly and effectively while maintaining high standards of quality.
Q 25. Describe your experience in working collaboratively with other members of a production team.
Collaboration is integral to successful video production. I have extensive experience working with diverse teams, including directors, producers, cinematographers, editors, sound designers, and actors. I believe in open communication, active listening, and mutual respect to foster a positive and productive team environment.
My collaborative approach involves:
- Clear Communication: Maintaining clear and consistent communication throughout the project, using tools like project management software and regular team meetings.
- Active Listening: Listening attentively to the input and ideas of other team members, valuing their expertise and incorporating their feedback into the project.
- Shared Goals: Working towards shared goals and objectives, with a common understanding of the project’s vision and scope.
- Respectful Collaboration: Creating a respectful and supportive environment where everyone feels comfortable sharing ideas and contributing their skills.
For example, on a recent music video shoot, I worked closely with the director to refine the lighting and camera angles, ensuring they aligned with the artistic vision. The collaborative process resulted in a visually stunning and impactful final product.
Q 26. How do you prioritize tasks to ensure timely completion of a project?
Task prioritization is essential for timely project completion. I use a combination of methods to ensure the most crucial tasks are addressed first. This usually involves a mix of urgency and importance.
My approach to task prioritization includes:
- Eisenhower Matrix (Urgent/Important): This matrix helps categorize tasks based on urgency and importance, allowing me to focus on high-priority tasks first.
- Gantt Charts: I often use Gantt charts to visualize project timelines and dependencies between tasks, helping me identify potential bottlenecks and ensure timely completion.
- Work Breakdown Structure (WBS): Breaking down large projects into smaller, manageable tasks helps in better planning and assigning priorities.
- Project Management Software: Tools like Asana or Trello help track progress, delegate tasks, and monitor deadlines efficiently.
By combining these methods and adjusting my approach based on the specific project needs, I consistently deliver projects on time and within budget.
Q 27. What is your experience with various audio and video file formats?
I’m proficient in a wide range of audio and video file formats. My experience encompasses both common and specialized formats used across various production workflows.
- Video Formats: I work with formats like H.264 (MP4), ProRes (MOV), DNxHD (MXF), and RAW formats (depending on the camera used) and understand the trade-offs between file size, compression, and quality. RAW formats offer maximum flexibility in post-production, while compressed formats are more suitable for distribution and online platforms.
- Audio Formats: I regularly handle formats such as WAV, AIFF, MP3, and AAC, understanding the differences in their compression levels and audio quality. WAV and AIFF are generally lossless, preserving audio fidelity, while MP3 and AAC are lossy formats, offering smaller file sizes at the cost of some audio quality.
Choosing the appropriate format depends heavily on the project requirements, including storage limitations, delivery method, and desired quality. I always aim to use the highest quality formats possible during production and post-production and compress only when necessary for distribution.
Q 28. Describe a challenging audio or video project you’ve worked on and how you overcame the difficulties.
One particularly challenging project involved shooting a time-lapse video of a city skyline at night. The challenge lay in maintaining consistent exposure and focus over many hours, while also capturing the changing light conditions and the movement of traffic and people. The low-light conditions required precise camera settings and a stable tripod, and the long exposure times increased the risk of motion blur from the moving elements in the scene.
To overcome these difficulties, I employed several strategies:
- Extensive Pre-Production: Thorough scouting of the location, testing various camera settings and lenses, and designing a detailed shooting plan were crucial.
- Intervalometer: Using an intervalometer ensured consistent shot intervals for smooth time-lapse creation.
- Focus Stacking: To maintain sharp focus throughout the scene despite the long exposures, I implemented focus stacking in post-production by combining multiple shots taken with slightly varying focus points.
- Noise Reduction: The low-light conditions resulted in some noise in the images. I utilized noise reduction software to minimize this without sacrificing detail.
- HDR (High Dynamic Range) Imaging: To capture a wider range of tones, I utilized HDR techniques to blend multiple exposures of the same scene, bringing out detail in both the highlights and shadows.
Through careful planning, problem-solving, and the application of appropriate techniques, we successfully created a stunning time-lapse video that surpassed initial expectations. This project reinforced the importance of meticulous pre-production, adaptability, and mastering post-production techniques.
Key Topics to Learn for Experience with both Live and Recorded Performances Interview
- Understanding the Differences: Explore the nuances between live and recorded performance styles, including audience interaction, technical considerations, and creative choices.
- Technical Proficiency: Detail your expertise with relevant technologies (audio/video recording, editing software, lighting, sound systems, etc.) Highlight your problem-solving skills in technical situations.
- Performance Preparation & Adaptation: Discuss your approach to rehearsal, script analysis, and improvisation. Explain how you adapt your performance to different environments and audience types.
- Collaboration & Teamwork: Describe your experience working with directors, producers, crew members, and fellow performers. Showcase your communication and collaboration skills.
- Post-Production Workflow (Recorded): If applicable, detail your involvement in post-production processes, such as editing, mixing, and mastering. Highlight your contributions to the final product.
- Performance Evaluation & Feedback: Discuss how you receive and utilize constructive criticism to enhance future performances. Show your ability to learn and adapt.
- Project Management & Time Management: Detail your ability to manage multiple projects, meet deadlines, and prioritize tasks effectively, especially in fast-paced environments.
Next Steps
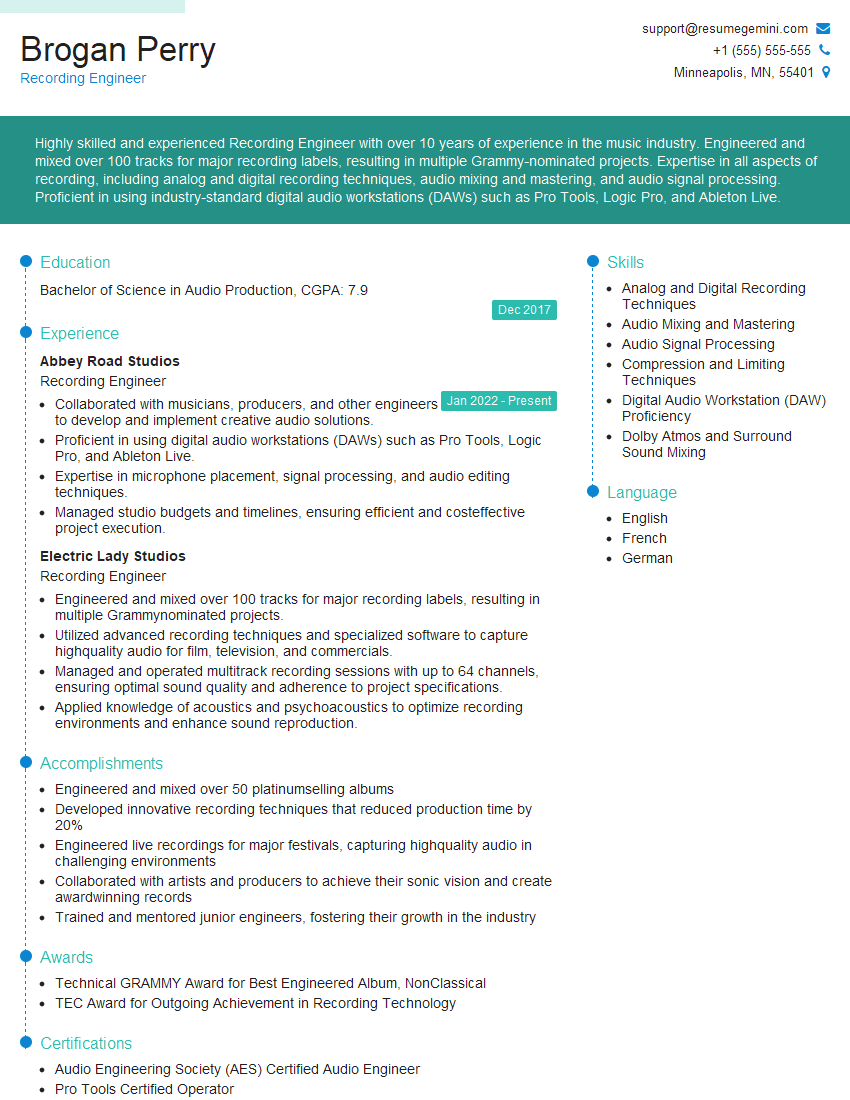
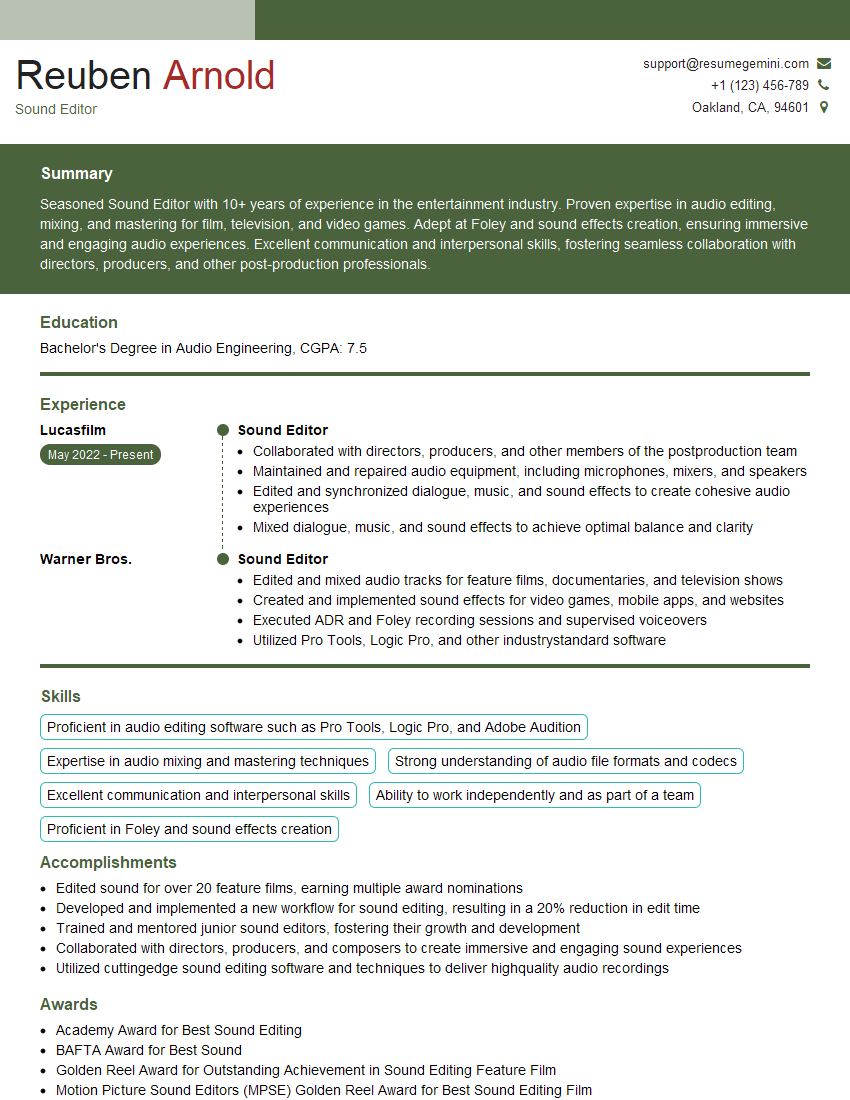
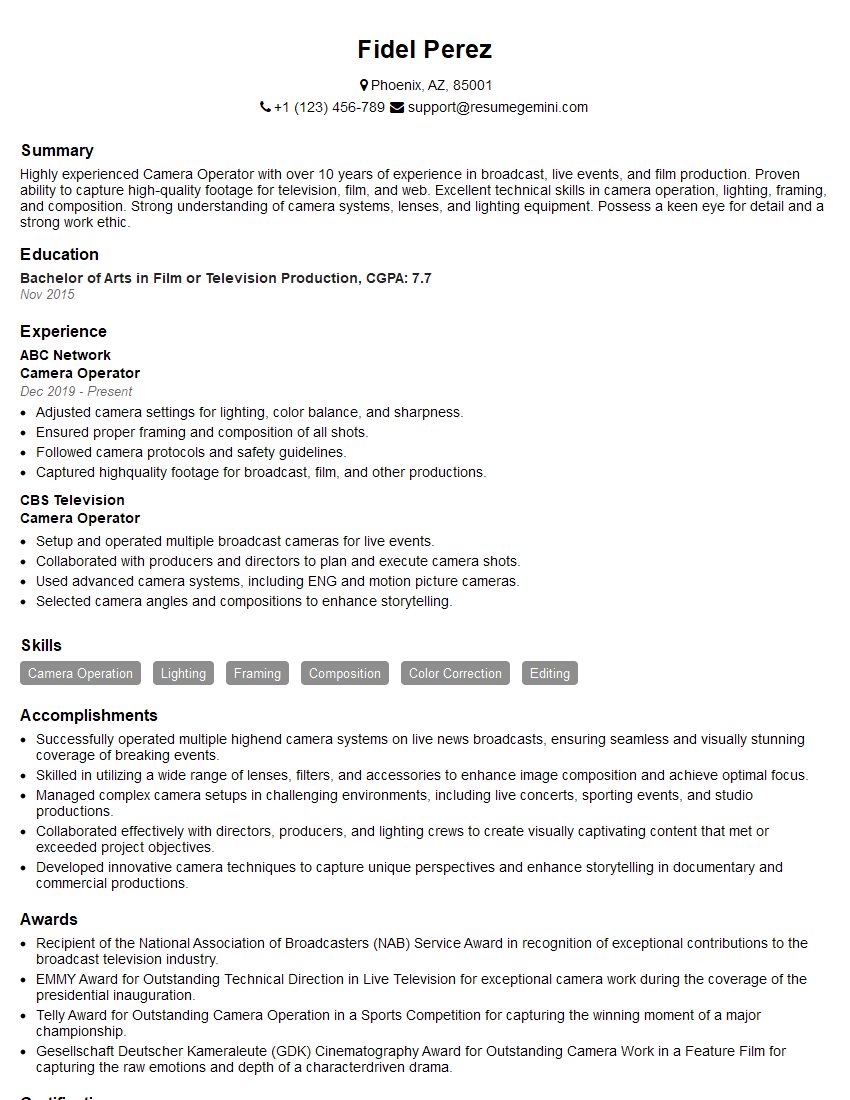
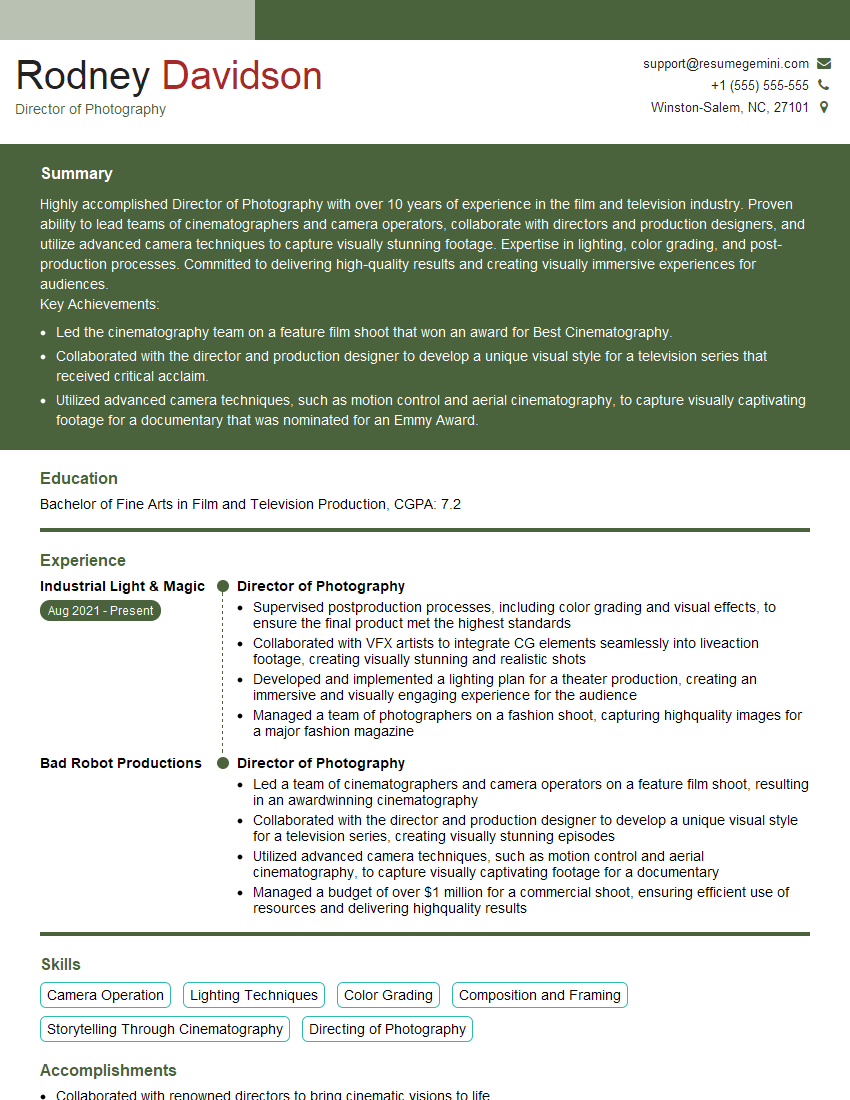
Mastering both live and recorded performance skills significantly enhances your career prospects across various creative industries. A strong, ATS-friendly resume is crucial for getting your application noticed. ResumeGemini can help you craft a compelling and effective resume that highlights your unique skills and experiences. We provide examples of resumes tailored to showcasing experience with both live and recorded performances to help you get started. Invest the time to build a professional resume that accurately reflects your abilities and sets you up for interview success.
Explore more articles
Users Rating of Our Blogs
Share Your Experience
We value your feedback! Please rate our content and share your thoughts (optional).
What Readers Say About Our Blog
Hello,
We found issues with your domain’s email setup that may be sending your messages to spam or blocking them completely. InboxShield Mini shows you how to fix it in minutes — no tech skills required.
Scan your domain now for details: https://inboxshield-mini.com/
— Adam @ InboxShield Mini
Reply STOP to unsubscribe
Hi, are you owner of interviewgemini.com? What if I told you I could help you find extra time in your schedule, reconnect with leads you didn’t even realize you missed, and bring in more “I want to work with you” conversations, without increasing your ad spend or hiring a full-time employee?
All with a flexible, budget-friendly service that could easily pay for itself. Sounds good?
Would it be nice to jump on a quick 10-minute call so I can show you exactly how we make this work?
Best,
Hapei
Marketing Director
Hey, I know you’re the owner of interviewgemini.com. I’ll be quick.
Fundraising for your business is tough and time-consuming. We make it easier by guaranteeing two private investor meetings each month, for six months. No demos, no pitch events – just direct introductions to active investors matched to your startup.
If youR17;re raising, this could help you build real momentum. Want me to send more info?
Hi, I represent an SEO company that specialises in getting you AI citations and higher rankings on Google. I’d like to offer you a 100% free SEO audit for your website. Would you be interested?
Hi, I represent an SEO company that specialises in getting you AI citations and higher rankings on Google. I’d like to offer you a 100% free SEO audit for your website. Would you be interested?
good
