Unlock your full potential by mastering the most common Experience with Various Paint Types (e.g., acrylic, oil, latex) interview questions. This blog offers a deep dive into the critical topics, ensuring you’re not only prepared to answer but to excel. With these insights, you’ll approach your interview with clarity and confidence.
Questions Asked in Experience with Various Paint Types (e.g., acrylic, oil, latex) Interview
Q 1. What are the key differences between acrylic, oil, and latex paints in terms of drying time?
Drying time is a crucial difference between acrylic, oil, and latex paints. Acrylic paints are known for their rapid drying time, often drying to the touch within minutes and completely dry within a few hours. This speed is both an advantage and a disadvantage; it allows for quick project completion but demands faster, more efficient working. Oil paints, on the other hand, dry incredibly slowly, sometimes taking days or even weeks to fully cure. This slow drying time allows for blending and layering, but it also means projects require more patience and careful planning. Latex paints fall somewhere in between, typically drying to the touch within a few hours and completely drying overnight. The exact drying time for all three types is influenced by factors like temperature, humidity, and thickness of application.
Q 2. Describe the appropriate surface preparation for each paint type (acrylic, oil, latex).
Proper surface preparation is paramount for a successful paint job, regardless of the paint type. For all three – acrylic, oil, and latex – the surface must be clean and free of dust, grease, and loose paint. This usually involves washing the surface with soap and water, followed by thorough rinsing and drying. However, there are specific considerations for each:
- Acrylic: Because acrylics are water-based, a slightly damp surface is often acceptable. However, excessive moisture should be avoided to prevent peeling.
- Oil: Oil paints require a very clean and dry surface. Any grease or oil residue will significantly impact adhesion. Using a degreaser might be necessary.
- Latex: Similar to acrylics, latex paints work well on slightly damp surfaces but should be avoided on excessively wet ones. Cracked or damaged surfaces need to be repaired with filler before painting.
In all cases, sanding may be necessary to create a smooth surface for better paint adhesion and a more professional finish.
Q 3. Explain the different types of paint brushes and rollers suitable for acrylic, oil, and latex paints.
Brush and roller selection depends heavily on the paint type and the desired finish. While there is some overlap, certain tools are better suited for specific paints:
- Acrylics: Synthetic brushes (nylon or polyester) are generally preferred for acrylics due to their resistance to the water-based nature of the paint. Natural bristle brushes can be used, but they may absorb too much water and become less effective.
- Oils: Natural bristle brushes (hog bristle or ox hair) are traditionally used for oil paints because they hold and release the paint effectively. However, good quality synthetic brushes are also suitable.
- Latex: Both synthetic and natural bristle brushes work well with latex paints. The choice often comes down to personal preference and the desired finish.
Rollers for all three paint types come in various nap lengths (the thickness of the fibers). Shorter naps are better for smoother surfaces, while longer naps are suitable for textured surfaces. Always choose a roller cover compatible with the paint type.
Q 4. How would you handle paint spills involving each paint type?
Handling paint spills requires immediate action to prevent damage and cleanup difficulties. The approach varies slightly depending on the paint type:
- Acrylic: Because acrylics are water-based, they can usually be cleaned up with soap and water. Act quickly before they dry completely. For larger spills, use absorbent materials like paper towels or rags.
- Oil: Oil paint spills are trickier. Use a paint thinner or mineral spirits to lift the paint, followed by soap and water. Always work in a well-ventilated area and follow safety precautions when using solvents.
- Latex: Latex paint spills can generally be cleaned up like acrylic spills—with soap and water, followed by thorough rinsing. For stubborn stains, a mild detergent might be helpful.
Regardless of the paint type, immediate attention to the spill is crucial. The longer the paint sits, the harder it is to remove.
Q 5. What are the common causes of paint cracking and how can they be prevented?
Paint cracking is a common problem that can ruin a perfectly good paint job. Several factors contribute to this issue:
- Insufficient Surface Preparation: Not properly cleaning or priming the surface is a major culprit. Dirt, grease, or loose paint can prevent proper adhesion.
- Inadequate Paint Adhesion: Using the wrong type of paint for the surface or applying too thick a coat can also cause cracking.
- Temperature Fluctuations: Extreme temperature changes can cause the paint film to expand and contract, leading to cracking.
- Poor Quality Paint: Using cheap, low-quality paint often leads to premature cracking and peeling.
- Moisture Problems: Moisture trapped beneath the paint can cause it to lift and crack.
Prevention involves meticulous surface preparation, using appropriate primer, applying thin, even coats, selecting high-quality paint, and ensuring proper ventilation to prevent moisture buildup.
Q 6. Explain the importance of primer before applying each paint type.
Primer is a crucial step in any painting project. It serves to improve paint adhesion, create a uniform surface, and enhance the overall finish. The importance of primer varies slightly between paint types:
- Acrylic: Primer helps improve adhesion, especially on porous surfaces like wood or drywall. It also creates a consistent surface for the acrylic paint to adhere to, ensuring an even coat.
- Oil: A good quality oil-based primer is essential because it seals the surface, preventing the oil paint from penetrating the underlying material. This prevents discoloration and improves the longevity of the paint job.
- Latex: Similar to acrylics, latex paints benefit from a primer for improved adhesion and surface uniformity. Primer helps seal stains or blemishes, providing a better final look.
Choosing the right primer for each paint type is important for achieving optimal results. Oil-based primers are usually recommended for oil paints, while water-based primers are suitable for acrylic and latex paints. Always refer to the paint manufacturer’s recommendations.
Q 7. How do you achieve a smooth, even finish with each paint type?
Achieving a smooth, even finish requires careful technique and the right tools, regardless of the paint type:
- Acrylics: Apply thin coats, allowing each to dry before applying the next. Use high-quality brushes and rollers. Lightly sand between coats for a perfectly smooth finish.
- Oils: Patience is key with oils. Work in thin layers and allow ample drying time between coats. Blending is easier with oils due to their slow drying time, allowing for creating subtle gradations.
- Latex: Similar techniques apply to latex as to acrylics; apply thin coats, allowing drying time between coats and using high-quality tools. A light sanding between coats can provide a flawless surface.
In all cases, proper preparation, the right tools, and a steady hand are paramount for a smooth, professional finish. Practice makes perfect!
Q 8. Describe the cleaning procedures for brushes and rollers used with acrylic, oil, and latex paints.
Cleaning paintbrushes and rollers properly is crucial for extending their lifespan and preventing paint from hardening. The process varies depending on the type of paint used.
- Acrylic Paints: Acrylics are water-based, making cleanup relatively easy. Immediately after use, rinse the brushes and rollers thoroughly under running water until the water runs clear. For stubborn paint, use a mild soap designed for cleaning paintbrushes. Then, rinse again and reshape the bristles before allowing them to air dry completely.
- Oil Paints: Oil paints require a different approach because they are oil-based and slow to dry. You’ll need a solvent like mineral spirits or turpentine. First, wipe off excess paint with a rag. Then, soak the brushes in the solvent for at least 30 minutes to an hour, or even overnight for heavily loaded brushes. Scrub gently to loosen the paint. Finally, rinse the brushes with soap and water to remove the solvent residue. Proper ventilation is essential when working with oil paint solvents.
- Latex Paints: Latex paints, also water-based, are cleaned similarly to acrylics. Rinse the brushes and rollers immediately under running water until the water runs clear. A mild soap can be used for stubborn paint, followed by thorough rinsing and reshaping before air drying.
Important Note: Always refer to the specific cleaning instructions on your paint can. Some paints may require specialized cleaners.
Q 9. What are the safety precautions when working with each paint type?
Safety is paramount when working with any type of paint. Here’s a breakdown of precautions for each:
- Acrylic Paints: Although generally low-toxicity, acrylic paints can still irritate skin and eyes. Always wear safety glasses and gloves. Work in a well-ventilated area to minimize the inhalation of any airborne particles. Clean up spills immediately.
- Oil Paints: Oil paints and their solvents (mineral spirits, turpentine) are more hazardous. They are flammable and can be toxic if inhaled or absorbed through the skin. Always work in a well-ventilated area, preferably outdoors or with a respirator. Wear gloves and safety glasses. Dispose of solvents properly according to local regulations. Never smoke near solvents.
- Latex Paints: Latex paints are generally less toxic than oil paints, but skin and eye irritation can still occur. Wear gloves and safety glasses to protect yourself. Work in a well-ventilated area. Clean up spills promptly.
General Safety Tip: Always read the Safety Data Sheet (SDS) provided with the paint for detailed information on hazards and handling procedures.
Q 10. What are the differences in application techniques for each paint type?
Application techniques differ significantly depending on the paint type:
- Acrylic Paints: Acrylics tend to dry quickly, so efficient and controlled application is crucial. Use smooth, even strokes, avoiding overworking the paint. Multiple thin coats are generally better than one thick coat to prevent cracking or brush strokes showing.
- Oil Paints: Oil paints are slower drying, giving you more time to blend and achieve smooth transitions. They can be applied more thickly, allowing for impasto techniques (thick application of paint). Proper ventilation is essential to allow the solvent to evaporate.
- Latex Paints: Latex paints are similar to acrylics in that they dry relatively quickly. Smooth, even strokes are key. Using a high-quality brush or roller helps create a more professional finish. Multiple thin coats are often preferred.
The type of brush or roller used also impacts the final finish. A smoother finish is achievable with fine-bristled brushes for detailed work, while rollers create a more uniform finish for larger surfaces.
Q 11. How do you determine the correct amount of paint needed for a project?
Accurately estimating paint needed prevents costly shortages or wasteful excesses. Here’s how:
- Measure the surface area: Calculate the total area to be painted (length x width for each section). Don’t forget to account for doors, windows, or trim that won’t be painted.
- Check the paint can: The paint can will indicate the approximate coverage per gallon or liter (e.g., 400 sq ft per gallon).
- Account for coats: Most projects require at least two coats. Multiply the calculated area by the number of coats.
- Add extra: Always add an extra 10-20% to account for variations in surface texture, potential spills, and unforeseen needs.
Example: A room with 200 sq ft of wall space needing two coats of paint with a coverage of 400 sq ft per gallon would need approximately 1 gallon (200 sq ft x 2 coats / 400 sq ft/gallon = 1 gallon). Add 20% for extra = 1.2 gallons. Round up to the nearest whole unit, in this case 1.25 gallons.
Q 12. How do you mix and match paint colors?
Mixing and matching paint colors requires precision and understanding of color theory. It’s best to create small test batches first:
- Use a small container: Mix small amounts of paint in a separate container to avoid contaminating the original paints.
- Start with small increments: Gradually add the tinting color to the base color, mixing thoroughly after each addition. A little goes a long way.
- Use a mixing stick or palette knife: Ensure complete and uniform blending to avoid streaks.
- Test the color: Apply a small sample to a scrap piece of the same material you are painting to see how the color looks in natural light.
- Adjust accordingly: Continue adjusting until the desired shade is achieved.
Note: Pre-mixed tints or colorants are usually preferred for consistency and accuracy over mixing base colors from scratch. Using a color matching system at your local paint store makes the process more reliable.
Q 13. What are the advantages and disadvantages of using each paint type for interior and exterior applications?
The choice of paint type significantly impacts the final result, both in terms of aesthetics and longevity:
| Paint Type | Interior Advantages | Interior Disadvantages | Exterior Advantages | Exterior Disadvantages |
|---|---|---|---|---|
| Acrylic | Easy cleanup, breathable, low odor, quick drying | Less durable than oil, can show brush strokes | Durable, good color retention, easy cleanup | Less durable than oil, can fade faster than oil in direct sunlight |
| Oil | Very durable, smooth finish, rich color, resists stains | Slow drying, strong odor, requires solvents for cleanup, not very breathable | Extremely durable, excellent weather resistance, rich color | Slow drying, strong odor, requires solvents, can yellow over time |
| Latex | Easy cleanup, durable, low odor, quick drying, relatively inexpensive | Can show brush strokes if not applied correctly, less durable than oil | Good durability, relatively inexpensive, good color retention | Can be susceptible to mildew in humid climates, less durable than oil |
For example, oil paints are more suitable for high-traffic areas in the interior or exterior areas exposed to harsh weather conditions due to their durability, while acrylic might be preferred for interior spaces where breathability and low odor are priorities.
Q 14. Explain the concept of ‘thinning’ paint and when it’s necessary for each paint type.
Thinning paint refers to reducing its viscosity (thickness) by adding a thinner. This is done to improve flow, enhance brushwork, or achieve specific effects. The necessity and method vary depending on the paint type:
- Acrylic Paints: Water is typically used to thin acrylic paints. Add water in small increments, mixing thoroughly until the desired consistency is reached. Over-thinning can compromise durability.
- Oil Paints: Mineral spirits or turpentine are common thinners for oil paints. Add slowly and mix thoroughly. Use a slower drying thinner like linseed oil for glazing techniques.
- Latex Paints: Water is used to thin latex paints. Be cautious not to over-thin, as it can affect the paint’s adhesion and durability. Always check the paint manufacturer’s recommendations before thinning.
Thinning is necessary when you need to improve the paint’s flow for smooth application, create a transparent glaze, or thin heavily pigmented paints. For example, when applying several thin layers to prevent brush strokes, thinning is advantageous. However, excessive thinning can negatively impact the paint’s finish and longevity.
Q 15. Describe your experience working with different sheen levels of paint.
Sheen levels in paint refer to the amount of light reflected from the painted surface. They range from flat (or matte) to high-gloss, with several levels in between: eggshell, satin, semi-gloss, and gloss. My experience encompasses working with all these sheens. Flat paints have little to no shine and are excellent for hiding imperfections on walls, but they’re not as durable or washable. Eggshell provides a slightly more durable, wipeable finish, ideal for low-traffic areas. Satin offers a more substantial sheen, good for areas needing more scrubbability, such as trim or doors. Semi-gloss is even more durable and easier to clean, making it suitable for bathrooms and kitchens. Finally, high-gloss paints offer the highest sheen and are very durable, but they highlight imperfections more prominently, so surface preparation is crucial. I choose the sheen based on the surface, location, and the level of durability required. For instance, I’d use a flat paint on a textured ceiling and a semi-gloss on kitchen cabinets.
Career Expert Tips:
- Ace those interviews! Prepare effectively by reviewing the Top 50 Most Common Interview Questions on ResumeGemini.
- Navigate your job search with confidence! Explore a wide range of Career Tips on ResumeGemini. Learn about common challenges and recommendations to overcome them.
- Craft the perfect resume! Master the Art of Resume Writing with ResumeGemini’s guide. Showcase your unique qualifications and achievements effectively.
- Don’t miss out on holiday savings! Build your dream resume with ResumeGemini’s ATS optimized templates.
Q 16. How do you deal with uneven surfaces before painting?
Uneven surfaces are a common challenge, and addressing them is vital for a professional finish. My approach is methodical and depends on the type and severity of the imperfection. Minor imperfections, like small holes or nail marks, are filled with spackle or patching compound. After the filler dries, I sand it smooth using progressively finer grit sandpaper, finishing with a fine sanding block to ensure a seamless surface. For larger holes or cracks, I might need to use wood filler or a more substantial patching compound, following the manufacturer’s instructions for drying and sanding. For significantly uneven surfaces, like textured walls needing a smooth finish, I might need to apply a primer-sealer to create a uniform base before painting. This ensures the paint adheres properly and prevents uneven absorption. Think of it like creating a perfect canvas before starting to paint a masterpiece!
Q 17. What are the signs of paint failure and how do you address them?
Paint failure manifests in various ways. Common signs include peeling, blistering, cracking, chalking (a powdery surface), and discoloration. Peeling often indicates poor adhesion due to insufficient surface preparation or moisture problems. Blistering usually results from trapped moisture under the paint. Cracking can be caused by movement of the underlying surface or using an unsuitable paint type. Chalking signifies the paint’s binder is degrading. Discoloration might indicate sun exposure or chemical reactions. Addressing these issues involves identifying the root cause. Peeling paint requires removing the loose material, cleaning the surface, and applying a primer before repainting. Blistering necessitates addressing the moisture problem, removing the blisters, and repainting. Cracks need repair before repainting. Chalking usually means repainting is necessary. Careful inspection and diagnosis are crucial to ensure a lasting solution.
Q 18. What are some common paint problems and their solutions?
Common paint problems and their solutions are numerous. One frequent issue is roller marks, caused by uneven application or using the wrong roller. The solution is to use a high-quality roller, apply thin, even coats, and use a paint extender to help the paint flow more smoothly. Another problem is lap marks, visible streaks where one coat overlaps another. This is often due to varying wet edges or insufficient drying time. The solution is to work quickly and evenly, avoiding stopping and starting in the same area, ensuring the paint is fully dry before applying subsequent coats. Brush strokes are visible brush marks, often remedied by using higher-quality brushes, thinner coats and proper brushing techniques. Finally, if the paint dries too quickly, leaving it patchy, a paint retarder can help slow the drying process, providing a smoother finish.
Q 19. How do you handle different temperature and humidity conditions when painting?
Temperature and humidity significantly affect paint application and drying. High temperatures can cause the paint to dry too quickly, leading to brush strokes and uneven texture. Low temperatures can slow down the drying process, potentially resulting in longer drying times and increased risk of defects. High humidity increases drying time and can lead to peeling or blistering. Low humidity can cause the paint to dry too quickly. To mitigate these effects, I adjust my technique. In hot, dry conditions, I use a paint retarder and apply thinner coats. In cold or humid conditions, I use a paint thinner to improve flow and ensure proper ventilation and minimize the risk of trapping moisture under the paint. Checking the weather forecast is key before starting any painting project.
Q 20. Explain your knowledge of different paint additives (e.g., extenders, retarders).
Paint additives play a crucial role in achieving desired results. Extendors, also known as thinners, increase the paint’s workability by reducing viscosity and improving flow. This makes it easier to apply and prevents brush strokes. Retarders slow down the drying process, giving more time for blending and achieving a smooth finish, particularly useful in hot and dry conditions. Other additives include primers, which improve adhesion and cover stains; mildewcide, which prevents mold and mildew growth, crucial for exterior paints or high-humidity areas; and colorants, which allow for custom color matching. Understanding how these additives interact with the paint is crucial for achieving consistent quality. For example, using too much extender can weaken the paint film.
Q 21. How do you maintain consistent color throughout a large project?
Maintaining consistent color across a large project requires careful planning and execution. The most important step is to use enough paint from a single batch to cover the entire project. If this isn’t possible, thoroughly mix each can of paint together to ensure uniformity. Color variations can arise from inconsistencies in the manufacturing process and changes in light conditions. It is best practice to mix all cans of the same paint together in a large bucket before starting, to ensure that there are no color variations between different batches. This prevents noticeable color shifts between areas. Using a color matching system with a calibrated device at the paint store is also highly recommended for larger projects to minimize inconsistencies. Proper lighting and regular color checks throughout the process are essential for ensuring a uniform finish.
Q 22. Describe your experience with spray painting techniques.
Spray painting is a technique I’ve extensively used, requiring precision and control. It offers efficiency for large surfaces and achieving even coats. My experience spans various spray equipment, from basic HVLP (High Volume Low Pressure) spray guns to airless sprayers. With HVLP, you achieve a finer finish with less overspray, ideal for detailed work and delicate projects. Airless sprayers are powerful and excellent for large-scale projects like fences or house siding, but require more careful control to avoid runs and drips. Proper preparation is key: masking off areas you don’t want painted, thinning the paint appropriately (following the manufacturer’s recommendations), and maintaining consistent distance and spray pattern are crucial for a professional finish. For example, I once used an HVLP gun to flawlessly spray paint a client’s intricate antique furniture, achieving a flawless finish while minimizing paint waste. In another project, I used an airless sprayer to quickly and efficiently paint the exterior of a large house, saving time and resources.
- Technique: Overlapping spray passes at a consistent distance, keeping the gun moving smoothly.
- Clean-up: Thoroughly cleaning the equipment immediately after use is vital to prevent clogs and maintain efficiency.
- Safety: Always wear appropriate safety gear, including a respirator mask, safety glasses, and gloves, when spray painting.
Q 23. How do you choose the right paint for a specific project based on its requirements?
Selecting the right paint hinges on understanding the project’s specific needs. Factors I consider include the substrate (material being painted – wood, metal, drywall), the desired finish (gloss, matte, satin), durability requirements (exterior vs. interior, high-traffic areas), and the environmental conditions. For instance, for exterior trim, I would choose a high-quality acrylic-latex paint designed for exterior use because it offers excellent durability and weather resistance. For a child’s room, I might opt for a low-VOC (Volatile Organic Compound) paint for better indoor air quality. If working on metal, I’d likely choose a specialized paint formulated for rust prevention and adhesion. When faced with a porous surface like wood, a primer is crucial to create a smooth base and enhance paint adhesion. Essentially, it’s about matching paint properties to the project’s demands.
Q 24. What are your experience with different types of painting finishes (e.g., matte, satin, gloss)?
Different paint finishes dramatically alter the final look and feel. Matte finishes have a low sheen and hide imperfections well, creating a softer, more understated aesthetic. They are a popular choice for walls where a subtle, non-reflective look is desired. Satin finishes have a slightly more glossy sheen than matte, offering better washability and durability, making them ideal for trim and areas prone to cleaning. Gloss finishes boast the highest sheen and are extremely durable and washable but also highlight surface imperfections; they are great for kitchen cabinets or doors where durability and easy cleaning are paramount. The choice depends heavily on the aesthetic and functionality desired for the project.
Q 25. How do you manage paint waste responsibly?
Responsible paint waste management is crucial for environmental protection. My approach involves several key steps. First, I accurately estimate the required paint quantity to minimize excess. Secondly, I use proper containment methods during application to prevent spills. Leftover paint is stored in tightly sealed containers and disposed of according to local regulations. Many communities have hazardous waste collection centers that accept leftover paint; these centers are great for responsible disposal. I also often encourage clients to use leftover paint for touch-ups or small projects, extending the life of the product. Finally, I educate clients about responsible paint disposal, empowering them to make informed choices.
Q 26. Describe your experience working with specialized paint types (e.g., enamel, epoxy).
I have significant experience with enamel and epoxy paints. Enamel paints, known for their hard, durable finish, are excellent for surfaces requiring high resistance to scratches and abrasion, such as kitchen appliances or furniture. Epoxy paints offer superior chemical resistance and are often used for flooring in garages or industrial settings because of their toughness and resistance to chemicals and impacts. The application techniques for these specialized paints sometimes differ from standard paints; preparation is absolutely key, ensuring the surface is thoroughly clean and properly primed for optimum adhesion and a long-lasting finish. For example, I used epoxy paint on a garage floor, ensuring a smooth, chemically resistant surface. I also utilized enamel paint to refinish a client’s kitchen cabinets, resulting in a highly durable and glossy finish. Both instances required careful surface preparation to ensure longevity.
Q 27. What are the differences between water-based and solvent-based paints?
Water-based paints (like acrylic latex) are environmentally friendly, cleaning up easily with soap and water. They have lower VOCs, resulting in less pungent odors and better indoor air quality. They dry relatively quickly. Solvent-based paints (like oil-based paints or alkyds), on the other hand, require solvents like mineral spirits for cleaning and have significantly higher VOCs, leading to stronger odors and potential health concerns. Solvent-based paints often offer superior durability and water resistance but take longer to dry. The choice depends on the project’s requirements and environmental considerations. If speed and low odor are priorities, water-based is generally preferred; if durability and water resistance are paramount, solvent-based may be necessary.
Q 28. How do you ensure proper ventilation while working with paints?
Adequate ventilation is paramount when working with paints, especially solvent-based paints due to their high VOC content. I always ensure the work area is well-ventilated, ideally using fans or opening windows and doors to create air circulation. For confined spaces, I use respirators to filter out harmful fumes and particles. In large projects, I may even utilize specialized ventilation equipment. Ignoring proper ventilation can lead to health problems ranging from headaches and dizziness to more severe respiratory issues. My priority is the safety and well-being of myself and others involved in the project. Proper ventilation should be considered a non-negotiable element of any painting project.
Key Topics to Learn for Experience with Various Paint Types (e.g., acrylic, oil, latex) Interview
- Paint Properties & Characteristics: Understand the key differences between acrylic, oil, and latex paints: drying times, cleaning methods, durability, application techniques, and suitability for different surfaces (wood, metal, plaster, etc.).
- Surface Preparation: Mastering the techniques for prepping surfaces for optimal paint adhesion, including cleaning, sanding, priming, and filling imperfections. Discuss appropriate primers for different paint types and substrates.
- Application Techniques: Demonstrate knowledge of various application methods like brushing, rolling, spraying, and their suitability for different paint types and projects. Be prepared to discuss techniques for achieving even coats and minimizing brushstrokes.
- Color Mixing & Matching: Explain your understanding of color theory and how it applies to mixing paints to achieve desired shades and tints. Discuss strategies for matching existing colors.
- Troubleshooting & Problem Solving: Be prepared to discuss common painting problems (e.g., drips, runs, uneven coverage, cracking) and their solutions. This includes understanding the causes of such issues related to the type of paint, surface preparation, and application technique.
- Health & Safety: Discuss appropriate safety precautions and the use of personal protective equipment (PPE) when working with different paint types, including ventilation and disposal methods.
- Paint Selection & Specification: Explain how to choose the right paint for a specific project based on factors like location, environmental conditions, desired finish, and budget. Demonstrate understanding of paint terminology (e.g., gloss, sheen, opacity).
Next Steps
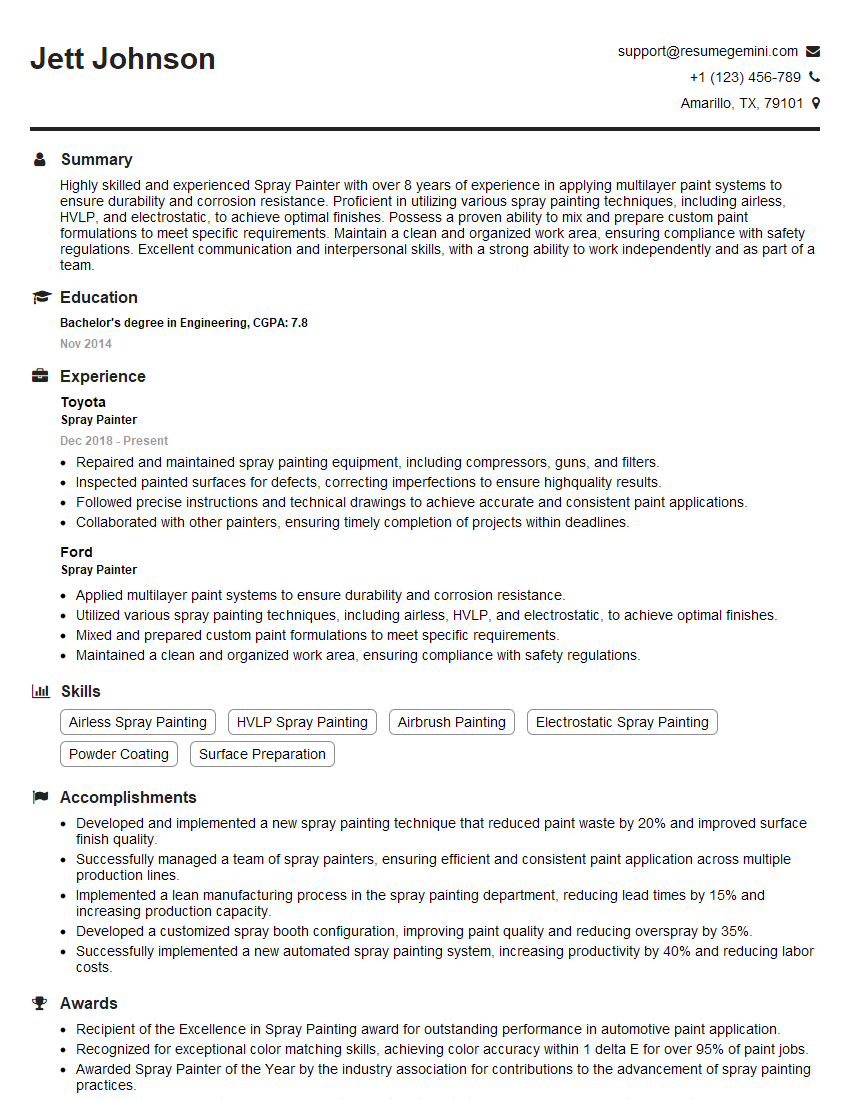
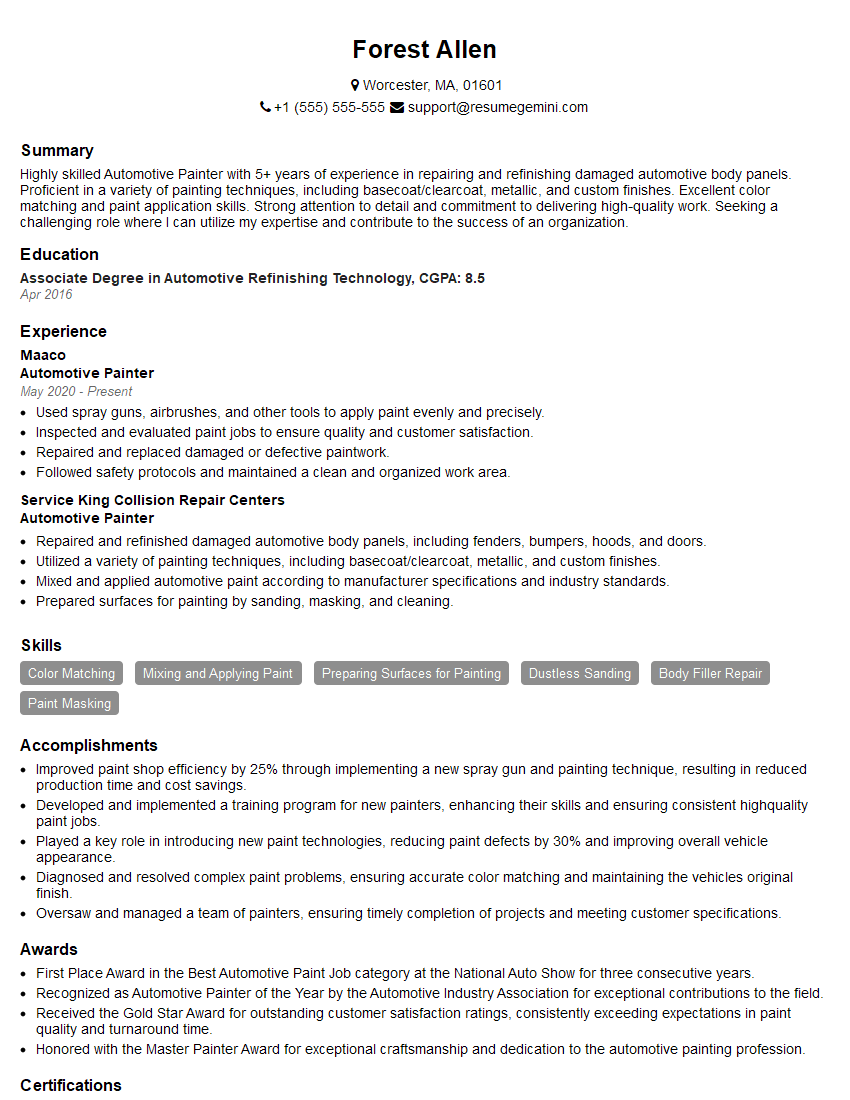
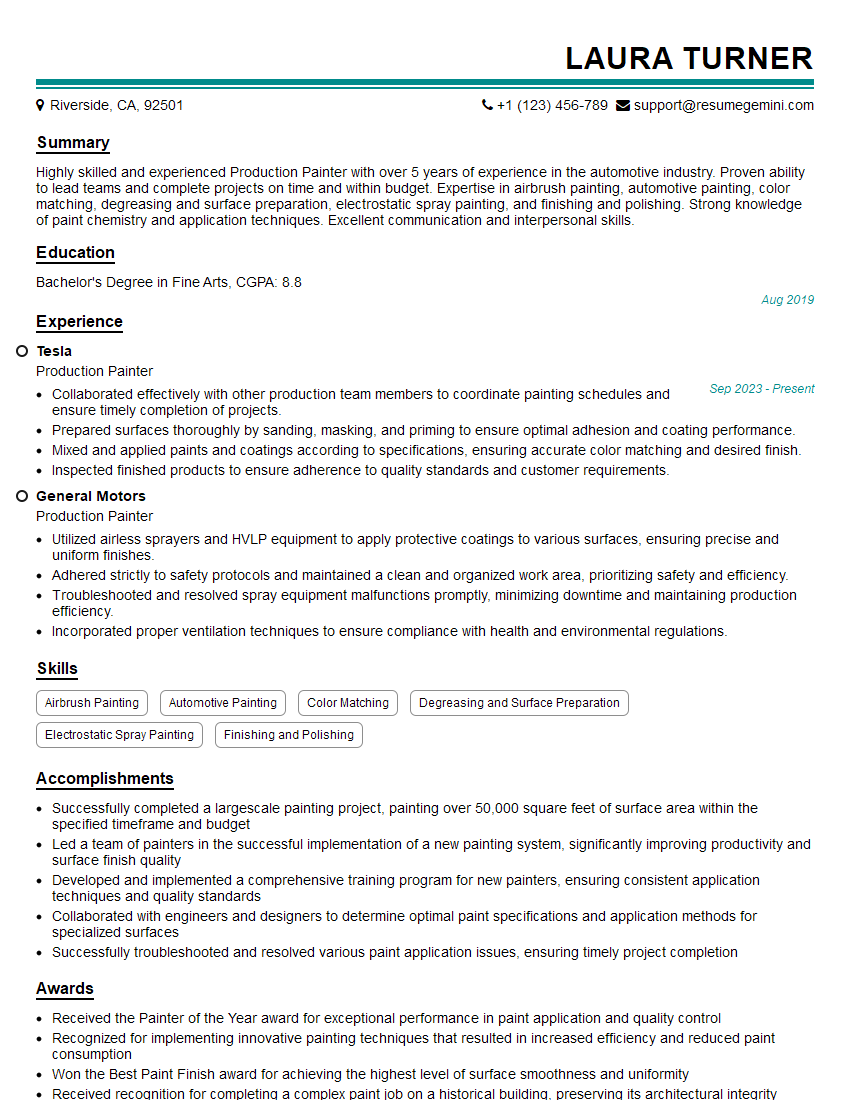
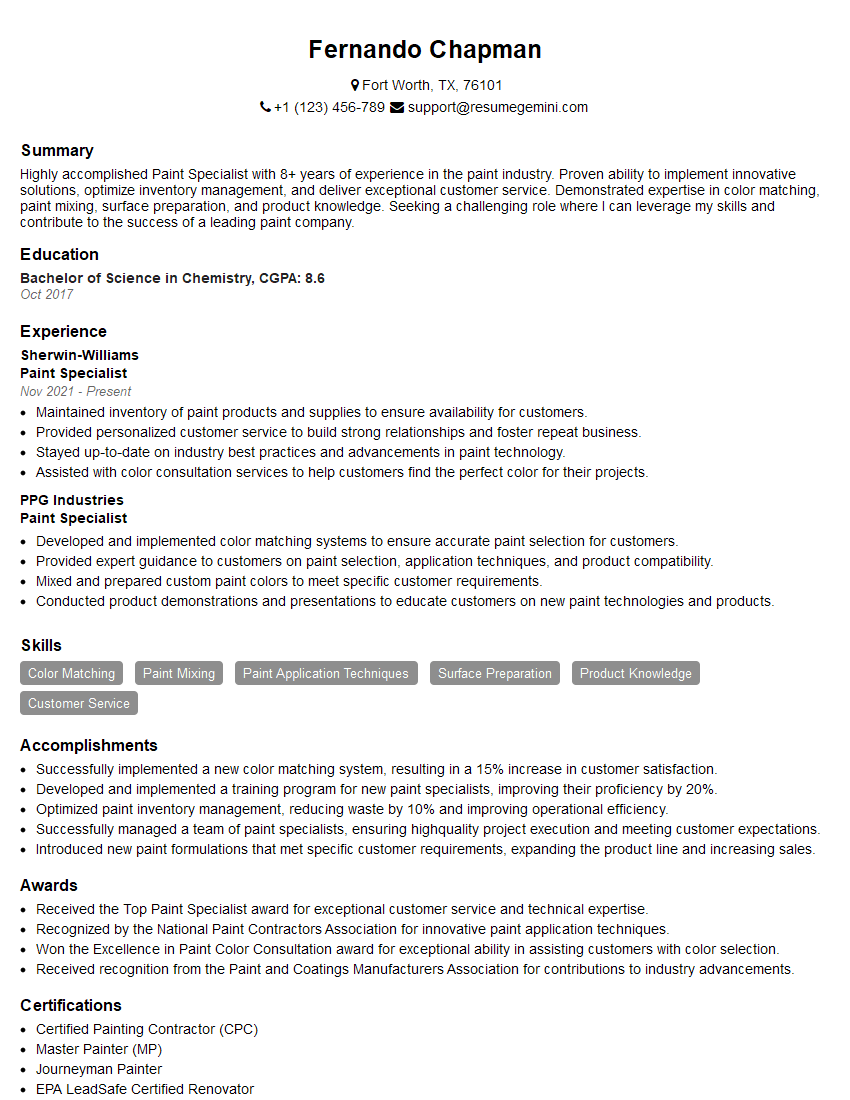
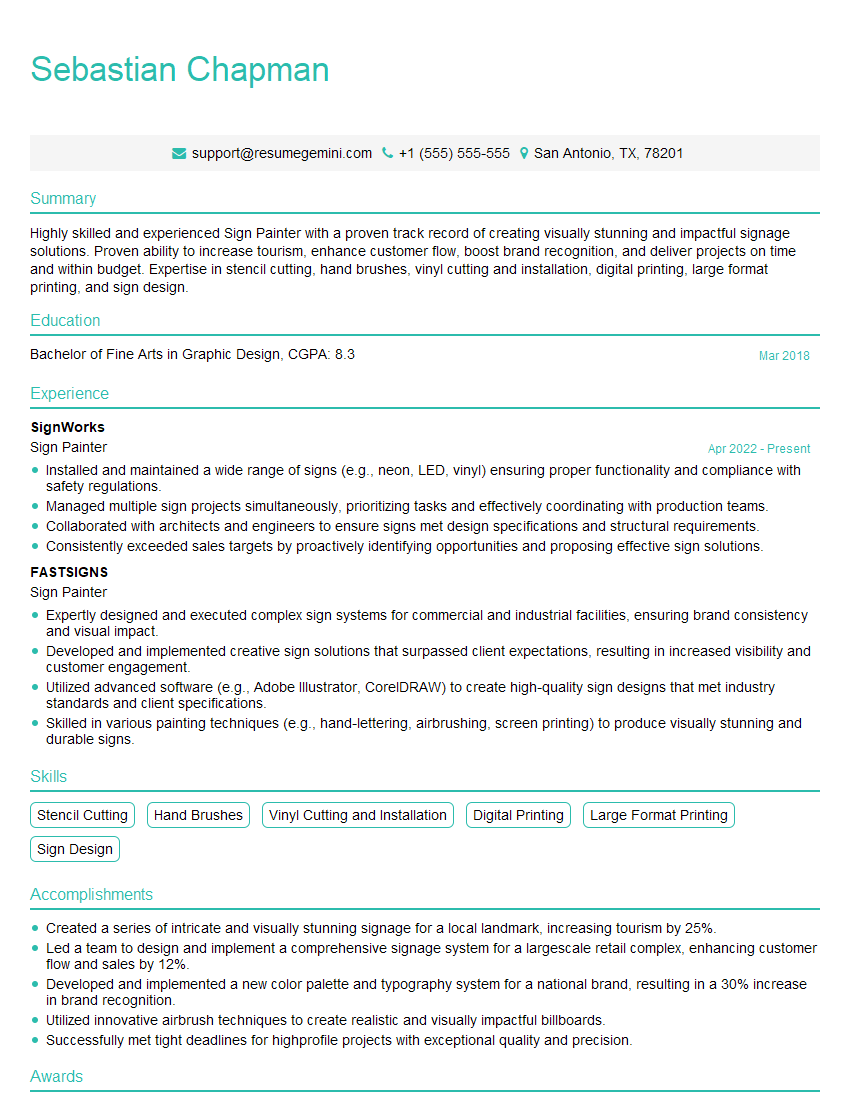
Mastering your experience with various paint types is crucial for career advancement in many fields, demonstrating both practical skills and a deep understanding of materials. A well-crafted resume is key to showcasing this expertise to potential employers. Ensure your resume is ATS-friendly to maximize your chances of getting noticed by recruiters. ResumeGemini is a trusted resource that can help you build a professional and impactful resume tailored to highlight your specific skills and experience. Examples of resumes tailored to demonstrate expertise in various paint types are available to help you get started.
Explore more articles
Users Rating of Our Blogs
Share Your Experience
We value your feedback! Please rate our content and share your thoughts (optional).
What Readers Say About Our Blog
Hello,
We found issues with your domain’s email setup that may be sending your messages to spam or blocking them completely. InboxShield Mini shows you how to fix it in minutes — no tech skills required.
Scan your domain now for details: https://inboxshield-mini.com/
— Adam @ InboxShield Mini
Reply STOP to unsubscribe
Hi, are you owner of interviewgemini.com? What if I told you I could help you find extra time in your schedule, reconnect with leads you didn’t even realize you missed, and bring in more “I want to work with you” conversations, without increasing your ad spend or hiring a full-time employee?
All with a flexible, budget-friendly service that could easily pay for itself. Sounds good?
Would it be nice to jump on a quick 10-minute call so I can show you exactly how we make this work?
Best,
Hapei
Marketing Director
Hey, I know you’re the owner of interviewgemini.com. I’ll be quick.
Fundraising for your business is tough and time-consuming. We make it easier by guaranteeing two private investor meetings each month, for six months. No demos, no pitch events – just direct introductions to active investors matched to your startup.
If youR17;re raising, this could help you build real momentum. Want me to send more info?
Hi, I represent an SEO company that specialises in getting you AI citations and higher rankings on Google. I’d like to offer you a 100% free SEO audit for your website. Would you be interested?
Hi, I represent an SEO company that specialises in getting you AI citations and higher rankings on Google. I’d like to offer you a 100% free SEO audit for your website. Would you be interested?
good


