Feeling uncertain about what to expect in your upcoming interview? We’ve got you covered! This blog highlights the most important Expertise in using test equipment (e.g., oscilloscopes, multimeters) interview questions and provides actionable advice to help you stand out as the ideal candidate. Let’s pave the way for your success.
Questions Asked in Expertise in using test equipment (e.g., oscilloscopes, multimeters) Interview
Q 1. Explain the difference between AC and DC voltage.
The fundamental difference between AC and DC voltage lies in the direction of electron flow. DC voltage, or direct current, flows consistently in one direction. Think of a battery; its positive and negative terminals maintain a constant potential difference, resulting in a unidirectional current. AC voltage, or alternating current, on the other hand, periodically reverses its direction. Imagine a seesaw; the voltage swings back and forth, changing polarity repeatedly. This cyclical change is what we describe as the AC waveform, typically sinusoidal.
In practical terms, DC is used in applications requiring a constant voltage, such as powering electronic devices. AC is commonly used for power distribution networks because it’s easier and more efficient to generate and transmit over long distances. For example, the electricity coming out of your wall outlet is AC.
Q 2. How do you use an oscilloscope to measure frequency?
Measuring frequency on an oscilloscope is straightforward. First, connect the probe to the signal you want to analyze. Ensure the oscilloscope’s vertical and horizontal settings are appropriately adjusted for your signal’s amplitude and expected frequency range. Once the signal is displayed, you can determine the frequency using two main methods:
- Using the Timebase: The timebase setting determines the horizontal scale (time per division). By measuring the period (time for one complete cycle) of the waveform on the screen and then using the formula
frequency (f) = 1 / period (T), you can calculate the frequency. For instance, if one cycle takes 0.001 seconds (1 millisecond), then the frequency is 1 kHz (1000 Hz). - Using the Automatic Measurement Function: Most oscilloscopes have an automated measurement function. Simply select the frequency measurement option, and the oscilloscope will automatically calculate and display the frequency of the input signal. This is a highly convenient way for accurate frequency determination.
Remember to select appropriate scales and trigger settings for a clean and accurate reading. A poorly set trigger might make the waveform unstable, leading to inaccurate frequency measurement.
Q 3. What are the different types of probes used with an oscilloscope?
Oscilloscopes utilize various probes to adapt to different signal types and measurement needs. Some common types include:
- Passive Probes (1X, 10X): These are the most basic probes and offer attenuation (reduction of signal amplitude). A 10X probe reduces the signal by a factor of 10, protecting the oscilloscope’s input from high voltages. The attenuation factor is essential to consider when calculating the actual signal amplitude.
- Active Probes: These probes offer high impedance and improved bandwidth, ideal for high-frequency signals. They require a power source and often have advanced features like compensation adjustments.
- Current Probes: These probes measure current directly, without breaking the circuit. This is particularly useful when measuring currents in operating circuits.
- Differential Probes: These probes measure the voltage difference between two points in a circuit, reducing noise and providing a cleaner signal reading.
- High-Voltage Probes: Designed to safely measure high voltages exceeding the standard input range of the oscilloscope.
The choice of probe depends on the specific application. For simple low-frequency signals, a passive 10X probe usually suffices. But for high-frequency, high-voltage, or differential measurements, specialized probes are necessary.
Q 4. How do you measure resistance using a multimeter?
Measuring resistance with a multimeter is a fundamental task. First, ensure the multimeter is turned off. Then, select the resistance measurement mode (usually denoted by Ω). Next, connect the probes to the resistance you want to measure. It’s crucial to ensure the circuit is completely de-energized before measurement, as a live circuit can damage the multimeter. Observe the multimeter’s display; the reading will indicate the resistance in ohms.
Before measuring, it’s advisable to perform a zero-ohm adjustment or auto-zero to account for any internal resistance in the multimeter. This ensures more accuracy. Remember that the accuracy of the measurement depends on the quality of the multimeter and the connection between the probes and the device under test. A loose connection can lead to inaccurate or fluctuating readings.
For example, when testing a resistor with a color code of brown-black-red-gold, I would expect a reading around 100 ohms with a 5% tolerance. The measured value should fall within this range.
Q 5. What safety precautions should be taken when using test equipment?
Safety is paramount when working with test equipment. Here are some key precautions:
- Power Down: Always power down circuits before making any connections or measurements. This prevents accidental shocks and damage to the equipment.
- Proper Grounding: Ensure both the equipment and the work area are properly grounded to prevent electrical hazards. This reduces the risk of electrical shock and protects the equipment from damage.
- Appropriate Probes: Use probes rated for the voltage and current levels being measured. Using an inappropriately rated probe can lead to damage to the probe, the equipment, or even personal injury.
- Insulated Tools: Utilize insulated tools and wear appropriate personal protective equipment (PPE), such as safety glasses.
- Awareness of Hazards: Be mindful of potential hazards, such as high voltages, sharp objects, and hot surfaces.
- Never work alone: Ideally, have a partner present to assist in case of an emergency.
These precautions are not merely suggestions; they are vital for safety. Always prioritize your safety and follow established safety procedures.
Q 6. Describe the function of a function generator.
A function generator is a versatile piece of test equipment used to produce various electronic signals. Its primary function is to generate waveforms of different shapes and frequencies, often used to test electronic circuits and components. These waveforms can be sinusoidal, square, triangular, sawtooth, or other custom shapes.
The key features include frequency adjustment, amplitude adjustment, and waveform selection. Furthermore, many modern function generators offer features such as amplitude modulation, frequency modulation, and pulse width modulation. They provide a controlled and adjustable signal source crucial for testing circuits and devices across many disciplines, from electronics design to education and research.
For example, a function generator can be used to test an amplifier’s response at different frequencies or to simulate a real-world signal that a system might encounter.
Q 7. How do you troubleshoot a faulty circuit using an oscilloscope and multimeter?
Troubleshooting a faulty circuit using an oscilloscope and a multimeter is a systematic process. Here’s a common approach:
- Visual Inspection: Begin with a visual inspection. Look for any obvious physical damage, such as burnt components, loose connections, or broken traces.
- Multimeter Checks: Use the multimeter to check for continuity, voltage, and current at various points in the circuit. Compare these readings with the expected values, identifying any discrepancies.
- Oscilloscope Analysis: Use the oscilloscope to analyze signal waveforms at different points. Look for unexpected shapes, amplitudes, or frequencies. Compare the observed waveforms with the expected waveforms for proper circuit operation. This step is especially useful for detecting timing problems or signal integrity issues.
- Component Testing: If the problem is isolated to a specific component (identified through multimeter or oscilloscope analysis), remove it from the circuit and test it separately using appropriate test methods.
- Systematic Approach: Proceed methodically, checking individual components and sections of the circuit to narrow down the source of the fault.
- Signal Tracing: If the problem remains elusive, trace the signal path through the circuit using the oscilloscope to pinpoint where the signal is deviating from the expected behavior.
Remember to always power down the circuit before making any connections or adjustments. Through careful use of both the multimeter and oscilloscope, you can efficiently identify the source of most circuit faults.
Q 8. Explain the concept of impedance.
Impedance is the opposition to the flow of alternating current (AC) in a circuit. Unlike resistance, which only considers the opposition to direct current (DC), impedance also takes into account the effects of capacitance and inductance. Think of it like this: resistance is a simple friction that slows down the flow of water (current) in a pipe, while impedance is a more complex opposition that includes things like bends and constrictions in the pipe that influence the flow of alternating waves of water.
It’s measured in ohms (Ω) and is represented by the letter Z. The impedance of a circuit is crucial in determining the amount of current that will flow for a given voltage. A high impedance means less current flow, and a low impedance means more current flow. For example, a high-impedance audio input on a sound card is less likely to be overloaded by a powerful microphone output. In contrast, a low-impedance speaker will require a higher current from an amplifier to produce the same sound level as a high-impedance speaker.
Impedance is a complex number, often expressed as Z = R + jX, where R is resistance and X is reactance (the opposition due to capacitance and inductance). The ‘j’ represents the imaginary unit.
Q 9. How do you calibrate a multimeter?
Calibrating a multimeter ensures accurate measurements. The process depends on the multimeter model but generally involves using known standards (like precision voltage sources and resistors) to adjust the internal circuitry. Most multimeters have calibration points (often screw adjustments or internal calibration routines).
Before calibrating, consult your multimeter’s manual. Typical steps might include:
- Zeroing: Setting the meter to zero with no input signal (usually done by adjusting a zero-adjust knob).
- Voltage Calibration: Using a precise voltage source (e.g., a calibrated power supply) to adjust the voltage readings to the correct values across different ranges.
- Resistance Calibration: Using precision resistors of known values (e.g., 1kΩ, 10kΩ) to adjust the resistance readings to the correct values.
- Current Calibration (if applicable): Using a precision current source to calibrate the current measurements across various ranges.
Improper calibration can lead to significant errors in measurements. For critical applications, a professional calibration service is recommended using traceable standards and appropriate documentation. Never attempt to adjust internal calibration points without a thorough understanding of the meter’s internal workings and safety precautions.
Q 10. What is the significance of bandwidth in an oscilloscope?
Bandwidth in an oscilloscope refers to the range of frequencies that the oscilloscope can accurately display. It’s expressed in Hertz (Hz) or Megahertz (MHz). A higher bandwidth means the oscilloscope can display faster-changing signals with greater accuracy.
Think of it like this: if you’re trying to photograph a speeding race car, you need a camera with a fast shutter speed to capture a clear image. Similarly, if you’re trying to observe high-frequency signals, you need an oscilloscope with a high bandwidth to accurately capture the waveform shape and details. A low bandwidth oscilloscope will distort high-frequency signals, potentially missing important details or displaying inaccurate results.
For example, an oscilloscope with a 100 MHz bandwidth can accurately display signals up to 100 MHz. Signals with frequencies above this limit will be attenuated and distorted. Choosing the right bandwidth is crucial. Using an oscilloscope with a much higher bandwidth than needed might be unnecessarily expensive, while using an oscilloscope with too low a bandwidth will result in inaccurate and misleading measurements.
Q 11. What is the difference between a digital and analog multimeter?
The main difference lies in how they display measurements:
- Analog Multimeters: Use a moving needle to indicate the measured value. They provide a continuous visual representation of the measured signal. However, they have lower accuracy and resolution compared to digital multimeters.
- Digital Multimeters (DMMs): Display the measured value as a numerical digit on an LCD screen. They are generally more accurate, provide higher resolution, and offer autoranging capabilities (automatically selecting the appropriate measurement range). Digital multimeters also typically offer more measurement functions (capacitance, frequency, etc.).
In summary, Analog multimeters are simpler, more robust and often cheaper, while Digital multimeters are more precise, feature-rich, and easier to read accurately.
Q 12. Explain the concept of signal-to-noise ratio.
Signal-to-noise ratio (SNR) is a measure of the strength of a desired signal compared to the background noise. It’s expressed in decibels (dB). A higher SNR indicates a stronger signal relative to the noise. In simpler terms, it’s how well you can hear someone speaking clearly in a noisy room. If you can hear them easily, the SNR is high; if they’re barely audible, the SNR is low.
In electronics, noise can originate from various sources, such as thermal noise, electromagnetic interference (EMI), or power supply fluctuations. A high SNR is desirable in many applications because it ensures accurate signal processing and transmission. For instance, in audio recording, a high SNR is crucial to get a clean, noise-free recording. A low SNR would introduce audible hiss or hum, degrading audio quality.
SNR is calculated as 20 log10(Signal amplitude / Noise amplitude).
Q 13. How do you identify a short circuit using a multimeter?
A short circuit is an unintended low-resistance path between two points of different potential in a circuit. Identifying it with a multimeter is relatively straightforward.
Steps:
- Safety First: Ensure the power is OFF to the circuit before making any measurements to prevent electric shock or damage to the equipment.
- Set the Multimeter: Set your multimeter to the continuity test mode (usually symbolized by a diode symbol or a ‘beep’ icon). This mode typically has low current and provides an audible beep if a low resistance path is detected.
- Test for Continuity: Place the multimeter leads across the suspected short circuit points in the circuit. If the multimeter beeps, and shows a very low resistance reading (close to zero), then a short circuit exists.
A low resistance reading (close to 0 Ω) indicates a short circuit. High resistance or an open circuit reading means that there is no short present.
Q 14. Describe the different types of waveforms (sine, square, triangle).
These are common waveforms found in electronics:
- Sine Wave: A smooth, periodic oscillation that smoothly varies between positive and negative peak values. It’s characterized by its amplitude (peak value) and frequency (cycles per second). Think of a smooth up and down motion, like the motion of a pendulum. Many natural phenomena and AC power are sinusoidal.
- Square Wave: A waveform that switches rapidly between two voltage levels (high and low). It has sharp transitions between these levels. Think of a light switch: it’s either ON or OFF. Square waves are used in digital circuits and timing applications.
- Triangle Wave: A waveform that linearly increases to a peak value and then linearly decreases to a negative peak value. The slope of the increase and decrease is constant. Think of the motion of a ramp. These waveforms are sometimes used in signal generation and testing.
The differences in these waveforms are important. Sine waves are fundamental in electronics, square waves are crucial in digital logic, and triangle waves find applications in specialized areas. Different waveforms have varying frequency spectra – sine waves having only a fundamental frequency component, while square and triangle waves contain higher harmonics.
Q 15. How do you measure capacitance using a multimeter?
Most multimeters don’t directly measure capacitance; they lack the necessary circuitry for capacitance measurement. Instead, they often have a capacitance-measuring function in their more advanced models. This function typically works by applying a known voltage and then measuring the resulting current to determine the capacitance.
How it usually works (in advanced multimeters): The multimeter charges a capacitor through a known resistor and then times how long it takes to reach a specific voltage. Based on this charging time and the known resistance, the capacitance can be calculated. It’s important to note that the accuracy can vary depending on the quality of the multimeter and the value of the capacitor being measured. For very small or very large capacitances, specialized capacitance meters offer much higher accuracy.
Example: Imagine you’re working on a circuit board and need to verify the value of a ceramic capacitor. You’d select the capacitance mode on your multimeter, connect the leads across the capacitor, and read the displayed capacitance value (usually in picofarads (pF), nanofarads (nF), or microfarads (µF)). Remember always to discharge the capacitor before measuring to avoid damaging the multimeter or yourself.
Career Expert Tips:
- Ace those interviews! Prepare effectively by reviewing the Top 50 Most Common Interview Questions on ResumeGemini.
- Navigate your job search with confidence! Explore a wide range of Career Tips on ResumeGemini. Learn about common challenges and recommendations to overcome them.
- Craft the perfect resume! Master the Art of Resume Writing with ResumeGemini’s guide. Showcase your unique qualifications and achievements effectively.
- Don’t miss out on holiday savings! Build your dream resume with ResumeGemini’s ATS optimized templates.
Q 16. What is the purpose of a ground connection in test equipment?
The ground connection in test equipment is crucial for safety and accurate measurements. It provides a common reference point for all voltage measurements, preventing electrical shocks and ensuring consistent readings.
Safety: Grounding prevents potentially dangerous voltages from appearing on the chassis of the instrument or on exposed conductors. Without a ground connection, a faulty instrument or a short circuit could lead to a potentially lethal electric shock.
Accurate Measurements: Grounding eliminates noise and interference caused by stray electromagnetic fields. These fields can influence the measured voltage or current, leading to erroneous results. By providing a common reference point, all measurements are relative to a stable and known potential (ground). Think of it like establishing a zero point for your measurements – everything is measured relative to this zero.
Example: When using an oscilloscope to measure a signal, the ground clip is attached to a known ground point in the circuit, providing the reference for all voltage measurements. The probe tip measures the voltage difference between the signal point and ground.
Q 17. Explain the concept of rise time and fall time.
Rise time and fall time describe how quickly a signal transitions between two voltage levels. They are typically used in the context of digital signals, pulse signals, or signals with sharp transitions.
Rise Time: Rise time is the time it takes for a signal to transition from a lower voltage level to a higher voltage level, typically measured from 10% to 90% of the voltage change.
Fall Time: Fall time is the time it takes for a signal to transition from a higher voltage level to a lower voltage level, also typically measured from 90% to 10% of the voltage change.
Importance: Rise and fall times are critical parameters in high-speed digital circuits. Slow rise/fall times can lead to signal distortion, timing errors, and system malfunctions. They are frequently specified in datasheets for logic gates, memory chips, and other digital components.
Example: A digital signal might transition from 0V to 5V. If this transition takes 1 nanosecond, then its rise time is 1ns. A slow rise time (e.g., 10ns) could indicate a problem with the signal path or the component generating the signal.
Q 18. How do you interpret an oscilloscope waveform?
Interpreting an oscilloscope waveform involves understanding its various parameters to extract information about the signal being measured. The key aspects to consider are:
- Amplitude: The vertical axis represents the signal’s voltage (or current). The peak-to-peak voltage, peak voltage, and average voltage are significant parameters.
- Time Period/Frequency: The horizontal axis represents time. The time period (time for one complete cycle) and frequency (number of cycles per second) of a periodic signal are measured from this axis.
- Waveform Shape: The shape provides insights into the type of signal (sine wave, square wave, triangle wave, etc.). Deviations from the expected shape can indicate distortions or noise.
- Phase: For multiple signals, phase differences can be observed and measured, which is essential in analyzing the relationships between signals in a system.
- Rise and Fall Times (as discussed previously): These are important characteristics for digital and pulsed signals.
Example: Observing a sine wave on an oscilloscope allows you to measure its amplitude (voltage), frequency, and any distortion present. Analyzing a digital signal reveals its rise and fall times, which are crucial for high-speed circuits. An unexpected shape might point towards a fault in a circuit or an anomaly in signal propagation.
Q 19. What are the limitations of a multimeter?
Multimeters are versatile but have limitations:
- Limited Bandwidth: Multimeters cannot accurately measure high-frequency signals, typically limiting them to a few kilohertz (kHz). For higher frequencies, an oscilloscope is necessary.
- Lower Accuracy: Compared to specialized instruments, multimeters offer lower accuracy, especially for precise measurements.
- No Waveform Display: Multimeters only provide numerical readings and don’t show the signal’s shape over time. This limits their usefulness in analyzing complex signals.
- Limited Functionality: They may not have capabilities for measuring capacitance, inductance, impedance, phase, or other specialized electrical parameters (though some advanced models do have these functions).
- Input Impedance Effects: A multimeter’s input impedance can affect circuit operation, especially when measuring high-impedance circuits. The instrument’s input impedance may draw some current from the circuit under test, thus altering its behavior.
Example: A multimeter might be fine for measuring a DC voltage in a low-power circuit, but it wouldn’t be suitable for accurately measuring a high-frequency signal like the output of a radio transmitter.
Q 20. What is the difference between voltage, current, and power?
Voltage, current, and power are fundamental electrical quantities, related by Ohm’s Law and power equations.
Voltage (V): The electrical potential difference between two points in a circuit. It’s the force that drives the current flow, analogous to water pressure in a pipe.
Current (I): The rate of flow of electrical charge (electrons) through a conductor. It’s measured in Amperes (A) and is analogous to the flow rate of water in a pipe.
Power (P): The rate at which electrical energy is transferred or consumed. It’s measured in Watts (W) and represents the work done per unit time. It’s calculated as the product of voltage and current (P = IV), or using other formulas based on resistance (P = I²R) or voltage and resistance (P=V²/R).
Analogy: Imagine a water pipe. Voltage is the water pressure, current is the flow rate, and power is the amount of work the water can do (e.g., turning a water wheel).
Example: A light bulb with a voltage of 120V and a current of 1A consumes a power of 120W (P = IV = 120V * 1A = 120W).
Q 21. How do you use a logic analyzer?
A logic analyzer is a digital test instrument used to capture and analyze digital signals. Unlike an oscilloscope, which displays analog waveforms, a logic analyzer displays the logic states (high or low) of multiple digital signals simultaneously over time.
How to Use:
- Connect Probes: Connect the logic analyzer’s probes to the digital signals you want to analyze. Each probe connects to a specific digital line.
- Set Trigger Conditions: Specify the conditions that trigger the capture of data. This might be a specific combination of logic levels on certain lines, or the occurrence of a particular event.
- Start Acquisition: Initiate the data acquisition process. The logic analyzer will capture a sequence of data samples, showing the logic state of each channel.
- Analyze Data: The captured data is displayed on the screen, often as a timing diagram or a state machine. You can analyze timing relationships, data patterns, and identify errors or glitches in the digital signals.
Applications: Logic analyzers are indispensable for debugging digital circuits, analyzing bus protocols (e.g., I2C, SPI, USB), verifying digital signal integrity, and troubleshooting embedded systems.
Example: When debugging a microcontroller program, you might connect a logic analyzer to the microcontroller’s data and address buses to examine the data transactions and verify that the program is executing correctly. You might observe timing violations or unexpected data patterns, which can help isolate the cause of the problem.
Q 22. How do you measure inductance using a multimeter?
Most multimeters don’t directly measure inductance. They primarily measure resistance, voltage, and current. Measuring inductance requires a specialized instrument like an LCR meter (Inductance, Capacitance, Resistance meter). However, you can *indirectly* estimate inductance using a multimeter in conjunction with other components and techniques. One method involves using an LC meter or an RLC meter to measure the resonance frequency (fr) of an LC circuit. The formula fr = 1 / (2π√(LC)) then allows you to calculate the inductance (L) if you know the capacitance (C). You would need a known capacitor, a function generator to excite the circuit, and an oscilloscope to observe the resonance, then use the multimeter to measure the resistance. Remember, this is an approximation and affected by component tolerances. A more accurate measurement always comes from a dedicated LCR meter.
Q 23. What are the different types of oscilloscope probes and their applications?
Oscilloscope probes are crucial for accurately measuring signals. Different probes are designed for specific applications and signal characteristics. Common types include:
- Passive Probes (x1, x10): These are the most common. The x1 probe provides a 1:1 signal attenuation, while the x10 probe attenuates the signal by a factor of 10. This attenuation reduces the loading effect on the circuit being measured. The x10 probe is preferred for higher frequency signals.
- Active Probes: These are used for high-frequency measurements (GHz range) or when a high impedance is needed to minimize signal loading. They contain active circuitry to amplify the signal and maintain signal fidelity. They usually require power.
- Current Probes: These clamp around a conductor to measure current without interrupting the circuit. They’re indispensable for measuring current in high-power circuits.
- High-Voltage Probes: These are designed for measuring signals with high voltage levels, preventing damage to the oscilloscope and the user.
- Differential Probes: These measure the voltage difference between two points. Useful for isolating a specific signal in a noisy environment or measuring the common-mode rejection ratio of a circuit.
Choosing the correct probe is vital for accurate measurements. Using an x1 probe on a high-voltage signal can damage the oscilloscope, while using an x10 probe on a low-level signal may result in a signal too small to be accurately measured.
Q 24. Explain the concept of duty cycle.
The duty cycle is the percentage of time a signal is in the ‘on’ or high state during one period. It’s expressed as a percentage or a ratio. For example, a square wave that is high for 5 milliseconds and low for 5 milliseconds has a 50% duty cycle. A pulse width modulation (PWM) signal uses varying duty cycles to control the average power delivered to a load, commonly used in motor speed control, dimming lights, and power supplies. A higher duty cycle means a higher average voltage or current. Imagine it like a water faucet: a 50% duty cycle would be like turning the faucet on and off equally; a 100% duty cycle is the faucet fully open; and a 0% duty cycle is the faucet completely off.
The formula for calculating duty cycle is:
Duty Cycle (%) = (Pulse Width / Period) * 100
Where: Pulse Width is the duration of the high state, and Period is the time for one complete cycle (high + low).
Q 25. How do you troubleshoot a noisy signal using an oscilloscope?
Troubleshooting a noisy signal involves systematic investigation. Using an oscilloscope, you would:
- Visual Inspection: Observe the signal’s waveform. Noise can manifest as random variations, spikes, or jitter. Identify the type of noise (e.g., high-frequency noise, low-frequency hum).
- Signal Tracing: Trace the signal back to its source to pinpoint where the noise is introduced. Start from the output and work your way back through the circuit.
- Grounding and Shielding: Check the grounding of the circuit and your oscilloscope. Poor grounding is a frequent cause of noise. Consider adding shielding to the cables and sensitive components to reduce electromagnetic interference (EMI).
- Filtering: Use filters (RC filters, LC filters) to attenuate the noise at specific frequencies. The oscilloscope can help you identify the frequency range of the noise.
- Probe Selection: Ensure you’re using the correct probe for the signal’s characteristics and amplitude. An incorrect probe can introduce noise or distort the signal.
- Bandwidth Limitations: If you’re using an oscilloscope with limited bandwidth, you might see noise due to the inability of the scope to faithfully reproduce the signal above its bandwidth.
By systematically applying these steps, the source of the noise can be identified and mitigated.
Q 26. What is the significance of input impedance in test equipment?
Input impedance is the impedance presented by the input terminals of a test instrument, such as an oscilloscope or multimeter. It’s crucial because it affects the accuracy of measurements. A high input impedance minimizes the loading effect on the circuit under test. This is because a high input impedance draws minimal current, preventing the instrument from significantly altering the voltage or current of the circuit. Conversely, a low input impedance will draw more current, potentially altering circuit behaviour and giving inaccurate readings. For example, trying to measure the voltage across a high-impedance sensor with a low-impedance multimeter would lead to a significantly lower measured voltage. Ideally, the input impedance of the test equipment should be significantly higher than the impedance of the circuit being measured.
Q 27. Explain the difference between RMS and average voltage.
Both RMS (Root Mean Square) and average voltage are used to describe the magnitude of a voltage signal, but they apply differently to different waveforms.
- Average Voltage: This is the arithmetic mean of the instantaneous voltage over one cycle. For a DC signal, the average and RMS values are the same. However, for AC signals, it’s typically zero unless it’s rectified.
- RMS Voltage: The RMS voltage is the equivalent DC voltage that would produce the same heating effect in a resistive load. It’s a more accurate representation of the effective voltage of an AC signal because it takes into account the waveform’s shape. For sinusoidal waveforms, the RMS voltage is 0.707 times the peak voltage. For other waveforms (square, triangular), the relationship is different and depends on the wave shape.
Consider a sinusoidal wave with a peak voltage of 10V. The average voltage would be 0V (over a full cycle), but the RMS voltage would be approximately 7.07V. This RMS value is meaningful because it represents the equivalent DC voltage that would produce the same power dissipation in a resistor.
Q 28. How do you measure frequency response using test equipment?
Measuring frequency response typically involves using a signal generator, an oscilloscope, and sometimes a power meter. The process involves:
- Apply a Sweep Signal: Use a signal generator to apply a sine wave signal to the circuit under test. The frequency of this sine wave is systematically varied over the desired frequency range (e.g., 1 Hz to 1 MHz).
- Measure the Output: Measure the output voltage of the circuit using an oscilloscope. It’s important to maintain a constant input amplitude across all frequencies.
- Calculate the Magnitude and Phase: For each frequency, calculate the magnitude (amplitude ratio of the output to input) and phase shift between the input and output signals. This information characterizes the frequency response of the circuit. The oscilloscope’s measurement functions or dedicated software are valuable for this step.
- Plot the Response: Plot the magnitude response (often in decibels) and phase response versus frequency. This plot visually represents the circuit’s frequency response, revealing its bandwidth, gain, and resonant frequencies.
Consider using a network analyzer for high accuracy and automated frequency sweeps. The frequency response measurement reveals critical information about a system’s performance, stability, and potential issues in audio amplifiers, filters, and many other applications.
Key Topics to Learn for Expertise in using test equipment (e.g., oscilloscopes, multimeters) Interview
- Fundamentals of Oscilloscopes: Understanding waveform characteristics (amplitude, frequency, phase), trigger settings, various probe types, and interpreting oscilloscope displays for troubleshooting and signal analysis.
- Practical Oscilloscope Applications: Diagnosing circuit malfunctions, measuring signal timing and integrity, analyzing analog and digital signals, and using oscilloscopes in conjunction with other test equipment.
- Multimeter Proficiency: Mastering different measurement modes (voltage, current, resistance, capacitance, etc.), understanding the limitations of multimeters, and selecting appropriate measurement ranges to avoid damage to the equipment or the circuit under test.
- Signal Integrity and Noise Analysis: Identifying and mitigating noise in circuits, understanding the effects of impedance matching, and using test equipment to analyze signal quality.
- Safety Procedures: Prioritizing safe practices when working with electrical equipment, including proper grounding techniques, understanding potential hazards, and adhering to safety regulations.
- Troubleshooting Techniques: Developing systematic approaches to fault finding using test equipment, interpreting measurement results, and effectively communicating findings.
- Data Acquisition and Analysis: Using test equipment to capture data, utilizing software for data analysis and visualization, and interpreting results to make informed decisions.
- Specific Test Equipment Knowledge: Familiarizing yourself with the capabilities and limitations of various models of oscilloscopes and multimeters, as well as other relevant test equipment (e.g., function generators, power supplies).
Next Steps
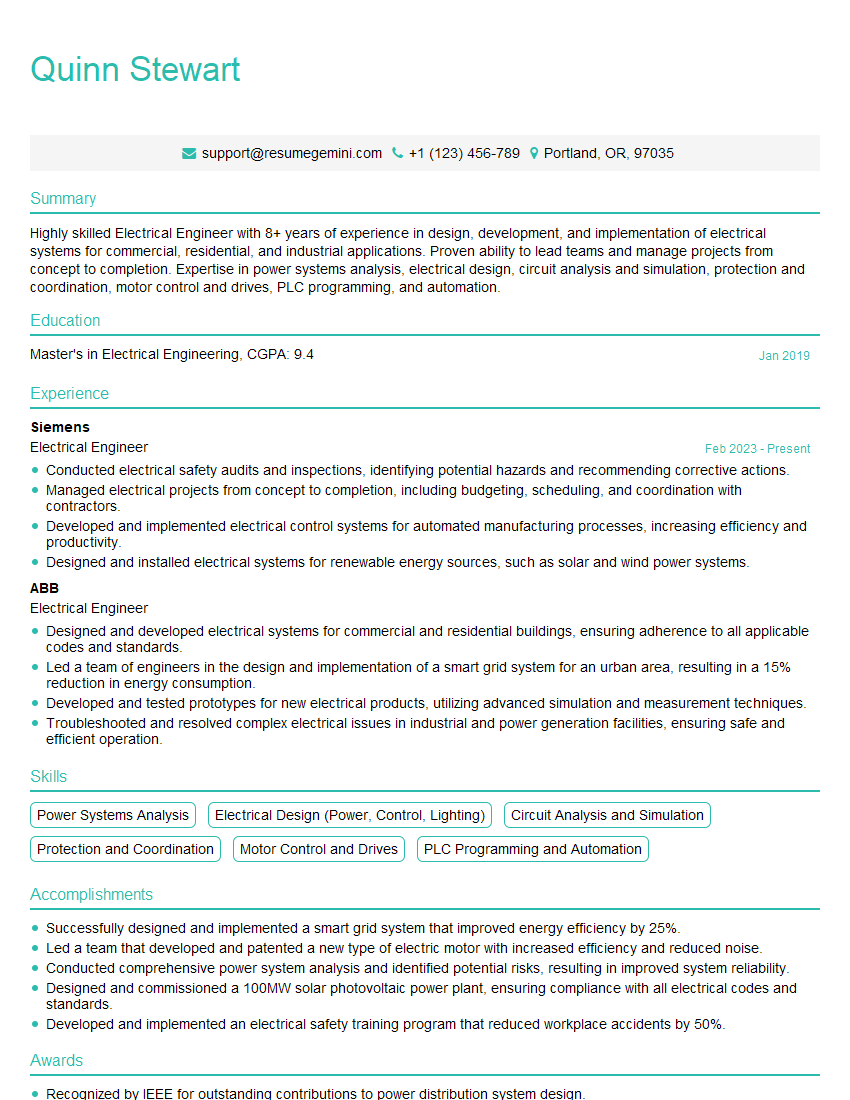
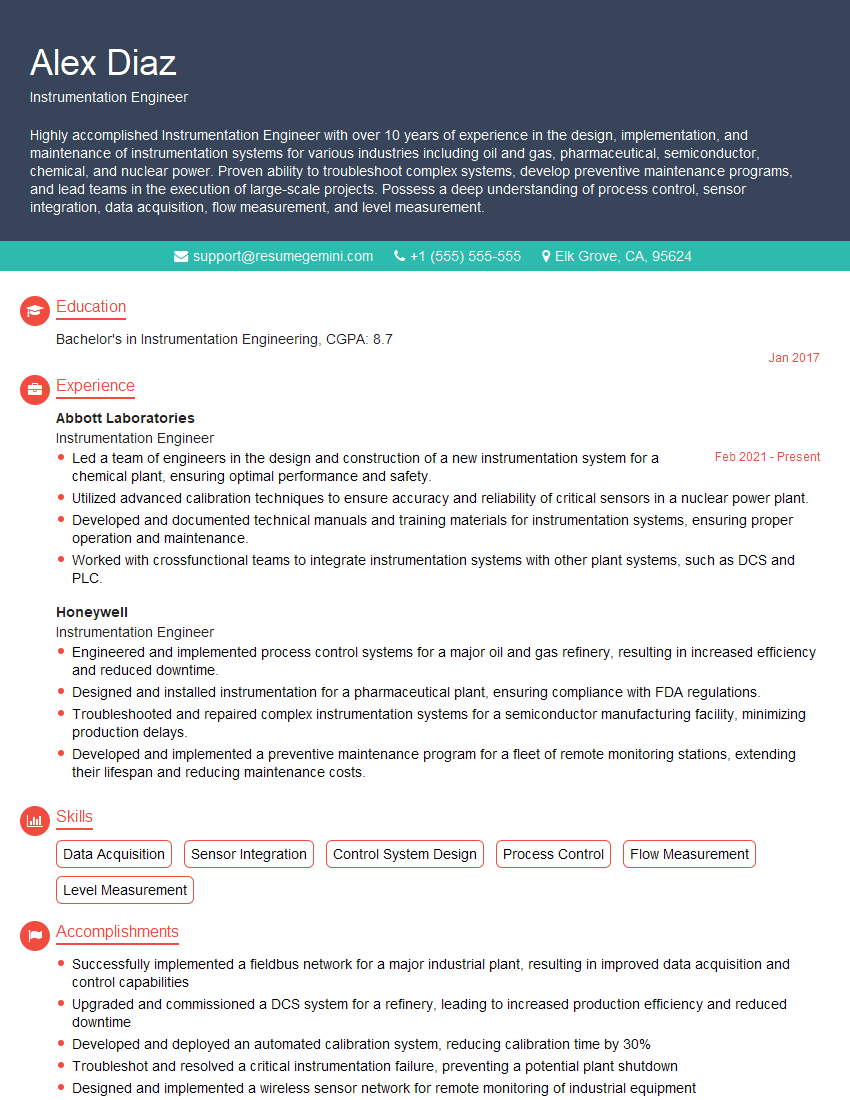
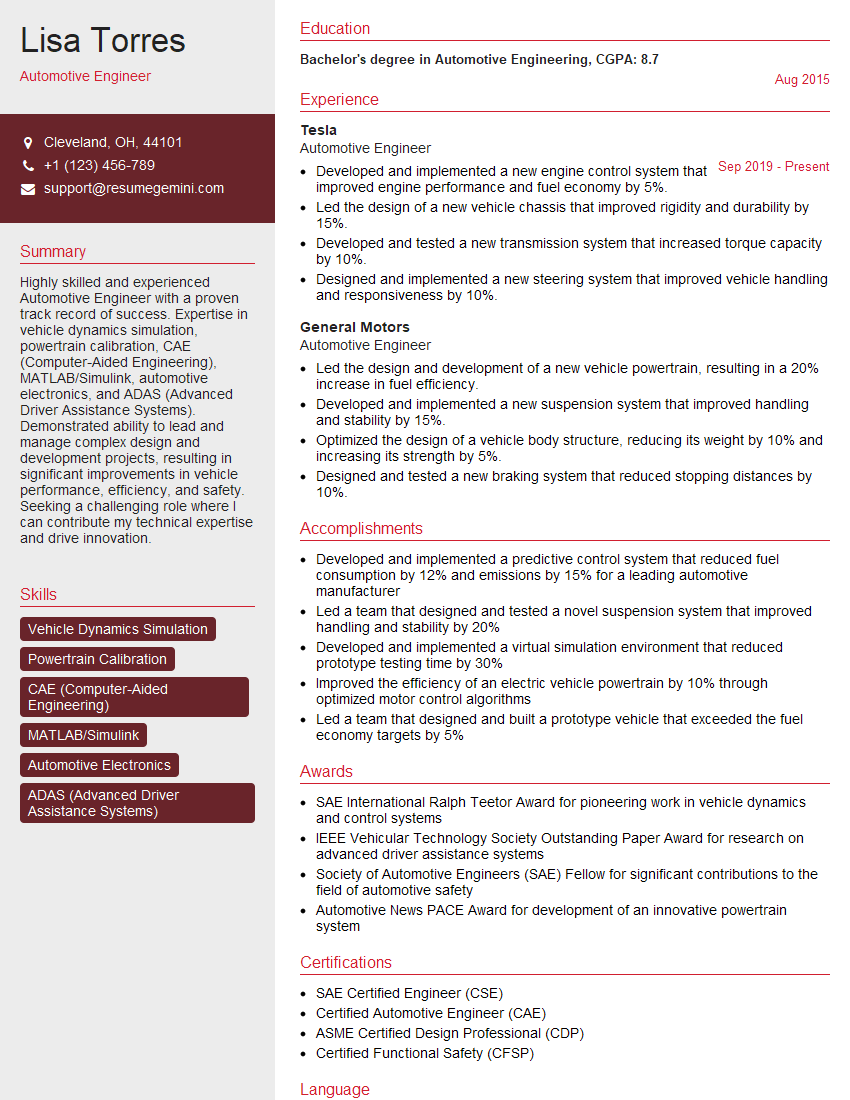
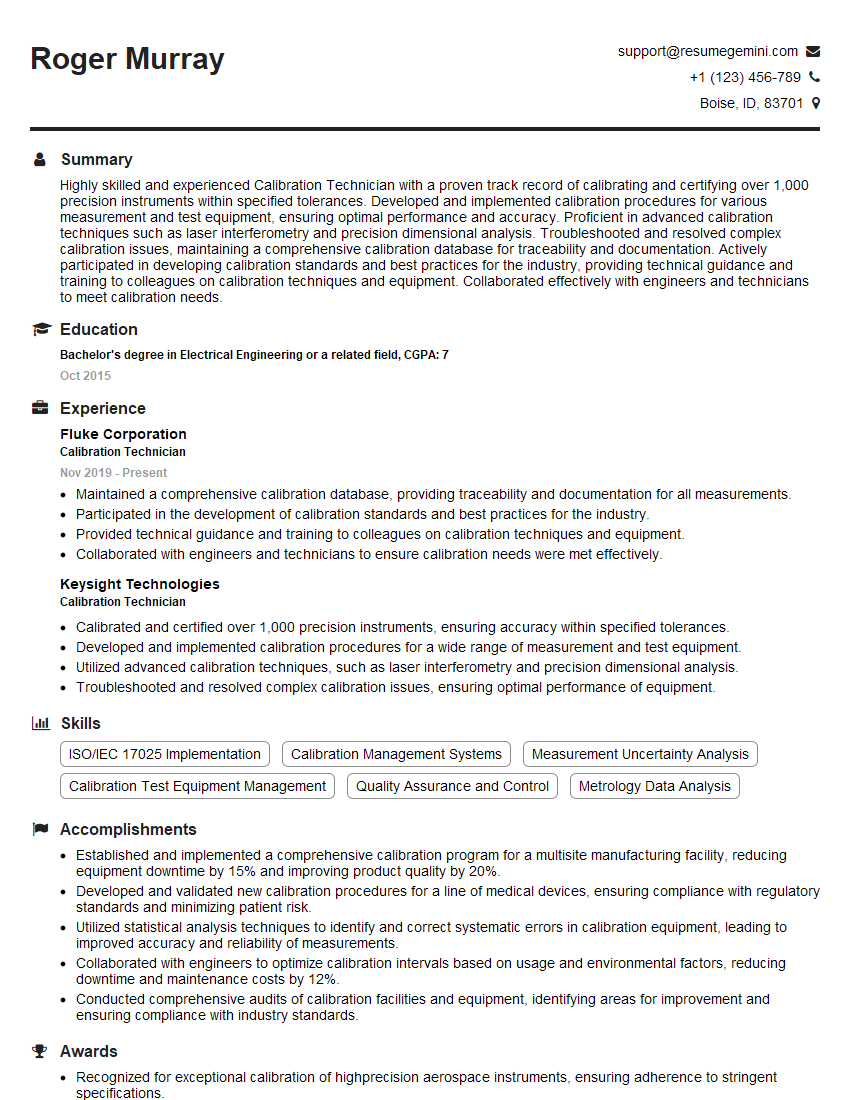
Mastering the use of test equipment like oscilloscopes and multimeters is crucial for career advancement in many technical fields. Proficiency in these skills demonstrates a strong foundation in electronics and problem-solving, making you a highly valuable asset to any team. To significantly boost your job prospects, create a compelling and ATS-friendly resume that highlights your expertise. ResumeGemini is a trusted resource to help you build a professional resume that showcases your skills effectively. Examples of resumes tailored to showcasing expertise in using test equipment, like oscilloscopes and multimeters, are available to guide you.
Explore more articles
Users Rating of Our Blogs
Share Your Experience
We value your feedback! Please rate our content and share your thoughts (optional).
What Readers Say About Our Blog
Hello,
We found issues with your domain’s email setup that may be sending your messages to spam or blocking them completely. InboxShield Mini shows you how to fix it in minutes — no tech skills required.
Scan your domain now for details: https://inboxshield-mini.com/
— Adam @ InboxShield Mini
Reply STOP to unsubscribe
Hi, are you owner of interviewgemini.com? What if I told you I could help you find extra time in your schedule, reconnect with leads you didn’t even realize you missed, and bring in more “I want to work with you” conversations, without increasing your ad spend or hiring a full-time employee?
All with a flexible, budget-friendly service that could easily pay for itself. Sounds good?
Would it be nice to jump on a quick 10-minute call so I can show you exactly how we make this work?
Best,
Hapei
Marketing Director
Hey, I know you’re the owner of interviewgemini.com. I’ll be quick.
Fundraising for your business is tough and time-consuming. We make it easier by guaranteeing two private investor meetings each month, for six months. No demos, no pitch events – just direct introductions to active investors matched to your startup.
If youR17;re raising, this could help you build real momentum. Want me to send more info?
Hi, I represent an SEO company that specialises in getting you AI citations and higher rankings on Google. I’d like to offer you a 100% free SEO audit for your website. Would you be interested?
Hi, I represent an SEO company that specialises in getting you AI citations and higher rankings on Google. I’d like to offer you a 100% free SEO audit for your website. Would you be interested?
good


