The thought of an interview can be nerve-wracking, but the right preparation can make all the difference. Explore this comprehensive guide to Floor Plans interview questions and gain the confidence you need to showcase your abilities and secure the role.
Questions Asked in Floor Plans Interview
Q 1. Explain the difference between a floor plan and a site plan.
A floor plan and a site plan, while both crucial in construction, represent different scales and scopes. Think of it like this: a site plan shows the entire property, its surroundings, and the building’s placement within it, much like a bird’s-eye view. It includes details like property lines, driveways, landscaping, and utilities. A floor plan, on the other hand, focuses solely on the internal layout of a building, depicting the arrangement of rooms, walls, doors, windows, and fixtures on a single level. It’s a detailed blueprint of the interior space. For instance, a site plan might show where a house sits on a lot relative to the street and neighboring properties, while the floor plan would illustrate the arrangement of bedrooms, bathrooms, and living areas within that house.
In essence, the site plan sets the stage, showing where the building will reside, while the floor plan details the internal architecture. They are often used together to provide a comprehensive understanding of a construction project.
Q 2. What CAD software are you proficient in?
I’m proficient in several CAD software packages, but my primary tools are AutoCAD and Revit. AutoCAD is excellent for its precision and versatility in 2D drawings, making it ideal for creating detailed floor plans and elevations. I often use it for initial designs and simpler projects. Revit, on the other hand, is a Building Information Modeling (BIM) software that offers a powerful 3D modeling environment. This allows me to create more complex and integrated floor plans, incorporating details like structural elements and building systems. The ability to collaborate on projects using Revit’s shared model is a key advantage for larger projects. I also have experience with SketchUp, which is beneficial for quick conceptual designs and client presentations due to its user-friendly interface.
Q 3. How do you ensure accuracy and consistency in your floor plans?
Accuracy and consistency are paramount in floor plan creation. I employ several strategies to maintain these standards. Firstly, I always start with precise measurements obtained directly from the site or architectural drawings. Secondly, I use the CAD software’s tools meticulously. This includes using layers to organize elements, employing snapping and constraints to ensure precise placement, and frequently checking dimensions against the source data. Thirdly, I implement a rigorous quality control process. This involves multiple reviews of the plan, both independently and with a colleague, to catch any discrepancies or inconsistencies. Using standardized symbols and templates throughout the plan further enhances consistency. Finally, meticulous record-keeping of revisions and changes ensures traceability and facilitates seamless updates.
Q 4. Describe your process for creating a floor plan from initial sketches.
My process for creating a floor plan from initial sketches typically follows these steps: 1. Client Consultation and Data Gathering: Understanding client needs and space requirements is crucial. This often involves site visits and detailed discussions. 2. Sketching and Conceptualization: I translate initial ideas and client feedback into rough sketches, exploring different layout options. 3. Digitalization in CAD: The sketches are then digitized in my preferred CAD software (AutoCAD or Revit). I start by establishing the overall dimensions and then add walls, doors, and windows. 4. Detailed Design: The process moves to adding specific elements like fixtures, furniture, and electrical outlets. 5. Review and Refinement: Continuous review and refinement are essential. This involves checking for code compliance, optimizing spatial flow, and ensuring the plan aligns with client expectations. 6. Finalization and Documentation: Once the plan is finalized, I create detailed drawings, including dimensions, notes, and specifications. This ensures clarity and smooth communication with construction teams.
Q 5. How do you handle revisions and changes to a floor plan?
Handling revisions and changes is a crucial aspect of the design process. I employ a version control system within my CAD software, allowing me to track all changes made to the floor plan. Each revision is clearly documented with the date, description of changes, and the person making the changes. This helps maintain transparency and ensures we can easily revert to previous versions if needed. Revisions are typically incorporated through a collaborative process, involving discussions with the client and other stakeholders to ensure the changes meet their needs and are integrated seamlessly into the existing plan. The updated plan is then thoroughly reviewed before being finalized.
Q 6. What are the key considerations when designing a floor plan for accessibility?
Designing for accessibility is paramount. Key considerations include complying with relevant building codes and standards (like ADA in the US). This involves ensuring sufficient clear floor space for maneuvering wheelchairs, appropriate door widths, accessible bathroom fixtures, ramps or elevators where necessary, and proper placement of switches and outlets within reach. Consideration must be given to visual and auditory cues for people with disabilities. For example, contrasting colors can help with visual navigation, and clear signage can improve wayfinding. I also often consult accessibility guidelines and resources to ensure that my designs meet best practices.
Q 7. How do you incorporate client feedback into the design process?
Client feedback is invaluable. I actively solicit feedback at multiple stages of the design process. Initial consultations provide the foundational understanding of client needs. Throughout the design process, I present iterative drafts and actively seek feedback through meetings, email, or even online collaboration tools. I encourage open communication and explain the rationale behind design choices to ensure a mutual understanding. I use this feedback to make revisions, refining the plan to reflect the client’s preferences and address their concerns. This iterative approach fosters a strong client relationship and guarantees a final product that precisely matches their vision.
Q 8. Explain your experience with different floor plan styles.
My experience spans a wide range of floor plan styles, from traditional to contemporary and everything in between. I’m proficient in designing plans for various building types, including residential (single-family homes, apartments, townhouses), commercial (offices, retail spaces, restaurants), and even specialized facilities like healthcare clinics or educational buildings. Each style demands a unique approach. For example, a traditional home might emphasize symmetry and formal spaces, while a contemporary design might prioritize open floor plans and minimalist aesthetics. I’ve worked with Victorian, Craftsman, Ranch, Mid-Century Modern, and Farmhouse styles, adapting my design approach to reflect the specific architectural characteristics and client preferences of each.
- Traditional: Focus on symmetry, formal living spaces, and detailed architectural features.
- Contemporary: Emphasis on open floor plans, clean lines, and minimalist design.
- Transitional: Blends traditional and contemporary elements, creating a balanced and sophisticated aesthetic.
Understanding these styles allows me to create floor plans that not only meet the client’s functional needs but also reflect their desired aesthetic.
Q 9. How familiar are you with building codes and regulations related to floor plans?
Familiarity with building codes and regulations is paramount in my work. I’m well-versed in local, state, and national codes, including those related to accessibility (ADA compliance), fire safety (egress requirements, sprinkler systems), structural integrity, and energy efficiency. I regularly consult code books and online resources to ensure my designs meet all applicable regulations. Ignoring these codes can lead to costly delays and potentially unsafe structures. For example, ensuring proper egress window sizes and placement is crucial for fire safety, and understanding ADA requirements guarantees accessibility for all occupants. I’m also familiar with zoning regulations that affect lot coverage, setbacks, and building height restrictions. This knowledge ensures that the floor plans I create are not only aesthetically pleasing and functional but also legally compliant.
Q 10. How do you manage large and complex floor plan projects?
Managing large and complex projects requires a systematic approach. I utilize Building Information Modeling (BIM) software and employ a phased design process. This involves breaking down the project into smaller, manageable sections – for instance, designing individual floors or zones separately. Regular progress meetings with the client and the construction team ensure everyone is on the same page. Detailed specifications and documentation are crucial to avoid ambiguity and ensure accurate construction. I’ve successfully managed large-scale projects involving multiple building wings and complex interconnected spaces by using project management tools to track progress, deadlines, and budget. Clear communication and collaboration are key to successful project completion.
Think of it like building a large puzzle: you wouldn’t try to assemble it all at once. Instead, you’d work on sections at a time, carefully checking each piece against the overall picture. This is exactly the approach I take to managing large floor plan projects.
Q 11. Describe your experience with creating 3D models from floor plans.
I have extensive experience creating 3D models from floor plans using software such as Revit, SketchUp, and Lumion. This allows clients to visualize their space more effectively. The process typically begins with a 2D floor plan, which serves as the foundation. I then use the software to extrude walls, add details like doors, windows, and fixtures, and create realistic renderings. These 3D models are invaluable for client presentations, allowing them to experience the space before construction begins. This also allows for easier identification of potential design flaws or conflicts early on in the process.
For example, a 3D model can help a client understand how natural light will affect a room or how furniture will fit within a space. This visual representation greatly enhances client understanding and satisfaction.
Q 12. How do you ensure your floor plans are scalable and adaptable?
Scalability and adaptability are key considerations in floor plan design. I achieve this through modular design principles and the use of parametric modeling techniques. Modular design breaks the plan into reusable components, allowing for easy expansion or modification. Parametric modeling allows for changes in dimensions to be reflected automatically throughout the design. This ensures the floor plan remains consistent and functional even with alterations. For instance, a design could be easily expanded to add more bedrooms or adjusted to suit a different lot size. Using these methods, the plans can be tailored to specific needs, yet remain efficient and well-organized.
Q 13. How do you handle conflicting design requirements?
Conflicting design requirements are common, and resolving them requires effective communication and creative problem-solving. I facilitate open discussions with the client and other stakeholders (architects, engineers, contractors) to identify the root of the conflict and find mutually acceptable solutions. This might involve compromising on certain features, exploring alternative designs, or prioritizing key requirements. Prioritization matrices and design charrettes (collaborative workshops) are helpful tools to navigate these challenges and arrive at a consensus that best meets the overall project goals. Sometimes, a seemingly minor detail can have significant downstream implications, so meticulous attention to detail is crucial.
For instance, a client might want a large kitchen and a spacious living room, but the available space might be limited. Finding a balance might involve creating an open-plan kitchen/living area to maximize space or re-evaluating the size of other less critical rooms.
Q 14. Explain your understanding of spatial relationships in floor plan design.
Understanding spatial relationships is fundamental to good floor plan design. It involves considering how different spaces interact and flow together. Factors like traffic patterns, sightlines, proximity of related spaces (e.g., kitchen and dining room), and the creation of distinct zones are crucial. A well-designed floor plan facilitates ease of movement and creates a logical and functional layout. Poor spatial relationships can lead to a cramped or inefficient space. I use techniques like space planning diagrams and bubble diagrams to visualize the relationships between different rooms before creating the detailed floor plan. This ensures the resulting plan is both aesthetically pleasing and functionally effective.
Imagine designing a house without considering the flow between rooms – you might end up with a kitchen far from the dining area or a bathroom tucked away in an inconvenient location. Careful consideration of spatial relationships ensures that the space works efficiently and comfortably.
Q 15. How do you determine the appropriate scale for a floor plan?
Choosing the right scale for a floor plan is crucial for readability and accuracy. It’s a balance between showing enough detail and keeping the plan manageable. Generally, you aim for a scale that allows for clear representation of all essential features without becoming overly cluttered. The most common scales are 1/4″ = 1′ (one-quarter inch equals one foot) and 1/8″ = 1′.
For smaller spaces, like bathrooms or closets, a larger scale like 1/2″ = 1′ might be preferred to showcase details. Conversely, for very large spaces, a smaller scale like 1/16″ = 1′ might be necessary. The decision depends on the size of the space, the level of detail required, and the final use of the floor plan (presentation, construction, etc.).
For example, a large house might benefit from using 1/8″ = 1′ for the overall floor plan, but individual room layouts could be presented at 1/4″ = 1′ to highlight features more effectively. Ultimately, the goal is clarity and practicality.
Career Expert Tips:
- Ace those interviews! Prepare effectively by reviewing the Top 50 Most Common Interview Questions on ResumeGemini.
- Navigate your job search with confidence! Explore a wide range of Career Tips on ResumeGemini. Learn about common challenges and recommendations to overcome them.
- Craft the perfect resume! Master the Art of Resume Writing with ResumeGemini’s guide. Showcase your unique qualifications and achievements effectively.
- Don’t miss out on holiday savings! Build your dream resume with ResumeGemini’s ATS optimized templates.
Q 16. What are some common mistakes to avoid when creating floor plans?
Creating accurate and usable floor plans requires avoiding several common pitfalls. One major mistake is inconsistent scaling or lack of clear dimensions. This leads to confusion and potential errors during construction. Another common error is neglecting to accurately represent the placement of doors, windows, and other architectural elements, leading to design clashes and construction problems.
- Inconsistent Scaling: Using different scales within a single plan will make it impossible to accurately measure spaces.
- Missing Dimensions: Failing to clearly indicate dimensions on the plan can lead to ambiguities, mistakes, and costly changes down the line.
- Incorrect Door and Window Swing: Not noting the direction that doors and windows open can lead to poor space planning and conflicts with furniture placement.
- Overlooking Plumbing and Electrical Fixtures: Not including these crucial elements can cause significant delays and expense during the construction phase.
- Lack of Clarity and Legend: Using inconsistent line weights, symbols, or a missing legend makes interpreting the plan difficult for anyone involved.
Imagine a floor plan where a wall is drawn slightly off, causing a miscalculation in the overall square footage. This seemingly small mistake could lead to significant problems later on.
Q 17. How do you communicate effectively with contractors and clients using floor plans?
Effective communication is paramount when working with contractors and clients. Floor plans serve as the primary communication tool, so clarity is crucial. I use clear annotations, dimensions, and a detailed legend to ensure everyone understands the design. I also utilize color-coding to highlight different aspects, like plumbing, electrical, or structural components.
For clients, I often present the plans in stages, starting with a simplified version to understand the overall layout, then progressively adding detail. This allows for collaborative feedback and revisions throughout the design process. With contractors, detailed specifications and accurate measurements in the plans are critical, alongside clear communication regarding material selection and construction methods.
For instance, I might use a separate sheet detailing material specifications and use a specific legend to identify different wall types (e.g., load-bearing, non-load-bearing). I also always make myself available for questions and clarifications throughout the process.
Q 18. Describe your experience with using BIM software.
I have extensive experience using BIM (Building Information Modeling) software, primarily Revit. My proficiency includes creating 3D models, generating accurate floor plans and other construction documents, and incorporating specifications for materials and construction. Revit’s ability to link different disciplines, such as architecture, structural, and MEP (Mechanical, Electrical, and Plumbing), is invaluable for complex projects. I am adept at using Revit’s tools for detailing, scheduling, quantity takeoffs, and coordination of various trades.
For example, in a recent project, Revit allowed for the real-time detection of clashes between ductwork and structural beams, preventing potential problems during construction. This significantly reduced rework and saved both time and money. Beyond Revit, I’m familiar with other BIM software such as ArchiCAD and AutoCAD, allowing for flexibility depending on project requirements.
Q 19. How do you prioritize elements in a floor plan to meet design goals?
Prioritizing elements in a floor plan depends heavily on the project’s goals. Understanding client needs and the constraints of the site are crucial for successful prioritization. I typically follow a phased approach:
- Functional Requirements: Prioritize elements crucial for the space’s function (e.g., kitchen layout, bathroom placement).
- Space Efficiency: Optimizing space usage to meet client requirements and comply with building codes.
- Client Preferences: Incorporate specific client preferences and styles, balancing them with functional needs.
- Code Compliance: Meeting building codes and safety regulations.
- Budgetary Considerations: Ensuring designs can be constructed within the client’s budget.
For example, in a home renovation, a client might prioritize an open-plan kitchen and living area. This becomes the focus, and other design decisions (like bedroom layout) are made to support this central element.
Q 20. What is your process for creating detailed furniture layouts within a floor plan?
Creating detailed furniture layouts is an iterative process that begins with understanding the client’s furniture and their intended use of the space. I start with a base floor plan, then use scaled furniture templates or accurate dimensions to place furniture within the space. I pay close attention to traffic flow, clearances, and sightlines. This process often involves several iterations and adjustments based on feedback from the client.
Using digital tools allows for easy adjustment and manipulation of furniture placement. Software like Revit or SketchUp lets me explore different configurations and quickly assess their impact on the overall design. For example, I might use a ‘walkthrough’ function in the software to simulate movement within the space, ensuring adequate clearances around furniture and appropriate sightlines.
Q 21. How do you ensure proper ventilation and lighting are considered in your designs?
Ventilation and lighting are integral to a well-designed space. During the design phase, I consider several factors to ensure both are adequately addressed. For ventilation, I consider natural ventilation (windows, vents), mechanical ventilation (fans, HVAC systems), and the placement of exhaust fans in bathrooms and kitchens. I also account for airflow patterns to avoid stagnant areas.
Regarding lighting, I incorporate both natural light (windows, skylights) and artificial light (fixtures). I focus on maximizing natural light by strategically positioning windows to minimize glare and maximize daylight penetration. For artificial lighting, I use a combination of ambient, task, and accent lighting to create a balanced and functional lighting scheme. I also specify the type of light fixtures and lighting control systems, taking into account energy efficiency.
For instance, in designing a kitchen, I would ensure adequate exhaust fan capacity, position windows to minimize direct sunlight while maximizing daylight, and specify task lighting over work surfaces and ambient lighting for overall illumination.
Q 22. Explain your experience with various drawing techniques used in floor plans.
My experience encompasses a wide range of drawing techniques, both manual and digital, crucial for creating effective floor plans. I’m proficient in hand-drafting, using pencils, scales, and templates for quick sketches and initial concepts. This allows for a free-flowing creative process and immediate client feedback. For precise and detailed plans, I utilize various Computer-Aided Design (CAD) software such as AutoCAD and Revit. These programs offer tools for accurate measurements, precise detailing, and the creation of professional-looking documentation. I also leverage digital drawing tools like SketchUp and Adobe Illustrator for quick visualizations, 3D modeling, and presentation-ready renderings. For example, I might use hand-drawn sketches during a preliminary client meeting to capture their ideas quickly, then transition to Revit to develop detailed working drawings for construction. My experience extends to using different drawing styles, from orthographic projections (showing views from multiple angles) to axonometric drawings (isometric or oblique projections) to best represent the space and communicate the design effectively.
Q 23. How do you balance functionality and aesthetics in your floor plan designs?
Balancing functionality and aesthetics is paramount in floor plan design. It’s about creating a space that is both practical and visually appealing. I achieve this balance by first focusing on the functional aspects: spatial relationships, traffic flow, client needs, and building codes. For example, I carefully consider the placement of kitchens and bathrooms relative to other rooms to optimize convenience and efficiency. Once the functional layout is established, I then incorporate aesthetic elements: window placement for natural light, using varied ceiling heights to create visual interest, and strategically placed architectural features to enhance the overall feel of the space. I often use mood boards and reference images to communicate the desired aesthetic with clients, ensuring that the final design reflects their personal style and preferences. Think of it like baking a cake – the functionality is the structure and ingredients, while the aesthetics are the icing and decoration, both are vital for a satisfying result.
Q 24. Describe your experience with working in a collaborative design environment.
I thrive in collaborative environments. My experience includes working closely with architects, contractors, interior designers, and clients throughout the design process. Effective communication is key. I utilize various tools for collaboration, including cloud-based platforms for sharing design files, online meetings for real-time feedback, and detailed project management software to track progress and manage revisions. I actively listen to all stakeholders’ inputs, address concerns promptly, and work to find consensus solutions that satisfy all parties involved. For instance, during a recent project, I collaborated with a structural engineer to ensure the floor plan complied with building codes, while simultaneously coordinating with an interior designer to achieve the client’s desired aesthetic. This collaborative approach leads to better designs, avoids conflicts, and fosters a positive work environment.
Q 25. What are your strengths and weaknesses as a floor plan designer?
My strengths lie in my ability to translate client needs into functional and aesthetically pleasing designs, my proficiency in various design software, and my dedication to staying current with industry best practices. I excel at spatial reasoning and problem-solving, quickly identifying and resolving design challenges. One weakness I’m actively working on is time management on particularly complex projects. To mitigate this, I utilize project management tools and break down large tasks into smaller, manageable steps. Another area for improvement is my public speaking skills; I am working on presenting my designs more confidently and engagingly to large groups. I actively seek feedback to help strengthen these areas.
Q 26. How do you stay current with industry trends and technologies?
Staying current is critical in this rapidly evolving field. I maintain my knowledge by regularly attending industry conferences and workshops, subscribing to professional journals and online publications, and actively participating in online forums and communities. I also explore new software and technologies, testing them in personal projects to understand their capabilities and limitations. For example, I recently experimented with Virtual Reality (VR) software to create immersive walkthroughs for clients, enhancing their understanding of the proposed design. Continuous learning ensures I offer the most innovative and effective solutions to my clients.
Q 27. How do you handle tight deadlines and high-pressure situations?
Handling tight deadlines and high-pressure situations requires effective organization and prioritization. I utilize project management tools to track deadlines, allocate resources, and monitor progress. I clearly communicate potential challenges early on to avoid surprises and proactively look for ways to streamline the design process. When under pressure, I focus on completing the most critical tasks first and break down larger projects into smaller, manageable stages. My experience has taught me the importance of delegation when possible and seeking support from colleagues when needed. Maintaining a calm and organized approach is crucial to delivering high-quality work under pressure.
Q 28. Describe your approach to problem-solving when presented with a design challenge.
My problem-solving approach is systematic. When faced with a design challenge, I start by thoroughly understanding the problem. This involves gathering all relevant information from clients, engineers, and other stakeholders. Next, I brainstorm potential solutions, considering various design options and their implications. I then evaluate each solution based on criteria such as feasibility, cost, and aesthetic appeal. Finally, I select the optimal solution and refine it iteratively based on feedback and further analysis. For instance, if a client requests a large kitchen in a small space, I might explore solutions such as using built-in appliances, optimizing cabinet layouts, and maximizing vertical space to create a functional and efficient kitchen. Thorough investigation and a structured approach are crucial for overcoming design obstacles.
Key Topics to Learn for Floor Plans Interview
- Space Planning & Design Principles: Understanding fundamental design principles like scale, proportion, and flow as they relate to floor plan functionality and aesthetics.
- Software Proficiency: Demonstrating practical experience with industry-standard software for creating and modifying floor plans (e.g., AutoCAD, Revit, SketchUp). Be prepared to discuss your workflow and project experience.
- Reading and Interpreting Existing Floor Plans: Ability to accurately understand dimensions, notations, and symbols commonly used in professional floor plans.
- Building Codes and Regulations: Familiarity with relevant building codes and regulations impacting floor plan design and feasibility. This includes understanding accessibility requirements and zoning restrictions.
- Client Communication & Collaboration: Articulating design choices and effectively collaborating with clients, architects, and contractors to achieve desired outcomes. Be ready to discuss how you’ve handled feedback and revisions.
- Space Optimization & Functionality: Demonstrating an understanding of how to maximize space efficiency and optimize the functionality of different areas within a floor plan.
- Material Selection & Budgeting: Knowledge of various materials and their impact on cost and design. Understanding basic budgeting principles related to floor plan implementation.
- Problem-Solving & Design Challenges: Showcase your ability to creatively solve design challenges, such as working with unusual spaces or adapting to client needs and constraints.
- Technical Drawing & Documentation: Proficiency in creating clear and accurate technical drawings and documentation associated with floor plans. This includes dimensioning, annotations, and detailing.
Next Steps
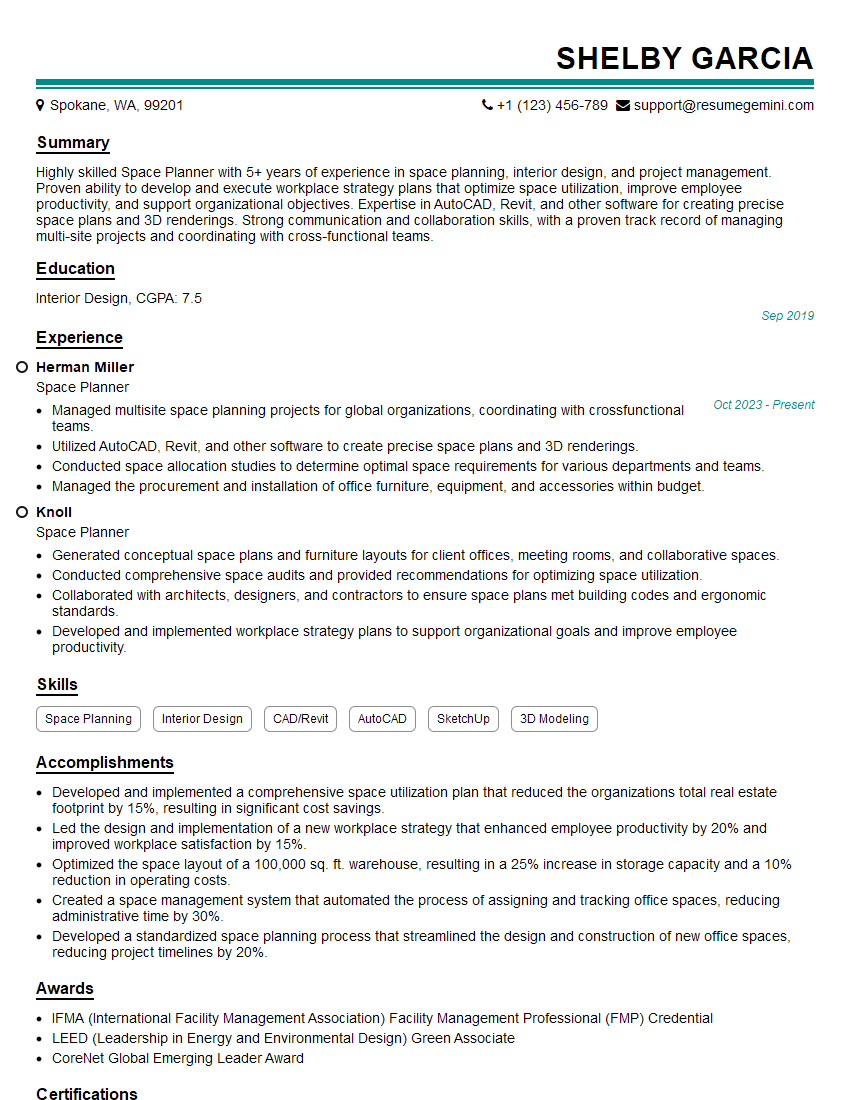
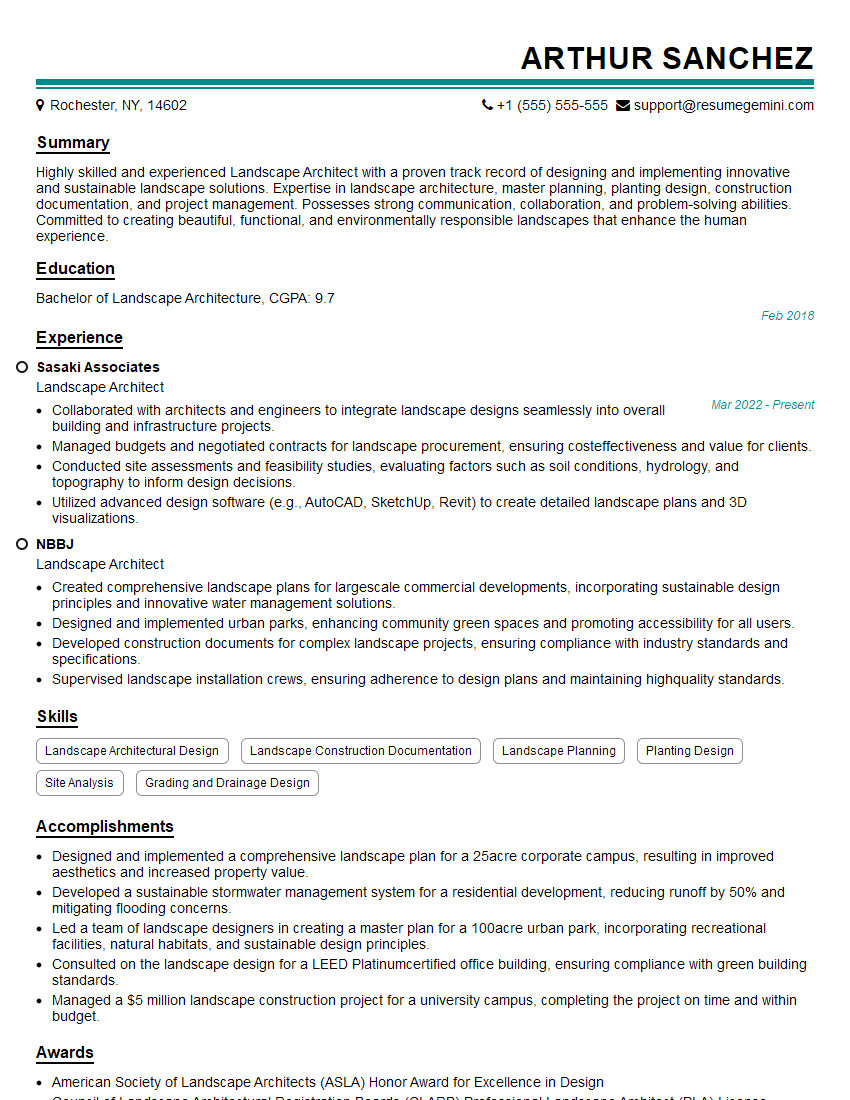
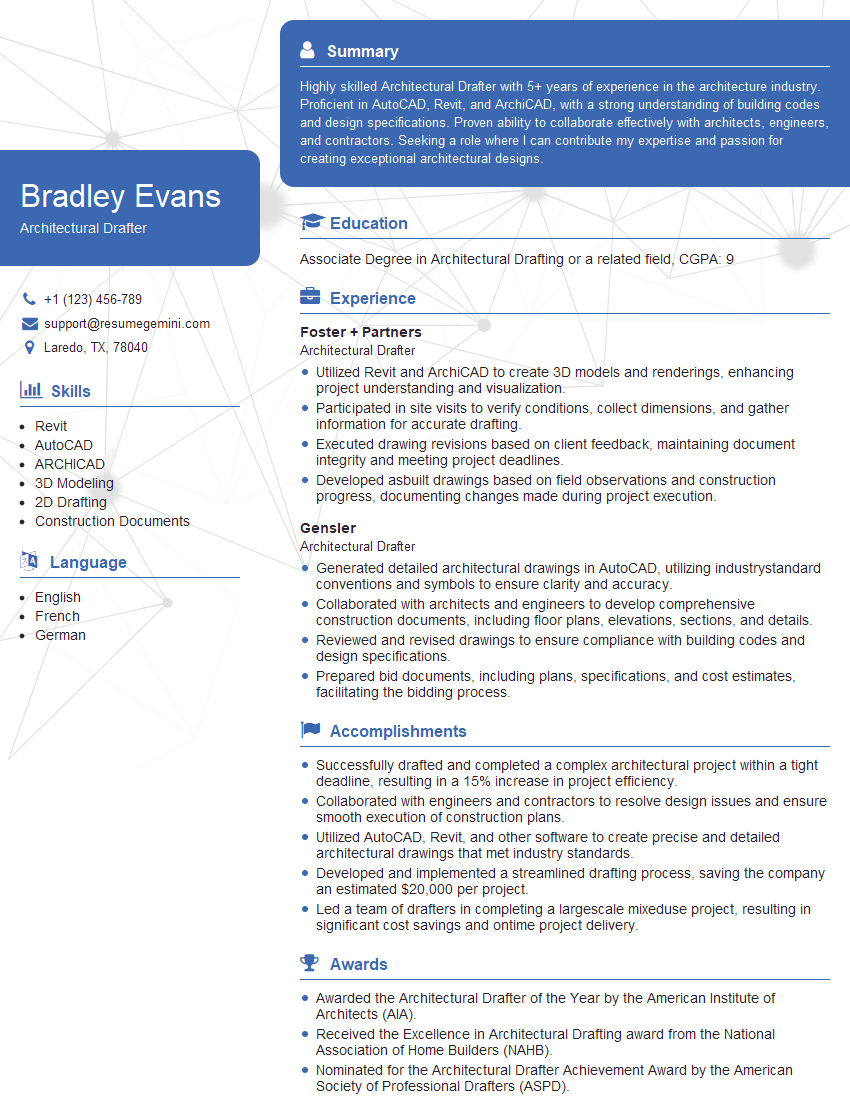
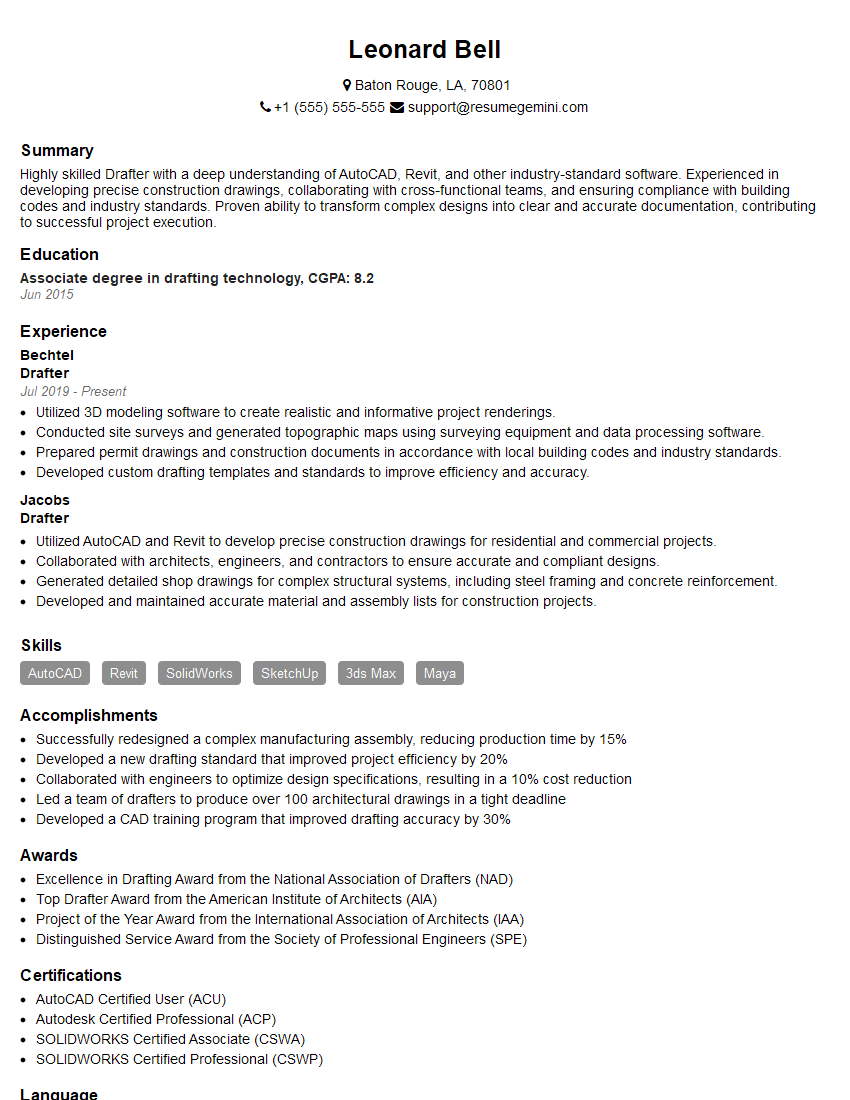
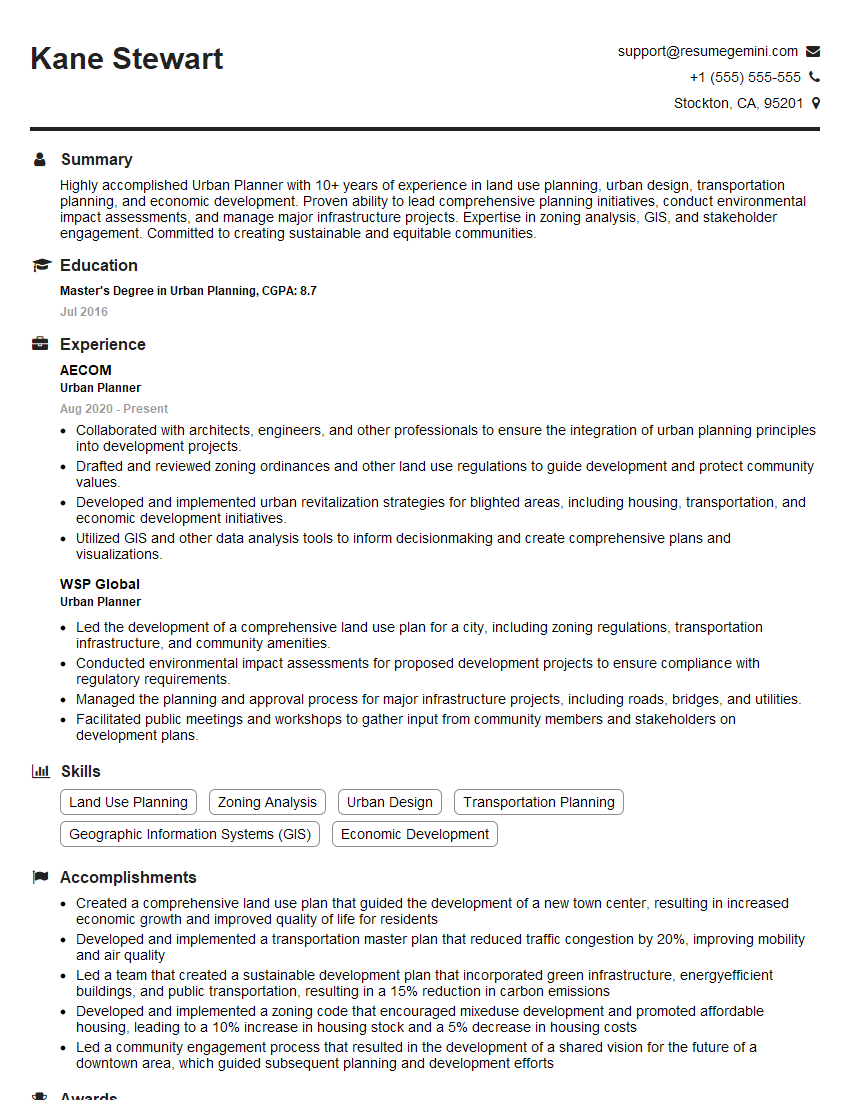
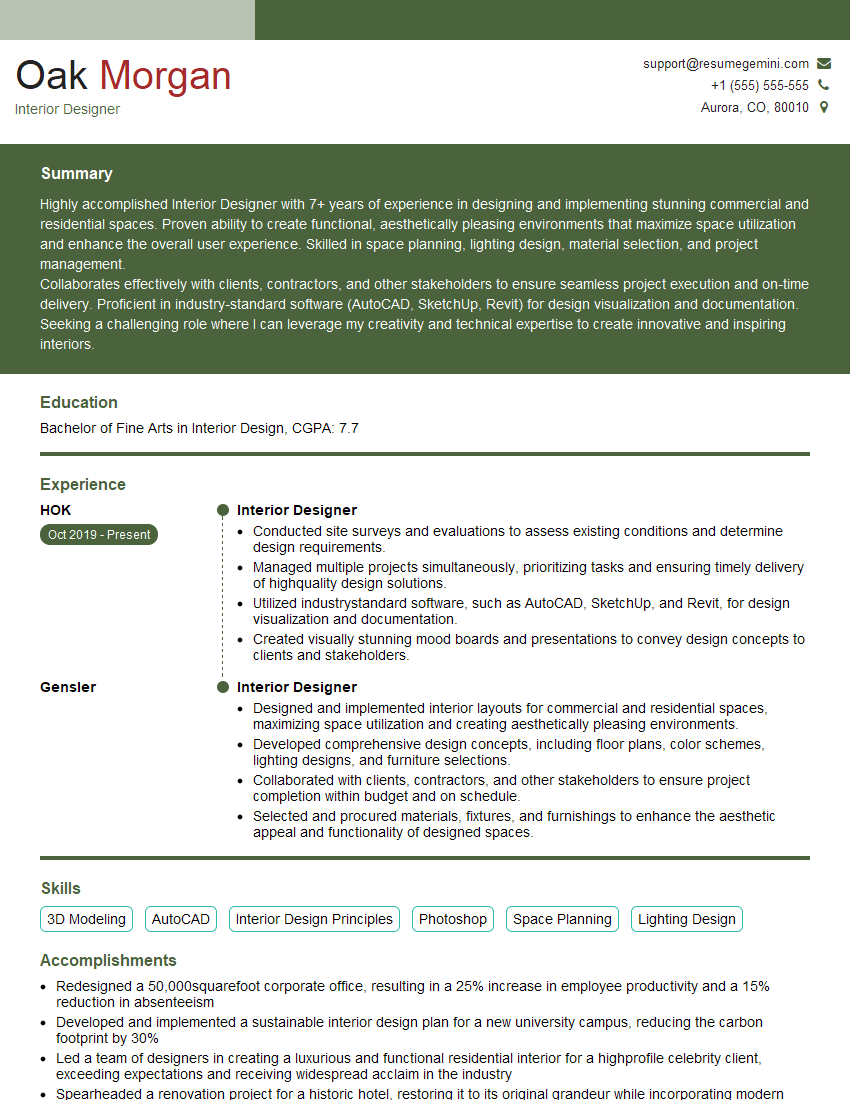
Mastering floor plan design and related skills is crucial for career advancement in architecture, interior design, and construction. A strong understanding of these concepts will significantly enhance your job prospects and open doors to exciting opportunities. To boost your chances of landing your dream role, crafting an ATS-friendly resume is paramount. ResumeGemini is a valuable resource that can help you build a professional and impactful resume tailored to the specific requirements of Floor Plan positions. Examples of resumes optimized for Floor Plan roles are available to help guide you.
Explore more articles
Users Rating of Our Blogs
Share Your Experience
We value your feedback! Please rate our content and share your thoughts (optional).
What Readers Say About Our Blog
Hi, I represent an SEO company that specialises in getting you AI citations and higher rankings on Google. I’d like to offer you a 100% free SEO audit for your website. Would you be interested?
good
