The thought of an interview can be nerve-wracking, but the right preparation can make all the difference. Explore this comprehensive guide to General Knife Skills interview questions and gain the confidence you need to showcase your abilities and secure the role.
Questions Asked in General Knife Skills Interview
Q 1. What are the five basic knife cuts?
The five basic knife cuts are fundamental to any culinary professional. Mastering these allows for consistency and efficiency in food preparation. They are:
- Dice: A small, uniformly-sized cube, typically 1/4 inch to 1/2 inch. Used extensively for vegetables in things like salads or stir-fries.
- Mincing: Finely chopping an ingredient into very small pieces. Ideal for garlic, herbs, and shallots, adding subtle flavor without overwhelming texture.
- Julienne: A long, thin, matchstick-like cut, usually about 1/8 inch thick and 2-3 inches long. Perfect for garnishes or adding visual appeal to dishes.
- Brunoise: An even smaller version of the julienne, resulting in tiny cubes about 1/8 inch on all sides. Commonly used for intricate garnishes or fine vegetable preparations.
- Chiffonade: A technique for finely slicing leafy vegetables like basil or spinach into thin ribbons. Creates a visually appealing and delicate presentation.
These cuts provide a foundation for more complex techniques and demonstrate a chef’s precision and skill.
Q 2. Explain the proper grip for a chef’s knife.
The proper grip for a chef’s knife is crucial for control, safety, and efficiency. Imagine you’re shaking hands with the knife. You should hold the knife with a relaxed but firm grip, using your pinch grip and your entire hand.
Your index finger and thumb should gently but firmly grip the bolster (the area where the blade meets the handle), while your remaining fingers curl around the handle, providing support and balance. The grip should be comfortable enough to allow for effortless movement. Think of it as an extension of your arm, not a rigid, tense object.
Avoid gripping the knife too tightly. A relaxed grip allows for greater control and reduces the risk of fatigue and injury.
Q 3. Describe the difference between a julienne and a brunoise cut.
Both julienne and brunoise cuts involve creating long, thin strips, but they differ in size. A julienne cut produces matchstick-shaped pieces approximately 1/8 inch thick and 2-3 inches long. Think of it as the length of your fingernail.
A brunoise cut takes the julienne a step further, creating tiny cubes approximately 1/8 inch on each side. It’s significantly smaller than a julienne cut, almost like miniature dice. The brunoise requires greater precision and skill to execute cleanly.
The choice between the two depends on the recipe’s requirements. Julienne cuts are more common for vegetables where texture and visual appeal are important, while brunoise is generally reserved for very fine preparations where small, uniform pieces are necessary for even cooking or a delicate presentation.
Q 4. How do you sharpen a chef’s knife?
Sharpening a chef’s knife is a crucial skill for maintaining its effectiveness and safety. Dull knives are more dangerous than sharp ones because they require more force, increasing the chance of slipping. There are several ways to sharpen a knife, but I prefer using a honing steel followed by a sharpening steel.
Honing Steel: This is used daily, or even after each use, to realign the blade’s edge. Hold the steel at a 20-degree angle to the blade and draw the knife down the steel in a smooth, continuous motion, repeating on each side multiple times. This will keep your knife sharp longer.
Sharpening Steel: If honing isn’t sufficient, then use a sharpening steel. This should be done less frequently, perhaps once a month or as needed. Using a sharpening steel is a more involved process. You might use a whetstone or a pull through sharpener to achieve a keen edge.
Always remember to use caution and respect the sharpness of the knife during this process.
Q 5. What are the safety precautions when using knives?
Knife safety is paramount. A few key precautions are essential:
- Sharp Knives are Safer: A sharp knife requires less force, reducing the chance of the knife slipping.
- Proper Grip: Maintain a secure but relaxed grip at all times.
- Cut Away from Yourself: Always point the blade away from your body.
- Use a Cutting Board: Never cut directly on a counter or table.
- Keep Knives Sharp: Regular sharpening reduces the likelihood of slipping.
- Store Properly: Store knives in a knife block or sheath to prevent accidents.
- Never Leave a Knife Unattended: Especially in a place where someone might stumble upon it.
- Wear Cut Resistant Gloves: Consider using cut resistant gloves to mitigate injuries in high-risk situations.
Being mindful and following these simple rules drastically reduces the risk of accidents.
Q 6. How do you handle a slipping knife?
If a knife slips, the first reaction should be controlled. Don’t panic! Your initial response will determine how things play out.
1. Don’t Pull Back: Pulling back can cause more damage. Instead, try to pivot your body away from the knife’s trajectory.
2. Try to Use Your Non-Dominant Hand to Protect Yourself: If it appears the knife will contact your body, instinctively use your non-dominant hand to make contact between the knife and your body to try to mitigate the damage.
3. Let Go: If the knife is beyond your control, the safest option is to let go of it. Your safety is paramount.
4. Address the Injury: If an injury does occur, follow first aid protocols immediately. Seek medical attention if necessary.
Regular practice and focus prevents most slips.
Q 7. Demonstrate the proper technique for dicing an onion.
Dicing an onion efficiently and safely involves a systematic approach:
- Cut Off the Top and Bottom: Trim both ends of the onion.
- Peel Off the Outer Layers: Remove any loose or damaged outer layers.
- Cut in Half: Cut the onion in half from top to bottom through the root end.
- Peel Away the Root End: Gently peel the root end. This will keep the onion together during dicing.
- Make Vertical Cuts: Make vertical cuts from the root end towards the stem, slicing nearly all the way through but leaving the root end intact.
- Make Horizontal Cuts: Make horizontal cuts across the onion from stem to root end, creating uniform dice.
- Dice the Onion: Using your knife, dice your onion into the preferred size.
Practice makes perfect. With consistent practice, you’ll be dicing onions quickly and efficiently without tears.
Q 8. What are the different types of knives used in a professional kitchen?
A professional kitchen boasts a diverse array of knives, each meticulously designed for specific tasks. Think of it like a surgeon’s toolkit – each instrument serves a unique purpose.
- Chef’s Knife: The workhorse of the kitchen, this versatile knife excels at chopping, slicing, dicing, and mincing. Its size and weight make it ideal for efficient prep work.
- Paring Knife: Small and nimble, it’s perfect for intricate tasks like peeling fruits and vegetables, removing seeds, or creating garnishes.
- Serrated Knife (Bread Knife): Its saw-like edge effortlessly slices through crusty bread and other delicate items without crushing them.
- Boning Knife: With its thin, flexible blade, this knife expertly separates meat from bones.
- Butcher Knife: A large, heavy-duty knife perfect for breaking down large cuts of meat.
- Fillet Knife: Its long, thin blade is designed for filleting fish and other delicate proteins.
- Utility Knife: A smaller, all-purpose knife that falls between a chef’s knife and a paring knife in size. Useful for general tasks.
Beyond these staples, specialized knives like oyster knives, tourné knives (for creating decorative vegetable cuts), and cleavers (for chopping through bones and larger vegetables) also find their place in professional kitchens depending on the cuisine and menu.
Q 9. How do you maintain knife sharpness?
Maintaining knife sharpness is paramount for safety and efficiency. A dull knife requires more force, increasing the risk of slipping and injury. Think of it like trying to cut a tomato with a butter knife – it’s far more difficult and dangerous.
Regular honing is key. Honing realigns the blade’s edge, maintaining its sharpness between sharpenings. I use a honing steel daily before starting my prep work. It’s like straightening slightly bent hairs to keep the blade aligned.
Sharpening, on the other hand, removes material from the blade to restore its edge. This can be done with a sharpening steel, whetstones (with varying grits), or even electric sharpeners. I typically sharpen my knives every few weeks or as needed, depending on usage.
The frequency depends on the knife’s use and material. High-carbon steel knives, for example, require more frequent sharpening than stainless steel knives.
Q 10. What are the best materials for kitchen knives?
The ideal material for a kitchen knife is a balance of hardness, durability, and resistance to corrosion. High-carbon stainless steel is a popular choice as it offers a good balance of all three. The higher the carbon content, the harder the steel and the sharper the edge, but it may also be more prone to rust if not properly cared for.
High-carbon steel knives are known for their exceptional sharpness and edge retention but require more meticulous care to prevent rust. Think of it like a finely tuned sports car – more performance, but needs more attention.
Other materials include ceramic knives, known for their extreme sharpness and resistance to staining, but they can be brittle and chip easily. And then there’s stainless steel, which is more resistant to corrosion, more durable, but may not hold its edge as long.
Ultimately, the best material depends on your budget, the intended use, and your willingness to maintain the knife.
Q 11. How do you safely store knives?
Safe knife storage is crucial to prevent accidents and maintain knife quality. Never leave knives lying around haphazardly; this is a recipe for disaster.
Magnetic strips are a popular choice as they keep knives readily accessible and prevent damage to the blades. Magnetic strips are best when you are certain the knives are always clean and dried before placement.
Knife blocks offer a similar convenience, but ensure that the slots fit the knife snugly to prevent movement and damage. Blocks are safer in environments with higher traffic.
Knife rolls provide a portable and protective storage solution, ideal for chefs who travel or work in various settings. Rolls are often safer for long distance travels or environments with potential impacts.
For long-term storage or for infrequently used knives, individual sheaths or cases offer the best protection from rust and damage.
Q 12. Describe the proper way to mince garlic.
Mincing garlic efficiently involves a few key steps. First, I peel the garlic cloves. Then, I use the flat side of my chef’s knife to smash each clove, breaking down its cell structure. This releases the aromas and makes mincing easier.
Next, I finely chop the smashed cloves using a rocking motion of my knife, keeping the tip on the cutting board. It’s like rhythmically chopping up, maintaining a constant fine, even chop. The key is to use a sharp knife and a light touch, ensuring even consistency.
The final step involves using the side of the blade to create a fine paste. I use a controlled, precise motion, ensuring that the garlic is evenly minced and not overly mashed. The goal is for the garlic to be finely textured and blended, ready for incorporation into the recipe.
Q 13. Explain the difference between a chef’s knife and a paring knife.
The chef’s knife and paring knife are both essential tools, but their sizes and applications differ significantly. Think of it as comparing a lumberjack’s axe to a woodcarver’s chisel.
The chef’s knife is a larger, all-purpose knife with a long, curved blade. It’s perfect for chopping, slicing, and dicing a wide range of ingredients. It’s the workhorse of the kitchen and excels in many tasks.
The paring knife, in contrast, is much smaller and more delicate. Its shorter blade is ideal for more precise tasks like peeling fruits and vegetables, trimming edges, or removing seeds. It excels in more fine and intricate details.
In essence, the chef’s knife is for efficient large-scale prep, while the paring knife is for detail-oriented work.
Q 14. How would you efficiently prep vegetables for a large batch of soup?
Preparing vegetables for a large batch of soup requires an efficient and systematic approach. Mise en place is key.
First, I would sort and wash all the vegetables. Then, I would use a combination of knives to tackle different prep tasks. For instance, I would use the chef’s knife to chop larger quantities of root vegetables like carrots, potatoes, and celery, following a uniform size to ensure even cooking.
The paring knife would be used for more delicate work, such as peeling onions or finely mincing garlic. A mandoline slicer (if available) can significantly speed up vegetable prep for items such as onions, potatoes, and carrots.
Throughout the process, I would maintain a clean and organized workspace, ensuring that chopped vegetables are stored in separate containers to avoid cross-contamination and maintain quality. Following this approach allows for efficient, uniform prepping that saves time and increases quality.
Q 15. What is the best way to clean and maintain your knives?
Cleaning and maintaining your knives properly is crucial for their longevity and your safety. Think of it like caring for a finely tuned instrument – regular maintenance keeps it performing at its best.
- Immediate Cleaning: After each use, immediately wash your knife with warm, soapy water. Avoid soaking, as this can loosen the handle and dull the blade. Gently scrub the blade and handle, paying attention to crevices.
- Thorough Drying: Completely dry your knife with a clean, soft towel, paying special attention to the bolster (where the blade meets the handle) to prevent rust.
- Storage: Store your knives in a knife block, magnetic strip, or sheath to protect the blades from damage and prevent accidental cuts. Never leave knives loose in a drawer where they can bang against other utensils.
- Regular Sharpening: Regular sharpening is essential for maintaining a sharp edge. How often you sharpen depends on the knife and frequency of use, but a dull knife is more dangerous than a sharp one. Learn to hone your knives regularly to maintain their sharpness between sharpenings.
- Professional Sharpening: For intricate knives or if you lack the skills, consider professional sharpening services. They possess the expertise and tools to achieve a perfect edge without damaging your knives.
Remember, a clean, sharp knife is a safe knife. Neglecting maintenance can lead to dull blades, which require more force to use, increasing the risk of accidents.
Career Expert Tips:
- Ace those interviews! Prepare effectively by reviewing the Top 50 Most Common Interview Questions on ResumeGemini.
- Navigate your job search with confidence! Explore a wide range of Career Tips on ResumeGemini. Learn about common challenges and recommendations to overcome them.
- Craft the perfect resume! Master the Art of Resume Writing with ResumeGemini’s guide. Showcase your unique qualifications and achievements effectively.
- Don’t miss out on holiday savings! Build your dream resume with ResumeGemini’s ATS optimized templates.
Q 16. How do you handle a broken knife?
Handling a broken knife requires immediate caution. Safety is paramount.
- Assess the Damage: Carefully examine the extent of the break. Is it just a small chip or a significant fracture? A small chip might be manageable with a professional sharpening, while a significant break renders the knife unusable.
- Secure the Knife: Use thick gloves to handle the broken knife and carefully place it in a sturdy container, such as a thick cardboard box or plastic container, ensuring the broken edge is protected to avoid accidental injuries. Clearly label the container as broken and dangerous.
- Dispose Safely: Do not attempt to repair a significantly broken knife yourself. Instead, dispose of it properly according to your local guidelines. Some areas have designated drop-off points for broken knives and other sharp objects.
- Replace: Replace the broken knife with a new one of good quality to ensure your safety and the efficiency of your work.
Never try to repair a broken knife yourself unless you are a highly skilled knife maker with appropriate safety equipment. Attempting repairs with insufficient skill could result in serious injury.
Q 17. Describe the proper technique for filleting a fish.
Filleting a fish requires a sharp, flexible knife and a steady hand. Precision is key to avoiding waste and achieving beautiful, clean fillets.
- Prepare the Fish: Rinse the fish and lay it on a clean cutting board, skin-side down. Use a sharp filleting knife – a flexible blade is ideal for navigating the fish’s contours.
- First Cut: Starting at the head, insert the knife tip just behind the gills and carefully cut down along the spine to the tail, staying as close to the bones as possible.
- Second Cut: Once you’ve reached the tail, turn the knife to separate the fillet from the bone. Run the blade along the rib cage, keeping the knife close to the bone to remove the fillet.
- Third Cut: Remove any pin bones by carefully sliding the knife under each bone and lifting.
- Repeat: Repeat the process on the opposite side of the fish.
Practice makes perfect. Begin with a smaller fish to develop your technique before tackling larger ones. Remember to keep your knife sharp and maintain a firm grip to control the blade.
Q 18. How do you avoid cross-contamination when using knives?
Cross-contamination is a serious concern in any kitchen environment and using knives correctly plays a significant role in preventing it. Think of your knives as potential vectors for harmful bacteria.
- Separate Cutting Boards: Use separate cutting boards for raw meat, poultry, fish, and vegetables. Ideally, color-code your cutting boards to easily distinguish their intended use.
- Clean and Sanitize: Thoroughly clean and sanitize your knives and cutting boards after each use, especially after cutting raw ingredients. A solution of hot soapy water followed by a disinfectant is effective.
- Knife Organization: If using multiple knives, store them in designated slots, or keep knives for specific purposes separate from others to avoid accidental cross-contamination.
- Avoid Double-Dipping: Never use the same knife for cutting both raw and cooked ingredients without cleaning it thoroughly in between.
By diligently following these practices, you drastically reduce the risk of transferring harmful bacteria and ensuring food safety.
Q 19. How do you sharpen a serrated knife?
Sharpening a serrated knife requires a specialized approach due to its unique design. Traditional sharpening steels or honing rods won’t work.
- Use a Serrated Knife Sharpener: Use a serrated knife sharpener designed specifically for this type of blade. These sharpeners typically feature a grooved or reciprocating action that works between the serrations.
- Gentle Pressure: Always use gentle pressure to avoid damaging the serrations. Avoid applying excessive force which could negatively impact the blade.
- Follow Manufacturer Instructions: Carefully read the instructions provided with your chosen sharpener, as techniques might vary.
- Few Strokes: Typically, only a few strokes on each serration are necessary. Over-sharpening can ruin the knife.
- Professional Sharpening: For severely dull serrated knives, consider seeking professional sharpening services. It’s often more cost effective than replacing the knife.
Remember, attempting to sharpen a serrated knife with improper tools or techniques can permanently damage it.
Q 20. What type of knife is best for slicing bread?
For slicing bread, a serrated bread knife is the ideal choice. Its serrated edge effortlessly cuts through the crust without crushing the soft interior.
- Serrated Blade: The serrated blade design minimizes the surface area of contact with the bread, preventing compression and creating a clean, even slice.
- Length: A longer blade (8 inches or more) allows for smoother, more controlled cuts, especially with larger loaves.
- Material: High-quality stainless steel is preferred for durability and ease of cleaning.
A good bread knife can transform the experience of slicing bread. The difference between a clean, even slice and a crushed, uneven one is significant.
Q 21. Explain the importance of knife safety in a professional kitchen.
Knife safety in a professional kitchen is not just a matter of best practices; it’s a critical component of a safe and productive work environment. Injuries from knives are common in kitchens, and many are preventable with proper technique and training.
- Sharp Knives are Safer: Ironically, sharp knives are safer than dull knives. A sharp knife requires less force, reducing the risk of slips and cuts.
- Proper Grip: Always maintain a firm grip on the knife, using the pinch grip for controlled cuts and the full-hand grip for more robust actions.
- Safe Cutting Techniques: Adopt safe cutting techniques, keeping your fingers curled away from the blade and using a cutting board. Never reach over a knife.
- Communication: Maintain open communication with colleagues to avoid accidents caused by unexpected movements or cross traffic.
- Regular Training: Consistent training on knife safety techniques and best practices is crucial.
- Knife Safety Rules: Establish and strictly adhere to workplace rules on knife safety, storage, and handling.
A safe kitchen is a productive kitchen. Investing in comprehensive knife safety training significantly reduces the risk of accidents, minimizes downtime, and protects staff.
Q 22. How do you choose the right knife for a specific task?
Choosing the right knife hinges on understanding the task at hand. Different knives are designed for specific purposes, optimizing efficiency and safety.
- For slicing delicate items like fish or tomatoes: A thin, flexible blade like a fillet knife or a serrated knife prevents crushing.
- For chopping vegetables and general prep work: A chef’s knife, with its versatile shape and robust blade, is the workhorse of the kitchen.
- For breaking down poultry or meat: A boning knife’s slender blade allows precise cuts around bones.
- For heavy-duty tasks like cleaving bones or chopping through frozen meat: A cleaver provides the necessary strength and weight.
Consider the size and weight of the knife as well; a larger knife might be cumbersome for detailed work, while a smaller knife might be inefficient for larger tasks. Think of it like choosing the right tool for a job in any trade – the right knife makes all the difference.
Q 23. How would you teach a novice the proper way to hold a knife?
Proper knife grip is paramount for control and safety. I teach the ‘pinch grip,’ which emphasizes a secure, yet relaxed hold.
- The index finger and thumb gently pinch the blade near the bolster (the thickened area where the blade meets the handle).
- The remaining fingers curl around the handle, providing a firm grip.
- The knife should be an extension of your arm, not a rigidly held tool. Keep your wrist relaxed, allowing your arm and shoulder to do the work.
I often compare it to holding a paintbrush – the control should come from the whole arm, not just the wrist. Practicing with a blunt knife initially allows focusing on proper technique without the risk of injury.
Q 24. What is the most common mistake made when using a chef’s knife?
The most common mistake with a chef’s knife is using the tip for chopping or rocking the knife across the cutting board instead of using a controlled up-and-down motion with the entire blade.
Rocking can lead to loss of control, increasing the risk of injury, and inconsistent cuts. The tip of the chef’s knife is meant for more delicate tasks like piercing or scoring. Instead, focus on using the entire length of the blade in a smooth, controlled motion, using the weight of the knife for power.
Q 25. How do you address a damaged knife handle?
Damaged knife handles require careful attention, depending on the nature of the damage. Minor cracks or loose fittings might be addressed with epoxy glue (specifically designed for knife handles), allowing the handle to set securely.
For more severe damage, professional intervention might be necessary. A skilled knife maker or sharpener can often repair or replace handles, returning the knife to optimal condition. In some cases, a severely damaged handle might necessitate the whole handle’s replacement.
Q 26. Explain the importance of a sharp knife in terms of efficiency and safety.
A sharp knife is crucial for both efficiency and safety. A dull knife requires more force to cut, leading to fatigue and a higher risk of slipping or the knife unexpectedly glancing off the food. This uncontrolled motion is far more dangerous than the controlled cut from a sharp blade.
Efficiency is also greatly impacted. A sharp knife creates clean, precise cuts, reducing waste and accelerating the cooking process. Think about slicing a tomato – a dull knife crushes it, while a sharp knife cleanly separates the slices.
Q 27. What is the difference between a cleaver and a butcher knife?
While both cleavers and butcher knives are used for breaking down large cuts of meat, they differ significantly in their design and function.
- Cleavers: Heavier, with a broad, rectangular blade, are designed for forceful chopping and cleaving through bone. They’re typically used for butchering and preparing larger cuts of meat and vegetables.
- Butcher knives: Have a longer, more curved blade, offering excellent control for more intricate cuts. They’re better suited for trimming, portioning, and separating meat from bone.
Think of it as a cleaver being a powerful axe, whereas the butcher knife is a more precise scalpel. The cleaver is for brute force, while the butcher knife offers more delicate precision.
Q 28. How would you safely dispose of a broken or damaged knife?
Safety is paramount when disposing of broken knives. Never throw a broken knife in the regular trash.
Wrap the broken pieces securely in heavy-duty cardboard or tape them to a piece of wood, clearly labeling it as broken glass/knife. This protects sanitation workers from injury. Dispose of it at your local designated hazardous waste facility or contact your waste management service to inquire about appropriate disposal methods. Your safety and that of others should always come first.
Key Topics to Learn for General Knife Skills Interview
- Grip and Posture: Understanding proper knife grip techniques for safety and efficiency, including variations for different tasks. Practical application: Demonstrating a comfortable and controlled grip during various cutting motions.
- Basic Cuts (Dicing, Mincing, Julienne, Brunoise): Mastering fundamental cutting techniques for consistent results and speed. Practical application: Preparing a mirepoix or other standardized vegetable cuts with precision and efficiency.
- Knife Sharpening and Maintenance: Understanding the importance of sharp knives for safety and efficiency, different sharpening methods (steel, honing rod, sharpening stone). Practical application: Explaining the process of maintaining knife sharpness and identifying when professional sharpening is needed.
- Safety Procedures: Implementing safe knife handling practices to prevent accidents. Practical application: Demonstrating awareness of safe cutting techniques and the importance of a clean workspace.
- Different Knife Types and Their Uses: Understanding the purpose and application of various knives (chef’s knife, paring knife, serrated knife, etc.). Practical application: Selecting the appropriate knife for a specific task and explaining the rationale.
- Working with Different Ingredients: Adapting knife skills to different textures and densities of ingredients (e.g., hard vegetables, soft fruits, meats). Practical application: Demonstrating skill and adaptability when preparing a diverse range of ingredients.
- Troubleshooting Common Issues: Identifying and resolving common problems encountered during knife work (e.g., uneven cuts, dull knives, slipping). Practical application: Describing techniques to overcome challenges and achieve consistent results.
Next Steps
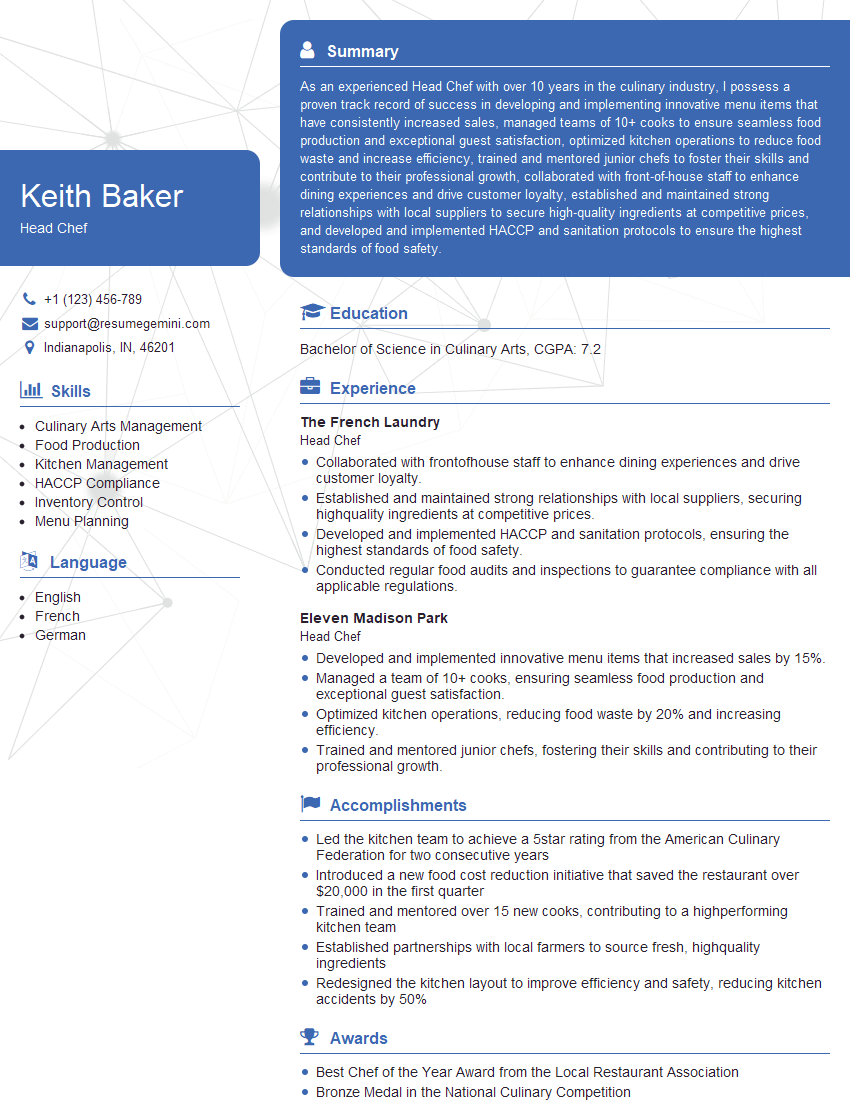
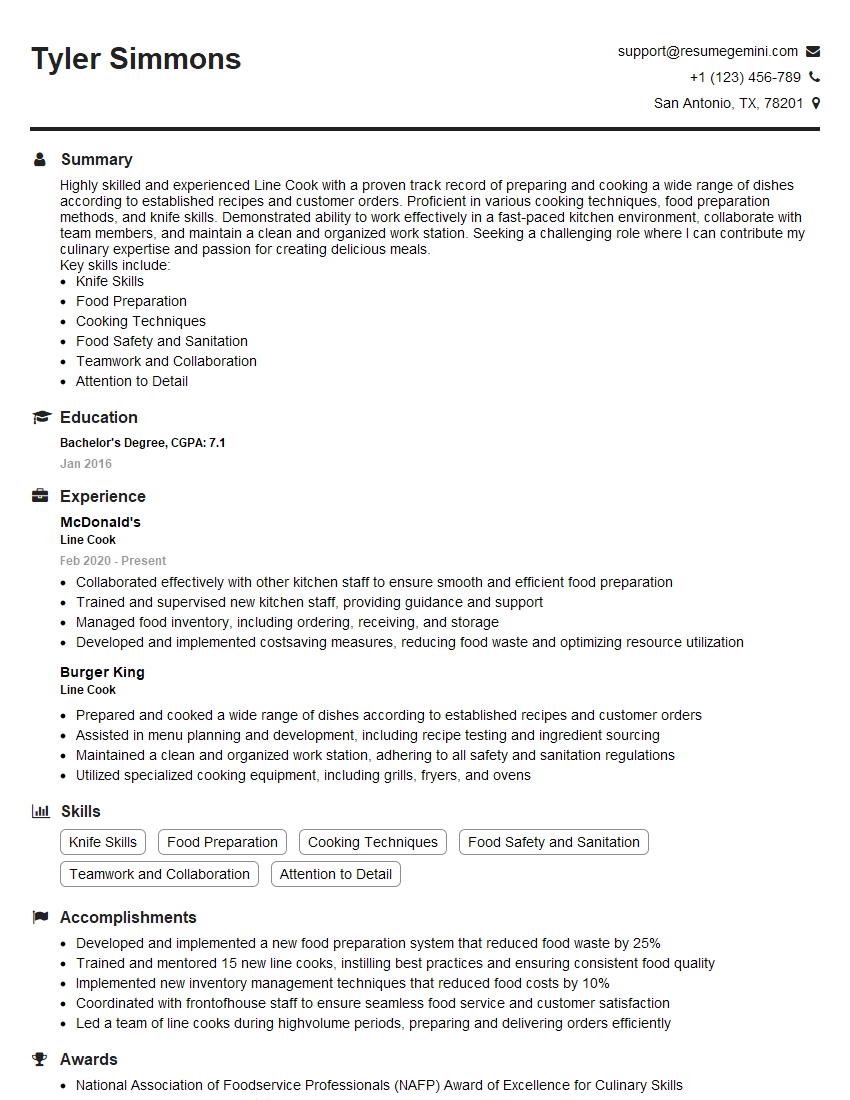
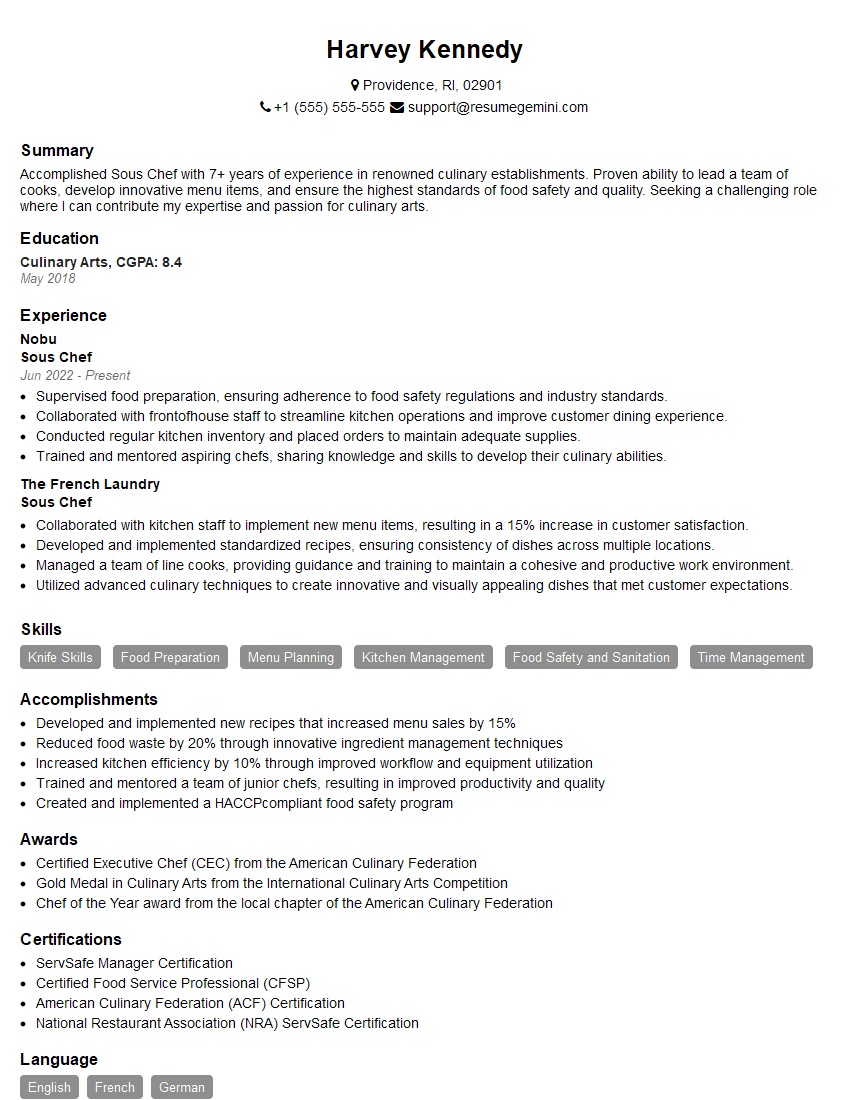
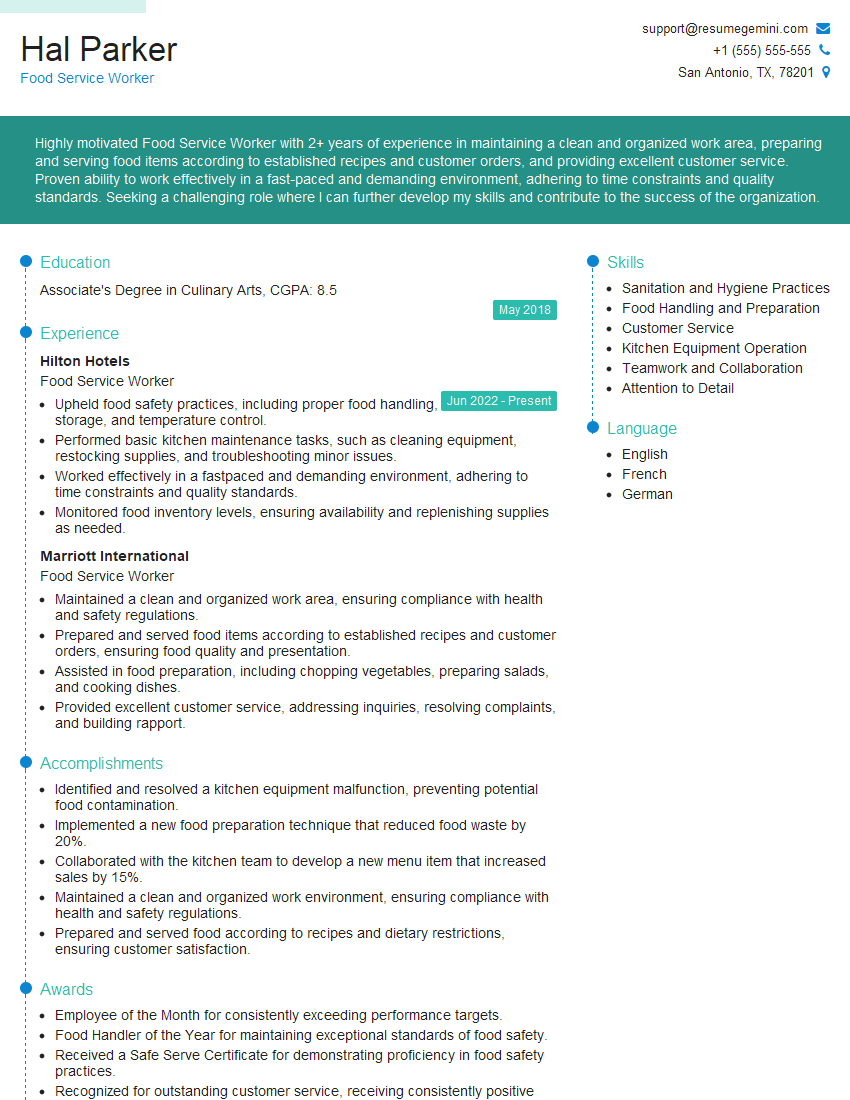
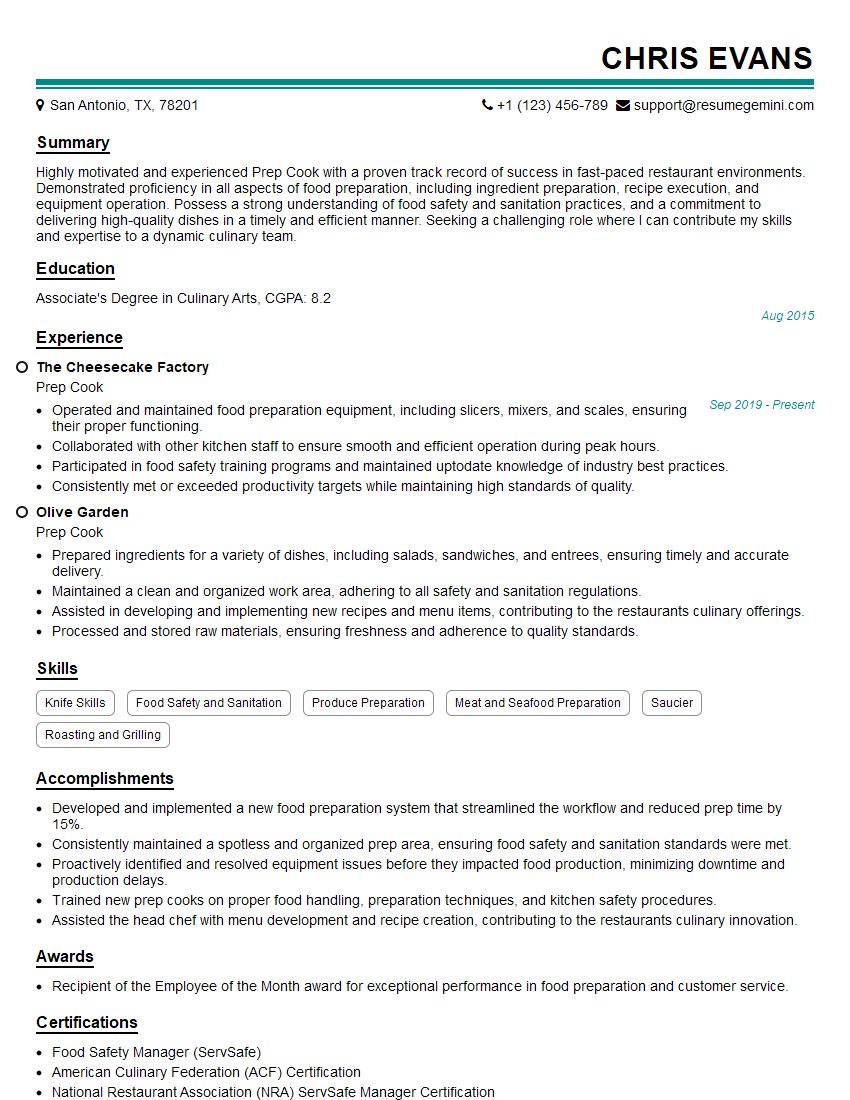
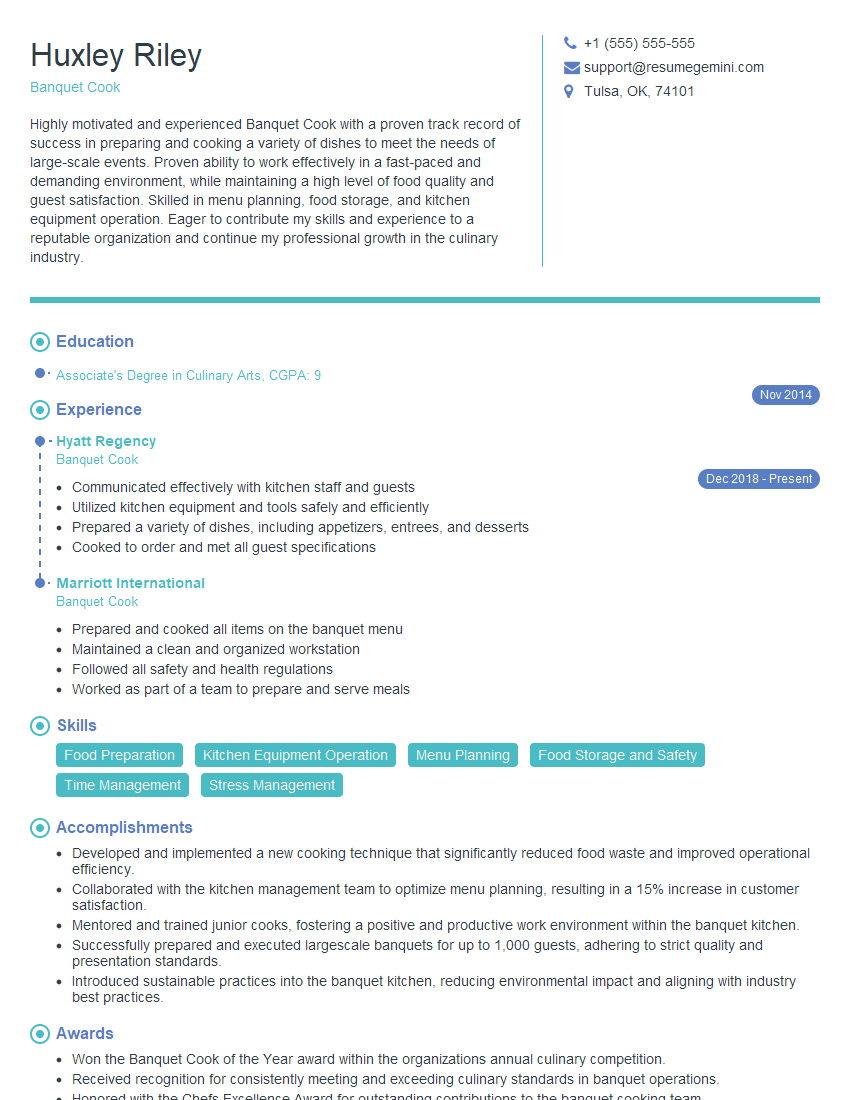
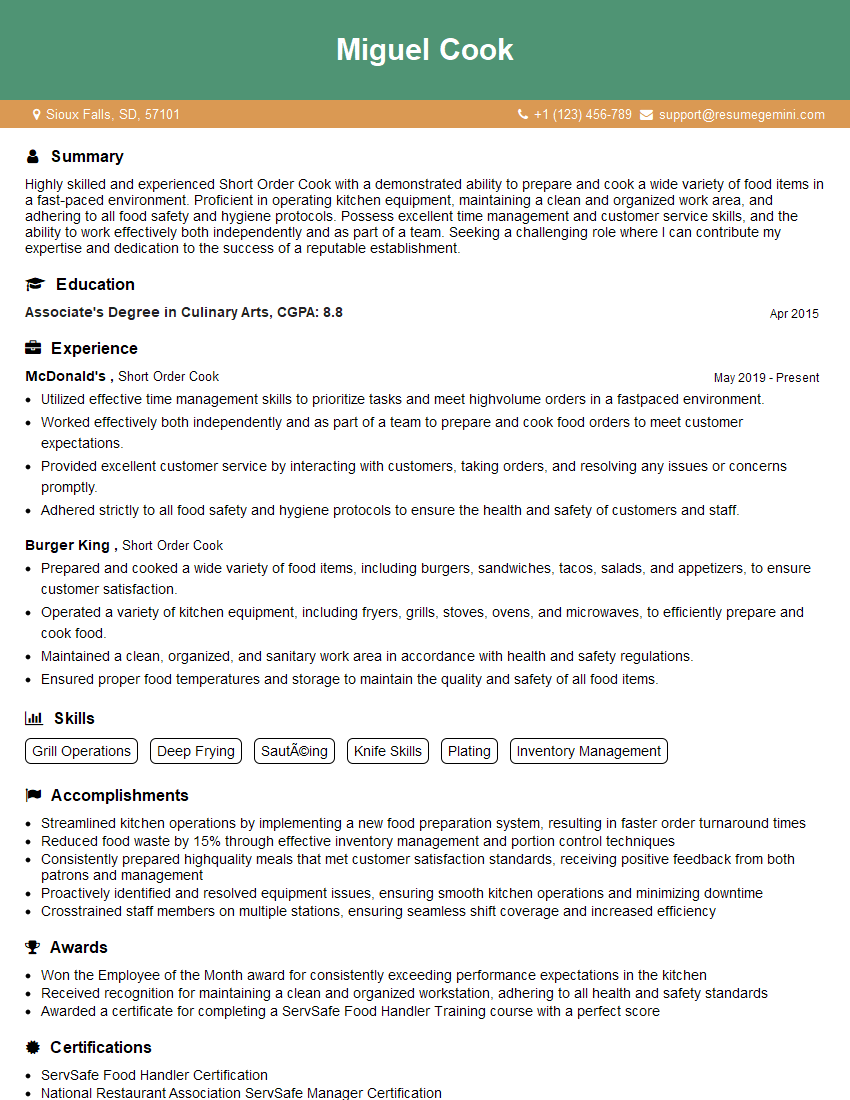
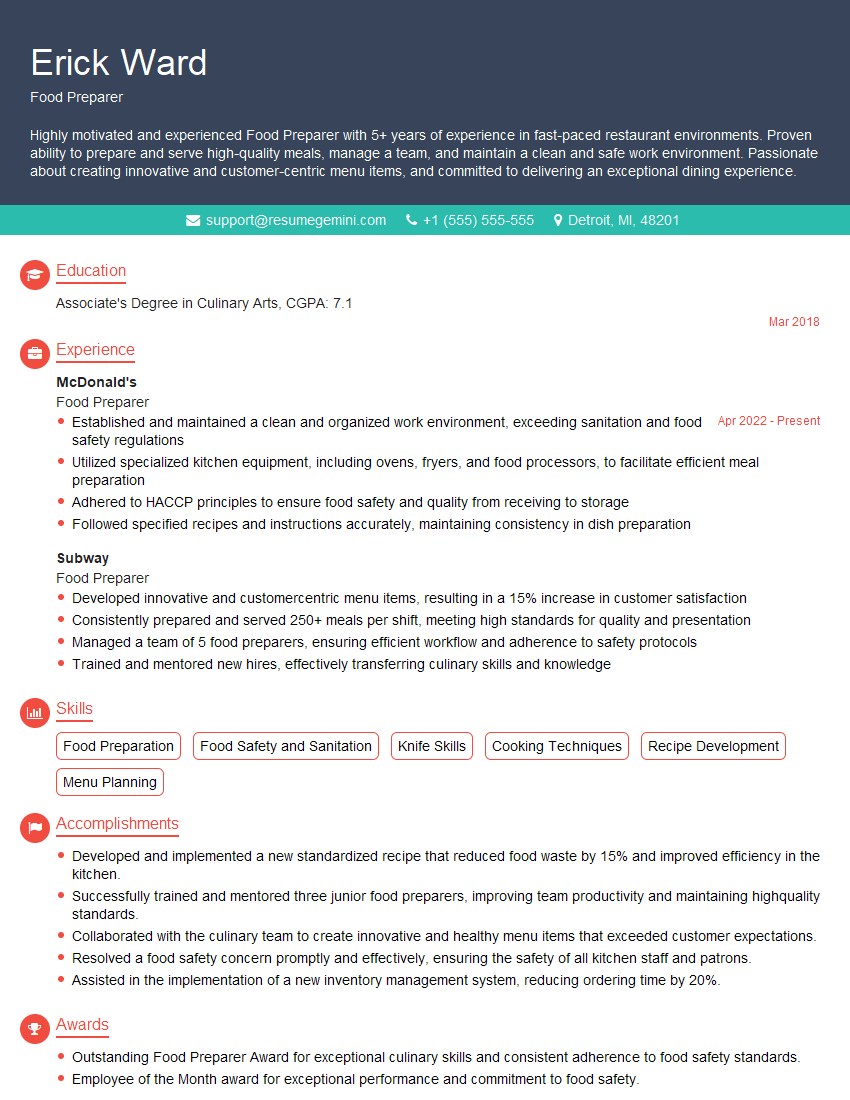
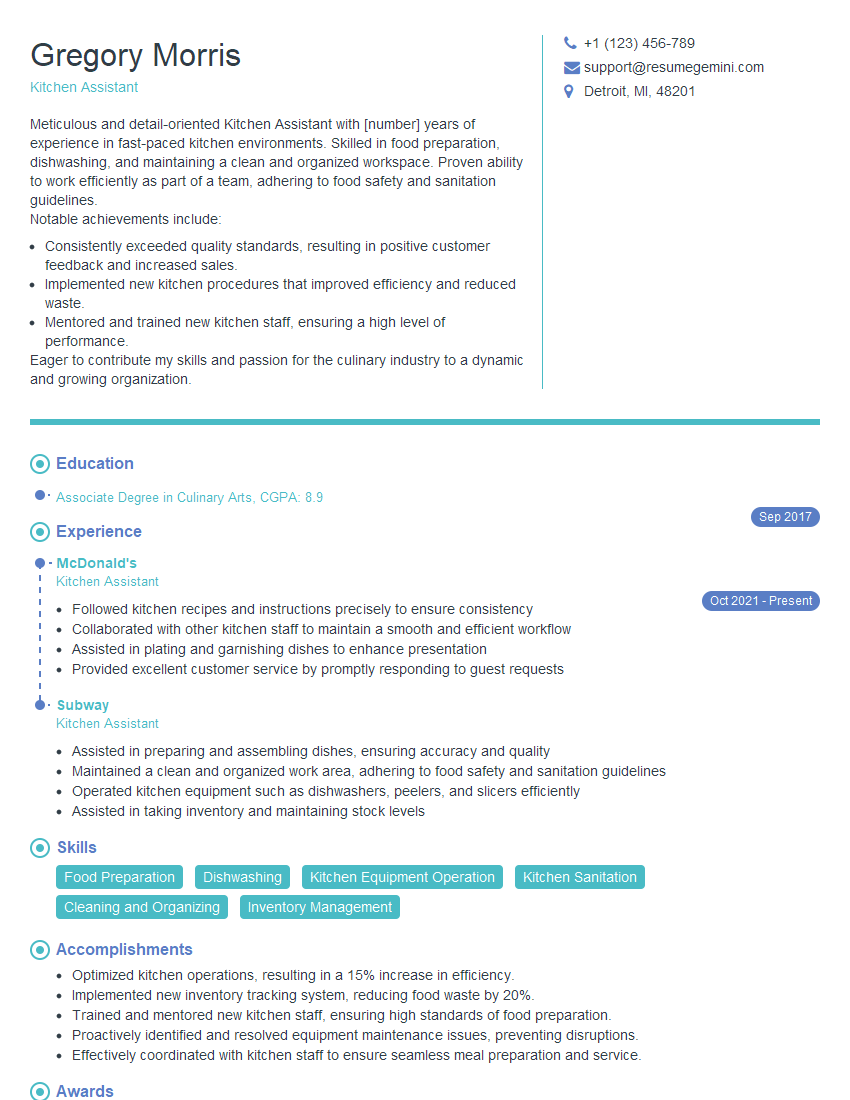
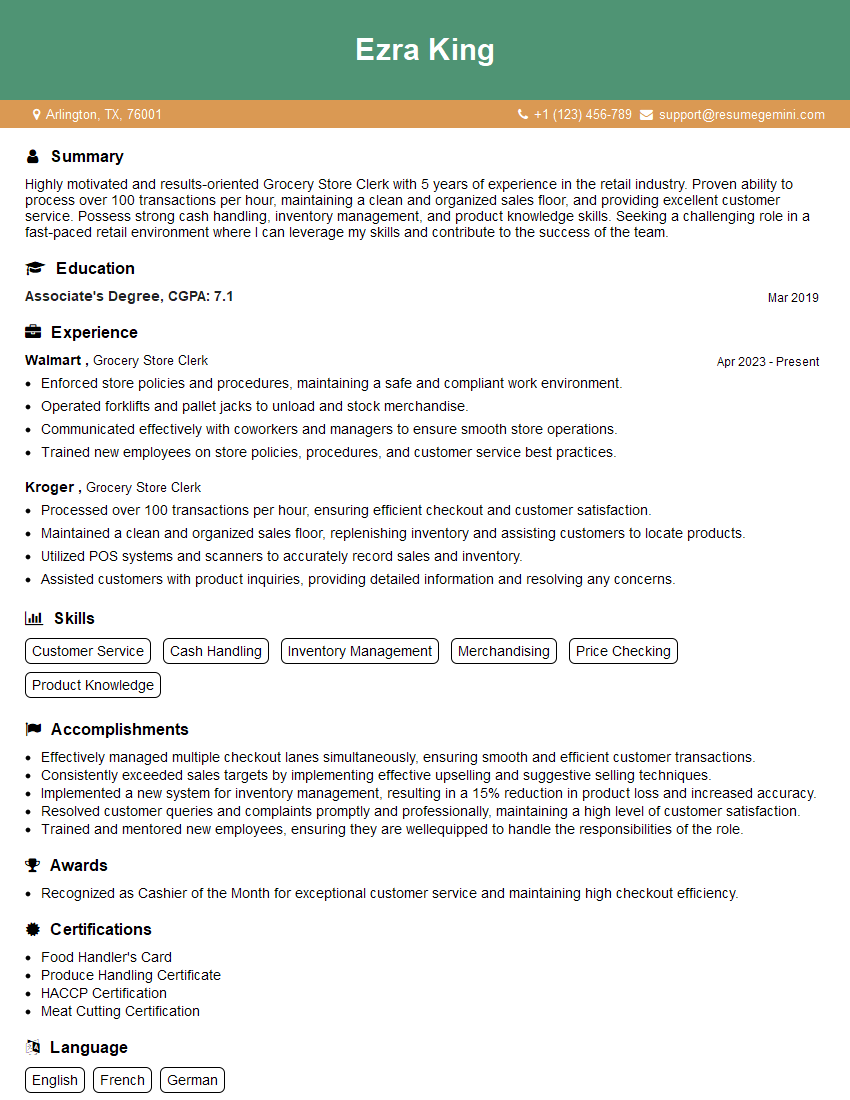
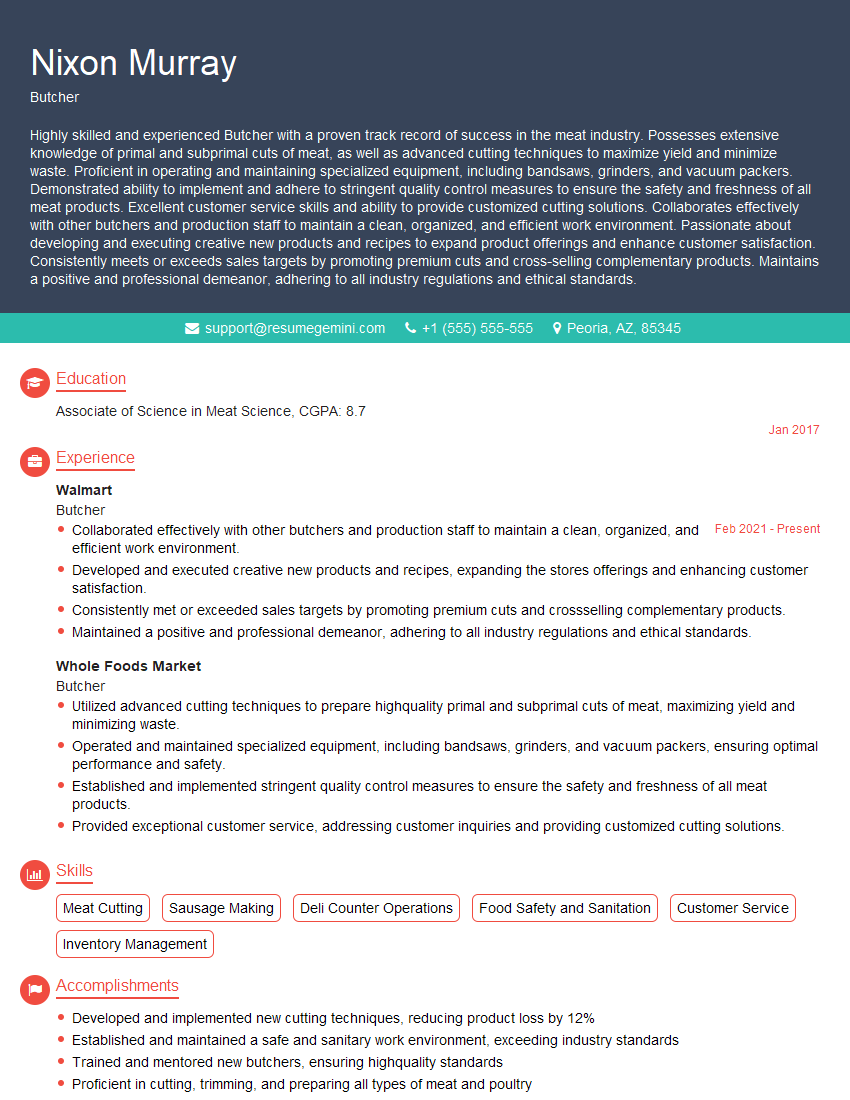
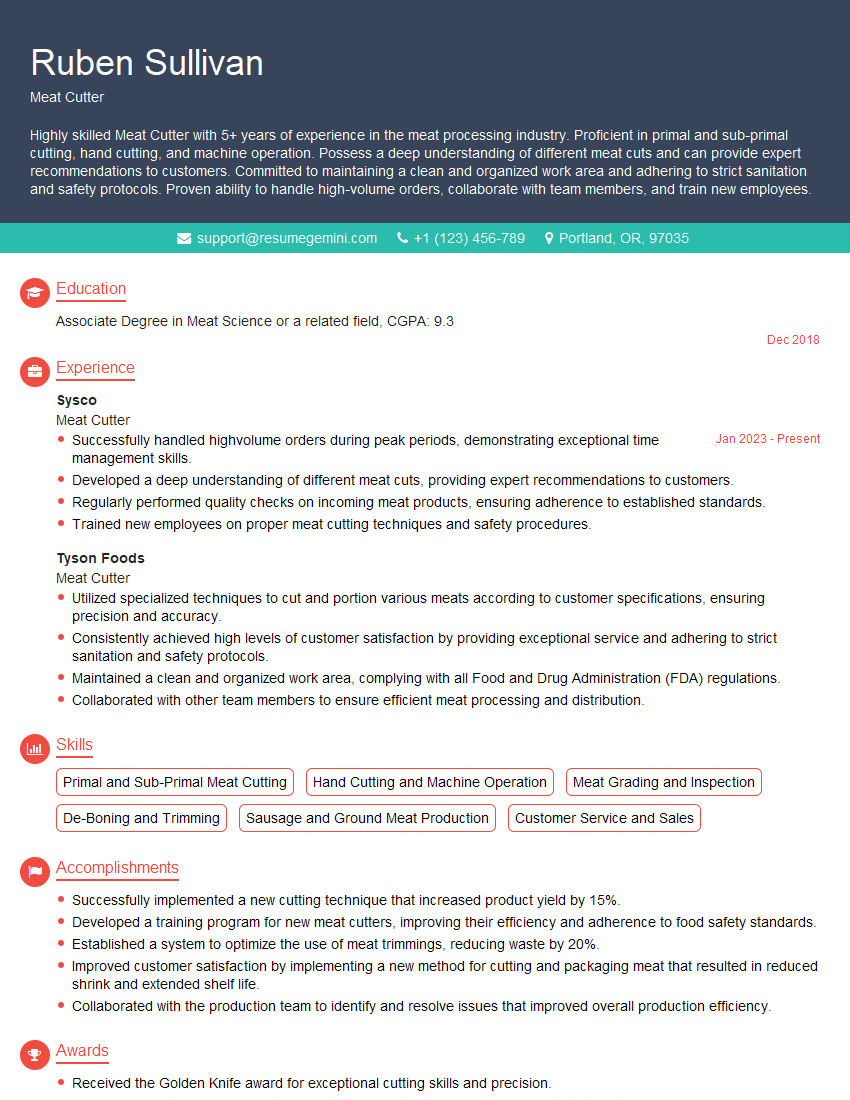
Mastering general knife skills is crucial for advancement in many culinary and food-related careers. A strong foundation in these techniques demonstrates precision, efficiency, and a commitment to safety – highly valued attributes in any professional kitchen. To significantly boost your job prospects, create an ATS-friendly resume that highlights your abilities effectively. ResumeGemini is a trusted resource to help you build a professional and impactful resume. Examples of resumes tailored to showcasing General Knife Skills are available to guide you.
Explore more articles
Users Rating of Our Blogs
Share Your Experience
We value your feedback! Please rate our content and share your thoughts (optional).
What Readers Say About Our Blog
good
