Feeling uncertain about what to expect in your upcoming interview? We’ve got you covered! This blog highlights the most important Heel Buffing interview questions and provides actionable advice to help you stand out as the ideal candidate. Let’s pave the way for your success.
Questions Asked in Heel Buffing Interview
Q 1. What types of buffers are best for heel callus removal?
Choosing the right buffer for heel callus removal is crucial for effective and safe treatment. The best buffers are those that offer controlled abrasion without excessive aggression. I generally prefer electric buffers with adjustable speeds and various attachments.
- Electric rotary buffers with fine-grit sanding bands: These provide a controlled and even sanding action, ideal for removing thicker calluses. The adjustable speed allows you to customize the intensity based on the client’s skin sensitivity and callus thickness.
- Electric microdermabrasion devices: These use a suction action along with fine crystals or diamond tips for exfoliation. They’re excellent for smoothing and refining the heel skin after initial callus removal.
- Manual buffers with pumice stones or files: While suitable for smaller areas or less severe calluses, these require more manual effort and skill to prevent over-buffing. I use these sparingly, typically for finishing touches.
The key is to select tools that allow for gradual removal, preventing injury to the surrounding healthy skin. It’s like sculpting – you start with rough tools to remove bulk and finish with finer tools for a smooth surface.
Q 2. Describe your process for preparing a client’s heels for buffing.
Preparing the client’s heels is a critical first step, ensuring a safe and effective buffing session. This process involves several key stages:
- Thorough Cleansing: I begin by gently cleansing the feet with warm water and a mild, antibacterial soap. This removes dirt, debris, and excess oils that can interfere with the buffing process and potentially introduce bacteria.
- Softening: Next, I soak the feet in warm water for about 5-10 minutes. This softens the calluses, making them easier to remove without excessive pressure or causing damage to healthy skin. Sometimes I add a few drops of essential oils like lavender to soothe and relax the client.
- Assessment: After softening, I carefully assess the heels, identifying the areas of callus build-up and determining the appropriate buffing technique. This helps to tailor the treatment to the individual’s needs.
- Protective Barrier (if needed): In cases of particularly sensitive skin or minor abrasions, I might apply a thin layer of a protective barrier cream before beginning the buffing process. This adds an extra layer of protection.
This careful preparation ensures that the buffing process is both effective and comfortable for the client, preventing irritation and potential complications.
Q 3. How do you identify and address different types of heel problems?
Identifying and addressing different heel problems is crucial for providing effective treatment. I look for various signs and symptoms:
- Calluses: Hardened, thickened skin, usually yellow or grayish in color. Treatment involves careful buffing using appropriate tools and grit levels.
- Cracks/Fissures: Deep cracks in the skin, often painful and prone to infection. These require gentler treatment and often need moisturizing products in addition to buffing.
- Dry, Rough Skin: This can be treated with exfoliation and intense moisturizing. While buffing can help, I emphasize hydrating treatments to restore the skin’s natural moisture balance.
- Plantar Warts: These are viral infections appearing as small, raised lesions. I would refer the client to a podiatrist or dermatologist as I am not qualified to treat them.
- Ingrown Toenails: While not directly on the heel, it’s important to note if this condition is present, as it may be indicative of other foot health issues.
My approach is tailored to the specific problem. For example, a client with deep cracks may need additional moisturizing treatments between buffing sessions, whereas someone with mild calluses may just require regular buffing maintenance.
Q 4. What safety precautions do you take during heel buffing?
Safety is paramount during heel buffing. My precautions include:
- Proper Tool Maintenance: I always ensure my buffers are clean and in good working condition. Dull or damaged tools increase the risk of injury.
- Controlled Pressure: I apply gentle, consistent pressure during buffing, avoiding excessive force that could cause skin damage or injury. Think of it like polishing a precious gemstone – slow and steady wins the race.
- Regular Breaks: I take regular breaks to avoid overheating the client’s skin and to monitor for any signs of discomfort or irritation.
- Protective Gloves: I always wear disposable gloves to maintain hygiene and prevent the transmission of any pathogens.
- Proper Ventilation: In some cases, buffing can create dust, especially with certain types of files. Ensuring proper ventilation minimizes the inhalation of particles.
A thorough understanding of the tools and the client’s skin condition are key for a safe and comfortable experience.
Q 5. What are the signs of infection or irritation during or after heel buffing?
Recognizing signs of infection or irritation is crucial to prevent complications. I monitor for:
- Redness or Swelling: Significant redness, swelling, or warmth around the treated area indicates inflammation and potential infection.
- Pain or Discomfort: Persistent pain or a significant increase in discomfort is a warning sign.
- Pus or Drainage: The presence of pus or drainage from the treated area is a clear indication of infection.
- Bleeding: While minor bleeding might occur with excessive pressure, significant bleeding requires immediate attention.
- Increased Sensitivity: If the treated area becomes overly sensitive to touch after a few days, this might indicate an irritation.
If I observe any of these signs, I immediately stop the treatment, advise the client to seek medical attention if necessary, and inform them of proper aftercare procedures to promote healing. It’s always better to err on the side of caution.
Q 6. How do you maintain hygiene and sanitation during heel buffing?
Maintaining hygiene and sanitation is critical to prevent the spread of infection. My protocols include:
- Disinfection of Tools: I sterilize all tools, including buffers and pumice stones, before and after each use, using an approved disinfectant solution. This is non-negotiable.
- Disposable Gloves: As mentioned, I always wear fresh, disposable gloves for each client. This prevents cross-contamination.
- Clean Work Surface: My work surface is cleaned and disinfected before and after each treatment.
- Proper Waste Disposal: I properly dispose of all used materials, including gloves and any used cleaning solutions, in designated containers.
- Footbath Sanitation: If using a footbath, I ensure it is cleaned and disinfected thoroughly after each client with a suitable solution.
These procedures help create a safe and hygienic environment, minimizing the risk of infection for both the client and myself.
Q 7. Explain your method for achieving a smooth, polished heel.
Achieving a smooth, polished heel involves a multi-step process combining preparation, skillful technique, and aftercare. It’s an art as much as a science.
- Gradual Removal: I begin with a coarser grit on the electric buffer for thicker calluses, gradually moving to finer grits as the calluses are reduced. This prevents aggressive removal and potential damage.
- Even Application: I ensure even pressure and consistent movement across the heel to avoid unevenness. Think of it as sanding wood – you need to distribute your effort evenly to get a smooth finish.
- Targeted Approach: I focus on specific areas of callus build-up, paying extra attention to cracks and dry spots.
- Finishing Touches: After using the electric buffer, I may use a pumice stone or a fine-grit file for fine-tuning and polishing the surface.
- Moisturizing: Finally, I apply a generous amount of moisturizing lotion or cream to hydrate the skin and maintain its suppleness. This is key to long-term heel health.
The final result should be smooth, soft heels without any rough patches or lingering calluses. The entire process is tailored to the individual client’s needs, ensuring both effectiveness and a pleasant experience.
Q 8. What are the differences between electric and manual heel buffers?
The primary difference between electric and manual heel buffers lies in their power source and operational efficiency. Electric buffers, powered by electricity, offer significantly more power and speed, making them ideal for tackling severely calloused heels or large areas quickly. They’re generally more consistent in their action, reducing the risk of uneven buffing. Think of them as power tools for your feet! Manual buffers, on the other hand, rely solely on manual pressure and are typically smaller and more portable. They offer more control and precision for detailed work or clients with extremely sensitive skin, allowing for a gentler approach. It’s like the difference between using a power drill versus a hand screwdriver – both achieve the same outcome, but with varying levels of effort and control.
- Electric Buffers: Higher speed, greater efficiency, suitable for thicker calluses, less effort required.
- Manual Buffers: More control, gentler on sensitive skin, better for detail work, may require more effort.
Q 9. How do you choose the appropriate buffer grit for different heel conditions?
Grit selection is crucial for effective and safe heel buffing. It’s all about matching the abrasiveness of the buffer to the condition of the heel. Think of grit like sandpaper – a coarser grit removes more material, while a finer grit smoothes and polishes.
- Coarse Grit (e.g., 80-100): Used for very thick, calloused heels. This is your heavy-duty option, removing significant layers of dead skin.
- Medium Grit (e.g., 120-180): Ideal for moderately calloused heels. It refines the surface after initial coarse grit removal.
- Fine Grit (e.g., 220+): Used for smoothing and polishing the heel after medium grit treatment. It gives a polished, refined look.
Always start with a coarser grit if necessary and progressively move to finer grits. Never aggressively apply pressure, as this can cause damage or injury. I always assess the client’s heels carefully before determining the appropriate grit, ensuring a customized and safe treatment.
Q 10. How do you handle clients with sensitive or dry skin?
Clients with sensitive or dry skin require a gentler, more customized approach. For these individuals, I prioritize hydration and minimizing friction.
- Pre-treatment: I thoroughly cleanse and moisturize the feet before any buffing. A warm foot soak can also help soften the skin.
- Grit Selection: I always start with the finest grit possible, avoiding coarser grits unless absolutely necessary.
- Gentle Pressure: I use very light pressure to avoid irritation or injury. I pay extra attention to the condition of the skin and proceed slowly.
- Post-treatment: A rich moisturizer and possibly a hydrating mask are crucial for aftercare to prevent dryness and discomfort. I often recommend using a urea-based moisturizer.
I always communicate clearly with the client about the process and any potential sensations. A recent client with extremely dry skin appreciated the extra care, and I was able to achieve a satisfying result without any discomfort using this gentler approach.
Q 11. Describe your approach to client communication and consultation.
Client communication and consultation are paramount. I begin by asking about their concerns, foot care routine, and any medical conditions. This helps me tailor the treatment to their specific needs and expectations. I show them the different tools and explain the process in simple terms, making sure they feel comfortable and informed. Transparency and active listening are essential. For example, I’ll ask questions like, “What are your primary concerns about your heels?” or “Have you experienced any discomfort or reactions to previous foot treatments?” Building rapport is key to a successful and satisfying experience for the client.
Q 12. How do you manage difficult or challenging clients?
Handling difficult clients requires patience, empathy, and professionalism. I try to understand their perspective and address their concerns directly and calmly. If a client is unhappy with the service, I listen attentively, acknowledge their feelings, and offer solutions or alternative approaches. Setting clear boundaries while maintaining a respectful attitude is also important. For example, if a client is excessively demanding or disrespectful, I’ll gently but firmly explain my professional boundaries.
One time, a client was very anxious about the process. By explaining each step thoroughly and keeping her engaged in conversation, I was able to calm her nerves and complete the treatment successfully. Active listening and empathy can often defuse tense situations.
Q 13. How do you address client concerns or complaints?
Addressing client concerns or complaints is handled with utmost care. I listen actively to understand their perspective and validate their feelings. I apologize if an error occurred and take responsibility. I then work collaboratively to find a mutually acceptable solution, such as offering a complimentary service or adjusting the treatment. My goal is to maintain a positive client relationship and ensure their satisfaction. Documenting complaints is also important for record-keeping and future improvement.
Q 14. What aftercare instructions do you provide to clients?
Post-treatment aftercare is vital for maintaining healthy, smooth heels. I advise clients to:
- Moisturize regularly: Use a rich, hydrating moisturizer, preferably one containing urea or lactic acid, to keep the skin soft and prevent dryness.
- Avoid harsh soaps and scrubbing: Gentle cleansing is essential to avoid further irritation.
- Wear comfortable footwear: Shoes that are too tight or ill-fitting can contribute to callus formation.
- Keep feet clean and dry: This helps prevent fungal infections and further callus development.
- Follow up: Schedule follow-up appointments for maintenance as needed to prevent recurrence.
Providing clear, concise aftercare instructions ensures client satisfaction and helps maintain the results of the heel buffing treatment. I often provide a written summary of these instructions to reinforce the advice.
Q 15. What are common mistakes to avoid during heel buffing?
Avoiding mistakes during heel buffing is crucial for achieving smooth, healthy heels and preventing injury. Common errors include:
- Using excessive force: This can lead to irritation, inflammation, and even damage to the skin. Think of it like sanding wood – gentle, consistent pressure yields the best results.
- Ignoring calluses or dry skin: These require softening before buffing. Skipping this step can result in uneven buffing and potential damage.
- Using the wrong tools: Foot files and buffers vary in coarseness. Starting with a too-coarse file can lead to aggressive removal of skin and discomfort.
- Buffing too frequently: Over-buffing can thin the skin and make heels more susceptible to cracking and irritation. Less is often more.
- Neglecting post-buffing care: Failing to moisturize the heels after buffing can leave them dry and prone to cracking.
For example, I once saw a client who had aggressively buffed their heels, leaving them raw and bleeding. It took several weeks of careful treatment to heal the damage. Gentle, consistent technique is key.
Career Expert Tips:
- Ace those interviews! Prepare effectively by reviewing the Top 50 Most Common Interview Questions on ResumeGemini.
- Navigate your job search with confidence! Explore a wide range of Career Tips on ResumeGemini. Learn about common challenges and recommendations to overcome them.
- Craft the perfect resume! Master the Art of Resume Writing with ResumeGemini’s guide. Showcase your unique qualifications and achievements effectively.
- Don’t miss out on holiday savings! Build your dream resume with ResumeGemini’s ATS optimized templates.
Q 16. How do you stay updated on the latest techniques and trends in heel buffing?
Staying current in heel buffing involves a multi-pronged approach:
- Professional development courses and workshops: Attending continuing education courses keeps me abreast of the latest techniques and product innovations.
- Industry publications and journals: Reading specialized magazines and journals provides insights into research, trends, and best practices.
- Networking with peers: Connecting with other professionals allows for the exchange of ideas and experiences. I often attend industry conferences and workshops to learn from my colleagues.
- Online resources and reputable websites: I carefully select and monitor reliable online resources that focus on evidence-based practices in foot care.
Keeping up with the latest trends ensures I provide my clients with the safest and most effective treatments, for instance, understanding the latest advancements in the science of skin exfoliation helps to refine my techniques.
Q 17. Describe your experience with different types of foot files and buffers.
My experience encompasses a wide range of foot files and buffers. I’m familiar with:
- Metal files: These are effective for removing thick calluses but require careful use to avoid damaging the skin. I generally reserve these for very tough calluses and always soften the skin beforehand.
- Pumice stones: Natural and gentler than metal files, they are suitable for regular maintenance and less severe calluses.
- Pedicure rasps: These come in varying grits, allowing for customized treatment depending on the client’s needs. A finer grit is used for smoother areas, a coarser grit for tougher areas.
- Electric foot files: These can be efficient but require careful handling to avoid over-buffing and skin irritation. I find them particularly useful on larger areas like the whole heel.
- Buffer blocks: Used after filing, these smooth and polish the heels, leaving them incredibly soft. They’re like the finishing touch to a piece of woodwork.
Selecting the right tool depends on the condition of the feet. For instance, I’d use a pumice stone for someone with mildly dry heels but a rasp with a coarser grit for someone with significant calluses.
Q 18. How do you ensure the longevity of a smooth heel finish?
Maintaining smooth heels long-term requires a holistic approach:
- Regular buffing and exfoliation: Consistent maintenance is key. However, avoid over-buffing. A gentle buff once or twice a week is generally sufficient.
- Hydration: Applying a good quality moisturizer daily, preferably one containing urea or lactic acid, prevents dryness and cracking.
- Footwear: Well-fitting shoes that provide adequate support prevent friction and pressure that can lead to callus formation.
- Proper foot care habits: Washing feet daily, drying them thoroughly, and applying lotion are fundamental.
- Addressing underlying medical conditions: Conditions like diabetes or psoriasis can impact foot health, and it’s crucial to address them appropriately under medical supervision.
For example, recommending a client invest in good quality moisturizing socks in addition to lotion can significantly improve long term results.
Q 19. What products do you use to complement heel buffing (e.g., lotions, creams)?
Many products enhance the results of heel buffing. I often recommend:
- Moisturizing lotions and creams: Urea-based lotions are particularly effective in hydrating dry, cracked heels. I also use creams containing shea butter or cocoa butter.
- Foot scrubs: These help remove dead skin cells before buffing, making the process more effective.
- Callus softeners: These products are used to soften calluses and make them easier to remove with a file.
- Protective balms: These can create a barrier against further friction and dryness.
The right combination of products will depend on the client’s needs. For someone with very dry, cracked heels, I might recommend a callus softener followed by a thorough buffing and then a deep moisturizing cream.
Q 20. Explain your understanding of foot anatomy and physiology relevant to heel buffing.
Understanding foot anatomy and physiology is essential for safe and effective heel buffing. The heel is primarily composed of thick skin, with numerous layers of keratinocytes (skin cells). The dermis contains collagen and elastin fibers that provide structural support. Blood vessels and nerve endings are also present, and understanding their location helps to avoid causing pain or damage during treatment.
Calluses form as a protective response to friction and pressure. By understanding this, we can tailor treatments that reduce pressure points and prevent further callus formation. Excessive buffing can compromise the skin barrier function and lead to infection. Recognizing the delicate balance of the skin’s structure and function ensures the procedure is both effective and safe.
Q 21. How do you recognize and handle ingrown toenails?
I am not qualified to diagnose or treat ingrown toenails. This requires the expertise of a podiatrist or physician. However, I can recognize the signs of an ingrown toenail – inflammation, redness, pain, and often pus around the affected nail. If I observe these symptoms during a heel buffing treatment, I would immediately advise the client to seek professional medical attention. It’s crucial to prioritize the client’s health and safety, and referring them to a qualified professional is the most responsible course of action in such a situation.
Q 22. What is your experience with different foot types and conditions?
My experience encompasses a wide range of foot types and conditions. I’ve worked with clients who have everything from dry, cracked heels to calloused, thick skin, and even those with sensitive skin prone to irritation. I’m adept at identifying different foot structures, recognizing potential underlying issues like plantar fasciitis or athlete’s foot that might impact the heel buffing process, and adjusting my technique accordingly. For example, a client with extremely dry heels might benefit from a more gentle approach and a longer soak beforehand, whereas someone with thick calluses might require more aggressive buffing. I always prioritize a thorough consultation to assess the client’s individual needs and skin sensitivity before beginning the treatment.
- Dry, cracked heels: Require gentle buffing with a fine grit file followed by intensive moisturizing.
- Calloused heels: Can tolerate more aggressive buffing, but it’s crucial to avoid over-buffing to prevent irritation or injury.
- Sensitive skin: Needs a very gentle approach with lower speed settings on the buffer and meticulous attention to avoid excessive pressure.
Q 23. How do you maintain your equipment and tools?
Maintaining my equipment is paramount to ensuring both the effectiveness and safety of the heel buffing process. After each client, I thoroughly clean all my tools, including the buffers, files, and pumice stones, with a hospital-grade disinfectant. This prevents cross-contamination and keeps the tools in optimal condition. I regularly inspect the buffers for wear and tear, replacing them as needed. The buffers should be smooth and free of any sharp edges or damage that could cause injury. I also store my equipment properly in a clean, dry environment to prevent rust and damage. Think of it like maintaining a sharp chef’s knife—the better the tools are maintained, the better the result.
Q 24. What is your knowledge of relevant health and safety regulations?
My knowledge of relevant health and safety regulations is comprehensive. I’m fully aware of the importance of hygiene protocols to prevent the spread of infection. This includes proper handwashing, the use of disposable tools where possible, and thorough disinfection of all equipment between clients. I also understand the importance of properly disposing of all used materials, according to local regulations. Additionally, I’m trained to recognize and respond appropriately to any signs of infection or skin conditions. If I detect anything concerning, I immediately refer the client to a medical professional. Client safety is always my top priority.
Q 25. How do you handle situations where a client experiences pain or discomfort?
Client comfort is my top priority. If a client experiences pain or discomfort during a heel buffing treatment, I immediately stop the procedure and assess the situation. It’s vital to communicate with the client throughout the treatment, asking for feedback on the pressure and level of comfort. Pain usually indicates excessive pressure or an overly aggressive approach. I might adjust the buffer speed, change to a finer grit file, or even switch to a different technique. Sometimes, it’s as simple as adjusting the client’s position. In more serious cases, if the pain persists or there is bleeding, the treatment will be stopped and the client may need to seek medical advice.
Q 26. Describe your experience working with different buffer speeds and settings (if applicable).
My experience with different buffer speeds and settings is extensive. The speed and pressure applied directly impact the effectiveness and safety of the treatment. Lower speeds are ideal for sensitive skin or delicate areas, allowing for a more controlled and gentle approach. Higher speeds can be used for more calloused areas, removing thicker layers of skin more efficiently. I adjust the speed based on the client’s skin type and the condition of their heels. For example, a client with very dry, cracked heels would benefit from a lower speed with a fine-grit buffer to avoid further damage. Whereas a client with thick calluses may tolerate a higher speed with a coarser grit to efficiently remove the dead skin. Precision and control are crucial to avoid burning or injuring the skin.
Q 27. How do you adjust your technique for clients with various skin tones and types?
Adapting my technique for clients with various skin tones and types is a key aspect of my practice. While the underlying principles of heel buffing remain the same, the level of pressure, speed, and the type of buffer used may need adjustment. Darker skin tones might be more prone to hyperpigmentation, so a more gentle approach is crucial to avoid creating dark spots. Similarly, clients with thinner or more sensitive skin require a much gentler approach than those with thicker skin. I always carefully assess the client’s skin before beginning the treatment, paying attention to its texture, elasticity, and any signs of sensitivity. Observation and careful pressure control are crucial to avoiding skin damage irrespective of skin type or tone.
Q 28. Describe a time you had to troubleshoot a problem during a heel buffing treatment.
During one treatment, I encountered a situation where the buffer started vibrating excessively, indicating a possible malfunction. Immediately, I stopped the treatment to avoid injury to the client. After a quick inspection, I realized a small piece of debris had gotten lodged in the buffer’s mechanism. I carefully removed the debris using a small, sterile tool. A thorough cleaning and inspection ensured the buffer was functioning correctly before resuming the treatment. This highlights the importance of regular maintenance and quick troubleshooting skills to ensure client safety and a smooth, uninterrupted service. It also underscores the importance of having backup equipment on hand, just in case a problem cannot be solved quickly.
Key Topics to Learn for Heel Buffing Interview
- Understanding Heel Structures: Learn the different types of heels and their unique construction, including materials and manufacturing processes.
- Buffing Techniques and Methods: Master various buffing techniques, from roughing to polishing, and understand the application of different tools and abrasives.
- Identifying and Addressing Defects: Develop the ability to identify common heel defects (e.g., scratches, discoloration, uneven surfaces) and apply appropriate corrective measures.
- Material Selection and Compatibility: Understand the properties of different materials used in heel construction and select appropriate buffing methods accordingly.
- Quality Control and Inspection: Learn about quality control procedures for heel buffing, including inspection methods and standards.
- Safety Procedures and Equipment Operation: Understand and adhere to safety protocols when operating buffing machinery and handling chemicals.
- Troubleshooting and Problem-Solving: Develop the ability to diagnose and solve common problems encountered during the heel buffing process.
- Efficiency and Productivity: Learn strategies to maximize efficiency and productivity while maintaining high-quality results.
- Industry Best Practices: Familiarize yourself with current industry standards and best practices in heel buffing.
- Environmental Considerations: Understand environmentally conscious practices related to waste management and chemical usage.
Next Steps
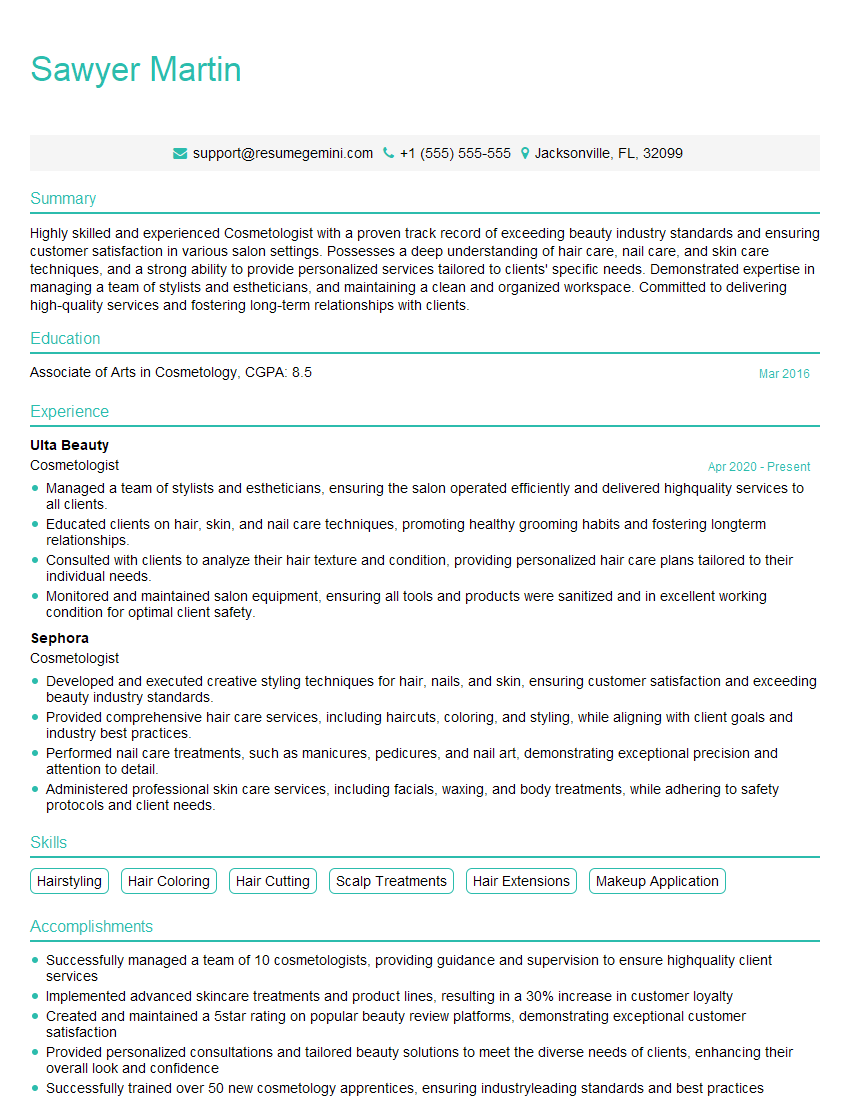
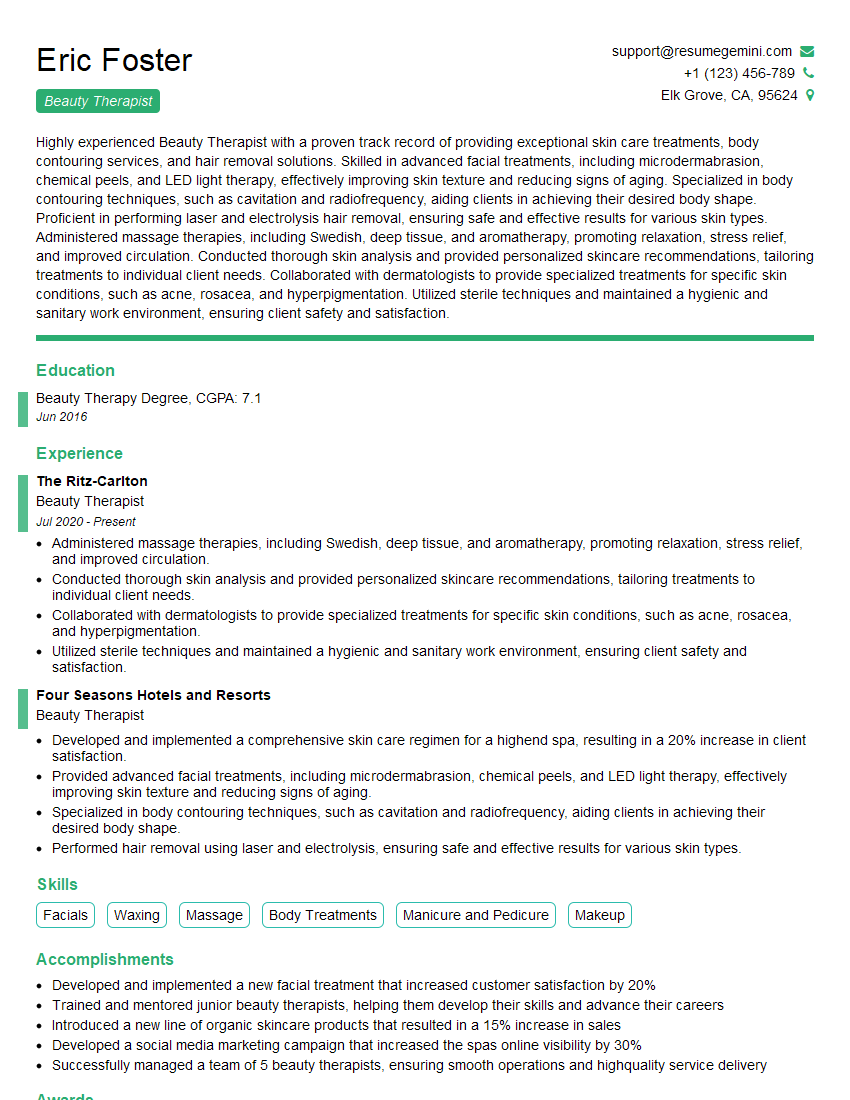
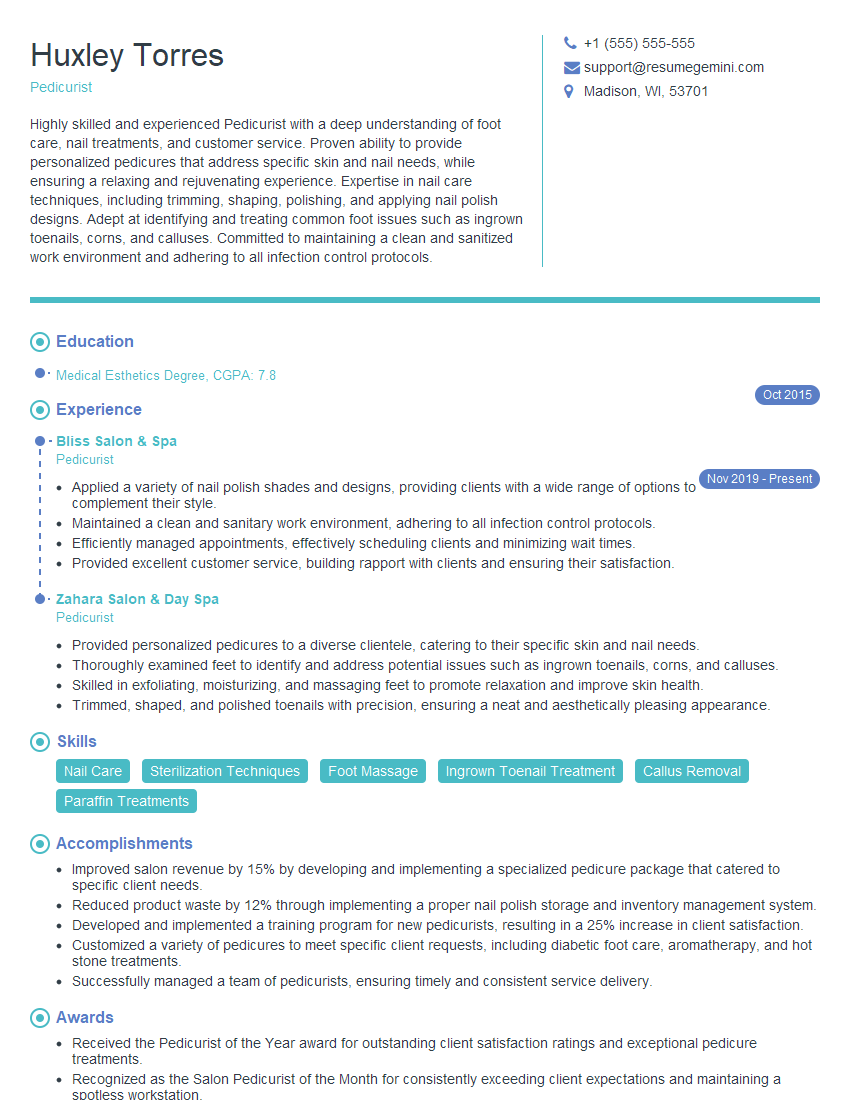
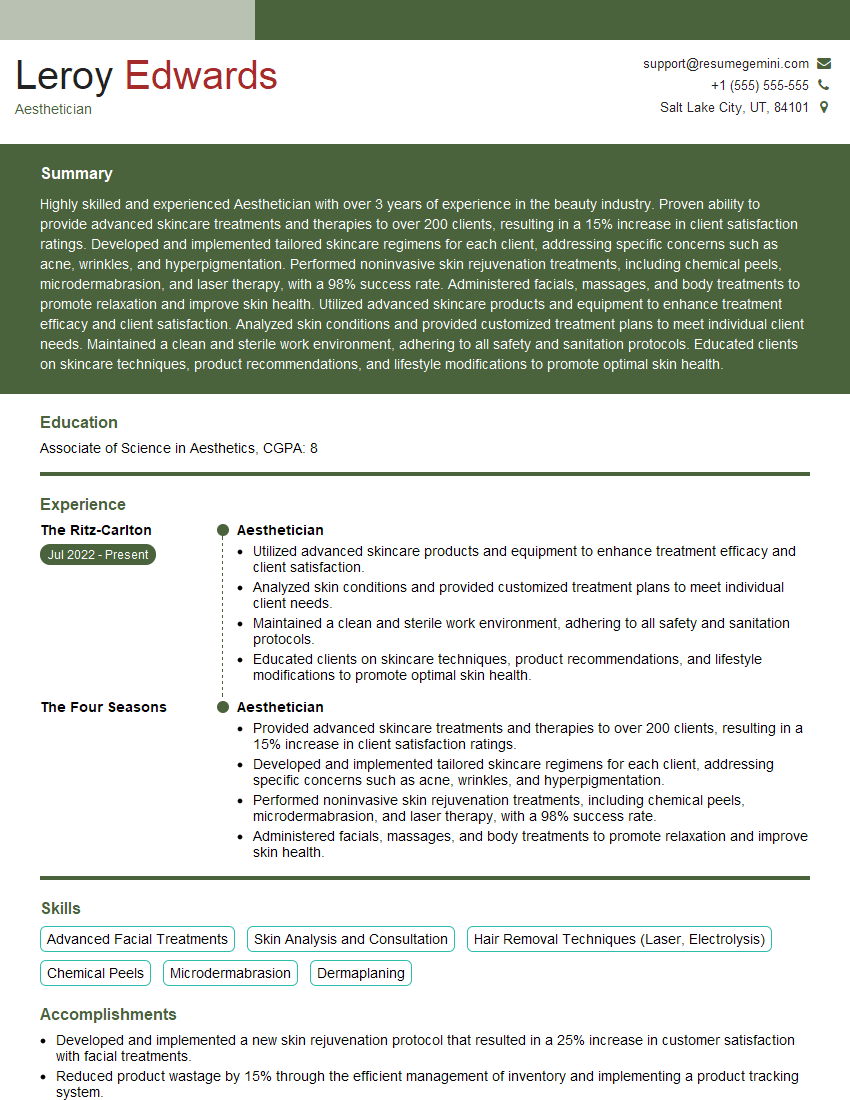
Mastering heel buffing opens doors to exciting career opportunities in footwear manufacturing and repair. A strong understanding of these techniques and processes will significantly enhance your job prospects. To further increase your chances of landing your dream job, it’s crucial to have an ATS-friendly resume that highlights your skills and experience effectively. ResumeGemini is a trusted resource to help you build a professional and impactful resume that catches the eye of recruiters. Examples of resumes tailored to the Heel Buffing industry are provided to help you get started. Take the next step towards your career success today!
Explore more articles
Users Rating of Our Blogs
Share Your Experience
We value your feedback! Please rate our content and share your thoughts (optional).
What Readers Say About Our Blog
Hello,
We found issues with your domain’s email setup that may be sending your messages to spam or blocking them completely. InboxShield Mini shows you how to fix it in minutes — no tech skills required.
Scan your domain now for details: https://inboxshield-mini.com/
— Adam @ InboxShield Mini
Reply STOP to unsubscribe
Hi, are you owner of interviewgemini.com? What if I told you I could help you find extra time in your schedule, reconnect with leads you didn’t even realize you missed, and bring in more “I want to work with you” conversations, without increasing your ad spend or hiring a full-time employee?
All with a flexible, budget-friendly service that could easily pay for itself. Sounds good?
Would it be nice to jump on a quick 10-minute call so I can show you exactly how we make this work?
Best,
Hapei
Marketing Director
Hey, I know you’re the owner of interviewgemini.com. I’ll be quick.
Fundraising for your business is tough and time-consuming. We make it easier by guaranteeing two private investor meetings each month, for six months. No demos, no pitch events – just direct introductions to active investors matched to your startup.
If youR17;re raising, this could help you build real momentum. Want me to send more info?
Hi, I represent an SEO company that specialises in getting you AI citations and higher rankings on Google. I’d like to offer you a 100% free SEO audit for your website. Would you be interested?
Hi, I represent an SEO company that specialises in getting you AI citations and higher rankings on Google. I’d like to offer you a 100% free SEO audit for your website. Would you be interested?
good
