Cracking a skill-specific interview, like one for HVLP Sprayer, requires understanding the nuances of the role. In this blog, we present the questions you’re most likely to encounter, along with insights into how to answer them effectively. Let’s ensure you’re ready to make a strong impression.
Questions Asked in HVLP Sprayer Interview
Q 1. Explain the principle of High Volume Low Pressure (HVLP) spraying.
HVLP spraying, or High Volume Low Pressure spraying, atomizes paint or other coatings using a large volume of air at a relatively low pressure. Unlike conventional airless spraying which relies on high pressure to force the fluid through a small nozzle, HVLP uses a larger volume of air moving at a lower velocity to gently atomize the coating. Imagine blowing gently on a dandelion to disperse its seeds – that’s similar to the gentle atomization of HVLP. This process creates a fine, even mist that reduces overspray and improves transfer efficiency.
The low pressure minimizes the force of the atomized particles, resulting in less bounce-back and rebound off the surface. This leads to less wasted material and a more environmentally friendly process. The high volume of air ensures sufficient atomization for even the thickest coatings.
Q 2. What are the advantages of HVLP spraying compared to conventional air spraying?
HVLP spraying boasts several advantages over conventional air spraying:
- Improved Transfer Efficiency: A significantly higher percentage of the coating reaches the surface being sprayed, reducing material waste.
- Reduced Overspray: The finer atomization and lower pressure minimize the amount of paint that misses the target, leading to less cleanup and less environmental impact.
- Better Finish Quality: The gentle atomization produces a smoother, more even finish with fewer runs, sags, and orange peel texture.
- Less Material Waste: The increased transfer efficiency translates directly to cost savings on materials.
- Healthier Working Environment: Reduced overspray means less airborne particulate matter, creating a healthier working environment for the operator.
For example, a professional painter using HVLP for a large project like a house exterior will save significantly on paint costs compared to using conventional air spray. They’ll also reduce cleanup time and improve the overall quality of the finish.
Q 3. What are the disadvantages of HVLP spraying?
Despite its advantages, HVLP spraying also has some drawbacks:
- Lower Output: HVLP systems typically spray at a slower rate than conventional airless sprayers. This can increase project time, especially for large surfaces.
- Higher Initial Cost: HVLP sprayers often have a higher initial purchase price compared to simpler air spray systems.
- Increased Air Consumption: The high volume of air used requires a powerful compressor, increasing energy consumption and potentially the overall noise level.
- Sensitivity to Viscosity: The efficiency of HVLP can be affected by the viscosity (thickness) of the coating material; proper thinning is crucial for optimal results.
- Steeper Learning Curve: Mastering the techniques of HVLP spraying requires more practice and skill compared to some simpler spraying methods.
For instance, a small contractor working on small interior projects might find the slower output speed of HVLP to be a significant disadvantage compared to the speed of an airless sprayer.
Q 4. Describe the different types of HVLP spray guns.
HVLP spray guns come in various types, categorized mainly by their fluid delivery system:
- Gravity-Feed Guns: The paint is held in a cup above the gun, relying on gravity to feed the fluid to the nozzle. These are suitable for thinner coatings and smaller projects.
- Suction-Feed Guns: The paint is drawn up from a container below the gun using suction. These are more versatile and can handle thicker materials, but may require more consistent air pressure.
- Pressure-Feed Guns: The paint is supplied from a separate container under pressure. This system offers consistent fluid delivery, making it ideal for larger projects and thicker materials. They often connect to a pressure pot or pump system.
The choice of gun type depends heavily on factors like project size, material viscosity, and personal preference. For instance, a large-scale automotive refinishing job would likely benefit from a pressure-feed system, whereas a small furniture-painting project might use a gravity-feed gun more conveniently.
Q 5. How do you select the correct nozzle size for a specific application?
Nozzle size selection in HVLP spraying is crucial for achieving optimal results. The correct nozzle size depends on the viscosity and desired finish of the coating material as well as the spray distance and pattern you want to achieve.
Smaller nozzles (e.g., 1.0mm -1.3mm) are suitable for thinner coatings and finer finishes, requiring more passes for good coverage but providing a very smooth finish. Larger nozzles (e.g., 1.5mm – 1.8mm) are ideal for thicker coatings and faster coverage, but may produce a slightly coarser finish. The manufacturer’s guidelines for the specific paint being used will usually offer recommendations on the proper nozzle size. Experimentation with test sprays is key for finding the optimal balance of finish quality and speed.
For example, when spraying a high-gloss automotive clear coat, you’d typically use a smaller nozzle for a very fine, even finish. On the other hand, when spraying a thick exterior house paint, a larger nozzle will offer better speed and coverage.
Q 6. Explain the importance of proper air pressure regulation in HVLP spraying.
Proper air pressure regulation is essential for optimal HVLP performance. Too much air pressure can lead to excessive overspray and a rough finish. Too little pressure can result in poor atomization, causing runs and a uneven finish. The optimal pressure varies depending on the type of material, nozzle size, and specific HVLP system.
Most HVLP spray guns have an adjustable air pressure regulator. It’s vital to consult the manufacturer’s instructions for the recommended air pressure range for the coating being applied. You would typically start at the lower end of the recommended range and gradually increase it until the desired atomization is achieved. Using a pressure gauge is necessary to accurately monitor and adjust the air pressure. Proper pressure regulation ensures efficiency and quality.
Think of it like baking – you need the right temperature to ensure the desired outcome. Similarly, air pressure in HVLP is the critical parameter that influences the quality of the sprayed finish.
Q 7. How do you adjust the fluid flow rate in an HVLP spray gun?
Fluid flow rate in an HVLP spray gun is usually controlled by a fluid adjustment knob or needle valve. Turning the knob clockwise typically decreases the fluid flow, while counterclockwise increases it. The knob’s exact operation varies depending on the spray gun’s design. Start with a low fluid flow rate and gradually increase it until you achieve the desired coating thickness and pattern while minimizing runs or drips.
Experimenting with test sprays on a scrap piece of material is crucial for determining the ideal fluid flow rate for a specific material and coating conditions. Always ensure you’re applying a consistent amount of material to maintain a smooth and even finish.
Finding the right balance between fluid flow and air pressure is like finding the perfect recipe for success. Too much fluid and you get drips, too little and you have thin coverage. It’s a fine-tuning process!
Q 8. Describe the proper techniques for spraying different types of paint.
Spraying different paints with an HVLP sprayer requires adjusting your technique based on the paint’s viscosity (thickness) and desired finish. Thinner paints, like lacquers, require a lighter trigger pull and faster passes to avoid runs, while thicker paints, like enamels, need a heavier trigger pull and slower, more deliberate passes. The key is consistency.
- Lacquer: Use a light, even trigger pull, maintaining a consistent distance (6-8 inches) and a relatively fast pass speed. Multiple thin coats are better than one thick coat to avoid runs and sags. Think of it like gently dusting the surface.
- Enamel: Requires a slightly heavier trigger pull and slower pass speed. Maintain a consistent distance (around 6-8 inches) and overlap passes slightly for even coverage. This is like applying a slightly more generous, even layer.
- Primer: Primers often need a heavier trigger pull and slower speed to ensure good adhesion. Focus on even coverage, as this forms the base for your topcoats.
- Latex/Water-based Paints: These can vary in viscosity, so always check the paint’s recommended spray settings. Generally, they require a moderate trigger pull and speed, similar to enamels.
Remember to always test your spray pattern on a scrap piece of the same material before starting your project to dial in the perfect settings for your paint and sprayer.
Q 9. How do you clean and maintain an HVLP spray gun?
Cleaning and maintaining your HVLP spray gun is crucial for longevity and performance. Proper cleaning prevents clogging, ensures a consistent spray pattern, and extends the life of your equipment. This involves a multi-step process.
- Immediately after use: Thin the paint remaining in the cup with the appropriate thinner (specified by your paint manufacturer) and run this mixture through the gun until the fluid is clear. This prevents paint from drying inside the gun.
- Disassemble: Carefully disassemble the gun according to the manufacturer’s instructions. This typically involves removing the nozzle, needle, and air cap. Keep track of each piece as you go.
- Clean thoroughly: Use a suitable cleaning solvent, again following your paint manufacturer’s instructions. Pay close attention to the nozzle and air cap, using a brush or soft cloth to remove any stubborn paint. It’s advisable to soak these parts in solvent for more effective cleaning.
- Reassemble: Carefully reassemble the gun, ensuring that all parts are correctly aligned. Examine the components to make sure there is no visible paint remaining.
- Lubricate (if applicable): Some HVLP guns require periodic lubrication of moving parts. Check your owner’s manual for the appropriate lubricant.
- Store properly: Store your clean gun in a safe, dry place, ideally in a protective case to prevent damage or dust accumulation.
Regular cleaning, even after short use, will save you time and trouble in the long run and prevent costly repairs.
Q 10. What are the safety precautions you should take when using an HVLP sprayer?
Safety is paramount when using an HVLP sprayer. These precautions are crucial to protect yourself and others from potential hazards.
- Wear appropriate personal protective equipment (PPE): Always wear a respirator (specifically designed for paint fumes), safety glasses, and gloves. The fine mist generated by an HVLP sprayer can easily be inhaled, causing respiratory problems. Protective clothing will prevent skin irritation or paint contact.
- Work in a well-ventilated area: HVLP sprayers produce fine paint particles and solvents which can cause health issues. Always operate in a well-ventilated area or use a respirator.
- Avoid spraying near open flames or sparks: Paint fumes are flammable, so take extra precautions. Ensure there are no ignition sources nearby.
- Protect surrounding surfaces: Use drop cloths or masking tape to protect surfaces from overspray. Proper preparation is key to minimizing cleanup.
- Follow manufacturer’s instructions: Carefully read and understand the instructions for your specific HVLP sprayer model.
- Practice Proper disposal: Dispose of used paint and solvents properly, according to local regulations.
Taking these safety precautions helps minimize risks and allows for a safer and more productive painting process.
Q 11. How do you troubleshoot common problems with HVLP sprayers (e.g., clogging, uneven spray pattern)?
Troubleshooting common HVLP sprayer problems often involves systematic checks. Here’s how to tackle some frequent issues:
- Clogging: This is usually caused by paint buildup in the nozzle, needle, or air cap. Follow the cleaning instructions above. If the problem persists, you might need to replace the nozzle or other affected components.
- Uneven Spray Pattern: This can result from several factors:
- Incorrect air pressure: Adjust the air pressure according to the manufacturer’s recommendations and the paint type. Too much or too little air pressure can lead to an uneven spray.
- Clogged nozzle: Clean the nozzle thoroughly.
- Misaligned parts: Ensure that the nozzle, needle, and air cap are properly aligned and seated.
- Damaged parts: Inspect for damage to any component; you may need to replace worn parts.
- Low Paint Output:
- Empty paint cup: Obvious but sometimes missed!
- Clogged paint filter: Check and clean or replace the filter.
- Low fluid pressure: Check your fluid pressure setting.
- Air leaks: Check for leaks in the air hose or connections.
Remember to consult your owner’s manual for more specific troubleshooting advice for your model. Regularly scheduled maintenance can prevent many problems.
Q 12. Explain the concept of overspray and how to minimize it.
Overspray is the paint that misses the target surface and lands on surrounding areas. It’s wasteful and creates extra cleanup. Minimizing it involves a combination of techniques.
- Proper air pressure: Use the recommended air pressure for your paint and gun. Too much pressure can create excessive overspray.
- Correct distance: Maintain a consistent distance from the surface (usually 6-8 inches) to optimize atomization and minimize overspray.
- Even passes: Overlap your passes slightly but avoid excessive layering. Too much paint in one area leads to runs and increased overspray.
- Use masking tape and drop cloths: Protect surrounding areas with masking tape and drop cloths to catch overspray and prevent accidental painting.
- Good gun technique: Practice makes perfect. A smooth, controlled trigger pull and consistent passes will reduce overspray significantly.
- HVLP technology itself: HVLP sprayers are designed to produce less overspray compared to conventional spray guns, which is a key advantage.
Think of it like aiming a water pistol: a steady hand and accurate aim will minimize the amount of water that misses the target.
Q 13. Describe different techniques for achieving a smooth, even finish.
Achieving a smooth, even finish involves a combination of preparation and technique.
- Surface preparation: Proper surface preparation is critical. This includes sanding, cleaning, and priming the surface to create a smooth, even base for the paint.
- Thin coats: Multiple thin coats are always better than one thick coat. Thin coats allow the paint to level out more easily and minimize runs and sags.
- Consistent spray distance: Maintain a consistent distance from the surface throughout the spraying process.
- Even passes: Overlap your passes slightly to ensure complete coverage without creating heavy buildup in any one area.
- Wet-on-wet technique: For some paints and finishes, applying subsequent coats while the previous coat is still slightly wet can help blend them seamlessly.
- Proper air pressure and fluid adjustment: Fine-tuning your air pressure and paint flow rate will significantly impact the final finish.
- Practice and patience: Achieving a professional-level finish takes time and practice. Don’t rush the process.
Consider practicing your technique on scrap materials before tackling your final project.
Q 14. What are the different types of paint suitable for HVLP spraying?
Many types of paint are suitable for HVLP spraying, but some work better than others. The key is choosing a paint with the right viscosity (thickness) for your sprayer.
- Lacquers: These are known for their fast drying time and smooth finish. They are very suitable for HVLP spraying.
- Enamels: These offer durability and a high-gloss finish. Thicker enamels may require slight thinning.
- Latex/Water-based paints: Many latex paints are compatible with HVLP sprayers. Check the paint manufacturer’s recommendations.
- Specialty paints: Certain specialty paints, such as automotive paints, are often formulated for spraying and work well with HVLP systems.
Always check the paint manufacturer’s recommendations for spray application and viscosity. Some paints may require thinning before spraying to achieve the correct consistency for optimal results.
Q 15. How do you prepare a surface for HVLP spraying?
Proper surface preparation is paramount for a professional-looking HVLP finish. Think of it like preparing a canvas for a masterpiece – a poorly prepared surface will show through even the best paint job. The process involves several key steps:
Cleaning: Remove all dirt, dust, grease, and loose particles. A degreaser and a stiff brush are usually sufficient. For stubborn contaminants, consider a pressure washer (carefully!), followed by thorough rinsing and drying.
Repairing: Fill any holes, cracks, or imperfections with wood filler, spackle, or other appropriate materials. Once dry, sand smooth.
Sanding: Sanding creates a uniform surface for better adhesion. Start with coarser grit sandpaper (e.g., 80-grit) to remove imperfections, then gradually move to finer grits (e.g., 120-grit, then 220-grit) for a smooth finish. Always sand in the direction of the wood grain.
Priming: Applying a primer ensures a consistent base coat and improves paint adhesion, especially on porous surfaces like wood. Choose a primer compatible with your topcoat.
Final Cleaning: After priming (and allowing sufficient drying time), remove any dust created during sanding with a tack cloth. This prevents imperfections from showing in the final coat.
For example, when painting a wooden fence, thorough cleaning and sanding will prevent the paint from peeling prematurely due to surface imperfections or insufficient adhesion. Similarly, priming a metal surface will prevent rust from bleeding through the final paint.
Career Expert Tips:
- Ace those interviews! Prepare effectively by reviewing the Top 50 Most Common Interview Questions on ResumeGemini.
- Navigate your job search with confidence! Explore a wide range of Career Tips on ResumeGemini. Learn about common challenges and recommendations to overcome them.
- Craft the perfect resume! Master the Art of Resume Writing with ResumeGemini’s guide. Showcase your unique qualifications and achievements effectively.
- Don’t miss out on holiday savings! Build your dream resume with ResumeGemini’s ATS optimized templates.
Q 16. Explain the importance of proper ventilation when spraying.
Adequate ventilation is crucial for both your health and the quality of your finish when HVLP spraying. Overspray contains volatile organic compounds (VOCs) that are harmful if inhaled. Poor ventilation can also lead to a poor finish due to dust particles or slow drying times.
Always spray in a well-ventilated area, preferably outdoors. If indoor spraying is unavoidable, use a respirator designed for paint fumes and ensure proper exhaust ventilation, such as opening windows and doors or using a ventilation system. A fan can help circulate the air, drawing away overspray and fumes. Think of it like this: you wouldn’t bake a cake in an airtight oven – you need air circulation to prevent it from burning or becoming soggy. Similarly, proper ventilation is essential for a successful HVLP spray job.
Never compromise on safety – your health is paramount. Investing in a respirator is an essential part of your HVLP setup.
Q 17. What are the environmental considerations associated with HVLP spraying?
HVLP spraying, while more efficient than conventional methods, still has environmental implications. The main concern is the release of VOCs from paints and coatings. These VOCs contribute to air pollution and smog formation. Overspray also leads to material waste. However, HVLP’s reduced overspray minimizes environmental impact compared to conventional spraying methods.
To lessen the environmental effects, consider these steps:
Use low-VOC paints: Opt for paints with low or zero VOC content whenever possible. These are readily available and provide a comparable finish.
Proper disposal of waste: Dispose of leftover paint and cleaning solvents according to local regulations. Never pour them down the drain.
Minimize overspray: Practice proper techniques like maintaining the correct spray distance and adjusting the fluid flow to reduce overspray.
Use drop cloths and containment systems: This helps to catch and contain any overspray, making cleanup easier and minimizing waste.
By adopting these environmentally conscious practices, you contribute to cleaner air and a healthier planet while still benefiting from the efficiency of HVLP spraying.
Q 18. How do you determine the correct spray distance for optimal results?
The correct spray distance is crucial for achieving a smooth, even finish without runs or sags. This distance typically ranges from 6 to 12 inches, depending on the type of paint, nozzle size, and the material being sprayed. It’s a balance – too close and you’ll get runs and heavy texture, too far and you’ll get a dry, uneven finish.
Start by testing on a scrap piece of the same material you are painting to find the sweet spot. Begin at the recommended distance in your sprayer’s instructions, then adjust slightly closer or further until you achieve a fine, even mist without any drips. Observe the pattern of your spray and adjust the fluid flow if necessary. The optimal spray distance usually results in a consistent wet coat that blends smoothly before it begins to dry.
Think of it like watering your plants – too close and you’ll drown them, too far and they’ll barely get watered. The proper distance for your HVLP sprayer delivers the perfect amount of paint for the most even and professional finish.
Q 19. Describe the difference between wet-on-wet and wet-on-dry spraying techniques.
The difference between wet-on-wet and wet-on-dry spraying lies in the drying time between coats. Wet-on-wet involves applying the next coat of paint before the previous one has completely dried. Wet-on-dry, on the other hand, requires allowing the previous coat to fully dry before applying the next one.
Wet-on-wet is generally faster and can create a smoother finish, especially with paints that tend to show lap marks. However, it requires more skill to avoid runs and sags. It’s suitable for thinner paints and smaller projects.
Wet-on-dry is better for thicker paints and larger projects where a more uniform finish is critical. It allows for more control and better error correction, but it takes longer.
The choice between the two techniques depends on the project, the paint type, your skill level, and the desired outcome. For a beginner, the wet-on-dry technique might be easier to master.
Q 20. How do you handle different viscosity levels of paint?
Different paints have different viscosities (thickness). Too thick and the paint won’t atomize properly, resulting in a lumpy texture. Too thin and it may run, sag, or lack coverage. Achieving the correct viscosity is crucial for an optimal HVLP spray job.
If the paint is too thick, you’ll need to thin it using a suitable thinner or reducer according to the manufacturer’s recommendations. Always add thinner gradually while stirring thoroughly, avoiding adding too much at once. Check the viscosity by dipping a stick into the paint and see how slowly it drips. You can also use a viscosity cup to measure the flow rate.
If the paint is too thin, you may need to add a suitable thickening agent, although this is less common. Again, follow the manufacturer’s guidance closely. Incorrect viscosity will ruin your finish, so thorough preparation and testing are critical.
Q 21. Explain the importance of using the right thinner or reducer.
Using the right thinner or reducer is vital for achieving the correct paint viscosity and ensuring proper atomization. The wrong thinner can damage the paint, negatively impact its durability, or even create safety hazards. Always check the paint manufacturer’s instructions for the recommended thinner or reducer.
Thinners are designed to reduce the viscosity of paints. Different thinners are formulated for different types of paint (e.g., lacquer thinner, enamel thinner). Using the wrong thinner can lead to incompatibility issues, causing the paint to crack, peel, or not cure properly. Reduce the risk of mistakes by following the manufacturer’s instructions carefully.
Always wear appropriate safety equipment when using thinners or reducers as they are often highly flammable and contain hazardous chemicals. Adequate ventilation is crucial.
Q 22. Describe your experience with different types of spray booths.
My experience encompasses a wide range of spray booths, from basic downdraft systems to more sophisticated, environmentally controlled models. I’ve worked with both small, portable booths ideal for smaller projects and large, industrial booths designed for high-volume production. Downdraft booths are excellent for capturing overspray, pulling it downwards through a filter system. Side-draft booths, though less common, provide airflow from the sides, and are suitable for certain applications. I’ve also had experience with water wash booths which offer superior overspray capture and significantly reduce environmental impact but require more significant maintenance and setup. The choice of booth depends heavily on the size of the project, the type of paint being used, and environmental regulations.
For instance, when working on delicate automotive refinishing, a well-maintained downdraft booth with exceptional filtration is essential to prevent dust contamination. Conversely, a simpler side-draft booth might suffice for smaller projects like painting furniture in a less controlled environment. Understanding the strengths and limitations of each type allows me to select the most appropriate booth for optimal results.
Q 23. How do you maintain proper air filtration in a spray booth?
Maintaining proper air filtration in a spray booth is crucial for both the quality of the finish and the health of the operator. This involves a multi-pronged approach. Firstly, regular filter changes are essential. The frequency depends on the intensity of use and the type of paint, but it’s generally recommended to inspect and change filters frequently, especially the pre-filters, which capture larger particles. Using high-quality filters is also vital; they should be rated for the specific type of paint and particle size.
Beyond filter changes, consistent maintenance of the booth’s exhaust system is key. This includes checking for leaks in the ducting, ensuring the fan is functioning at optimal capacity, and regularly cleaning the entire system. Any buildup of paint overspray in the ductwork can restrict airflow and reduce filtration efficiency. Think of it like regularly changing the air filter in your car – it prevents larger issues down the line. Neglecting this can lead to poor air quality, inefficient operation, and even potential fire hazards.
Q 24. What are the different types of HVLP spray gun filters and their function?
HVLP spray gun filters are primarily designed to prevent paint particles and contaminants from reaching the air cap and nozzle, thus ensuring a smooth, consistent spray pattern and preventing clogging. There are two main types: the filter within the fluid cup and the in-line filter. The fluid cup filter, typically a fine mesh screen, traps larger particles and debris within the paint itself before it reaches the gun’s nozzle. This helps prevent nozzle clogging. In-line filters are placed within the paint supply line before the fluid cup and provide an additional layer of filtration, removing finer particles that might pass through the fluid cup filter. This helps to further protect against clogging and provide a better quality of finish.
The choice between these filters often depends on the paint viscosity and the desired level of filtration. Thicker paints might benefit from both types of filters for optimal performance. Imagine the fluid cup filter as a first line of defense, capturing larger chunks, while the inline filter acts as a more refined filter, capturing the finer dust and impurities.
Q 25. Describe your experience with different types of HVLP compressors.
My experience with HVLP compressors includes both diaphragm and piston types. Diaphragm compressors generally offer quieter operation and longer life compared to piston types but typically deliver lower air volume. They are suitable for smaller-scale applications or for those who value quieter operation in more residential settings. Piston compressors, on the other hand, can produce higher air volume, which is beneficial for larger projects or when using multiple spray guns simultaneously, although they often produce more noise. I’ve also worked with oil-lubricated and oil-free compressors. Oil-lubricated compressors generally offer more robust performance but require more maintenance due to oil changes. Oil-free compressors require less maintenance but might have a shorter lifespan.
The choice of compressor is dependent on the specific demands of the project. For a large commercial job requiring high air volume, a powerful piston compressor would likely be preferable. For smaller projects, a quiet diaphragm compressor could be more suitable. Understanding the trade-offs between noise, air volume, maintenance, and cost is vital in selecting the correct compressor for the job.
Q 26. How do you calculate the appropriate fan speed for different applications?
Calculating the appropriate fan speed for different applications involves considering several factors. Primarily, it depends on the material being sprayed; thicker materials will generally require higher air pressure (and often higher fan speeds) to atomize effectively. The viscosity of the paint is also critical. Thinner paints usually need less air pressure, while thicker ones will require higher air pressure to break them up properly. Environmental factors also play a role; higher wind speeds outside could warrant a higher fan speed to maintain a stable spray environment inside the booth. Finally, the size of the spray booth itself and the volume of air it needs to move are vital factors.
There isn’t a single formula; it’s more of a balancing act. I often start with manufacturer recommendations as a baseline and adjust based on observation. If the overspray is excessive, increasing the fan speed can help. Conversely, if the finish is too thin or dry, it might indicate that the fan speed is too high, and reducing it might improve the result. Experience and careful monitoring are key to optimizing fan speed for different applications. Think of it like adjusting the thermostat in your house – you want to find that ‘Goldilocks’ zone that is just right.
Q 27. How do you identify and address paint defects?
Identifying and addressing paint defects requires a systematic approach. I begin by carefully inspecting the finished surface, noting the type and location of defects. Common issues include runs, sags, orange peel, fisheyes, and dust nibs. Understanding the cause is paramount; runs and sags often indicate excessive paint or too low a viscosity. Orange peel might be caused by incorrect spray technique, insufficient air pressure, or an unsuitable paint type. Fisheyes, small craters, suggest contamination of the surface or the paint itself. Dust nibs are easily identified as tiny specks of dust embedded in the wet paint.
Addressing these issues involves a combination of corrective actions. Sometimes, light sanding and re-spraying are sufficient. In other cases, a complete rework might be necessary. For example, a fisheye defect may require cleaning the surface with a degreaser before reapplication. Understanding the root cause of the defect ensures that the correction is effective and prevents the issue from recurring. Experience and a keen eye for detail are crucial for accurate identification and successful remediation.
Q 28. Describe your experience with different HVLP spray gun brands and models.
My experience spans a number of HVLP spray gun brands and models. I’ve used guns from established manufacturers such as Graco, Devilbiss, and SATA, as well as some lesser-known brands. Each brand and model offers different features and performance characteristics, affecting spray pattern, fluid flow, and overall ease of use. For example, Graco guns are often praised for their reliability and durability, while Devilbiss guns are known for their ability to create a fine finish. SATA guns frequently appear in high-end automotive settings due to their superior atomization and control. The choice of brand and model is highly dependent on the specific application, the type of paint being used, and personal preference. Some models are better suited for larger projects or specific materials.
I’ve learned that selecting the right gun depends not only on the brand but also on the specific nozzle size and fluid tip configuration. These elements significantly impact the spray pattern and atomization. The experience of using various guns provides a broader perspective on their respective strengths and weaknesses, allowing me to make informed decisions when choosing the best tool for the job at hand.
Key Topics to Learn for HVLP Sprayer Interview
- HVLP Technology Fundamentals: Understand the principles of High Volume Low Pressure spraying, including air pressure, fluid flow, and atomization.
- Sprayer Components and Operation: Become familiar with the different parts of an HVLP sprayer (e.g., air cap, fluid nozzle, air regulator) and how they interact to achieve optimal spray patterns.
- Material Selection and Application: Learn about the types of materials best suited for HVLP spraying (paints, stains, primers) and how to adjust settings for different viscosities and finishes.
- Spray Techniques and Patterns: Master various spraying techniques (e.g., wet-on-wet, overlapping passes) to achieve even and consistent coatings, minimizing runs and drips.
- Safety Procedures and Regulations: Understand and be able to discuss the necessary safety precautions, including personal protective equipment (PPE) and proper ventilation.
- Troubleshooting and Maintenance: Familiarize yourself with common HVLP sprayer problems (e.g., clogging, inconsistent spray) and how to diagnose and resolve them. Understand routine maintenance procedures.
- Different HVLP Sprayer Types: Explore the variations in HVLP sprayers (gravity feed, suction feed, turbine) and their respective applications.
- Practical Application Examples: Be prepared to discuss real-world scenarios where HVLP spraying is used, such as automotive refinishing, furniture painting, or industrial coating applications.
- Cleaning and Storage Procedures: Detail proper cleaning methods to prevent clogging and extend the life of the sprayer. Understand appropriate storage practices.
Next Steps
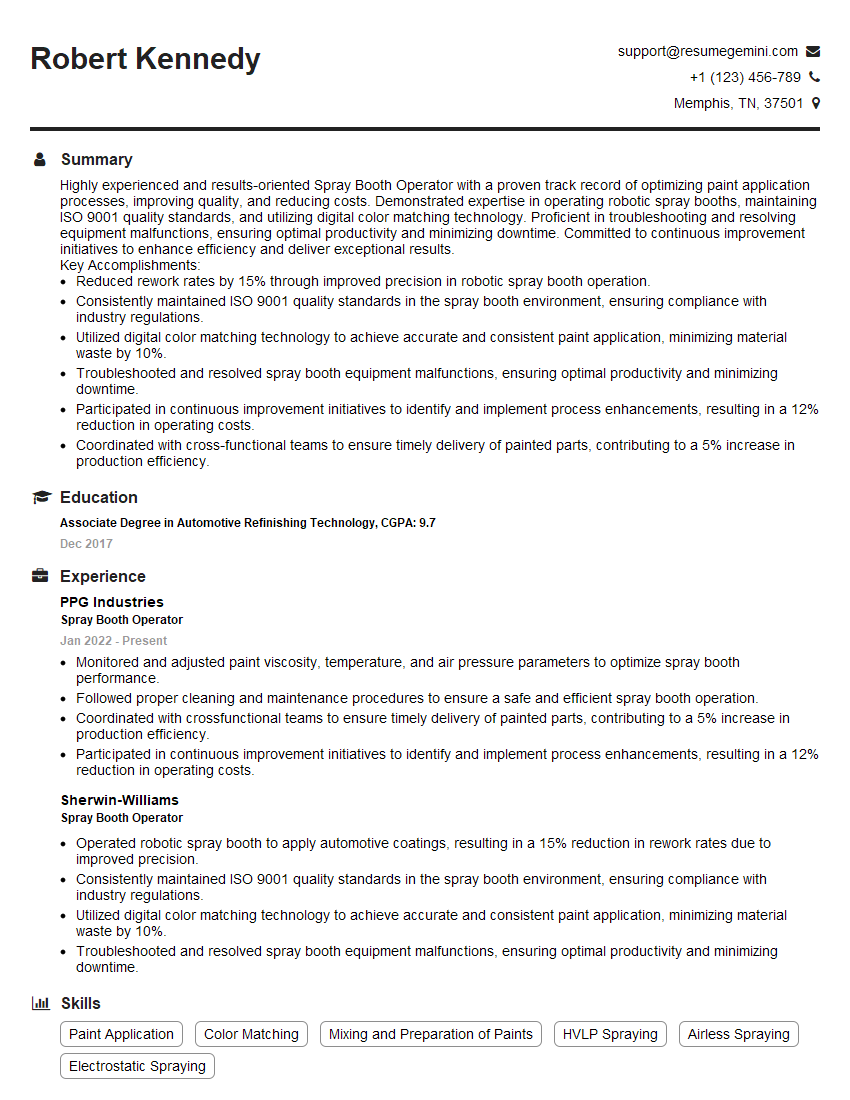
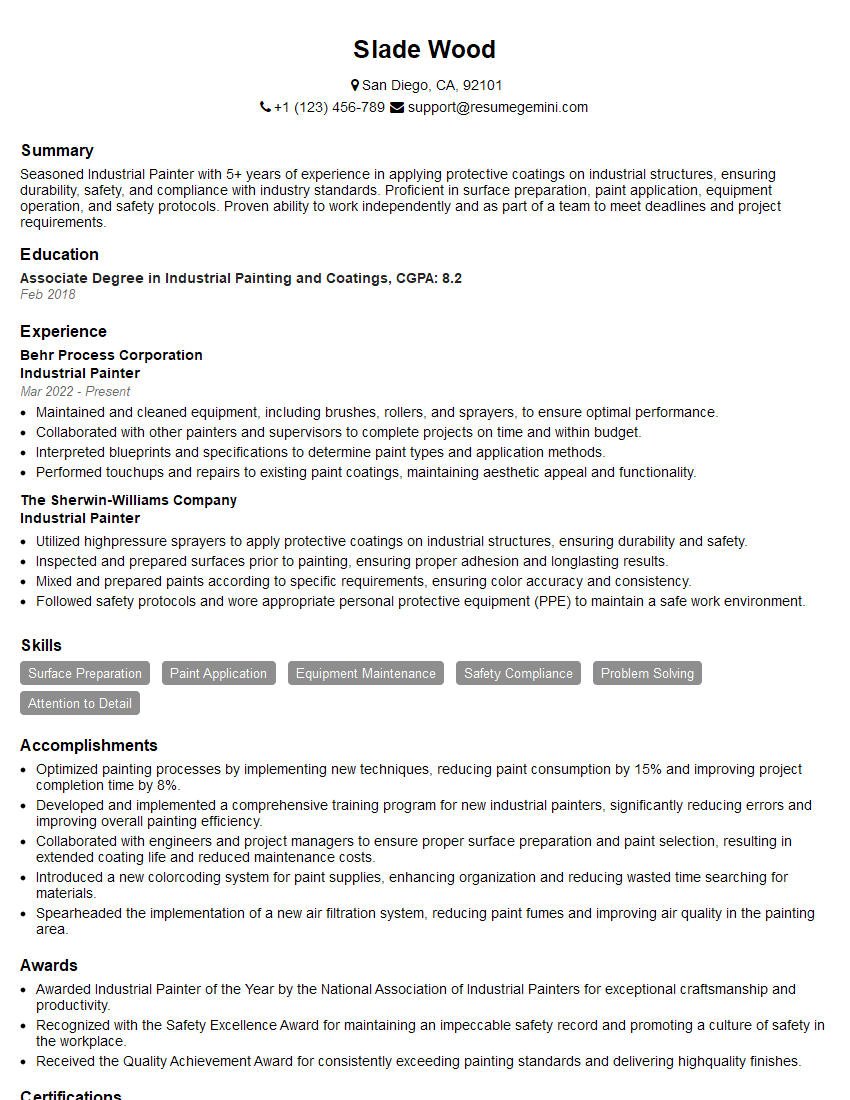
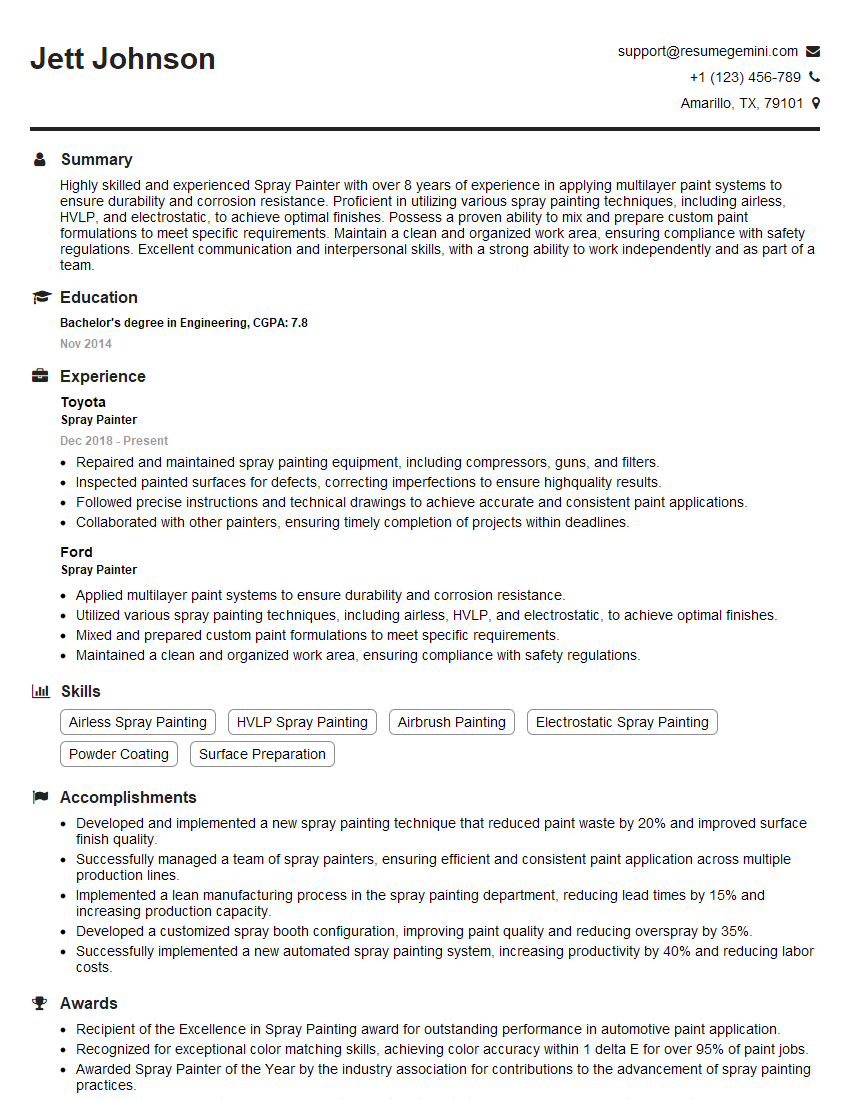
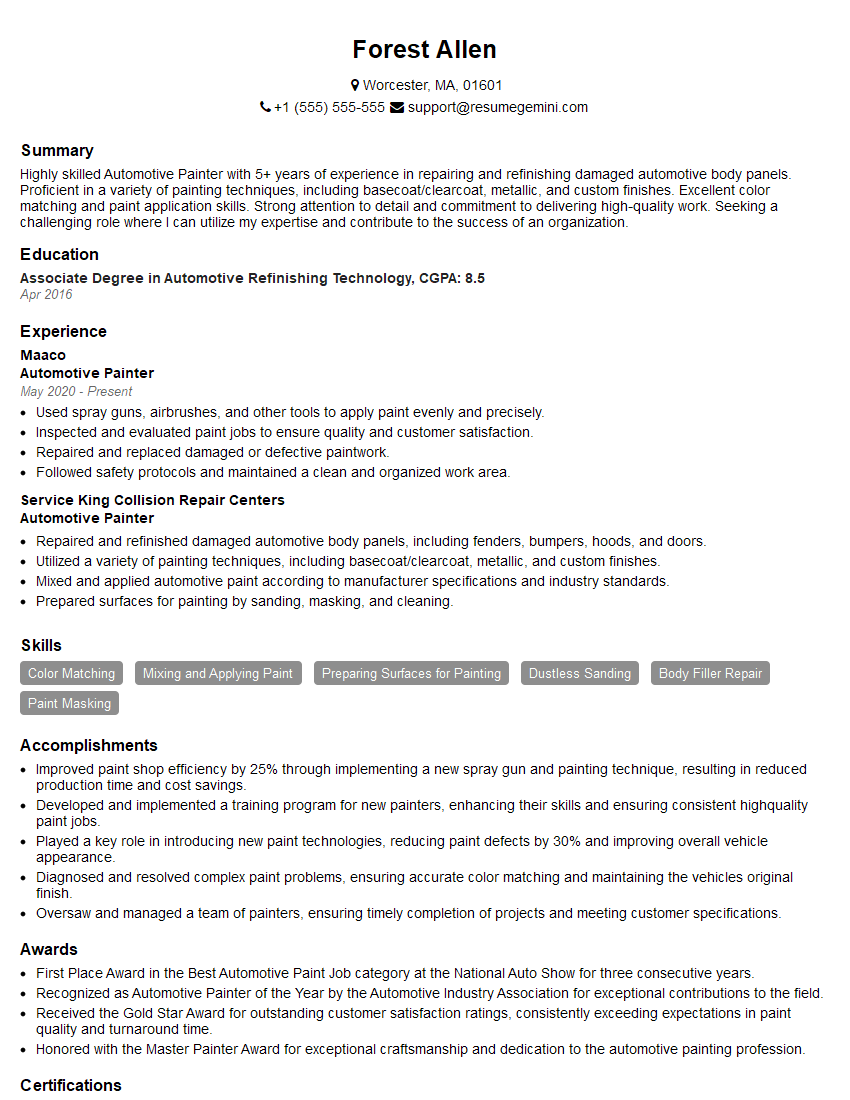
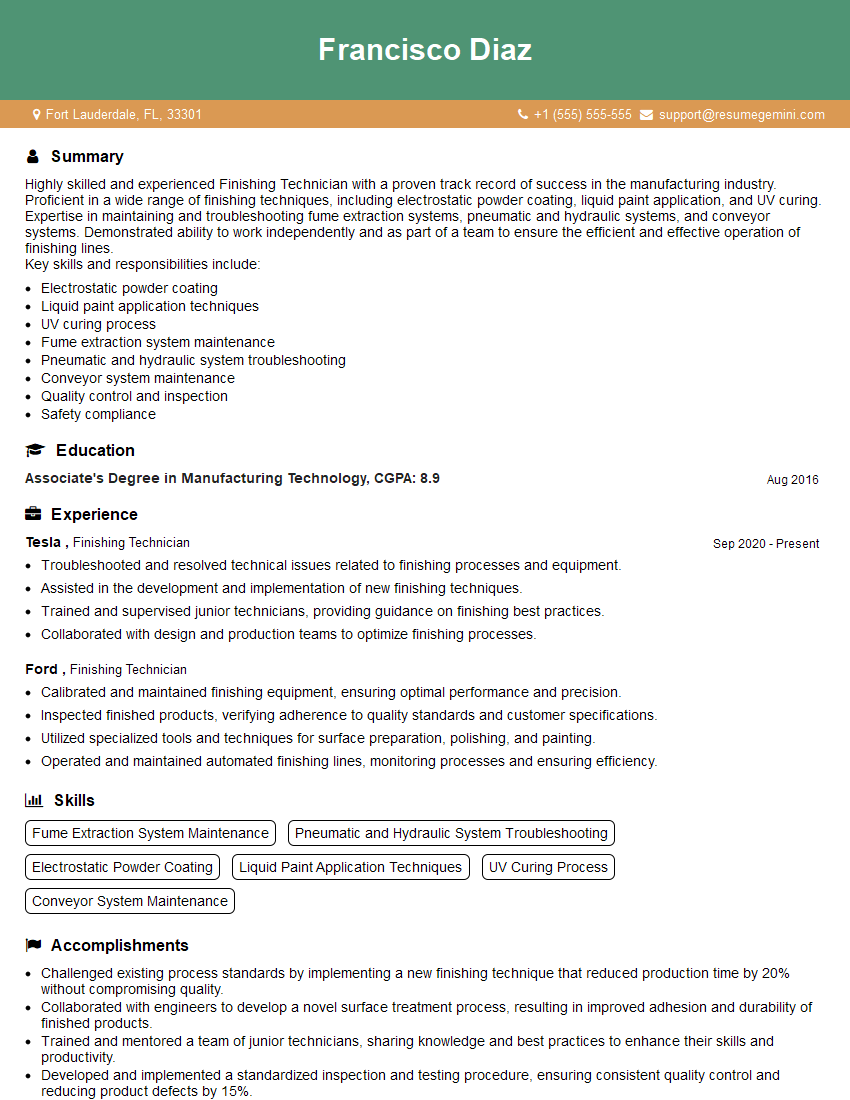
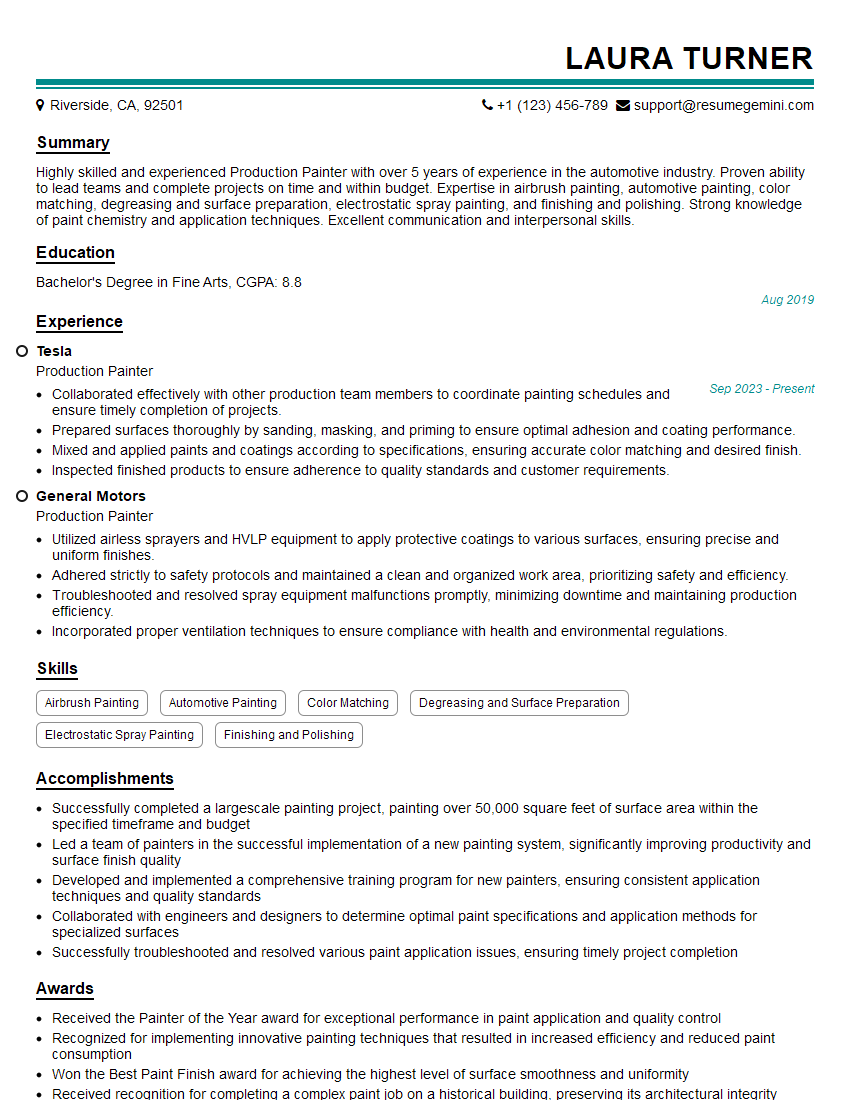
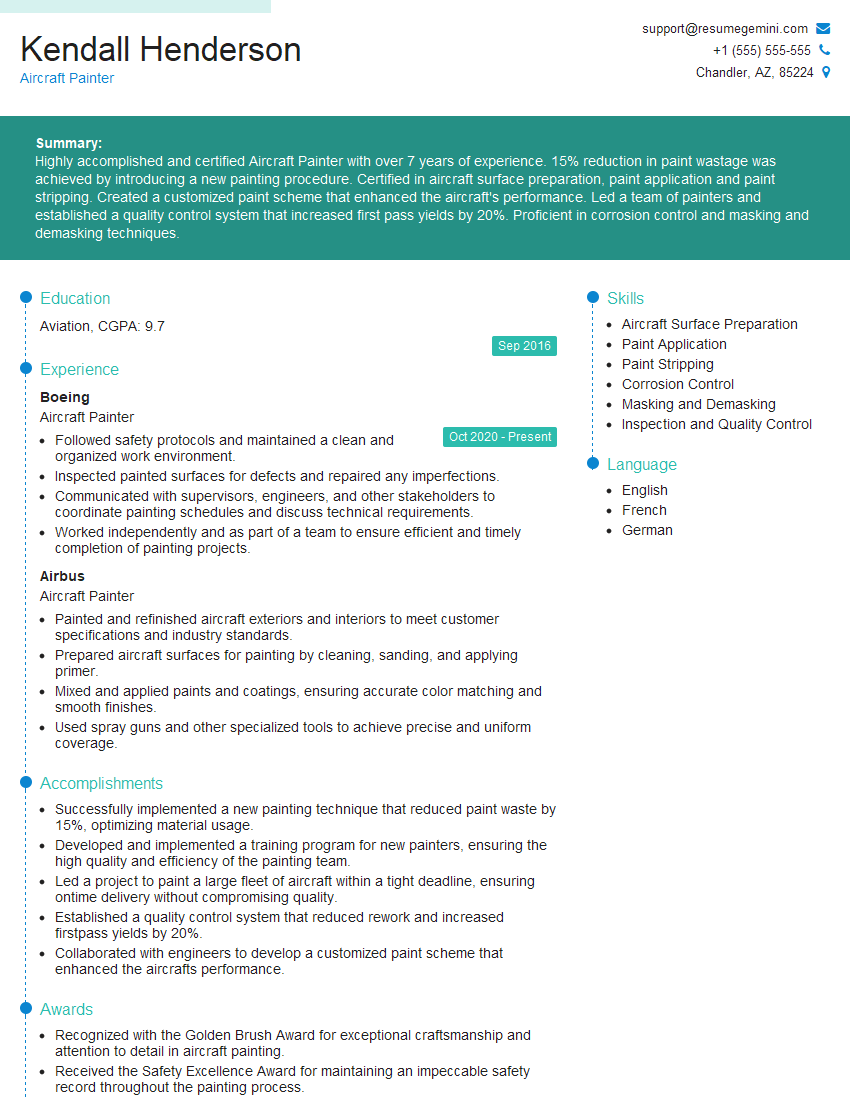
Mastering HVLP sprayer techniques significantly enhances your skillset and opens doors to exciting career opportunities in various industries. A strong understanding of HVLP technology is highly valued by employers seeking skilled and efficient professionals. To maximize your job prospects, crafting an ATS-friendly resume is crucial. ResumeGemini is a trusted resource that can help you build a professional and impactful resume tailored to highlight your HVLP sprayer expertise. Examples of resumes tailored to the HVLP Sprayer field are available to provide further guidance.
Explore more articles
Users Rating of Our Blogs
Share Your Experience
We value your feedback! Please rate our content and share your thoughts (optional).
What Readers Say About Our Blog
Hi I am a troller at The aquatic interview center and I suddenly went so fast in Roblox and it was gone when I reset.
Hi,
Business owners spend hours every week worrying about their website—or avoiding it because it feels overwhelming.
We’d like to take that off your plate:
$69/month. Everything handled.
Our team will:
Design a custom website—or completely overhaul your current one
Take care of hosting as an option
Handle edits and improvements—up to 60 minutes of work included every month
No setup fees, no annual commitments. Just a site that makes a strong first impression.
Find out if it’s right for you:
https://websolutionsgenius.com/awardwinningwebsites
Hello,
we currently offer a complimentary backlink and URL indexing test for search engine optimization professionals.
You can get complimentary indexing credits to test how link discovery works in practice.
No credit card is required and there is no recurring fee.
You can find details here:
https://wikipedia-backlinks.com/indexing/
Regards
NICE RESPONSE TO Q & A
hi
The aim of this message is regarding an unclaimed deposit of a deceased nationale that bears the same name as you. You are not relate to him as there are millions of people answering the names across around the world. But i will use my position to influence the release of the deposit to you for our mutual benefit.
Respond for full details and how to claim the deposit. This is 100% risk free. Send hello to my email id: [email protected]
Luka Chachibaialuka
Hey interviewgemini.com, just wanted to follow up on my last email.
We just launched Call the Monster, an parenting app that lets you summon friendly ‘monsters’ kids actually listen to.
We’re also running a giveaway for everyone who downloads the app. Since it’s brand new, there aren’t many users yet, which means you’ve got a much better chance of winning some great prizes.
You can check it out here: https://bit.ly/callamonsterapp
Or follow us on Instagram: https://www.instagram.com/callamonsterapp
Thanks,
Ryan
CEO – Call the Monster App
Hey interviewgemini.com, I saw your website and love your approach.
I just want this to look like spam email, but want to share something important to you. We just launched Call the Monster, a parenting app that lets you summon friendly ‘monsters’ kids actually listen to.
Parents are loving it for calming chaos before bedtime. Thought you might want to try it: https://bit.ly/callamonsterapp or just follow our fun monster lore on Instagram: https://www.instagram.com/callamonsterapp
Thanks,
Ryan
CEO – Call A Monster APP
To the interviewgemini.com Owner.
Dear interviewgemini.com Webmaster!
Hi interviewgemini.com Webmaster!
Dear interviewgemini.com Webmaster!
excellent
Hello,
We found issues with your domain’s email setup that may be sending your messages to spam or blocking them completely. InboxShield Mini shows you how to fix it in minutes — no tech skills required.
Scan your domain now for details: https://inboxshield-mini.com/
— Adam @ InboxShield Mini
Reply STOP to unsubscribe
Hi, are you owner of interviewgemini.com? What if I told you I could help you find extra time in your schedule, reconnect with leads you didn’t even realize you missed, and bring in more “I want to work with you” conversations, without increasing your ad spend or hiring a full-time employee?
All with a flexible, budget-friendly service that could easily pay for itself. Sounds good?
Would it be nice to jump on a quick 10-minute call so I can show you exactly how we make this work?
Best,
Hapei
Marketing Director
Hey, I know you’re the owner of interviewgemini.com. I’ll be quick.
Fundraising for your business is tough and time-consuming. We make it easier by guaranteeing two private investor meetings each month, for six months. No demos, no pitch events – just direct introductions to active investors matched to your startup.
If youR17;re raising, this could help you build real momentum. Want me to send more info?
Hi, I represent an SEO company that specialises in getting you AI citations and higher rankings on Google. I’d like to offer you a 100% free SEO audit for your website. Would you be interested?
Hi, I represent an SEO company that specialises in getting you AI citations and higher rankings on Google. I’d like to offer you a 100% free SEO audit for your website. Would you be interested?
good
