The thought of an interview can be nerve-wracking, but the right preparation can make all the difference. Explore this comprehensive guide to In-Process Inspection and Monitoring interview questions and gain the confidence you need to showcase your abilities and secure the role.
Questions Asked in In-Process Inspection and Monitoring Interview
Q 1. Explain the difference between In-Process Inspection and Final Inspection.
In-process inspection and final inspection are both crucial parts of quality control, but they differ significantly in their timing and purpose. Think of building a house: in-process inspection is like checking the foundation before building the walls, ensuring everything is level and strong. Final inspection is the final walkthrough after the entire house is complete, confirming everything meets the building code.
In-process inspection happens during the manufacturing or production process. Its goal is to catch defects early, preventing them from propagating further down the line and saving time and resources. It involves regular checks at various stages, allowing for immediate corrective actions if problems are identified. This is much more cost-effective than finding issues only during final inspection.
Final inspection occurs after the entire production process is complete. It verifies that the finished product meets all specified quality standards and requirements before shipment or delivery. While crucial for ensuring a high-quality final product, it is far less effective at preventing defects and can be more costly to rectify.
In short, in-process inspection is proactive, aimed at prevention; final inspection is reactive, focused on acceptance or rejection.
Q 2. Describe your experience with Statistical Process Control (SPC).
I have extensive experience using Statistical Process Control (SPC) methods to monitor and improve manufacturing processes. SPC employs statistical techniques to identify and analyze variations in production processes. I’ve used Control Charts, specifically X-bar and R charts, to track key process parameters (like dimensions or weight) over time. These charts visually represent data, allowing me to quickly identify trends, shifts, or outliers that signal potential problems.
For example, in a previous role, we were experiencing inconsistencies in the thickness of a manufactured component. By implementing X-bar and R charts to monitor the thickness at different stages of the process, we identified a specific machine setting that was contributing to the variability. Adjusting this setting significantly improved consistency and reduced scrap rates.
Beyond Control Charts, I’m also proficient in using capability analysis (Cp, Cpk) to determine if a process is capable of meeting specified tolerances. This helps prioritize improvement efforts where they will have the greatest impact. My experience extends to using various software packages dedicated to SPC analysis, helping manage large datasets and generating comprehensive reports.
Q 3. What are the common types of inspection methods you are familiar with?
My experience encompasses a wide range of inspection methods, both visual and instrumental.
- Visual Inspection: This is the most fundamental method, involving visual examination of the product for obvious defects like scratches, cracks, or discoloration. It’s often the first step in any inspection process and is crucial for identifying readily visible issues.
- Dimensional Inspection: This utilizes tools like calipers, micrometers, and coordinate measuring machines (CMMs) to measure dimensions, ensuring they conform to specifications. This is crucial for parts with tight tolerances.
- Functional Testing: This assesses the product’s performance by simulating real-world operating conditions. This might involve testing the functionality of an electronic device or the strength of a mechanical component.
- Non-destructive Testing (NDT): I am experienced in several NDT methods including ultrasonic testing (UT), radiographic testing (RT), and magnetic particle inspection (MPI), allowing for evaluation of internal defects without damaging the component. For instance, UT is used to detect internal cracks in welds.
- Destructive Testing: In specific cases, destructive testing methods like tensile testing are used to determine the material’s strength and failure characteristics.
The choice of inspection method depends on the product, the potential defects, and the level of precision required.
Q 4. How do you identify and address process deviations during in-process inspection?
Identifying and addressing process deviations during in-process inspection is a crucial part of maintaining quality. It involves a systematic approach:
- Monitoring: Regularly collect data on key process parameters using appropriate measurement tools. This might involve recording dimensions, weights, or test results at pre-determined intervals.
- Comparison to Standards: Compare the collected data to pre-defined acceptance criteria or specifications. Any deviation outside these limits signals a potential problem.
- Root Cause Analysis: If a deviation is detected, investigate its root cause. This often involves using tools like Pareto charts or fishbone diagrams to identify contributing factors. For example, if a machine is producing parts outside the tolerance, is it due to machine wear, incorrect settings, or raw material issues?
- Corrective Actions: Implement corrective actions to address the root cause. This might involve adjusting machine settings, replacing worn parts, or retraining personnel.
- Verification: After implementing corrective actions, verify that the problem is resolved by monitoring the process again and ensuring data conforms to specifications.
- Documentation: Thoroughly document all findings, actions taken, and results. This creates a historical record of the process and assists in continuous improvement.
This iterative process ensures that any deviations are quickly addressed, preventing further defects and maintaining process stability.
Q 5. Explain your experience with different measurement tools and equipment.
My experience encompasses a wide array of measurement tools and equipment, ranging from simple hand tools to sophisticated automated systems. I’m proficient with:
- Hand tools: Calipers, micrometers, rulers, gauges, etc., for basic dimensional measurements.
- Coordinate Measuring Machines (CMMs): For precise three-dimensional measurements of complex parts. I have experience programming and operating various CMM systems.
- Optical Comparators: For comparing parts against master templates and identifying minute dimensional variations.
- Vision Systems: Automated systems that use cameras and image processing software for high-speed inspection and automated defect detection.
- Specialized testing equipment: This varies depending on the product and may include tensile testing machines, hardness testers, or other specialized instruments for evaluating specific material properties or product functions.
My selection of tools always depends on the required accuracy, speed, and complexity of the inspection task. I understand the limitations of each tool and can select the most appropriate one for a given application.
Q 6. How do you ensure accuracy and reliability in your inspection process?
Ensuring accuracy and reliability in the inspection process is paramount. This involves several key strategies:
- Calibration: Regular calibration of all measurement equipment against traceable standards is crucial. This ensures the instruments provide accurate readings.
- Standard Operating Procedures (SOPs): Clear, detailed SOPs define the inspection process, including the steps, tools, and acceptance criteria. Following these procedures consistently ensures uniformity and minimizes errors.
- Operator Training: Thorough training of inspection personnel on proper techniques, tool usage, and interpretation of results is essential. Regular competency assessments help maintain skill levels.
- Statistical Process Control (SPC): As mentioned previously, using SPC charts helps monitor the inspection process itself, identifying any trends or patterns that might indicate a problem with the inspection methods.
- Audits: Regular internal audits assess the effectiveness of the inspection process, identifying areas for improvement. External audits can provide independent verification.
- Traceability: Maintaining a detailed record of all inspections, including measurements, results, and corrective actions, ensures traceability and allows for quick problem identification if needed.
By adhering to these practices, we build confidence in the accuracy and reliability of the inspection data, ultimately contributing to higher product quality and customer satisfaction.
Q 7. Describe your experience using data analysis tools for in-process monitoring.
I’m experienced in using various data analysis tools for in-process monitoring. This typically involves collecting and analyzing large datasets from automated inspection systems or manual measurements. The goal is to identify trends, patterns, and anomalies to optimize processes and maintain quality.
I’ve extensively used software packages like Minitab, JMP, and even Excel with appropriate add-ins for data analysis. I’m comfortable with statistical techniques such as regression analysis, ANOVA, and time series analysis to identify correlations between process parameters and product quality. For example, I used regression analysis to establish a predictive model linking machine settings to product dimensions, allowing us to proactively adjust settings to maintain tolerances.
Data visualization is a key aspect of my analysis. Creating charts and graphs (histograms, scatter plots, control charts) helps communicate complex data effectively, making it easy to identify areas needing attention. Data dashboards summarizing key performance indicators (KPIs) provide a quick overview of the process health.
My experience extends to using database management systems (DBMS) to store and manage large volumes of inspection data, facilitating data retrieval and analysis for reporting and continuous improvement initiatives.
Q 8. How do you handle discrepancies found during in-process inspection?
Discrepancies found during in-process inspection are handled systematically, prioritizing immediate action to prevent further defects and ensure product quality. The process typically involves several key steps:
Identification and Documentation: The discrepancy is precisely identified, its location noted, and detailed documentation created including photos or videos. This documentation is crucial for traceability and analysis.
Severity Assessment: The severity of the discrepancy is assessed based on its impact on product functionality, safety, and compliance with specifications. This helps prioritize corrective actions.
Immediate Containment: To prevent propagation of the defect, immediate actions are taken to contain affected materials or products. This might involve isolating the defective batch or implementing a temporary process change.
Root Cause Analysis: A thorough root cause analysis (RCA) is conducted to understand the underlying reasons behind the discrepancy. Techniques like the 5 Whys or Fishbone diagrams are employed. For instance, if a weld is faulty, we wouldn’t just fix the weld; we’d investigate if the welder was properly trained, if the equipment was calibrated, or if the material was defective.
Corrective and Preventive Actions (CAPA): Based on the RCA, corrective actions are implemented to fix the immediate problem (e.g., repairing the faulty product), and preventive actions are developed to prevent recurrence (e.g., improved training, equipment upgrades, or process adjustments).
Verification and Validation: After implementing corrective and preventive actions, verification steps are taken to confirm the effectiveness of these measures. This might involve re-inspection, testing, and review of the corrected process.
Documentation and Reporting: The entire process, including the discrepancy, the RCA, CAPA, and verification results, is meticulously documented and reported to relevant stakeholders. This ensures accountability and continuous improvement.
For example, if a significant deviation in dimensions is detected during the machining of a critical component, we would immediately stop production, isolate the affected parts, analyze the CNC machine settings and tooling, and implement corrective actions before resuming production. We would also review operator training procedures and conduct a thorough inspection of the machining process parameters.
Q 9. How do you prioritize inspection tasks to ensure timely completion?
Prioritizing inspection tasks requires a structured approach balancing urgency and importance. My strategy usually involves:
Risk Assessment: I prioritize tasks based on the potential risk associated with defects. Critical components or processes with a high probability of failure resulting in safety hazards or significant financial losses are prioritized.
Urgency: Tasks with imminent deadlines or those impacting ongoing production are given higher priority. If a critical part needs inspection to prevent a production line shutdown, it gets immediate attention.
Statistical Process Control (SPC): Utilizing SPC data helps identify trends and areas requiring increased attention. For example, if a control chart shows increasing variability in a specific dimension, inspection of that parameter is prioritized.
Inspection Schedule: A well-defined inspection schedule ensures systematic coverage of all critical points in the manufacturing process. This schedule considers both routine inspections and those triggered by specific events (e.g., a material change or equipment maintenance).
Resource Allocation: Effective resource allocation is crucial. This includes assigning inspectors with appropriate skills and allocating necessary equipment and tools to complete the prioritized tasks efficiently.
For instance, in a project involving aerospace components, inspections of critical welds and fatigue-prone areas would be prioritized over cosmetic inspections due to the safety implications.
Q 10. What is your experience with root cause analysis of quality issues?
Root cause analysis (RCA) is integral to my quality assurance approach. I have extensive experience utilizing various RCA techniques, including the 5 Whys, Fishbone diagrams (Ishikawa diagrams), Fault Tree Analysis (FTA), and Pareto analysis. These tools help systematically identify the root causes of quality issues and prevent recurrence.
For example, during a project involving the manufacturing of precision gears, we experienced a high rate of gear tooth breakage. Using the 5 Whys, we discovered the root cause was due to improper heat treatment, which was further traced to a malfunctioning furnace controller and inadequate operator training on the heat treatment process. The corrective action involved replacing the controller, retraining operators, and implementing tighter process monitoring procedures.
I have also utilized the Fishbone diagram to analyze a situation where several batches of a product failed a specific quality test. The diagram helped us systematically categorize potential causes into categories like materials, equipment, methods, measurement, environment, and manpower, guiding a thorough investigation and resulting in corrective actions.
Q 11. Explain your experience with different quality standards (e.g., ISO 9001).
I possess a strong understanding of various quality standards, most notably ISO 9001. My experience includes working within organizations that are certified to this standard, participating in internal audits, and implementing processes compliant with its requirements. ISO 9001 provides a framework for establishing a quality management system (QMS) emphasizing continuous improvement, customer focus, and process control.
My understanding extends beyond ISO 9001; I’m also familiar with industry-specific standards relevant to the projects I’ve undertaken. This knowledge enables me to ensure that our processes and products meet the required regulatory and customer expectations.
Specific areas of my expertise within ISO 9001 include documenting procedures, conducting internal audits, managing nonconformances, and participating in management reviews to ensure continual improvement of our quality management system.
Q 12. Describe a situation where you had to make a difficult decision regarding product quality.
In a previous role, we discovered a significant defect in a batch of finished products nearing shipment to a major client. The defect, while not posing a safety hazard, would impact the product’s functionality and our client’s reputation. The decision was challenging: ship the products with a full disclosure and potential cost implications, or scrap the entire batch, leading to significant financial losses.
After thorough analysis, considering the client’s relationship, the potential for reputational damage, and cost-benefit assessments, we opted for the second option – scrapping the batch. Although financially painful, we prioritized long-term client trust and product quality. This led to a deeper investigation into the root cause and subsequent process improvements that prevented similar issues from occurring. The transparent communication with the client helped maintain their trust, and in the long run, this proved more valuable than short-term cost savings.
Q 13. How do you communicate quality issues to relevant stakeholders?
Communicating quality issues to relevant stakeholders is critical and requires a clear, concise, and timely approach. My communication strategy involves:
Identifying Stakeholders: First, I identify all relevant stakeholders impacted by the quality issue, including management, production teams, engineering, clients, and regulatory bodies.
Selecting the Appropriate Communication Method: I select the most effective communication method, considering the urgency and complexity of the issue. This could range from a brief email update to a formal presentation or a face-to-face meeting.
Providing Clear and Concise Information: My communication focuses on providing clear, factual information about the issue, including its severity, impact, and potential solutions. I avoid technical jargon when communicating with non-technical stakeholders.
Transparency and Accountability: I ensure open and transparent communication, acknowledging responsibility and outlining the steps being taken to resolve the issue.
Follow-up: I follow up with stakeholders to provide regular updates on the progress of corrective actions and prevention measures.
For example, if a critical component failed a test, I would immediately inform the production manager to halt production, notify the engineering team for root cause analysis, and contact the client to explain the situation and provide an estimated timeline for resolution.
Q 14. How familiar are you with different types of sampling plans?
I am familiar with a variety of sampling plans, understanding their strengths and limitations in different contexts. This knowledge is vital for ensuring effective and efficient quality control without excessive testing. Common sampling plans include:
Acceptance Sampling: Used to determine whether a batch of material or product meets predetermined quality standards. Examples include single, double, and multiple sampling plans.
Statistical Process Control (SPC) Sampling: Involves continuous monitoring of a process using control charts to detect variations and prevent defects. This uses smaller, more frequent samples.
Variable Sampling: Measures a continuous variable, such as length or weight, and uses statistical methods to analyze the data.
Attribute Sampling: Counts the number of defects or nonconforming units in a sample, often expressed as a percentage.
The choice of sampling plan depends on factors like the cost of inspection, the acceptable level of risk, the production volume, and the criticality of the product. For example, for high-volume production of simple parts, a smaller sample size with attribute sampling might suffice. In contrast, for critical components in aerospace or medical devices, a more stringent sampling plan with larger sample sizes and detailed variable sampling might be necessary. I am also experienced with selecting appropriate sample sizes based on statistical methods.
Q 15. What is your experience with corrective and preventative actions (CAPA)?
Corrective and Preventative Actions (CAPA) is a crucial system for identifying, investigating, and resolving quality issues to prevent recurrence. My experience encompasses the entire CAPA lifecycle, from initial defect identification through root cause analysis, corrective action implementation, and preventative action planning. I’ve used various CAPA software systems to manage the process, ensuring traceability and compliance with regulatory requirements. For example, in a previous role, we implemented a new CAPA system to address recurring issues with a specific manufacturing process. This involved developing a structured investigation process, creating detailed reports documenting root causes, and implementing process improvements to permanently eliminate the problems. We tracked our CAPA effectiveness through key metrics, such as the reduction in defect rates and the time taken to resolve issues.
I am proficient in utilizing various root cause analysis tools like Fishbone diagrams (Ishikawa diagrams), 5 Whys, and Pareto analysis to pinpoint the fundamental causes of defects. This ensures that our solutions are effective and address the underlying issues, rather than just treating symptoms.
Career Expert Tips:
- Ace those interviews! Prepare effectively by reviewing the Top 50 Most Common Interview Questions on ResumeGemini.
- Navigate your job search with confidence! Explore a wide range of Career Tips on ResumeGemini. Learn about common challenges and recommendations to overcome them.
- Craft the perfect resume! Master the Art of Resume Writing with ResumeGemini’s guide. Showcase your unique qualifications and achievements effectively.
- Don’t miss out on holiday savings! Build your dream resume with ResumeGemini’s ATS optimized templates.
Q 16. How do you document your inspection findings?
Inspection findings are meticulously documented using a combination of methods, ensuring accuracy, traceability, and clarity. This typically involves generating detailed inspection reports that include specific information, such as: the date and time of inspection, the inspector’s name and identification, the equipment inspected, the specific standards and procedures followed, measurements and observations, and photographs or videos to support the findings. I leverage digital documentation systems to store this information securely and make it easily searchable. For instance, I’ve employed customized software that allows us to link the inspection results directly to manufacturing batches, ensuring complete product traceability. Each nonconformity is clearly identified, and the necessary corrective actions are documented, along with verification steps to ensure their effectiveness. The use of standardized templates, clear terminology, and a systematic approach ensures consistency and avoids ambiguity.
Q 17. What is your experience with process audits?
Process audits are vital for maintaining quality control and identifying areas for improvement. My experience involves conducting both internal and external audits, adhering to established standards and best practices. I’m familiar with various audit methodologies, including checklists, interviews, and document reviews. During audits, I assess processes against predetermined criteria, identifying deviations and potential nonconformities. I then document findings, analyze root causes, and collaborate with relevant teams to develop corrective and preventive actions. For example, in one audit, I identified a weakness in the calibration process of our measuring instruments which led to discrepancies in our product dimensions. We subsequently implemented a new calibration schedule and training program to address this issue. A successful audit demonstrates the effectiveness of our quality management system and highlights areas where continuous improvement is required.
Q 18. Explain your understanding of gauge R&R studies.
Gauge Repeatability and Reproducibility (R&R) studies are essential for evaluating the precision and accuracy of measuring instruments and the variability introduced by operators. These studies help us determine the proportion of total variation attributable to the gauge (repeatability) and the operators using the gauge (reproducibility). A high Gauge R&R indicates that the measurement system is reliable and the data collected are trustworthy. Conversely, a poor Gauge R&R suggests issues with the measuring instrument or operator training and highlights the need for recalibration or retraining. I’ve extensively used statistical software like Minitab to conduct these studies, analyzing the data and interpreting the results. A typical Gauge R&R study involves multiple operators measuring the same parts multiple times. The resulting data are then analyzed using ANOVA (Analysis of Variance) to calculate the components of variation. The percentage of total variation due to gauge and operator variability is then evaluated against pre-defined criteria, typically aiming for less than 10% variability to deem the measurement system acceptable. This ensures that measurement errors don’t mask true process variations.
Q 19. How do you ensure that your inspection methods are effective and efficient?
Ensuring inspection methods are effective and efficient requires a continuous improvement approach. This begins with a thorough understanding of the product specifications, manufacturing process, and potential failure modes. We then select appropriate inspection techniques and instruments that are capable of detecting defects, while also considering factors such as cost, time, and available resources. Regularly reviewing and updating our inspection plans based on performance data and process changes is also critical. We use statistical process control (SPC) charts to monitor the effectiveness of our inspection processes, identifying trends and potential out-of-control situations early on. We also constantly assess the inspection process itself, looking for ways to streamline workflows, reduce inspection time, and improve accuracy. This might involve automating certain inspection tasks, improving operator training, or implementing new technologies such as automated optical inspection (AOI).
Q 20. How do you use data to drive process improvements?
Data is the cornerstone of continuous improvement in in-process inspection and monitoring. We collect data from various sources, including inspection reports, process monitoring systems, and customer feedback. This data is then analyzed to identify trends, patterns, and areas for improvement. Using statistical tools like control charts and histograms, we can identify process variability, detect anomalies, and pinpoint root causes of defects. For example, identifying a consistent increase in defect rate at a specific production step guided us towards improving our process parameters. This resulted in a considerable reduction in scrap and rework. Data-driven decisions ensure our resources are focused on the most impactful improvement opportunities and that our quality management system is constantly evolving and improving. Dashboards visualizing key performance indicators (KPIs) such as defect rates, yield, and inspection cycle time are used to track progress and highlight areas needing attention.
Q 21. What software or systems have you used for in-process inspection and monitoring?
Throughout my career, I’ve utilized various software and systems for in-process inspection and monitoring. These include: Statistical Process Control (SPC) software like Minitab and JMP for analyzing process data and creating control charts. Manufacturing Execution Systems (MES) for tracking and managing production parameters in real-time. Computerized Maintenance Management Systems (CMMS) for scheduling and tracking equipment maintenance. Quality Management Systems (QMS) software for managing documents, nonconformances, and CAPAs. Additionally, I have hands-on experience with various automated inspection systems, including automated optical inspection (AOI) and coordinate measuring machines (CMMs). The specific choice of software and hardware depends on the manufacturing process and the complexity of the product. The common thread is the seamless integration of data across systems to create a holistic view of the manufacturing process and facilitate efficient decision-making.
Q 22. Describe your experience with non-destructive testing methods.
My experience with non-destructive testing (NDT) methods is extensive, encompassing various techniques crucial for in-process inspection and monitoring. I’m proficient in visual inspection, which forms the foundation of many NDT methods, allowing me to identify surface defects like cracks, corrosion, or dimensional inaccuracies. Beyond visual inspection, I have hands-on experience with ultrasonic testing (UT), used to detect internal flaws by analyzing sound wave reflections. I’m also skilled in radiographic testing (RT), employing X-rays or gamma rays to create images revealing internal structures and defects. My experience also includes liquid penetrant testing (PT), ideal for identifying surface-breaking flaws in non-porous materials, and magnetic particle testing (MT), effective for detecting surface and near-surface flaws in ferromagnetic materials.
For instance, in a recent project involving the inspection of welded joints in a pressure vessel, I employed both UT and RT. UT helped identify subsurface porosity, while RT provided a clear image confirming the extent and location of the flaws, guiding necessary corrective actions. The choice of NDT method always depends on the material properties, the type of defect expected, and the access to the component.
Q 23. How do you maintain a safe and efficient work environment during inspection?
Maintaining a safe and efficient work environment during inspection is paramount. This involves a multi-faceted approach, starting with a thorough risk assessment before any inspection begins. Identifying potential hazards, such as exposure to hazardous materials, confined spaces, or high-voltage equipment, is critical. Appropriate personal protective equipment (PPE), like safety glasses, gloves, and respirators, is mandatory and tailored to the specific risks. Furthermore, I always ensure the work area is properly illuminated and well-organized, minimizing trip hazards. Strict adherence to safety protocols and procedures, regular equipment checks, and team briefings are vital in preventing accidents.
For instance, when inspecting a large industrial furnace, I ensured all necessary lockout/tagout procedures were followed before commencing the inspection, and all team members were briefed on the potential hazards, including high temperatures and confined spaces. Clear communication and teamwork are key to a safe working environment.
Q 24. Explain your experience with calibration and maintenance of inspection equipment.
Calibration and maintenance of inspection equipment are non-negotiable aspects of ensuring accurate and reliable inspection results. I’m experienced in performing regular calibration checks on various equipment, following established procedures and utilizing traceable standards. This includes ultrasonic flaw detectors, radiographic equipment, and various measuring instruments. Accurate calibration ensures that the equipment delivers consistent and reliable readings, preventing inaccurate assessments and potential safety hazards. I also document all calibration activities meticulously, maintaining detailed records compliant with industry standards and regulations.
For instance, the ultrasonic flaw detector I use is calibrated every three months using standardized test blocks. This ensures that the equipment’s measurements are within the acceptable tolerances, and any deviations are immediately addressed. Preventive maintenance, including cleaning, lubrication, and component replacement as needed, is also crucial to extend equipment lifespan and maintain its accuracy.
Q 25. How do you stay updated on new technologies and trends in quality control?
Staying updated on new technologies and trends in quality control is an ongoing process. I actively participate in professional development activities, attending industry conferences and workshops, and regularly reviewing technical publications and journals. This allows me to remain abreast of the latest advancements in NDT techniques, data analysis software, and automated inspection systems. I also leverage online resources and professional networks to share knowledge and best practices. Embracing continuous learning ensures I can adopt the most efficient and effective inspection methods and contribute to process optimization.
For example, recently I learned about advanced image analysis software that can automate the detection of defects in radiographic images, improving efficiency and reducing the risk of human error. Integrating such new technologies into my work improves overall efficiency and precision.
Q 26. How do you handle pressure and tight deadlines when conducting inspections?
Handling pressure and tight deadlines requires a structured and organized approach. I prioritize tasks based on urgency and importance, focusing on the critical aspects of the inspection first. Effective time management, including breaking down complex tasks into smaller, manageable steps, is essential. Clear communication with stakeholders is crucial to ensure expectations are aligned and any potential delays are addressed proactively. Furthermore, maintaining a calm and focused demeanor helps in navigating stressful situations and making informed decisions under pressure.
In a scenario involving a critical component inspection with a tight deadline, I prioritized tasks, assigning roles efficiently within my team. Clear communication ensured everyone understood the timeline and their respective responsibilities. Focusing on one task at a time, while keeping the overall goal in mind, ensured timely completion of the inspection.
Q 27. Describe a time you had to troubleshoot a complex inspection problem.
During an inspection of a complex turbine assembly, we encountered inconsistent readings from the ultrasonic testing equipment. The initial readings suggested significant internal flaws, which seemed improbable given the component’s history. To troubleshoot, I first verified the equipment’s calibration and conducted a series of test runs using known good samples. This eliminated the possibility of equipment malfunction. Next, I investigated the component’s geometry and material properties more closely, considering potential factors that could interfere with the ultrasonic waves. It turned out that the inconsistent readings were caused by variations in the component’s thickness due to manufacturing tolerances, creating false indications of internal flaws.
Through meticulous investigation, careful analysis, and understanding the limitations of the technique, we resolved the problem. The incident underscored the importance of understanding not only the equipment but also the nuances of the material and geometry being inspected.
Q 28. How do you contribute to a positive team environment within a quality control setting?
Contributing to a positive team environment in a quality control setting involves fostering open communication, mutual respect, and collaboration. I actively share my knowledge and expertise with team members, providing guidance and support when needed. I actively participate in team meetings and offer constructive feedback, valuing everyone’s contributions. I believe in creating a culture of continuous learning and improvement, where team members feel comfortable sharing ideas and concerns. A positive team dynamic improves efficiency, problem-solving capabilities, and overall morale, leading to higher quality work and a safer working environment.
For instance, I regularly organize team training sessions on new inspection techniques or refresher courses on safety protocols. I strive to create a supportive atmosphere where everyone feels empowered to contribute their ideas and to work together to resolve challenges effectively.
Key Topics to Learn for In-Process Inspection and Monitoring Interview
- Understanding Inspection Methods: Explore various inspection techniques, including visual inspection, dimensional measurement, and non-destructive testing (NDT) methods. Consider the strengths and weaknesses of each method and their suitability for different materials and processes.
- Statistical Process Control (SPC): Master the principles of SPC, including control charts (X-bar and R charts, etc.), process capability analysis (Cp, Cpk), and the interpretation of control chart data to identify trends and potential issues in the production process.
- Data Analysis and Reporting: Learn to effectively collect, analyze, and present inspection data. Practice creating clear and concise reports that highlight key findings and recommendations for process improvement.
- Root Cause Analysis (RCA): Develop your skills in identifying the root causes of defects and non-conformances. Familiarize yourself with common RCA methodologies, such as the 5 Whys and Fishbone diagrams.
- Quality Management Systems (QMS): Understand the role of In-Process Inspection and Monitoring within a broader QMS framework, such as ISO 9001. Be prepared to discuss your familiarity with quality standards and procedures.
- Practical Application: Think about real-world scenarios. How would you handle a situation where inspection reveals a significant deviation from specifications? How would you prioritize different types of inspections given limited time and resources?
- Problem-Solving and Decision-Making: Prepare examples demonstrating your ability to solve problems efficiently and make sound judgments based on available data. Highlight instances where you’ve identified and resolved quality issues proactively.
Next Steps
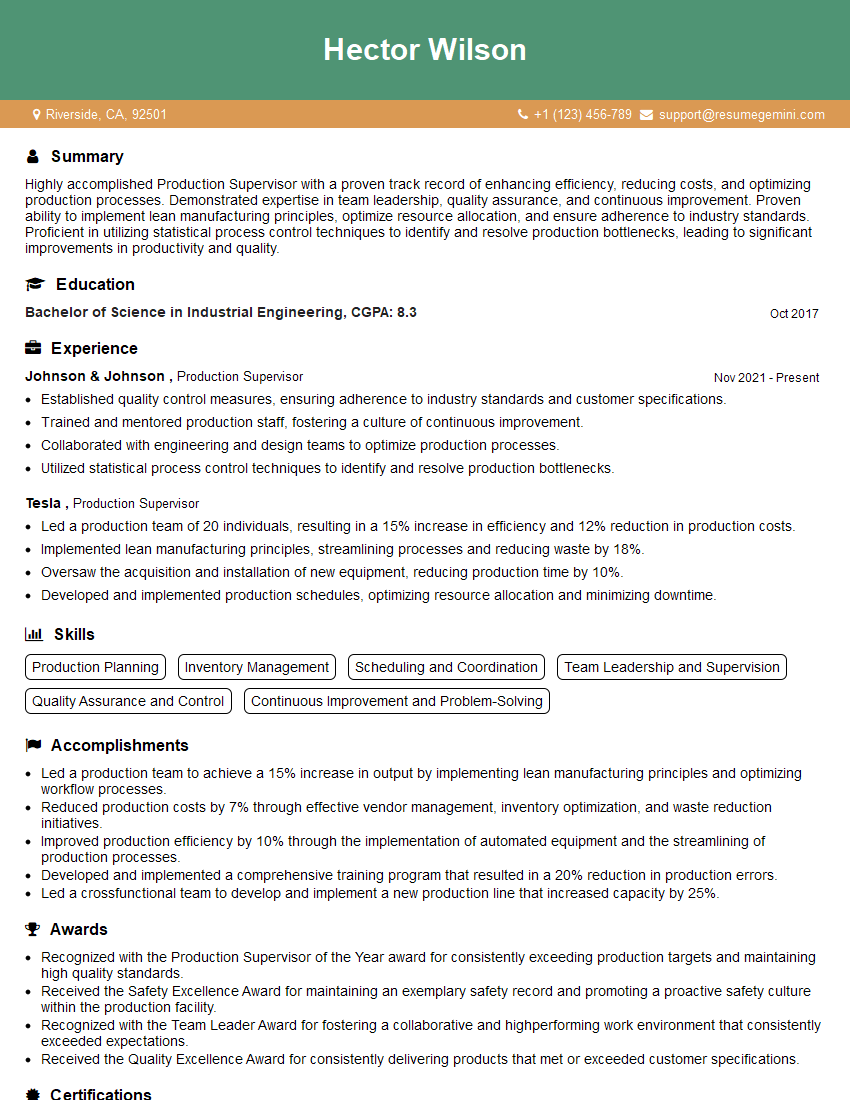
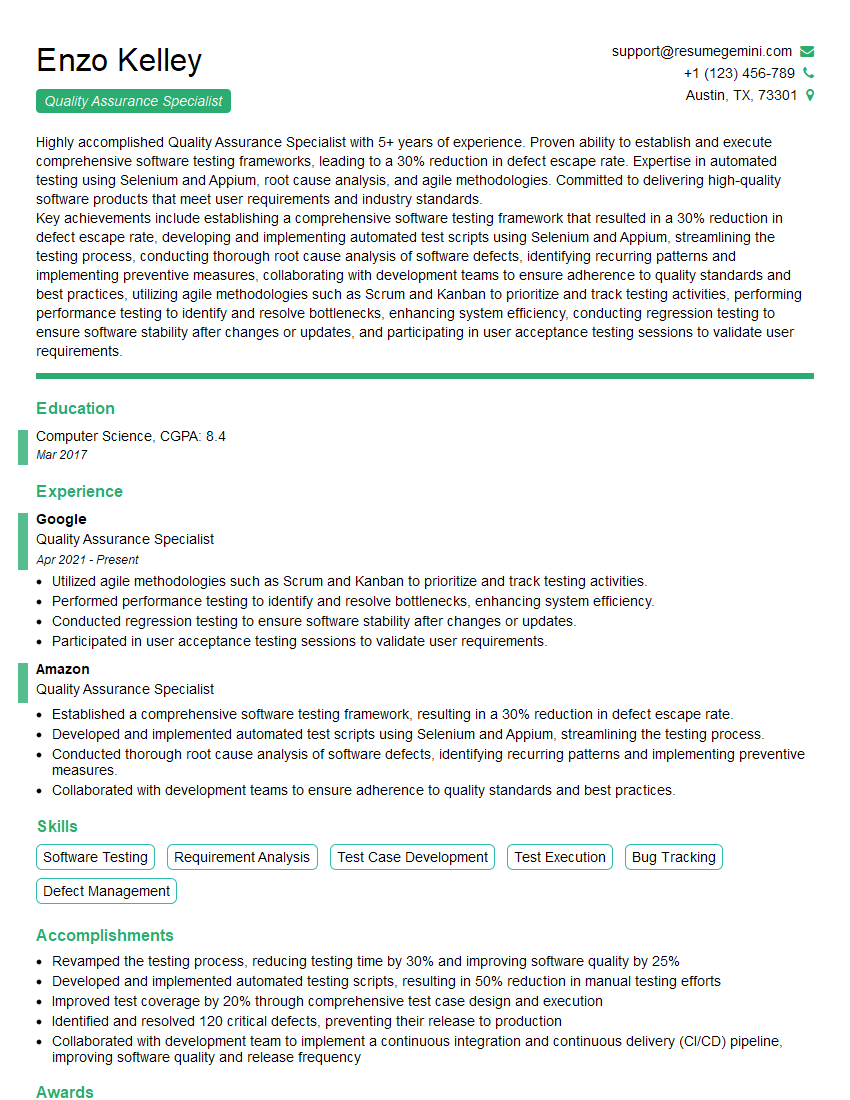
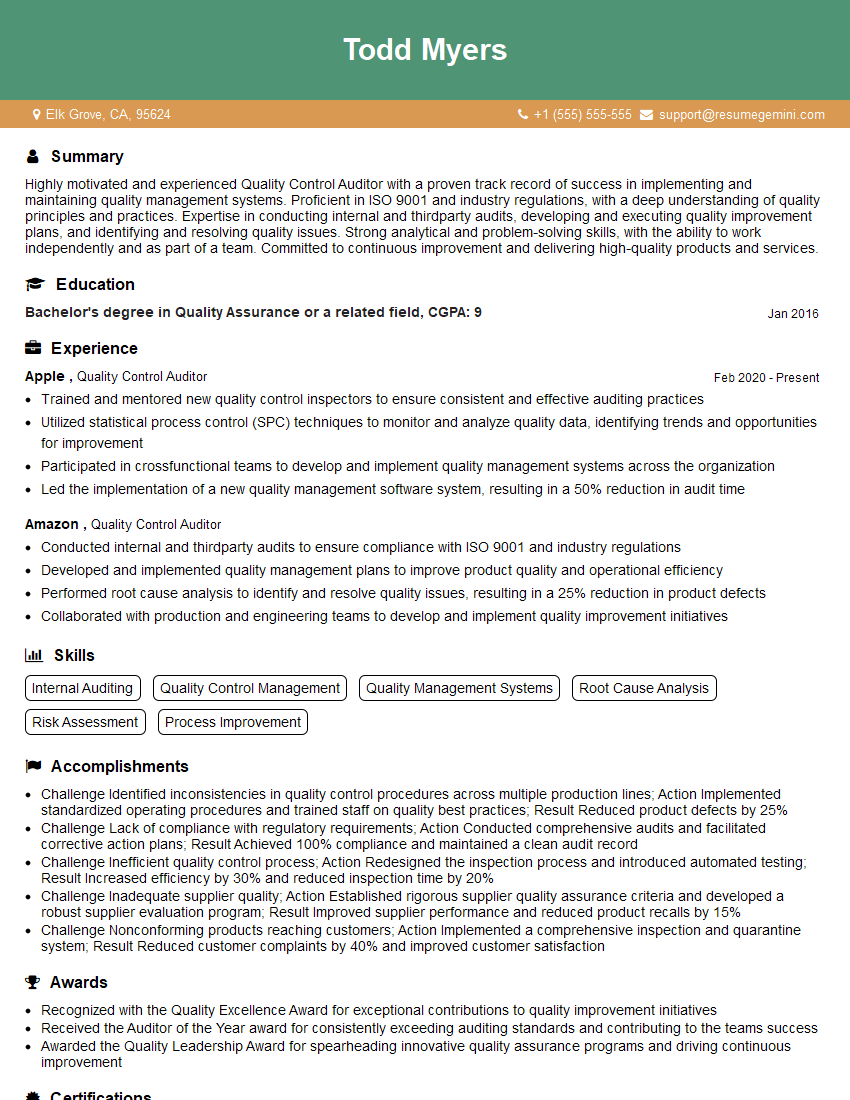
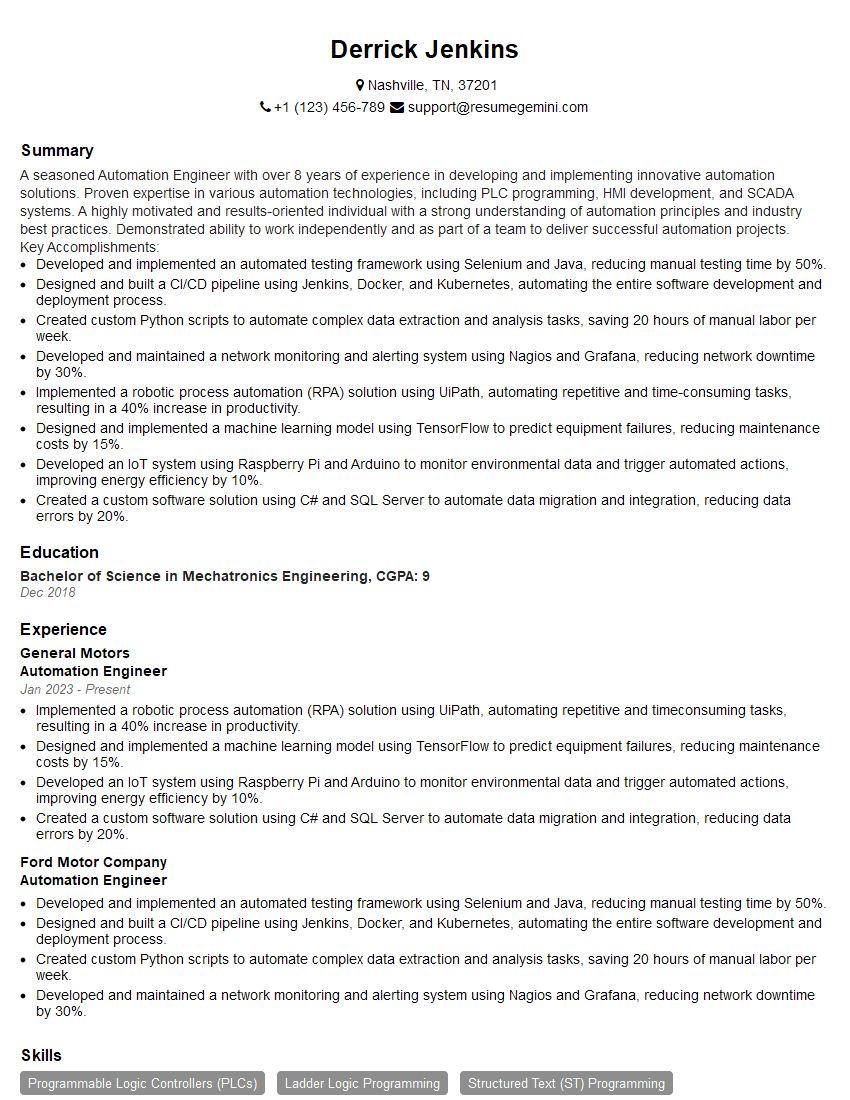
Mastering In-Process Inspection and Monitoring is crucial for career advancement in many manufacturing and quality control roles. It demonstrates a commitment to quality, problem-solving, and continuous improvement, skills highly valued by employers. To significantly boost your job prospects, crafting an ATS-friendly resume is essential. ResumeGemini can help you build a professional and impactful resume that highlights your skills and experience effectively. ResumeGemini offers examples of resumes tailored to In-Process Inspection and Monitoring, providing you with a strong foundation for your job search. Take advantage of these resources to showcase your expertise and land your dream job!
Explore more articles
Users Rating of Our Blogs
Share Your Experience
We value your feedback! Please rate our content and share your thoughts (optional).
What Readers Say About Our Blog
Hi, I represent an SEO company that specialises in getting you AI citations and higher rankings on Google. I’d like to offer you a 100% free SEO audit for your website. Would you be interested?
good


