Preparation is the key to success in any interview. In this post, we’ll explore crucial Knowledge of Sewing Machine interview questions and equip you with strategies to craft impactful answers. Whether you’re a beginner or a pro, these tips will elevate your preparation.
Questions Asked in Knowledge of Sewing Machine Interview
Q 1. What types of sewing machines have you operated?
Throughout my career, I’ve had extensive experience operating a wide variety of sewing machines. This includes domestic sewing machines, both mechanical and computerized, as well as industrial sewing machines, encompassing single-needle, double-needle, and even specialized machines like buttonhole attachments and overlockers (sergers). I’m also familiar with different brands like Singer, Brother, Janome, and industrial models from Juki and Dürkopp Adler. My experience spans from basic straight stitch machines to those with advanced features like automatic needle threading and programmable stitches.
Q 2. Describe your experience with industrial sewing machines.
My experience with industrial sewing machines is considerable. I’ve worked extensively with high-speed machines used for mass production in apparel manufacturing. This involves not just operating the machines but also understanding their maintenance, troubleshooting issues, and ensuring optimal stitch quality and production speed. For instance, I’ve worked with machines used in the production of denim jeans, where high-speed stitching and precise needle placement are critical. I am familiar with the nuances of adjusting tension, stitch length, and feed dogs to accommodate different fabrics and construction techniques. I also have experience with different types of industrial sewing machine needles, including those designed for heavy-duty fabrics like canvas and leather. Troubleshooting industrial machines often involves identifying issues related to lubrication, timing, and needle/feed-dog synchronization which requires a deeper understanding of their mechanics.
Q 3. How do you troubleshoot a jammed sewing machine needle?
A jammed sewing machine needle is a common problem, often caused by a bent needle, a broken needle, improper threading, or hitting a pin or other obstruction in the fabric. Troubleshooting involves a systematic approach:
- Safety First: Always unplug the machine before attempting any repairs.
- Inspect the Needle: Carefully examine the needle for bends or breaks. Replace the needle if necessary. A slight bend can cause significant problems.
- Check the Thread: Ensure the thread is properly threaded through the needle, tension disks, and bobbin case. Incorrect threading is a frequent cause of jams.
- Examine the Bobbin Case: Check the bobbin case for lint or thread build-up. Clean the bobbin area thoroughly.
- Check for Obstructions: Inspect the fabric for pins or other objects that may have become lodged under the presser foot or needle plate.
- Check the Feed Dogs: Ensure the feed dogs are moving smoothly and not obstructed.
- Test Again: After making adjustments, test the machine with a scrap piece of fabric.
Think of it like this: you’re a detective investigating a crime scene (the jammed machine). You systematically eliminate possibilities until you find the culprit.
Q 4. Explain the process of threading a sewing machine.
Threading a sewing machine varies slightly depending on the model, but the general process is consistent. Imagine the thread’s journey as a path it must follow:
- Raise the Needle: Raise the needle to its highest position.
- Spool Pin: Place the spool of thread onto the spool pin.
- Thread Guide: Guide the thread through the various thread guides, usually following a numbered or color-coded path on the machine.
- Tension Disks: Thread the thread through the tension disks, which control the tension on the top thread.
- Take-Up Lever: Thread the thread around the take-up lever.
- Needle Clamp: Thread the thread through the needle clamp and into the eye of the needle from front to back.
- Bobbin Winding (if necessary): If needed, wind the bobbin with thread.
- Bobbin Insertion: Insert the properly wound bobbin into the bobbin case.
- Test Stitch: Test the machine with a test stitch to ensure correct threading and tension.
Always refer to your machine’s manual for specific instructions, as they can vary between models.
Q 5. What are the different types of sewing machine needles and their uses?
Sewing machine needles come in various types, each suited for specific fabric weights and types. The most common include:
- Universal Needles: The most versatile, suitable for a wide range of fabrics.
- Ballpoint Needles: Designed for knit fabrics, preventing snags and skipped stitches.
- Sharp Needles: Ideal for woven fabrics like cotton, linen, and silk.
- Jeans Needles: Sturdy needles for heavy-duty fabrics like denim and canvas.
- Leather Needles: Designed for leather and other thick, heavy materials. They have a very sharp point and stronger shaft than other needles.
- Stretch Needles: Special needles designed for fabrics with significant give such as lycra, spandex.
Choosing the correct needle is crucial for achieving a clean and even stitch. Using the wrong needle can lead to skipped stitches, broken needles, and damage to the fabric.
Q 6. How do you maintain and clean a sewing machine?
Regular maintenance is key to extending the life of your sewing machine and ensuring optimal performance. Cleaning and lubrication are crucial.
- Regular Cleaning: After each use, brush away lint and dust from the bobbin area, feed dogs, and under the needle plate. Compressed air can be helpful. For more in-depth cleaning, you might need a small brush or cotton swabs.
- Lubrication: Apply a high-quality sewing machine oil to the moving parts as recommended in your machine’s manual. Don’t over-oil – a little goes a long way. Too much oil can attract more dust and lint.
- Periodic Servicing: Schedule professional servicing once or twice a year, especially for industrial machines. A professional can identify and address potential issues early on.
Think of it like maintaining your car; regular maintenance prevents costly repairs down the line.
Q 7. What safety precautions do you follow when operating a sewing machine?
Safety is paramount when operating a sewing machine. Always follow these precautions:
- Unplug the machine before cleaning, oiling, or making any adjustments.
- Keep fingers clear of the needle and presser foot while the machine is running.
- Use a thimble to protect your finger when pushing a needle through thick fabric.
- Keep the work area clean, well-lit, and free of clutter.
- Never leave a running machine unattended.
- Wear appropriate clothing; avoid loose clothing that could get caught in the machine.
- Use the machine’s safety features. Familiarize yourself with how to use the safety features of your machine.
Sewing machine accidents are preventable. Always prioritize safety practices.
Q 8. How do you adjust the stitch length and width on a sewing machine?
Adjusting stitch length and width is fundamental to sewing. Most machines have dedicated dials or buttons for this. The stitch length dial, often marked with numbers (e.g., 0-4), controls the distance between stitches. A shorter length (e.g., 1-2) is ideal for precise work like seams requiring strength, while a longer length (e.g., 3-4) is better for basting or gathering. The stitch width dial or button adjusts the horizontal distance between the needle’s left and right movements. A narrower width (0) is typically a straight stitch. Increasing the width creates various zig-zag patterns, useful for decorative stitching or finishing edges.
For example, when sewing a delicate silk blouse, I’d use a short, narrow stitch for strength and a neat appearance. Conversely, creating a running stitch for gathering fabric would involve a longer stitch length. It’s crucial to test on a scrap of fabric before starting the project to ensure the settings are suitable for the chosen fabric and project.
Q 9. What is your experience with different sewing machine stitches (e.g., straight stitch, zig-zag stitch)?
My experience encompasses a wide range of stitches. The straight stitch is the most basic, perfect for seams and straight lines. I regularly use it for constructing garments and quilting. The zig-zag stitch is incredibly versatile. A narrow zig-zag is great for finishing seams to prevent fraying, while wider settings are useful for decorative purposes or attaching elastic. Beyond these, I’m proficient with various decorative stitches, such as satin stitch (for filling in designs), blind stitch (for hemming invisibly), and buttonhole stitches (for creating neat buttonholes).
I also have experience with specialty stitches like overlock stitches, which mimic the functionality of a serger for neat seam finishes, and stretch stitches, which are essential when working with stretchy fabrics like knits. Understanding the nuances of each stitch type allows me to select the most appropriate one based on fabric type, project requirements, and aesthetic preferences.
Q 10. Describe your experience with different sewing machine feet (e.g., zipper foot, buttonhole foot)?
Different sewing machine feet are essential for various tasks. The zipper foot, with its narrow profile, allows for precise stitching close to the zipper teeth. I’ve used this countless times while installing zippers in clothing and bags. The buttonhole foot guides the fabric accurately during buttonhole creation, ensuring consistently sized and shaped holes. Other feet I regularly use include the walking foot (for even feeding of multiple layers of fabric, crucial for quilting), the rolled hem foot (for creating delicate rolled hems), and the blind hem foot (for creating virtually invisible hems). Each foot is designed for a specific purpose and using the correct foot improves both the efficiency and quality of the work.
For instance, when sewing a leather project, I might use a special leather foot which avoids puncturing the leather or damaging the needle. The selection of the right foot significantly impacts the outcome of any sewing task.
Q 11. How do you identify and repair a broken sewing machine belt?
A broken sewing machine belt typically manifests as the machine failing to turn or making a loud squealing noise. First, I’d visually inspect the belt for obvious breaks, cracks, or fraying. If the belt is broken, the first step is to identify the correct replacement belt model (usually found in the manual or on the machine itself). The process of replacing the belt involves accessing the machine’s interior – this will vary slightly depending on the machine’s model. Usually, it involves removing the machine’s back panel or side panel to expose the belt’s pathway. The old belt is carefully removed, and the new one is correctly installed, ensuring that it fits snugly around the motor pulley and the hand wheel.
It’s crucial to ensure the belt is correctly aligned to avoid slippage or further damage. After replacement, I’d test the machine thoroughly to verify that the belt is functioning properly. If the belt isn’t broken, the problem might be related to the belt’s tension or the motor itself, which might require professional servicing.
Q 12. How do you diagnose and fix common sewing machine problems?
Diagnosing sewing machine problems requires a systematic approach. I’d begin by checking the obvious: Is the machine plugged in and switched on? Is the needle correctly inserted and secured? Is there sufficient thread? Are the threads correctly threaded through the machine? Then, I’d carefully examine the tension – is it too loose or too tight? A common issue is a bent needle; this needs immediate replacement. If the bobbin case is incorrectly positioned or the bobbin thread is tangled, those need to be addressed. Loud noises might indicate a problem with the belt or internal components requiring professional help.
For example, if stitches are consistently skipping, I’d check the needle, thread tension, and the bobbin case. A systematic troubleshooting process is key, and often a simple adjustment fixes the problem. However, more complex issues, like internal mechanical problems, may require professional repair. Always prioritize safety and avoid working on the machine’s internal mechanisms unless you are fully trained.
Q 13. Explain your experience with different fabric types and their suitability for various sewing projects.
Experience with different fabric types is paramount. Lightweight fabrics like silk and chiffon require delicate handling and fine needles to avoid tearing. Medium-weight fabrics such as cotton and linen are more robust and suitable for a variety of projects. Heavyweight fabrics like denim and canvas require stronger needles and increased machine settings. Understanding the drape, weight, and fiber content of a fabric is crucial in determining its suitability for a specific project and selecting appropriate needles and stitch settings.
For example, a delicate silk scarf would need a very fine needle and a shorter, narrow stitch length, while a durable denim jacket would require a heavier needle and a more robust stitch.
Q 14. What is your experience with pattern making and cutting?
My experience with pattern making and cutting is extensive. I’m proficient in drafting patterns from scratch using both commercial and self-drafted patterns. This includes adjusting existing patterns to fit individual measurements and creating patterns from scratch based on sketches or design concepts. I’m comfortable working with various pattern materials, including paper and fabric. My cutting skills involve utilizing rotary cutters, scissors, and cutting mats to achieve precise and accurate cuts, minimizing fabric waste.
Precise cutting is crucial for the successful construction of any garment or project. Accurate pattern making and efficient cutting techniques are time-savers and improve the overall quality of the finished product. It requires careful attention to detail and a good understanding of fabric behavior and pattern construction principles.
Q 15. Describe your experience with different sewing machine brands and models.
My experience spans a wide range of sewing machine brands and models, from vintage Singer machines to modern computerized Brother and Janome models. I’ve worked extensively with both mechanical and computerized machines, giving me a deep understanding of their mechanics and capabilities. For example, I’ve used the Singer 201K for its robust build and reliable functionality in heavy-duty projects, while the Brother Innov-is 1000 excels in intricate embroidery and quilting. My experience also includes industrial sewing machines, specifically the Juki and Durkopp Adler brands, which are essential for high-volume production work. Each brand and model has its unique strengths and weaknesses; understanding these nuances allows me to select the appropriate machine for any given project.
This diverse experience allows me to troubleshoot issues effectively, adapt to different machine interfaces and functionalities quickly, and recommend the optimal machine for specific sewing needs. I can easily differentiate between direct-drive and belt-driven motors, appreciating the advantages of each in different applications. I’ve also worked with a variety of stitch mechanisms, understanding the implications of different hook systems on stitch quality and sewing speed.
Career Expert Tips:
- Ace those interviews! Prepare effectively by reviewing the Top 50 Most Common Interview Questions on ResumeGemini.
- Navigate your job search with confidence! Explore a wide range of Career Tips on ResumeGemini. Learn about common challenges and recommendations to overcome them.
- Craft the perfect resume! Master the Art of Resume Writing with ResumeGemini’s guide. Showcase your unique qualifications and achievements effectively.
- Don’t miss out on holiday savings! Build your dream resume with ResumeGemini’s ATS optimized templates.
Q 16. What is your experience with computerized sewing machines?
Computerized sewing machines are a significant part of my expertise. I’m proficient in programming stitch patterns, adjusting settings electronically, and utilizing features like automatic needle threading and tension control. I’ve used machines with LCD touchscreens and those with button-based controls, understanding the advantages and disadvantages of each. Working with computerized machines, especially those with advanced embroidery capabilities, requires precision and attention to detail. For instance, accurately digitizing patterns for embroidery involves mastering software specific to the sewing machine, such as those provided by Brother or Bernina.
My experience includes troubleshooting computerized sewing machines. This goes beyond simple needle or bobbin issues; it involves diagnosing and resolving problems with electronic components, such as motor malfunctions or sensor errors. For example, I’ve successfully resolved issues related to incorrect stitch lengths and timing, identifying and replacing faulty components when necessary. It’s about understanding both the mechanical and the digital aspects of these machines.
Q 17. How do you ensure consistent stitch quality throughout a sewing project?
Consistent stitch quality is paramount. It involves a multi-faceted approach, starting with proper machine maintenance and setup. This includes checking the needle for damage, ensuring the bobbin is correctly wound and installed, and verifying the proper tension settings for both the upper and lower threads. For example, a skipped stitch is often a sign of inconsistent thread tension or a bent needle. The type of fabric and thread used also plays a crucial role. Using the wrong needle size for the fabric can directly affect stitch quality, resulting in broken needles or puckered seams. This requires knowledge of needle types and sizes for various fabrics such as denim, silk, or leather.
Beyond the basics, maintaining consistent speed and pressure while sewing is crucial. Using a walking foot, especially with multiple layers of fabric, can help maintain even feeding. Regular cleaning and lubrication of the machine also prevent inconsistencies caused by friction and build-up. Finally, the proper selection and use of presser feet, suited to the task and fabric, is crucial for consistent feed and stitch quality.
Q 18. How do you handle a broken needle during operation?
Handling a broken needle is a common occurrence for any sewer. The first step is always safety: turn off the machine and unplug it immediately. Never attempt to remove a broken needle while the machine is powered on. Then, I carefully examine the machine to ensure that no fragments of the needle remain inside. This often requires using a needle-nose pliers or tweezers for careful extraction. Sometimes, a broken needle fragment is lodged in the bobbin case, necessitating disassembly to remove it.
Once the broken needle is removed, I would inspect the machine for any other damage. A broken needle can sometimes damage the needle plate or other internal components, requiring repair or replacement. Before continuing to sew, I always replace the broken needle with a new, correctly sized and type of needle, appropriate for the fabric.
Q 19. What is your experience with different types of sewing machine bobbins?
My experience encompasses various bobbin types, including metal, plastic, and class 15 bobbins, each with its own advantages and disadvantages. Metal bobbins are generally durable, but can be heavier and potentially noisy. Plastic bobbins are lighter, quieter, but might break under stress. Class 15 bobbins, common in many modern machines, often have a transparent casing allowing for easy thread level monitoring. The shape and size of the bobbin case also vary. Some machines use drop-in bobbins, while others use front-loading or side-loading bobbins. Understanding these differences is key to selecting and using the correct bobbin for the specific machine.
Proper bobbin winding is crucial for even stitch formation. Incorrectly wound bobbins often lead to problems such as tangled thread and inconsistent stitches. I’m skilled in winding bobbins precisely, ensuring proper tension and preventing uneven winding, utilizing both the automatic bobbin winding mechanisms and the ability to hand wind should the need arise.
Q 20. How do you adjust the tension on a sewing machine?
Adjusting sewing machine tension is essential for achieving balanced stitches. Most machines have two tension controls: one for the upper thread and another (indirectly) for the lower thread via bobbin tension. The upper thread tension is usually controlled by a dial or knob on the machine’s body. The lower thread tension is controlled by how tightly the bobbin is wound; however, the bobbin case itself cannot be manually adjusted. The goal is to find a balance where both upper and lower threads interlock neatly, creating a uniform stitch without pulling or puckering.
I start by adjusting the upper tension, testing with a scrap of the same fabric used in the project. If the upper thread is showing on the underside, the upper tension needs to be loosened. If the lower thread is showing on the top, the upper tension needs tightening. Finding the right balance often involves incremental adjustments and testing until the stitch is even on both sides of the fabric.
Q 21. Explain your experience with different types of seams (e.g., French seam, flat-felled seam).
I have extensive experience with various seam types, including basic seams like straight seams and zigzag seams, as well as more complex ones like French seams and flat-felled seams. A French seam, for example, completely encloses the raw edges of the fabric, creating a very neat and durable seam, particularly suitable for fine fabrics. It involves sewing two seams, the first one with raw edges enclosed and the second one to create a clean finish. A flat-felled seam, often used in sturdy garments like jeans, is exceptionally strong and durable. It involves sewing one seam allowance over the other and then stitching it flat.
My knowledge extends to selecting appropriate seam types depending on the fabric and garment type. For instance, a French seam is perfect for sheer fabrics like silk to prevent fraying and provide a clean finish. A flat-felled seam is best suited for heavier fabrics like denim or canvas, where strength and durability are essential. The choice of seam directly impacts the garment’s overall look and durability.
Q 22. How do you calculate fabric requirements for a sewing project?
Calculating fabric requirements for a sewing project involves more than just measuring your pattern pieces. It requires understanding fabric shrinkage, pattern layout efficiency, and adding seam allowances. Think of it like baking a cake – you need extra ingredients to account for loss during the process.
- Measure your pattern pieces: Carefully measure the length and width of each pattern piece, including any added seam allowance.
- Account for shrinkage: Pre-wash your fabric to account for shrinkage. Different fabrics shrink at different rates, so check the manufacturer’s instructions. For example, linen and cotton can shrink significantly, whereas synthetics are less prone.
- Layout efficiency: Arrange your pattern pieces on the fabric efficiently to minimize waste. Using a large piece of paper to plan your layout before cutting helps in maximizing fabric use. This is especially important with expensive or limited-quantity fabrics.
- Add seam allowance: Add the required seam allowance to each pattern piece. This varies depending on the project and seam type, typically ranging from 1/4 inch to 1 inch.
- Add extra fabric: Always add extra fabric – at least 10% to 20% – to account for mistakes, cutting inaccuracies, or potential fabric defects. It’s better to have leftover fabric than to run short mid-project.
Example: If your pattern pieces total 2 yards of fabric after adding seam allowance, and you’re using cotton (which might shrink 5-10%), you should purchase at least 2.2 to 2.4 yards to account for shrinkage and potential errors. Plus, you could add another 10% for extra safety.
Q 23. What are your experience with pressing and finishing techniques?
Pressing and finishing techniques are crucial for achieving a professional-looking garment. They’re the final touches that transform a sewn item from simply assembled fabric into something polished and refined. It’s like the difference between a rough sketch and a finished painting.
- Pressing: I’m proficient in using different presses, including steam irons, pressing cloths, and specialized pressing tools like ham and tailor’s clapper, to remove wrinkles and set seams. The choice of tool depends on the fabric type and the specific construction detail (e.g., a tailor’s ham is vital for shaping curves).
- Finishing techniques: I’m experienced in various finishing techniques, such as understitching, Hong Kong finishing, bias binding, and using different types of interfacing to create clean and durable seams and edges. These techniques vary by fabric type; delicate fabrics require gentler treatments.
- Specific examples: I use understitching to stabilize facings on collars and lapels, and Hong Kong finishing to create a luxurious, clean finish on inside seams of garments. Bias binding provides a neat edge and prevents fraying in a variety of situations.
My approach emphasizes proper temperature control and pressing techniques to prevent scorching and damage to the fabric. I always test any heat-based technique on a scrap piece of fabric before applying it to the project itself.
Q 24. How familiar are you with sewing machine maintenance schedules?
Regular maintenance is essential for keeping a sewing machine running smoothly and efficiently. It’s like servicing a car – regular checks and cleaning prevent major issues down the line. My familiarity with sewing machine maintenance schedules includes:
- Daily cleaning: Removing lint, dust, and thread scraps from the bobbin area, feed dogs, and presser foot.
- Weekly checks: Inspecting the needle for damage, lubricating moving parts, and checking tension.
- Monthly maintenance: A more thorough cleaning, including cleaning and oiling of the internal mechanisms (following the machine’s manual). Sometimes a small brush and vacuum are needed here.
- Annual servicing: Professional servicing is recommended to replace worn-out parts and ensure optimal performance. This often involves replacing the bobbin case, belt, and other critical components.
I maintain detailed records of my sewing machine maintenance, noting the date of each service and any parts replaced. This helps in tracking potential issues and avoiding costly repairs.
Q 25. How do you handle variations in fabric thickness and type?
Handling variations in fabric thickness and type requires adjusting sewing machine settings and techniques. Each fabric has unique properties; for example, a heavy denim needs a different needle and stitch length than a fine silk. It’s like using different tools for different jobs.
- Needle selection: Different needles are designed for various fabric weights. Heavyweight fabrics require heavier needles to avoid breakage, while delicate fabrics need fine needles to prevent holes and damage.
- Stitch length: Longer stitch lengths are generally used for heavier fabrics, while shorter stitch lengths are ideal for delicate fabrics. This ensures consistent and strong stitching without damaging the material.
- Presser foot pressure: The presser foot pressure needs to be adjusted depending on the fabric weight. Heavier fabrics require more pressure to feed smoothly through the machine, whereas lighter fabrics need less to avoid stretching or puckering.
- Feed dog adjustment: Sometimes you need to adjust your feed dogs to ensure an even feed depending on the fabric. This can prevent skipping or uneven stitching.
- Thread type and tension: The appropriate thread type and tension must be used for each fabric to ensure smooth stitching and prevent breakage. A thicker thread is used for thicker materials.
I regularly experiment with different settings to find the optimal combination for each fabric type. For example, I would use a ballpoint needle for knits to prevent snagging, but a sharp needle for woven fabrics to ensure precise stitches.
Q 26. Describe your experience with industrial sewing machine maintenance procedures.
My experience with industrial sewing machine maintenance procedures includes preventative maintenance, troubleshooting, and minor repairs. Industrial machines demand more rigorous care due to their continuous operation and higher workload. It’s like maintaining a high-powered engine versus a standard car engine.
- Preventative maintenance: This involves daily cleaning of the machine, lubricating moving parts with the appropriate oil, and regular checks of the needle, bobbin, and tension. This reduces downtime and prevents major breakdowns.
- Troubleshooting: I’m skilled in identifying and resolving common issues like skipped stitches, broken needles, inconsistent tension, and jammed mechanisms. This involves systematically checking various parts of the machine and replacing faulty components.
- Minor repairs: I can handle basic repairs such as replacing needles, bobbins, belts, and presser feet. More complex repairs, involving internal mechanisms, would be referred to a qualified technician.
- Safety procedures: I always prioritize safety, following all relevant safety protocols and using appropriate safety equipment when performing maintenance or repairs.
I’ve worked with various industrial machines, including single-needle, double-needle, and overlock machines. My experience covers maintenance of both direct-drive and belt-driven models.
Q 27. What is your understanding of quality control in garment production?
Quality control in garment production is paramount, ensuring the final product meets the required standards of quality, consistency, and fit. It’s like being a quality inspector in a food manufacturing plant, checking each item for consistency and imperfections.
- Fabric inspection: Checking for defects such as holes, stains, or inconsistencies in the fabric before cutting.
- Cutting accuracy: Ensuring accurate cutting of pattern pieces to minimize errors and waste. Using pattern weights or laser cutting techniques helps with accuracy.
- Sewing quality: Inspecting seams for consistency, proper stitching, and correct alignment.
- Finishing checks: Examining the garment for proper finishing, ensuring clean edges, consistent hem lengths, and accurate placement of details.
- Final inspection: A thorough check of the completed garment to ensure it meets all quality standards and the customer’s specifications.
- Documentation: Maintaining detailed records of quality control checks and any identified defects to track issues and improve the production process.
A strong quality control system helps reduce errors, improves efficiency, and enhances customer satisfaction. By catching defects early, costly rework and returns can be avoided.
Q 28. Explain your experience with working in a team environment in a sewing production setting.
I thrive in team environments and possess a collaborative approach to sewing production. I value open communication, mutual respect and shared responsibility.
- Communication: I actively communicate with team members, sharing information, offering assistance, and providing feedback to ensure the smooth flow of work. This includes promptly reporting any issues or challenges that might affect overall production.
- Collaboration: I collaborate effectively with others, contributing my skills and expertise to achieve team goals. This can involve tasks such as distributing work evenly, assisting colleagues with complex tasks, or offering suggestions to improve workflows.
- Problem-solving: I actively participate in problem-solving, identifying and addressing challenges collectively. This is particularly crucial when dealing with production bottlenecks or quality control issues.
- Respectful interaction: I maintain a respectful and professional demeanor, valuing the contributions of all team members.
- Shared responsibility: I understand that the quality of the final product is a shared responsibility. Therefore, I actively participate in quality control and strive for excellence in my work to meet team standards.
In previous roles, I’ve been part of teams where we worked together to meet tight deadlines, achieve high production targets, and maintain consistently high quality. I believe that a supportive and collaborative team environment fosters innovation and efficiency.
Key Topics to Learn for Your Sewing Machine Knowledge Interview
- Machine Operation & Maintenance: Understanding different sewing machine types (e.g., industrial, domestic), their functionalities, and routine maintenance procedures (cleaning, oiling, troubleshooting basic malfunctions).
- Stitch Types & Applications: Familiarity with various stitch types (straight stitch, zigzag, overlock, etc.) and their appropriate uses in different fabrics and projects. Be prepared to discuss stitch selection based on fabric weight and project requirements.
- Fabric Handling & Selection: Knowledge of different fabric types (cotton, silk, synthetics), their properties, and how to adjust machine settings for optimal results with each. This includes understanding appropriate needle and thread selection.
- Pattern Interpretation & Cutting: Demonstrate understanding of reading and interpreting sewing patterns, accurate fabric cutting techniques, and the importance of precise measurements.
- Sewing Techniques & Problem Solving: Discuss common sewing challenges (e.g., skipped stitches, broken needles, fabric puckering) and how to troubleshoot and resolve them. Highlight your ability to adapt techniques to overcome unforeseen issues.
- Safety Procedures: Emphasize your awareness and adherence to safety regulations and best practices when operating sewing machinery.
- Industrial Sewing Machines (if applicable): If the role involves industrial machines, be ready to discuss specific knowledge of their operation, maintenance, and unique features compared to domestic machines.
Next Steps
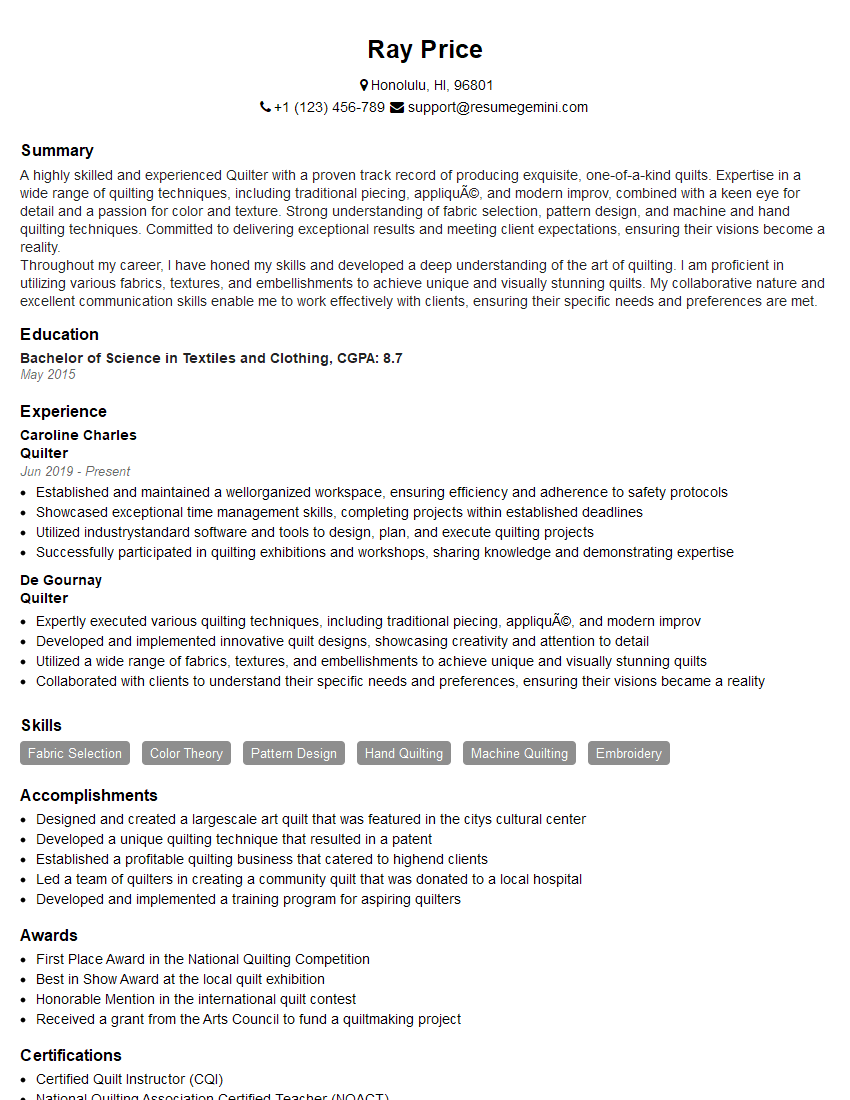
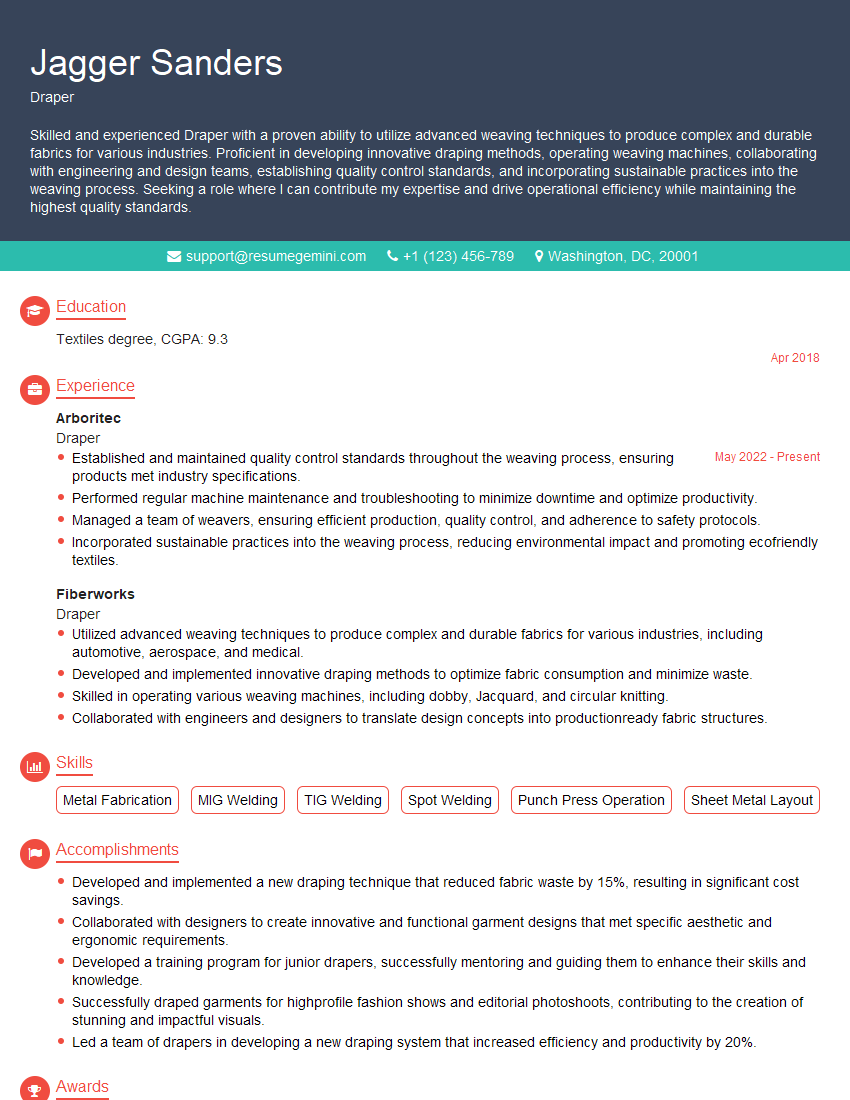
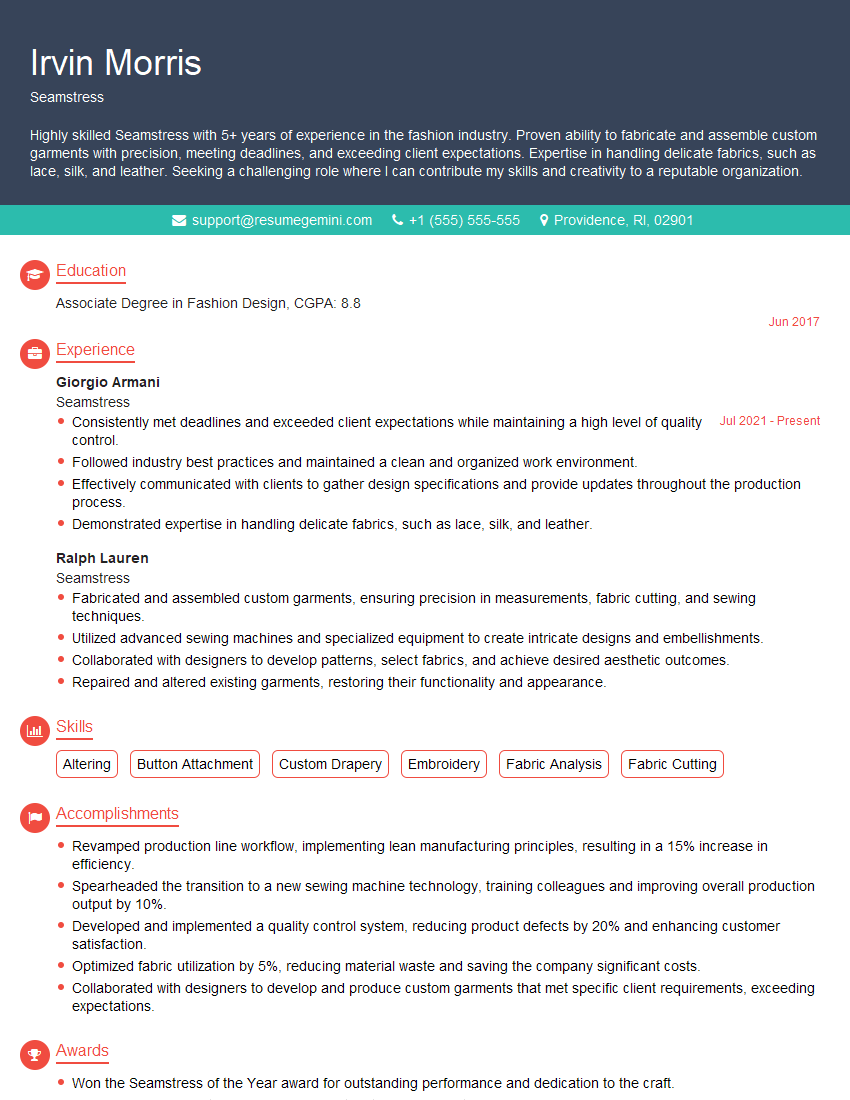
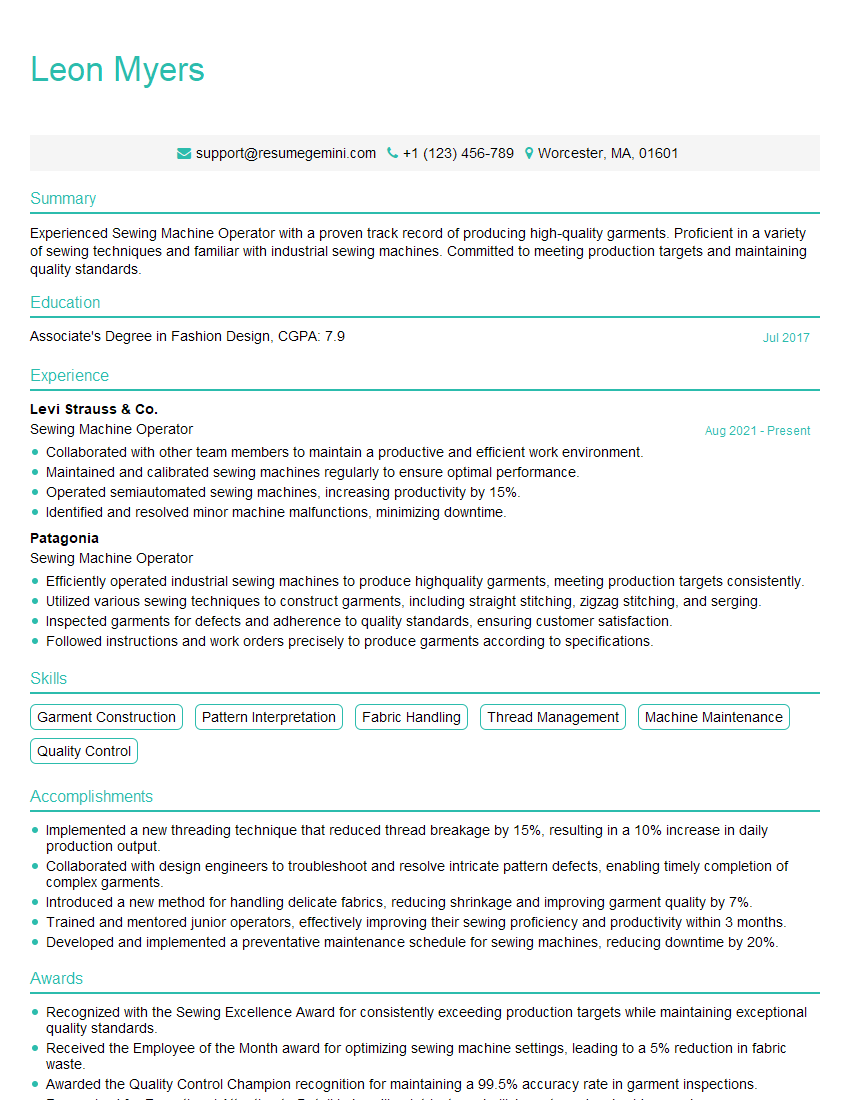
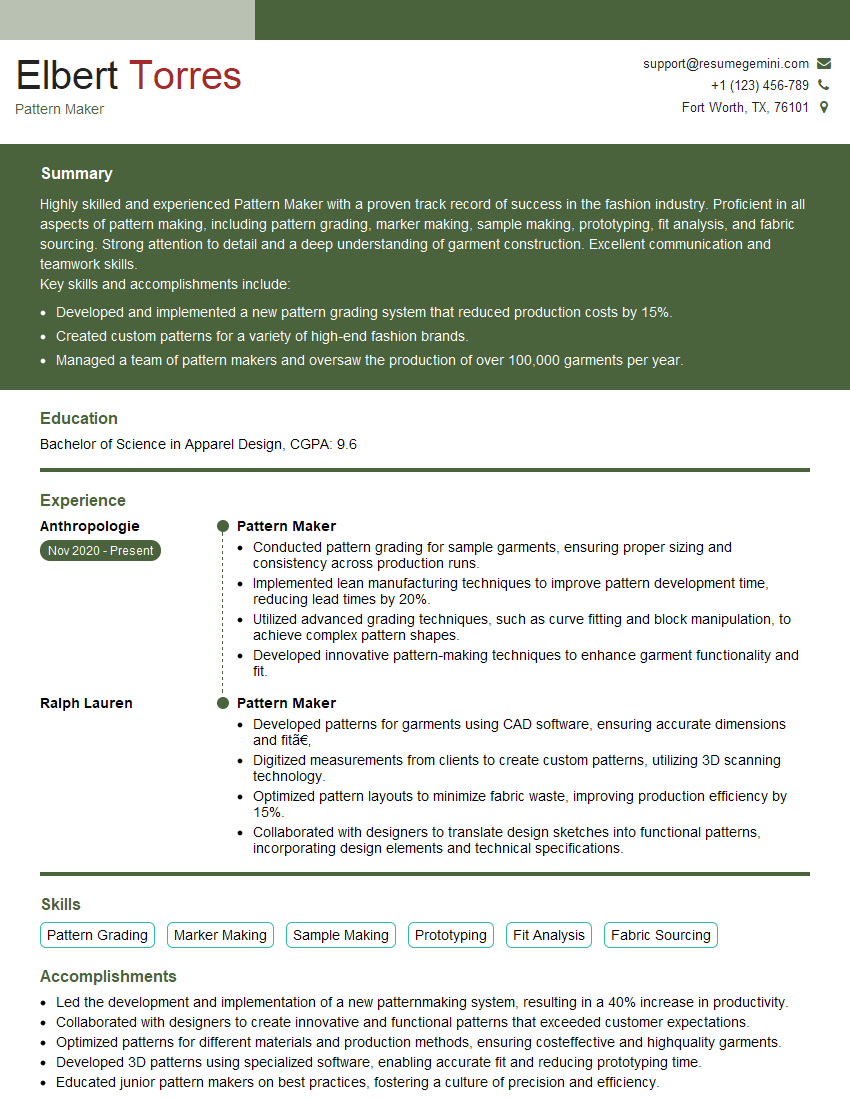
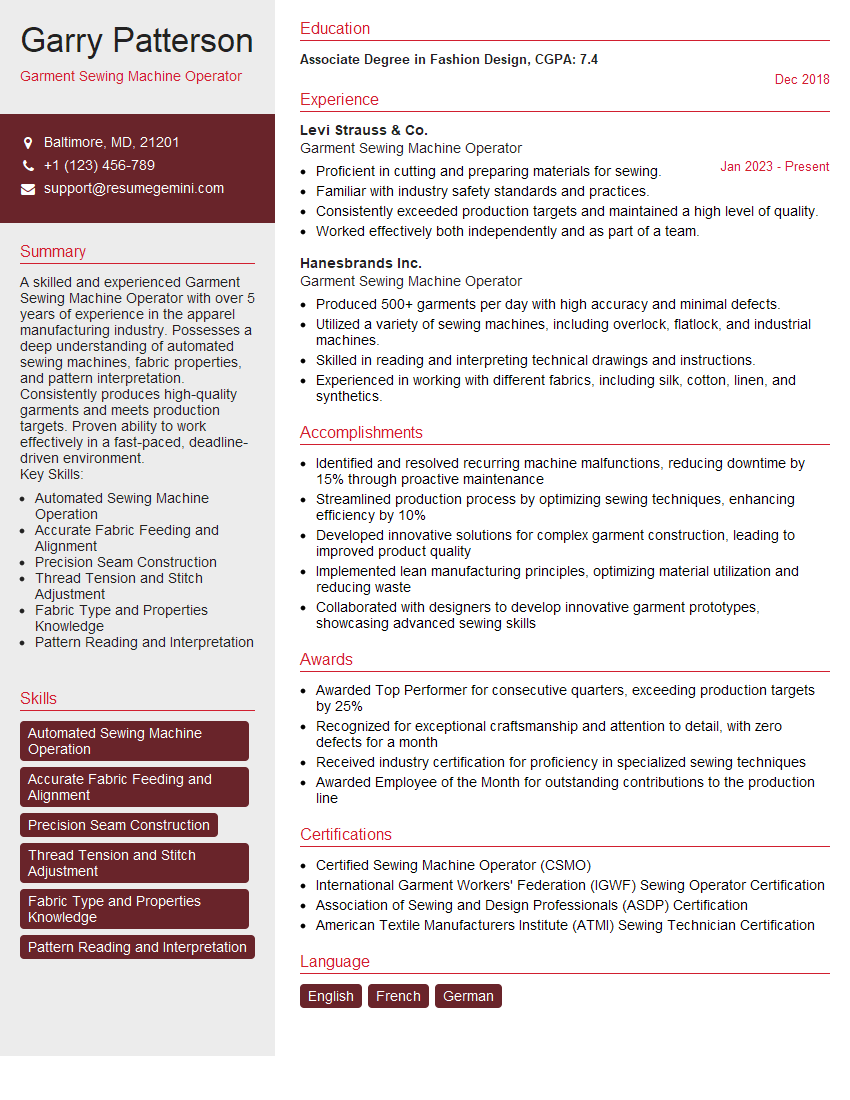
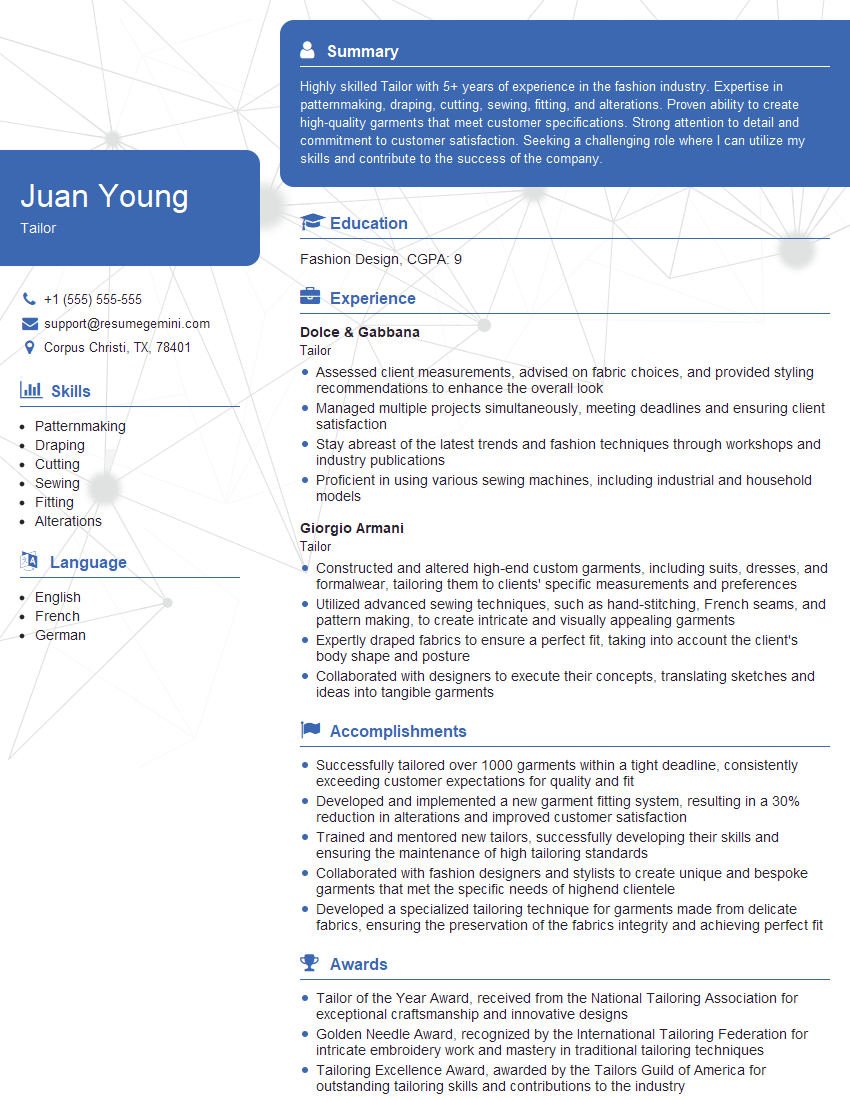
Mastering sewing machine knowledge opens doors to exciting career opportunities in fashion, textiles, and manufacturing. A strong understanding of these concepts will significantly boost your interview performance and job prospects. To maximize your chances of landing your dream role, create an ATS-friendly resume that showcases your skills and experience effectively. ResumeGemini is a trusted resource to help you build a professional and impactful resume. They offer examples of resumes tailored specifically to highlight expertise in Knowledge of Sewing Machine, ensuring your application stands out from the competition.
Explore more articles
Users Rating of Our Blogs
Share Your Experience
We value your feedback! Please rate our content and share your thoughts (optional).
What Readers Say About Our Blog
Hello,
We found issues with your domain’s email setup that may be sending your messages to spam or blocking them completely. InboxShield Mini shows you how to fix it in minutes — no tech skills required.
Scan your domain now for details: https://inboxshield-mini.com/
— Adam @ InboxShield Mini
Reply STOP to unsubscribe
Hi, are you owner of interviewgemini.com? What if I told you I could help you find extra time in your schedule, reconnect with leads you didn’t even realize you missed, and bring in more “I want to work with you” conversations, without increasing your ad spend or hiring a full-time employee?
All with a flexible, budget-friendly service that could easily pay for itself. Sounds good?
Would it be nice to jump on a quick 10-minute call so I can show you exactly how we make this work?
Best,
Hapei
Marketing Director
Hey, I know you’re the owner of interviewgemini.com. I’ll be quick.
Fundraising for your business is tough and time-consuming. We make it easier by guaranteeing two private investor meetings each month, for six months. No demos, no pitch events – just direct introductions to active investors matched to your startup.
If youR17;re raising, this could help you build real momentum. Want me to send more info?
Hi, I represent an SEO company that specialises in getting you AI citations and higher rankings on Google. I’d like to offer you a 100% free SEO audit for your website. Would you be interested?
Hi, I represent an SEO company that specialises in getting you AI citations and higher rankings on Google. I’d like to offer you a 100% free SEO audit for your website. Would you be interested?
good
