The thought of an interview can be nerve-wracking, but the right preparation can make all the difference. Explore this comprehensive guide to Land Navigation and Terrain Analysis interview questions and gain the confidence you need to showcase your abilities and secure the role.
Questions Asked in Land Navigation and Terrain Analysis Interview
Q 1. Explain the difference between magnetic north and true north.
True north is the direction to the geographic North Pole, the Earth’s actual axis of rotation. It’s a fixed point. Magnetic north, on the other hand, is the direction the north pole of a freely suspended magnet points. This is determined by the Earth’s magnetic field, which is constantly shifting and isn’t aligned with the geographic North Pole. The difference between these two directions is called declination.
Think of it like this: imagine a perfectly straight road (true north) and a slightly crooked road (magnetic north) that runs roughly parallel, but eventually diverges. The distance between the two roads at any point represents the declination.
Q 2. Describe the various methods for determining your location using a map and compass.
Several methods exist for determining your location using a map and compass. The most common are:
- Resection: This involves identifying at least two distinct features on the map (e.g., landmarks, intersections) and taking compass bearings to them. You then draw the reverse bearings (back bearings) onto the map from these features. The point where these lines intersect is your location. Accuracy improves with more features.
- Intersection: Similar to resection, but you know your location beforehand and take bearings to identifiable features. Plot these bearings on the map from your known point. The intersection of these bearings confirms your identification of the features and helps verify your position.
- Triangulation: Using this method, one measures the angle between two known points. This method is typically used in conjunction with resection or intersection to increase accuracy.
- Dead Reckoning: This method estimates your position based on your starting point, direction of travel, and distance traveled. It’s less accurate than resection or intersection and is used primarily as an intermediate position estimate or when other methods are unavailable.
Remember, always account for declination when using these methods. Combining these techniques, especially when using multiple features and double-checking, significantly enhances accuracy.
Q 3. How do you compensate for declination when using a compass?
Declination is compensated for by adjusting your compass bearing. This adjustment is crucial for accurate navigation because the compass points to magnetic north, not true north. The declination value is usually found on your map or can be found online using your location. The adjustment varies based on your geographic location.
To compensate:
- East Declination: If the magnetic north is east of true north (as indicated on your map), you subtract the declination from your true north bearing to obtain the magnetic bearing.
- West Declination: If the magnetic north is west of true north, you add the declination to your true north bearing.
For example, if your true north bearing is 045 degrees and the declination is 10 degrees east, your magnetic bearing will be 045 – 10 = 035 degrees. Always remember to check the declination value for the specific area where you’re navigating.
Q 4. What are the common types of terrain features, and how do they affect navigation?
Terrain features significantly influence navigation. Understanding their impact is vital for safe and efficient travel. Common features include:
- Hills and Mountains: These affect visibility, compass accuracy (due to magnetic anomalies), and travel speed. Steep slopes can be hazardous.
- Valleys and Canyons: Can restrict movement and visibility; also prone to changes in weather, like microclimates.
- Rivers and Streams: Can serve as natural routes but also pose challenges such as crossing and varying water levels.
- Forests and Woods: Reduce visibility and can impede movement; potential for getting lost within dense vegetation.
- Swamps and Marshes: Soft, unstable ground makes movement difficult; high risk of getting stuck.
- Cliffs and Escarpments: Present significant obstacles that require careful route planning and avoidance.
Proper terrain analysis, utilizing topographic maps and other resources, is essential to plan routes that consider these features and mitigate potential hazards.
Q 5. Explain how to interpret contour lines on a topographic map.
Contour lines on a topographic map represent points of equal elevation. They show the shape and steepness of the land. Understanding them is crucial for effective navigation and route planning.
- Closely spaced contour lines indicate steep slopes.
- Widely spaced contour lines indicate gentle slopes or flat terrain.
- Concentric circles represent hills or mountains; the innermost circle has the highest elevation.
- Contour lines that form a ‘V’ shape point upstream in a river valley.
- Index contours are usually thicker and labeled with their elevation value.
By studying the pattern of contour lines, you can visualize the three-dimensional terrain and make informed decisions about route selection, avoiding hazards and selecting optimal paths.
Q 6. Describe the process of planning a route using a map and compass.
Route planning with a map and compass involves several steps:
- Identify your starting point and destination: Mark these clearly on your map.
- Analyze the terrain: Identify significant terrain features, obstacles, and potential hazards. Consider factors like elevation changes, water crossings, and vegetation.
- Plot a preliminary route: Draw a line connecting your starting point and destination. This initial route may need adjustments based on terrain analysis.
- Refine the route: Considering the terrain, adjust the route to avoid hazards and choose the most feasible path. This might involve finding alternative routes or incorporating checkpoints along the way.
- Determine bearings: Take bearings between significant points along your planned route. This gives you compass directions to follow. Remember to account for declination.
- Plan checkpoints: Establish checkpoints along the route. These act as verification points, helping you stay on course and allowing correction if you stray off-route.
- Consider contingencies: Plan alternative routes in case of unexpected difficulties or changes in weather.
A well-planned route minimizes risks and increases the likelihood of successful navigation.
Q 7. How do you estimate distances using a map and pacing?
Estimating distances using a map and pacing requires understanding your pace length and the map’s scale.
- Determine your pace length: Walk a measured distance (e.g., 100 meters) at your normal walking pace and count your steps. Divide the distance by the number of steps to find your pace length (in meters/step).
- Determine the map scale: The map scale indicates the relationship between the map distance and the real-world distance. For example, a scale of 1:50,000 means 1 cm on the map equals 500 meters in reality.
- Measure the distance on the map: Using a ruler or other measuring tool, measure the distance between your starting point and destination on the map.
- Convert map distance to real-world distance: Use the map scale to convert the map distance to the actual distance (in meters or kilometers).
- Estimate the number of steps: Divide the real-world distance by your pace length to estimate the number of steps needed to cover that distance.
Remember, this is an estimation. Pace length can vary depending on the terrain, so consider this when making your calculations. Always overestimate rather than underestimate distances.
Q 8. What are the limitations of GPS technology for navigation?
GPS, while incredibly useful, has limitations. Think of it like a compass that sometimes gets confused. Its accuracy can be affected by several factors.
- Signal Obstruction: Tall buildings, dense forests, or even deep canyons can block GPS signals, leading to inaccurate readings or complete signal loss. Imagine trying to navigate a city canyon with your phone – your GPS might jump around erratically.
- Atmospheric Interference: Ionospheric and tropospheric disturbances can distort the signals, causing positional errors. This is less common but can be significant in extreme weather conditions.
- Multipath Errors: Signals can bounce off surfaces like buildings or mountains before reaching the receiver, leading to inaccurate position calculations. It’s like getting an echo in your GPS data.
- Satellite Geometry: The number of satellites visible and their geometry (how they’re spaced in the sky) affects accuracy. A weak satellite constellation gives less precise results.
- Receiver Limitations: The quality of the GPS receiver itself plays a crucial role. A cheap receiver will be less accurate than a high-end, professional-grade device.
Therefore, relying solely on GPS for navigation, especially in challenging terrain, is risky. It should always be used in conjunction with other navigational tools, like maps and a compass, for redundancy and increased reliability.
Q 9. What are the safety precautions you would take during land navigation?
Safety is paramount in land navigation. Before heading out, I always follow these precautions:
- Planning & Briefing: Thoroughly plan your route, considering terrain, weather, and potential hazards. Brief a trusted person on your plans, including your route, estimated time of arrival (ETA), and emergency contact information.
- Appropriate Clothing & Gear: Wear appropriate clothing for the weather conditions. Carry sufficient water, food, a first-aid kit, a fire starter, a whistle, and a multi-tool.
- Navigation Redundancy: Never rely on just one navigation tool. Carry a map, compass, GPS, and ideally, an altimeter. Knowing how to use each device independently is crucial.
- Awareness of Surroundings: Constantly assess your surroundings for hazards such as cliffs, water crossings, or wildlife. Be aware of weather changes and adjust your plan as needed.
- Teamwork (if applicable): If navigating as part of a team, ensure clear communication, shared situational awareness, and a designated team leader.
- Emergency Procedures: Know what to do in case of an emergency, including how to signal for help and how to perform basic survival techniques.
Remember, being prepared for the unexpected is key to safe and successful land navigation.
Q 10. How do you handle navigation in low-visibility conditions?
Navigating in low-visibility conditions—fog, heavy rain, or darkness—requires heightened awareness and reliance on alternative techniques.
- Detailed Pre-Planning: Thorough route planning before departure is crucial. This includes identifying key features along the route that can be used for navigation even with limited visibility (e.g., streams, ridgelines).
- Compass and Map: The compass becomes your primary tool. Learn to use it effectively with your map to maintain bearing and check your location regularly.
- Terrain Association: Pay close attention to subtle changes in terrain underfoot to maintain situational awareness. Even in poor visibility, you can often feel changes in elevation or slope.
- Sound Navigation: Use your hearing to identify nearby landmarks or sounds that could help with orientation (e.g., the distant sound of traffic, a river).
- Additional Aids: Consider using a headlamp or flashlight with a red filter (to preserve night vision), and a hand-held radio to communicate with team members or base.
In low-visibility conditions, moving slower and taking extra precautions is vital to ensure your safety and successful navigation. Remember, it’s better to proceed slowly and cautiously than to risk getting lost or injured.
Q 11. Explain how to use a GPS device effectively.
Effective GPS use is more than just turning it on and following the arrow. It’s about understanding its capabilities and limitations and using it intelligently.
- Pre-Trip Planning: Download maps of your intended area onto the device beforehand, ensuring you have coverage. This prevents delays and potential errors in remote areas.
- Waypoints and Routes: Create waypoints to mark significant points along your route and establish routes connecting these waypoints. This provides a clear path to follow.
- Calibration and Signal Acquisition: Ensure your GPS has a clear view of the sky and adequate time to acquire a strong satellite signal before beginning your journey.
- Track Recording: Use the track recording function to log your path. This is invaluable if you become disoriented or need to retrace your steps.
- Battery Life Management: Regularly check the battery level. Power conservation features may be necessary depending on your device and trip length.
- Regular Checks: Frequently check your GPS position against your map and compass bearings for cross-referencing and error detection.
Remember, the GPS is a tool, not a substitute for map and compass skills. Always maintain map and compass navigation proficiency alongside the usage of a GPS device.
Q 12. Describe the process of creating a route profile from a topographic map.
Creating a route profile from a topographic map involves analyzing the elevation changes along your planned route. This helps understand the difficulty and time required to traverse the terrain.
- Identify Route: Draw your planned route on the map, noting key points like summits, valleys, and water crossings.
- Elevation Readings: Record the elevation at each key point using the contour lines on the map. Pay close attention to the contour interval (the vertical distance between contour lines).
- Construct the Profile: Use graph paper or specialized software to create a side profile view. The horizontal axis represents distance, and the vertical axis represents elevation. Plot your elevation readings at their corresponding distances along the route.
- Analyze the Profile: Study the profile for steep ascents, descents, and other challenges. This reveals the overall difficulty and helps in estimating travel time and resource requirements.
For example, a steep ascent might require extra time and more careful pacing compared to a gentle slope. The route profile helps you strategically plan your journey and optimize your pace to conserve energy and prevent fatigue.
Q 13. What are the different types of map projections, and what are their uses?
Map projections are ways of representing the three-dimensional Earth’s surface on a flat map. Several types exist, each with its strengths and weaknesses.
- Mercator Projection: This projection preserves direction, making it ideal for navigation, especially at sea. However, it distorts areas significantly at higher latitudes, making Greenland appear much larger than it is in reality.
- Lambert Conformal Conic Projection: This projection minimizes distortion in areas that are relatively narrow in the north-south direction, making it suitable for mapping regions along a line of latitude. It’s commonly used for aviation charts.
- Universal Transverse Mercator (UTM) Projection: This divides the Earth into 60 longitudinal zones. Within each zone, distortion is minimal. It’s commonly used for large-scale mapping and coordinate systems, ideal for GPS applications.
- Gnomonic Projection: This projection shows great circles (the shortest distance between two points on the Earth’s surface) as straight lines. This is beneficial for long-distance navigation but distorts areas significantly away from the central point of projection.
The choice of projection depends on the specific application. For example, a Mercator projection is useful for nautical navigation due to its accurate direction preservation, while a UTM projection is preferable for precise location determination using GPS coordinates.
Q 14. How do you interpret military symbols on a map?
Military symbols on a map are standardized icons that represent different features, units, and activities. Understanding these symbols is critical for effective military map reading.
Interpreting these symbols involves familiarity with the specific symbology used. Typically, this includes a combination of color, shape, and potentially text labels. For instance:
- Unit Symbols: Represent the type and size of military units, like infantry battalions or tank companies. They might be colored blue for friendly forces or red for enemy forces.
- Equipment Symbols: Show the location of different pieces of military equipment, such as tanks, artillery, or aircraft. Their shapes and colors will convey the type and status of this equipment.
- Terrain Features: Standard symbols represent various geographical features, like roads, bridges, rivers, and buildings. These symbols may show specific characteristics, such as the type of road (paved or unpaved).
- Operational Symbols: Indicate activities or operations, such as planned attacks, defensive positions, or supply lines. These usually include directional arrows or other identifiers showing activity.
Detailed military symbology manuals are available to assist with proper interpretation. Familiarity with these symbols is crucial for anyone working in a military or emergency response context to understand maps effectively.
Q 15. What are the advantages and disadvantages of different map scales?
Map scale represents the ratio between a distance on the map and the corresponding distance on the ground. Different scales offer trade-offs between detail and coverage.
- Large-scale maps (e.g., 1:50,000) show a smaller area in greater detail. This is advantageous for precise navigation in a limited region, identifying small features like trails or buildings. The disadvantage is that they might not provide enough context for longer trips. Imagine trying to navigate a cross-country hike using only a 1:50,000 map – you’d need a massive stack!
- Small-scale maps (e.g., 1:1,000,000) show a much larger area, but with less detail. This is beneficial for strategic planning, showing the overall route and larger geographical features. However, the lack of detail makes pinpoint navigation challenging. Think of planning a road trip across a country; you wouldn’t use a large-scale map, but instead a small scale atlas to view the major routes.
Choosing the correct map scale is crucial; a large-scale map is unsuitable for a long-distance hike, and a small-scale map is inadequate for navigating a complex urban area.
Career Expert Tips:
- Ace those interviews! Prepare effectively by reviewing the Top 50 Most Common Interview Questions on ResumeGemini.
- Navigate your job search with confidence! Explore a wide range of Career Tips on ResumeGemini. Learn about common challenges and recommendations to overcome them.
- Craft the perfect resume! Master the Art of Resume Writing with ResumeGemini’s guide. Showcase your unique qualifications and achievements effectively.
- Don’t miss out on holiday savings! Build your dream resume with ResumeGemini’s ATS optimized templates.
Q 16. Explain the concept of resection and how to perform it.
Resection is a method used to determine your location on a map by identifying at least three features visible from your position. These features must be identifiable on the map. It’s like solving a geographical puzzle!
- Identify at least three features: These should be easily identifiable on your map, such as prominent peaks, intersections, or buildings.
- Locate the features on the map: Pinpoint the location of each identified feature on your map.
- Use a protractor or compass: Measure the bearing to each feature from your approximate location.
- Draw lines of bearing: Using the measured bearings, draw lines radiating from each feature on the map. Ideally, these lines will intersect at a single point which represents your location.
- Estimate your location: The point where all three (or more) lines intersect is your approximate location. If the lines don’t converge perfectly, then try to estimate the most probable location based on the pattern of the intersections.
Resection requires careful observation and measurement, but it’s a powerful tool when a compass and map are available and features are easy to identify.
Q 17. Describe the process of intersection to determine your location.
Intersection, in contrast to resection, determines your location by observing two distinct features from two separate locations. Imagine standing on the street and seeing a landmark to the north, then moving a hundred meters and seeing the same landmark again.
- Observe two features from two different points: Choose two distinct landmarks, and record the bearings of each landmark from two different points in the field. For example, in Point A you might measure landmark X at 30 degrees and landmark Y at 120 degrees. Then in Point B, record the same for landmarks X and Y.
- Plot the bearings on the map: Locate the two features on the map. From each feature, draw a line representing the observed bearing from each observation point.
- Identify the intersection: The intersection of these lines represents your possible location in both points A and B.
The accuracy of intersection depends on the distance between the observation points and the accuracy of the bearings. The further apart the points, and the more accurate the readings, the better the result. Think of it like triangulation; the wider the triangle’s base, the more accurate the location.
Q 18. How do you use natural features for navigation?
Natural features are invaluable for navigation, providing visual references and clues even when technology fails. They offer a strong connection to the ground and are often more reliable than a GPS signal.
- Using distinctive landmarks: Prominent hills, unusual rock formations, isolated trees, or rivers can serve as reference points. Identify these features on your map and use them to orient yourself.
- Following natural corridors: Rivers, valleys, and ridges offer defined routes, reducing the likelihood of getting lost. These also frequently appear on maps.
- Using the sun and shadow: The sun’s position helps to determine direction (though not as reliable as a compass). The direction of shadows can also hint at compass directions.
- Observing vegetation changes: Changes in vegetation types (e.g., forest to grassland) often indicate changes in elevation or proximity to water sources and can help you correlate to your map.
When navigating using natural features, remember that their appearance can change depending on seasonal factors. Always check for multiple clues before making navigational decisions.
Q 19. What are some common navigation errors, and how can they be avoided?
Several common navigation errors can easily lead to being lost or misjudging your position. Awareness and preventative measures are crucial.
- Incorrect map reading: Misunderstanding map symbols, contour lines, or scale can lead to wrong estimations of distance and direction. Solution: Practice map reading skills and always double-check your interpretations.
- Poor compass technique: Incorrect holding of the compass, failing to compensate for declination, or reading the bearing inaccurately will result in navigation errors. Solution: Practice proper compass handling and learn to account for magnetic declination in your area.
- Misjudging distance and pace count: Overestimating or underestimating distances can significantly impact location. Solution: Maintain a consistent pace and calibrate your pace count by measuring a known distance.
- Ignoring terrain features: Failing to consider terrain changes and their impact on travel time and direction. Solution: Use contour lines effectively and always check for obstructions before setting a course.
Prevention involves meticulous planning, careful observation, and rigorous verification of information. Regular practice and checks are key to minimising errors. Remember: it’s better to take an extra few minutes to double-check your work than to end up hopelessly lost.
Q 20. How do you utilize celestial navigation techniques?
Celestial navigation uses the positions of celestial bodies (sun, moon, stars) to determine latitude and longitude. This is a more advanced technique typically used in open ocean navigation or remote areas where other navigation aids are unavailable. It requires specific tools and knowledge of astronomy and spherical trigonometry.
- Using a sextant: To measure the altitude (angle above the horizon) of celestial bodies.
- Using a nautical almanac or ephemeris: To find the declination (celestial latitude) and Greenwich Hour Angle (GHA) of celestial bodies at a specific time.
- Calculations: Performing mathematical calculations, either manually or with a navigational computer, to determine latitude and longitude from the sextant readings and celestial data. This typically involves applying sight reduction techniques.
Celestial navigation is a complex skill requiring specialized training. However, in the absence of other navigation aids, it offers a way to pinpoint your position with great accuracy using natural markers. It’s a testament to human ingenuity and mathematical precision.
Q 21. Explain how to use altimeters for navigation and elevation determination.
Altimeters measure altitude or elevation above a reference point, usually sea level. They are useful in navigation by providing elevation information, helping you understand terrain profiles, and assisting in route planning.
- Determining elevation: A barometric altimeter measures atmospheric pressure, which is inversely related to altitude. The reading provides a current elevation.
- Planning routes: Understanding elevation changes is crucial for efficient route planning. Altimeter data can help you avoid unnecessarily steep ascents or descents.
- Navigation in mountainous terrain: Altimeters are extremely helpful in mountains, helping to estimate progress towards a summit or locate yourself relative to identifiable peaks.
- Identifying potential hazards: Recognizing significant elevation changes helps identify potential dangers like cliffs or steep drops.
While altimeters are valuable tools, it’s important to note that their accuracy can be affected by atmospheric pressure changes. Calibration is often necessary, especially in areas with significant variations in atmospheric pressure. Combining an altimeter with a map enhances the accuracy of location estimation.
Q 22. What software or tools are you familiar with for terrain analysis?
Terrain analysis relies heavily on specialized software and tools. My familiarity spans a range of options, from readily available applications to sophisticated professional-grade packages. I’m proficient in using ArcGIS Pro, QGIS (a powerful open-source alternative), and ERDAS IMAGINE. These platforms allow for detailed analysis of various data types, including DEMs, aerial imagery, and LiDAR data. I’ve also utilized more specialized software like Global Mapper for its powerful terrain visualization capabilities and its ability to handle large datasets efficiently. Finally, I’m comfortable working with Google Earth Pro for its intuitive interface and access to high-resolution imagery, useful for preliminary assessments and route planning. The choice of software depends heavily on the specific task, data availability, and project requirements. For instance, ArcGIS Pro is my preferred choice for complex projects needing advanced spatial analysis, while QGIS is excellent for more straightforward tasks where cost-effectiveness is a priority.
Q 23. How do you interpret aerial photographs or satellite imagery?
Interpreting aerial photographs and satellite imagery is a cornerstone of terrain analysis. My approach involves a systematic process. First, I assess the image’s scale, resolution, and date to understand its limitations and capabilities. Next, I analyze tonal variations to identify different features. Darker tones often indicate dense vegetation or shadows cast by steep terrain, while lighter tones might represent bare ground, sand, or snow. I look for patterns and textures – linear features could suggest roads, rivers, or power lines, while irregular patterns might indicate cultivated fields or natural formations. I use stereoscopy (using two overlapping images to create a 3D view) where possible to determine elevation changes and identify slopes and drainage patterns. Furthermore, I consider the context of the surrounding area, incorporating any available map data to aid in feature identification. For example, if I see a long, dark, linear feature in a sparsely vegetated area and I know there’s a river nearby from a map, I can confidently identify it as a river. I often use tools within GIS software to assist with this process, such as image enhancement techniques to improve contrast and highlight specific features.
Q 24. Describe your experience in using GIS software for navigation and analysis.
GIS software is integral to my work. I have extensive experience using ArcGIS Pro and QGIS for navigation and analysis. I routinely use these tools to create and manage geospatial data, including digital elevation models (DEMs), shapefiles (for representing points, lines, and polygons), and raster datasets (for images). For navigation, I leverage GIS to create detailed route plans, considering factors like terrain slope, elevation changes, and obstacles. I use spatial analysis tools to identify optimal routes, assess the shortest distance, or find the path with the least elevation gain. In one project, I used ArcGIS Pro to create a detailed evacuation plan for a remote mountain community, accounting for potential landslides and access road conditions using both satellite imagery and topographical maps. The analysis provided crucial insights for determining safe evacuation routes and shelters.
Q 25. Explain your understanding of digital elevation models (DEMs).
A Digital Elevation Model (DEM) is a digital representation of the Earth’s surface topography. It’s essentially a grid of elevation points, each representing the height above a reference surface (usually mean sea level). DEMs are crucial for terrain analysis because they provide the basis for calculating a range of parameters like slope, aspect (direction of slope), and hillshade (which helps visualize terrain features). High-resolution DEMs are preferred for detailed analysis, while lower-resolution DEMs may suffice for broader-scale projects. Different data sources are used to generate DEMs – this can include LiDAR (Light Detection and Ranging) data, which provides very high-resolution data, or photogrammetry techniques using aerial or satellite imagery. The accuracy and resolution of a DEM directly impact the accuracy of any subsequent terrain analysis performed. For example, inaccurate DEMs might lead to incorrect assessments of potential avalanche paths or flood zones.
Q 26. How do you incorporate terrain analysis into route planning?
Terrain analysis is paramount in route planning. I incorporate it by first identifying the desired start and end points and then analyzing the DEM to assess the terrain profile along various potential routes. Factors like slope steepness, elevation changes, and the presence of obstacles (rivers, cliffs, dense vegetation) are carefully considered. I use GIS software to calculate the optimal route based on chosen criteria – this might be the shortest distance, the route with the least elevation gain, or a balance between distance and elevation change. For instance, when planning a hiking route, a steeper slope might require more time and physical exertion. In areas with potential for flooding, I would avoid low-lying areas, and for areas prone to landslides, I would choose routes with less steep slopes. The specific tools and techniques utilized depend on the mode of transportation (hiking, driving, etc.) and the specific constraints of the environment.
Q 27. Describe a situation where your land navigation skills were crucial in problem-solving.
During a search and rescue operation in a mountainous region, heavy fog rolled in, reducing visibility to near zero. Our team had lost radio contact with the missing hiker, and conventional GPS navigation was unreliable due to the dense tree cover. I relied on my land navigation skills to orient ourselves using a compass, map, and altimeter. By carefully analyzing the terrain features—identifying subtle changes in elevation, vegetation density, and the direction of water flow—I was able to determine our location and guide the team towards the most likely area where the hiker might be located. Our thorough understanding of contour lines and the ability to interpret landforms proved critical in overcoming the challenges imposed by the severe weather and successfully locating the hiker, who was found injured but alive. This emphasized the indispensable nature of traditional land navigation skills, especially in conditions where technology fails.
Key Topics to Learn for Land Navigation and Terrain Analysis Interview
- Map Reading and Interpretation: Understanding map symbols, scales, contour lines, and their application in determining location, elevation, and terrain features.
- Compass Use and Orienteering: Mastering compass techniques, including declination adjustment, bearing determination, and resection/intersection methods for precise location finding.
- GPS Navigation and its Limitations: Utilizing GPS devices effectively, understanding potential errors (signal loss, accuracy limitations), and employing backup navigation methods.
- Terrain Association: Connecting map features to real-world observations, identifying landmarks, and using natural features for navigation.
- Route Planning and Selection: Developing efficient and safe routes considering terrain, obstacles, and environmental factors. This includes understanding different route planning techniques and their advantages/disadvantages.
- Navigation in Challenging Conditions: Adapting navigation techniques to varying weather conditions (e.g., limited visibility, extreme temperatures) and challenging terrain (e.g., dense vegetation, steep slopes).
- Terrain Analysis for Tactical Decision-Making: Identifying advantageous and disadvantageous terrain for tactical operations, understanding cover and concealment, and assessing potential risks.
- Problem-Solving and Decision-Making under Pressure: Practicing navigation scenarios that simulate real-world challenges and require quick, informed decisions.
Next Steps
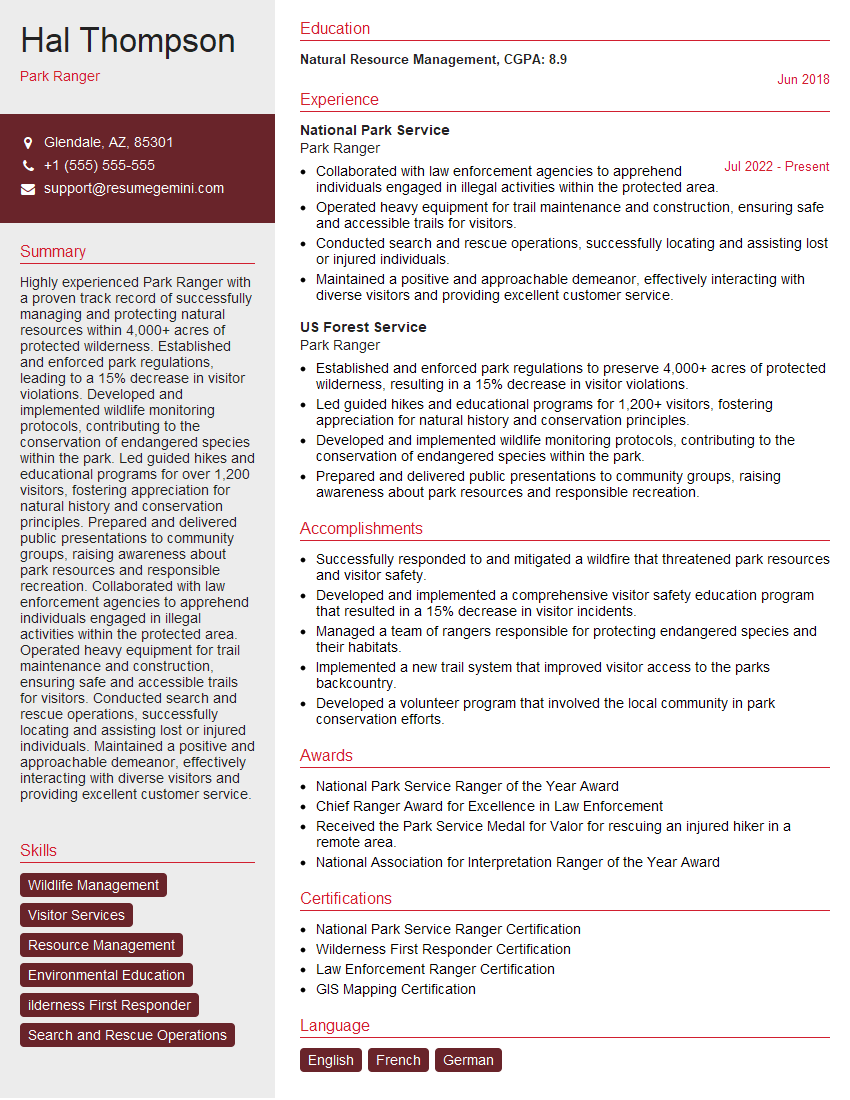
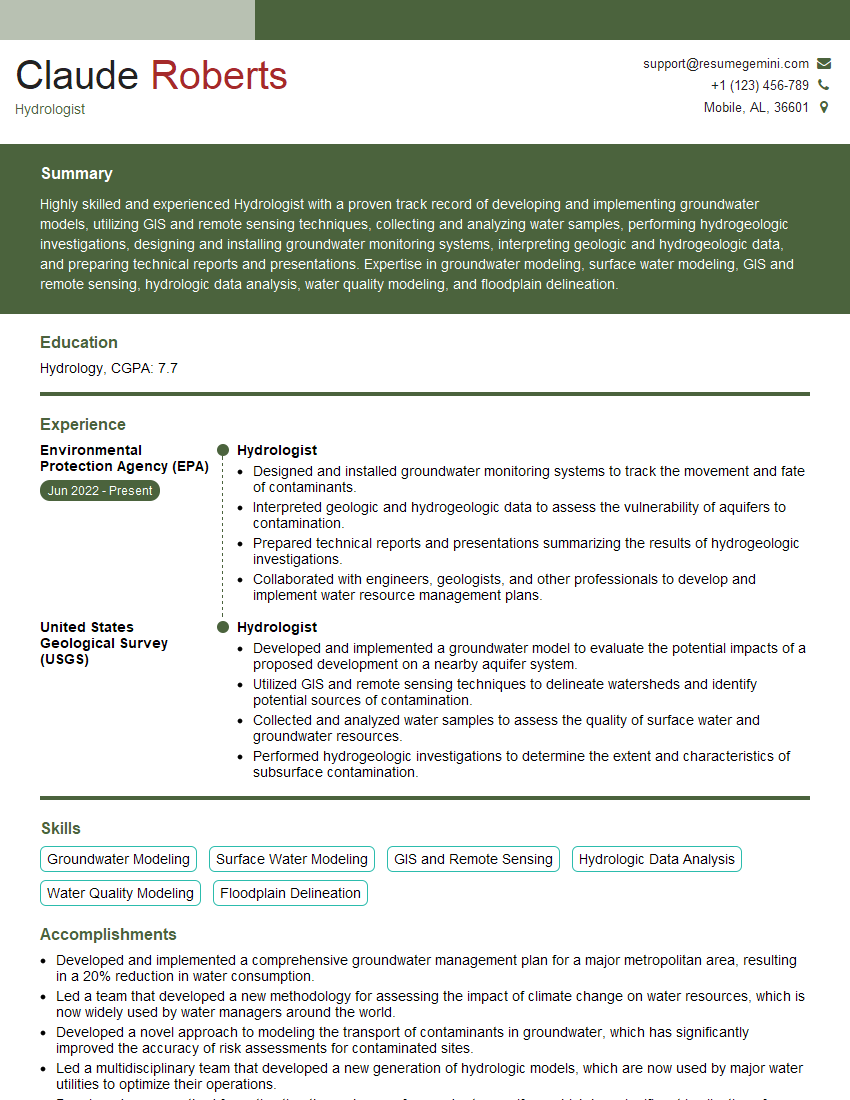
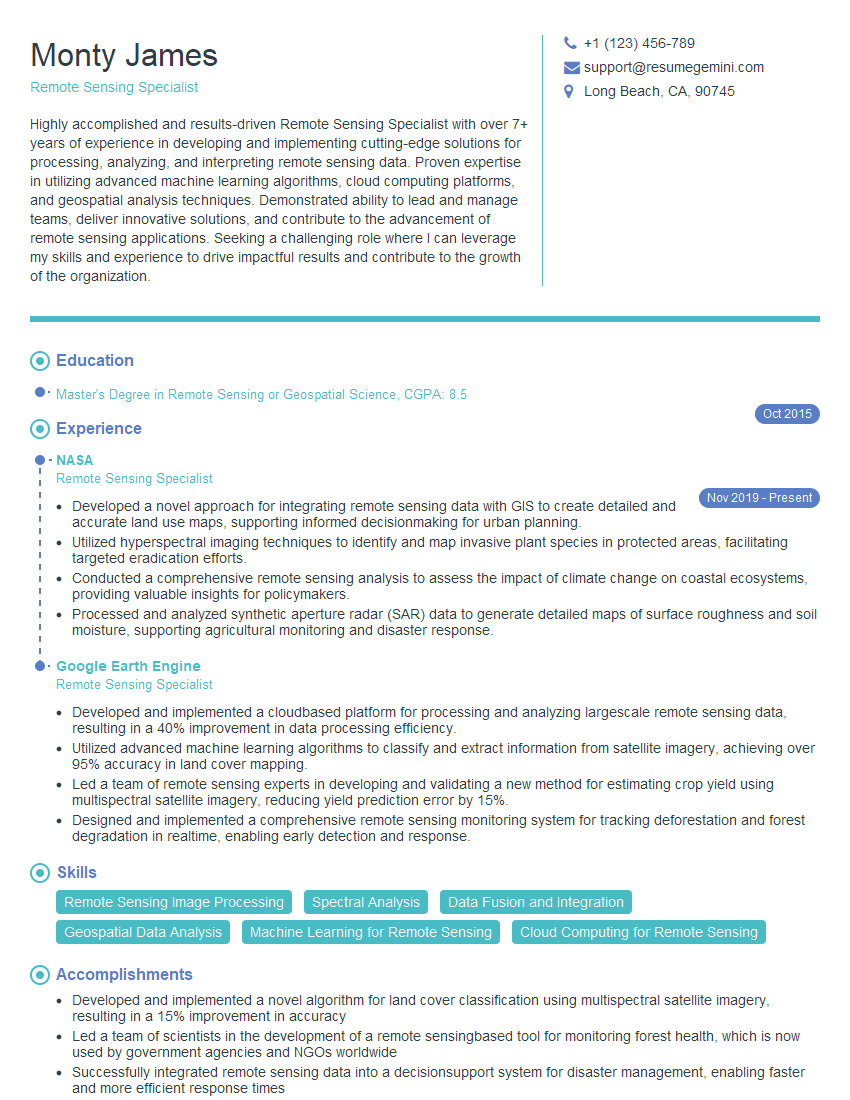
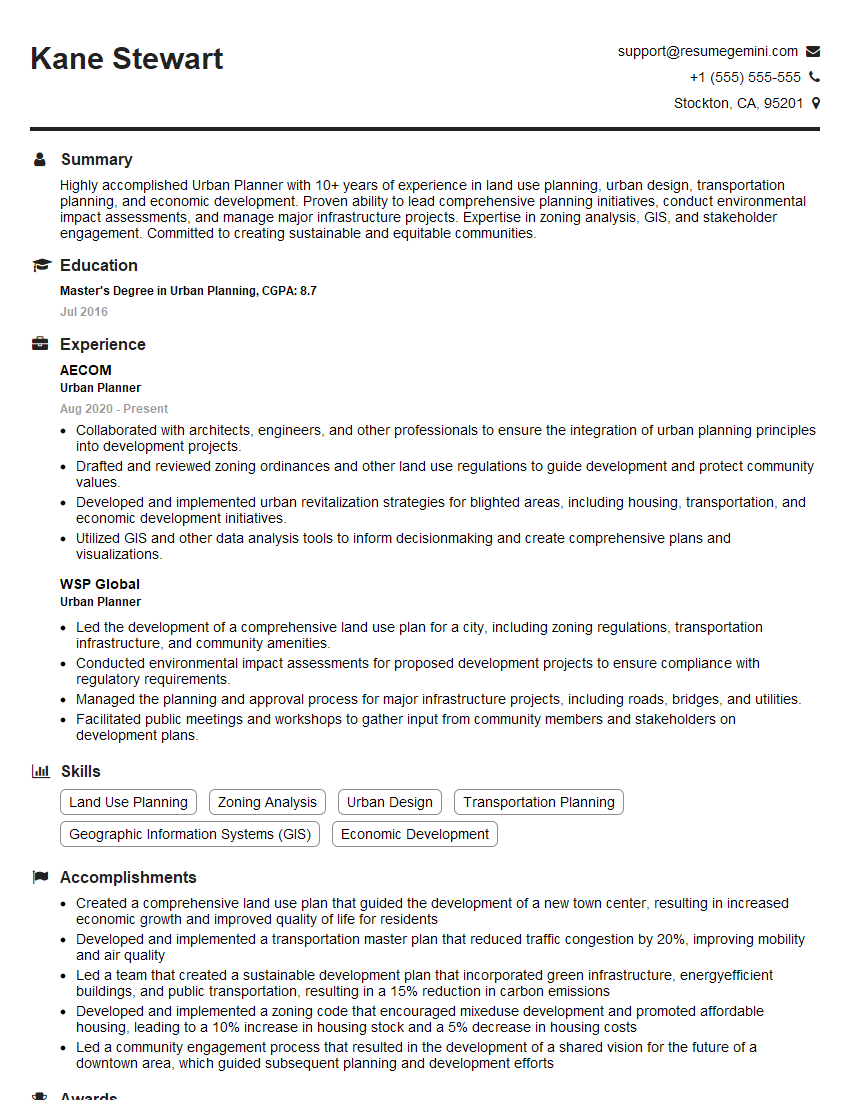
Mastering Land Navigation and Terrain Analysis is crucial for career advancement in fields demanding spatial awareness, problem-solving, and strategic thinking. These skills are highly valued across various sectors, opening doors to exciting opportunities and leadership roles. To maximize your job prospects, crafting an ATS-friendly resume is essential. ResumeGemini is a trusted resource to help you build a professional resume that highlights your unique skills and experience. We provide examples of resumes tailored to Land Navigation and Terrain Analysis to guide you. Invest in your future; build a strong resume today.
Explore more articles
Users Rating of Our Blogs
Share Your Experience
We value your feedback! Please rate our content and share your thoughts (optional).
What Readers Say About Our Blog
Hello,
We found issues with your domain’s email setup that may be sending your messages to spam or blocking them completely. InboxShield Mini shows you how to fix it in minutes — no tech skills required.
Scan your domain now for details: https://inboxshield-mini.com/
— Adam @ InboxShield Mini
Reply STOP to unsubscribe
Hi, are you owner of interviewgemini.com? What if I told you I could help you find extra time in your schedule, reconnect with leads you didn’t even realize you missed, and bring in more “I want to work with you” conversations, without increasing your ad spend or hiring a full-time employee?
All with a flexible, budget-friendly service that could easily pay for itself. Sounds good?
Would it be nice to jump on a quick 10-minute call so I can show you exactly how we make this work?
Best,
Hapei
Marketing Director
Hey, I know you’re the owner of interviewgemini.com. I’ll be quick.
Fundraising for your business is tough and time-consuming. We make it easier by guaranteeing two private investor meetings each month, for six months. No demos, no pitch events – just direct introductions to active investors matched to your startup.
If youR17;re raising, this could help you build real momentum. Want me to send more info?
Hi, I represent an SEO company that specialises in getting you AI citations and higher rankings on Google. I’d like to offer you a 100% free SEO audit for your website. Would you be interested?
Hi, I represent an SEO company that specialises in getting you AI citations and higher rankings on Google. I’d like to offer you a 100% free SEO audit for your website. Would you be interested?
good
