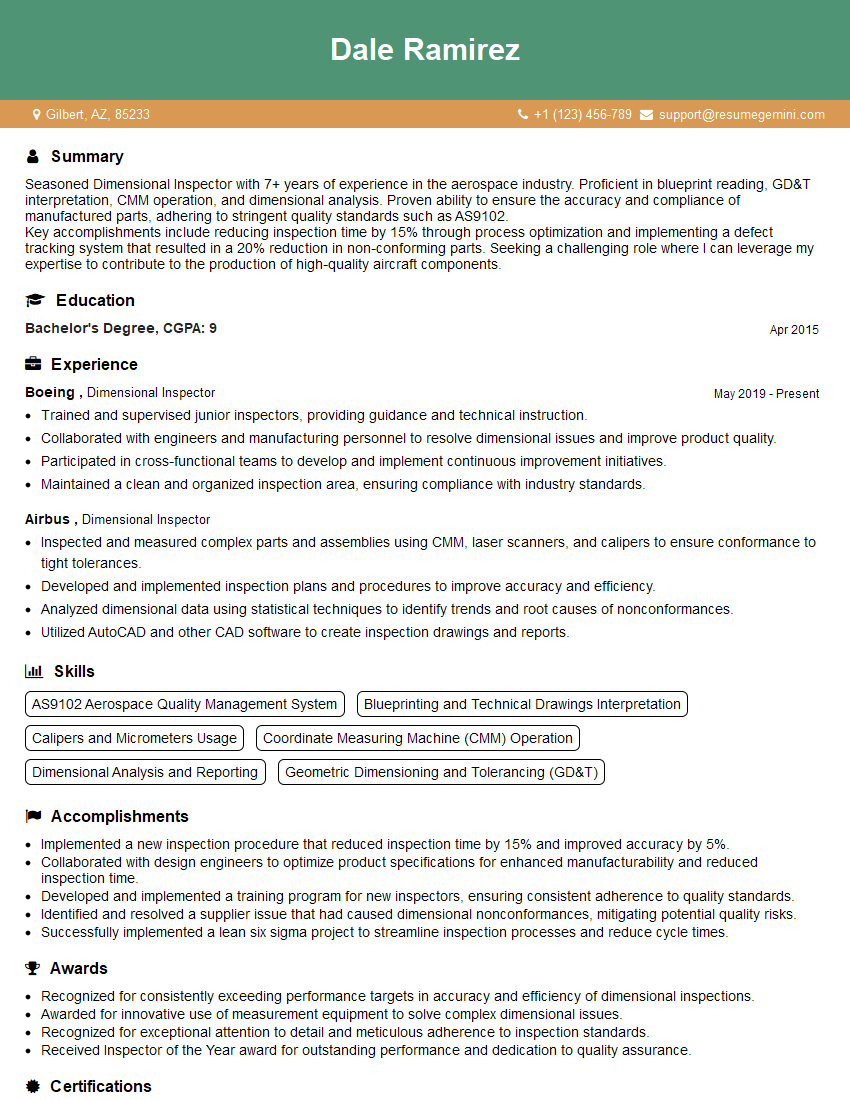
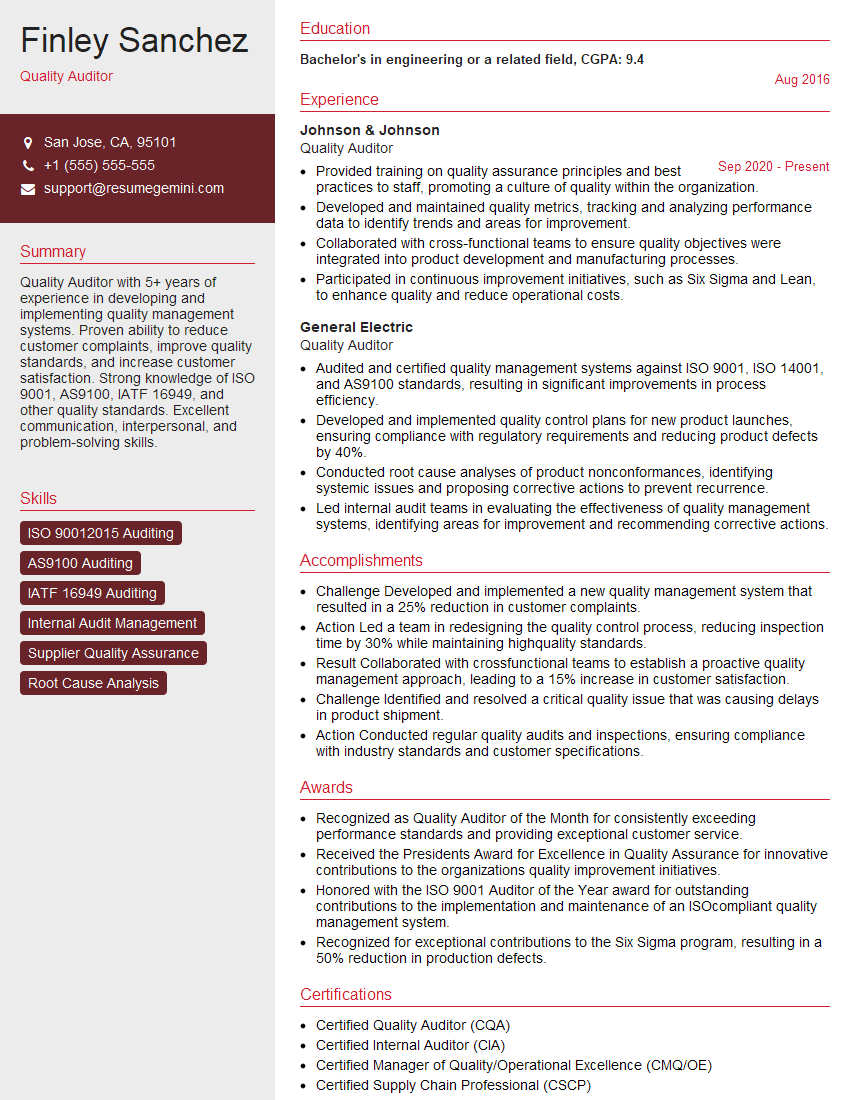
Are you ready to stand out in your next interview? Understanding and preparing for Part Inspection and Quality Assurance interview questions is a game-changer. In this blog, we’ve compiled key questions and expert advice to help you showcase your skills with confidence and precision. Let’s get started on your journey to acing the interview.
Questions Asked in Part Inspection and Quality Assurance Interview
Q 1. Explain the difference between Quality Assurance and Quality Control.
Quality Assurance (QA) and Quality Control (QC) are often confused, but they represent distinct yet complementary approaches to ensuring product quality. Think of QA as the prevention strategy and QC as the detection strategy.
Quality Assurance focuses on establishing a robust system to prevent defects from occurring in the first place. This involves defining processes, setting standards, and implementing controls throughout the entire manufacturing process. It’s proactive, aiming to build quality into the product from the design stage onwards. For example, a QA program might involve regular audits of manufacturing processes, employee training on quality procedures, and rigorous supplier selection.
Quality Control, on the other hand, is a reactive process focused on identifying and correcting defects after they have been produced. This involves inspection, testing, and analysis to ensure products meet specified requirements. QC uses methods like visual inspection, dimensional measurements, and testing to verify that each item conforms to standards. For example, a QC process might involve inspecting finished parts for surface imperfections or measuring dimensions against tolerance limits.
In essence, QA aims to prevent problems, while QC aims to find and fix them. Both are crucial for delivering high-quality products consistently.
Q 2. Describe your experience with various inspection methods (visual, dimensional, etc.).
Throughout my career, I’ve extensively used various inspection methods, adapting my approach depending on the part and its requirements. Visual inspection is fundamental, often the first step in any inspection process. This involves carefully examining the part for surface imperfections like scratches, dents, cracks, or discoloration. I use magnification tools like microscopes and borescopes when needed to detect minute defects. I’ve found that good lighting is crucial for effective visual inspection.
Dimensional inspection is another key method. This involves measuring the part’s dimensions (length, width, height, diameter, etc.) to ensure they fall within the specified tolerance limits. This frequently involves using precision measurement tools such as calipers, micrometers, height gauges, and coordinate measuring machines (CMMs). I have significant experience using CMMs to inspect complex geometries and large batches of parts, ensuring accuracy and repeatability.
Beyond these, I’m proficient in other methods such as functional testing (checking if a component works as intended), material testing (verifying the properties of the materials used), and destructive testing (in controlled settings, to determine ultimate strength or failure points). My experience spans diverse industries and part types, allowing me to choose the optimal inspection approach for each situation.
Q 3. How do you handle discrepancies found during part inspection?
Discrepancies found during part inspection are handled methodically and systematically. My approach always prioritizes thorough documentation and clear communication.
- Identify and Document: First, I precisely document the discrepancy, including its type, location, severity, and any relevant observations. I use clear, concise language and include photographs or sketches where appropriate.
- Root Cause Analysis: Next, I try to understand the root cause of the discrepancy. This may involve reviewing manufacturing processes, examining the equipment used, or interviewing operators. The goal is to prevent similar discrepancies from happening again.
- Classification and Action: Discrepancies are classified based on their severity (minor, major, critical). Minor discrepancies may be acceptable depending on the application. Major and critical discrepancies necessitate immediate action, which could involve rejecting the part, initiating corrective action, or performing further investigations.
- Corrective and Preventive Actions (CAPA): Implementing CAPA is crucial. This involves taking steps to correct the immediate problem and putting measures in place to prevent its recurrence. This could include adjustments to manufacturing processes, equipment maintenance, or operator retraining.
- Communication and Reporting: I ensure that all stakeholders (supervisors, engineers, customers) are promptly and clearly informed about the discrepancy, its root cause, the corrective actions taken, and the overall impact.
This structured approach ensures that discrepancies are not just identified but also resolved effectively, preventing future quality issues.
Q 4. What are your preferred measurement tools and techniques?
My preferred measurement tools and techniques depend heavily on the complexity and features of the part being inspected. For simple measurements, I regularly use vernier calipers and micrometers for precise linear dimensions. For angles, I utilize protractors and sine bars. When dealing with complex geometries or large batches, coordinate measuring machines (CMMs) are invaluable. CMMs provide highly accurate, automated measurements and generate detailed reports.
Beyond these, I’m proficient with various optical measuring instruments, such as optical comparators for precise profile comparison and laser scanners for surface analysis and 3D modeling. The choice of technique hinges on factors such as accuracy requirements, part complexity, available resources, and the volume of parts needing inspection. In all cases, proper calibration and maintenance of instruments are crucial to guarantee reliable and accurate results.
Q 5. Explain your understanding of statistical process control (SPC).
Statistical Process Control (SPC) is a powerful methodology for monitoring and controlling the variability within a manufacturing process. It uses statistical techniques to identify trends, patterns, and deviations from the desired process average. Think of it as a sophisticated early warning system for quality problems.
SPC uses control charts, which graphically display data collected over time. These charts show the process mean and variability, allowing us to detect shifts in the process that might indicate emerging quality issues. Common control charts include X-bar and R charts (for monitoring the average and range of measurements) and p-charts (for monitoring the proportion of non-conforming units). By analyzing these charts, we can determine if the process is in control (stable and predictable) or out of control (indicating the presence of assignable causes of variation).
The key benefit of SPC is its proactive nature. It allows us to identify and address problems before they lead to significant numbers of non-conforming parts. This translates to reduced waste, improved efficiency, and increased customer satisfaction. For example, if a control chart shows a pattern of increasing variability, it indicates the need for investigation, perhaps maintenance of equipment or improvement of operator training.
Q 6. How do you determine the appropriate sampling plan for a given inspection?
Choosing the right sampling plan is crucial for efficient and effective inspection. The optimal plan balances the cost of inspection with the risk of accepting non-conforming parts. Several factors influence the choice:
- Acceptable Quality Limit (AQL): This represents the maximum percentage of defective parts that is considered acceptable in a lot (batch of parts).
- Lot Size: The number of parts in the batch being inspected.
- Inspection Level: This dictates the amount of sampling required; stricter levels necessitate larger sample sizes.
- Type of Inspection: Different inspection types (e.g., visual, dimensional) may require different sampling approaches.
- Cost Considerations: The cost of inspection should be balanced against the risk of accepting bad parts.
Standard sampling plans, such as those defined in MIL-STD-105E or ANSI/ASQ Z1.4, provide pre-defined sample sizes based on AQL, lot size, and inspection level. I use these standards as a starting point, but always consider the specific requirements of the part and the potential consequences of accepting defective parts. Sometimes, a 100% inspection might be necessary for critical components, despite higher costs.
Ultimately, the goal is to select a sampling plan that provides sufficient confidence in the quality of the lot while minimizing inspection time and cost.
Q 7. Describe your experience with different types of Nondestructive Testing (NDT).
My experience with Nondestructive Testing (NDT) methods is substantial, and I’ve utilized several techniques throughout my career. NDT methods allow us to evaluate the integrity of parts without causing damage, providing valuable insights into internal flaws or defects.
- Ultrasonic Testing (UT): This uses high-frequency sound waves to detect internal flaws like cracks, voids, or inclusions. I’ve utilized UT extensively in inspecting welds, castings, and other components where internal integrity is paramount.
- Radiographic Testing (RT): This involves using X-rays or gamma rays to create images of the internal structure of parts. RT helps detect internal cracks, porosity, and other defects. This method is particularly useful for inspecting complex geometries and identifying subtle flaws.
- Magnetic Particle Inspection (MPI): This method is used for detecting surface and near-surface defects in ferromagnetic materials. A magnetic field is applied, and magnetic particles are used to visualize cracks or discontinuities.
- Liquid Penetrant Inspection (LPI): LPI is used to detect surface-breaking flaws in various materials. A penetrating liquid is applied, and excess liquid is removed, revealing flaws as the liquid bleeds out.
The choice of NDT method depends on the material of the part, the type of defect expected, and the accessibility of the component. I’m comfortable interpreting the results from these tests and determining the significance of any detected flaws, always ensuring compliance with relevant safety standards.
Q 8. How do you document your inspection findings?
Documenting inspection findings is crucial for traceability and continuous improvement. My approach involves a multi-layered system ensuring accuracy and completeness. It starts with a clear and concise inspection report. This report includes a unique identification number for the part and batch, the date and time of inspection, the inspector’s name and credentials, a detailed description of the inspection method used, and most importantly, a precise record of any defects found. I use a standardized format which includes predefined defect categories to ensure consistency across inspections.
For visual defects, I often include high-resolution images or videos, clearly highlighting the areas of concern. For dimensional defects, I record the measured values and compare them against the specifications, clearly noting any deviations. This data is typically entered into a database that allows for easy retrieval and analysis. The database is linked to our quality management system, further enhancing traceability and allowing for the generation of comprehensive quality reports.
For example, if I find a scratch on a machined part, I would document it with a photograph, noting its location, size, and depth. If a part is out of tolerance for a critical dimension, I would record the measured value, the tolerance limit, and the deviation. Finally, all reports are reviewed by a supervisor before being archived.
Q 9. How do you prioritize inspection tasks in a high-volume production environment?
Prioritizing inspection tasks in a high-volume environment demands a strategic approach. We employ a risk-based prioritization system, focusing our efforts on parts and processes with the highest potential impact on product quality and safety. This system considers several factors. First, we identify critical characteristics defined in the design specifications. Parts with critical dimensions or functionalities are inspected more frequently. Second, historical data plays a significant role. Parts or processes with a higher defect rate in the past receive increased attention. Third, we consider the potential consequences of a defect. A failure in a safety-critical component requires more stringent inspection than a cosmetic flaw.
We utilize statistical process control (SPC) techniques to monitor production processes. Control charts help identify trends and potential out-of-control situations, guiding our inspection efforts. For instance, if a control chart indicates an upward trend in a critical dimension, we would increase the frequency of inspection for that specific part. Furthermore, we implement a sampling plan, allowing us to inspect a statistically representative subset of the production. The sampling plan is carefully designed to ensure that a sufficient number of parts are inspected to detect defects at an acceptable level of risk. This combination of risk assessment, historical data, SPC, and sampling plans ensures efficient and effective prioritization in a high-volume production setting.
Q 10. What is your experience with GD&T (Geometric Dimensioning and Tolerancing)?
Geometric Dimensioning and Tolerancing (GD&T) is fundamental to my work. I am proficient in interpreting and applying GD&T symbols and notations to ensure parts meet the required specifications. My understanding encompasses the basic geometric controls like flatness, straightness, circularity, cylindricity, and positional tolerances. I also have experience with advanced concepts such as profile tolerances and runout controls. I utilize various measuring instruments, including CMMs (Coordinate Measuring Machines) and optical comparators, to verify GD&T requirements. The use of GD&T ensures clear communication between designers and manufacturers, minimizing ambiguity and potential misunderstandings.
For instance, a drawing might specify a hole’s position relative to a datum feature using a positional tolerance zone. I would utilize a CMM to measure the hole’s actual position and verify whether it falls within the specified tolerance zone. This eliminates ambiguity about acceptable variations in hole location. Furthermore, I understand the implications of datum references and how they affect the interpretation of tolerances. This knowledge ensures accurate and reliable part inspections.
Q 11. Explain your understanding of ISO 9001 standards.
ISO 9001 is an internationally recognized standard for quality management systems. My understanding extends to its key principles, including customer focus, leadership, engagement of people, process approach, improvement, evidence-based decision making, and relationship management. In my previous roles, I’ve actively participated in implementing and maintaining ISO 9001 compliant systems. This includes documenting procedures, conducting internal audits, and participating in management reviews. The standard’s emphasis on continuous improvement is particularly relevant to my work in part inspection, driving us to constantly refine our processes and minimize defects. A strong understanding of ISO 9001 ensures consistency and reliability in all our quality assurance activities.
For example, a key aspect of ISO 9001 is the control of non-conforming products. This involves clearly defining procedures for identifying, handling, and correcting defects – something I regularly put into practice. The standard’s focus on documentation also ensures complete traceability of every inspection, making quality control and continuous improvement an ongoing process. The standard’s structured approach ensures that quality is not just an afterthought but is integrated throughout the entire manufacturing lifecycle.
Q 12. How do you calibrate your measurement equipment?
Calibration of measurement equipment is paramount to ensure the accuracy and reliability of our inspection results. We follow a rigorous calibration schedule for all our equipment, using traceable standards. This means that the standards used for calibration are themselves calibrated against higher-order standards, ultimately linking back to national or international standards. The calibration process is meticulously documented, including the equipment’s identification number, the date of calibration, the results, and the names of the personnel involved. Any out-of-tolerance equipment is immediately taken out of service and repaired or replaced before being re-calibrated. We utilize both internal and external calibration services, depending on the complexity and type of equipment.
For example, our micrometers are calibrated annually against certified gauge blocks. CMMs undergo more frequent calibrations, often quarterly, using specialized calibration spheres. Calibration certificates are maintained for each instrument, serving as evidence of compliance and traceability. Failure to maintain a calibration program would undermine the integrity of our inspection process and could lead to the production of non-conforming parts.
Q 13. How do you handle non-conforming parts?
Handling non-conforming parts requires a systematic approach that ensures the safety and quality of our products. The first step is to isolate the non-conforming parts to prevent their inadvertent use or shipment. Detailed records are created, documenting the type and extent of the non-conformity, the part’s identification number, and the date of discovery. A thorough investigation then follows to identify the root cause of the non-conformity. Depending on the severity and nature of the defect, corrective and preventive actions (CAPA) are implemented to prevent recurrence. These actions could involve process adjustments, equipment maintenance, or operator retraining.
The disposition of the non-conforming parts is determined based on the severity of the defect and its potential impact. Options include repair, rework, scrap, or concession. Concessions involve obtaining approval to use the parts despite the non-conformity, but only after careful assessment of the risks involved. All actions related to non-conforming parts are meticulously documented, with the records being reviewed by quality management personnel. This ensures traceability and helps to identify and address systemic issues that might be contributing to non-conformances.
Q 14. Describe your experience with root cause analysis.
Root cause analysis (RCA) is essential for preventing the recurrence of defects. I am proficient in various RCA methodologies, including the 5 Whys, Fishbone diagrams (Ishikawa diagrams), and Fault Tree Analysis. My approach starts with clearly defining the problem and gathering all relevant data. This often involves interviewing personnel, reviewing inspection reports, and examining the defective parts. The chosen RCA method is then applied to systematically identify the underlying causes, going beyond superficial symptoms. The goal is to pinpoint the root cause(s) and not just the immediate cause of the defect.
For example, if a batch of parts exhibits excessive surface roughness, a 5 Whys analysis might reveal that the cause is worn cutting tools, which resulted from inadequate maintenance procedures, which in turn were a consequence of insufficient training for maintenance personnel. Once the root cause is identified, effective corrective and preventive actions can be implemented to prevent recurrence. These actions might include replacing the worn tools, implementing a more rigorous maintenance schedule, and providing additional training to maintenance personnel. The entire RCA process is meticulously documented, ensuring that lessons learned are properly captured and disseminated.
Q 15. How do you ensure the accuracy and reliability of your inspection data?
Ensuring accurate and reliable inspection data is paramount in maintaining product quality. My approach is multifaceted and involves several key strategies. First, I meticulously calibrate all measuring equipment according to manufacturer specifications and maintain detailed calibration records. This ensures the instruments themselves are providing accurate readings. Second, I follow standardized procedures for each inspection, documented in work instructions, checklists, and quality control plans. This minimizes human error and ensures consistency across multiple inspectors. Third, I employ statistical process control (SPC) techniques to monitor the inspection process itself. This involves tracking key metrics and using control charts to identify trends and potential sources of variation. For instance, if I notice a sudden shift in the average measurement of a particular dimension, it might indicate a problem with the equipment or the production process, prompting a thorough investigation. Lastly, I perform regular audits of inspection records to verify accuracy and completeness, ensuring that all data is correctly documented and stored.
Imagine it like baking a cake: precise measurements (calibration), a tried-and-true recipe (standardized procedures), consistent oven temperature (SPC), and a final taste test (audits) all contribute to a perfectly baked cake – or in our case, consistently high-quality products.
Career Expert Tips:
- Ace those interviews! Prepare effectively by reviewing the Top 50 Most Common Interview Questions on ResumeGemini.
- Navigate your job search with confidence! Explore a wide range of Career Tips on ResumeGemini. Learn about common challenges and recommendations to overcome them.
- Craft the perfect resume! Master the Art of Resume Writing with ResumeGemini’s guide. Showcase your unique qualifications and achievements effectively.
- Don’t miss out on holiday savings! Build your dream resume with ResumeGemini’s ATS optimized templates.
Q 16. What software or systems are you familiar with for managing inspection data?
I’m proficient in several software and systems for managing inspection data. I have extensive experience with enterprise resource planning (ERP) systems like SAP and Oracle, which often integrate with quality management systems (QMS). These systems provide a centralized database for storing inspection records, managing non-conformances, and tracking corrective actions. I’m also familiar with specialized quality control software such as [Software Name 1] and [Software Name 2] which offer advanced features for data analysis, reporting, and visualization. For example, [Software Name 1] allows for the creation of custom reports that showcase key performance indicators (KPIs) related to inspection performance, enabling data-driven decision-making. Moreover, I have experience using measurement data acquisition systems that directly interface with Coordinate Measuring Machines (CMMs) to automate data collection and analysis. This reduces manual data entry and minimizes the risk of transcription errors.
Q 17. How do you communicate inspection results to stakeholders?
Communicating inspection results clearly and effectively to all stakeholders is critical. My approach is tailored to the audience and the nature of the findings. For routine inspections with no significant issues, a concise summary report is sufficient. This report typically includes key metrics, any minor deviations from specifications, and recommendations for process improvements. For critical issues or major non-conformances, I prepare a more detailed report, including photographic evidence, detailed dimensional measurements, and a root cause analysis. This report is often presented in a formal meeting with relevant stakeholders, allowing for open discussion and collaboration on corrective actions. I always prioritize clarity and avoid technical jargon when communicating with non-technical stakeholders, ensuring they understand the implications of the findings.
For example, if a client needs an update, a simple email with a summary of findings and a link to the full report is perfectly adequate. However, if a production line is experiencing significant defects, a presentation to management highlighting the root cause and corrective actions is necessary.
Q 18. Describe a time you had to resolve a complex quality issue.
In a previous role, we experienced a significant increase in the rejection rate of a particular component due to inconsistent surface finish. Initial investigations suggested a problem with the machining process, but closer examination revealed a more complex issue. The problem stemmed from a subtle change in the supplier’s raw material, which wasn’t immediately apparent through standard incoming inspection. Using a combination of techniques, including surface roughness measurement, microscopic analysis, and chemical composition analysis, we determined the root cause. We discovered a change in the alloy composition of the raw material resulting in a more brittle surface that was prone to scratching during machining. We collaborated with the supplier to address the issue, implementing a new material verification process and working with the supplier to revert to the original material specification. This proactive approach not only resolved the immediate problem but prevented similar issues in the future. This experience highlighted the importance of meticulous root cause analysis and effective communication between different departments and suppliers.
Q 19. What are your experience with different types of measuring equipment (e.g., calipers, micrometers, CMM)?
My experience with measuring equipment is comprehensive. I’m proficient in using various types of measuring instruments, from basic tools like calipers and micrometers to advanced equipment such as Coordinate Measuring Machines (CMMs). With calipers and micrometers, I’m adept at measuring linear dimensions with high precision, understanding the importance of proper techniques to minimize measurement errors. I’m experienced in using various types of CMMs, including both bridge-type and articulated-arm CMMs. I understand the principles of CMM operation, including probe selection, alignment procedures, and data acquisition. My skills extend to interpreting CMM reports and performing statistical analysis on the gathered measurement data. Furthermore, I’m familiar with other specialized equipment, like optical comparators, profilometers, and vision systems, depending on the inspection requirements of the part.
I’d consider my skillset here to be like a toolbox filled with many different tools, each uniquely suited for a particular task, from the simple screwdriver for basic measurements (calipers) to a high-powered drill for complex tasks (CMM).
Q 20. Explain your knowledge of different types of materials and their inspection requirements.
My knowledge of materials and their inspection requirements is extensive. I’m familiar with the properties and characteristics of various materials, including metals (ferrous and non-ferrous), plastics, ceramics, and composites. The inspection requirements vary greatly depending on the material and the intended application. For metals, common inspection methods include dimensional measurements, hardness testing, visual inspection for defects such as cracks or inclusions, and chemical composition analysis. Plastics require different approaches, often involving visual inspection, dimensional measurements, and testing for properties like tensile strength, impact resistance, and flexibility. Ceramics often require specialized inspection techniques to assess surface finish, porosity, and fracture toughness. Composite materials require advanced techniques such as ultrasonic testing, X-ray inspection, and destructive testing to evaluate internal structure and strength.
Understanding the specific requirements for each material is crucial for selecting the appropriate inspection methods and interpreting the results correctly. This knowledge allows me to effectively assess and ensure that the material is suitable for its intended use.
Q 21. Describe your experience using inspection reports and documentation.
Inspection reports and documentation are essential for traceability and quality control. I have extensive experience in creating, reviewing, and interpreting inspection reports. My reports are comprehensive, providing clear and concise information on the inspection findings, including dates, part numbers, inspection methods, and measurement results. I follow standardized formats and adhere to industry best practices for documentation. I understand the importance of maintaining accurate records, ensuring that all relevant information is captured and readily accessible. This is crucial for complying with industry regulations, for traceability in case of product recalls, and for continuous improvement efforts. I also understand the different types of documentation, including work instructions, quality control plans, and non-conformance reports, and how they all fit together to provide a complete picture of the quality system.
Think of it like a detective’s case file; each document, report, and measurement is a piece of evidence that contributes to the overall understanding of the product’s quality and history. A well-maintained file is crucial to solving any quality-related mysteries.
Q 22. How do you maintain a clean and organized inspection area?
Maintaining a clean and organized inspection area is paramount for efficient and accurate part inspection. Think of it like a surgeon’s operating room – a clean environment minimizes errors and prevents contamination. My approach is multi-faceted:
- 5S Methodology: I strictly adhere to the 5S principles (Sort, Set in Order, Shine, Standardize, Sustain). This involves regularly sorting through tools and materials, organizing them logically, cleaning the workspace thoroughly, standardizing procedures for storage and cleaning, and maintaining these standards consistently.
- Designated Storage: Each tool, gauge, and part has a designated location. This prevents loss, damage, and confusion. For example, micrometers are stored in a climate-controlled cabinet to prevent calibration drift, while inspection fixtures are organized on a dedicated rack.
- Regular Cleaning Schedule: A daily cleaning routine is essential. This includes wiping down surfaces, vacuuming, and emptying trash receptacles. More thorough cleaning, including equipment sterilization if applicable, is conducted weekly or as needed.
- Visual Management: Clear labeling of storage areas and work instructions promotes visual clarity and reduces errors. Using color-coded systems for different part types or inspection stages can also enhance efficiency.
- Waste Management: Proper disposal of waste materials, including scrap parts, packaging, and cleaning materials, is crucial. This prevents contamination and ensures environmental compliance.
By consistently implementing these strategies, I ensure a safe, efficient, and accurate inspection environment. In one instance, a meticulously organized workspace enabled me to quickly locate a critical gauge, preventing a significant delay in a crucial production run.
Q 23. Describe your experience with different types of surface finish inspection.
My experience encompasses a wide range of surface finish inspection techniques, including visual inspection, tactile inspection, and instrumental methods.
- Visual Inspection: This is the most basic method, involving careful visual examination of the part surface for imperfections such as scratches, dents, pits, and discoloration. Proper lighting and magnification tools, such as magnifying glasses or microscopes, are crucial for accurate assessment. I’m proficient in using various lighting techniques, including direct and raking light, to highlight surface imperfections.
- Tactile Inspection: This involves using the sense of touch to detect surface irregularities. I use gloved hands to carefully feel the surface for roughness, smoothness, or other textural variations. This is often combined with visual inspection for a more comprehensive assessment. For example, I would use tactile inspection to assess the smoothness of a machined part.
- Instrumental Methods: For precise quantification of surface finish, I have experience with various instrumental methods, including surface roughness measurement using profilometers and surface texture analysis using microscopes. These instruments provide objective data on surface characteristics, such as Ra (average roughness) and Rz (maximum height of the profile). I’m experienced in interpreting the data obtained from these instruments and relating it to relevant specifications.
I’ve successfully used these methods across diverse industries, from automotive to aerospace, adapting my techniques based on the specific requirements of the part and its application. For example, in aerospace applications, extremely high surface finish quality is often required, necessitating the use of advanced instrumental techniques.
Q 24. How do you ensure traceability in your inspection process?
Traceability in part inspection is essential for ensuring product quality and accountability throughout the manufacturing process. This is achieved by meticulously documenting every step of the inspection process. My approach incorporates several key elements:
- Unique Identification Numbers: Each part is identified with a unique serial number or tracking code that is recorded at each stage of the process, from raw material receipt to final inspection.
- Detailed Inspection Reports: Comprehensive inspection reports are generated for every part, detailing the inspection date, time, inspector’s identification, specific measurements, and any defects found. These reports are digitally stored and linked to the part’s unique identifier.
- Calibration Records: All measuring equipment undergoes regular calibration, and calibration certificates are meticulously maintained and linked to the inspection records. This ensures the accuracy of measurements taken.
- Digital Documentation and Databases: I utilize digital systems to record and store inspection data. This enhances data retrieval and analysis, enabling quick access to inspection history for any given part.
- Audit Trails: The system should incorporate audit trails to monitor and record all changes made to inspection data or reports, ensuring integrity and accountability.
By implementing these measures, we establish a clear and unbroken chain of custody for each part, enabling easy tracing of its journey through the production process and facilitating efficient problem-solving in case of quality issues. For instance, if a defect is discovered in a finished product, traceability allows us to pinpoint the stage at which the defect was introduced.
Q 25. Explain your understanding of the different types of quality audits.
Quality audits are systematic and independent examinations to determine the effectiveness of a quality management system. Different types of audits serve distinct purposes:
- First-Party Audits (Internal Audits): These are conducted by personnel within the organization to assess conformance to its own quality management system. This allows for proactive identification of areas for improvement before external audits.
- Second-Party Audits (Supplier Audits): These are conducted by a customer or client to evaluate the quality management system of a supplier or vendor. This helps ensure that the supplier meets the customer’s quality requirements.
- Third-Party Audits (Certification Audits): These are conducted by independent, accredited certification bodies to determine conformity to specific standards, such as ISO 9001. This provides independent verification of a company’s quality management system and can enhance credibility and customer confidence.
- Process Audits: These focus on specific processes within the organization to identify inefficiencies or non-conformances. This is a targeted approach to improvement within a specific area.
- Product Audits: These evaluate the quality of the finished product against defined specifications and standards. These audits might involve physical inspection, testing, or analysis.
Understanding the different audit types is crucial for planning, conducting, and responding effectively to quality audits. Each type demands different preparation and documentation strategies.
Q 26. Describe your experience with corrective and preventive actions (CAPA).
Corrective and Preventive Actions (CAPA) is a systematic process to address quality issues, prevent recurrence, and improve the quality management system. My experience with CAPA involves a structured approach:
- Defect Identification and Analysis: Thorough investigation of the root cause of the non-conformity is critical. This involves data collection, analysis, and interviews with relevant personnel to understand the contributing factors.
- Corrective Action: Implementing immediate actions to resolve the specific non-conformity. This may involve rework, scrap, or other immediate fixes.
- Preventive Action: Developing and implementing long-term solutions to prevent recurrence of the non-conformity. This may involve process improvements, changes in procedures, or employee training.
- Verification and Validation: Confirming that the corrective and preventive actions were effective in resolving the issue and preventing recurrence. This often involves monitoring and data analysis to verify effectiveness.
- Documentation and Reporting: Meticulous documentation of the entire CAPA process, including root cause analysis, corrective and preventive actions, verification, and any follow-up measures. This documentation is essential for continuous improvement and audit readiness.
In one instance, a recurring defect in a specific part led to a comprehensive CAPA investigation. We identified a poorly calibrated machine as the root cause. Implementing corrective actions (machine recalibration) and preventive actions (a more rigorous calibration schedule and enhanced operator training) eliminated the defect, significantly improving product quality.
Q 27. What are your strengths and weaknesses as a part inspector?
My strengths as a part inspector lie in my meticulous attention to detail, my proficiency in using various inspection tools and techniques, and my ability to work effectively both independently and as part of a team. I am also adept at interpreting technical drawings and specifications and possess strong analytical skills to identify root causes of defects.
One area for improvement is my familiarity with newer, automated inspection technologies. While I’m competent with traditional methods, enhancing my skills in this area would further enhance my efficiency and capabilities. I’m actively pursuing training opportunities to address this.
Q 28. Where do you see yourself in 5 years in the field of Quality Assurance?
In five years, I envision myself in a senior role within quality assurance, possibly as a quality engineer or a quality manager. My goal is to leverage my experience and expertise to lead teams, develop and implement advanced quality control strategies, and drive continuous improvement initiatives. I am particularly interested in exploring the application of data analytics and automation in quality assurance to enhance efficiency and effectiveness. This would involve mentoring junior team members and contributing to the overall growth of the quality function within the organization.
Key Topics to Learn for Part Inspection and Quality Assurance Interview
- Understanding Quality Standards: Familiarize yourself with industry-specific standards (e.g., ISO 9001) and their practical application in part inspection. This includes understanding tolerances, specifications, and drawing interpretation.
- Inspection Methods and Techniques: Master various inspection techniques, including visual inspection, dimensional measurement (using calipers, micrometers, etc.), and the use of specialized equipment like CMMs (Coordinate Measuring Machines). Be prepared to discuss the strengths and limitations of each method.
- Statistical Process Control (SPC): Understand the basic principles of SPC, including control charts (e.g., X-bar and R charts) and their use in identifying and preventing defects. Be ready to discuss how SPC contributes to continuous improvement.
- Root Cause Analysis (RCA): Practice identifying the root causes of defects using techniques like the 5 Whys or fishbone diagrams. Demonstrate your ability to analyze data and propose effective corrective actions.
- Documentation and Reporting: Understand the importance of accurate and thorough documentation. Be prepared to discuss your experience with inspection reports, non-conformance reports, and corrective action requests.
- Problem-Solving and Decision-Making: Showcase your ability to think critically and make informed decisions under pressure. Prepare examples demonstrating your problem-solving skills in a quality assurance context.
- Quality Management Systems (QMS): Gain a comprehensive understanding of how QMS principles are implemented in a manufacturing or industrial setting. This includes processes for auditing, continuous improvement, and corrective actions.
Next Steps
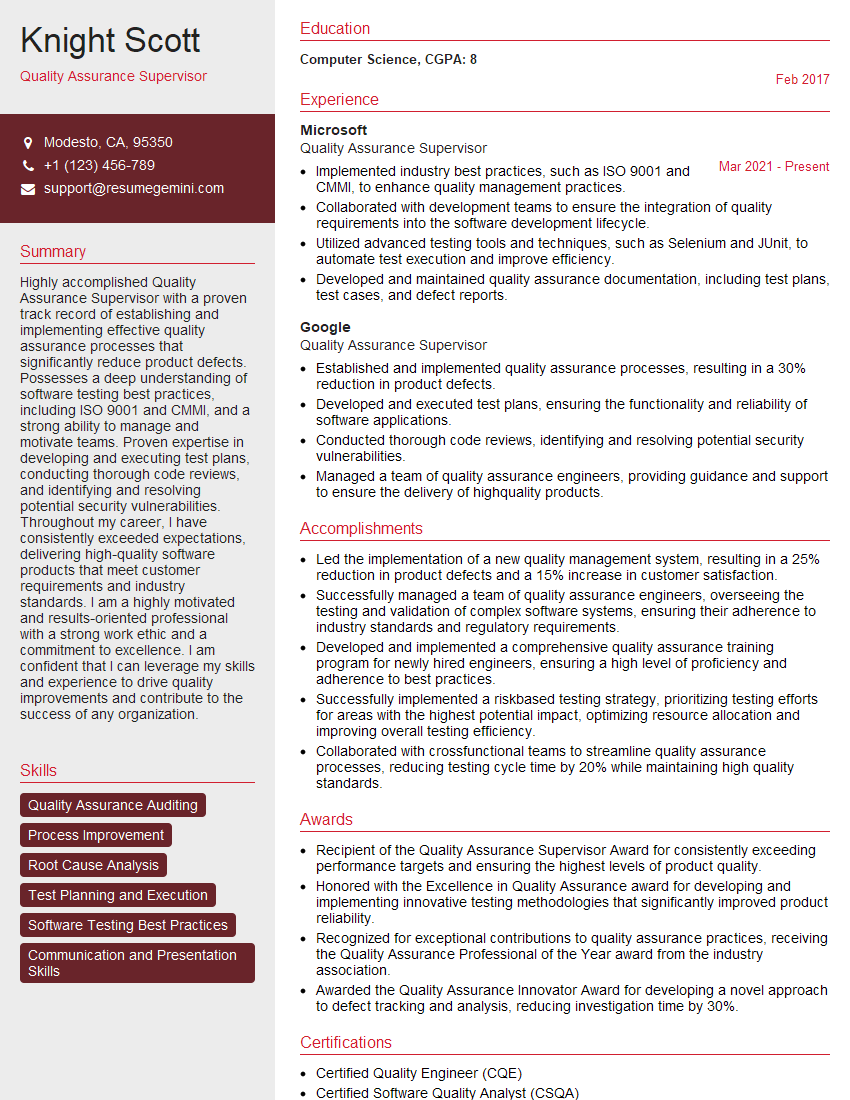
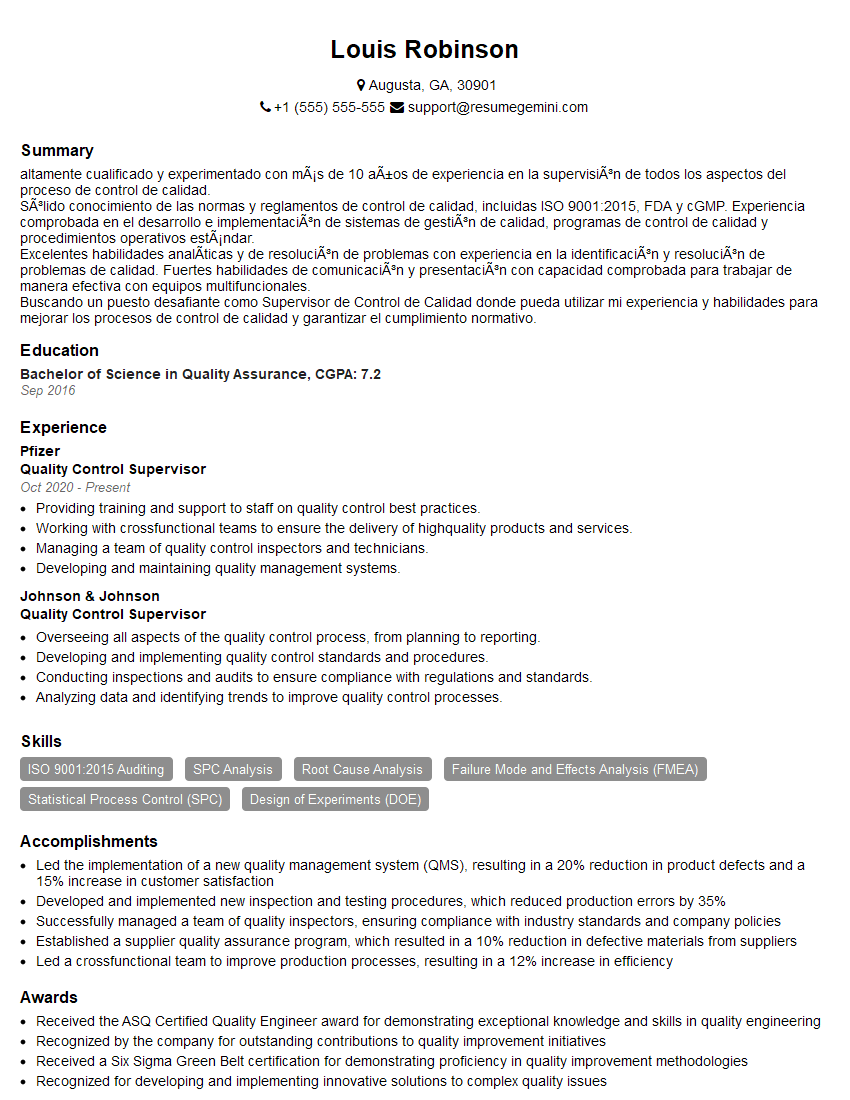
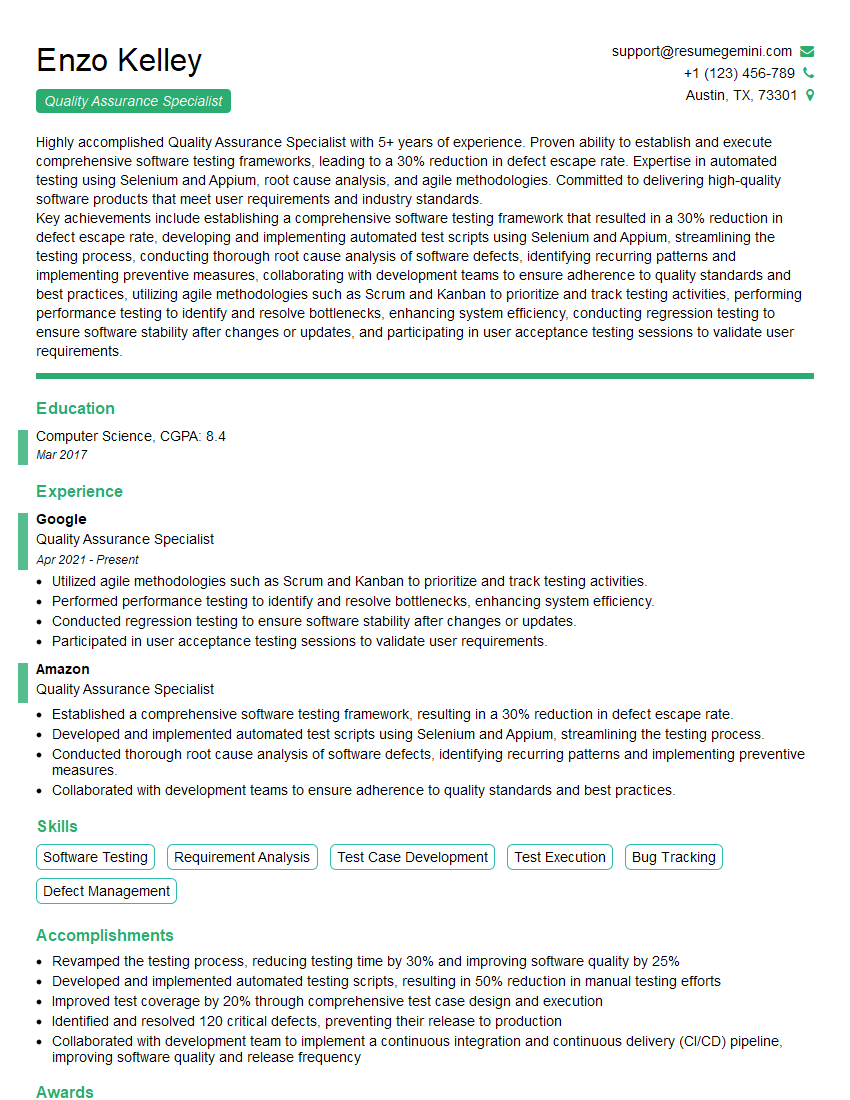
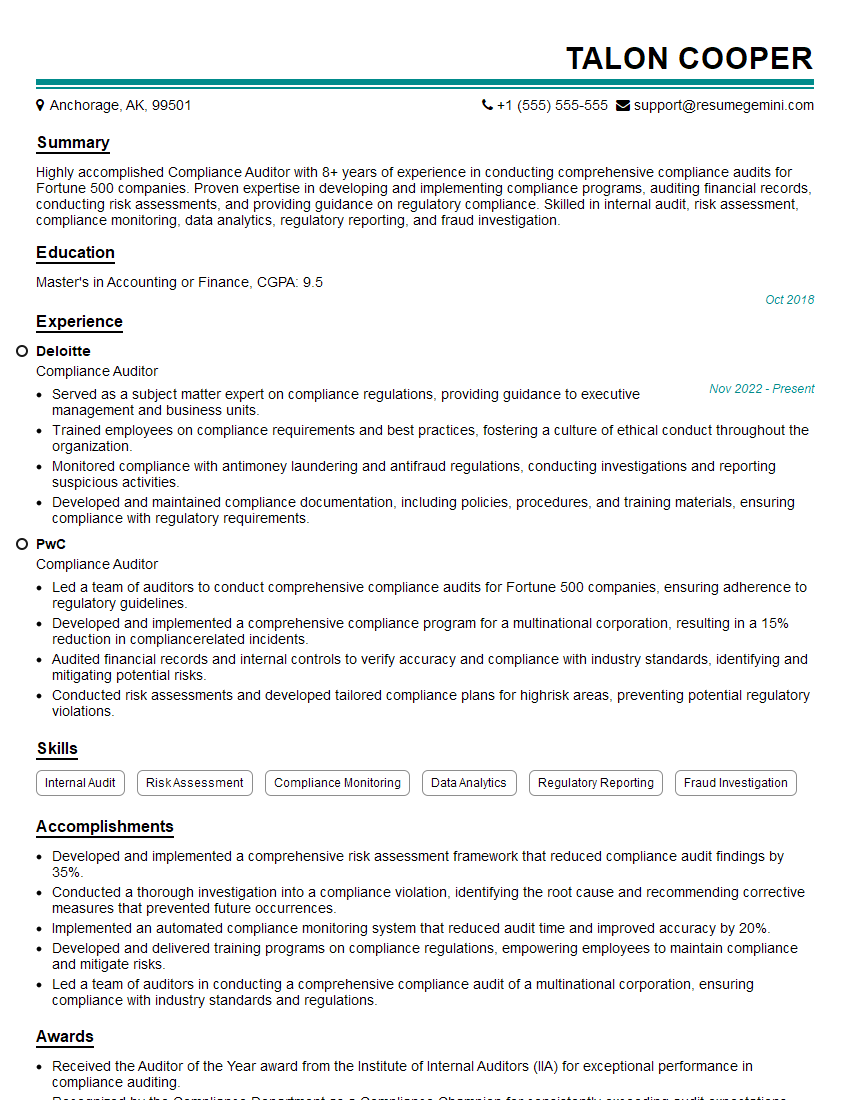
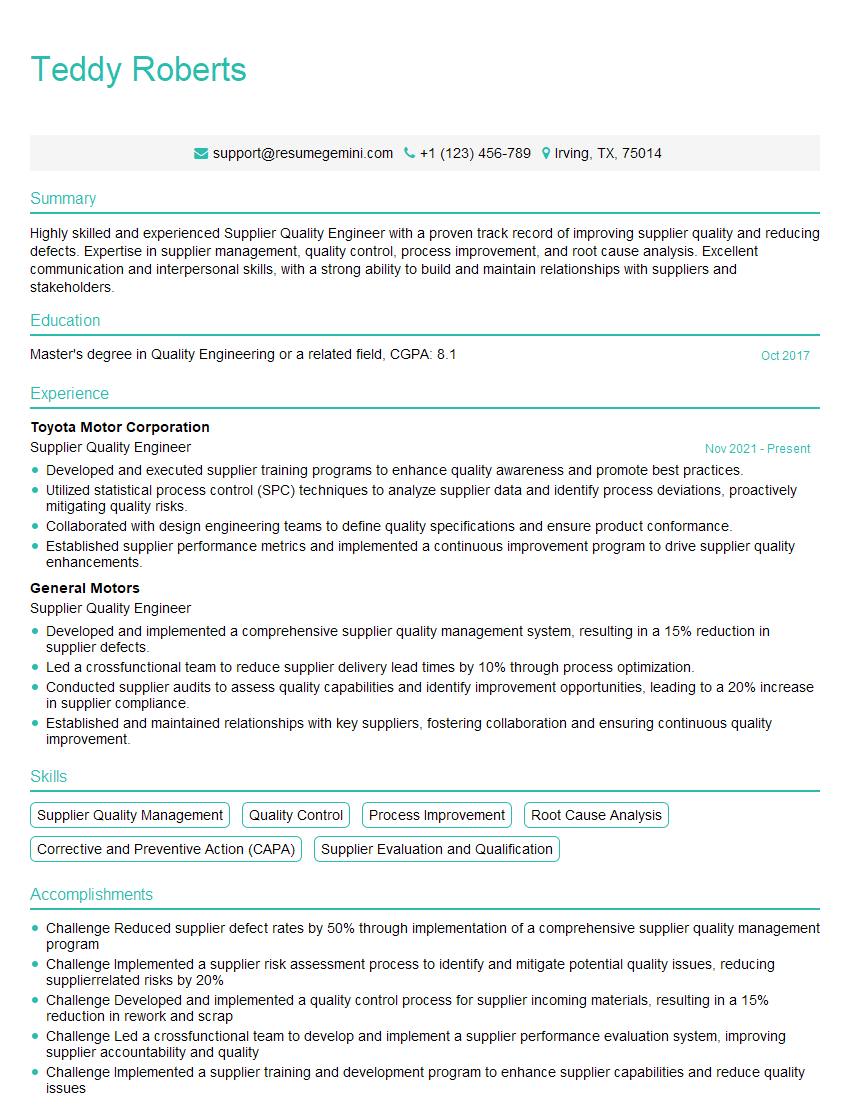
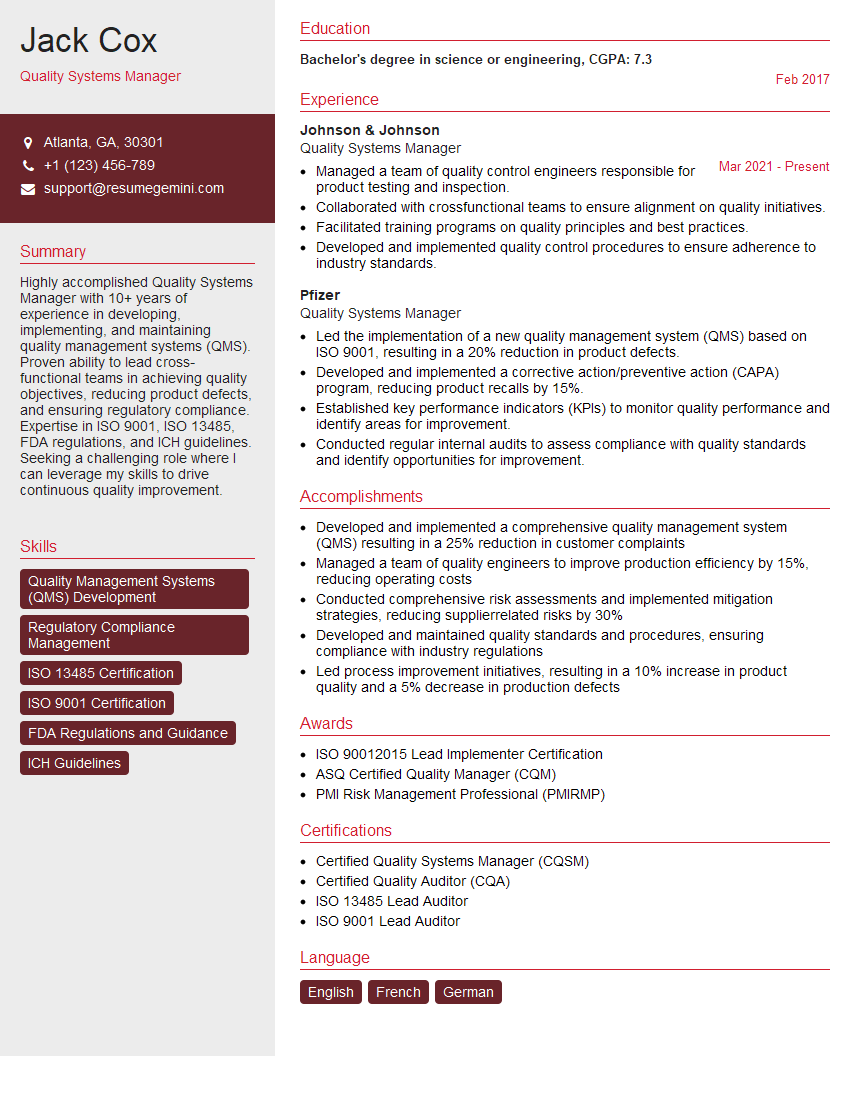
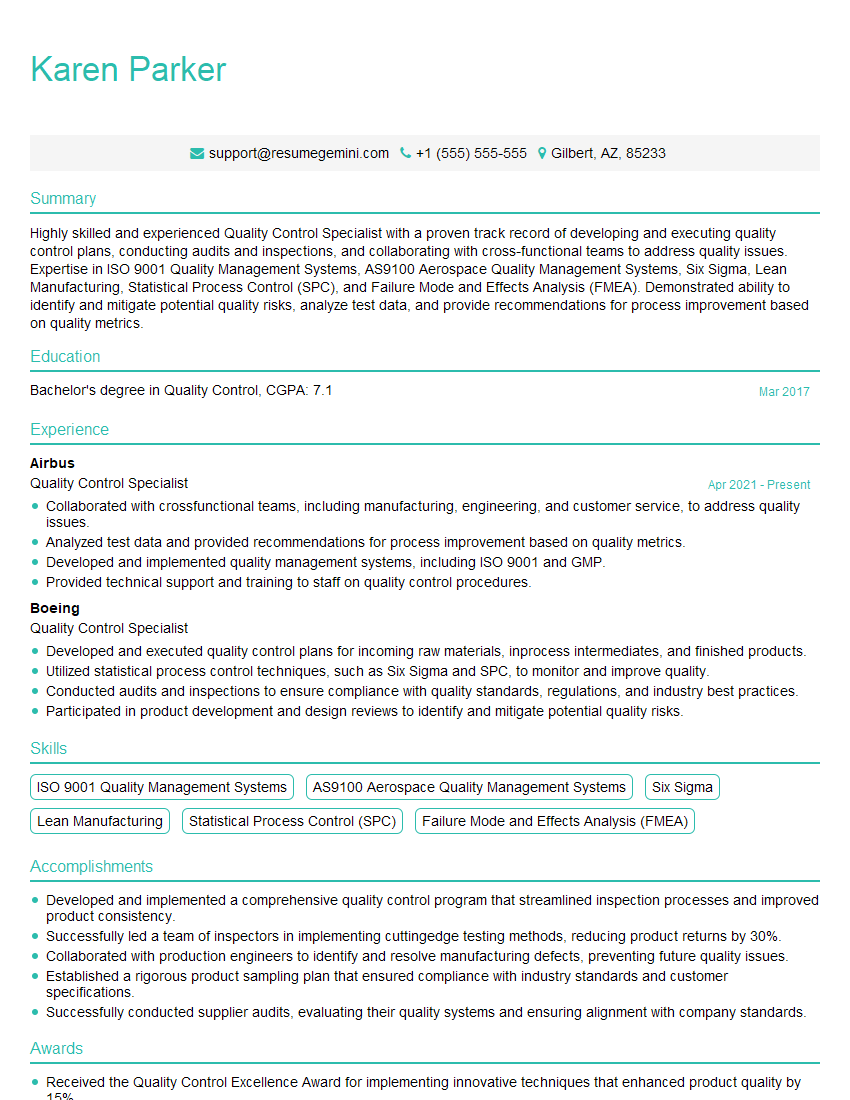
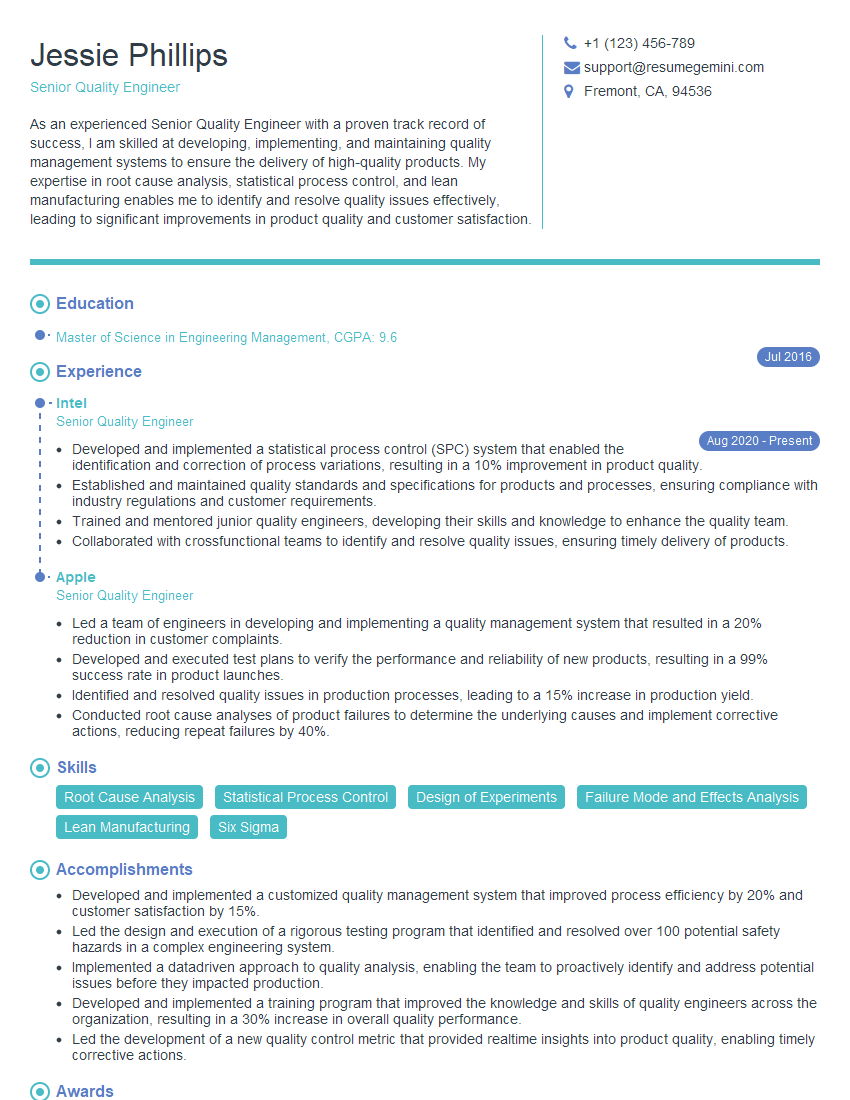
Mastering Part Inspection and Quality Assurance opens doors to a rewarding career with excellent growth potential. Proficiency in these areas is highly sought after in many industries, offering opportunities for advancement and increased earning potential. To maximize your job prospects, creating a strong, ATS-friendly resume is crucial. ResumeGemini is a trusted resource that can help you build a professional and impactful resume tailored to your skills and experience. We provide examples of resumes specifically designed for Part Inspection and Quality Assurance professionals to help guide you in building your own.
Explore more articles
Users Rating of Our Blogs
Share Your Experience
We value your feedback! Please rate our content and share your thoughts (optional).
What Readers Say About Our Blog
Hello,
We found issues with your domain’s email setup that may be sending your messages to spam or blocking them completely. InboxShield Mini shows you how to fix it in minutes — no tech skills required.
Scan your domain now for details: https://inboxshield-mini.com/
— Adam @ InboxShield Mini
Reply STOP to unsubscribe
Hi, are you owner of interviewgemini.com? What if I told you I could help you find extra time in your schedule, reconnect with leads you didn’t even realize you missed, and bring in more “I want to work with you” conversations, without increasing your ad spend or hiring a full-time employee?
All with a flexible, budget-friendly service that could easily pay for itself. Sounds good?
Would it be nice to jump on a quick 10-minute call so I can show you exactly how we make this work?
Best,
Hapei
Marketing Director
Hey, I know you’re the owner of interviewgemini.com. I’ll be quick.
Fundraising for your business is tough and time-consuming. We make it easier by guaranteeing two private investor meetings each month, for six months. No demos, no pitch events – just direct introductions to active investors matched to your startup.
If youR17;re raising, this could help you build real momentum. Want me to send more info?
Hi, I represent an SEO company that specialises in getting you AI citations and higher rankings on Google. I’d like to offer you a 100% free SEO audit for your website. Would you be interested?
Hi, I represent an SEO company that specialises in getting you AI citations and higher rankings on Google. I’d like to offer you a 100% free SEO audit for your website. Would you be interested?
good

