Every successful interview starts with knowing what to expect. In this blog, we’ll take you through the top Physical Examination and Assessment interview questions, breaking them down with expert tips to help you deliver impactful answers. Step into your next interview fully prepared and ready to succeed.
Questions Asked in Physical Examination and Assessment Interview
Q 1. Describe the correct technique for performing a neurological examination.
A neurological exam systematically assesses the nervous system’s function. It’s crucial to follow a structured approach, moving from simple to complex assessments and adapting based on the patient’s presentation.
- Mental Status: Assess level of consciousness (alert, drowsy, etc.), orientation (person, place, time), memory, and cognitive function using simple questions. For example, asking the patient to recall three words after a few minutes tests short-term memory.
- Cranial Nerves: Test each of the twelve cranial nerves individually using specific maneuvers (e.g., checking pupillary reflexes for cranial nerve II and III, testing facial strength for VII).
- Motor System: Observe muscle bulk, tone (resistance to passive movement), and strength (using grading scales like 0-5). Assess coordination (finger-to-nose test, heel-to-shin test) and gait (observe walking pattern). For instance, a patient with weakness in one leg may exhibit a limp.
- Sensory System: Assess light touch, pain, temperature, vibration, and proprioception (sense of body position) using appropriate stimuli in different body areas. For example, using a tuning fork to assess vibration sense. Always compare symmetrical body parts.
- Reflexes: Elicit deep tendon reflexes (biceps, triceps, patellar, Achilles) using a reflex hammer and grade them (e.g., 0-4+ scale). Also assess superficial reflexes (abdominal, plantar). An absent or exaggerated reflex may signify neurological issues.
Throughout the exam, observe the patient for any signs of distress or abnormal findings. Remember to always maintain a calm and professional demeanor, explaining each step to the patient.
Q 2. Explain the steps involved in assessing respiratory function.
Respiratory assessment begins with observation and progresses to auscultation and palpation.
- Inspection: Observe the patient’s breathing rate, rhythm, depth, and effort. Look for signs of respiratory distress like nasal flaring, use of accessory muscles, or cyanosis (bluish discoloration of the skin).
- Palpation: Palpate the chest wall for symmetry, tenderness, fremitus (vibrations felt during speech), and tactile fremitus (vibrations felt during speech). Decreased fremitus may suggest fluid or air in the lungs.
- Auscultation: Listen to breath sounds in all lung fields using a stethoscope. Normal breath sounds are vesicular (soft and rustling), while abnormal sounds like crackles, wheezes, or rhonchi may indicate underlying conditions like pneumonia or asthma. Pay attention to the intensity and quality of breath sounds.
- Percussion: Percuss the chest wall to assess lung resonance. Dullness may indicate fluid or consolidation, while hyperresonance may suggest pneumothorax or emphysema.
These steps help identify the presence of abnormalities such as dyspnea (shortness of breath), cough, or chest pain, allowing for a focused physical assessment.
Q 3. How would you assess a patient’s cardiovascular system?
Cardiovascular assessment involves a systematic evaluation of the heart and blood vessels.
- Inspection: Observe the patient for jugular venous distention (JVD), which might suggest heart failure. Note any visible pulsations or abnormal movements.
- Palpation: Palpate the carotid and peripheral pulses (radial, brachial, femoral, etc.) to assess their rate, rhythm, and strength. Feel for thrills (vibrations) that could indicate murmurs.
- Auscultation: Auscultate heart sounds using a stethoscope at the five cardiac auscultation sites (aortic, pulmonic, tricuspid, mitral, and Erb’s point). Listen for heart sounds (S1 and S2), murmurs, rubs, and gallops. Heart murmurs indicate abnormal blood flow through the heart.
- Blood Pressure: Measure blood pressure using a sphygmomanometer and stethoscope. Both systolic and diastolic pressures are vital.
Combining these techniques helps in identifying conditions like hypertension, heart murmurs, arrhythmias, or signs of heart failure. Always document your findings clearly and accurately.
Q 4. Detail your approach to assessing abdominal pain.
Assessing abdominal pain requires a comprehensive approach integrating history, physical examination, and potentially diagnostic tests.
- History: Obtain a detailed history of the pain, including its location, onset, character, duration, severity (using a pain scale), aggravating and relieving factors, and associated symptoms (nausea, vomiting, fever, etc.).
- Inspection: Observe the abdomen for distention, scars, masses, or discoloration. Note any visible peristalsis or pulsations.
- Auscultation: Listen to bowel sounds in all four quadrants. Absent or hyperactive bowel sounds can indicate problems.
- Palpation: Palpate the abdomen gently, systematically assessing for tenderness, guarding, rigidity, masses, or organomegaly. Start away from the area of reported pain to assess for guarding.
- Percussion: Percuss the abdomen to assess for tympany (air-filled) or dullness (fluid or solid organs).
This process helps in differentiating between various causes of abdominal pain, such as appendicitis, cholecystitis, or bowel obstruction. Remember, a thorough history is crucial for guiding the physical examination.
Q 5. What are the key components of a musculoskeletal examination?
A musculoskeletal examination assesses the integrity of bones, joints, muscles, and tendons.
- Inspection: Observe posture, alignment, symmetry, and any deformities or swelling.
- Palpation: Palpate bones, joints, and muscles for tenderness, warmth, swelling, or crepitus (grating sound).
- Range of Motion (ROM): Assess active and passive ROM of each joint, noting any limitations or pain. Passive ROM involves the examiner moving the joint.
- Muscle Strength: Test muscle strength using a grading scale (0-5) for each muscle group.
- Special Tests: Perform specific tests to assess specific joint conditions (e.g., McMurray test for meniscus tears in the knee, Lachman test for anterior cruciate ligament injuries).
This examination helps diagnose conditions such as arthritis, sprains, strains, fractures, and other musculoskeletal disorders.
Q 6. Explain how you would assess a patient’s skin integrity.
Skin integrity assessment involves a thorough examination of the skin’s appearance, texture, and function.
- Inspection: Observe skin color, moisture, temperature, turgor (elasticity), lesions (rashes, ulcers, etc.), and hair and nail characteristics. Note any changes in pigmentation, unusual dryness or moisture, and any abnormalities.
- Palpation: Palpate the skin for texture, temperature, turgor, and any lumps or nodules. Turgor is assessed by pinching a fold of skin; slow return indicates dehydration.
- Specific Considerations: Pay close attention to areas at high risk for skin breakdown, such as bony prominences. Assess for pressure ulcers (bedsores) using a staging system.
This helps identify conditions like dehydration, skin infections, pressure ulcers, and other skin-related issues.
Q 7. Describe the techniques used to assess a patient’s mental status.
Mental status assessment evaluates cognitive function, mood, and behavior. It’s crucial to create a comfortable environment.
- Level of Consciousness: Assess alertness and responsiveness to stimuli.
- Orientation: Determine the patient’s awareness of person, place, and time.
- Attention and Concentration: Assess attention span and concentration through tasks such as serial 7s subtraction or spelling ‘world’ backward.
- Memory: Evaluate short-term and long-term memory using recall tasks (e.g., remembering three words after a few minutes) and questions about past events.
- Language: Assess fluency, comprehension, repetition, and naming abilities.
- Higher Cognitive Functions: Evaluate judgment, insight, and abstract thought through problem-solving tasks and hypothetical questions.
- Mood and Affect: Observe the patient’s mood and emotional expression.
- Behavior: Note any unusual behaviors such as restlessness, agitation, or withdrawal.
This systematic approach assists in detecting cognitive impairment, mood disorders, and other mental health conditions.
Q 8. How do you document your findings from a physical examination?
Documenting physical examination findings requires a systematic and precise approach. We use a standardized format, often dictated by the institution or electronic health record (EHR) system. The goal is to ensure clarity, completeness, and reproducibility.
- Head-to-toe approach: We typically document findings systematically, moving from head to toe, covering all major body systems.
- Specific details: Instead of general terms, we use precise descriptions. For example, instead of “lung sounds abnormal,” we’d state “crackles heard in the right lower lobe.”
- Quantifiable measurements: Whenever possible, we use numbers. For instance, “blood pressure 120/80 mmHg,” not just “blood pressure normal.”
- Use of standard terminology: We use established medical terminology to maintain consistency and reduce ambiguity.
- Note any limitations: If a patient’s cooperation is limited, or a particular examination is impossible due to patient condition, this limitation should be noted clearly.
Example: Instead of writing ‘abdomen soft,’ a better documentation would be ‘abdomen soft, non-tender, no hepatosplenomegaly, bowel sounds present in all four quadrants.’
Q 9. What are the common findings of a pulmonary examination in a patient with pneumonia?
A pulmonary examination in a patient with pneumonia often reveals several key findings. The severity can vary greatly depending on the location and extent of the infection.
- Increased respiratory rate (tachypnea): The body works harder to compensate for impaired gas exchange.
- Use of accessory muscles: Patients may use their neck and shoulder muscles to aid breathing.
- Diminished breath sounds: Consolidation (fluid build-up in the lungs) can muffle the sounds of air moving through the bronchi.
- Crackles (rales): These are discontinuous, popping sounds heard during inspiration, indicating fluid in the airways.
- Wheezes: Continuous, whistling sounds, particularly during expiration, suggesting airway narrowing (although less common in typical pneumonia).
- Egophony, whispered pectoriloquy, bronchophony: These are voice sounds that are abnormally transmitted through consolidated lung tissue (indicating increased density). These are elicited by asking the patient to say ‘E’ or whisper while auscultating.
- Fever: A systemic manifestation of infection.
- Productive cough: The cough is often productive, with sputum that may be purulent (pus-like).
It’s important to remember that these findings are not always present in every case of pneumonia, and the severity of these findings will vary based on the severity and location of the pneumonia.
Q 10. Explain the difference between subjective and objective findings in a physical examination.
Subjective and objective findings represent two distinct categories of information obtained during a physical examination. Think of it as the difference between what the patient *tells* you and what you *observe* yourself.
- Subjective findings (symptoms): These are the patient’s statements about their condition. They are based on the patient’s perception and interpretation of their symptoms. Examples include pain, nausea, dizziness, fatigue. These are documented using direct quotes whenever possible. For example, “The patient reports experiencing sharp chest pain radiating to the left arm.”
- Objective findings (signs): These are the findings you observe or measure during the physical examination. They are based on factual data gathered through your senses (sight, touch, hearing, smell). Examples include elevated heart rate, abnormal lung sounds, palpable lymph nodes, visible skin lesions. For example, “Heart rate 110 bpm, irregular. Temperature 101°F.”
Both subjective and objective findings are crucial for a complete and accurate assessment. They work together to form a holistic picture of the patient’s health status.
Q 11. How would you assess for peripheral edema?
Assessing for peripheral edema involves checking for fluid buildup in the extremities. We typically evaluate the legs and feet.
- Visual inspection: Look for swelling, particularly in the ankles, feet, and lower legs. Note the extent and distribution of the edema.
- Palpation: Gently press your thumb or fingers into the edematous area. If an indentation persists after you remove your pressure (pitting edema), it indicates fluid accumulation. The depth of the indentation can be graded on a scale (e.g., 1+ to 4+ pitting edema).
- Measurement: Measuring the circumference of the affected limb at specific points can provide a quantitative assessment of edema and monitor changes over time.
Grading Pitting Edema:
1+ Mild pitting, slight indentation, disappears rapidly
2+ Moderate pitting, indentation subsides in 10-15 seconds
3+ Deep pitting, indentation remains for more than 1 minute
4+ Very deep pitting, indentation lasts more than 2 minutes
The presence and severity of peripheral edema can indicate underlying conditions such as heart failure, kidney disease, or venous insufficiency.
Q 12. Describe the technique for auscultating heart sounds.
Auscultating heart sounds requires a systematic approach using a stethoscope to listen to the sounds produced by the heart valves opening and closing.
- Positioning: The patient should be lying supine or at a 30-45 degree angle.
- Stethoscope placement: Use the bell (low-pitched sounds) and diaphragm (high-pitched sounds) of the stethoscope. The diaphragm is generally used for the majority of the exam. The four main auscultatory areas are: Aortic area (2nd intercostal space, right sternal border), Pulmonic area (2nd intercostal space, left sternal border), Tricuspid area (4th intercostal space, left sternal border), and Mitral area (5th intercostal space, mid-clavicular line). However, don’t strictly limit listening to these areas.
- Listening for heart sounds: Listen for S1 (lub – closure of mitral and tricuspid valves) and S2 (dub – closure of aortic and pulmonic valves). Note the rhythm (regular or irregular), rate, and any extra sounds (murmurs, clicks, rubs).
- Identify murmurs: Describe the timing (systolic or diastolic), location, radiation, intensity (grades 1-6), pitch, quality.
Systematic auscultation helps to detect abnormalities in heart sounds, which can be crucial indicators of various cardiac conditions.
Q 13. How would you assess for jugular venous distension?
Jugular venous distension (JVD) refers to the visible distention of the jugular veins in the neck. It can be a sign of increased central venous pressure.
- Positioning: Position the patient at a 30-45 degree angle. This angle allows for better visualization of the jugular veins.
- Inspection: Observe the internal jugular veins in the supraclavicular fossa. Look for distention of the veins. The height of the venous pulsations is measured in relation to the sternal angle (angle of Louis).
- Measurement (optional): Using a ruler or a tape measure, you may measure the vertical height of the distended jugular vein above the sternal angle. This gives a semi-quantitative measurement.
Increased JVD can indicate heart failure, tricuspid regurgitation, constrictive pericarditis, or superior vena cava obstruction. The absence of JVD is not always definitive.
Q 14. What are the signs and symptoms of dehydration, and how would you assess for it?
Dehydration is a state of insufficient body water. The signs and symptoms can range from mild to severe, depending on the degree of fluid loss.
- Signs (objective findings):
- Dry mucous membranes: Dry mouth, lips, and tongue.
- Decreased skin turgor: Skin does not return to its normal position quickly when pinched (tenting).
- Sunken eyes:** Eyes appear sunken in the sockets.
- Orthostatic hypotension: A significant drop in blood pressure upon standing.
- Tachycardia: Elevated heart rate.
- Low urine output: Decreased frequency and volume of urine.
- Weight loss:** Significant unintentional weight loss.
- Symptoms (subjective findings):
- Thirst: A strong feeling of needing to drink fluids.
- Fatigue and weakness: Reduced energy levels.
- Dizziness and lightheadedness: Reduced blood flow to the brain.
- Headache: Dehydration can cause headaches.
- Muscle cramps:** Painful muscle spasms.
Assessing for dehydration involves a combination of visual inspection, palpation, and questioning the patient about their symptoms. We also may order laboratory tests like electrolytes and blood urea nitrogen (BUN) to quantify the dehydration.
Q 15. Explain how to perform a neurological assessment in a patient with altered consciousness.
Assessing a neurologically compromised patient requires a modified approach. Since the patient’s level of consciousness is altered, we cannot rely on verbal responses. The examination focuses on assessing the patient’s level of alertness, response to stimuli, and basic neurological functions. We use the Glasgow Coma Scale (GCS) to quantify the level of consciousness, looking at eye-opening, verbal response, and motor response.
Step-by-step approach:
- Assess Level of Consciousness: Observe the patient’s responsiveness to verbal stimuli, tactile stimuli (gentle touch), and painful stimuli (e.g., sternal rub). Document the response using the GCS.
- Pupillary Response: Check pupillary size, shape, and reaction to light. Unequal pupils or sluggish response can indicate neurological damage.
- Motor Function: Assess motor strength and symmetry in all four extremities by observing spontaneous movements, response to commands (if possible), and assessing for signs of hemiparesis or hemiplegia. Even subtle weakness is important to note.
- Respiratory Effort: Evaluate the patient’s breathing pattern, noting any irregularities like Cheyne-Stokes respiration or ataxic breathing, which can indicate brain stem involvement.
- Vital Signs: Monitor heart rate, blood pressure, and temperature. Changes can signify underlying medical conditions or complications.
- Posturing: Note any abnormal posturing, such as decerebrate or decorticate posturing, which indicates severe brain damage.
Example: Imagine a patient found unresponsive after a fall. We’d start by assessing their GCS score. If they are unresponsive to verbal stimuli but opens their eyes to pain, their eye opening score would be 2. We would then assess their motor response; if they withdraw their arm to pain, their motor score would be 4. We’d continue to assess all aspects to get a full picture of their neurological state and inform further investigation.
Career Expert Tips:
- Ace those interviews! Prepare effectively by reviewing the Top 50 Most Common Interview Questions on ResumeGemini.
- Navigate your job search with confidence! Explore a wide range of Career Tips on ResumeGemini. Learn about common challenges and recommendations to overcome them.
- Craft the perfect resume! Master the Art of Resume Writing with ResumeGemini’s guide. Showcase your unique qualifications and achievements effectively.
- Don’t miss out on holiday savings! Build your dream resume with ResumeGemini’s ATS optimized templates.
Q 16. Describe your approach to assessing a patient’s pain.
Assessing pain is crucial, but subjective. My approach uses a holistic, patient-centered method, acknowledging that pain is a complex, multidimensional experience.
Steps to Assess Pain:
- Ask the Patient: Directly ask the patient about their pain using standardized tools like the numerical rating scale (0-10), visual analog scale (VAS), or verbal descriptor scale (e.g., mild, moderate, severe). Consider their description of the pain – location, quality, intensity, duration, aggravating and relieving factors.
- Observe Non-Verbal Cues: Pay close attention to the patient’s facial expressions, posture, behavior, and vital signs. Increased heart rate, blood pressure, and respiratory rate may accompany pain.
- Consider Context: The patient’s medical history, current medications, and overall condition contribute to the pain experience. A patient with a known history of chronic back pain will present differently than someone with acute appendicitis.
- Use Assessment Tools: Utilize validated pain scales specific to the patient’s age and cognitive abilities. For example, the Faces Pain Scale-Revised is commonly used for children.
- Document Thoroughly: Document the pain assessment comprehensively, including the method used, the patient’s report, and your observations.
Example: A patient describes a sharp, stabbing pain in their chest radiating to their left arm, accompanied by shortness of breath. This, combined with observations like diaphoresis and elevated heart rate, points towards a potential cardiac event. Conversely, a patient describing chronic, dull aching back pain after lifting heavy objects may have a muscular strain.
Q 17. How would you assess for signs of infection?
Assessing for infection involves looking for both local and systemic signs and symptoms. It’s important to note that absence of these signs doesn’t rule out infection.
Assessing for Infection:
- Local Signs: Inspect the area for redness, swelling, warmth, pain, tenderness to palpation, or purulent drainage. The presence of these suggests a localized infection.
- Systemic Signs: Assess for fever (oral temperature > 100.4°F or 38°C), chills, sweating, malaise, fatigue, tachycardia (increased heart rate), tachypnea (increased respiratory rate), and hypotension (low blood pressure). These indicate a more widespread infection.
- Laboratory Tests: Blood tests (complete blood count – CBC, including white blood cell count) and cultures (blood, urine, wound) can confirm the presence and type of infection.
- Imaging: Depending on location and suspicion, imaging studies (X-rays, CT scans, ultrasounds) may be necessary to visualize the affected area and rule out other conditions.
Example: A patient presents with a red, swollen, and painful leg wound with yellow pus. This is suggestive of a localized cellulitis. Combined with a fever and elevated white blood cell count, a systemic inflammatory response confirms a more severe infection.
Q 18. How would you assess a patient’s nutritional status?
Assessing nutritional status involves evaluating multiple aspects of a patient’s intake, metabolism, and overall health.
Assessing Nutritional Status:
- Anthropometric Measurements: This includes height, weight, body mass index (BMI), waist circumference, and skinfold thickness. BMI provides an estimate of body fat based on height and weight.
- Dietary History: Obtain a detailed dietary history, including the types and amounts of food consumed over the past 24 hours, days, or week. Consider the patient’s appetite, any dietary restrictions, and ability to prepare and afford food.
- Biochemical Data: Blood tests, such as albumin, prealbumin, transferrin, and hemoglobin levels, can indicate the body’s protein stores and nutritional status.
- Clinical Examination: Observe for signs of malnutrition, such as dry skin, hair loss, muscle wasting, edema, and poor wound healing.
- Functional Assessment: Evaluate the patient’s ability to perform activities of daily living, which can be affected by malnutrition.
Example: A patient with a BMI of 17 (underweight), pale conjunctiva, and reports of poor appetite and significant weight loss over the past month would be flagged for potential nutritional deficiencies. Further investigation through blood tests and dietary history would be needed.
Q 19. What are the common findings in a physical examination of a patient with congestive heart failure?
Congestive heart failure (CHF) leads to fluid buildup in the body. A physical examination reveals various telltale signs related to this fluid overload and the heart’s compromised function.
Physical Examination Findings in CHF:
- Jugular Venous Distention (JVD): Increased pressure in the jugular veins, visible as bulging neck veins, signifies increased venous return to the heart.
- Edema: Swelling in the lower extremities (pedal edema) and sometimes in the abdomen (ascites) is caused by fluid retention.
- Crackles/Rales in the Lungs: These abnormal breath sounds are indicative of fluid in the alveoli (air sacs) due to pulmonary edema.
- S3 Gallop Rhythm: An extra heart sound, an S3 gallop, can be heard early in diastole and often suggests heart failure.
- Tachycardia: The heart rate may be increased as the heart works harder to compensate for reduced function.
- Hepatomegaly: An enlarged liver, from congestion, can be palpated.
- Orthopnea and Paroxysmal Nocturnal Dyspnea (PND): The patient may experience shortness of breath when lying down (orthopnea) and sudden attacks of breathlessness at night (PND).
Example: A patient with CHF might present with swollen ankles, shortness of breath when lying flat, and a rapid, irregular heartbeat. Auscultation would likely reveal crackles in the lungs and a possible S3 gallop.
Q 20. Explain the different types of breath sounds and their significance.
Breath sounds are assessed using a stethoscope. Different sounds indicate various lung conditions.
Types of Breath Sounds and Significance:
- Vesicular: Soft, low-pitched, and breezy sounds heard over most of the lung fields during inspiration. They are normal breath sounds.
- Bronchovesicular: Intermediate intensity and pitch, heard over the main bronchi. They are typically normal, but their presence in unexpected locations can be significant.
- Bronchial: Louder, higher-pitched, and harsher sounds heard over the trachea. Their presence in the peripheral lung fields is abnormal.
- Crackles (Rales): Discontinuous, popping sounds, often heard during inspiration. These usually indicate fluid in the alveoli (pulmonary edema, pneumonia).
- Wheezes: Continuous, whistling or musical sounds, usually heard during expiration. These are common in asthma and other obstructive lung diseases.
- Rhonchi: Continuous, low-pitched, rumbling sounds. They often suggest mucus in larger airways. They can clear with coughing.
- Stridor: A high-pitched, crowing sound, often heard during inspiration. It indicates upper airway obstruction.
- Pleural Friction Rub: A grating or creaking sound. This is caused by inflamed pleural surfaces rubbing together (pleuritis).
Example: A patient with pneumonia might exhibit crackles in their lungs. A patient with asthma would show wheezes. Stridor indicates a serious upper airway problem.
Q 21. Describe your approach to assessing a patient with a suspected stroke.
Assessing a patient with suspected stroke requires a rapid and thorough neurological examination to determine the type and severity of the stroke. Time is critical, as early intervention can significantly improve outcomes.
Assessing Suspected Stroke (using the FAST acronym):
- Facial Drooping: Ask the patient to smile. Asymmetry or drooping on one side of the face suggests a stroke.
- Arm Weakness: Ask the patient to raise both arms. Weakness or inability to raise one arm indicates possible stroke.
- Speech Difficulty: Ask the patient to repeat a simple sentence. Slurred speech or difficulty speaking suggests a stroke.
- Time: Note the time symptoms began. This is crucial for determining treatment eligibility (thrombolytic therapy has a time window).
- Detailed Neurological Exam: Following FAST, perform a complete neurological exam focusing on cranial nerves, motor and sensory function, reflexes, and coordination. This helps pinpoint the affected area of the brain.
- Assess Level of Consciousness: Using the Glasgow Coma Scale to assess the patient’s consciousness level.
- Vital Signs: Monitor heart rate, blood pressure, and respiratory rate for any abnormalities.
Example: A patient presents with sudden onset of right-sided weakness, slurred speech, and facial droop on the right side. This suggests a stroke affecting the left side of the brain. Immediate attention is needed for appropriate imaging and potential treatment.
Q 22. How would you assess a patient’s level of consciousness?
Assessing a patient’s level of consciousness (LOC) is crucial for determining their neurological status. We use the Glasgow Coma Scale (GCS), a standardized tool, to objectively assess this. The GCS evaluates three key areas: eye opening, verbal response, and motor response, each scored individually and then summed for a total score ranging from 3 (deep coma) to 15 (fully alert).
For instance, a patient who opens their eyes spontaneously (4 points), speaks coherently (5 points), and obeys commands (6 points) would have a GCS score of 15, indicating full alertness. Conversely, a score of 8 or less typically suggests severe brain injury requiring immediate medical attention. Beyond the GCS, observing the patient’s responsiveness to stimuli, their orientation to person, place, and time, and their overall alertness provides a valuable clinical picture. A lethargic patient might require gentle stimulation to respond, while a stuporous patient responds only to painful stimuli, and a comatose patient doesn’t respond at all.
Q 23. What are the key elements of a focused physical exam?
A focused physical exam centers on a specific complaint or system. It’s efficient and targeted, unlike a comprehensive exam which covers all body systems. Key elements depend on the presenting problem, but generally include:
- Vital signs: Heart rate, blood pressure, respiratory rate, temperature, and oxygen saturation provide a baseline of physiological function.
- Pertinent system review: Focuses on the system directly related to the chief complaint. For example, for chest pain, this would involve a thorough cardiac and respiratory exam, including auscultation of the heart and lungs.
- Relevant physical findings: This includes inspection, palpation, percussion, and auscultation, tailored to the specific complaint. If a patient is complaining of abdominal pain, the focus would be on abdominal assessment.
- Neurological assessment (if indicated): This could range from a brief assessment of mental status and cranial nerves to a more detailed neuro exam depending on the concern.
For example, a patient with a cough might warrant a focused exam concentrating on respiratory system assessment, including lung auscultation and assessing for any signs of respiratory distress.
Q 24. Explain how to assess for bowel sounds.
Assessing bowel sounds involves listening to the abdomen with a stethoscope to detect the presence, frequency, and character of bowel motility. Place the diaphragm of the stethoscope lightly on the abdomen, starting in the right lower quadrant (RLQ) and moving systematically to the other quadrants – RLQ, RUQ, LUQ, LLQ.
Normal bowel sounds are high-pitched gurgles or clicks occurring irregularly at a rate of 5-30 per minute. Increased bowel sounds (hyperactive) suggest increased motility, possibly due to diarrhea or early bowel obstruction. Absent or decreased bowel sounds (hypoactive) may indicate ileus (paralytic ileus) or peritonitis. High-pitched tinkling sounds might be indicative of bowel obstruction. It is important to listen for at least 5 minutes in each quadrant before concluding that bowel sounds are absent.
Q 25. Describe the technique for palpating the abdomen.
Abdominal palpation requires a systematic approach, starting with light palpation to assess tenderness and muscle tone, followed by deep palpation to identify organomegaly (enlarged organs), masses, or tenderness.
Light palpation: Use the pads of your fingertips to gently palpate the abdomen in all four quadrants. Note any tenderness, guarding (muscle rigidity), or masses. Observe the patient’s facial expressions for any signs of discomfort. Deep palpation: Use a deeper, more forceful pressure to assess for organomegaly, masses, or deeper tenderness. For example, gently palpate the liver in the right upper quadrant.
Remember to always warm your hands to increase patient comfort, and explain the procedure before beginning. If the patient reports pain in a specific area, palpate that area last to minimize discomfort.
Q 26. How would you assess for lymph node enlargement?
Assessing for lymph node enlargement involves systematic palpation of lymph node groups throughout the body. Use the pads of your fingers to gently palpate the lymph nodes. Note their size, consistency, tenderness, and mobility.
The key areas to assess include:
- Cervical nodes: Located along the sides of the neck.
- Axillary nodes: Located in the armpits.
- Inguinal nodes: Located in the groin.
- Supraclavicular nodes: Located above the clavicles (collarbones).
Enlarged, tender, and fixed lymph nodes can indicate infection, inflammation, or malignancy. For example, palpable, tender lymph nodes in the neck might be indicative of a throat infection. A hard, fixed, non-tender lymph node could raise suspicion for a malignancy, requiring further investigation.
Q 27. How would you assess a patient’s range of motion?
Assessing range of motion (ROM) involves evaluating the extent of movement at a particular joint. It’s important to observe the patient’s ability to actively move the joint through its full ROM and to passively move the joint to check for any limitations.
The assessment should be symmetrical, comparing both sides to identify any discrepancies. For example, when assessing shoulder ROM, the examiner would observe the patient’s ability to flex, extend, abduct, adduct, internally rotate, and externally rotate the shoulder. Any pain, crepitus (grating sound), or limitations in ROM should be noted. The documentation would include a clear description of the ROM assessment, specifically indicating the degrees of motion achieved or any limitations.
Q 28. What are the potential limitations and challenges of performing a physical examination?
Performing a physical examination has several limitations and challenges:
- Patient factors: Pain, anxiety, obesity, or limited cooperation can hinder a thorough exam. For example, a patient in significant pain might be unable to fully participate in the assessment.
- Examiner factors: Lack of experience, insufficient training, or fatigue can affect the accuracy and thoroughness of the examination. Subjective interpretation is also a potential challenge.
- Technical limitations: Some conditions might not be easily detectable through physical examination alone and require advanced imaging techniques. For instance, early-stage cancers often require imaging for detection.
- Cultural considerations: Understanding cultural differences in communication styles and body language can be crucial for obtaining a complete history and performing an effective exam. Some cultures might have different perceptions about physical contact.
- Time constraints: Time limitations in busy clinical settings can restrict the comprehensiveness of the exam.
It is essential to recognize these limitations and use additional diagnostic tools, when needed, to ensure a complete and accurate diagnosis.
Key Topics to Learn for Physical Examination and Assessment Interview
- Patient History Taking: Mastering techniques for effective communication, active listening, and eliciting comprehensive patient histories. Consider the nuances of open-ended versus closed-ended questions and how to adapt your approach based on the patient’s condition and communication style.
- General Physical Examination Techniques: Develop proficiency in performing a systematic head-to-toe examination, including vital signs measurement, auscultation, palpation, and percussion. Practice describing your findings clearly and concisely, using standardized medical terminology.
- Specific System Examinations: Gain a deep understanding of conducting focused examinations of individual body systems (e.g., cardiovascular, respiratory, neurological). Understand the normal and abnormal findings within each system and their clinical significance.
- Interpreting Findings: Develop your analytical skills to accurately interpret physical examination findings, considering differential diagnoses and formulating appropriate clinical decisions. Practice correlating physical findings with patient history and laboratory results.
- Documentation and Reporting: Learn how to accurately and comprehensively document physical examination findings using standardized medical recordkeeping practices. Practice writing clear, concise, and objective reports that effectively communicate your findings to other healthcare professionals.
- Ethical and Legal Considerations: Understand the ethical and legal implications of conducting physical examinations, including patient confidentiality, informed consent, and professional boundaries. Be prepared to discuss these aspects in the context of clinical practice.
- Advanced Assessment Techniques: Explore advanced techniques such as musculoskeletal assessment, dermatological examinations, or specialized assessments relevant to your area of interest. Demonstrate your ability to adapt your assessment strategies based on the specific clinical context.
Next Steps
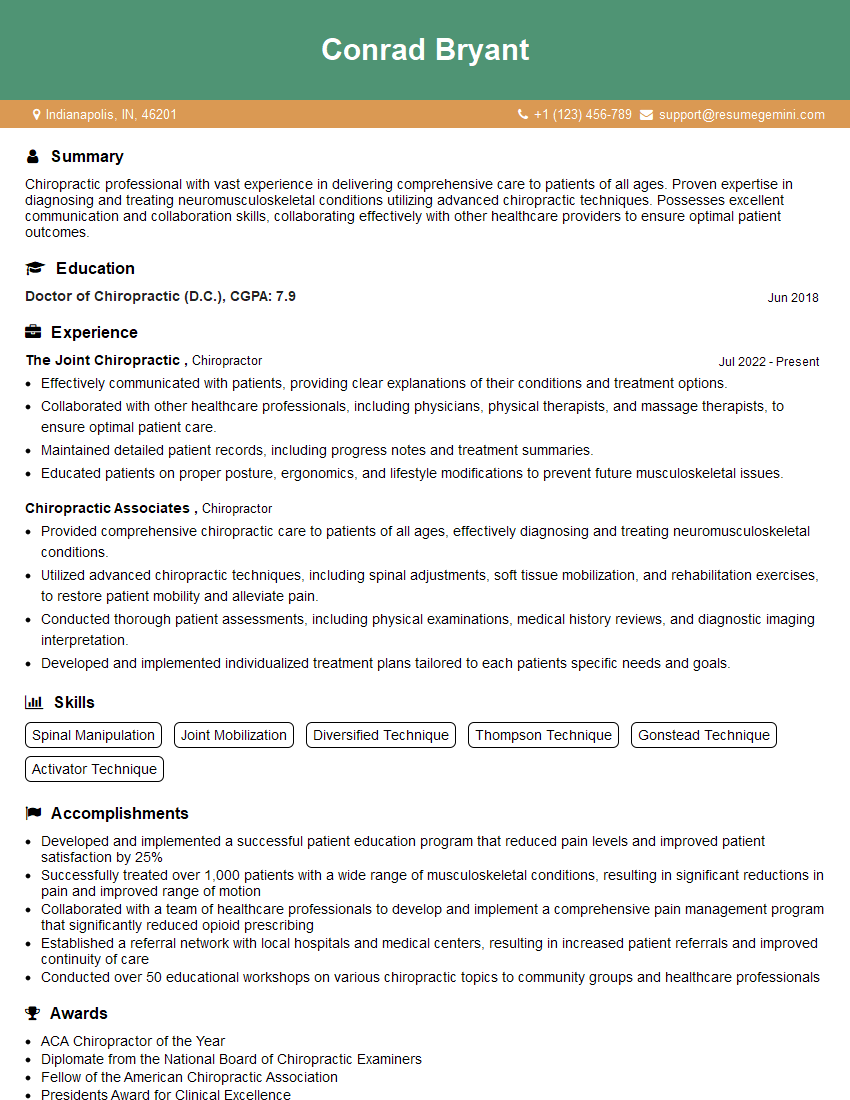
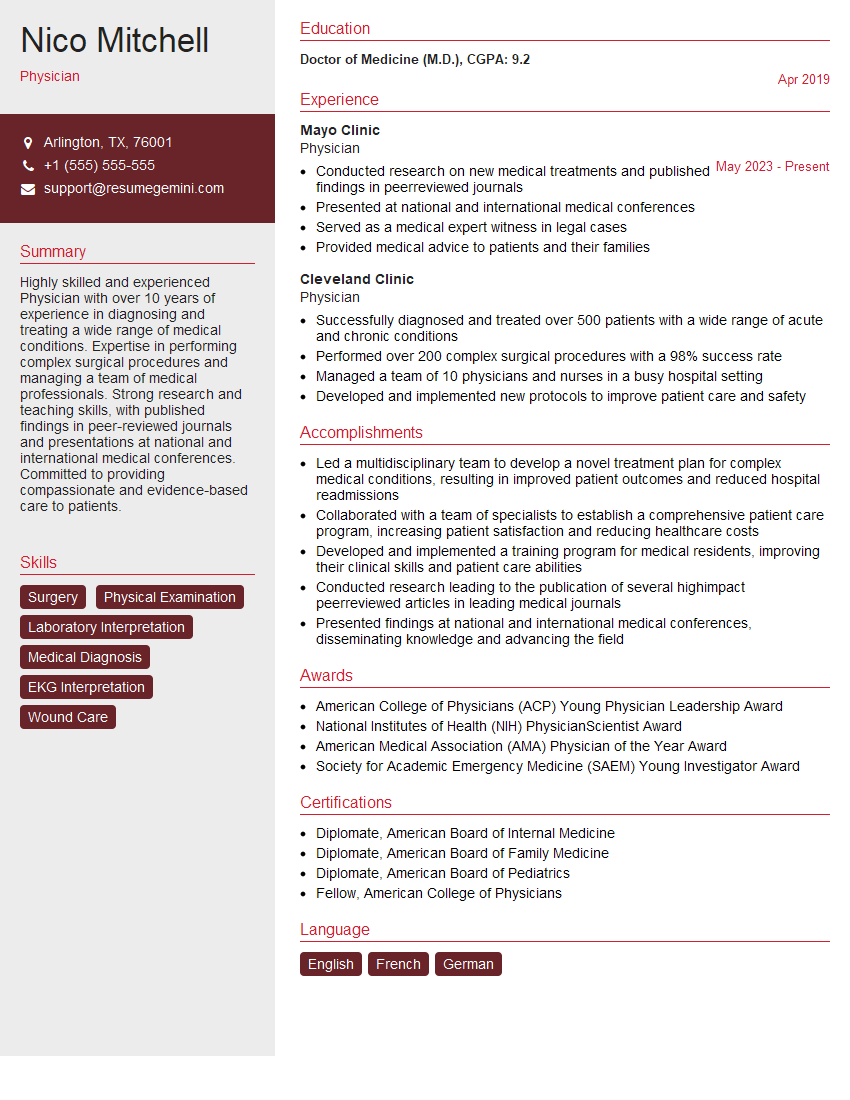
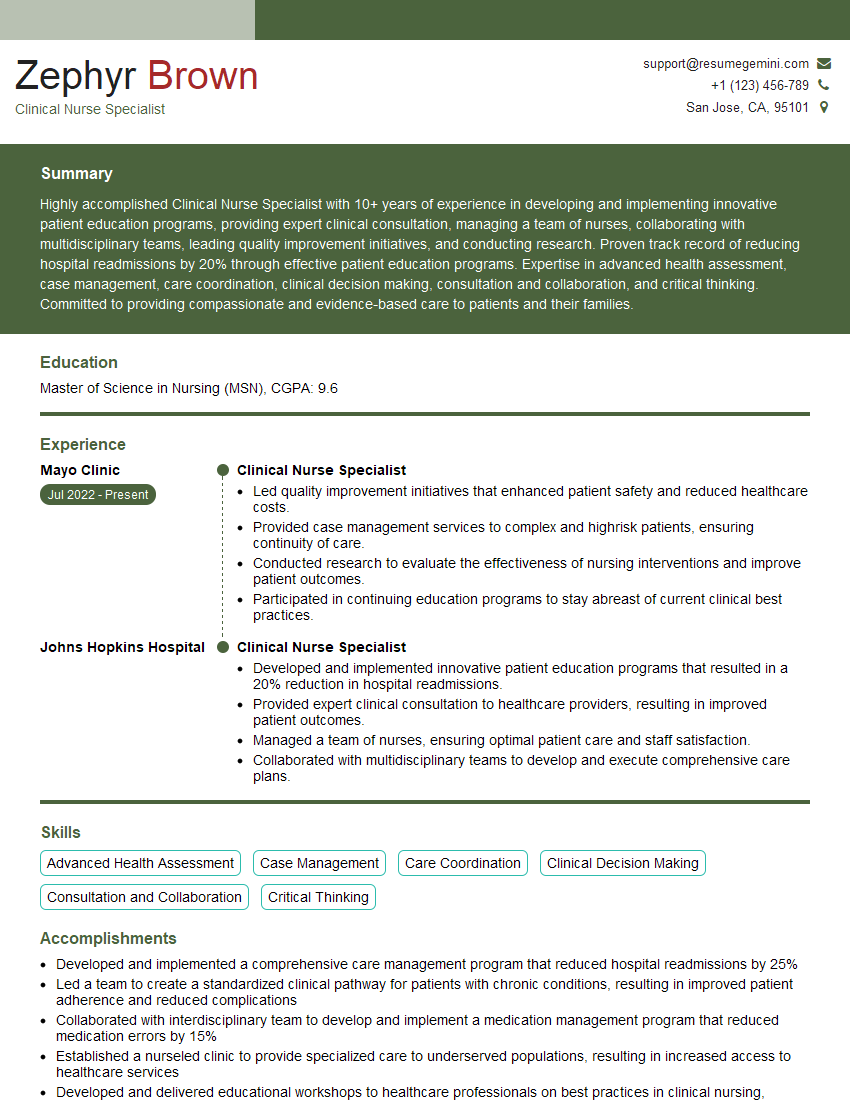
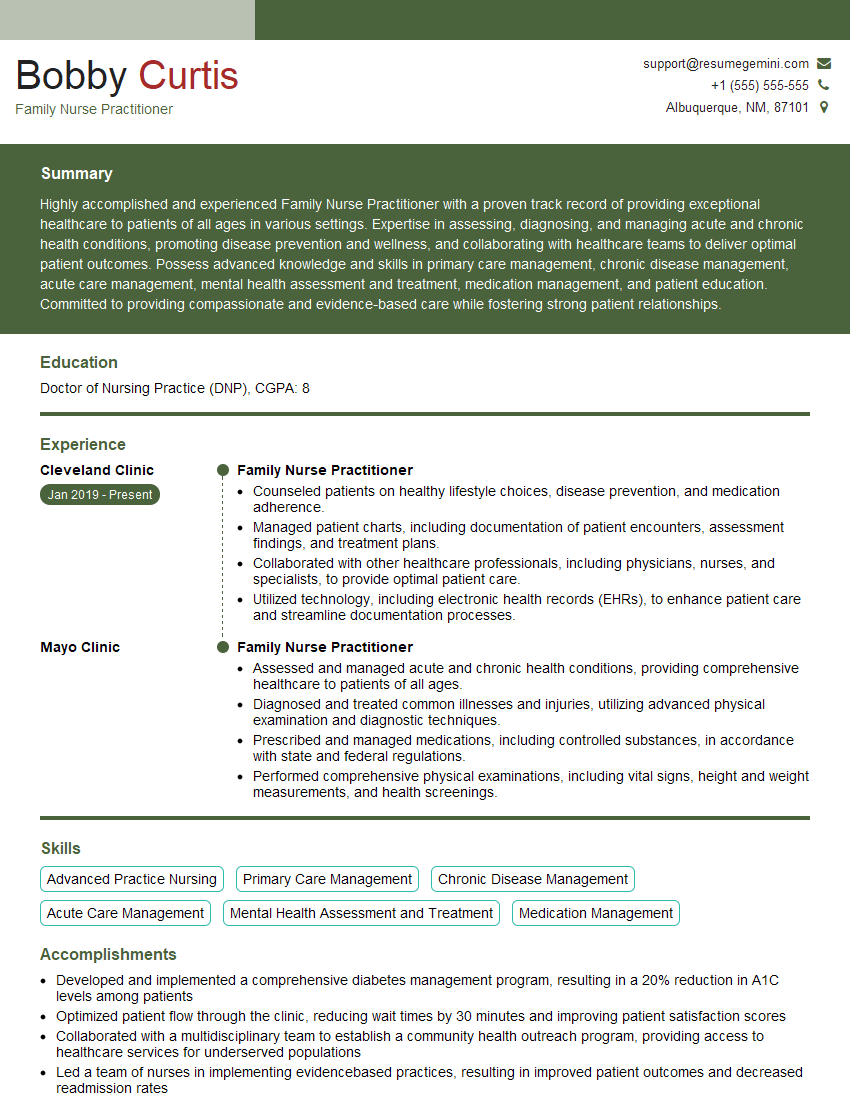
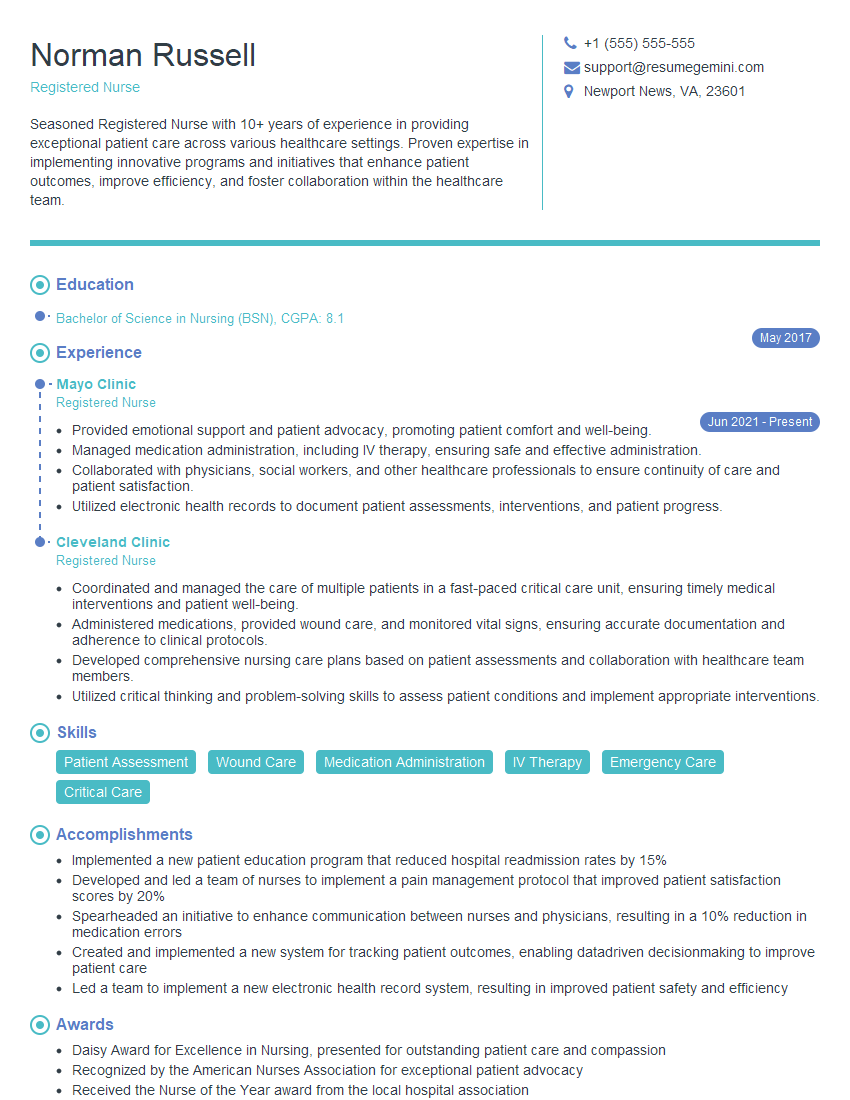
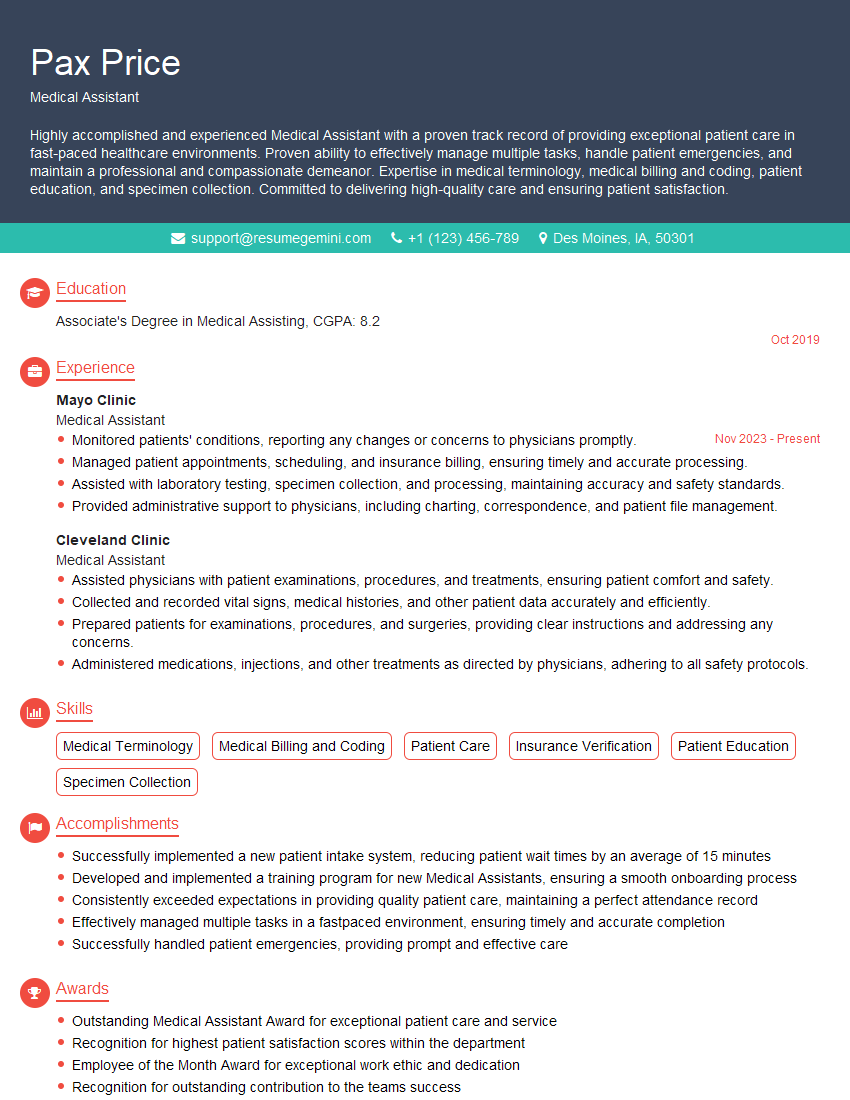
Mastering Physical Examination and Assessment is crucial for advancing your career in healthcare. A strong foundation in these skills demonstrates your clinical competence and opens doors to diverse and rewarding opportunities. To maximize your job prospects, it’s essential to present your skills effectively. Create an ATS-friendly resume that highlights your expertise and experience. ResumeGemini is a trusted resource that can help you build a compelling resume tailored to the specific requirements of your target roles. Examples of resumes tailored to Physical Examination and Assessment are available to guide you.
Explore more articles
Users Rating of Our Blogs
Share Your Experience
We value your feedback! Please rate our content and share your thoughts (optional).
What Readers Say About Our Blog
good
