Are you ready to stand out in your next interview? Understanding and preparing for Proficiency in Digital Audio Workstations (DAWs) interview questions is a game-changer. In this blog, we’ve compiled key questions and expert advice to help you showcase your skills with confidence and precision. Let’s get started on your journey to acing the interview.
Questions Asked in Proficiency in Digital Audio Workstations (DAWs) Interview
Q 1. What DAWs are you proficient in and what is your level of expertise in each?
My core proficiency lies in three DAWs: Ableton Live, Logic Pro X, and Pro Tools. I’d consider myself an expert in Ableton Live, having used it professionally for over eight years, including complex projects involving live instrumentation, electronic music production, and post-production audio for film. My expertise in Logic Pro X and Pro Tools is advanced; I’m highly comfortable using all their features for a wide range of tasks, from basic recording to intricate mixing and mastering. My familiarity with other DAWs like Cubase and Studio One is functional, allowing me to quickly adapt if necessary.
Q 2. Explain the differences between destructive and non-destructive editing in a DAW.
The difference between destructive and non-destructive editing is crucial. Destructive editing permanently alters the original audio file. Think of it like cutting and pasting with scissors – once you cut, you’ve changed the original. Non-destructive editing, on the other hand, applies changes as instructions or metadata, leaving the original audio file untouched. It’s like using a layering program; the layers can change but the base layer is always available. In a DAW, a simple example of destructive editing is clipping a sound file. The original file loses the clipped data. A non-destructive example is using a volume automation clip or an EQ plugin: The original audio remains unchanged, and the automation or EQ settings are stored as instructions that are applied during playback.
Choosing the right method depends on the task. Destructive editing is more efficient for space-saving in mastering. Non-destructive is preferred for flexibility in mixing and editing, allowing for adjustments and experimentation without compromising the source material.
Q 3. Describe your workflow for mixing a typical song.
My mixing workflow usually follows these steps: 1. Gain Staging: I set appropriate levels for each track, ensuring no clipping and a healthy headroom. 2. Editing and Comping: I edit out mistakes and create optimal takes from multiple recordings using comping. 3. Basic EQ and Compression: I sculpt the sounds and control dynamics using EQ and compression on individual tracks. 4. Time-Based Effects: I use delay, reverb, and other time-based effects to create space and depth. 5. Automation: I automate parameters like volume, pan, and send levels to add movement and interest. 6. Track Balancing: I make adjustments to ensure a cohesive mix, carefully checking levels across the frequency spectrum. 7. Stereo Widening and Imaging: I employ techniques to create a wide and immersive stereo image. 8. Mastering Prep: I make sure my mix is adequately balanced and ready for mastering. Throughout this process, I constantly reference my mix on different listening environments.
For instance, in a recent project with a live band recording, I spent significant time on the drums’ gain staging to prevent distortion without losing their impact. I also used extensive automation on the vocals to match the intensity of the song sections. Each project requires a slightly different approach, but these steps provide a solid framework.
Q 4. How do you manage large audio projects efficiently within your chosen DAW?
Managing large projects efficiently involves several key strategies. First, I use folder tracks and track groups effectively within my DAW to organize individual tracks into logical units. This enhances clarity and navigation, preventing a chaotic workspace. Second, I take advantage of consolidation or freezing of tracks where appropriate to reduce processing load. This creates single audio files for processed tracks which lowers CPU demands significantly, allowing playback and editing with fewer glitches.
Third, I regularly save multiple versions of my project and utilize version control within the DAW, or by maintaining backups in external locations. This protects my work against data loss or unexpected crashes. Finally, I carefully utilize bounce-in-place or exporting stems to create lighter versions of the project for sharing or further processing. This way I can retain the heavy-edited project while working with more manageable files for specific tasks.
Q 5. What are your preferred methods for noise reduction and audio restoration?
My preferred methods for noise reduction and restoration depend on the nature of the noise. For consistent background hiss, I often use spectral editing tools within my DAW, carefully selecting and reducing noise in the frequency spectrum without affecting the desired audio. For more complex noise, such as clicks and pops, I rely on noise reduction plugins, carefully adjusting parameters like threshold, reduction, and attack/release times to minimize artifacts. For more intense restoration tasks, I might use dedicated restoration software. In instances of significant damage, I may use a combination of these techniques along with careful manual editing.
For example, when cleaning up old vinyl recordings, I’d first use a de-clicker plugin to remove pops and clicks, then use spectral editing or a noise reduction plugin to tame the background hiss, paying close attention to preserve the warmth and character of the original recording. The goal is always to achieve the best possible restoration while remaining mindful of potential audio quality degradation.
Q 6. Explain the concept of gain staging and its importance in audio production.
Gain staging is the process of setting optimal signal levels at each stage of the audio production chain, from recording through to mastering. The goal is to maximize the dynamic range while preventing clipping (distortion caused by exceeding the maximum signal level). It’s like setting the water pressure in a plumbing system; you need enough pressure for the water to reach its destination, but too much pressure can cause damage. Similarly, insufficient gain creates low volume and increased noise.
The importance of gain staging cannot be overstated. Proper gain staging ensures a clear, balanced mix, prevents unwanted noise, and allows for flexibility during mixing and mastering. A well-gain-staged mix will have a robust sound compared to a poorly staged mix which may suffer from muddiness, low dynamic range, or excessive noise.
Q 7. How do you handle latency issues when recording and playing back audio?
Latency (delay between input and output) is a common issue, particularly when using plugins and virtual instruments. Several techniques address this: Lower Buffer Size: Reducing the buffer size in the DAW’s audio settings lowers latency, but this also increases the CPU load, potentially leading to glitches or dropouts. ASIO Drivers: Utilizing ASIO drivers (Audio Stream Input/Output) provides a more efficient and low-latency audio interface connection than standard drivers. Hardware Monitoring: Direct monitoring allows the signal to pass through the audio interface without going through the DAW, significantly reducing latency during recording. Compensating Delay: Some DAWs include delay compensation which automatically adds delay to compensate latency in plugins.
Finding the right balance between low latency and system stability is crucial. For example, if a low buffer size causes excessive crackling, I might increase the buffer, but I’d prioritize the ASIO drivers and hardware monitoring to maintain an acceptable level of responsiveness. The specific solution depends on the hardware’s capability and the complexity of the project.
Q 8. What are your preferred plugins for EQ, compression, and reverb?
My plugin choices depend heavily on the specific project and desired sound, but some favorites consistently emerge. For EQ, I frequently rely on FabFilter Pro-Q 3 for its surgical precision and intuitive interface. Its dynamic EQ capabilities are invaluable for tackling problem frequencies without sacrificing overall dynamics. I also appreciate the versatility of Waves Q10, offering a more classic approach with excellent results. For compression, I often turn to Waves CLA-76 for its punchy, vintage-inspired sound, perfect for drums and vocals. Alternatively, I might use UAD’s LA-2A for a more gentle, transparent compression, ideal for delicate instruments like acoustic guitars. Finally, for reverb, I find ValhallaRoom and Lexicon PCM Native to be indispensable. ValhallaRoom offers incredibly realistic and customizable spaces, while the Lexicon plugins provide classic, lush sounds that have been a staple in professional recording for decades. The choice between these truly depends on the sonic goal for each individual track or the overall mix.
Q 9. Describe your process for creating a professional-sounding master.
Mastering is the final stage, where the entire mix is polished for final release. My process begins with careful gain staging—ensuring proper headroom throughout the mix. Next, I focus on spectral balancing using EQ, addressing any muddiness in the low-end or harshness in the high-end. Gentle compression is key here, aiming for cohesion and loudness without sacrificing dynamics. Then, I carefully sculpt the stereo image, ensuring a balanced spread and avoiding phase cancellation issues. I might utilize subtle stereo widening or mid-side EQ to achieve a pleasant width. After that, I add limiting to increase the perceived loudness while protecting the audio from distortion. The process is iterative, listening on various playback systems to ensure a consistent and engaging listening experience across platforms. This often involves multiple passes and fine-tuning, always referring back to my initial reference tracks for comparison and guidance.
Q 10. What is your experience with MIDI sequencing and virtual instruments?
MIDI sequencing and virtual instruments are core to my workflow. I’m proficient in using MIDI to create and edit melodies, rhythms, and harmonies. My experience encompasses a wide range of virtual instruments, from realistic orchestral libraries like Spitfire Audio to synth plugins like Native Instruments Massive and Serum. I can program complex MIDI parts, implement automation, and shape the sound of virtual instruments to achieve a unique sonic palette. I often use MIDI controllers to enhance the creative process, allowing for more expressive and intuitive performance.
For example, I recently used Kontakt’s orchestral libraries to create a film score, meticulously crafting dynamic string sections and intricate brass parts using MIDI sequencing. The flexibility of virtual instruments, alongside MIDI’s ability to control parameters in real-time, is invaluable for achieving intricate, nuanced soundscapes that would be difficult or impossible to achieve with traditional acoustic instruments alone.
Q 11. How do you troubleshoot common audio interface problems?
Troubleshooting audio interface issues requires a systematic approach. I start by checking the obvious—ensuring all cables are securely connected and the interface is properly powered. Next, I verify driver installation and update them if necessary. If I’m experiencing latency or dropouts, I check buffer size settings within the DAW and my audio interface’s control panel. If the issue persists, I’ll test with different USB ports or cables to rule out hardware issues. I’ll also check the sample rate and bit depth settings in both the DAW and interface, ensuring compatibility. Additionally, I often check for driver conflicts with other software or hardware. If all else fails, I’ll contact the manufacturer’s support for further assistance.
Q 12. Explain the different types of audio file formats and their applications.
Various audio file formats serve different purposes. WAV (Waveform Audio File Format) is a lossless format, preserving the original audio quality without compression. It’s ideal for archiving or mastering stages where the highest fidelity is required. AIFF (Audio Interchange File Format) is similar to WAV, also lossless and often used in professional environments. MP3 (MPEG Audio Layer III) is a lossy format, resulting in smaller file sizes but with some reduction in audio quality. It’s commonly used for streaming and online distribution due to its efficiency. AAC (Advanced Audio Coding) is another lossy format that provides better quality than MP3 at comparable bitrates. It’s often used for digital distribution and streaming services like iTunes and Apple Music. Finally, Ogg Vorbis is a royalty-free lossy format known for its high compression ratio and good sound quality, making it a popular alternative to MP3.
Q 13. How do you collaborate effectively with other audio professionals using a DAW?
Effective collaboration relies on clear communication and efficient file sharing. I typically use cloud-based storage services like Dropbox or Google Drive for collaborative projects. When working with other audio professionals, we establish clear roles and responsibilities upfront. We might utilize session templates to ensure consistency and avoid conflicts. We also discuss the desired sonic goals and aesthetic direction of the project. The DAW’s built-in collaboration features, such as session backups and version control, are essential for managing changes and preventing data loss. Consistent communication, often through regular check-ins, ensures that everyone is aligned and informed throughout the process.
Q 14. What are your preferred techniques for audio alignment and synchronization?
Audio alignment and synchronization are crucial for projects involving multiple audio tracks, whether it’s dialogue, music, or sound effects. For basic synchronization, I use the DAW’s built-in tools, often relying on visual waveform alignment to match audio clips manually. More advanced scenarios might involve using dedicated plug-ins for time-stretching and pitch correction. Tools like élastique pro are often employed to adjust timing without introducing significant artifacts. For video projects, I utilize the DAW’s video editing capabilities or dedicated video editing software for precise audio alignment to the video’s frame rate. Precise synchronization requires careful attention to detail and a thorough understanding of the audio editing capabilities of the chosen software. This is often achieved through a combination of manual editing and the careful application of audio alignment plug-ins.
Q 15. How do you manage and organize your audio files and projects?
Managing audio files and projects effectively is crucial for workflow efficiency and preventing chaos. My approach is built around a hierarchical folder structure, leveraging descriptive naming conventions and utilizing DAW-specific features.
Folder Structure: I organize projects by client, year, and then project name. Within each project, I maintain separate folders for audio files (stems, loops, etc.), MIDI files, and project files (DAW sessions). This allows for easy retrieval and prevents file duplication.
Naming Conventions: I use a consistent naming scheme: [Client Name]_[Project Name]_[Track Number]_[Description].wav. This ensures clarity and facilitates searching. For example: AcmeCorp_Jingle_01_LeadVocal.wav
DAW-Specific Features: Most DAWs offer robust metadata tagging features. I diligently tag files with information such as genre, tempo, key, and instrumentation. This simplifies searching and sorting within the DAW’s browser.
Regular Backups: Finally, regular backups are non-negotiable. I utilize both local and cloud-based backups to safeguard my work against hardware failure or accidental deletion. This peace of mind allows me to focus on creativity.
Career Expert Tips:
- Ace those interviews! Prepare effectively by reviewing the Top 50 Most Common Interview Questions on ResumeGemini.
- Navigate your job search with confidence! Explore a wide range of Career Tips on ResumeGemini. Learn about common challenges and recommendations to overcome them.
- Craft the perfect resume! Master the Art of Resume Writing with ResumeGemini’s guide. Showcase your unique qualifications and achievements effectively.
- Don’t miss out on holiday savings! Build your dream resume with ResumeGemini’s ATS optimized templates.
Q 16. Explain your understanding of sample rates and bit depths.
Sample rate and bit depth are fundamental concepts in digital audio. They define the quality and resolution of your audio recording.
Sample Rate: This refers to the number of samples taken per second. Higher sample rates capture more audio data, resulting in a higher-fidelity sound. Common sample rates include 44.1 kHz (CD quality), 48 kHz (standard for professional film and television), 88.2 kHz, and 96 kHz (high-resolution audio). Think of it like taking a picture; a higher resolution (sample rate) produces a sharper image.
Bit Depth: This represents the number of bits used to represent each sample. Higher bit depths provide a wider dynamic range and more nuanced detail in the audio. Common bit depths are 16-bit (CD quality) and 24-bit (professional standard). A higher bit depth is like using more colors in your painting; more colors result in a richer and more detailed picture.
Practical Implications: Choosing the correct sample rate and bit depth depends on the project’s requirements. For CD masters, 44.1 kHz/16-bit is sufficient. For high-resolution audio, 96 kHz/24-bit or even higher is preferred. Higher settings demand more storage space and processing power.
Q 17. What are some common pitfalls to avoid when working with audio in a DAW?
Working with audio in a DAW can present several pitfalls. Avoiding these common issues improves workflow and enhances the final product’s quality.
- Clipping: Overdriving the audio signal, causing distortion. Always monitor levels carefully and use gain staging techniques to prevent this.
- Phase Cancellation: Combining two or more signals with opposing phase can result in a significant loss of audio information, sometimes silencing certain frequencies. Careful microphone placement and signal processing can prevent this.
- Poor Gain Staging: Incorrectly setting input and output levels throughout the signal chain can lead to a poor dynamic range and a muddled mix. Always use gain staging techniques to maintain appropriate levels.
- Ignoring Headroom: Leaving insufficient space between your peak levels and the maximum signal capacity can lead to unwanted distortion. Always leave adequate headroom.
- Insufficient Monitoring: Using inaccurate or inappropriate monitor speakers will lead to a final product that doesn’t translate across playback systems. Ensure that your monitoring environment is calibrated and accurate.
Solutions: Regularly check your levels with a peak meter, use a well-calibrated monitoring system, and apply proper gain staging techniques from the start.
Q 18. How do you use automation effectively in your productions?
Automation is a powerful tool in DAWs that allows for dynamic changes to parameters over time. I use it to create movement, interest, and variation within my productions.
Common Uses: I use automation for various parameters, including:
- Volume: Creating fades, swells, and dynamic shifts within a track or across multiple tracks.
- Panning: Creating a wider stereo image and adding movement to instruments or vocals.
- EQ: Adjusting frequencies over time to enhance different sections of a track.
- Effects Sends: Controlling the intensity of effects such as reverb or delay, providing rhythmic or textural changes.
- Plugin Parameters: Automated changes to any plugin parameter, adding subtle nuances and expressive variations.
Effective Techniques: I utilize draw automation curves to create smooth and natural transitions. I also use automation clips to create more complex movements or rhythmic effects. In some cases, I use MIDI automation for greater precision and flexibility. For example, I might automate the cutoff frequency of a filter on a bass line to create movement during a song’s breakdown, creating a rhythmic pulse.
Q 19. Describe your experience with surround sound mixing.
My experience with surround sound mixing involves a deep understanding of speaker placement, panning techniques, and the creation of immersive audio landscapes.
Workflow: I typically start by visualizing the soundstage and placing instruments and effects accordingly. I utilize surround panning techniques to create depth and width, ensuring that the mix translates well across various playback systems. I utilize panning plugins that offer precision control over the placement of sounds within the surround field. Specific plugins are used for each DAW, such as those built into Logic Pro X or those provided by other manufacturers like Waves.
Challenges: Surround mixing requires careful attention to detail. A poorly-mixed surround track can sound cluttered or disorienting. It requires a more sophisticated understanding of sound positioning and its impact on the listener.
Software and Hardware: Pro Tools, Logic Pro X, and other DAWs offer dedicated surround mixing capabilities, which support different configurations like 5.1, 7.1, and Dolby Atmos. I have hands-on experience using various monitoring setups, including 5.1 and 7.1 surround sound systems. Having high-quality calibrated monitors is critical to effective surround mixing.
Q 20. What are your experiences with different types of microphones and their applications?
My experience with microphones spans various types and applications, allowing me to select the most appropriate microphone for any given recording scenario.
Microphone Types and Applications:
- Large-Diaphragm Condenser Microphones (LDCs): Excellent for capturing warm, detailed vocals, acoustic instruments, and string instruments. Their sensitivity makes them great for picking up delicate nuances.
- Small-Diaphragm Condenser Microphones (SMDCs): Ideal for recording instruments with bright, clear sounds, such as hi-hats, snare drums, and acoustic guitars. They are less sensitive than LDCs and are well-suited to drum overheads.
- Dynamic Microphones: Durable and rugged, suitable for loud sources like vocals, electric guitars, and bass amplifiers. They are less sensitive to handling noise and are more tolerant to harsh SPL levels.
- Ribbon Microphones: Known for their smooth, warm, and often vintage-like sound, ideal for capturing subtle nuances in instrumentation. They are more fragile and require careful handling.
Microphone Selection: The choice of microphone depends on several factors, including the sound source, desired tonal characteristics, and the recording environment. For example, I’d use an LDC for recording a vocalist in a controlled studio environment, and a dynamic microphone for capturing a live drum kit performance.
Q 21. How do you ensure your audio projects meet professional broadcast standards?
Ensuring audio projects meet professional broadcast standards involves adhering to specific technical specifications and quality control measures.
Technical Specifications: Broadcast standards vary depending on the medium (radio, television, online streaming). These often include sample rate (48 kHz is common), bit depth (24-bit is preferred), and metering guidelines (peak levels, loudness). I meticulously follow these guidelines during the mixing and mastering stages.
Loudness Standards: Compliance with loudness standards like LUFS (Loudness Units relative to Full Scale) is critical for consistent playback volume across different platforms and ensures that the audio isn’t too loud or too quiet. I utilize specialized loudness metering plugins to meet these requirements.
Quality Control: A rigorous quality control process is essential. This involves listening critically for any audio artifacts, such as clicks, pops, or unwanted noise. I often employ noise reduction and audio restoration techniques to improve the overall quality. Additionally, I always finalize my projects by performing a thorough listening session on different playback systems to ensure consistency across platforms.
Metadata: Accurate metadata is also important, including track titles, artist information, and other relevant details. This ensures proper identification and organization when the files are transferred or archived.
Q 22. What is your experience with using external hardware with a DAW?
My experience with external hardware in DAWs is extensive. I’m proficient in integrating a wide range of devices, from audio interfaces (like Focusrite Scarlett and Universal Audio Apollo interfaces) and MIDI controllers (such as Akai MPK and Native Instruments Komplete Kontrol) to synthesizers (Moog, Roland, and Arturia) and outboard effects processors (like Lexicon reverbs and Eventide harmonizers). I understand the importance of proper driver installation and routing signals effectively within the DAW. For example, when working with a hardware synthesizer, I’d carefully route the audio output from the synth’s audio interface into a dedicated input channel in my DAW, allowing for precise mixing and processing. I also have experience troubleshooting hardware issues, ensuring compatibility between different devices, and optimizing signal flow for optimal audio quality.
This includes understanding ASIO drivers and their impact on latency and ensuring proper clock synchronization to prevent timing issues. I can configure and utilize different sample rates and bit depths based on the project’s requirements and the capabilities of the hardware involved.
Q 23. Describe your understanding of phase cancellation and how to avoid it.
Phase cancellation occurs when two or more sound waves of the same frequency are out of sync, resulting in a reduction or complete cancellation of the sound. Imagine two identical waves, one slightly behind the other; where the peaks of one wave align with the troughs of the other, they effectively negate each other. This often manifests as a ‘thinning’ or loss of loudness, especially in the low frequencies.
Avoiding phase cancellation involves careful microphone placement and signal processing. For example, when recording stereo, using spaced microphones (XY or AB techniques) rather than coincident microphones reduces the risk of phase cancellation. In the mixing stage, phase alignment plugins can be used to identify and correct phase issues. These plugins visually represent the waveform phases and offer tools to adjust timing to minimize cancellation. Careful monitoring during recording and mixing, listening for any dips in frequency response, is also crucial. It’s also important to be aware of the potential for phase cancellation when using multiple instances of the same plugin or processing the same audio signal in different ways.
Q 24. What is your experience with music notation software integrated with DAWs?
I’m very comfortable using music notation software integrated with DAWs. I have experience with Sibelius, Finale, and Dorico, and understand their integration with DAWs like Logic Pro X, Ableton Live, and Pro Tools. This allows for a seamless workflow between composing and arranging in notation software and then recording, editing, and mixing in the DAW. For example, I can export MIDI files from my notation software into the DAW, which automatically creates MIDI tracks that I can then use to drive virtual instruments or trigger samples. I can also import audio from my DAW back into the notation software to create a score aligned with the final recording. This hybrid approach is particularly useful for projects involving orchestral arrangements or complex musical structures.
This integration is crucial for accurate note placement, precise timing information and creating professional-quality scores. This greatly streamlines the workflow for complex projects and ensures that the final output meets the highest standards.
Q 25. How do you approach mixing dialogues in a film or television project?
Mixing dialogue in film or television requires a nuanced approach focused on clarity, intelligibility, and consistency. My process begins with careful audio editing to remove noise, pops, and clicks. I then focus on equalization to enhance the vocal frequencies and reduce muddiness. This might involve boosting presence frequencies for clarity and using high-pass filters to eliminate unwanted low-frequency rumble. Compression is crucial to control dynamic range, ensuring dialogue remains consistent throughout the film without sudden loud or quiet passages. I also utilize techniques like de-essing to reduce harsh sibilance.
Furthermore, I’m skilled in using ADR (Automated Dialogue Replacement) techniques to address any issues with the original dialogue recording. I consider the overall sonic landscape of the film, ensuring that the dialogue blends seamlessly with the music and sound effects. Working closely with the director and sound designer is essential to achieve a cohesive and immersive soundscape.
Q 26. Describe your process for creating and implementing sound effects.
Creating and implementing sound effects involves a blend of creative ingenuity and technical skill. My process typically starts with identifying the required sound effect – whether it’s a subtle footstep or a dramatic explosion. I may record my own sounds using field recording techniques, utilizing resources like libraries of pre-recorded sound effects, or using synthesis to create entirely new sounds.
Once I’ve captured or synthesized a sound, I move into editing and processing to refine and shape it to fit the specific needs of the project. This may involve using EQ, compression, reverb, delay, and other effects to manipulate pitch, timbre, and spatial characteristics. For instance, for a realistic footstep sound, I would add a short room reverb to create ambience. For a futuristic laser blast, I might start with a synthesized sound and then layer and manipulate it using distortion and other effects. Careful attention to detail ensures the sounds are realistic, believable, and enhance the storytelling.
Q 27. How familiar are you with using cloud-based collaboration tools for DAW projects?
I’m familiar with various cloud-based collaboration tools for DAW projects, including those offered by services like Dropbox, Google Drive, and specialized platforms like Splice and Soundtrap. I understand the benefits of utilizing these services for sharing projects with collaborators, backing up data, and facilitating remote work. I’m aware of the file size limitations and the necessity for efficient file management when working with large audio files. I’m also well-versed in employing version control to track changes and revert to previous versions if needed.
For example, I’ve successfully used shared folders to exchange project files with musicians and engineers in different locations, making remote collaboration seamless. Knowing the best practices and protocols to efficiently share and coordinate projects are essential parts of my workflow.
Q 28. What are your strategies for time management and project deadlines in audio production?
Effective time management is crucial in audio production. My strategy involves meticulous planning and organization. Before starting a project, I create a detailed schedule, breaking down the project into manageable tasks with assigned deadlines. I prioritize tasks based on their importance and urgency, using tools like project management software and to-do lists to stay organized. I regularly review my progress and adjust the schedule as needed to accommodate unforeseen challenges. Regular backups of my work are essential to prevent data loss.
Communication is key when working with clients or teams. Regular updates and transparent communication about progress, challenges, and any potential delays are vital to manage expectations and maintain a positive working relationship. I prioritize efficient workflows and avoid unnecessary steps that could extend project timelines. Proactive problem-solving and consistent monitoring prevent small issues from escalating into major setbacks.
Key Topics to Learn for Proficiency in Digital Audio Workstations (DAWs) Interview
- Audio Editing Fundamentals: Mastering basic editing techniques like cutting, pasting, trimming, and fading. Understanding different edit modes and their applications.
- Mixing and Mastering Concepts: Gaining a solid grasp of EQ, compression, reverb, delay, and other effects. Knowing how to achieve a balanced and polished mix and master.
- Signal Flow and Routing: Understanding the path of audio signals within the DAW, including busses, aux sends, and returns. Troubleshooting signal flow issues.
- MIDI Editing and Sequencing: Proficiency in creating, editing, and manipulating MIDI data. Understanding MIDI controllers and their integration with DAWs.
- Automation and Control: Utilizing automation to control parameters over time. Understanding different automation modes and techniques.
- Plugin Management and Workflow: Efficiently managing and utilizing virtual instruments (VSTs) and effects plugins. Optimizing your workflow for speed and efficiency.
- DAW-Specific Features: Familiarize yourself with the unique features and functionalities of popular DAWs (e.g., Pro Tools, Logic Pro X, Ableton Live, Cubase). Highlight your expertise in at least one.
- File Management and Organization: Implementing a robust file management system for projects and audio files. Understanding different file formats and their applications.
- Troubleshooting and Problem-Solving: Developing strategies for identifying and resolving common technical issues within the DAW.
- Collaboration and Teamwork: Understanding the workflow involved in collaborative projects, including session sharing and version control.
Next Steps
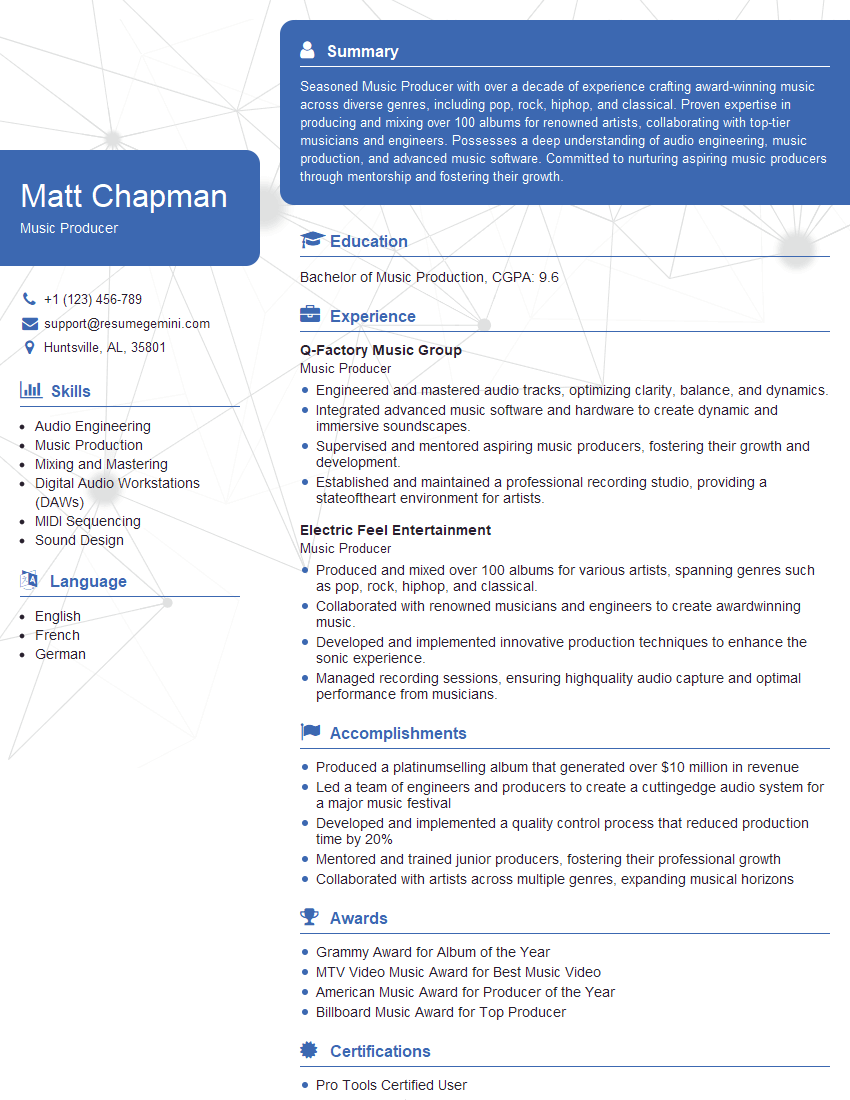
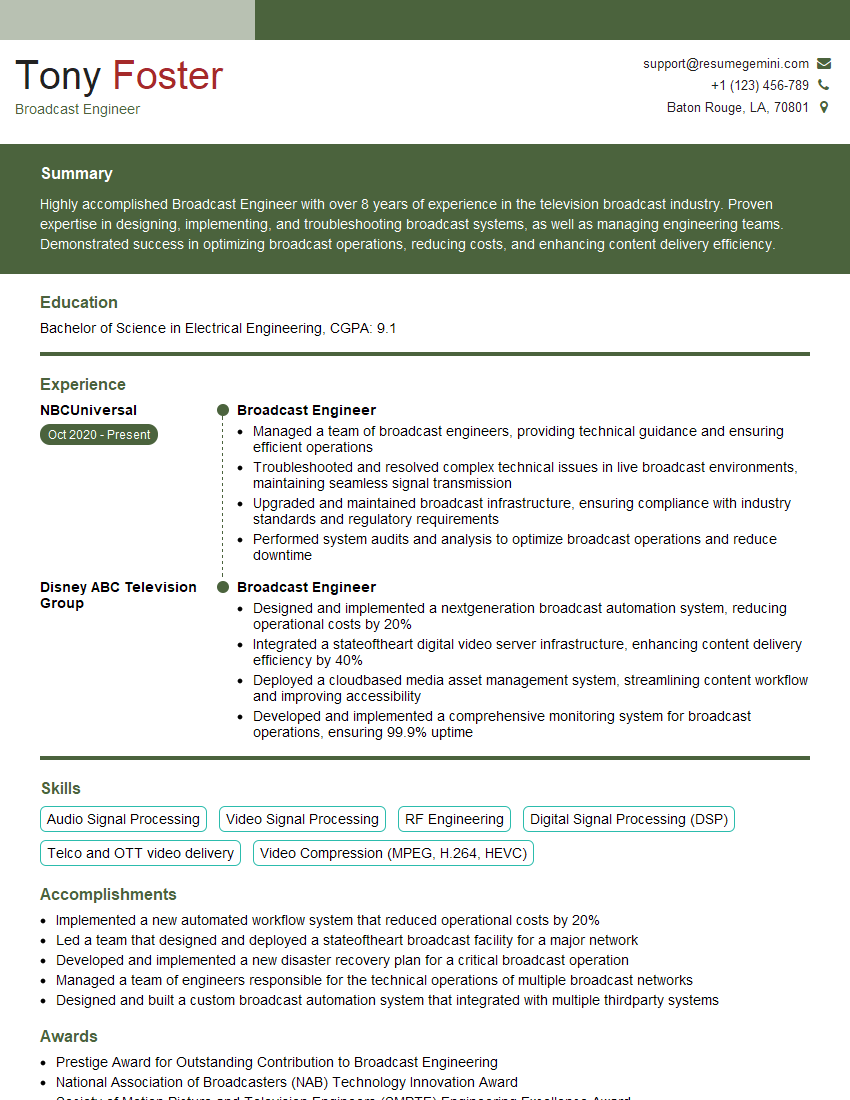
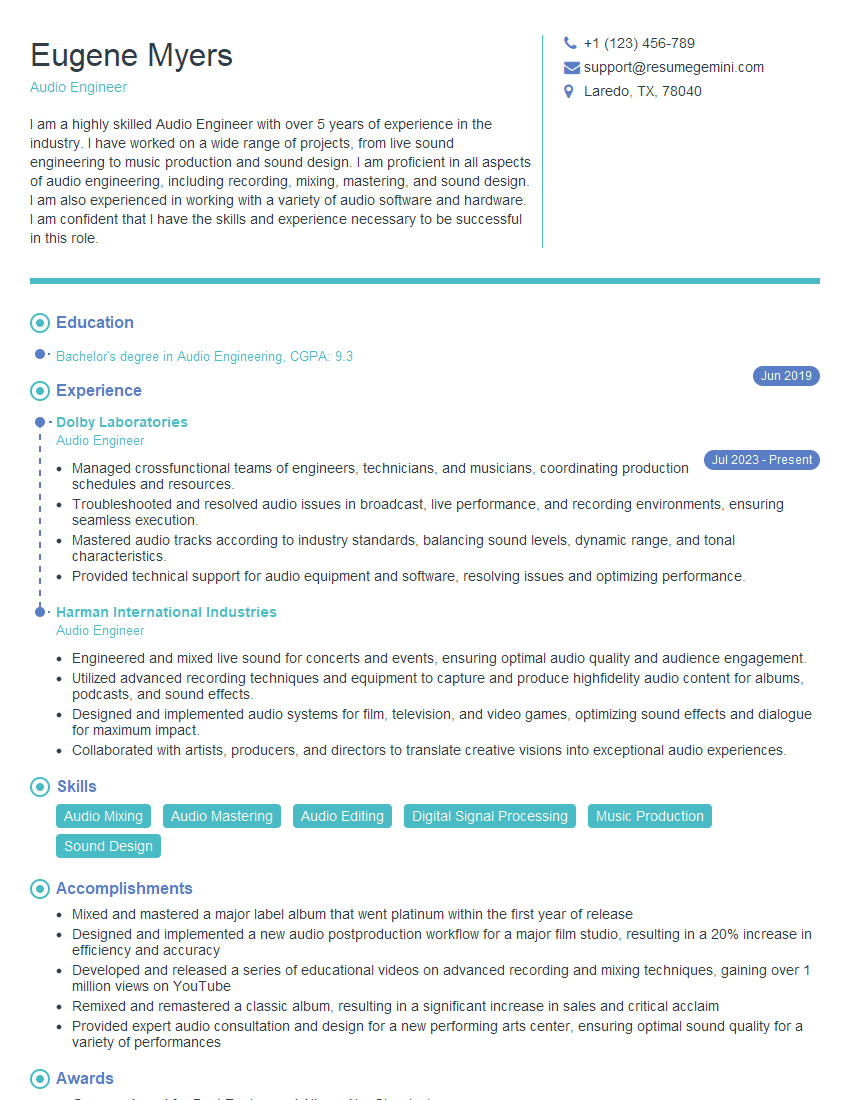
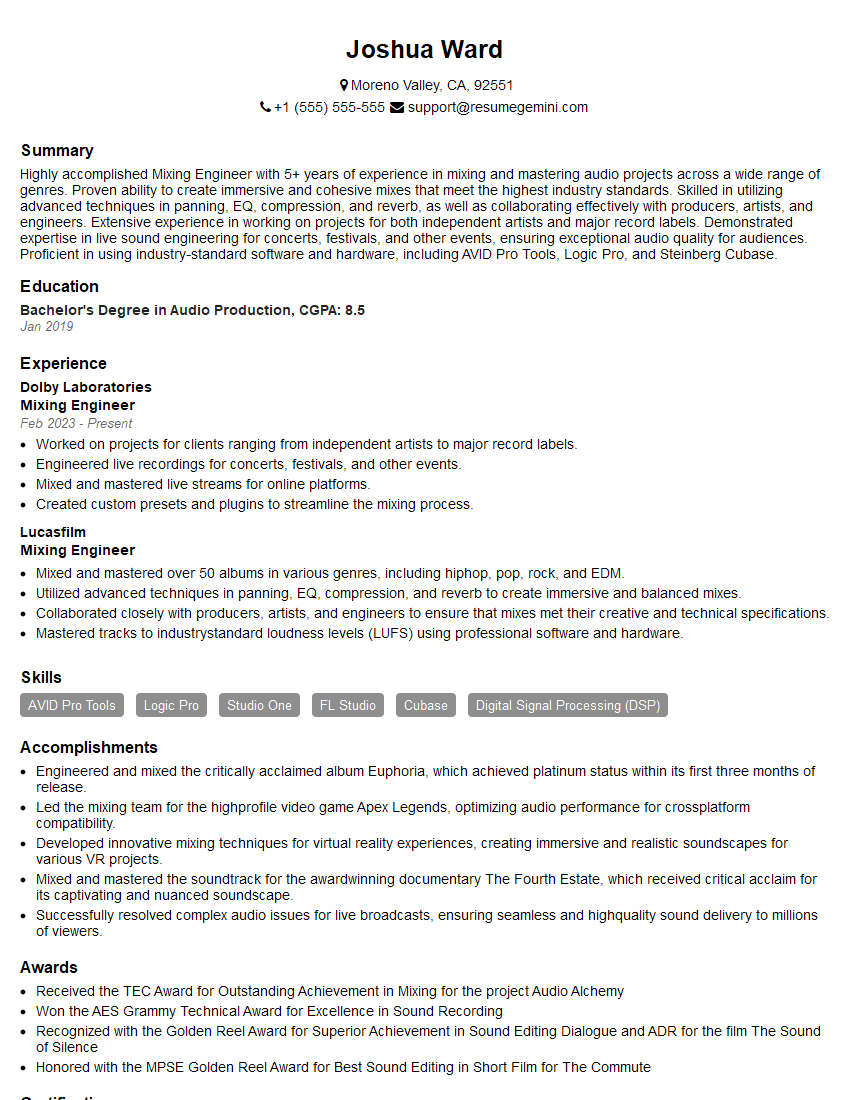
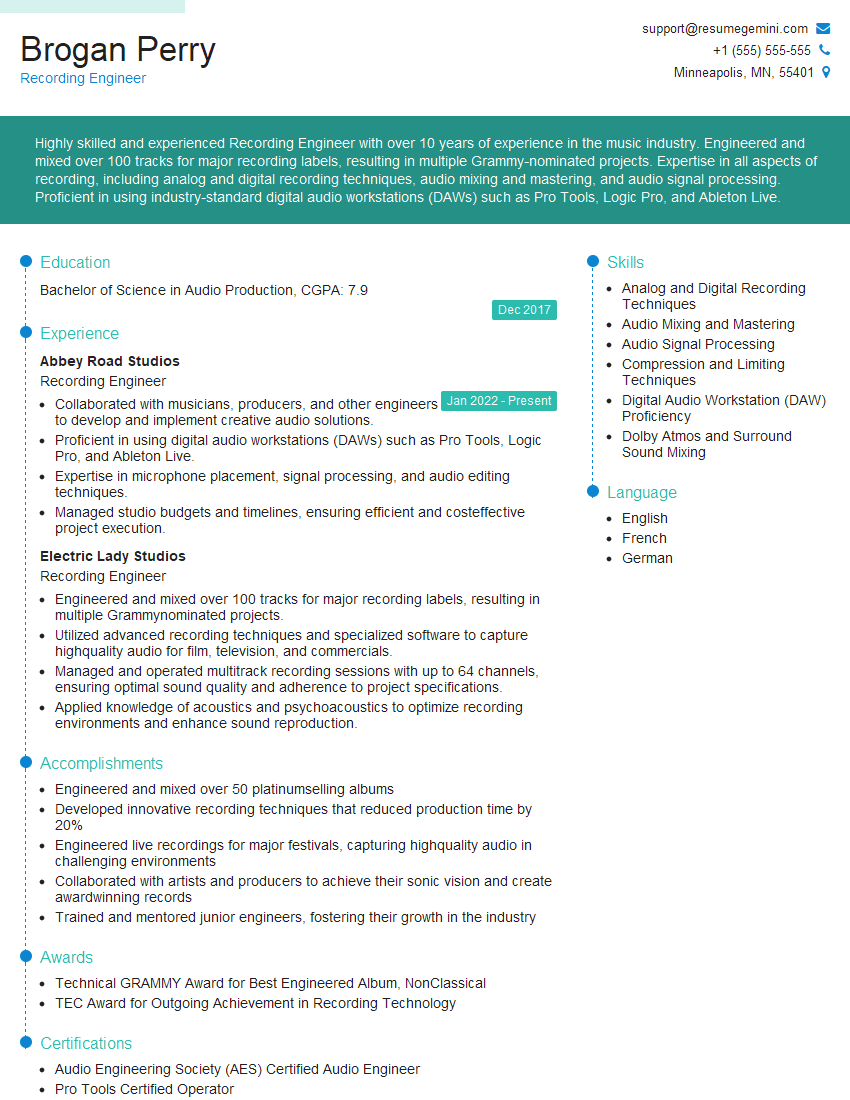
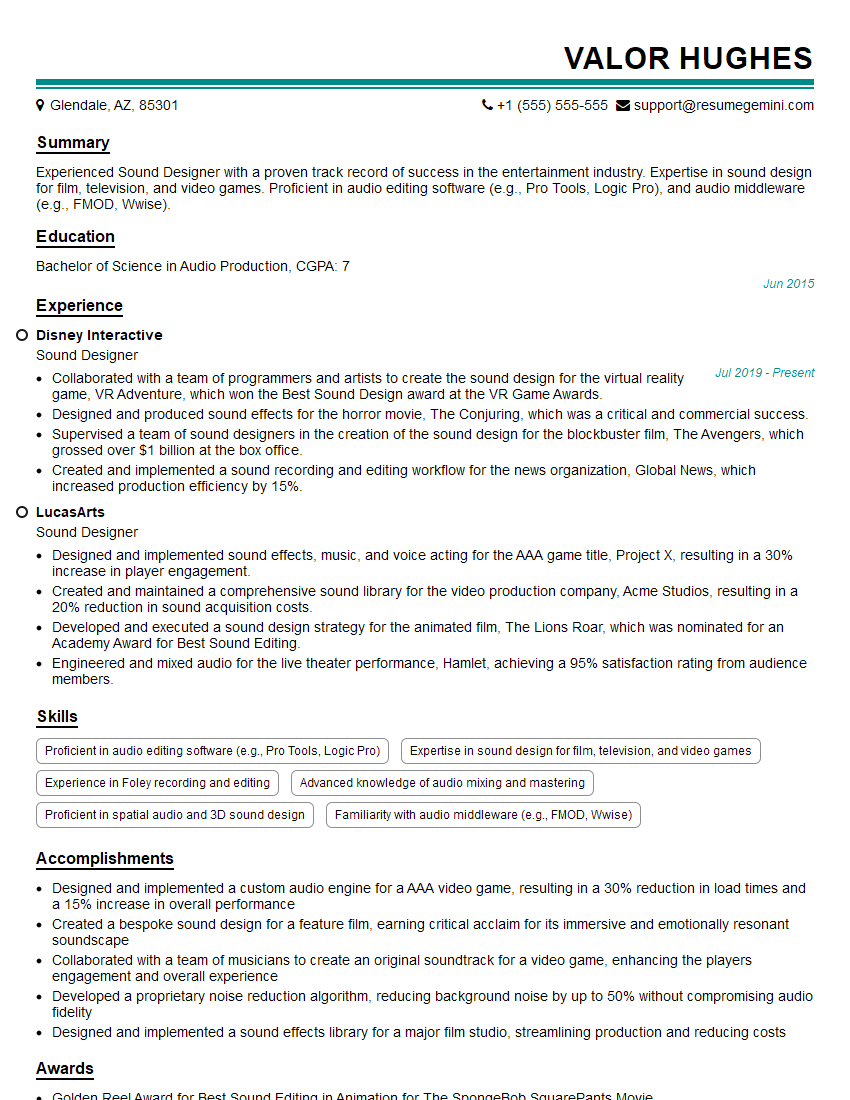
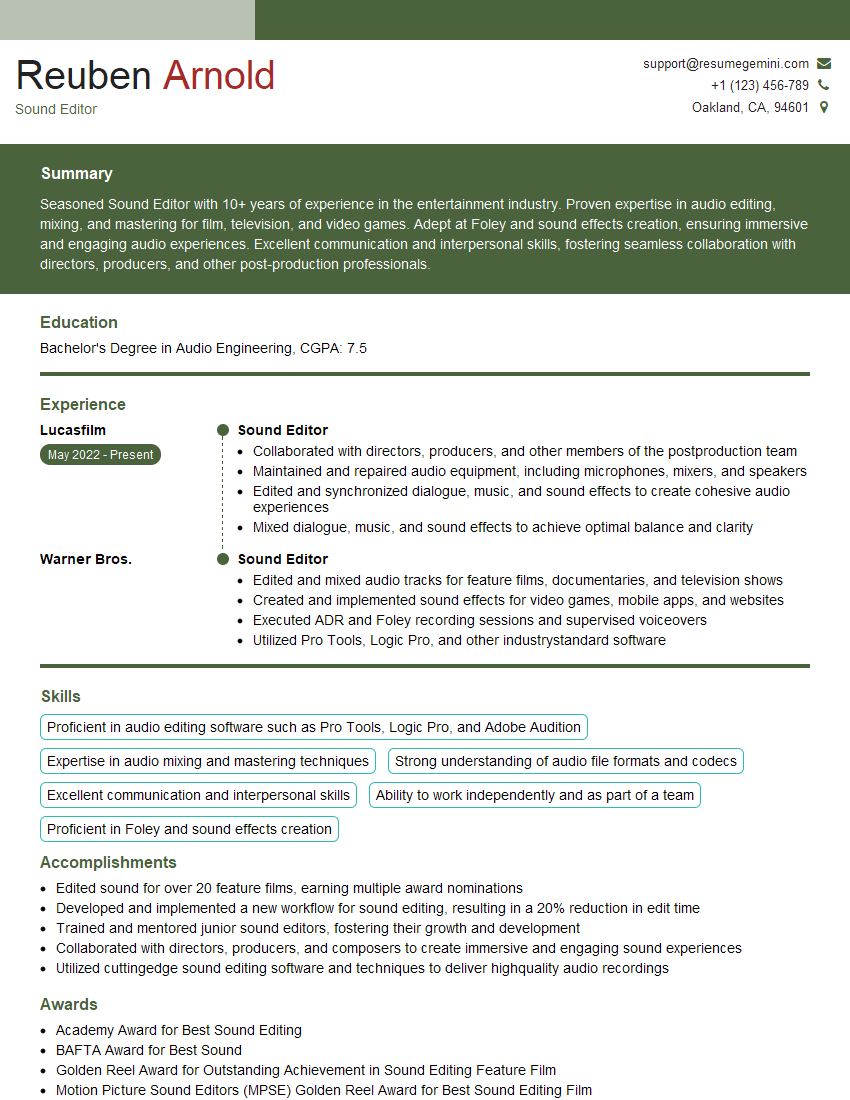
Mastering proficiency in Digital Audio Workstations is crucial for career advancement in the audio industry. A strong understanding of DAWs opens doors to exciting roles in music production, sound design, audio post-production, and more. To maximize your job prospects, invest time in creating an ATS-friendly resume that showcases your skills effectively. ResumeGemini is a trusted resource that can help you build a professional and impactful resume tailored to your experience. Examples of resumes specifically designed for candidates with Proficiency in Digital Audio Workstations (DAWs) are available to further guide your preparation.
Explore more articles
Users Rating of Our Blogs
Share Your Experience
We value your feedback! Please rate our content and share your thoughts (optional).
What Readers Say About Our Blog
Hello,
We found issues with your domain’s email setup that may be sending your messages to spam or blocking them completely. InboxShield Mini shows you how to fix it in minutes — no tech skills required.
Scan your domain now for details: https://inboxshield-mini.com/
— Adam @ InboxShield Mini
Reply STOP to unsubscribe
Hi, are you owner of interviewgemini.com? What if I told you I could help you find extra time in your schedule, reconnect with leads you didn’t even realize you missed, and bring in more “I want to work with you” conversations, without increasing your ad spend or hiring a full-time employee?
All with a flexible, budget-friendly service that could easily pay for itself. Sounds good?
Would it be nice to jump on a quick 10-minute call so I can show you exactly how we make this work?
Best,
Hapei
Marketing Director
Hey, I know you’re the owner of interviewgemini.com. I’ll be quick.
Fundraising for your business is tough and time-consuming. We make it easier by guaranteeing two private investor meetings each month, for six months. No demos, no pitch events – just direct introductions to active investors matched to your startup.
If youR17;re raising, this could help you build real momentum. Want me to send more info?
Hi, I represent an SEO company that specialises in getting you AI citations and higher rankings on Google. I’d like to offer you a 100% free SEO audit for your website. Would you be interested?
Hi, I represent an SEO company that specialises in getting you AI citations and higher rankings on Google. I’d like to offer you a 100% free SEO audit for your website. Would you be interested?
good
