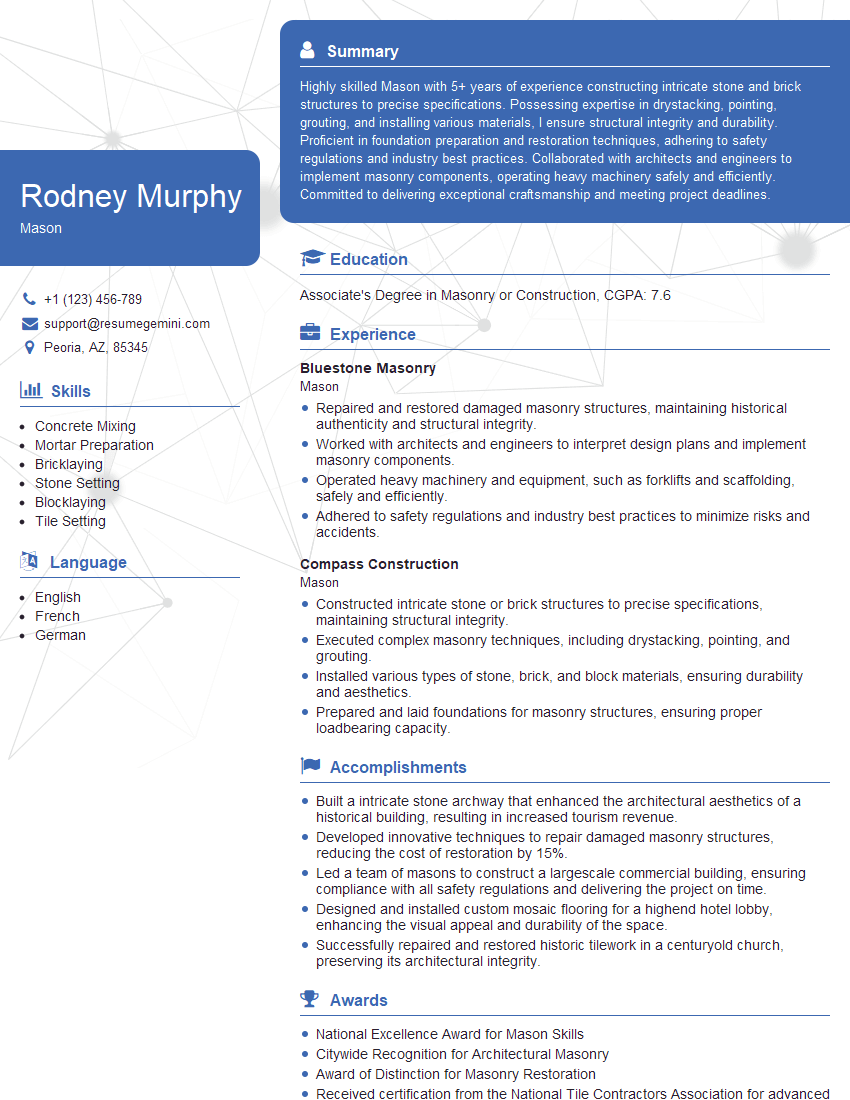
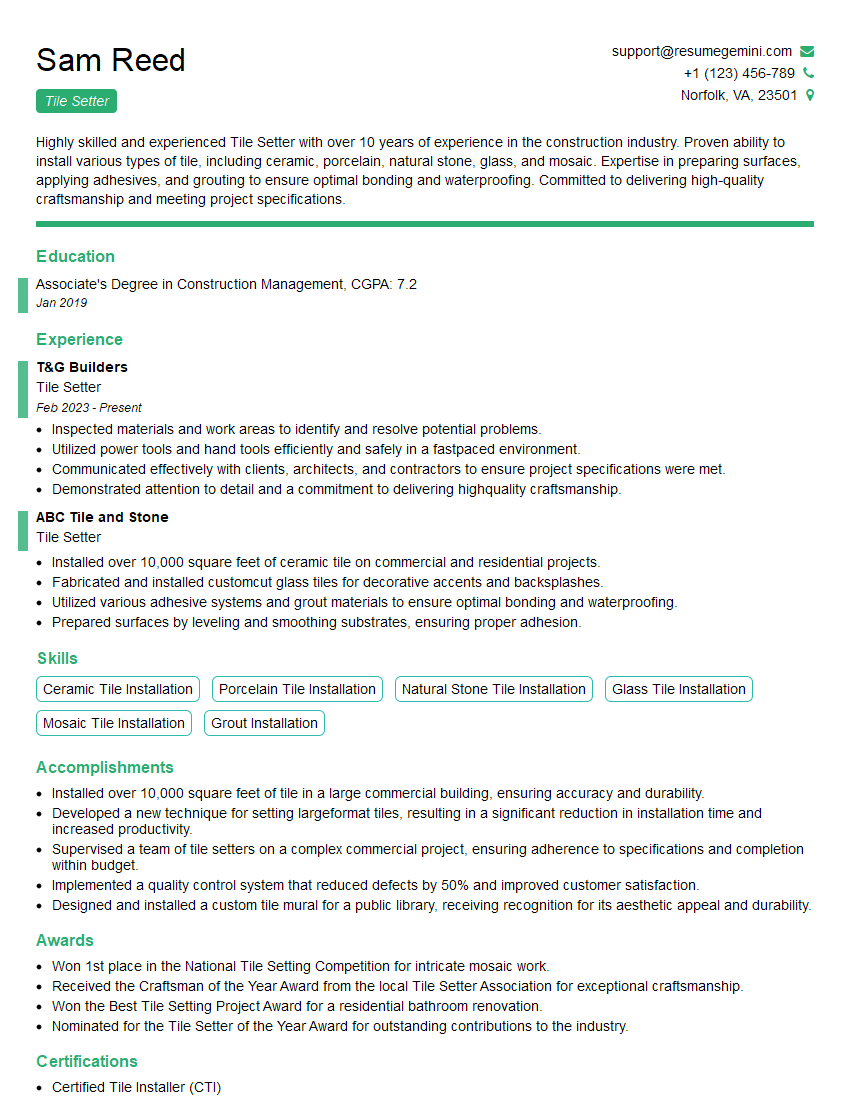
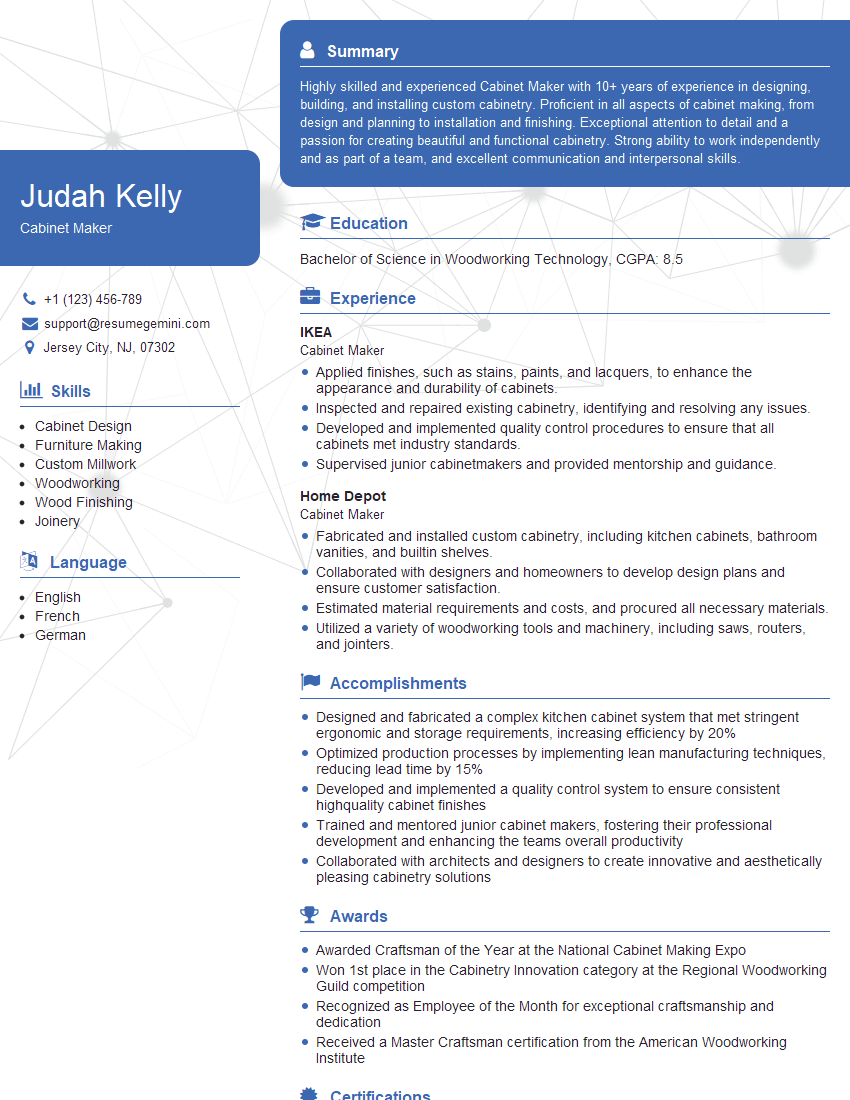
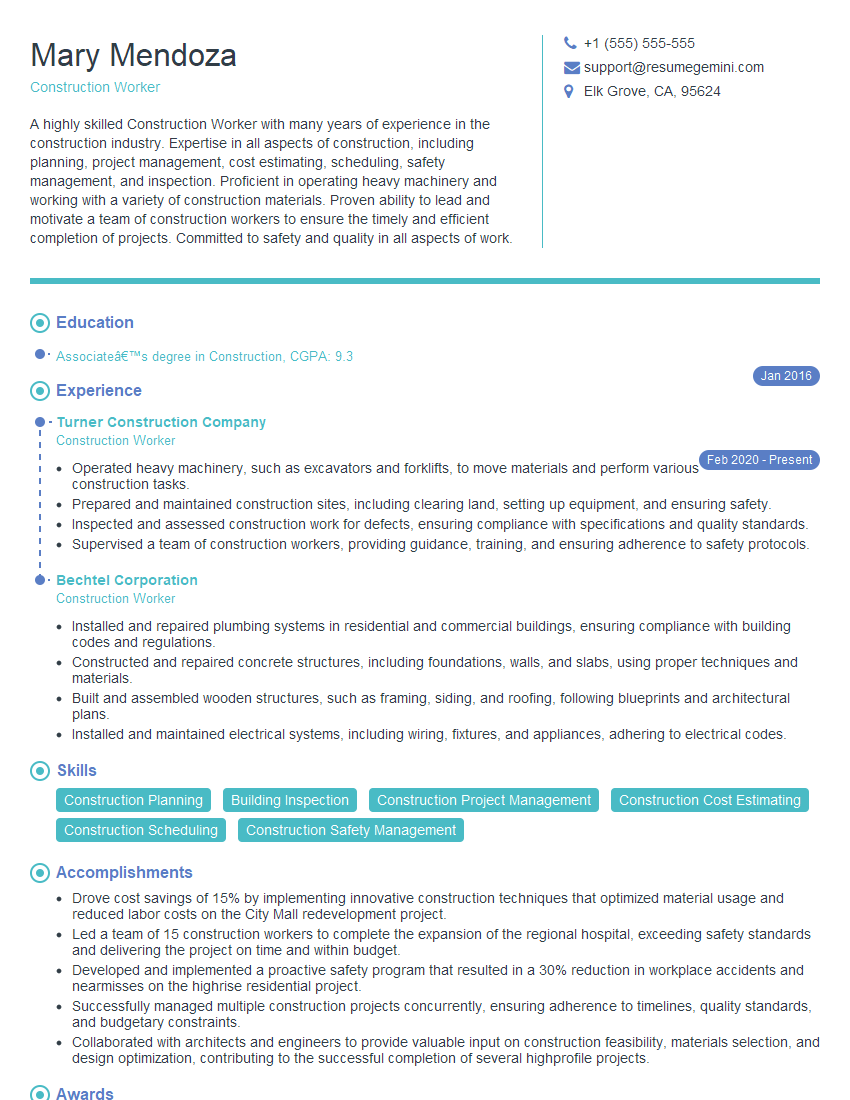
Unlock your full potential by mastering the most common Proficiency in Using Hand and Power Tools interview questions. This blog offers a deep dive into the critical topics, ensuring you’re not only prepared to answer but to excel. With these insights, you’ll approach your interview with clarity and confidence.
Questions Asked in Proficiency in Using Hand and Power Tools Interview
Q 1. What safety precautions do you take when using power tools?
Safety is paramount when using power tools. My approach is multifaceted and begins before I even switch the tool on. It involves a thorough risk assessment of the task, selecting the right tool for the job, and ensuring I have the correct personal protective equipment (PPE).
- PPE: This always includes safety glasses or a face shield, hearing protection, and appropriate work gloves. For tasks generating significant dust, a respirator is essential. Depending on the task, I may also wear a dust mask, long sleeves, and sturdy closed-toe shoes.
- Tool Inspection: Before every use, I carefully inspect the power tool for damage, loose parts, or frayed cords. A damaged tool is an unsafe tool and should be immediately removed from service.
- Work Area Safety: The work area must be well-lit, free of clutter, and stable. I ensure there’s enough space to maneuver safely around the tool and material. If working at height, appropriate fall protection measures are implemented.
- Secure Grip: Maintaining a firm, two-handed grip on the tool is crucial. This prevents accidental slippage and injury. I always utilize any auxiliary handles provided.
- Awareness of Surroundings: I’m hyper-aware of my surroundings, ensuring nobody is in the tool’s path of operation. I will often use caution tape to restrict access.
- Proper Technique: Using the tool according to the manufacturer’s instructions is non-negotiable. I ensure I’m familiar with all safety features and operational procedures before starting any project.
For instance, when using a circular saw, I always engage the blade guard before making any cuts and never force the saw through the material. Safety is not just a procedure; it’s a mindset I maintain throughout every project.
Q 2. Describe your experience with different types of saws (e.g., circular saw, jigsaw, miter saw).
I have extensive experience with various types of saws, each suited to specific tasks.
- Circular Saw: This is my go-to for ripping (cutting along the grain) and cross-cutting (cutting across the grain) large sheets of material. I’m proficient in adjusting the blade depth and bevel for precise cuts. I find them especially efficient for framing work.
- Jigsaw: The jigsaw excels at intricate cuts, curves, and shaping. Its maneuverability makes it ideal for cutting out complex patterns in wood or other materials. I frequently use this for detailed work on furniture projects.
- Miter Saw: This is a precision tool for making accurate angle cuts, crucial for joining materials at angles like in picture frames or crown molding. The ability to quickly and precisely set angles saves time and ensures consistent results.
For example, when constructing a deck, I’d use a circular saw for cutting the main deck boards, a jigsaw for cutting around obstacles, and a miter saw for cutting the angled support beams. My familiarity with each saw’s capabilities allows me to select the most appropriate one for the job, optimizing both efficiency and safety.
Q 3. How do you maintain and care for your hand tools?
Proper hand tool maintenance is crucial for their longevity and my safety. My routine involves regular cleaning, sharpening, and storage.
- Cleaning: After each use, I clean my tools, removing sawdust, debris, and any resin build-up. I use a wire brush for stubborn residue. A clean tool is less likely to slip or malfunction.
- Sharpening: Sharp tools are safer and more efficient. I regularly sharpen chisels, planes, and other cutting tools using appropriate sharpening stones or a honing guide. Dull tools require more force, increasing the risk of injury.
- Lubrication: Tools with moving parts, such as hinges and pliers, benefit from periodic lubrication with appropriate oils or greases to prevent rust and ensure smooth operation.
- Storage: I store my tools in a designated area, organized and protected from moisture and damage. This prevents rust and keeps the tools easily accessible.
For instance, a dull chisel is more likely to slip during use, leading to potential injury. Regular sharpening prevents this and allows for cleaner, more efficient cuts. Proper storage also prevents rust and keeps the tools in optimal condition for years to come.
Q 4. Explain the proper use of a drill press.
The drill press is a powerful and versatile tool for accurate drilling. Proper use involves several key steps.
- Secure Workpiece: The workpiece must be securely clamped to the drill press table, preventing movement during drilling. The workpiece needs to be firmly held to avoid slippage.
- Correct Speed Selection: Select the appropriate speed based on the material being drilled and the drill bit size. Too high of speed can cause the bit to overheat and break; too low of a speed can cause a dull, uneven hole.
- Drill Bit Selection: Choose the correct drill bit for the material and hole size. Using the incorrect bit can lead to damage to both the material and the bit.
- Depth Stop (If Available): Use the depth stop to control the depth of the hole, ensuring consistent results. This prevents accidental drilling too deep.
- Straight Drilling: Apply gentle downward pressure, allowing the drill bit to do the work. Avoid forcing the drill bit which can lead to breakage.
- Safety Precautions: Always wear appropriate safety glasses or a face shield, and ensure the drill press is turned off before making any adjustments.
For example, I recently used a drill press to create precisely sized pilot holes for screws in a hardwood furniture project. By securely clamping the wood, selecting the proper speed and drill bit, and using a depth stop, I was able to create perfectly aligned holes without damaging the material.
Q 5. What are the different types of drill bits and their applications?
Drill bits come in a variety of types, each designed for specific materials and applications.
- Twist Drill Bits: These are the most common type, featuring a helical cutting edge. They are suitable for drilling holes in wood, metal, and plastics. Different materials require different bit materials and geometries.
- Brad Point Bits: These have a sharp point that helps to prevent the bit from wandering, making them ideal for precise drilling in wood.
- Forstner Bits: These produce flat-bottomed holes, making them useful for creating decorative details or mortises.
- Countersink Bits: These create a countersink, allowing the screw head to sit flush or slightly below the surface of the material.
- Spade Bits: These are typically used for larger holes in wood.
For example, when drilling pilot holes for screws in a delicate piece of furniture, I would opt for a brad point bit to minimize the risk of splitting the wood. In contrast, I’d use a forstner bit for creating larger, clean holes for hinges.
Q 6. Describe your experience with various types of hammers and their uses.
Different hammers are designed for various applications, and selecting the right one is crucial for both efficiency and safety.
- Claw Hammer: This is the most common type, ideal for driving nails and removing them using the claw. Balance and weight are important factors for effective use.
- Ball-Peen Hammer: This has a round face and is commonly used for shaping metal. The weight impacts the shaping power and precision required.
- Sledgehammer: Used for heavy-duty demolition work. Its significant weight and size are suited for powerful impacts.
- Mallet: Often made from wood or rubber, it’s used for striking softer materials without damaging them. This provides controlled and softer impacts compared to a metal hammer.
For instance, I’d use a claw hammer for everyday carpentry tasks, but a mallet for delicate wood work to avoid damaging the material with metal hammer impacts. The right hammer for the task greatly improves efficiency and reduces the risk of damage.
Q 7. How do you measure and mark materials accurately for cutting?
Accurate measurement and marking are essential for precise cuts. My process involves using a combination of tools and techniques.
- Measuring Tools: I use a variety of measuring tools, including a tape measure for larger distances and a ruler or combination square for smaller, more precise measurements. Accurate measurements form the basis of the project.
- Marking Tools: I typically use a pencil for marking wood and a marking gauge for consistent depth markings. Sharp pencils allow for fine lines.
- Layout Techniques: For complex cuts, I might create a detailed layout using a combination square and speed square to ensure accuracy. Layouts can be checked and re-checked before starting the cutting process.
- Double-Checking: I always double-check my measurements and markings before making any cuts. A single mistake can ruin an entire project, which is avoided by a simple re-check.
For example, before cutting a piece of wood for a shelf, I’d carefully measure its required length and width, making markings on the wood with a pencil. Then, I’d double-check my measurements to ensure they’re accurate, ultimately preventing costly mistakes and ensuring the shelf fits perfectly.
Q 8. Explain your experience with using measuring tapes, levels, and squares.
Measuring tapes, levels, and squares are fundamental tools for accurate and precise woodworking and construction. My experience spans years of using these tools in various projects, from intricate cabinetmaking to larger-scale home renovations.
Measuring Tapes: I’m proficient in using both standard and metric tapes, understanding the importance of proper tension to avoid inaccurate measurements. I often double-check measurements, especially on critical cuts. For instance, when building a custom bookshelf, I wouldn’t rely on a single measurement; I’d measure multiple times and compare to ensure accuracy.
Levels: I utilize both torpedo levels (for smaller areas) and longer levels (for larger structures). I understand the importance of ensuring a perfectly level surface, which is crucial for structural integrity and aesthetics. I’ve had instances where a seemingly small misalignment caused significant problems later on, driving home the importance of accurate leveling.
Squares: I frequently use speed squares and try squares to ensure accurate angles, particularly when cutting miters or building frames. Understanding how to use these tools correctly is essential for creating perfectly square corners, leading to more robust and visually appealing projects. A recent project involved building a pergola where perfectly square framing was critical for the structural soundness.
Q 9. How do you troubleshoot common problems with power tools?
Troubleshooting power tools requires a systematic approach, combining knowledge of the tool’s mechanics with safety precautions. My approach begins with identifying the problem and then systematically eliminating potential causes.
Lack of Power: I first check the power source (outlet, battery, etc.). A simple blown fuse or dead battery can easily be overlooked. I then inspect the tool’s cord for damage.
Malfunctioning Mechanism: If it’s a motor-driven tool, I listen for unusual noises. Grinding or squealing sounds often indicate a problem with the bearings or gears. I might check for binding or jammed mechanisms. Sometimes, a simple cleaning or lubrication can resolve the issue.
Blade or Bit Issues: Dull blades or bits are a frequent culprit. I always inspect these for damage or dullness. Replacing them is often a quick and effective fix.
Safety First: Before attempting any repair or troubleshooting, I always unplug the tool and inspect it thoroughly for any potential hazards. I never work on a tool that’s still plugged in.
Q 10. Describe your experience with using different types of screwdrivers.
My experience encompasses a wide range of screwdrivers, from standard Phillips and flathead to specialized Torx and security bits. The choice of screwdriver is crucial for preventing damage to both the screw head and the material.
Standard Screwdrivers: I’m adept at using both Phillips and flathead screwdrivers of various sizes, ensuring the correct bit matches the screw head to prevent cam-out (when the driver slips out of the screw head).
Specialized Screwdrivers: I understand the need for specialized bits for specific screw types, such as Torx, Allen (hex), or security bits. This is particularly important when working with pre-assembled furniture or equipment where non-standard screws are common.
Power Drivers: I’m proficient in using cordless drills with various driver bits for efficient and consistent screw driving. I adjust the torque settings according to the material and screw size to avoid over-tightening and potential damage.
Q 11. What are your preferred methods for fastening materials (e.g., screws, nails, bolts)?
My preferred fastening methods depend heavily on the material and application, prioritizing both strength and aesthetics.
Screws: For most applications, I prefer screws for their holding power, ease of removal, and ability to be countersunk or hidden. The choice of screw type (wood screws, machine screws, etc.) and length is carefully considered based on the material thickness and load requirements.
Nails: Nails are quick and efficient for some projects, but I’m mindful of their limitations, especially in load-bearing applications. I use different nail types, such as finishing nails for minimal visual impact or framing nails for strength.
Bolts: Bolts offer the greatest strength and are suitable for situations requiring high load capacity or frequent disassembly, such as assembling a heavy-duty workbench or connecting structural elements. I use washers and nuts appropriately to ensure proper clamping force and prevent damage.
Q 12. How do you ensure the safety of others while operating power tools?
Safety is paramount when using power tools. My approach emphasizes preventing accidents through careful planning and execution.
Clear Workspace: I maintain a clean and organized workspace, removing any obstacles that could cause trips or falls.
Proper PPE: I always wear appropriate personal protective equipment (PPE), including safety glasses, hearing protection, and work gloves, tailored to the specific task.
Tool Maintenance: I regularly inspect my tools for damage and ensure they are properly maintained and functioning correctly. Dull blades or loose parts can lead to accidents.
Awareness of Surroundings: I’m constantly aware of my surroundings and the potential hazards. I never operate power tools near others unless appropriate safety measures, such as designated safe zones, are in place.
Training and Knowledge: I’m well-versed in the safe operation of each power tool I use and readily offer guidance to others, ensuring that they also understand safety protocols before handling them.
Q 13. Describe your experience with using a router.
A router is a versatile tool used for shaping and trimming wood. My experience includes using various router bits to create a wide array of profiles, edges, and joints.
Bit Selection: Choosing the right router bit is critical for achieving the desired result. Different bits create different profiles (e.g., roundovers, rabbets, dados). I always ensure the bit is securely clamped in the router.
Speed and Depth Control: I adjust the router’s speed and depth of cut based on the material and bit being used. A too-fast speed or deep cut can lead to burning or kickback. I utilize plunge bases for precise depth control in applications requiring controlled entry into the workpiece.
Safety: I always use a router table or router jig to control the router’s movement for added safety and consistent results. I also use push sticks and featherboards to keep my hands clear of the cutting bit.
Q 14. Explain the proper use of a table saw.
The table saw is a powerful and potentially dangerous tool, demanding careful attention to safety and technique. My experience includes safely and efficiently cutting various wood types and thicknesses.
Blade Selection: The correct blade is essential for the type of wood and cut being made. Different blades are designed for ripping (cutting with the grain) and crosscutting (cutting against the grain).
Push Sticks and Featherboards: I always use push sticks and featherboards to guide the wood and keep my hands clear of the blade. Never reach over the blade!
Ripping and Crosscutting: I’m proficient in both ripping and crosscutting, understanding the different safety considerations involved in each. Ripping, particularly, can cause kickback if the wood is not properly supported.
Blade Alignment and Maintenance: Regularly checking blade alignment is crucial for accurate cuts and safety. A dull blade increases the risk of kickback and burns.
Safety Precautions: Always ensure the blade guard is in place and functioning correctly. The riving knife should also be properly adjusted.
Q 15. How do you select the appropriate tools for a specific task?
Selecting the right tool is paramount for efficiency and safety. It’s like choosing the right ingredient for a recipe – the wrong one can ruin the whole dish! My approach involves a three-step process:
- Identify the task: What material am I working with? What is the desired outcome? For example, cutting a 2×4 requires different tools than carving a delicate piece of wood.
- Consider the material properties: Is the material hard, soft, brittle, or flexible? This dictates the type of tool and its appropriate size. A delicate carving requires sharp, smaller tools, while rough work can use more robust ones.
- Evaluate tool capabilities: Does the tool have the right power, precision, and durability for the job? A hand saw might be appropriate for smaller cuts, but a power miter saw is better for larger, more precise angled cuts. I always consider the ergonomics of the tool too – is it comfortable to use for an extended period?
For instance, when I needed to drill a hole through a thick steel plate, I wouldn’t use a standard wood drill bit; I’d use a high-speed steel (HSS) drill bit designed for metal, likely paired with a drill press for better accuracy and control.
Career Expert Tips:
- Ace those interviews! Prepare effectively by reviewing the Top 50 Most Common Interview Questions on ResumeGemini.
- Navigate your job search with confidence! Explore a wide range of Career Tips on ResumeGemini. Learn about common challenges and recommendations to overcome them.
- Craft the perfect resume! Master the Art of Resume Writing with ResumeGemini’s guide. Showcase your unique qualifications and achievements effectively.
- Don’t miss out on holiday savings! Build your dream resume with ResumeGemini’s ATS optimized templates.
Q 16. Describe your experience with using a planer.
I have extensive experience operating planers, both hand- and power-operated. Hand planing requires skill and patience, allowing for fine control over the wood’s surface and texture. I’ve used hand planers to smooth rough lumber and create intricate shapes. Power planers, on the other hand, are much more efficient for larger projects and achieving a consistent surface finish. I’m proficient in using both thickness planers and surface planers.
With power planers, understanding the depth of cut setting is crucial. Too deep a cut can lead to tear-out, while too shallow will require numerous passes. I always start with a shallow cut and gradually increase it as needed. Safety precautions, such as using push blocks and ensuring proper blade sharpness, are always my top priority.
A recent project involved using a thickness planer to prepare lumber for a custom table. I carefully fed the boards through the planer, adjusting the depth setting to achieve the desired thickness with a smooth finish. The planer significantly reduced the time and effort compared to hand-planing.
Q 17. What safety equipment do you use when working with power tools?
Safety is paramount. When working with power tools, I never compromise on safety equipment. My standard gear includes:
- Eye protection: Safety glasses or a face shield are always worn to protect against flying debris.
- Hearing protection: Earplugs or earmuffs are essential, particularly with louder tools like saws and planers.
- Respiratory protection: A dust mask is necessary when working with materials that create fine dust, like wood or certain metals. A respirator is needed for more hazardous materials.
- Gloves: Appropriate gloves protect hands from cuts, abrasions, and splinters.
- Proper clothing: Long sleeves and pants, along with closed-toe shoes, help prevent injuries. Loose clothing should be avoided.
- Tool-specific safety devices: This includes blade guards, riving knives, and anti-kickback paws for various power tools.
Beyond the equipment, I always ensure the work area is well-lit and free of clutter. I also regularly inspect my tools for damage before use.
Q 18. How do you handle unexpected tool malfunctions?
Unexpected malfunctions can happen, but a calm and methodical approach is essential. My first step is to immediately stop the tool and disconnect the power source. Never attempt to repair a running power tool.
Next, I assess the situation: What malfunctioned? Is there any visible damage? Is there any potential for further harm? For minor issues, like a jammed blade, I’ll carefully address the problem after disconnecting the power. For more significant issues, I’ll inspect the tool thoroughly for damage. If I’m unsure of the cause or if it’s unsafe to repair myself, I’ll seek assistance from a qualified technician or replace the tool.
I recently had a circular saw bind during a cut. I immediately turned it off, unplugged it, and then carefully examined the blade. It turned out a piece of wood had jammed against the blade. After clearing the jam, I inspected the saw for damage before resuming work.
Q 19. Describe your experience with different types of wrenches.
My experience encompasses a wide range of wrenches, each suited to different tasks.
- Open-end wrenches: Useful for many applications, but access can be limited depending on the location of the fastener.
- Box-end wrenches: Offer better grip and torque, ideal for stubborn fasteners, but can be less accessible in tight spaces.
- Combination wrenches: Combine the features of open-end and box-end wrenches, providing versatility.
- Adjustable wrenches (crescent wrenches): Convenient for various nut and bolt sizes, but generally offer less precise gripping than fixed-size wrenches.
- Socket wrenches: Ideal for high torque applications, improved efficiency with ratchet mechanisms, and can be used with various extensions and adapters.
- Torque wrenches: Essential for precise tightening of fasteners, preventing over-tightening and damage.
I choose the type and size based on the fastener size, access limitations, required torque, and the material of the fastener. For example, I’d use a torque wrench for critical engine components, an adjustable wrench for quick adjustments during assembly, and a socket wrench for efficiency when working on many fasteners of the same size.
Q 20. How do you sharpen hand tools?
Sharpening hand tools is crucial for both efficiency and safety. A dull tool requires more force, increasing the risk of injury and producing less precise cuts. My sharpening method depends on the tool type.
For chisels and plane blades, I use a combination of sharpening stones, typically starting with a coarser grit to remove significant damage, then progressing to a finer grit for a polished edge. I maintain a consistent angle throughout the sharpening process using a honing guide for accuracy and consistency.
For saws, I use a saw file, carefully filing each tooth to maintain the correct angle and shape. The process requires patience and attention to detail. After sharpening, I strop the tools on leather to remove burrs and further refine the edge.
Regular sharpening is far more efficient than trying to force a dull tool. Think of it like sharpening a pencil; a sharp pencil is much easier and more accurate to write with.
Q 21. Explain the importance of maintaining proper tool alignment.
Maintaining proper tool alignment is essential for accuracy, safety, and the longevity of the tools themselves. Misalignment can lead to inaccurate cuts, increased wear on the tool, potential damage to the workpiece, and even injuries.
For example, a poorly aligned saw blade can cause the saw to bind, leading to kickback. A poorly aligned drill bit can cause the drill bit to wander or even break. A planer with improperly aligned blades can lead to uneven cuts and surface damage.
Before using any tool, I visually inspect it for alignment. For power tools, this often involves checking the blade or bit alignment against a reference point. Regular maintenance, including proper lubrication and periodic inspection, helps maintain tool alignment. If any misalignment is detected, I’ll adjust it according to the manufacturer’s instructions before proceeding with the work. Accurate alignment is the foundation for clean, precise, and safe work.
Q 22. What are some common causes of power tool accidents and how to prevent them?
Power tool accidents stem from a combination of factors, often negligence or lack of training. The most common causes include improper tool use, inadequate safety precautions, and neglecting regular maintenance.
- Improper Use: Using a tool for a task it’s not designed for, like using a circular saw to cut metal, is a major hazard. For example, using a drill bit meant for wood in metal can snap the bit, causing injury.
- Inadequate Safety Precautions: This includes failing to wear appropriate personal protective equipment (PPE), such as safety glasses, hearing protection, and dust masks. Ignoring safety guards or using tools with damaged guards is also extremely dangerous. Think of a table saw without the blade guard – a recipe for disaster.
- Maintenance Neglect: Dull blades, loose parts, and frayed cords significantly increase the risk of accidents. A worn-out drill bit, for instance, requires more force, increasing the chance of the bit slipping and causing injury.
Prevention focuses on comprehensive training, meticulous adherence to safety procedures, and diligent tool maintenance. Always read the manufacturer’s instructions before operating any power tool. Regularly inspect tools for damage, ensuring all guards are properly secured and blades are sharp. Finally, never rush the job – take your time and work carefully to minimize the risk.
Q 23. How do you deal with damaged or worn-out tools?
Damaged or worn tools are a safety hazard and should be addressed promptly. My approach is to first assess the damage. Minor issues like dull blades can often be sharpened or replaced. For example, a dull chisel can be easily sharpened using a honing guide and sharpening stone. However, severely damaged tools that can’t be repaired safely, such as those with cracked housings or broken guards, should be immediately discarded and replaced. This is crucial for preventing accidents and ensuring quality workmanship.
Proper tool storage also plays a significant role. Keeping tools organized and clean, ideally in a designated toolbox or cabinet, prevents damage and makes it easier to identify worn or broken tools.
Q 24. Explain your experience using pneumatic tools.
I have extensive experience with pneumatic tools, including nail guns, impact wrenches, and sanders. I understand the importance of maintaining consistent air pressure and lubrication. On one project, using a pneumatic nail gun to fasten floorboards, I discovered a significant difference in performance when the air compressor wasn’t supplying sufficient pressure. The nails wouldn’t fully penetrate the wood, resulting in poorly secured floorboards. This emphasized the necessity of checking air pressure and compressor functionality before beginning the task. I also understand the importance of proper hose management and ensuring there are no leaks to prevent pressure loss or accidental disconnections.
Furthermore, I’m familiar with safety measures involved in using pneumatic tools – always ensuring the tool is properly secured, wearing safety glasses and hearing protection, and never pointing the tool at yourself or others.
Q 25. Describe your experience working with different types of wood.
My experience encompasses a wide range of wood types, from softwoods like pine and fir to hardwoods like oak, maple, and cherry. Each wood presents unique challenges and demands different techniques. For instance, softwoods are generally easier to work with, but can be prone to splintering. Hardwoods, on the other hand, require sharper tools and more precise cutting techniques to avoid tear-out.
I’ve worked with many exotic hardwoods as well, each with their own distinct properties and requiring tailored approaches to cutting, shaping, and finishing. Working with these different types requires a good understanding of wood grain and the best methods to work with each.
Understanding the grain direction is crucial. Cutting against the grain often results in tear-out; cutting with the grain provides a cleaner cut. I adapt my techniques, tool selection, and cutting angles accordingly to maximize efficiency and produce high-quality results.
Q 26. How do you read and interpret blueprints or schematics related to tool use?
Reading blueprints and schematics is essential for accurate tool selection and project execution. I start by carefully reviewing the overall plan to understand the project’s scope and dimensions. Then, I focus on the sections relevant to my tasks. I look for details like material specifications (type of wood, metal, etc.), dimensions, and any special instructions regarding tool usage.
For instance, a blueprint might specify the use of a specific type of drill bit based on the material’s thickness or the need for countersinking screws. A schematic showing the assembly of a piece of furniture might highlight the specific joints and tools required for each step, such as mortise and tenon joints requiring chisels and mallets. I use these details to choose the right tools and ensure the project is executed as designed.
Q 27. What is your experience with using specialized hand tools like chisels and planes?
I’m highly proficient in using specialized hand tools such as chisels and planes. Chisels, for example, require precision and control, and I’m adept at using both bevel-edged and firmer chisels for various tasks like mortise and tenon joinery and creating intricate shapes.
Planes require a keen understanding of their adjustment mechanisms to achieve different levels of smoothness and planing depth. I can use them to create smooth, flat surfaces, or to shape and refine intricate curves. For example, I use a smoothing plane for fine finishing and a jack plane for roughing out stock. The proper sharpening and maintenance of these tools are key to creating quality work; a sharp chisel or plane makes all the difference in the quality of the end product.
Q 28. Describe your problem-solving approach when encountering tool-related challenges on a project.
My problem-solving approach involves a systematic process. First, I thoroughly assess the issue, identifying the specific problem and its potential causes. This often involves checking the tool itself for damage, checking the material being worked on, and evaluating my own technique. Second, I brainstorm potential solutions, considering different approaches and tools.
For instance, if a drill bit isn’t cutting cleanly, I might check for dullness, adjust the speed, or try a different bit. If a power tool malfunctions, I would first check the power source and then the tool’s components to identify the problem. Finally, I implement the chosen solution, documenting the steps taken and the results. If the problem persists, I seek additional information or guidance, perhaps consulting online resources or colleagues.
Key Topics to Learn for Proficiency in Using Hand and Power Tools Interview
- Safety Procedures and Regulations: Understanding and adhering to safety protocols for various hand and power tools, including proper PPE usage and hazard identification.
- Hand Tool Selection and Usage: Knowing when to select the appropriate hand tool for a specific task (e.g., hammers, screwdrivers, wrenches, saws) and demonstrating proficiency in their safe and effective use.
- Power Tool Operation and Maintenance: Demonstrating knowledge of various power tools (e.g., drills, saws, sanders, routers), including their safe operation, maintenance, and troubleshooting common issues.
- Material Selection and Application: Understanding the properties of different materials (wood, metal, plastic) and selecting appropriate tools and techniques for working with them.
- Measuring and Marking Techniques: Accurately measuring and marking materials for precise cuts and assemblies, showcasing understanding of measuring tools and techniques.
- Project Planning and Execution: Demonstrating the ability to plan a project, select appropriate tools, and execute the plan efficiently and safely.
- Troubleshooting and Problem-Solving: Identifying and resolving common problems encountered during tool usage, demonstrating practical problem-solving skills.
- Tool Calibration and Sharpening: Understanding the importance of properly calibrated and sharpened tools for accuracy and efficiency, including demonstrating knowledge of relevant maintenance procedures.
Next Steps
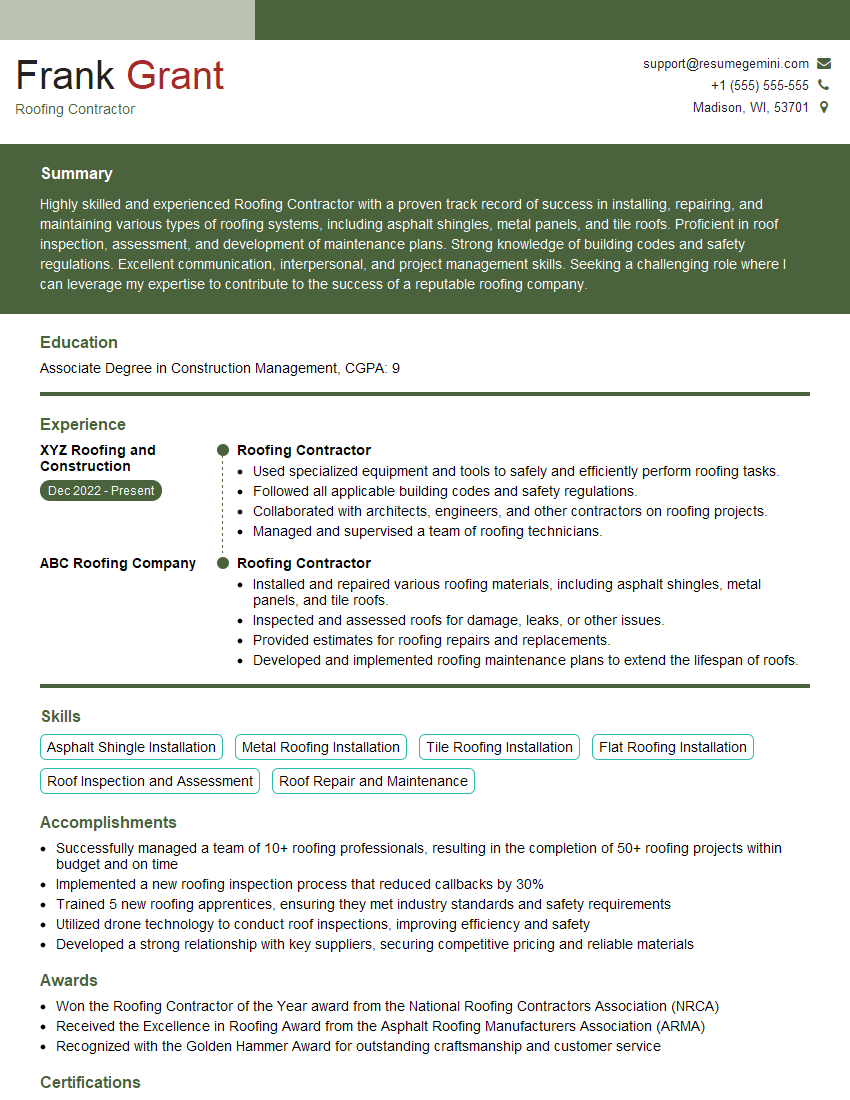
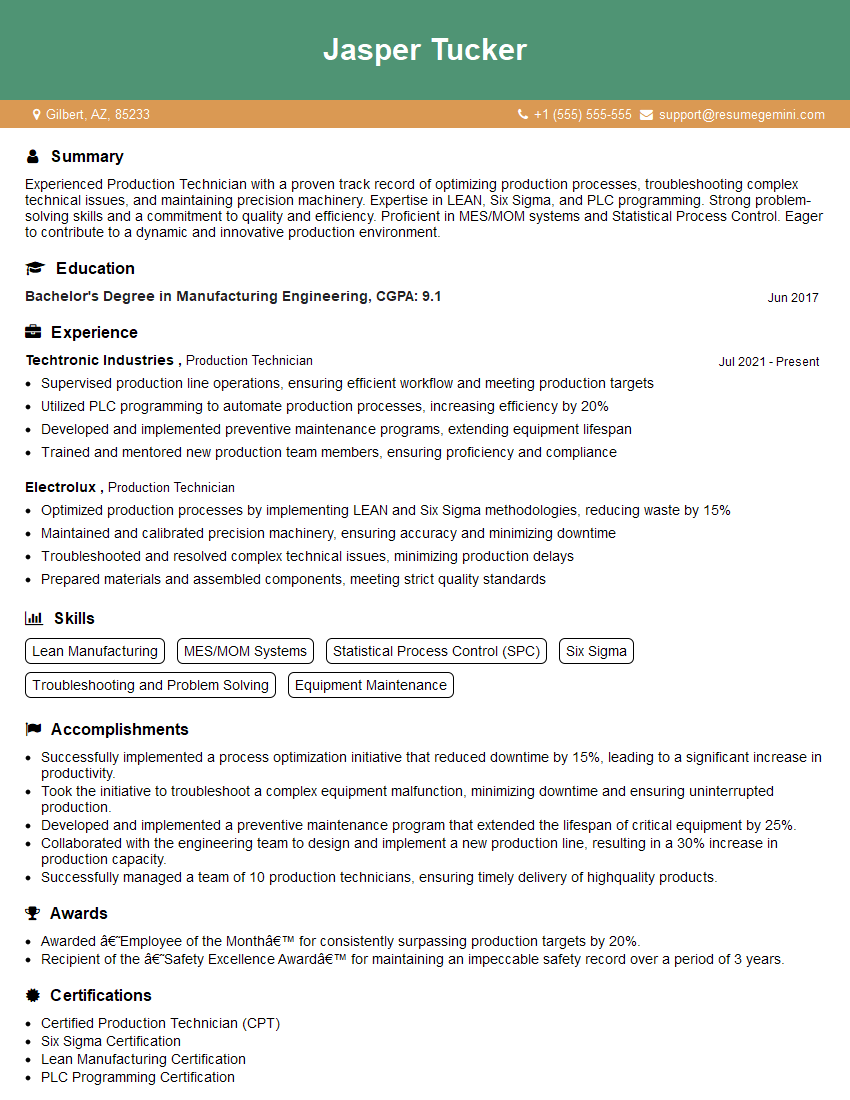
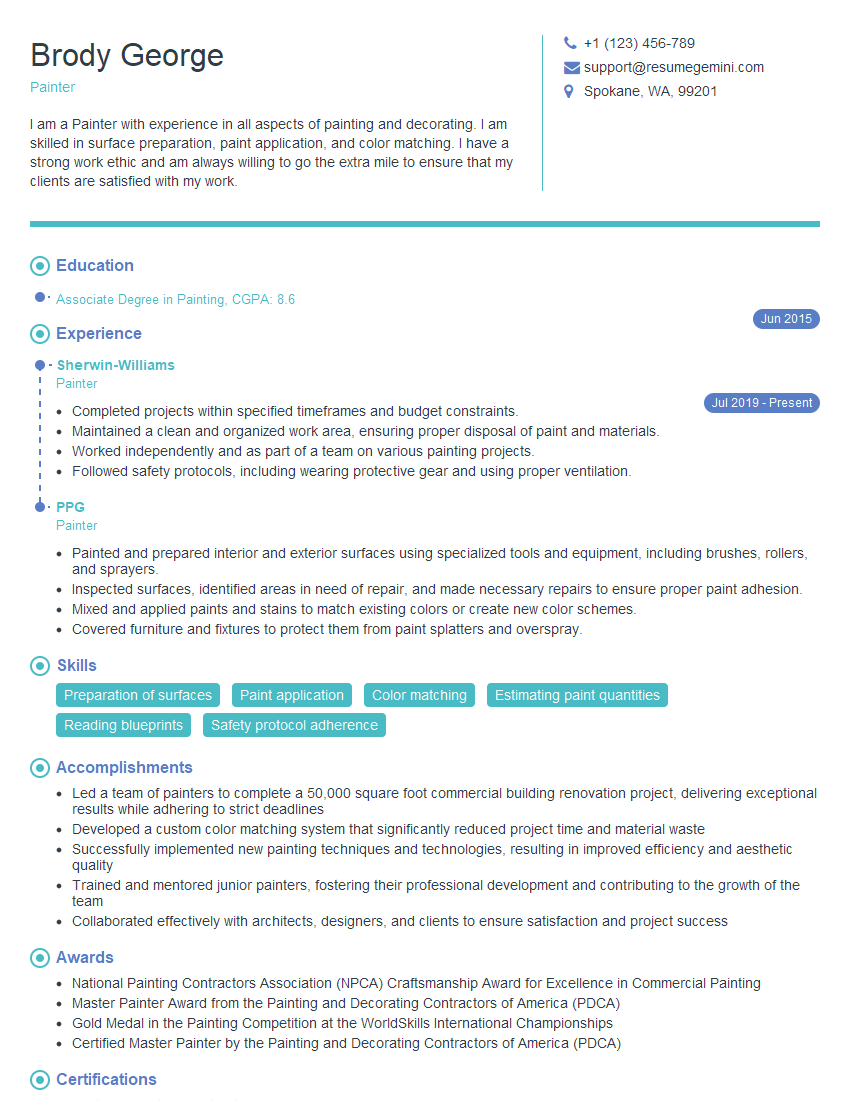
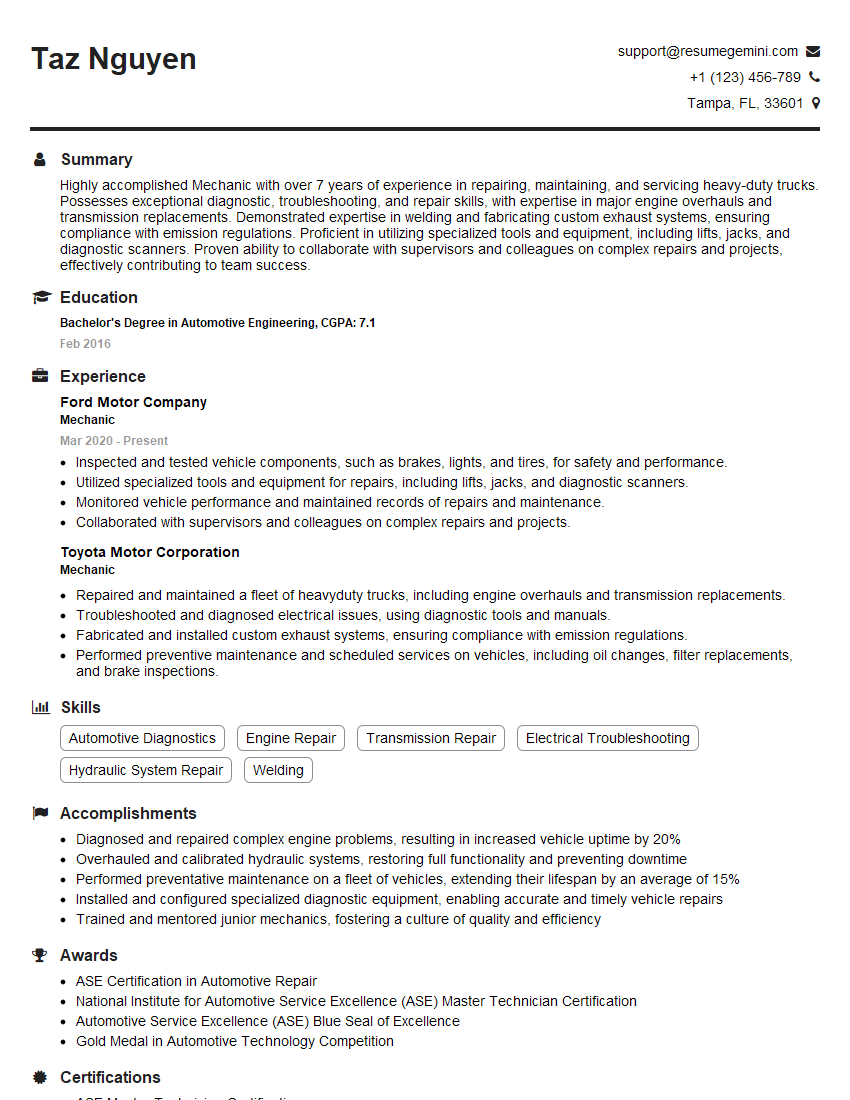
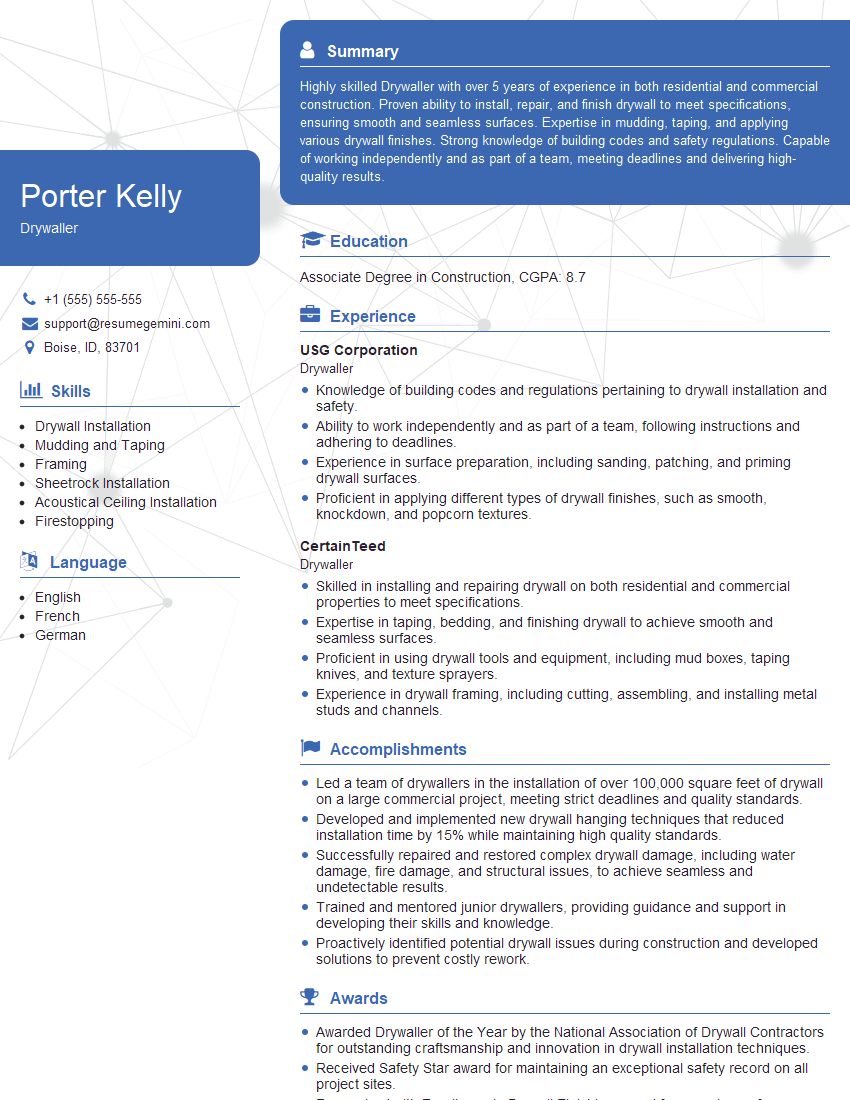
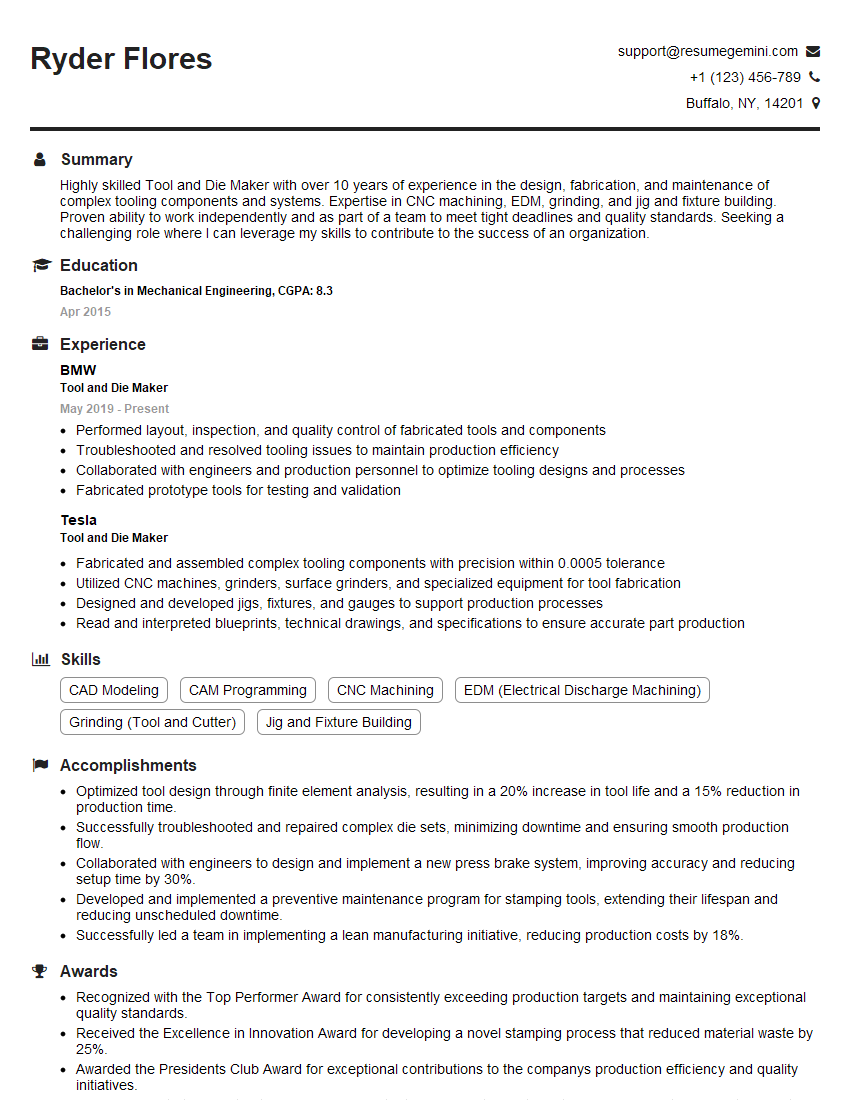
Mastering proficiency in using hand and power tools is crucial for career advancement in many skilled trades and technical fields. A strong foundation in these skills opens doors to higher-paying positions and greater career satisfaction. To significantly boost your job prospects, create an ATS-friendly resume that highlights your skills and experience effectively. ResumeGemini is a trusted resource to help you build a professional resume that showcases your abilities. Examples of resumes tailored to Proficiency in Using Hand and Power Tools are available on ResumeGemini to guide your creation. Invest the time in crafting a compelling resume – it’s your first impression with potential employers.
Explore more articles
Users Rating of Our Blogs
Share Your Experience
We value your feedback! Please rate our content and share your thoughts (optional).
What Readers Say About Our Blog
good
