Interviews are opportunities to demonstrate your expertise, and this guide is here to help you shine. Explore the essential Proficiency in using hand tools and equipment interview questions that employers frequently ask, paired with strategies for crafting responses that set you apart from the competition.
Questions Asked in Proficiency in using hand tools and equipment Interview
Q 1. Describe your experience with different types of hand saws.
My experience with hand saws spans a wide range, from basic coping saws to more specialized options like tenon saws and backsaws. I’m proficient in using various blade types, understanding that the tooth configuration dictates the saw’s application. For instance, a rip saw, with its large, widely-spaced teeth, is ideal for cutting wood along the grain, while a crosscut saw, with finer, more closely spaced teeth, is better for cutting across the grain. I understand the importance of selecting the right saw for the material and the type of cut, ensuring efficient and clean results. For example, when working with delicate materials like plywood, a fine-toothed coping saw offers greater precision and minimizes splintering. Conversely, a coarser saw would be more appropriate for rough cuts in thicker lumber. I’m also familiar with techniques like proper saw set (the slight bending of teeth to create kerf) and the importance of maintaining a sharp blade for optimal performance and safety.
Q 2. Explain the proper use and safety precautions for a power drill.
Safe and effective power drill use requires a methodical approach. First, always inspect the drill for damage, ensuring the chuck is securely tightened and the bit is firmly seated. Selecting the appropriate bit for the material is crucial; using the wrong bit can lead to breakage or damage to the material. Always wear safety glasses to protect against flying debris. When drilling, maintain a firm grip, using both hands for greater control. Apply steady, even pressure, avoiding excessive force which can cause the bit to bind or break. Never force the drill; let the tool do the work. For large-diameter holes or particularly hard materials, using a pilot hole will help prevent the bit from walking or slipping. After drilling, always disconnect the drill from the power source before changing bits or performing any maintenance. Proper ventilation is also important to avoid inhaling dust generated during drilling, especially when working with materials like drywall or wood. On a personal note, I once had a near miss where a bit snapped, reinforcing the importance of using the correct bit and practicing safe techniques.
Q 3. How do you select the appropriate wrench for a specific bolt or nut?
Selecting the correct wrench hinges on understanding the size and type of fastener. The first step is determining the size of the nut or bolt head; this is usually measured in millimeters or inches. Then, you need to identify the type of fastener head. Is it a hex head, a square head, or something else? The wrench must match both the size and the shape of the fastener. A common mistake is using an inappropriately sized wrench; this can round off the corners of the fastener, making it incredibly difficult (or impossible) to remove. Using a wrench that’s too small can also cause the wrench to slip, potentially leading to injury. For example, a metric socket set is ideal for most common nuts and bolts encountered in automotive or industrial settings, while open-end wrenches are versatile and useful in many situations where a socket wrench may be difficult to use. Always choose a wrench that fits snugly without excessive play. In professional settings, I often have a wide selection of wrenches available to handle various situations. I prioritize selecting the correct tool to minimize damage and ensure efficiency.
Q 4. What are the safety procedures for using a hammer?
Hammer safety is paramount. Before using a hammer, ensure the head is securely attached to the handle; a loose head can fly off during use, causing serious injury. Always inspect the hammer for any cracks or damage before each use. When using the hammer, maintain a firm grip, keeping your eye on the target. Swing the hammer in a smooth, controlled motion; avoid jerky or erratic movements. Never use a hammer with a damaged head. Furthermore, ensure your work area is clear of obstructions, and wear safety glasses to protect your eyes from flying debris. If working with nails, consider using a nail holder to protect your fingers. I remember a situation on a construction site where a colleague wasn’t wearing safety glasses and was struck in the eye by a flying chip of wood. That incident reinforced the critical importance of following safety protocols.
Q 5. Describe your experience with various types of screwdrivers and their applications.
My experience with screwdrivers encompasses a wide variety of types, each tailored to specific applications. From standard slotted (flathead) and Phillips head screwdrivers to specialized options like Torx, square, and even security bits, I’m adept at selecting the appropriate tool for the job. The choice is crucial; using the incorrect screwdriver can strip the screw head, rendering it extremely difficult (or impossible) to remove. I understand that different materials require different approaches. For example, when working with delicate electronics, I’ll opt for smaller, precision screwdrivers to avoid damaging the components. In construction, however, I might use a heavier-duty screwdriver for more robust applications. I also regularly use magnetic tip screwdrivers to help keep the screws in place during assembly. It is vital to always match the screwdriver tip to the screw head to avoid damage to both the screw and the screwdriver.
Q 6. Explain the difference between a Phillips and a flathead screwdriver.
The primary difference between a Phillips and a flathead screwdriver lies in the shape of their tips. A flathead screwdriver has a single, flat blade, while a Phillips head screwdriver has a cross-shaped tip. The cross-shaped tip of the Phillips head allows for greater torque and prevents the screwdriver from slipping out of the screw head, especially when applying significant force. Flathead screwdrivers are generally better suited for applications requiring less torque or where the screw head doesn’t need to be tightened as firmly. The cross-shaped recess of a Phillips head distributes the pressure more evenly across the screw head, leading to reduced risk of damage compared to a flathead.
Q 7. How do you measure accurately using a tape measure?
Accurate measurement with a tape measure requires attention to detail. First, ensure the tape measure is fully extended and hasn’t been damaged. Start by aligning the hook of the tape measure with the starting point of your measurement. This hook is designed to compensate for the thickness of the hook itself. Extend the tape measure to your desired point while keeping it taut to avoid inaccuracies. Avoid stretching the tape; tension should be consistent. Carefully note the measurement at the end point, making sure to read the markings accurately. To avoid errors, always double-check your measurement, especially when working on projects that demand precision. For example, when measuring for a shelf, an inaccurate measurement could result in the shelf being too short or too long. Finally, ensure the markings are clear and the tape is in good condition before commencing any measurements. Regularly checking the tape for wear and tear and replacing damaged tapes prevents costly mistakes.
Q 8. What are the different types of pliers and their uses?
Pliers are versatile hand tools used for gripping, bending, and cutting various materials. Different types are designed for specific tasks.
- Needle-nose pliers: These have long, slender jaws ideal for reaching tight spaces and delicate work, like bending small wires or retrieving dropped objects. Think of them as the ‘tweezers’ of the tool world.
- Slip-joint pliers: Adjustable jaws allow for gripping a wide range of sizes. They’re a common choice for general-purpose tasks like gripping nuts and bolts.
- Lineman’s pliers: These heavy-duty pliers have a cutting edge, usually near the joint, for cutting wire. Their robust construction makes them perfect for electrical work (hence the name).
- Channel-lock pliers: Similar to slip-joint pliers but with a more powerful gripping mechanism due to their unique jaw design. Excellent for jobs that require a strong hold.
- Diagonal cutting pliers (dikes): These are specifically designed for cleanly cutting wires. The angled jaws provide leverage and a precise cut.
Choosing the right pliers depends entirely on the job. For instance, I wouldn’t use needle-nose pliers to cut a thick wire; that’s where lineman’s or diagonal cutters come in. Understanding these distinctions is crucial for efficiency and safety.
Q 9. How do you maintain hand tools to ensure their longevity?
Maintaining hand tools is critical for extending their lifespan and ensuring safe operation. My routine involves several key steps:
- Cleaning: After each use, I thoroughly clean tools with a wire brush or appropriate solvent to remove dirt, debris, and rust. This prevents corrosion and ensures smooth operation.
- Sharpening: Cutting tools like chisels, knives, and saws need regular sharpening. I use sharpening stones or files, depending on the tool, to maintain a sharp edge. A sharp tool works more efficiently and safely than a dull one.
- Lubrication: Moving parts, like pliers and hinges, benefit from periodic lubrication with appropriate oil or grease. This reduces friction, prevents wear, and prolongs the life of the tool. I always check the manufacturer’s recommendations.
- Storage: Proper storage is essential. I keep my tools organized in a designated space, preferably a tool chest or cabinet, to prevent damage and corrosion. Tools should be stored dry and protected from extreme temperatures.
- Inspection: Regularly inspect tools for any damage, cracks, or loose parts. Damaged tools should be repaired or replaced to prevent accidents.
Think of it like maintaining a car – regular maintenance prevents costly repairs down the line. The same principle applies to hand tools.
Q 10. What safety measures do you take when using power tools?
Safety is paramount when using power tools. My approach involves:
- Proper training and understanding: Before operating any power tool, I ensure I’m thoroughly familiar with its operation, safety features, and potential hazards. I never attempt to use a tool I’m not trained on.
- Personal Protective Equipment (PPE): This includes safety glasses or a face shield, hearing protection, work gloves, and appropriate footwear. The specific PPE varies depending on the task and the tool being used.
- Secure work area: I ensure the work area is well-lit, clutter-free, and stable. I avoid working on unstable surfaces or in cramped spaces.
- Proper tool setup and maintenance: I always inspect power tools before use, ensuring that blades, bits, and other accessories are securely attached and in good working condition. I also keep the tool’s guards in place and functioning properly.
- Awareness of surroundings: I maintain awareness of my surroundings, avoiding distractions and keeping others clear of the work area.
- Disconnecting power: When changing blades, bits, or performing maintenance, I always disconnect the power source before beginning work.
Power tools are inherently dangerous; consistent adherence to safety protocols is not optional but mandatory. I’ve seen firsthand the consequences of neglecting these practices.
Q 11. How do you troubleshoot a malfunctioning power tool?
Troubleshooting a malfunctioning power tool requires a systematic approach:
- Identify the problem: What exactly is wrong? Is it not starting, making unusual noises, or not performing as expected?
- Check the power source: Ensure the power cord is properly plugged in and the outlet is functioning correctly.
- Inspect the tool: Look for any visible damage, loose connections, or obstructions. Check the blades, bits, and other accessories.
- Check the manual: The owner’s manual usually contains troubleshooting information and diagrams.
- Test components (if applicable): If comfortable, and depending on the tool’s design, I might test individual components to isolate the problem. This is only advisable for users with the necessary electrical knowledge and safety precautions in place.
- Seek professional help: If unable to diagnose or resolve the issue, I seek assistance from a qualified repair technician.
A methodical approach, coupled with appropriate safety precautions, is key to troubleshooting power tools effectively and safely. Attempting repairs without the necessary knowledge can be dangerous.
Q 12. Describe your experience with different types of cutting tools.
My experience encompasses a wide range of cutting tools:
- Hand saws: I’m proficient with various hand saws, including crosscut saws for cutting across the grain, rip saws for cutting with the grain, and backsaws for precise cuts. Choosing the right saw depends on the type of wood and the cut being made.
- Chisels: I use chisels for shaping, carving, and removing material from wood. Different chisels have varying widths and profiles for different tasks.
- Knives: Utility knives, carving knives, and specialized woodworking knives are used for a variety of tasks, from marking and scoring wood to detailed carving.
- Power saws: I have experience with circular saws, miter saws, and jigsaws. These tools provide speed and efficiency for various cuts, but require careful handling and adherence to safety procedures.
- Router bits: These attachments for routers create various profiles and shapes in wood, offering a level of precision beyond what hand tools can achieve. Different bits provide different functions, for instance, rabbeting, molding, or edge trimming.
Selecting the appropriate cutting tool is paramount, as using the wrong tool can lead to inefficient work, damage to the material, or injury. Each tool has strengths and weaknesses, and an understanding of these differences is crucial for any woodworker.
Q 13. Explain the importance of using the correct personal protective equipment (PPE).
Using the correct PPE is not just a matter of compliance; it’s a critical element of safety. PPE prevents injuries from a variety of hazards, including:
- Eye injuries: Safety glasses or face shields protect against flying debris, dust, and chemical splashes.
- Hearing loss: Earplugs or earmuffs reduce exposure to loud noises produced by power tools.
- Respiratory problems: Dust masks or respirators prevent inhalation of dust and hazardous particles, particularly essential when working with certain types of wood.
- Skin injuries: Work gloves protect hands from cuts, abrasions, and chemical exposure.
- Foot injuries: Steel-toe boots protect feet from falling objects and crushing hazards.
I’ve witnessed firsthand how serious injuries can be, and the difference appropriate PPE can make. It’s an investment in your health and well-being that far outweighs any perceived inconvenience.
Q 14. How do you identify different types of wood and their properties?
Identifying different types of wood involves examining several properties:
- Grain pattern: The arrangement of wood fibers creates unique patterns, varying from straight and uniform to highly figured and swirling. For example, oak often has a prominent, open grain, while maple tends to be tighter and finer.
- Color: Wood comes in a vast array of colors, ranging from light blonde (e.g., pine) to dark reddish-brown (e.g., mahogany). However, color can vary based on factors such as age and treatment.
- Texture: Some woods feel smooth, while others are rough or coarse. This is related to the density and grain pattern.
- Hardness: Hardness varies significantly between species. For example, ebony is extremely hard, while balsa wood is very soft.
- Odor: Certain woods have distinctive smells, such as the strong cedar scent.
- Density: A denser wood is generally stronger and more resistant to wear.
A combination of these characteristics allows for accurate identification. Experience and practice are crucial for developing the ability to recognize woods at a glance. I often rely on visual cues, touch, and sometimes even smell to confirm wood types. This knowledge is crucial for selecting the right wood for a specific project, as different woods have different properties and are suited to different applications.
Q 15. Describe your experience with using levels and plumb bobs.
Levels and plumb bobs are fundamental tools for ensuring accuracy in construction and other trades. A level indicates whether a surface is horizontal or vertical, while a plumb bob uses gravity to establish a perfectly vertical line. My experience spans years of using both in various projects, from framing walls to installing cabinets.
For instance, when framing a wall, I use a level to ensure each stud is perfectly plumb and the top plate is perfectly level. Any deviation can lead to structural issues. With a plumb bob, I can accurately mark the vertical center of a structure for precise placement of features. I’m adept at using both spirit levels (bubble levels) and electronic levels, choosing the appropriate tool depending on the precision needed and the project scale. I’ve also used laser levels for larger-scale projects, offering superior accuracy and ease of use over long distances.
I understand the importance of calibration; I regularly check my levels for accuracy using established reference points. For a plumb bob, I’ll carefully ensure the weight hangs freely without obstructions to maintain its accuracy.
Career Expert Tips:
- Ace those interviews! Prepare effectively by reviewing the Top 50 Most Common Interview Questions on ResumeGemini.
- Navigate your job search with confidence! Explore a wide range of Career Tips on ResumeGemini. Learn about common challenges and recommendations to overcome them.
- Craft the perfect resume! Master the Art of Resume Writing with ResumeGemini’s guide. Showcase your unique qualifications and achievements effectively.
- Don’t miss out on holiday savings! Build your dream resume with ResumeGemini’s ATS optimized templates.
Q 16. How do you read and interpret blueprints or schematics?
Reading blueprints and schematics is crucial for any skilled tradesperson. My approach is methodical and involves understanding the various elements and symbols used to represent different aspects of a project. I start by reviewing the title block to understand the project scope, date, scale, and revisions. Then, I carefully study the different views – elevations, sections, and plans – to comprehend the spatial relationships between various components.
I’m proficient in interpreting different line types and symbols. For instance, I know how to distinguish between dimension lines, construction lines, and hidden lines. I can accurately measure distances and angles from the blueprint using the provided scale. I also understand the importance of notations and specifications that accompany the drawings. If something is unclear, I proactively seek clarification from the project architect or engineer to avoid costly mistakes.
Think of it like reading a map; you need to understand the symbols and conventions to navigate successfully. Experience helps you build spatial reasoning and faster interpretation of complex drawings. I regularly utilize software to assist in reviewing and interpreting digital blueprints, improving efficiency and accuracy.
Q 17. Explain your process for diagnosing and repairing equipment malfunctions.
Diagnosing and repairing equipment malfunctions requires a systematic approach. I begin by observing the equipment’s behavior and identifying the specific problem. This often involves listening for unusual sounds, inspecting for visible damage, and checking for any error codes or indicators. After that, I consult the equipment’s manual for troubleshooting guidance. This provides valuable insights into the equipment’s workings and potential issues.
Next, I use a process of elimination to pinpoint the source of the problem. For example, if a power tool isn’t working, I’d check the power source, the cord, the switch, and finally, the internal components. I use multimeters to check voltage, amperage, and continuity to identify electrical problems. I’m comfortable working with mechanical systems too, diagnosing issues in gearboxes, hydraulic systems, or pneumatic systems.
Once the problem is identified, I perform the necessary repairs, ensuring that safety procedures are followed, including proper lockout/tagout procedures. I always keep detailed records of repairs, including dates, the problem, and the solutions implemented, supporting continuous improvement and traceability of work.
Q 18. Describe your experience working with different types of metals.
My experience encompasses working with a wide variety of metals, including steel, aluminum, brass, copper, and stainless steel. I’m familiar with their properties, including strength, ductility, machinability, and corrosion resistance. This understanding is crucial for selecting the appropriate metal for specific applications and using the correct techniques to work with it.
For instance, I know that steel is strong but can rust, requiring protective coatings or treatments. Aluminum is lightweight and corrosion-resistant but softer than steel. I’ve worked with these metals in various forms: sheets, bars, tubes, and castings, using tools ranging from hand saws and files to power tools like welders, grinders, and lathes. I’m experienced in various metalworking techniques including cutting, shaping, forming, welding, and finishing. My experience includes both ferrous and non-ferrous metals, offering flexibility and problem solving skills across many applications.
Safety is paramount; I always wear appropriate personal protective equipment (PPE) such as safety glasses, gloves, and respirators when working with metals, especially when dealing with hazardous materials or processes such as welding or grinding.
Q 19. How do you safely handle and dispose of hazardous materials?
Safe handling and disposal of hazardous materials are critical to worker safety and environmental protection. My approach always adheres to strict safety regulations and best practices. This begins with proper identification of hazardous materials using safety data sheets (SDS).
Before handling any hazardous material, I make sure to wear the appropriate personal protective equipment (PPE), including gloves, eye protection, respiratory protection, and any other required gear as specified by the SDS. I understand the risks associated with each material, and I carefully follow the manufacturer’s instructions for handling and storage. This includes keeping hazardous materials in designated areas, properly labeled and securely stored.
Disposal of hazardous materials is equally important. I follow all local, state, and federal regulations for disposing of these materials properly, using licensed waste disposal companies to ensure compliance. I maintain thorough documentation of all hazardous materials handled, including quantities used and disposal methods, showing my commitment to responsible environmental practices.
Q 20. Explain your understanding of torque specifications.
Torque specifications refer to the amount of rotational force applied to a fastener, such as a bolt or screw. Understanding and applying correct torque is crucial to ensure the fastener is properly tightened, preventing both stripping of the fastener and damage to the connected components. Incorrect torque can lead to structural failure or equipment malfunction.
I use torque wrenches to precisely control the amount of torque applied. Torque wrenches come in various types, including beam-type, click-type, and electronic torque wrenches. I’m familiar with all of these and select the appropriate one for the job depending on the required precision and the size of the fastener. The manufacturer’s specifications provide the correct torque values, which are usually found in repair manuals or installation guides.
I always double-check the torque specifications before tightening a fastener and I frequently calibrate my torque wrenches to ensure their accuracy. For instance, I understand that over-tightening can strip the threads or damage the material, while under-tightening can lead to loosening and failure.
Q 21. Describe your experience with using measuring instruments like calipers and micrometers.
Calipers and micrometers are precision measuring instruments used to determine the dimensions of objects with high accuracy. Calipers are used for measuring external and internal dimensions, depths, and steps, while micrometers provide even greater precision for smaller measurements.
I’m proficient in using both vernier calipers and digital calipers, understanding how to read the scales and interpret the measurements. Vernier calipers require understanding the vernier scale, while digital calipers display the measurements directly. With micrometers, I understand the finer adjustments needed and how to read the thimble and sleeve for accurate measurements down to thousandths of an inch or micrometers. I’m experienced in verifying measurements with multiple tools for quality control and consistency.
I’ve utilized these instruments in numerous situations, from quality control checks on manufactured parts to precision adjustments in mechanical assemblies. Accuracy is key, and I always ensure that the measuring tools are clean, well-maintained, and appropriately calibrated for accurate results.
Q 22. How do you ensure the proper alignment of components during assembly?
Ensuring proper alignment during assembly is crucial for functionality and longevity. It’s like building a house – if the foundation isn’t straight, the whole structure will be compromised. My approach involves several key steps:
- Visual Inspection: I begin by carefully examining the components, checking for any obvious misalignments or imperfections. This often involves using tools like squares, levels, and calipers for precise measurements.
- Jig and Fixture Utilization: Whenever feasible, I utilize jigs and fixtures. These are custom-made tools that hold components in the correct position, preventing errors and ensuring consistent alignment. Think of them as guides that make the job easier and more accurate.
- Incremental Assembly: Instead of forcing components together, I favor an incremental approach. This involves carefully assembling parts one at a time, checking alignment at each stage. This allows for early correction of any errors, preventing more significant problems later.
- Measurement Tools: I employ various precision measuring tools, such as micrometers and dial indicators, to confirm accurate alignment and tolerances throughout the assembly process. This is particularly important for tight-tolerance applications.
- Shimming and Adjustment: If minor misalignments occur, I use shims – thin pieces of material – to precisely adjust the position of components until perfect alignment is achieved.
For example, while assembling a complex mechanical device, I used a custom-made jig to ensure precise alignment of the gears. This prevented premature wear and ensured smooth operation.
Q 23. Explain your experience with welding or soldering techniques.
I’m proficient in both welding and soldering, adapting my technique to the specific materials and application. Welding is like creating a permanent bond between metals, while soldering joins lower-melting-point metals or components.
- Welding: I’m experienced with MIG (Metal Inert Gas) and TIG (Tungsten Inert Gas) welding, as well as stick welding. My skills extend to various metals including steel, aluminum, and stainless steel. Safety is paramount, so I always adhere to proper safety protocols, including wearing appropriate PPE (Personal Protective Equipment) like welding helmets, gloves, and protective clothing.
- Soldering: I’m skilled in both electronic soldering (using iron and solder paste) and plumbing soldering (using a torch and solder). My focus is always on creating strong, reliable joints that are free from cold solder joints or other defects. I carefully control the temperature to prevent damage to sensitive components.
For instance, in a recent project, I used TIG welding to create a custom stainless steel bracket. The precision of TIG welding allowed me to create a flawlessly smooth and strong weld, crucial for the aesthetic and structural integrity of the final product. In another instance, I used surface mount soldering to assemble a complex circuit board, exercising extreme care to avoid shorts and bridge defects.
Q 24. Describe your troubleshooting process for electrical systems.
Troubleshooting electrical systems is a systematic process that requires patience and attention to detail. It’s like detective work, where you systematically eliminate possibilities to find the root cause.
- Safety First: Before commencing any troubleshooting, I always ensure the power is disconnected and the system is grounded to prevent electrical shock.
- Visual Inspection: I start by visually inspecting the system for any obvious problems such as loose wires, damaged components, or burnt areas. Often, the problem is evident upon visual examination.
- Schematic Review: If a visual inspection doesn’t reveal the issue, I consult the system schematic to understand the circuit’s pathways and component interactions. This is like reading a map to understand how different parts of the system are connected.
- Multimeter Usage: I utilize a multimeter to measure voltage, current, and resistance at various points in the circuit. This helps pinpoint the location of the fault.
- Component Testing: If the problem is isolated to a specific component, I use appropriate test equipment to verify its functionality. This may include replacing suspected components with known good ones.
For example, while troubleshooting a malfunctioning lighting system, I systematically checked each wire and connection, eventually discovering a loose ground wire. Correcting this solved the problem immediately.
Q 25. How do you maintain a clean and organized workspace?
Maintaining a clean and organized workspace is essential for efficiency and safety. A cluttered workspace leads to wasted time searching for tools and increases the risk of accidents. My approach involves:
- 5S Methodology: I apply the 5S methodology (Sort, Set in Order, Shine, Standardize, Sustain) to organize my workspace. This system helps ensure that everything has its place, making it easy to find what I need when I need it.
- Tool Organization: I keep my hand tools neatly arranged in toolboxes or on designated racks, categorized by type and size. This helps maintain order and makes tools readily accessible.
- Regular Cleaning: I clean up my workspace at the end of each day, removing debris, wiping down surfaces, and disposing of waste materials properly.
- Designated Areas: I establish designated areas for different tasks, materials, and equipment. This reduces clutter and confusion. Think of this as creating zones for specific activities.
- Preventive Measures: I implement preventative measures to avoid unnecessary clutter. This includes using shadow boards for tools and employing appropriate storage solutions.
By maintaining a clean and organized workspace, I can concentrate on the task at hand without the distraction or hazard of clutter.
Q 26. Explain your experience with preventative maintenance of equipment.
Preventative maintenance is crucial for prolonging the lifespan of equipment and preventing costly repairs. It’s like regular car maintenance; small investments prevent major breakdowns later.
- Regular Inspections: I perform regular inspections of equipment, checking for wear and tear, loose connections, and other potential problems. This often involves visual checks and sometimes functional testing.
- Lubrication: I regularly lubricate moving parts of equipment, reducing friction and wear. The type of lubricant used is specific to the equipment and operating conditions.
- Cleaning: I keep equipment clean and free from debris, preventing damage and ensuring optimal performance.
- Calibration: For precision instruments, I ensure regular calibration to maintain accuracy. This is essential for consistent and reliable results.
- Documentation: I maintain detailed records of all preventative maintenance activities, including dates, tasks performed, and any observations. This enables effective tracking and planning of future maintenance.
For example, I regularly lubricate and inspect the drill press in my workshop, checking for any signs of wear on the chuck or motor. This has helped prevent unexpected breakdowns and ensure consistent performance.
Q 27. Describe a time you had to solve a complex problem using hand tools and equipment.
I once faced a challenge repairing a vintage woodworking lathe that had a severely damaged spindle. The spindle was a crucial component, and replacing it would have been costly and time-consuming. The problem was complex because the spindle was intricately designed and made of a hard-to-machine material.
- Assessment: I carefully assessed the damage, noting the extent of wear and tear and the material composition.
- Planning: I devised a plan involving carefully machining and welding a repair section onto the existing spindle.
- Execution: I utilized a combination of precise machining techniques and TIG welding to carefully fuse a custom-made repair section to the original spindle. This required great care to achieve both structural integrity and precision alignment.
- Testing: After the repair was complete, I thoroughly tested the lathe, ensuring its functionality and stability.
This involved skillful use of a lathe, milling machine, welding equipment, and various hand tools. The successful repair demonstrated my resourcefulness and ability to creatively solve complex mechanical problems using available tools and resources. The repaired lathe is still in use today.
Q 28. How do you stay up-to-date with the latest advancements in hand tools and equipment?
Staying updated on advancements in hand tools and equipment is crucial for maintaining my skillset and efficiency. My approach is multifaceted:
- Trade Publications: I regularly read trade magazines and journals dedicated to woodworking and mechanical engineering. These provide insights into new tools and technologies.
- Industry Events: I attend industry trade shows and conferences whenever possible. This provides hands-on experience with new equipment and allows me to network with other professionals.
- Online Resources: I utilize online forums, blogs, and manufacturer websites to stay informed about new product releases and technological advancements.
- Manufacturer Training: Some tool manufacturers offer training programs, which are an excellent way to learn best practices and advanced techniques.
- Continuous Learning: I actively seek opportunities for professional development, including online courses and workshops that focus on the newest equipment and techniques.
By combining these approaches, I ensure that I stay informed about the latest developments and can efficiently utilize the most effective tools and techniques in my work.
Key Topics to Learn for Proficiency in using Hand Tools and Equipment Interview
- Safety Procedures: Understanding and applying safety regulations for various hand tools and equipment. This includes proper handling, storage, and maintenance to prevent accidents.
- Tool Selection and Application: Knowing which tools are appropriate for specific tasks and materials. This involves understanding the limitations and capabilities of different tools.
- Maintenance and Repair: Proficiency in maintaining hand tools and equipment in optimal working condition, including cleaning, sharpening, lubrication, and minor repairs.
- Measurement and Precision: Demonstrating accuracy in measuring and cutting materials using various tools and techniques. This includes understanding tolerances and precision requirements.
- Problem-Solving and Troubleshooting: Identifying and resolving common problems encountered when using hand tools and equipment. This involves practical experience in diagnosing and fixing issues efficiently.
- Material Knowledge: Understanding the properties of different materials (wood, metal, plastic, etc.) and how these properties affect tool selection and usage.
- Workmanship and Quality: Demonstrating a commitment to high-quality workmanship and attention to detail in all tasks. This includes understanding industry standards and best practices.
Next Steps
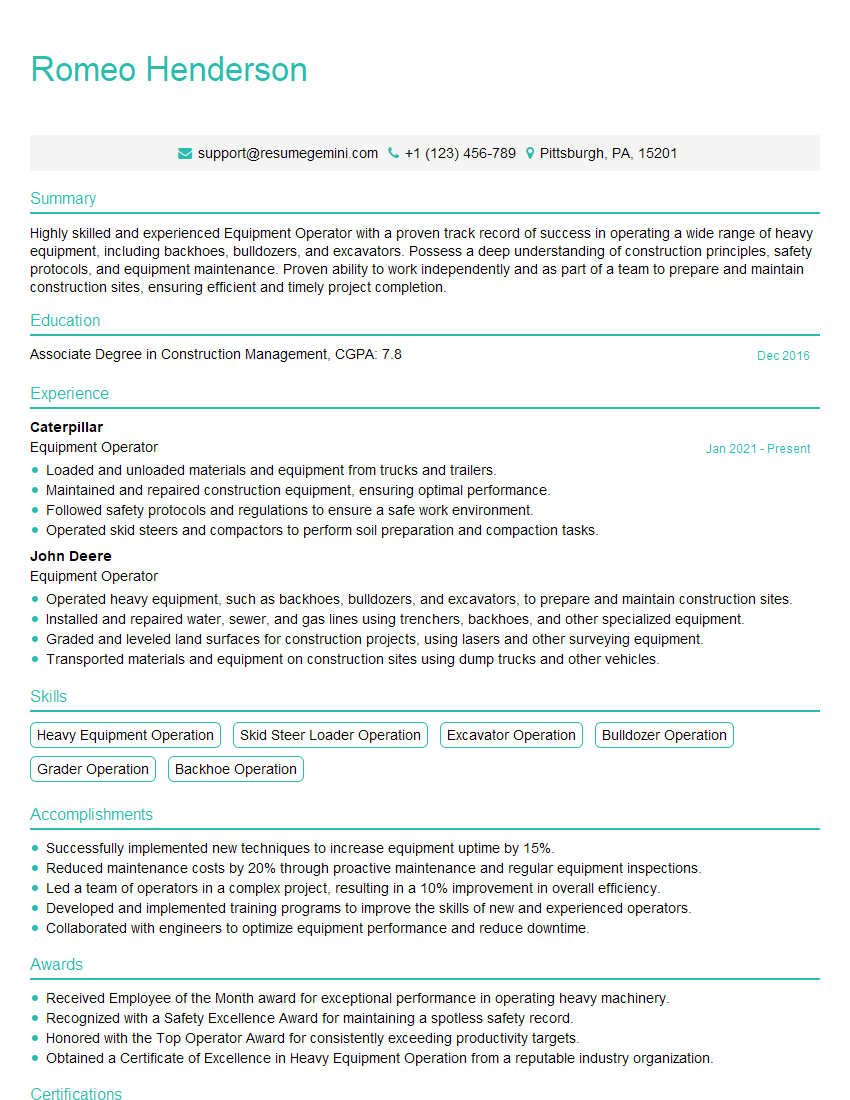
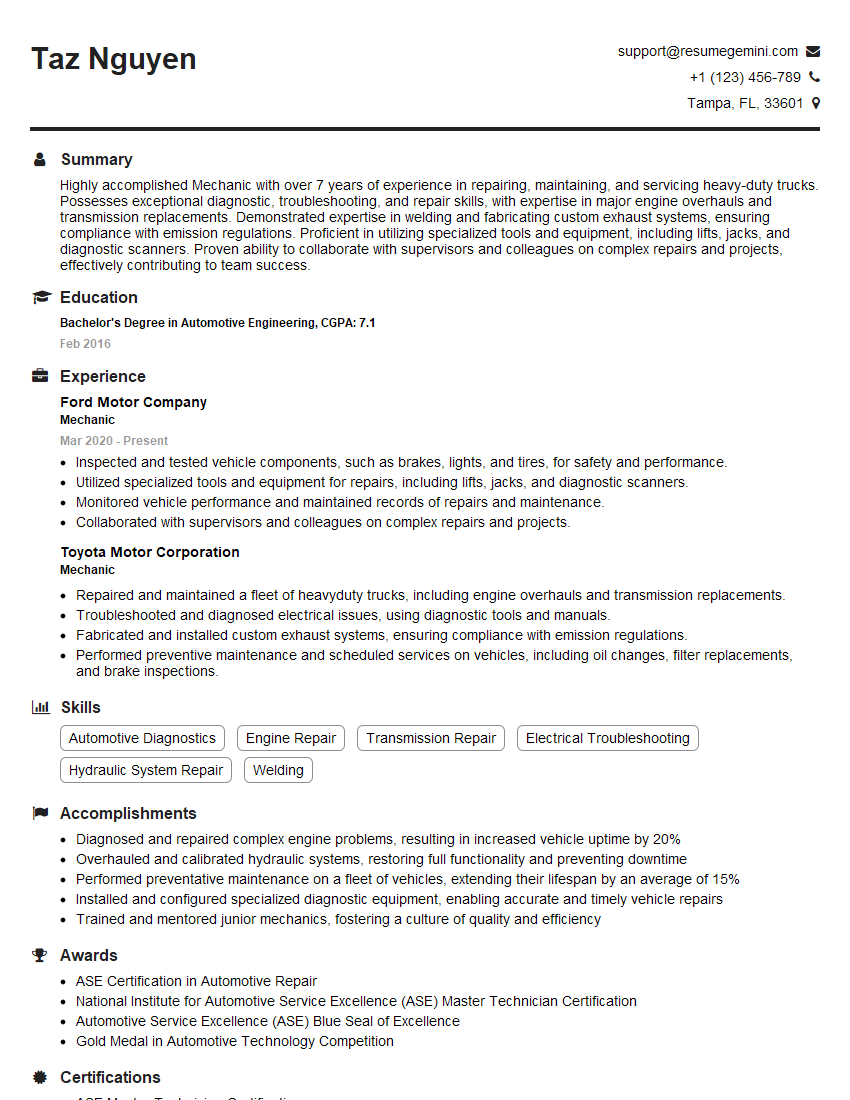
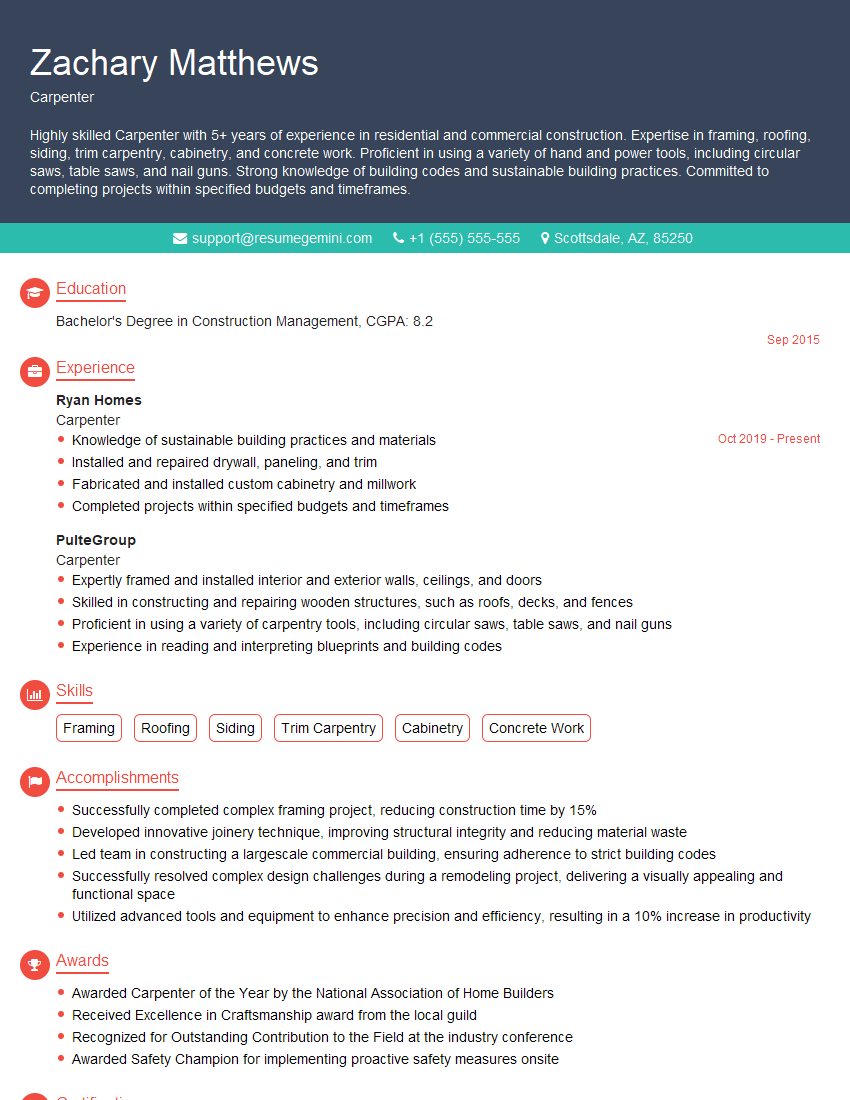
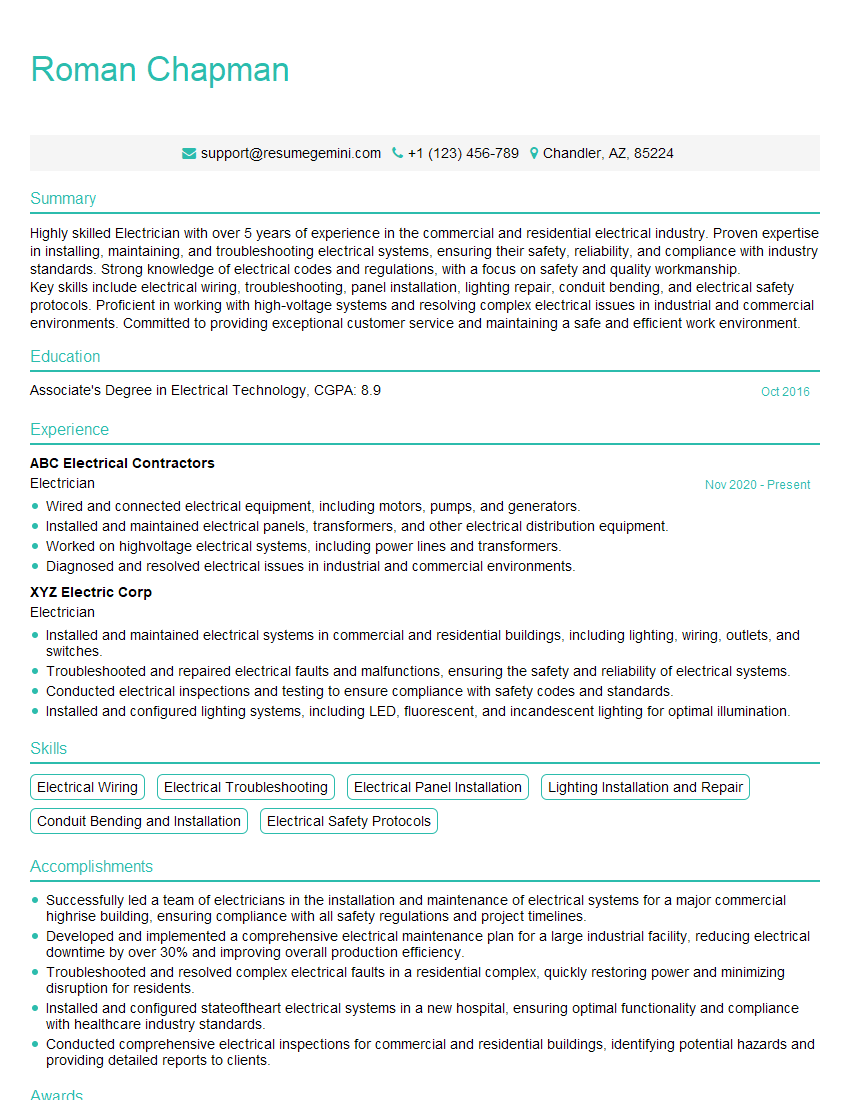
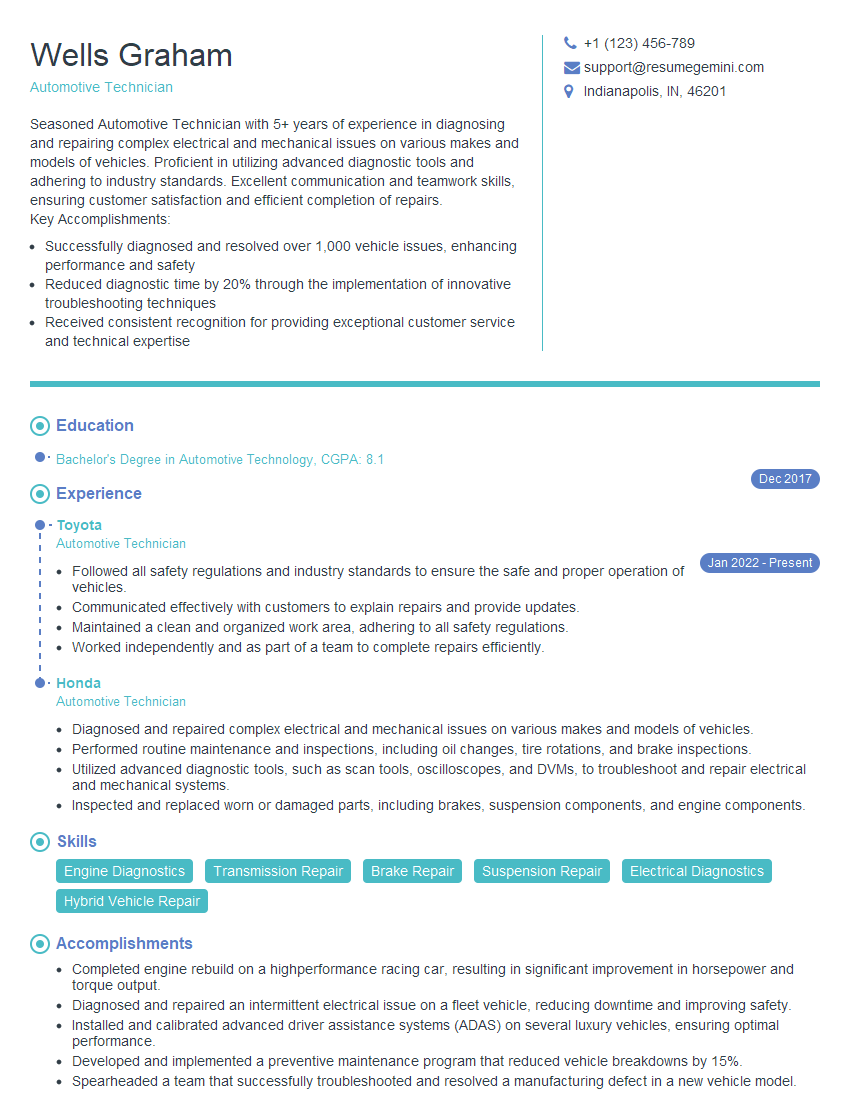
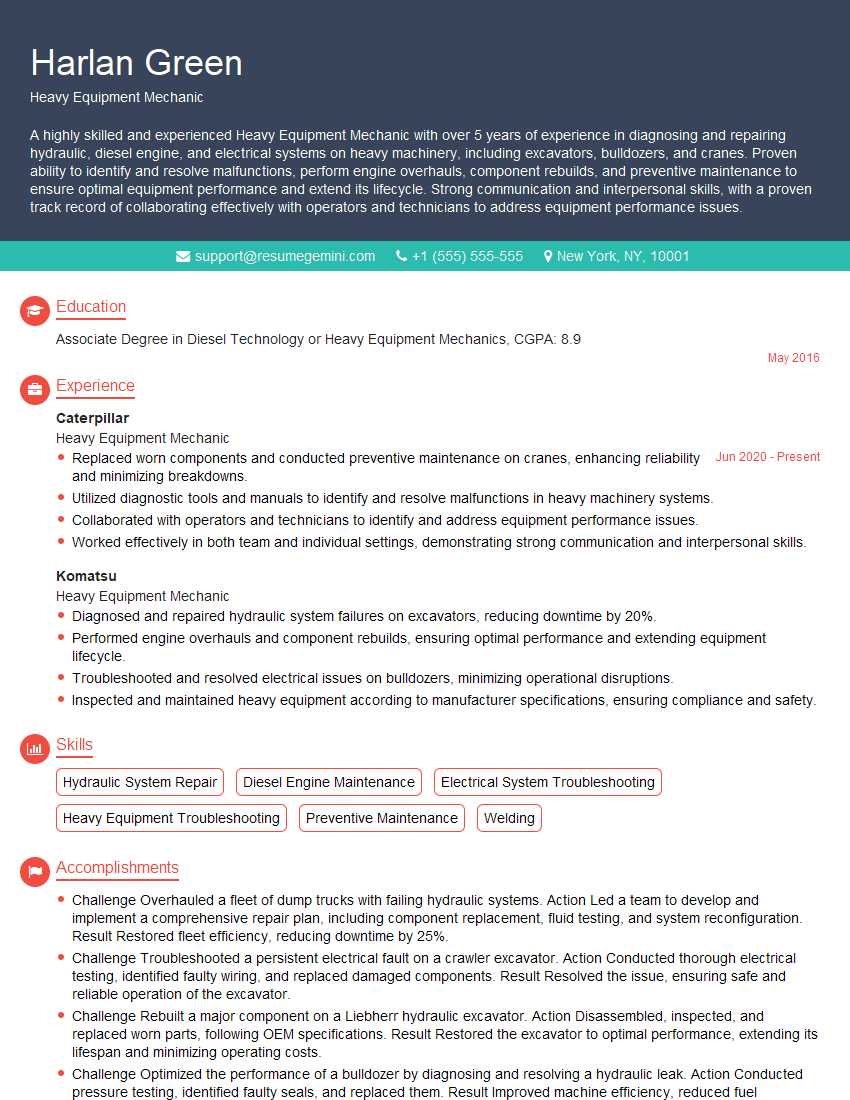
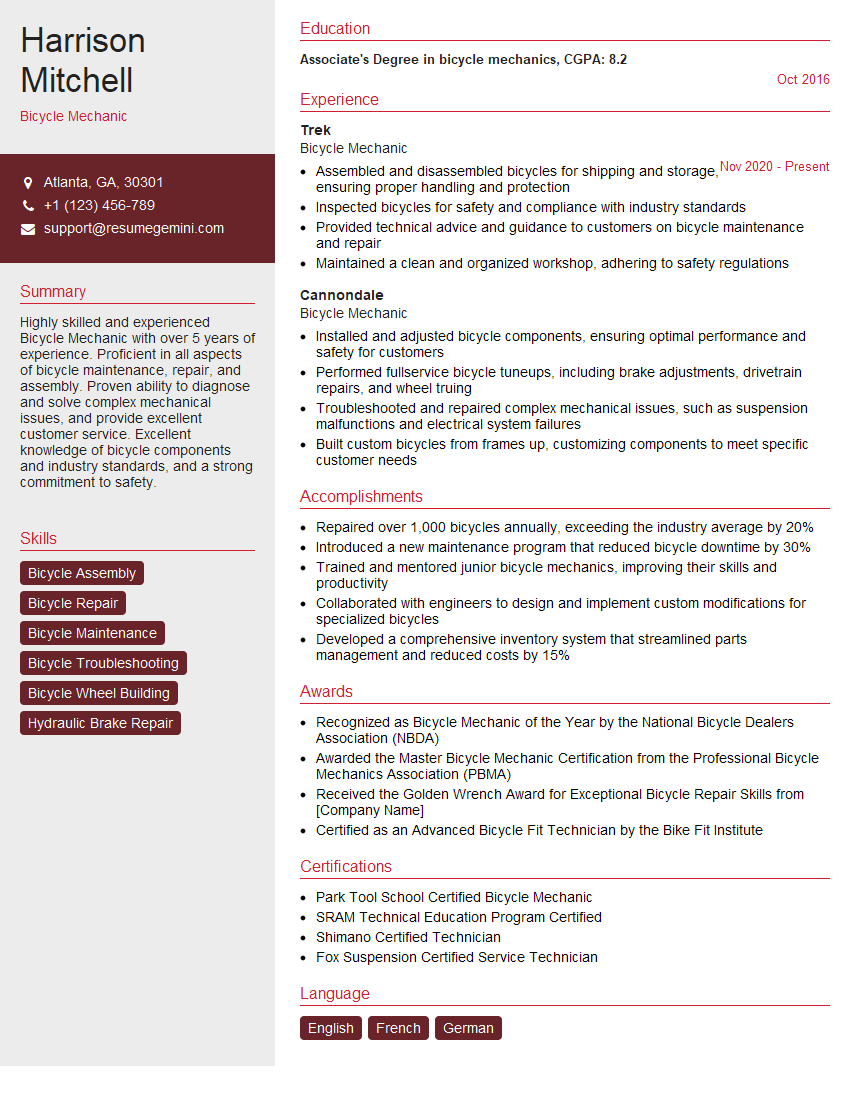
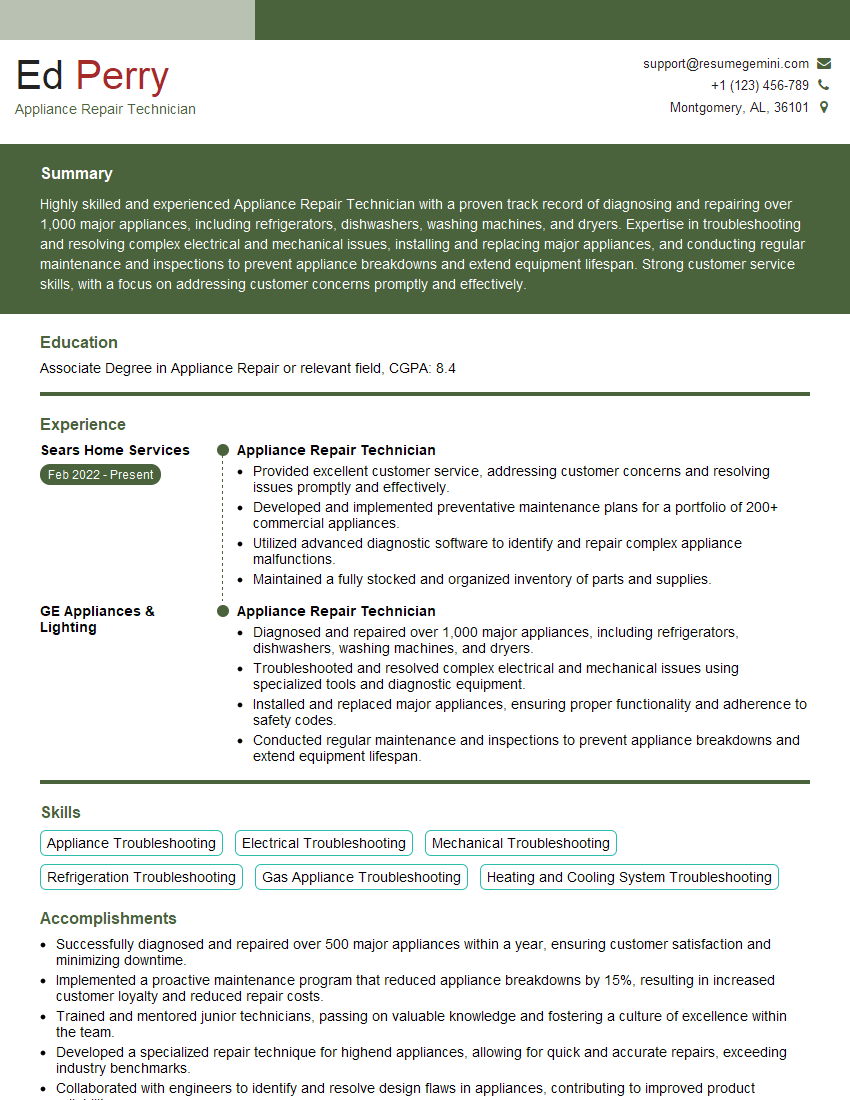
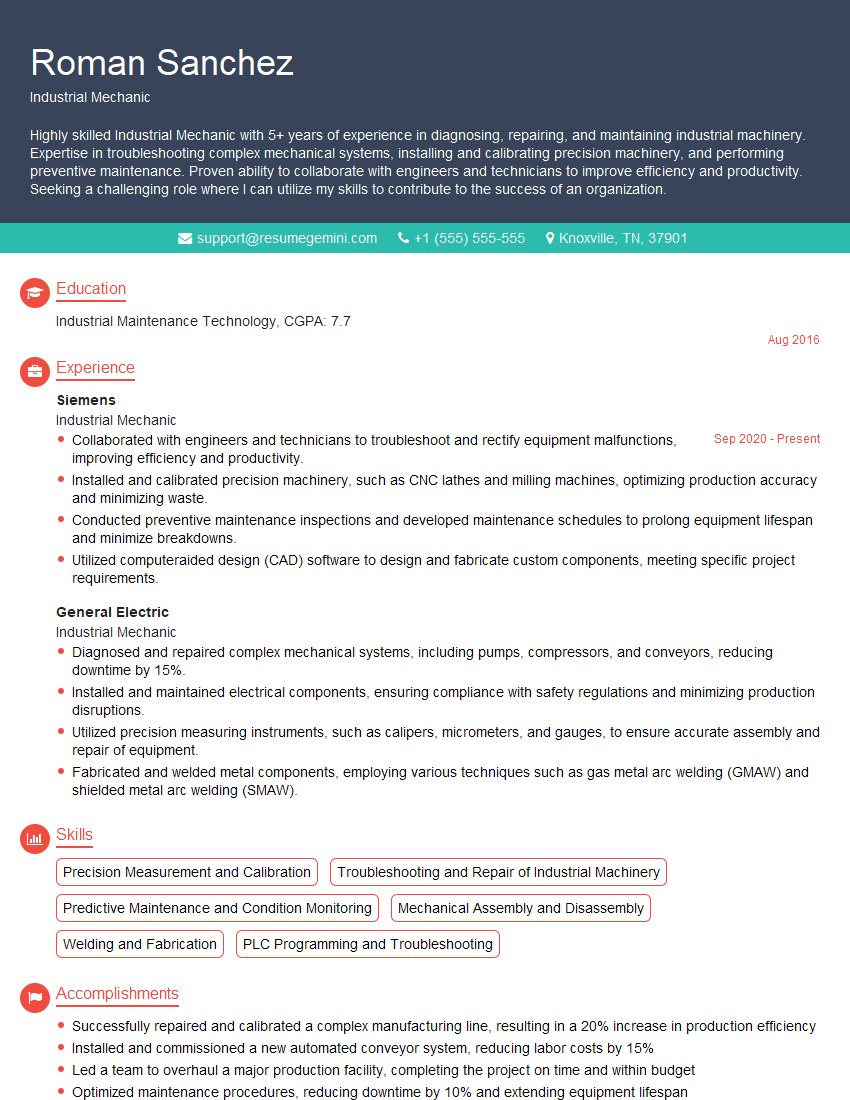
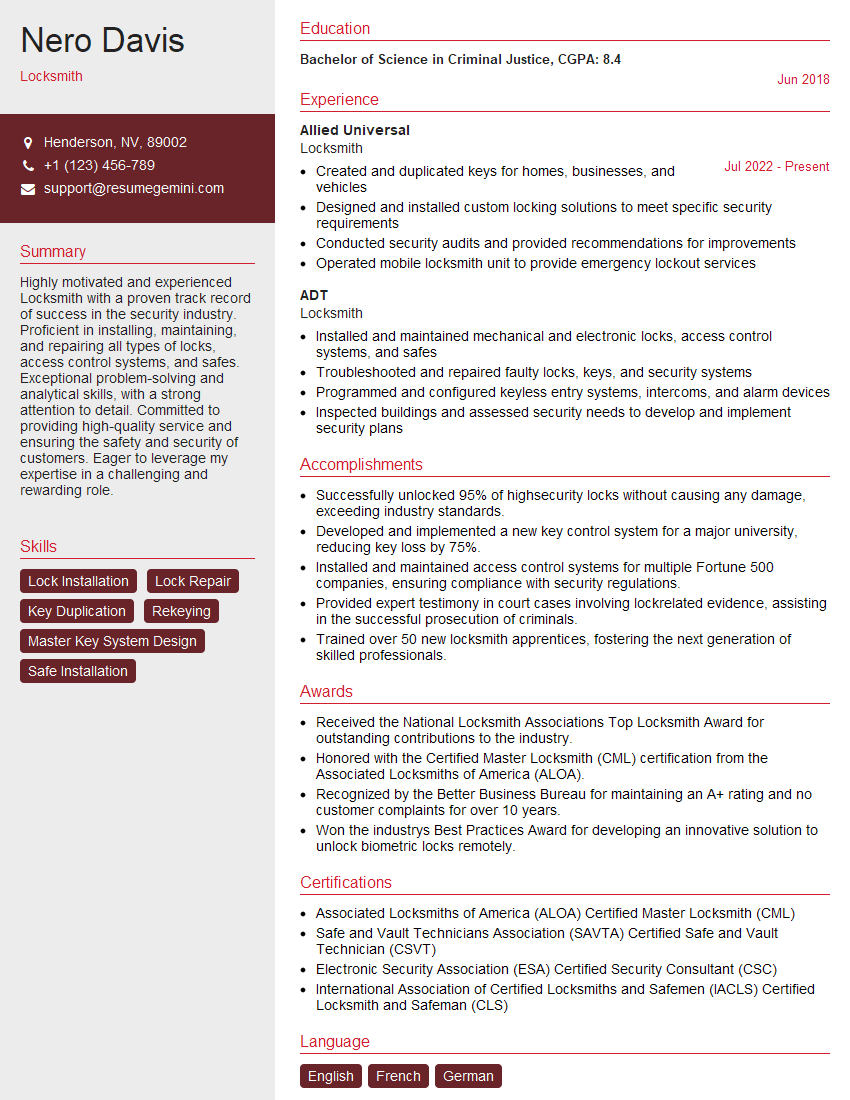
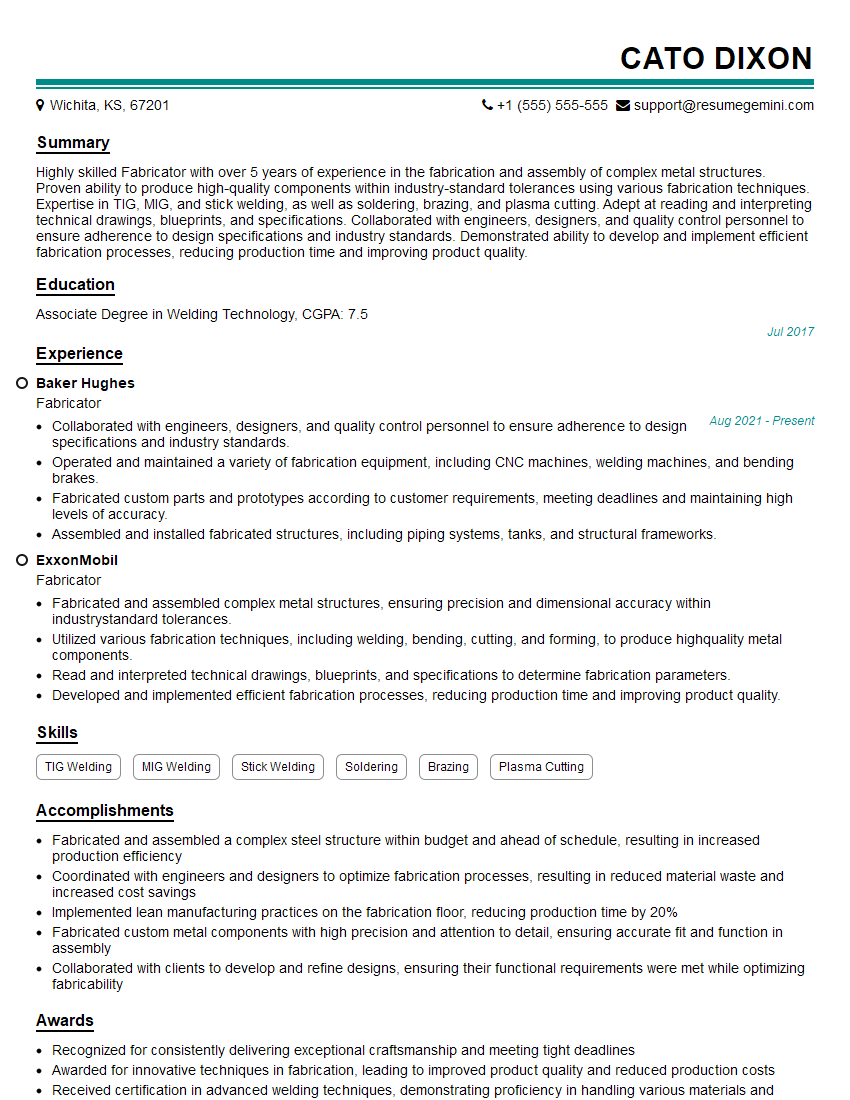
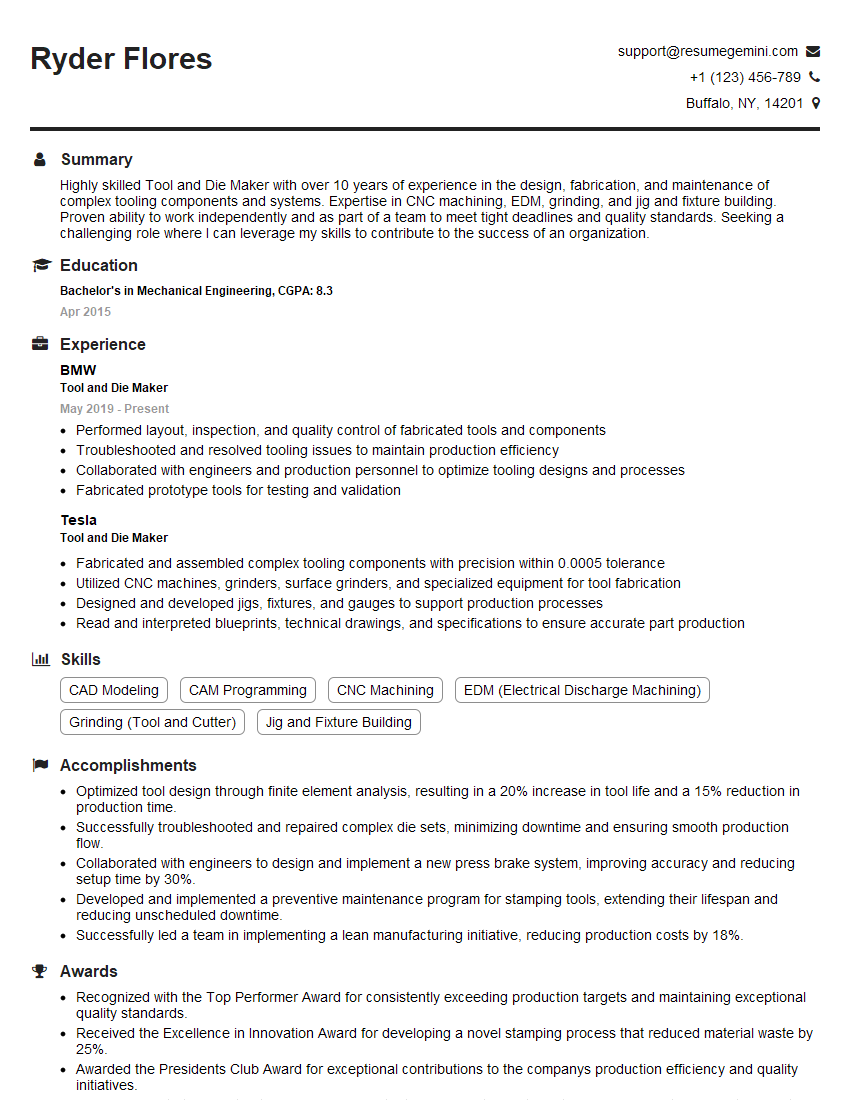
Mastering proficiency in using hand tools and equipment is crucial for career advancement in many skilled trades. It demonstrates your practical abilities and commitment to safety and quality, opening doors to more challenging and rewarding opportunities. To increase your job prospects, focus on building an ATS-friendly resume that highlights your skills and experience effectively. ResumeGemini is a trusted resource to help you craft a professional and impactful resume. We offer examples of resumes tailored to showcasing proficiency in using hand tools and equipment to help you get started. Let us help you present your skills in the best possible light!
Explore more articles
Users Rating of Our Blogs
Share Your Experience
We value your feedback! Please rate our content and share your thoughts (optional).
What Readers Say About Our Blog
Hello,
We found issues with your domain’s email setup that may be sending your messages to spam or blocking them completely. InboxShield Mini shows you how to fix it in minutes — no tech skills required.
Scan your domain now for details: https://inboxshield-mini.com/
— Adam @ InboxShield Mini
Reply STOP to unsubscribe
Hi, are you owner of interviewgemini.com? What if I told you I could help you find extra time in your schedule, reconnect with leads you didn’t even realize you missed, and bring in more “I want to work with you” conversations, without increasing your ad spend or hiring a full-time employee?
All with a flexible, budget-friendly service that could easily pay for itself. Sounds good?
Would it be nice to jump on a quick 10-minute call so I can show you exactly how we make this work?
Best,
Hapei
Marketing Director
Hey, I know you’re the owner of interviewgemini.com. I’ll be quick.
Fundraising for your business is tough and time-consuming. We make it easier by guaranteeing two private investor meetings each month, for six months. No demos, no pitch events – just direct introductions to active investors matched to your startup.
If youR17;re raising, this could help you build real momentum. Want me to send more info?
Hi, I represent an SEO company that specialises in getting you AI citations and higher rankings on Google. I’d like to offer you a 100% free SEO audit for your website. Would you be interested?
Hi, I represent an SEO company that specialises in getting you AI citations and higher rankings on Google. I’d like to offer you a 100% free SEO audit for your website. Would you be interested?
good

