Interviews are more than just a Q&A session—they’re a chance to prove your worth. This blog dives into essential Proficiency with Sewing Equipment interview questions and expert tips to help you align your answers with what hiring managers are looking for. Start preparing to shine!
Questions Asked in Proficiency with Sewing Equipment Interview
Q 1. What types of sewing machines are you proficient with?
My proficiency extends across a range of sewing machines, from basic domestic models to sophisticated industrial machines. I’m comfortable using both mechanical and computerized machines, including those with various specialized features like embroidery capabilities and automated functions. For example, I have extensive experience with Singer, Brother, and Janome domestic machines, and I’ve worked extensively with Juki, Durkopp Adler, and Pegasus industrial machines. This broad experience allows me to adapt to different machine types quickly and efficiently.
Q 2. Describe your experience with industrial sewing machines.
My experience with industrial sewing machines is extensive. I’ve worked with high-speed, heavy-duty machines used in garment manufacturing, upholstery, and leatherwork. This involves understanding their unique features, such as larger bobbins, higher stitch speeds, and powerful motors. I’m adept at setting up these machines for different types of fabric and thread, including adjusting stitch length, tension, and feed dogs to achieve the desired results. For instance, I’ve successfully managed high-volume production runs on a Juki overlock machine, ensuring consistent stitch quality and efficient workflow.
Troubleshooting industrial machines requires a different approach than domestic ones. I’m proficient in identifying and resolving issues such as needle breakage, timing belt problems, and motor malfunctions. My experience includes preventative maintenance to minimize downtime and ensure smooth operation.
Q 3. Explain the different types of sewing machine needles and their applications.
Sewing machine needles are categorized by system (e.g., 130/705H, 15×1), size (indicated by a number, e.g., 9, 11, 14), and type. Different types are designed for various fabrics and applications:
- Universal Needles: A general-purpose needle suitable for most woven fabrics.
- Ballpoint Needles: These have a rounded point to prevent snagging and are ideal for knit fabrics.
- Sharp Needles: Used for woven fabrics like denim and canvas that require a sharp point for clean penetration.
- Stretch Needles: Specifically designed for stretchy fabrics like Lycra or jersey, minimizing skipped stitches.
- Embroidery Needles: Have a slightly larger eye to accommodate embroidery threads.
- Leather Needles: Features a thicker, stronger shaft and a sharp point to pierce thick materials.
Choosing the right needle is crucial for preventing needle breakage, skipped stitches, and fabric damage. For example, using a sharp needle on a delicate knit fabric will result in runs and holes.
Q 4. How do you troubleshoot common sewing machine malfunctions?
Troubleshooting sewing machine problems requires a systematic approach. I start by identifying the symptom – is the machine making noise, skipping stitches, or not sewing at all? Then, I systematically check the common culprits:
- Check the thread: Ensure the thread is correctly threaded, not tangled, and the correct tension is set.
- Inspect the needle: Look for bent or damaged needles and replace if necessary.
- Examine the bobbin: Make sure the bobbin is properly wound and inserted correctly, that it is not full of lint, and that the tension is adjusted appropriately. Sometimes, incorrect bobbin placement is the main reason for looping or birdnesting.
- Check the timing: For more advanced problems, checking the timing of the machine (how the needle and hook interact) may be necessary. This often requires experience with the specific model.
- Clean the machine: Lint buildup can interfere with the machine’s performance; regular cleaning is critical.
If the problem persists, I might consult the machine’s manual or seek assistance from a qualified technician.
Q 5. What are your preferred methods for maintaining sewing machines?
Maintaining sewing machines is essential for their longevity and performance. My preferred methods include:
- Regular cleaning: Removing lint, dust, and fabric scraps from the bobbin area, feed dogs, and other moving parts. I use a small brush and compressed air for this.
- Lubrication: Applying appropriate lubricant (check your machine’s manual for the right type) to moving parts according to the manufacturer’s recommendations.
- Needle replacement: Regularly changing needles prevents skipped stitches and breakage. I typically change my needles after every project or after a few hours of continuous sewing, depending on the fabric and needle type.
- Tension adjustment: Periodically checking and adjusting the upper and lower thread tension for optimal stitch formation.
- Professional servicing: Scheduling periodic professional maintenance, at least annually or after significant usage, to address any internal issues and prevent major breakdowns.
I keep detailed records of cleaning and maintenance to track and prevent potential problems.
Q 6. Describe your experience with different sewing machine stitches.
My experience encompasses a wide variety of sewing machine stitches, from basic straight stitches and zigzags to more complex decorative stitches, buttonholes, and blind hems. I’m proficient in adjusting stitch length, width, and density to achieve the desired aesthetic and functional results. For instance, I use a variety of stitches for different applications – straight stitch for seams, zigzag stitch for finishing edges, and blindstitch for inconspicuous hems.
I have experience with both mechanical and computer-controlled machines, which allows me to create customized stitches or use pre-programmed stitch patterns. For example, the ability to use a decorative stitch can enhance the overall quality of a garment, giving it a professional and polished look.
Q 7. How do you select the appropriate stitch for a given fabric?
Selecting the appropriate stitch depends on several factors, primarily the fabric type and the project’s purpose. Consider the following:
- Fabric weight and type: Lightweight fabrics like silk require delicate stitches with short stitch lengths, whereas heavier fabrics like denim can tolerate longer stitches.
- Fabric stretch: Stretchy fabrics need stitches that will give with the fabric’s movement, such as a zigzag stitch or a stretch stitch.
- Project purpose: A straight stitch is suitable for seams that need to be strong, whereas a decorative stitch can enhance the aesthetic value of a garment.
For example, when sewing a delicate silk scarf, a very fine straight stitch or a narrow zigzag stitch is ideal. Conversely, a heavier denim garment requires a strong straight stitch. Understanding the different stitch options available on a machine and their applications is crucial for a successful sewing project.
Q 8. What fabrics are you most experienced in sewing?
My experience spans a wide range of fabrics, but I’m particularly proficient with cottons (both quilting and woven), linens, silks, and wools. I’ve worked extensively with different weights and weaves of these fabrics, understanding their unique drape and handling characteristics. For example, I’ve crafted intricate quilting projects using lightweight cotton batiks, requiring precise piecing and careful machine control, and also tailored tailored elegant wool suits demanding meticulous seam finishing. Experience with these varied fabrics has honed my ability to adapt my techniques to best suit each material’s properties.
- Cotton: From lightweight lawn to heavy-duty canvas, I understand how different weaves impact stitching and design choices.
- Linen: I’m adept at handling linen’s tendency to fray and its slightly uneven texture, using appropriate seam finishes for durability.
- Silk: My experience includes working with both delicate charmeuse and heavier silk brocades, employing techniques to prevent slippage and maintain the fabric’s luxurious sheen.
- Wool: I’m familiar with various wool types, from crisp gabardine to soft cashmere, adapting pressing and seam finishing methods to suit each.
Q 9. How do you handle challenging fabrics (e.g., leather, silk)?
Sewing challenging fabrics like leather and silk requires specialized techniques and equipment. With leather, I use specialized needles and a walking foot to ensure even feed and prevent skipped stitches. The slower sewing speed and careful handling are essential to prevent damaging the material. For silk, preventing slippage and maintaining its delicate drape is key. I often use a fine needle, a light touch, and potentially a silk or ballpoint needle to avoid snags or damage. Using pins sparingly and utilizing techniques like easing instead of pulling are crucial for achieving a professional finish.
For example, I once crafted a leather jacket where using a specialized leather needle and reducing the sewing machine’s speed allowed for clean, consistent stitching. When sewing a silk blouse, I used pins minimally and employed a fine needle with careful stitching techniques to avoid stretching or puncturing the silk.
Q 10. What is your experience with pattern reading and interpretation?
I possess extensive experience in pattern reading and interpretation. I understand how to identify different pattern markings, such as seam allowances, notches, and grainlines, and how these contribute to the garment’s construction and fit. I can seamlessly translate a two-dimensional pattern into a three-dimensional garment. I’m comfortable working with both commercial and independently drafted patterns, adapting and modifying them as needed to suit different body types and design preferences.
My approach involves carefully studying the pattern instructions, selecting appropriate fabrics based on the pattern’s recommendations, and meticulously following the steps outlined. I have successfully constructed various garments, from simple blouses to complex tailored jackets, demonstrating a strong understanding of pattern layouts and construction techniques.
Q 11. Describe your experience with pattern making or adjustments.
While I primarily work with existing patterns, I have experience in making adjustments and minor pattern alterations. This includes adapting existing patterns to better fit specific body measurements, such as altering sleeve length, adjusting bust darts, or making changes to the overall silhouette. I am adept at using slopers – basic pattern blocks – as a foundation for creating original designs. I have also adapted patterns to accommodate different fabric types, altering seam allowances and construction methods for optimal results.
For instance, I recently adjusted a commercially available dress pattern to improve its fit on a client with a fuller bust. This involved strategically adding fullness to the bust darts and adjusting the shoulder seams for a better drape.
Q 12. How do you ensure consistent stitch quality across multiple garments?
Maintaining consistent stitch quality is paramount. This is achieved through a combination of factors including consistent machine maintenance, correct needle selection, and appropriate stitch length and tension settings for the fabric being sewn. Before beginning any project, I inspect my machine, ensuring it’s clean, oiled, and properly threaded. I also meticulously select the appropriate needle type and size for the fabric, replacing needles as needed to maintain sharpness.
Furthermore, I pay close attention to maintaining consistent speed and pressure on the foot pedal while sewing, avoiding sudden changes that could cause inconsistencies in stitch length or tension. Regular checks of the stitching as I work allow for immediate correction of any anomalies and prevents significant rework later.
Q 13. Explain your experience with different sewing machine tension adjustments.
Understanding sewing machine tension is crucial for creating professional-looking seams. Sewing machine tension refers to the balance between the upper and lower threads. Incorrect tension leads to problems such as puckering, skipped stitches, or loose, uneven seams. I’m experienced in adjusting the tension dial to achieve the correct balance, adapting it based on the fabric weight and type.
For example, when sewing lightweight fabrics like silk, a lower tension is often needed to prevent puckering, whereas heavier fabrics like denim might require higher tension for a secure seam. I also understand how thread type and needle selection contribute to overall tension. Practicing on scraps of the chosen fabric before starting a major project allows for fine-tuning the machine tension for optimum results.
Q 14. Describe your understanding of seam allowances and finishing techniques.
Seam allowances and finishing techniques are fundamental to garment construction. Seam allowance refers to the amount of fabric left beyond the stitching line. The standard seam allowance is typically 5/8 inch, but this can vary depending on the pattern and the fabric type. Appropriate seam finishing is crucial for preventing fraying, providing durability, and enhancing the overall look of a garment.
My experience encompasses a variety of finishing techniques, including pinking, serging, zigzag stitching, and French seams, each selected based on the type of fabric and the desired aesthetic. For example, a French seam is ideal for fine fabrics as it encloses raw edges, whereas serging is a great option for durable seams in heavier materials. Understanding and properly executing these finishing techniques significantly impacts the quality and longevity of the garment.
Q 15. How do you manage bulk fabric effectively during the sewing process?
Managing bulk fabric efficiently is crucial for streamlined sewing. Think of it like a well-organized kitchen – chaos leads to wasted time and mistakes. My approach involves a multi-step process:
- Pre-cutting Organization: Before I even begin cutting, I meticulously measure and plan my fabric layout, minimizing waste. This often involves creating detailed cutting diagrams to ensure optimal use of every yard. For example, with patterned fabric, I’ll arrange pieces to match the pattern precisely, which may require some strategic maneuvering.
- Systematic Storage: I store fabric neatly, using shelving, fabric racks, or even rolling carts to keep everything accessible and wrinkle-free. Different fabric types are separated to avoid accidental mixing or damage.
- Efficient Cutting Techniques: I use specialized cutting tools, such as rotary cutters and self-healing mats, to ensure clean, accurate cuts, which minimizes the need for corrections later on. I also utilize techniques like nesting patterns to save time and material.
- Designated Workspaces: I have designated areas for cutting, sewing, and pressing, preventing unnecessary movement and keeping my workspace organized. This minimizes fabric handling and prevents tangles.
By implementing these steps, I reduce fabric waste, improve efficiency, and maintain a clean, productive work environment. This is particularly important when working on large-scale projects or meeting tight deadlines.
Career Expert Tips:
- Ace those interviews! Prepare effectively by reviewing the Top 50 Most Common Interview Questions on ResumeGemini.
- Navigate your job search with confidence! Explore a wide range of Career Tips on ResumeGemini. Learn about common challenges and recommendations to overcome them.
- Craft the perfect resume! Master the Art of Resume Writing with ResumeGemini’s guide. Showcase your unique qualifications and achievements effectively.
- Don’t miss out on holiday savings! Build your dream resume with ResumeGemini’s ATS optimized templates.
Q 16. What is your experience with sergers or overlock machines?
Sergers and overlock machines are indispensable tools in my sewing arsenal. I’m proficient in operating various models, understanding their nuances and capabilities. My experience encompasses everything from basic seam finishing to more complex techniques like rolled hems and decorative stitching.
- Seam Finishing: Sergers are masters at preventing fraying and creating professional-looking seams. I regularly use them to finish seams on knits and woven fabrics, significantly improving the durability and appearance of the garment.
- Flatlock Stitching: I’m skilled in creating clean, flatlock seams, a technique ideal for athletic wear or outerwear that requires a smooth, comfortable finish.
- Troubleshooting: I’m adept at troubleshooting common issues such as loopers jamming or tension problems. Understanding the machine’s mechanics allows me to quickly identify and fix these issues, minimizing downtime.
- Different Stitch Types: Beyond basic overlocking, I’m familiar with a variety of stitches and can adjust the machine settings to achieve the desired results. This includes varying stitch widths, lengths, and differential feed settings.
For example, when working on a project requiring both durability and a clean finish, I would choose a narrow, tightly woven overlock stitch. Conversely, for a more decorative effect, I might adjust the settings for a wider, more open stitch.
Q 17. Describe your experience with industrial sewing machine foot controls.
My experience with industrial sewing machine foot controls is extensive. These controls, unlike domestic machines, allow for precise speed and stitch control, which is essential for efficient and consistent production. I am comfortable with both knee lift and foot pedal controls.
- Speed Control: I can effortlessly adjust the sewing speed using the foot pedal to match the fabric and stitch type. This prevents skipped stitches or broken needles. For example, delicate fabrics require slower speeds to avoid damage.
- Precision Control: Knee lifts allow me to raise the presser foot without taking my hands off the fabric, speeding up the sewing process and enhancing precision, particularly beneficial when working with complex patterns.
- Troubleshooting: I understand how different foot pedal responses can indicate machine problems, such as worn-out belts or motor issues.
- Ergonomics: I prioritize ergonomic practices, ensuring that my posture and foot placement are correct to minimize fatigue and avoid repetitive strain injuries during prolonged sewing sessions.
I view proficiency in foot control not just as a technical skill, but as a crucial element of efficiency and safety in the industrial sewing environment.
Q 18. Explain your understanding of safety procedures related to sewing equipment.
Safety is paramount when working with sewing equipment. My understanding of safety procedures is comprehensive and always at the forefront of my work. My approach prioritizes prevention over reaction.
- Machine Maintenance: Regular maintenance, such as lubricating moving parts and ensuring the needle is correctly installed, minimizes the risk of accidents like needle breakage or machine malfunction.
- Proper Needle Handling: I always handle needles with care, using needle threaders and never attempting to thread a needle by hand. Broken needles are disposed of in designated containers.
- Guard Placement: I ensure that all safety guards are in place and functioning correctly before operating any machine. This is crucial for protecting fingers and preventing entanglement.
- Appropriate Clothing: I always avoid wearing loose clothing or jewelry that could get caught in moving parts. Long hair is tied back securely.
- Emergency Procedures: I’m familiar with emergency procedures, including how to quickly shut down machinery in case of an accident. Furthermore, I know the location of the first-aid kit and emergency contact information.
Safety isn’t just a checklist; it’s a mindset. A minor lapse in safety can have major consequences. My consistent adherence to these practices ensures a safe and productive work environment.
Q 19. How do you maintain quality control throughout the sewing process?
Maintaining quality control throughout the sewing process is a multi-faceted endeavor. It begins before the first stitch and continues until the final product is inspected. Think of it as building a house – every step needs to be perfect for a strong foundation.
- Fabric Inspection: Before starting, I carefully inspect the fabric for defects like holes, stains, or inconsistencies in weave. This eliminates flawed products from the outset.
- Pattern Accuracy: I ensure precise pattern cutting, using accurate measurements and marking techniques. Inconsistencies in cutting can lead to ill-fitting garments.
- Stitch Quality: I consistently check stitch length, tension, and alignment to ensure professional and durable seams. Inconsistent stitches can compromise the garment’s strength and appearance.
- Regular Inspections: I conduct regular quality checks during the sewing process. This allows me to catch and correct minor issues before they become major problems.
- Final Inspection: Each finished item is meticulously inspected for any defects or inconsistencies. This final check guarantees a high standard for every piece.
By combining these methods, I create consistent, high-quality items that meet customer expectations and enhance brand reputation.
Q 20. How would you handle a production deadline?
Handling production deadlines requires a strategic and organized approach. My method prioritizes efficiency without compromising quality. Imagine it like running a marathon – pacing is key.
- Project Breakdown: I meticulously break down the project into smaller, manageable tasks with clear deadlines for each. This enables better tracking of progress and identification of potential bottlenecks.
- Resource Allocation: I efficiently allocate resources, including time, materials, and equipment, to optimize the production process. This is about making smart choices about what to prioritize.
- Time Management: I utilize time management tools and techniques to stay on schedule. This could include creating detailed schedules, setting daily goals, and regularly reviewing progress.
- Teamwork (if applicable): If working in a team, I foster clear communication and collaboration to ensure everyone is on the same page and contributing effectively.
- Contingency Planning: I factor in potential delays and challenges by building in buffer time. This allows flexibility in case of unexpected issues.
By utilizing these strategies, I can consistently meet production deadlines while maintaining the high-quality standards that are central to my work.
Q 21. What is your experience with different types of sewing machine feet?
My experience encompasses a wide range of sewing machine feet, each designed for specific tasks. Think of it as having a toolbox with different tools for different jobs. Each foot has a distinct purpose and helps create unique results.
- General-Purpose Foot: The workhorse of my sewing machine, used for most straight stitching tasks.
- Zipper Foot: Allows for precise stitching close to the zipper teeth.
- Buttonhole Foot: Creates neat and consistent buttonholes.
- Blind Hem Foot: Creates nearly invisible hems.
- Walking Foot: Prevents fabric slippage, ideal for thick or multiple layers of fabric.
- Rolled Hem Foot: Creates a clean and professional rolled hem on lightweight fabrics.
- Cording Foot: Used for applying decorative cords or piping.
My familiarity with these and other specialized feet allows me to choose the right tool for the job, improving efficiency and the quality of the finished product. For example, I would use a walking foot when sewing a heavy denim garment to ensure even feeding of the fabric, whereas a zipper foot would be essential for attaching a zipper neatly and cleanly.
Q 22. How familiar are you with CAD software for pattern design?
My familiarity with CAD software for pattern design is extensive. I’ve worked extensively with programs like Lectra Modaris, Gerber Accumark, and Pattern Design Software. These aren’t just tools for me; they’re integral parts of my workflow. I utilize them to create precise patterns, grading sizes efficiently, and making complex design adjustments that would be incredibly time-consuming manually. For example, I recently used Lectra Modaris to create a complex pattern for a tailored men’s suit, incorporating intricate darts and shaping. The software allowed me to quickly generate different sizes and make adjustments to the fit without having to redraw the entire pattern.
Beyond the creation of the base pattern, I leverage CAD’s capabilities for marker making, which significantly reduces fabric waste and improves efficiency during the cutting process. This saves both material costs and time in production.
Q 23. How do you identify and repair common sewing machine breakdowns?
Identifying and repairing sewing machine breakdowns is a crucial skill, requiring a blend of practical knowledge and troubleshooting abilities. My approach is systematic:
- Initial Assessment: I begin by carefully observing the issue – Is the machine making unusual noises? Is the needle breaking frequently? Is the stitch quality inconsistent? This initial assessment helps narrow down the potential causes.
- Common Problems and Solutions: Common issues include improper needle threading, tension problems, bent needles, and timing belt issues. For example, a skipped stitch often points to incorrect needle tension or a bent needle. A loud grinding sound might indicate a problem with the timing belt or internal gears.
- Systematic Troubleshooting: I’ll proceed methodically, checking the basic things first – the needle, bobbin, thread tension, and power source. Once the easy fixes are eliminated, I will consult the machine’s manual and may use online resources or manuals for more in-depth diagnostics.
- Tools and Maintenance: I keep a comprehensive toolkit including screwdrivers, needle sets, oil, and cleaning brushes. Regular maintenance, such as cleaning and oiling, prevents major breakdowns.
For instance, I once diagnosed a machine that was producing inconsistent stitches. After eliminating issues with the thread and needle, I discovered the tension discs were slightly misaligned. A simple adjustment resolved the problem, highlighting the importance of methodical troubleshooting.
Q 24. Explain your experience working with different types of threads.
My experience with various threads is extensive, spanning different fiber types, weights, and finishes. The choice of thread is critical to the final product’s quality and durability. I have worked with:
- Cotton Threads: Versatile and strong, suitable for many fabrics.
- Polyester Threads: Known for their strength and resistance to stretching and fading.
- Silk Threads: Elegant and luxurious, ideal for fine fabrics like silk and chiffon, requiring careful handling.
- Rayon Threads: Often used for decorative stitching due to their sheen and smooth finish.
Understanding thread properties is key. For example, I wouldn’t use a heavy-duty thread on delicate fabrics like silk because it could damage the fabric. I carefully select the appropriate thread based on the fabric type, project, and desired finish. I also consider thread weight, choosing a finer thread for detailed stitching and a heavier thread for stronger seams.
Q 25. What are your methods for optimizing sewing machine speed and efficiency?
Optimizing sewing machine speed and efficiency involves a multifaceted approach:
- Proper Machine Maintenance: A well-maintained machine runs smoother and faster. Regular cleaning, oiling, and timely repairs are crucial.
- Correct Needle and Thread Selection: Choosing the appropriate needle and thread for the fabric ensures smooth stitching and prevents breakage.
- Optimal Stitch Length and Tension: Adjusting the stitch length and tension to the fabric type creates even stitches and prevents skipped stitches or puckering.
- Efficient Work Habits: Organizing materials, pre-cutting fabric, and utilizing efficient stitching techniques minimize downtime.
- Advanced Techniques: Utilizing techniques like chain piecing or using a walking foot for difficult fabrics.
In practice, I might adjust the stitch length for faster sewing on less intricate parts, then slow down for more detailed stitching. This blend of technique and machine knowledge is essential for speed and quality.
Q 26. How do you handle fabric shrinkage during the sewing process?
Handling fabric shrinkage is crucial to ensure the final garment retains its shape and size. My approach involves:
- Pre-Washing: Always pre-wash fabric before cutting, especially natural fibers like cotton and linen, which can shrink considerably after washing.
- Understanding Fabric Properties: Different fabrics have varying shrinkage properties. I always check the fabric’s care instructions to understand its potential shrinkage.
- Testing: Before cutting the main fabric, it is helpful to sew a small sample piece, wash and dry it, then measure any shrinkage. This will inform adjustments to the cutting pattern.
- Pattern Adjustments: Based on pre-wash testing or manufacturer’s recommendations for shrinkage, I adjust the cutting pattern to account for potential shrinkage.
For instance, if a fabric is known to shrink 5% after washing, I would increase the pattern pieces by 5% before cutting to compensate for the shrinkage.
Q 27. Describe your experience with various fabric cutting methods.
My experience encompasses various fabric cutting methods, each suited to different materials and project needs:
- Manual Cutting: Using shears or rotary cutters for accurate cutting, particularly helpful for smaller projects and intricate details.
- Electric Cutting: Using electric cutting machines like Accuquilt or other automated systems for larger volume projects to save time and increase precision.
- Laser Cutting: Using laser cutting systems for precise cuts in very large quantities and intricate designs, used mostly for industrial purposes.
- Pattern Layout Considerations: I’m proficient at laying out patterns efficiently to minimize fabric waste and reduce the total time it takes to cut pieces.
The choice of method depends entirely on the project’s scale, the fabric’s type, and the level of precision required. For a simple project, hand cutting with sharp shears might suffice; for larger projects with numerous pieces, an electric cutter significantly increases efficiency.
Q 28. How do you approach a new sewing project you’ve never encountered before?
Approaching a new sewing project I’ve never encountered before requires a structured, systematic approach:
- Thorough Research: I begin by thoroughly researching the project – analyzing the design, understanding the construction techniques, and identifying potential challenges. This might involve studying diagrams, videos, or reading instructions.
- Gather Materials: I ensure I have all the necessary materials – fabric, threads, notions, patterns and tools – before starting. This minimizes interruptions during the process.
- Pilot Project: If the project is complex, I might create a small-scale pilot project to test techniques and troubleshoot any problems before working on the final piece.
- Step-by-Step Execution: I break down the project into smaller, manageable steps, meticulously following each step and frequently checking my work.
- Documentation: Along the way, I take notes and photos to record the process, including challenges faced and solutions applied. This makes it easier to replicate the process or improve upon it later.
For example, when creating a garment with an unusual closure, I would first practice the closure technique on a scrap piece of fabric to ensure I master it before applying it to the main garment. This methodical approach ensures that even unfamiliar projects are tackled efficiently and effectively.
Key Topics to Learn for Proficiency with Sewing Equipment Interview
- Industrial Sewing Machine Operation: Understanding various machine types (e.g., single-needle, double-needle, overlock), their functionalities, and appropriate maintenance procedures.
- Sewing Machine Troubleshooting: Diagnosing and resolving common mechanical issues, such as needle breakage, thread jams, and tension problems. Practical application includes describing your problem-solving approach in past situations.
- Specialized Sewing Equipment: Familiarity with equipment like button sewers, embroidery machines, or specific finishing equipment relevant to your target role. Consider highlighting any niche skills you possess.
- Fabric Knowledge and Selection: Demonstrating an understanding of different fabric types and their suitability for various sewing techniques and projects. Practical examples include discussing experience choosing the correct fabric for a specific garment or project.
- Safety Procedures and Practices: Knowledge of safe operating procedures for all sewing equipment, including appropriate use of safety guards and preventative measures to avoid accidents.
- Quality Control and Inspection: Understanding quality standards and procedures for inspecting finished products and identifying potential defects. This includes discussing your experience in ensuring consistent quality in your sewing work.
- Production Efficiency and Time Management: Demonstrating an understanding of efficient workflow techniques and the ability to meet production deadlines. This could involve discussing strategies for optimizing your sewing process.
Next Steps
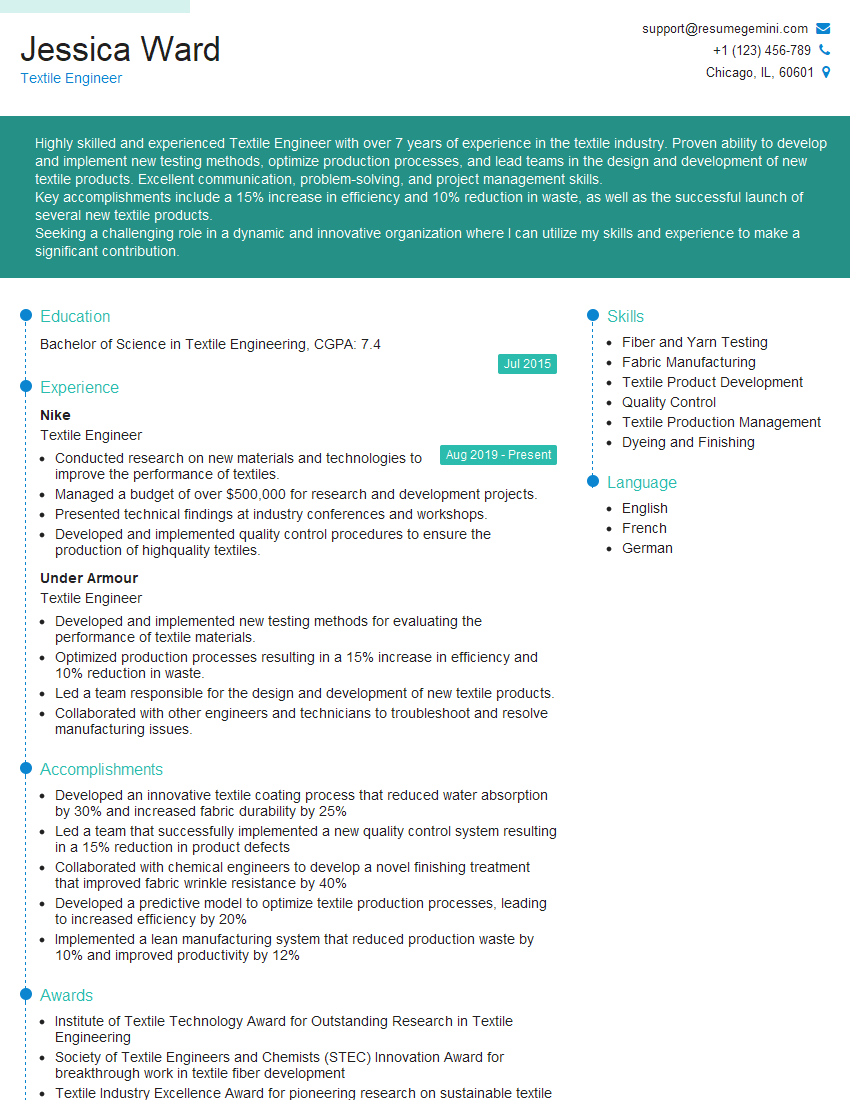
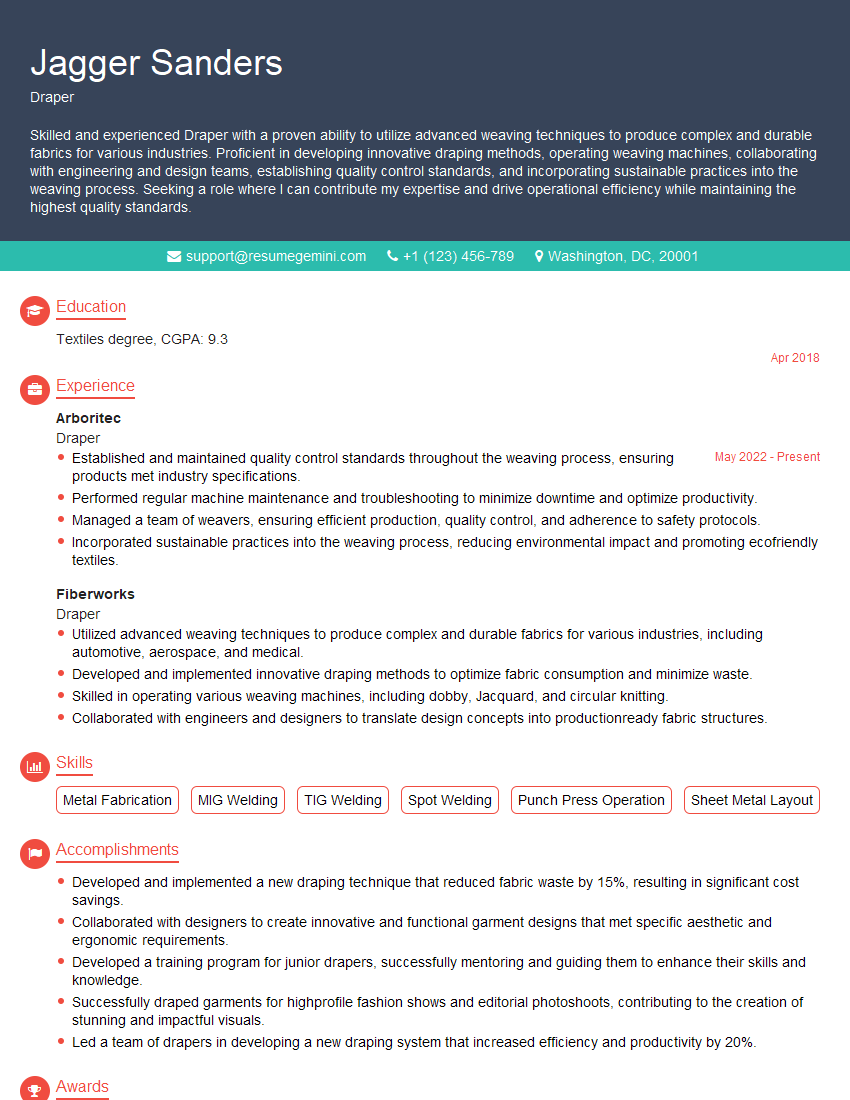
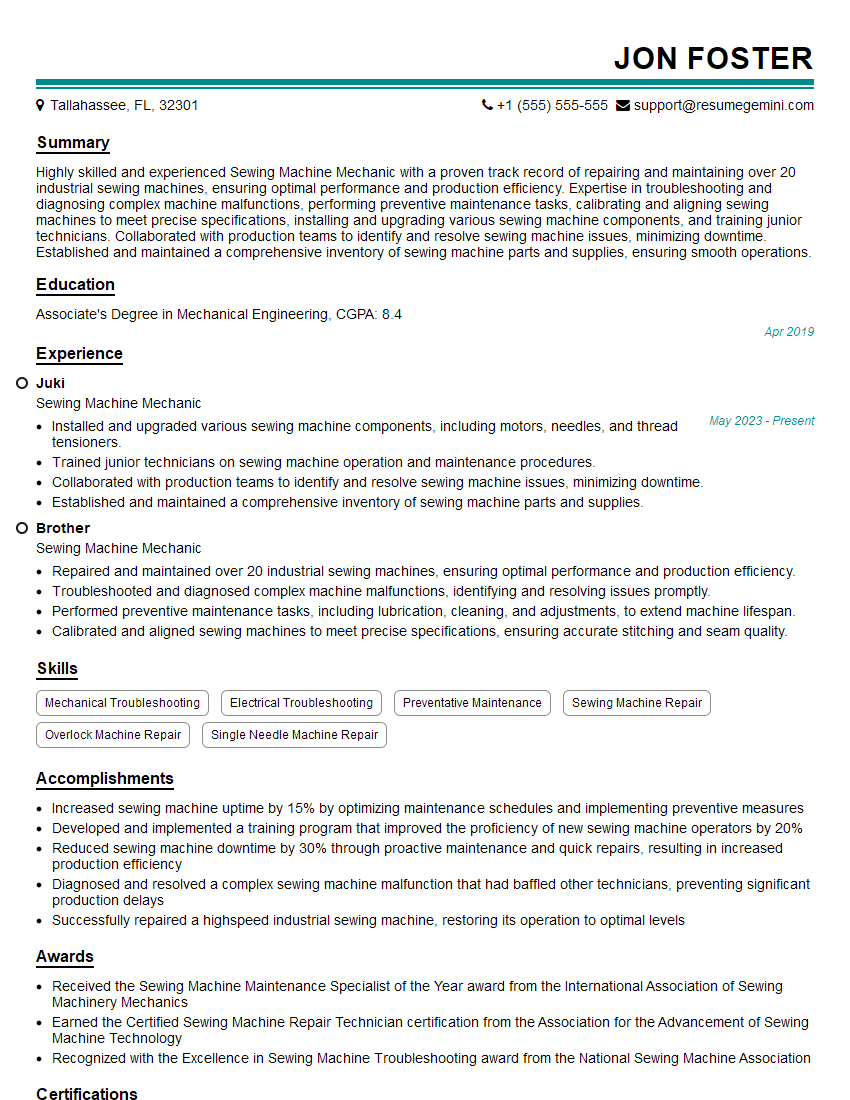
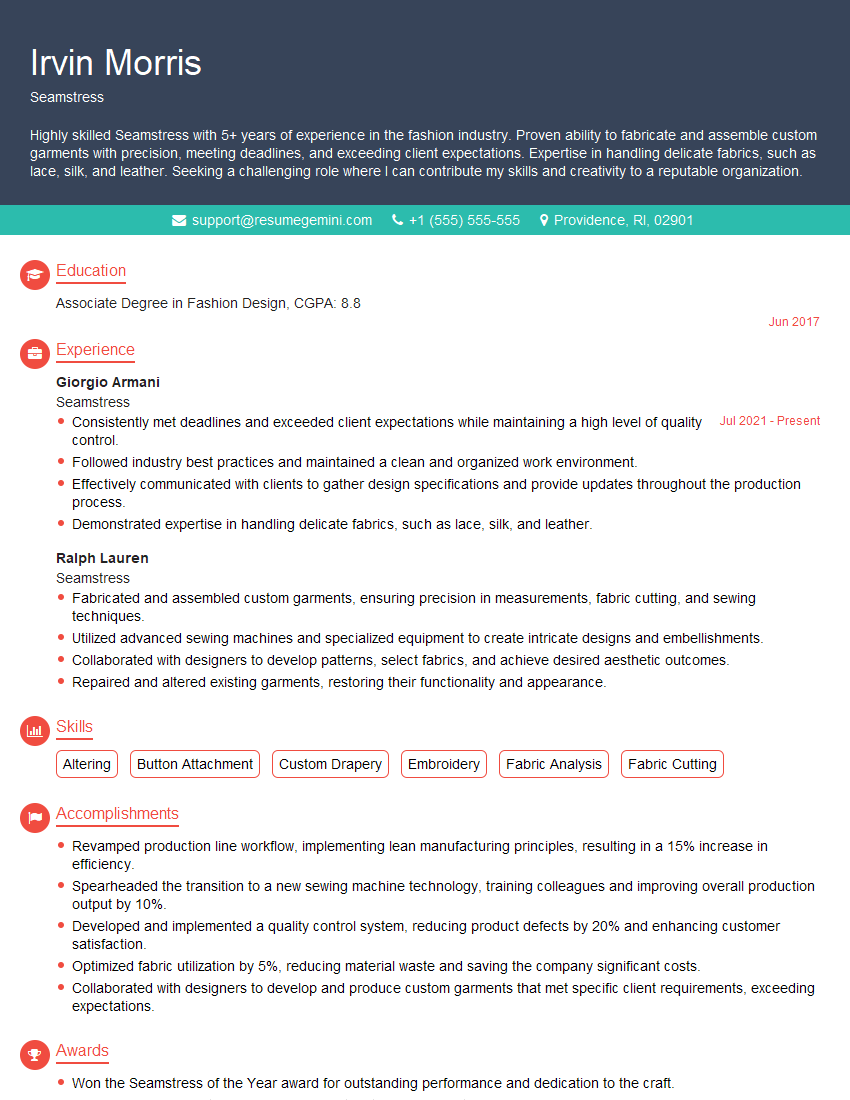
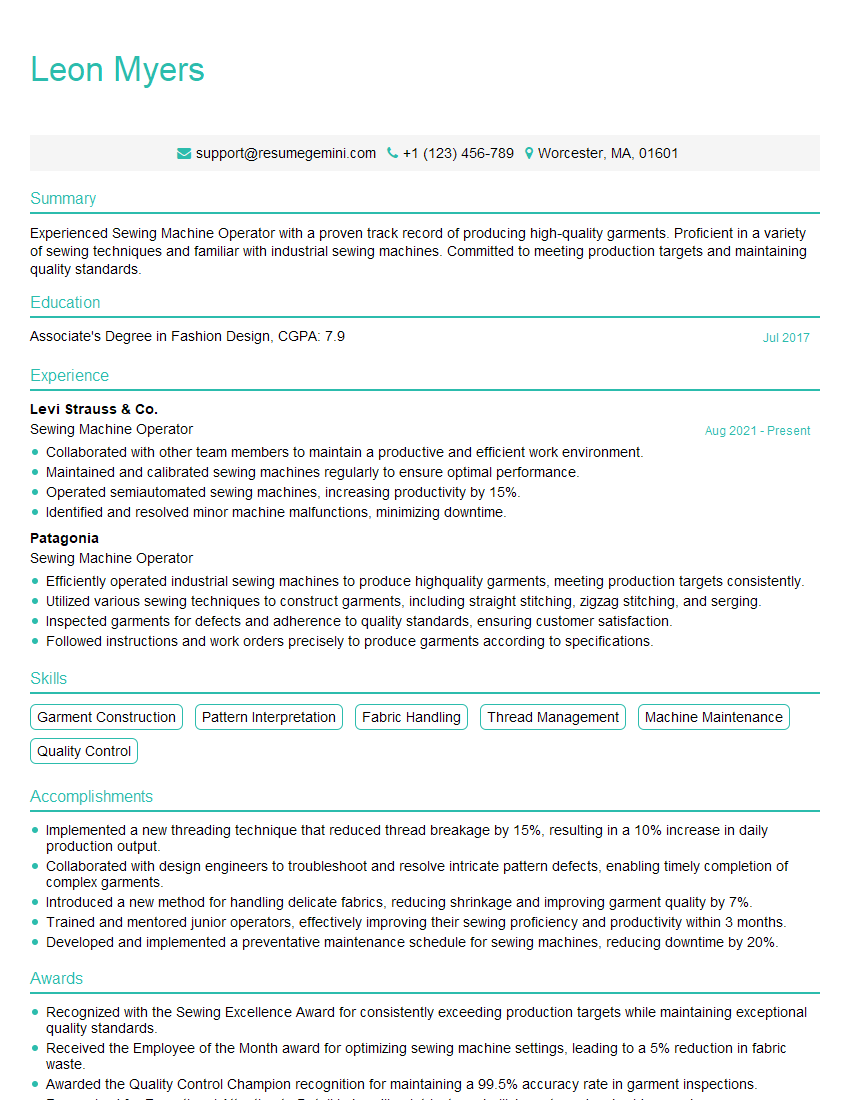
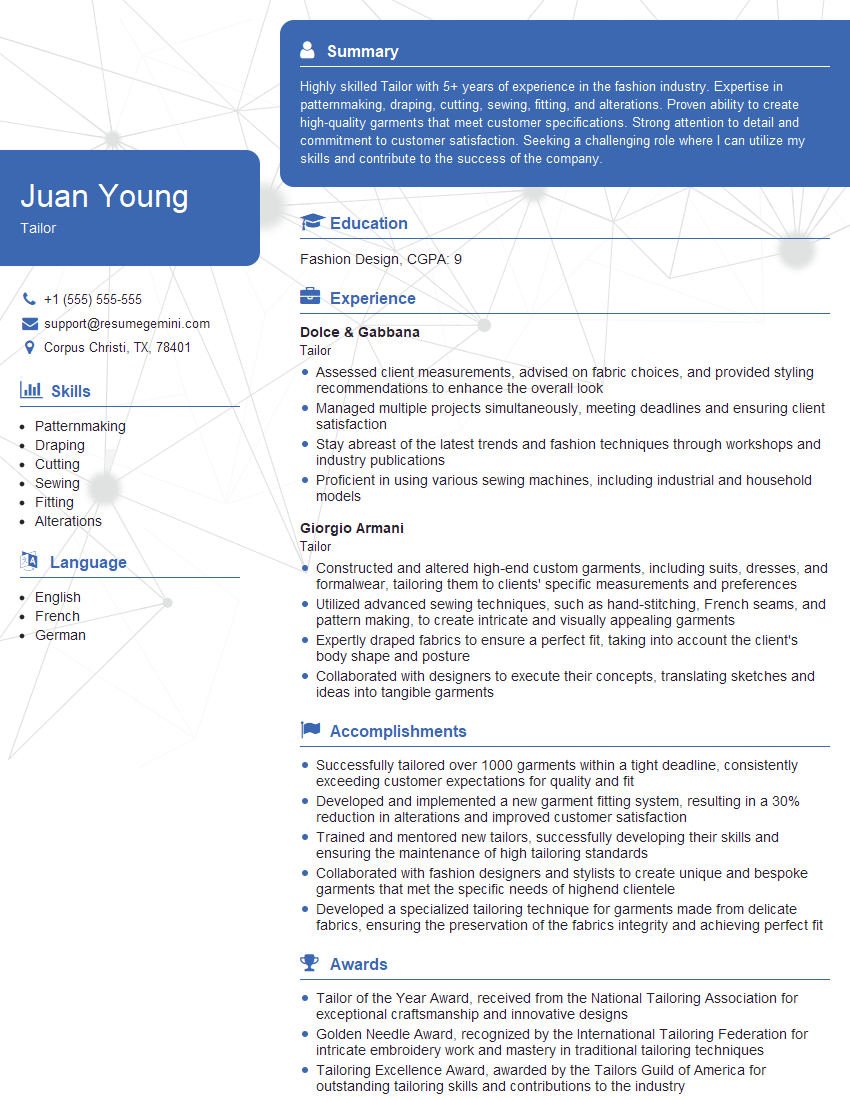
Mastering proficiency with sewing equipment is crucial for career advancement in the fashion, textile, or manufacturing industries. It opens doors to higher-paying roles and greater responsibility. To maximize your job prospects, create an ATS-friendly resume that highlights your skills and experience effectively. ResumeGemini is a trusted resource that can help you build a professional and impactful resume, ensuring your qualifications shine. Examples of resumes tailored to Proficiency with Sewing Equipment are available to help you get started.
Explore more articles
Users Rating of Our Blogs
Share Your Experience
We value your feedback! Please rate our content and share your thoughts (optional).
What Readers Say About Our Blog
good
